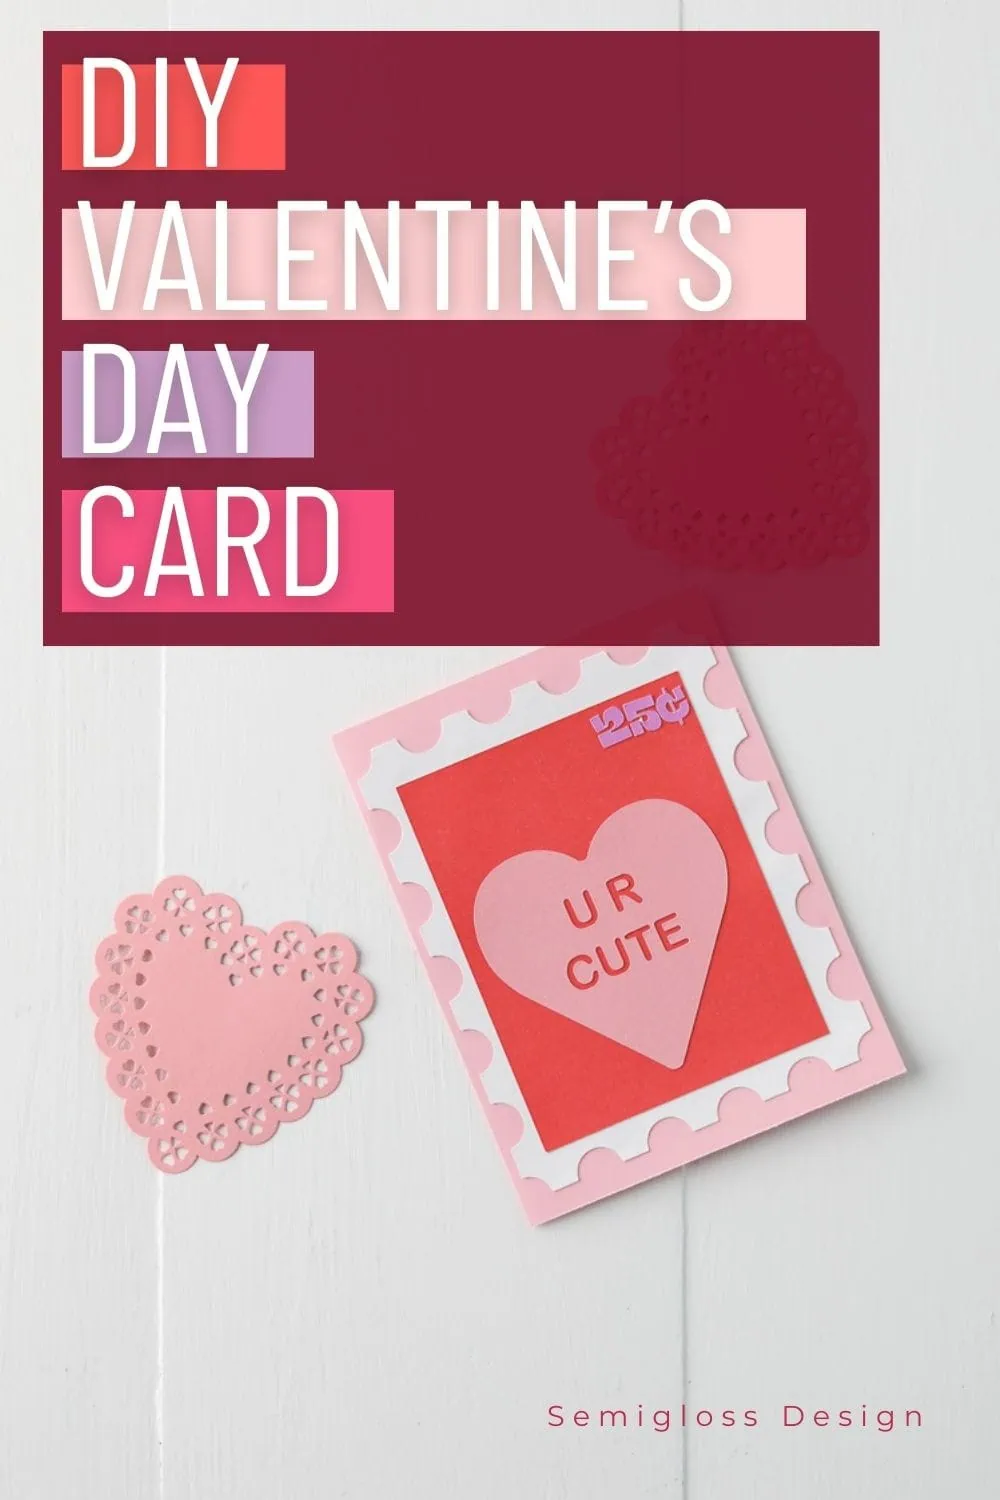
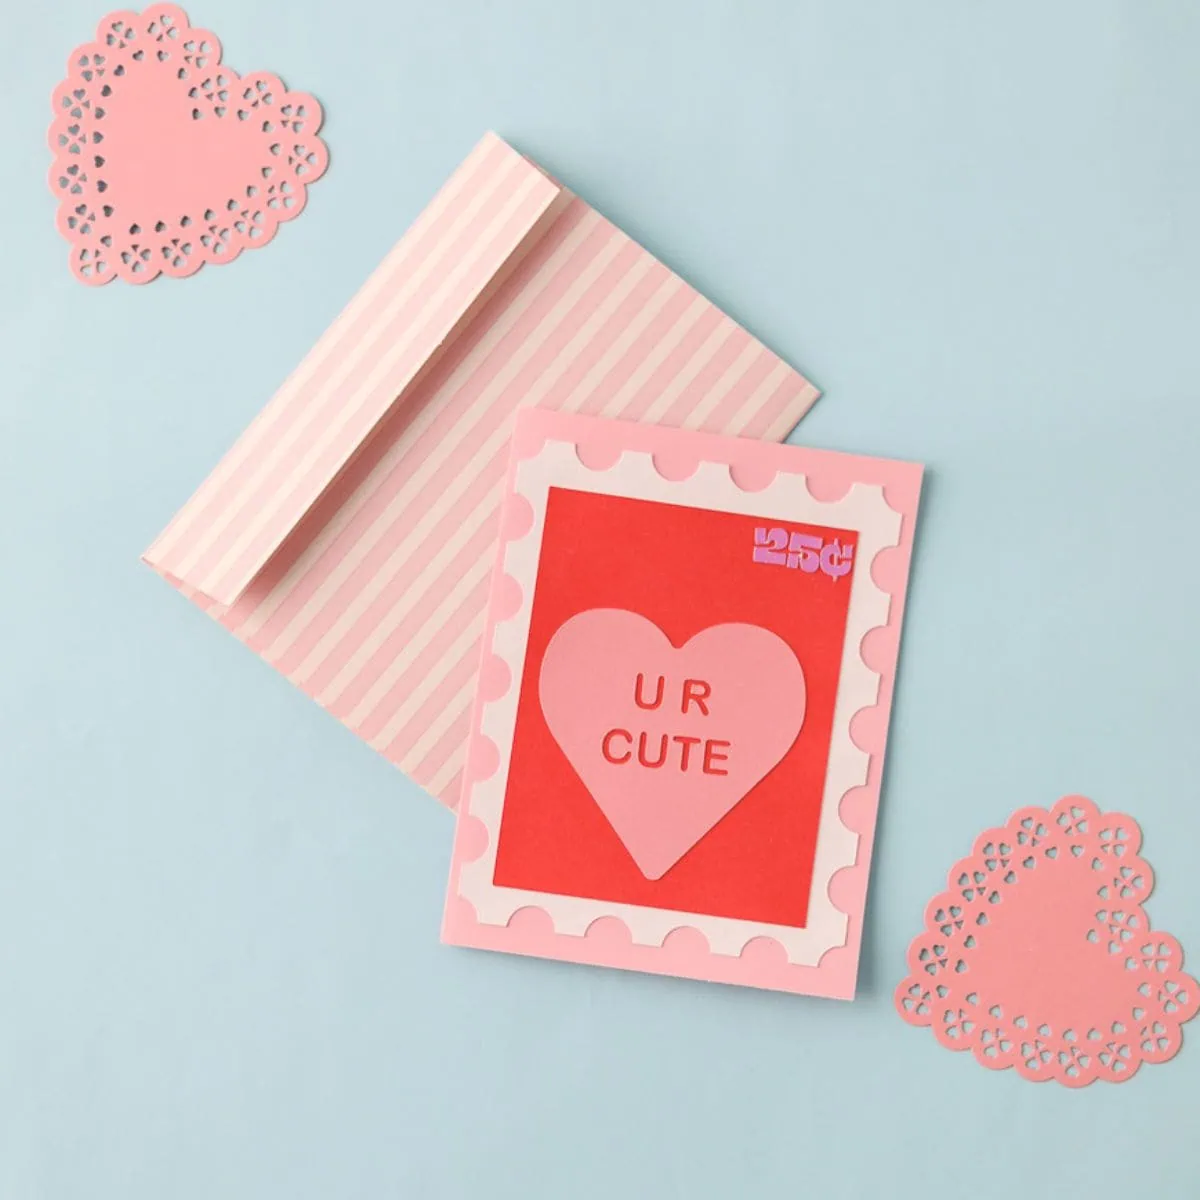
Valentine’s Day Card with Cricut
Learn how to make a Valentine’s Day card with Cricut. This quick and easy card uses Cricut Smart Cardstock, which makes this card even quicker to make. I was able to make this card in less than 15 minutes.
This post contains affiliate links. By purchasing an item through an affiliate link, I earn a small commission at no extra cost to you. As an Amazon Associate I earn from qualifying purchases.
Is there anything better than a handmade card? A quick-to-make handmade card! This card was so fast to make that I finished it and was like, “That’s it?”
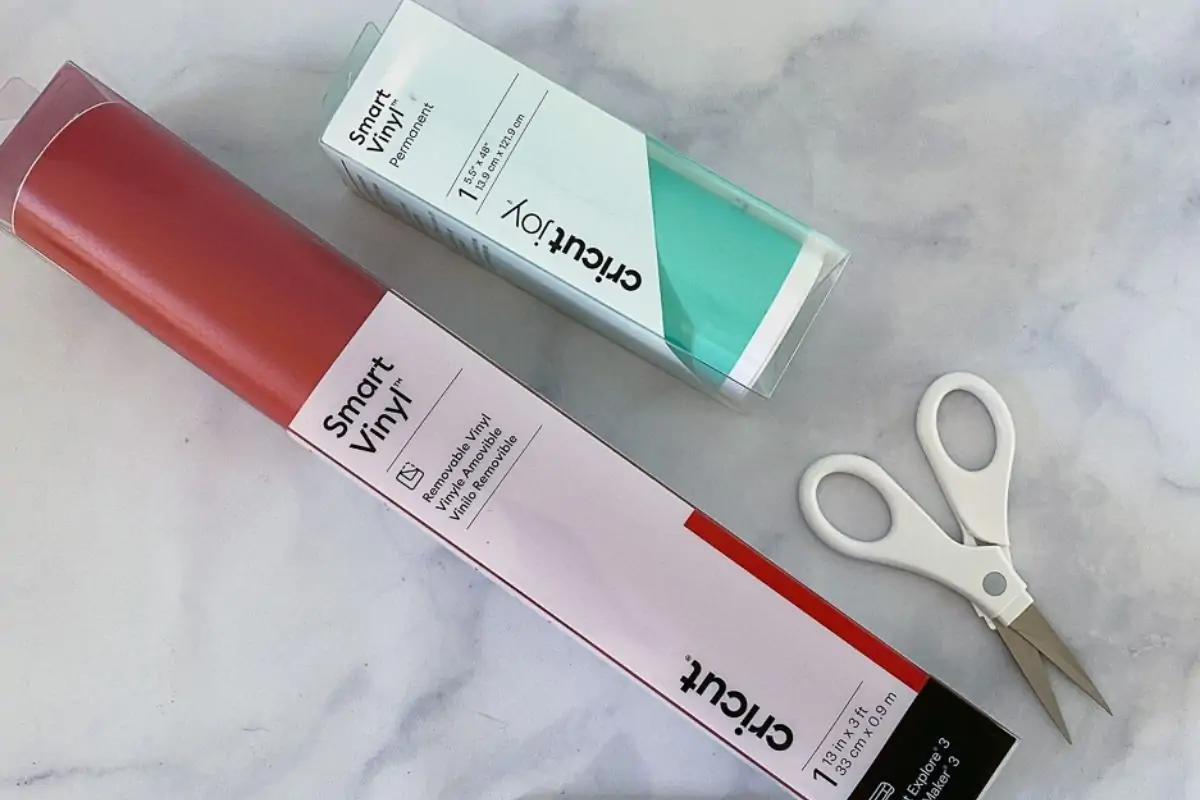
To make this craft even faster, I used Smart Cardstock with my Cricut Maker 3.
I am in love with Cricut Smart Cardstock because it can be cut without using a mat, which saves so much time.
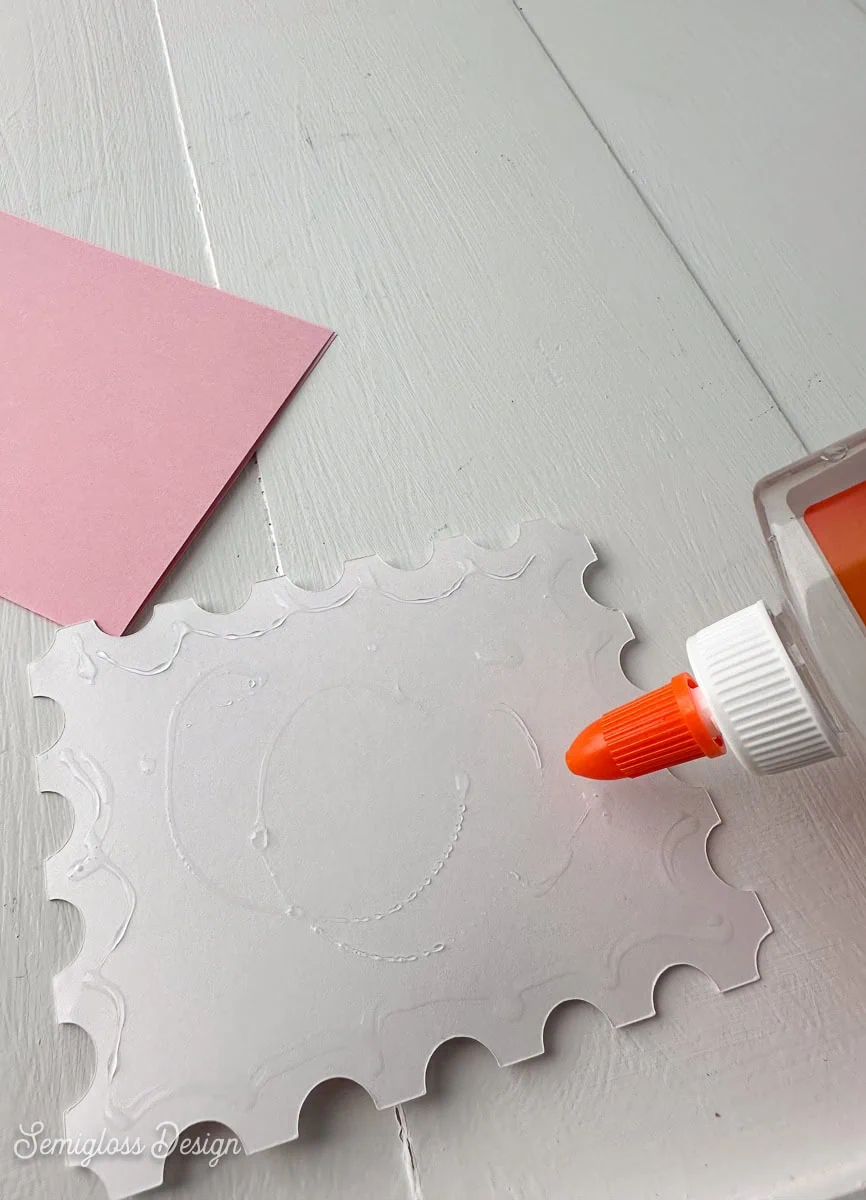
Its other advantage is that it has an adhesive backing, eliminating the need for glue. I still used glue for the white part because I don’t have white smart cardstock yet.
If you don’t have a Cricut Maker 3, you can still use Smart Cardstock, but it must be used with a mat. It’s a bit longer than standard cardstock, so it may need to be trimmed.
My only complaints are the price and that I wish it were sold open stock (not in a package, because I’m never going to use orange). But I would love to buy multiple sheets in some of the other colors. I wish they had more colors as well. The more colors, the better!
Other than that, it’s a game-changer for paper crafting.
Shop My SVG Designs
How to Make a Valentine’s Day Card with Cricut
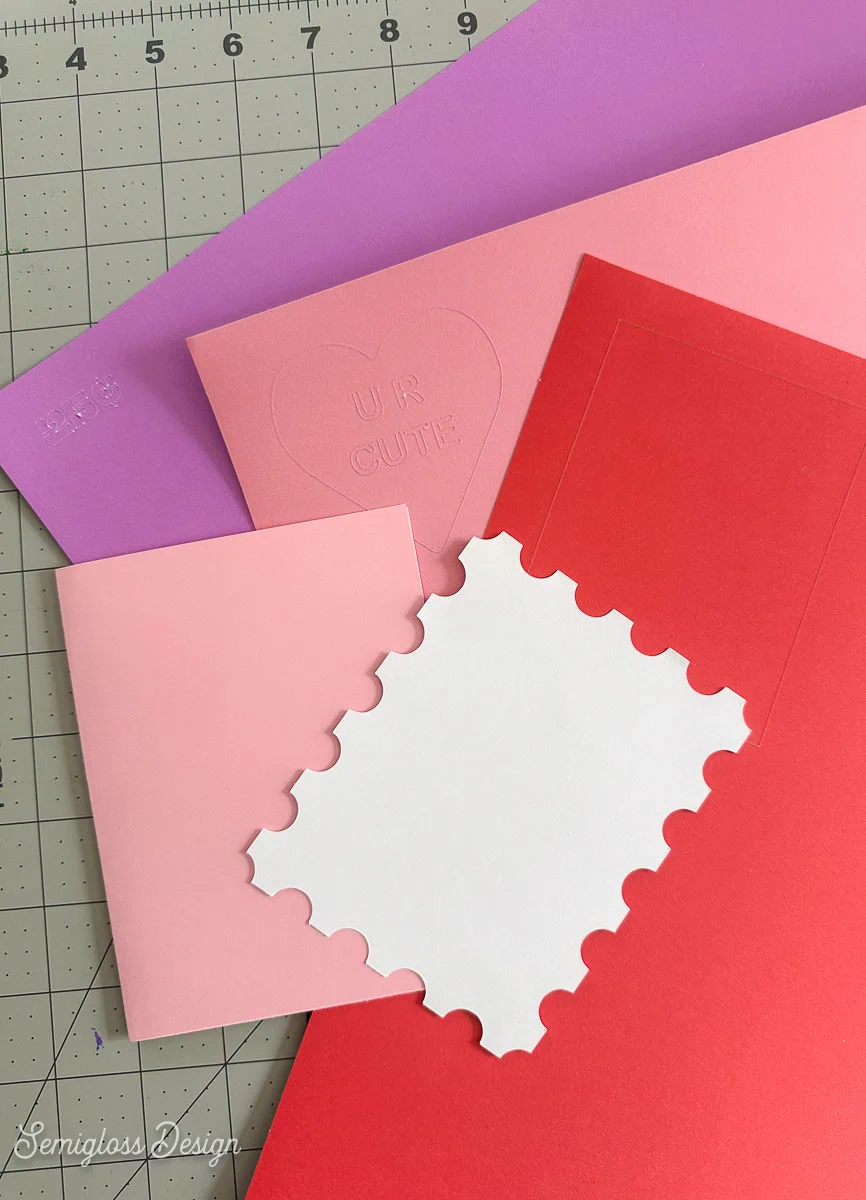
Supplies Needed:
- Smart Cardstock (I used pink and lavender from the pastel set and red from the bright set.)
- White cardstock
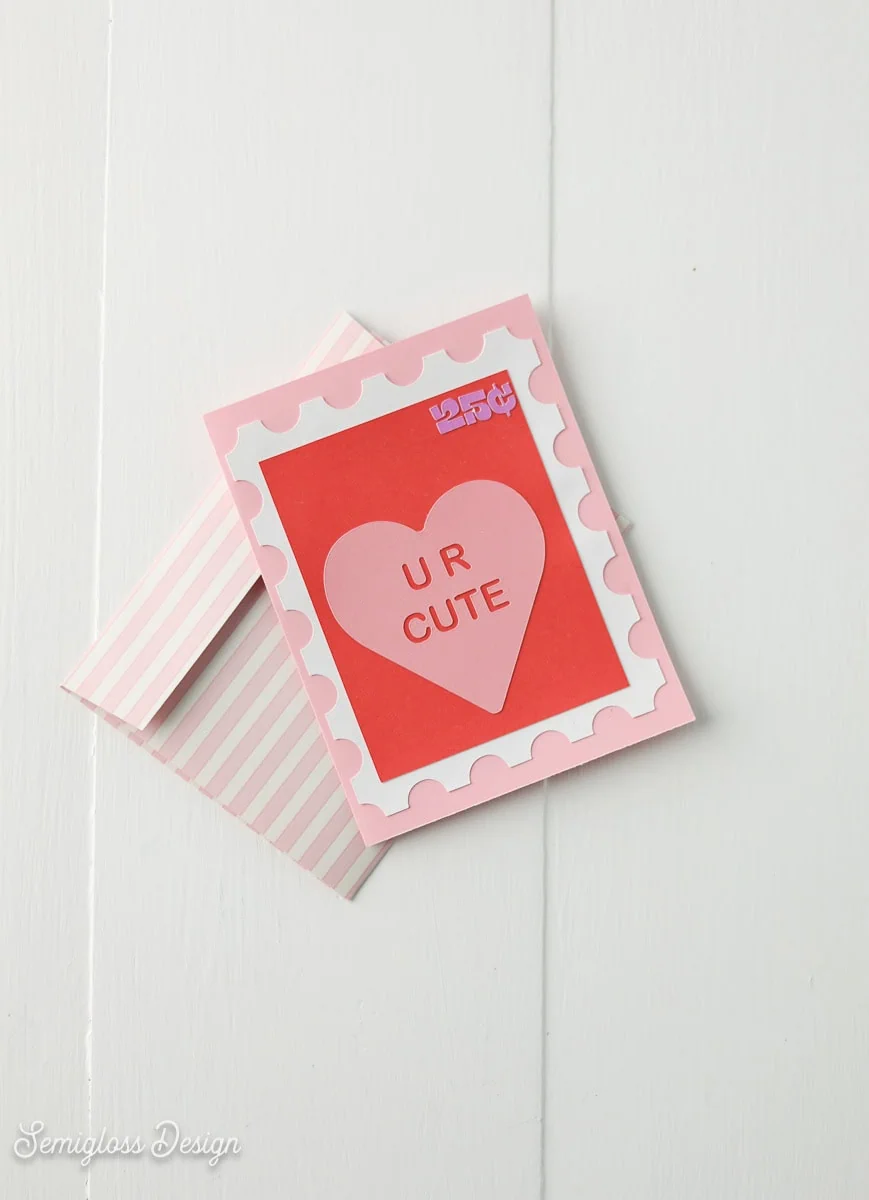
- Card (I made my own with pink cardstock)
- Glue
- Cricut (I used my Cricut Maker 3)
- SVG (the link is at the bottom of this post)
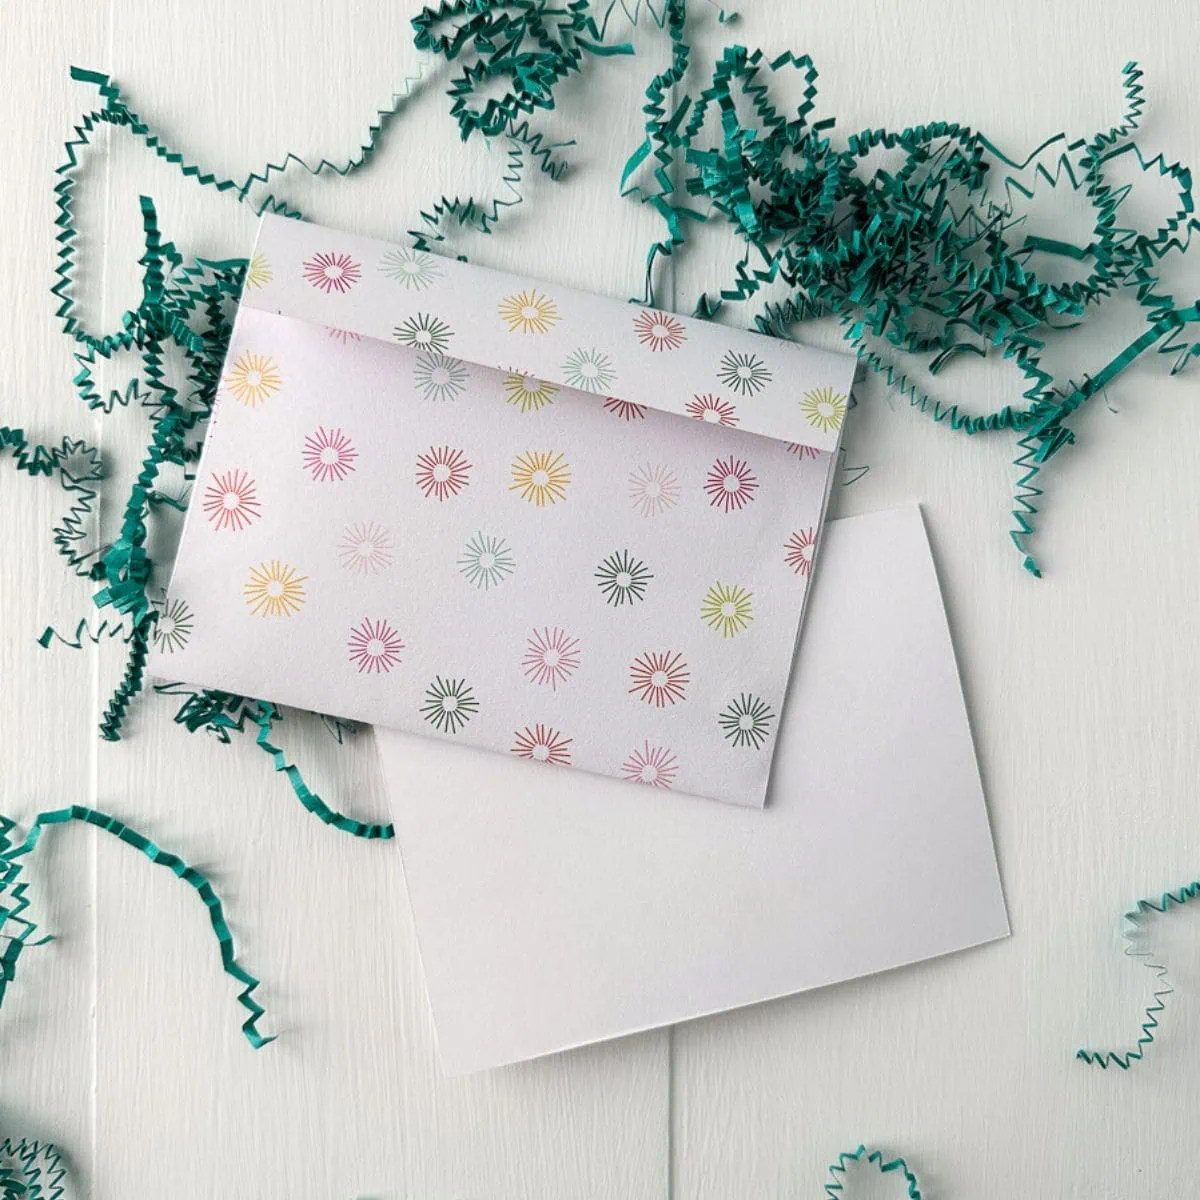
By the way, the envelope was made from scrapbook paper. I have a post on making envelopes with Cricut here.
- Upload the design. Be sure to attach the elements in different colors.
- Cut the design as usual, changing colors as directed in Cricut Design Space.

- Make your card if needed. I have a post on making your own cards here.
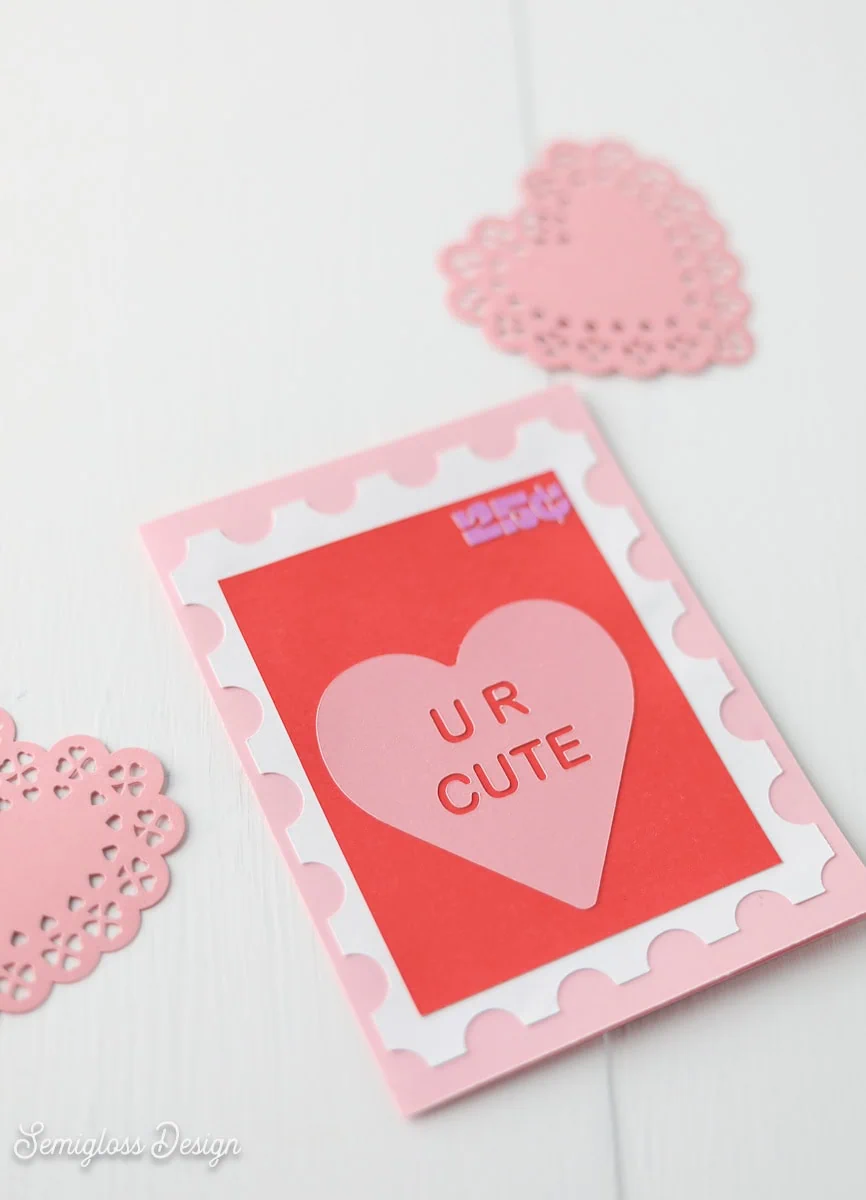
- Slowly peel the red rectangle from the backing and apply it to the center of the stamp shape.
- Do the same for the pink heart.
 The center of the R will need to be manually placed. I used the pick tool to help me get it in place.
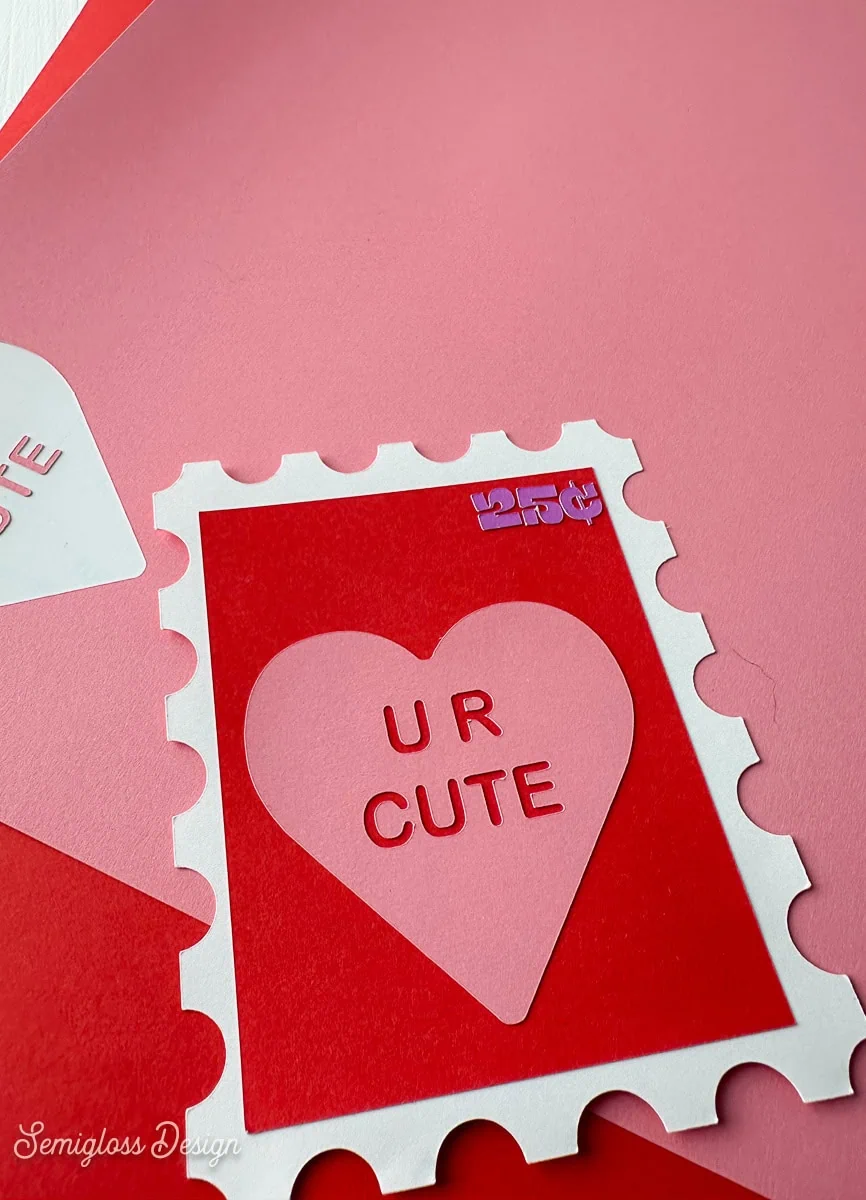
 - Apply the 25¢ to the top corner. Extra care needs to be taken since it’s small.
- When everything is in place, firmly press everything down to ensure it’s adhered.
- Glue the stamp part to the center of the card.
- Let dry and enjoy.

 The center of the R will need to be manually placed. I used the pick tool to help me get it in place.
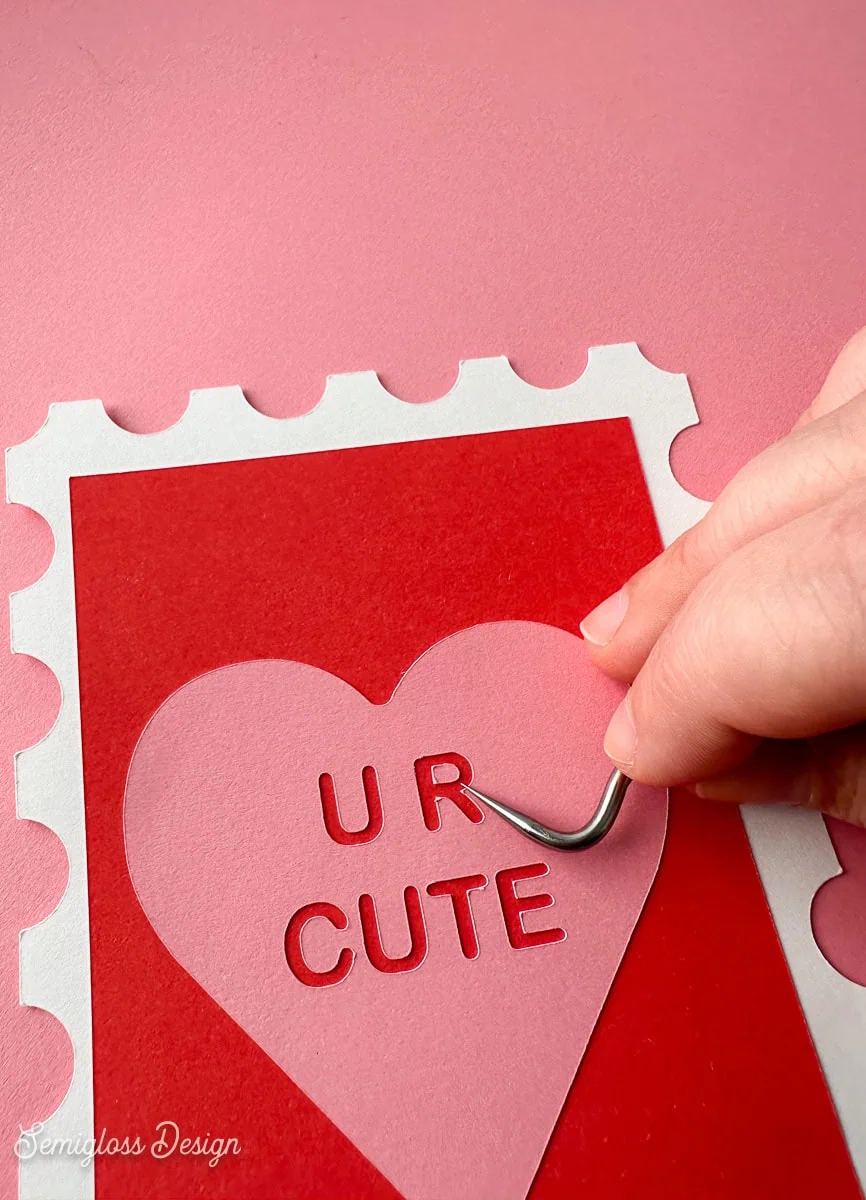
Get access to my SVG Library.
Get access to over 50 SVG sets and Cricut cheat sheets. Join my SVG library.
Download the SVG
All downloads are for personal use only. Please do not redistribute or sell files.
Pin for Later!

Emy is a vintage obsessed mama of 2 DIYer who loves sharing affordable solutions for common home problems. You don’t need a giant budget to create a lovely home. Read more…