How to Use Pens with a Cricut to Make a Card
Make a Christmas card using pens with a Cricut. This festive card is so much fun to make. Best of all, it’s so easy to assemble.

This post contains affiliate links. By purchasing an item through an affiliate link, I earn a small commission at no extra cost to you. As an Amazon Associate I earn from qualifying purchases.
Although this card has many steps, it’s still really easy to make. The Cricut does all of the heavy lifting.
I love using the pen feature on Cricut. It adds a hand-lettered look without the fuss. Pens come in many colors and thicknesses. I used a Medium Tip in 1.0, which is a pretty thick pen. Fine-tip pens are also available.
How to Use Pens with a Cricut
Supplies Needed:
- Card Blanks (I used A6 cards – 4.5 x 6.25″)
- Cricut (I used my Cricut Maker 3)
- Cricut Card mat
- Cricut Pen
- Cricut Smart Cardstock (I used colors from the Brights pack)
- Cardstock and Glue (if you don’t use the Smart Cardstock)
- SVG (link is at bottom of post)
Please note: I designed this card outside of Cricut, so the pen text results in an outline. I like the effect, but if you want a simpler design, you can delete the “Have a” and “Christmas” text and retype them using a Cricut text that is designed for writing. You can filter by “free” if you want. I like the “Simple Celebrations” font.
- Upload the design as usual.
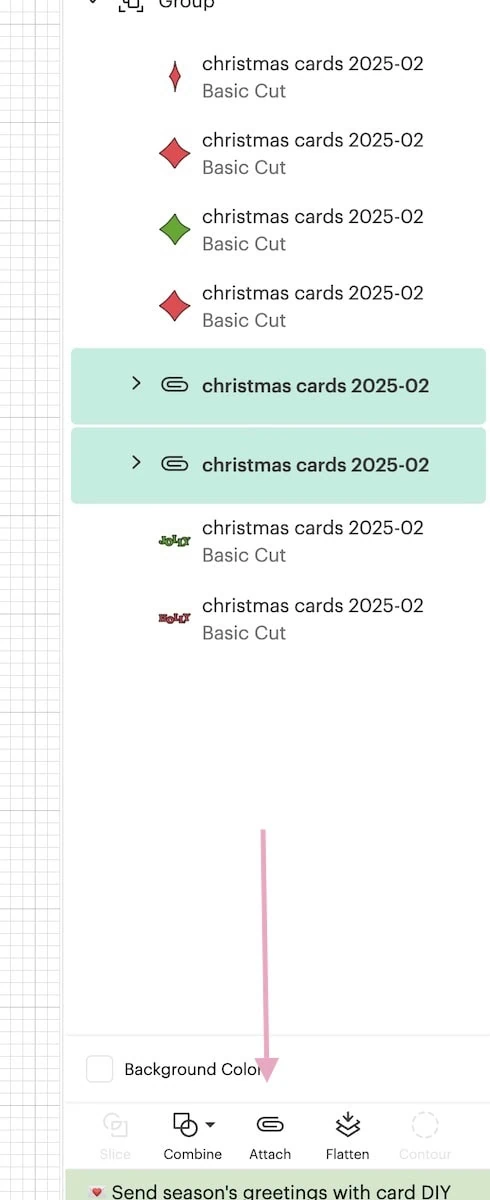
- Open the group and select the lettering for ” Have a” and “Christmas.” Attach each set and then attach them together. This keeps the lettering in the correct place on the card.

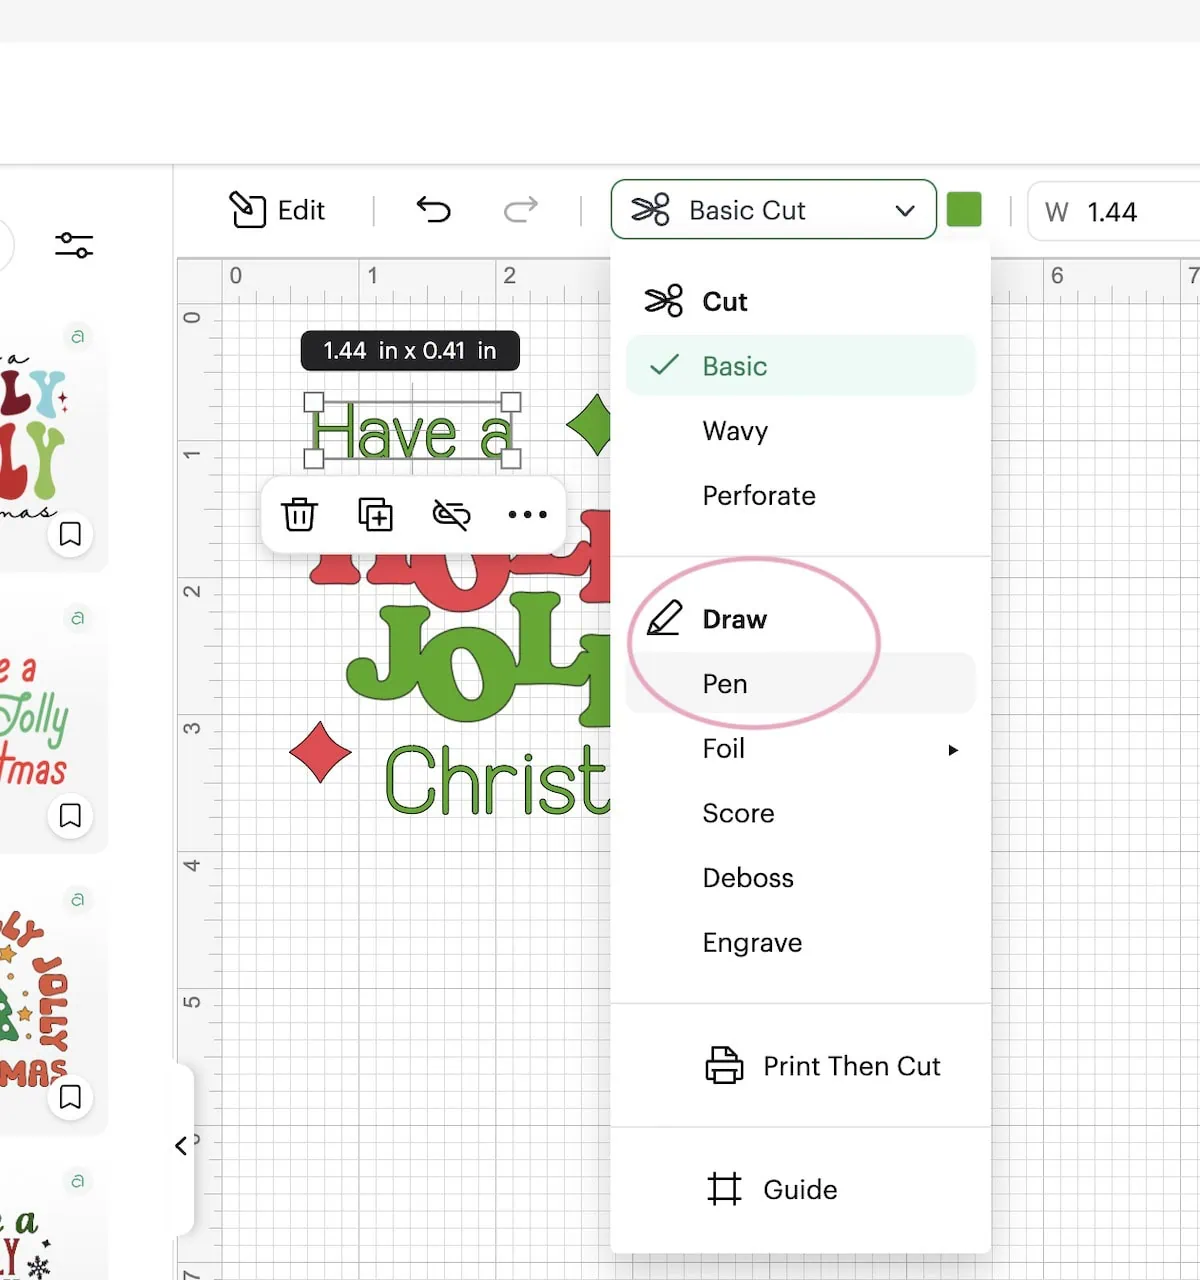
- Change those groups from “Basic Cut” to ” Draw – Pen”.

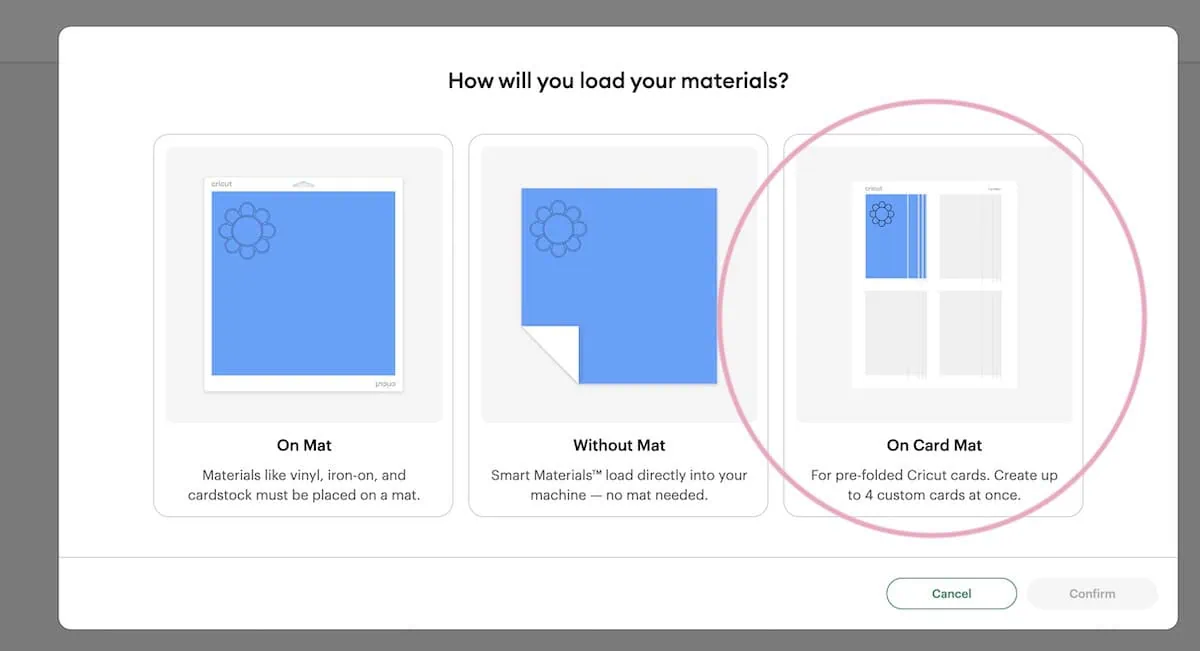
- Click Make.
- On the screen, select Card mat.

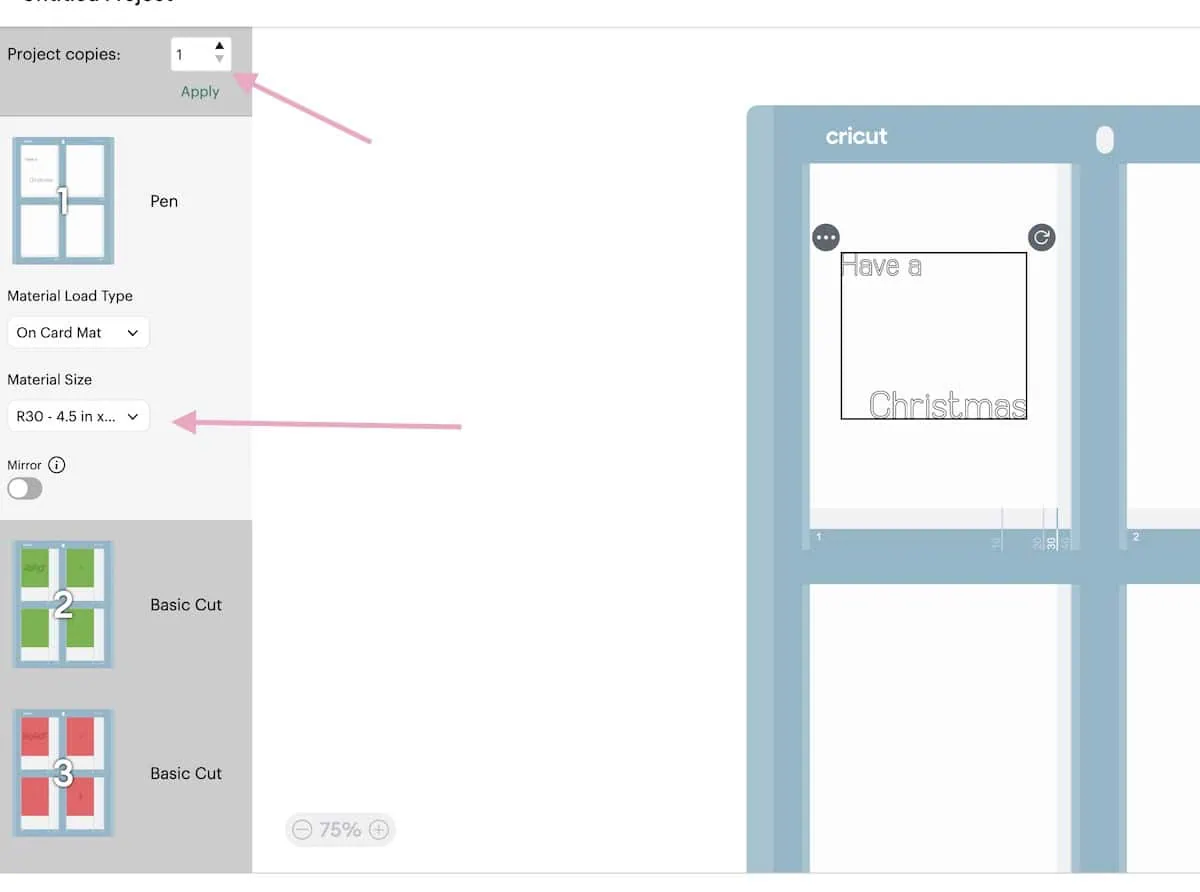
- Then select the card size. Make sure the text is where you want it on the card.

- If you’re making more than card, you can increase the amount here as well.
- Press the Continue button.
- Select the material. I normally just select Heavy Cardstock.
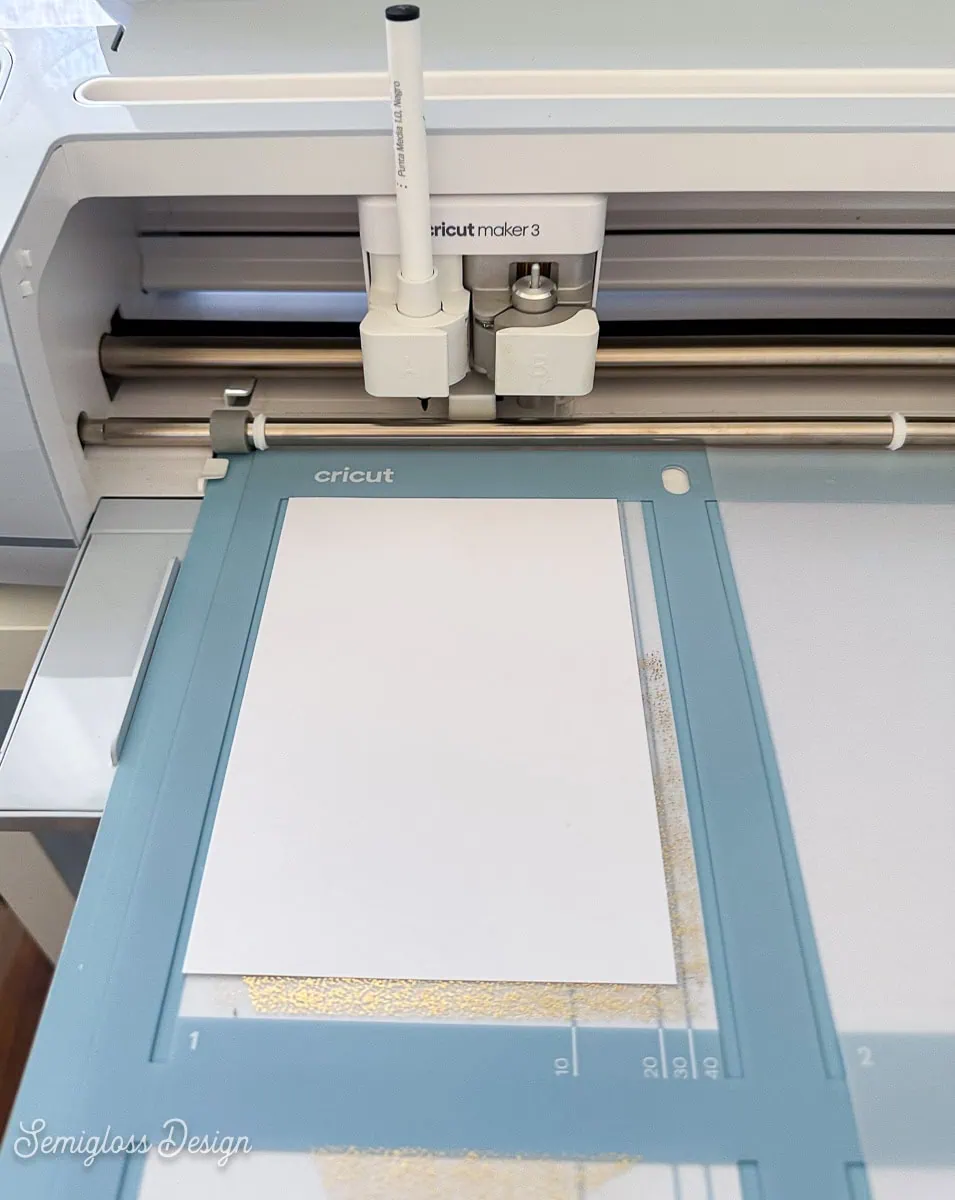
- Load the pen into slot A. Make sure it clicks.
- Insert the card into the card mat, lining it along the bottom edge.
- Load the mat and press go.
- Let the machine do its magic.

- When it’s done, unload the card mat.

- Cut the rest of the design as usual.
- Assemble the card.

Since I used Cricut Smart Cardstock, assembling the card was as simple as using stickers. I simply placed the lettering on the card and smoothed it out.

Then I added the stars.

I love how this card turned out.

Get access to my SVG Library.
Get access to over 50 SVG sets and Cricut cheat sheets. Join my SVG library.

Download the Holly Jolly SVG
All downloads are for personal use only. Please do not redistribute or sell files.
More Christmas Card Ideas
Get even more Christmas card ideas to make.
This Joy card features bold, graphic lettering on colored backgrounds.
Make this vintage-inspired card with Christmas lights. It’s so cute, but so easy to make.
Wish someone a Merry Christmas with this fun typographic card.
Add a custom touch to DIY cards by adding personalization with Cricut pens.
This vintage ornament card uses Cricut Cutaway cards for a fun peek-a-boo effect.
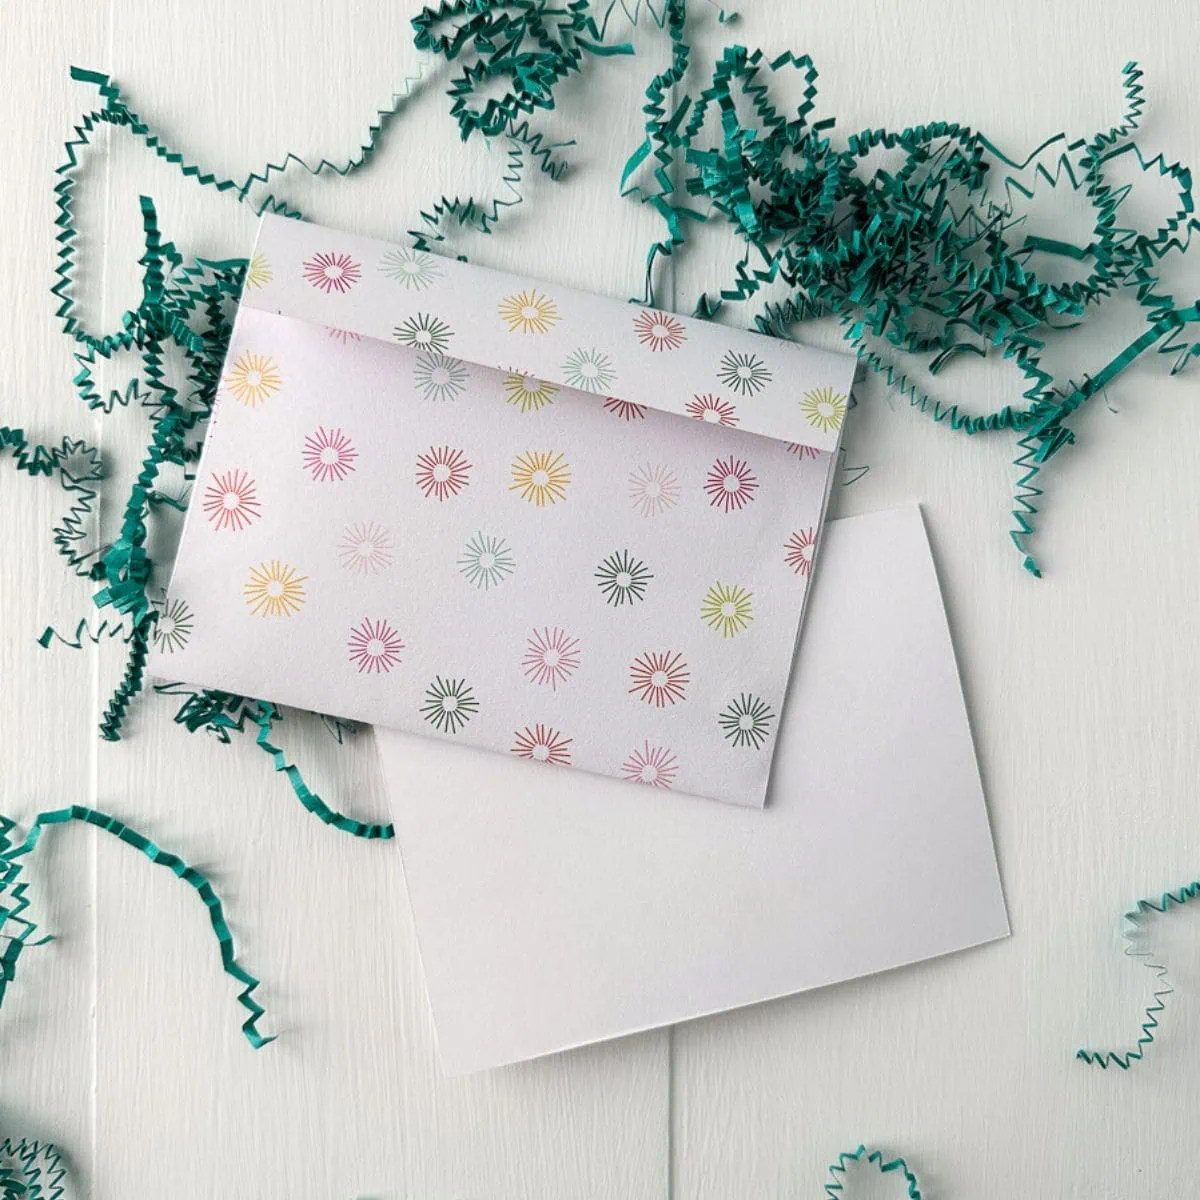
Don’t settle for boring envelopes when you can make your own envelope with scrapbook paper.
Pin for Later!


Emy is a vintage obsessed mama of 2 DIYer who loves sharing affordable solutions for common home problems. You don’t need a giant budget to create a lovely home. Read more…


