All About Shiplap Trim: Corners, Edges and Baseboards
Learn all about shiplap trim. Finishing off the shiplap with trim will give it a finished look and hide any uneven edges.
I’ve used shiplap as accents in several rooms of my home. I love the classic touch that it adds to a room.
This post contains affiliate links. By purchasing an item through an affiliate link, I earn a small commission at no extra cost to you. As an Amazon Associate I earn from qualifying purchases.
My favorite part of installing the shiplap is adding the trim.
This detail really brings it to life and can give it a different look depending on your choice.
Plus, it gives the shiplap a nice, finished look.

Get my DIY freebies
All of My DIY Printables in One Place
Sign up for my newsletter and get access to my library of free printable resources and building plans.
Shiplap Trim: Corners
Corners can be tricky, but luckily, I have a few solutions.
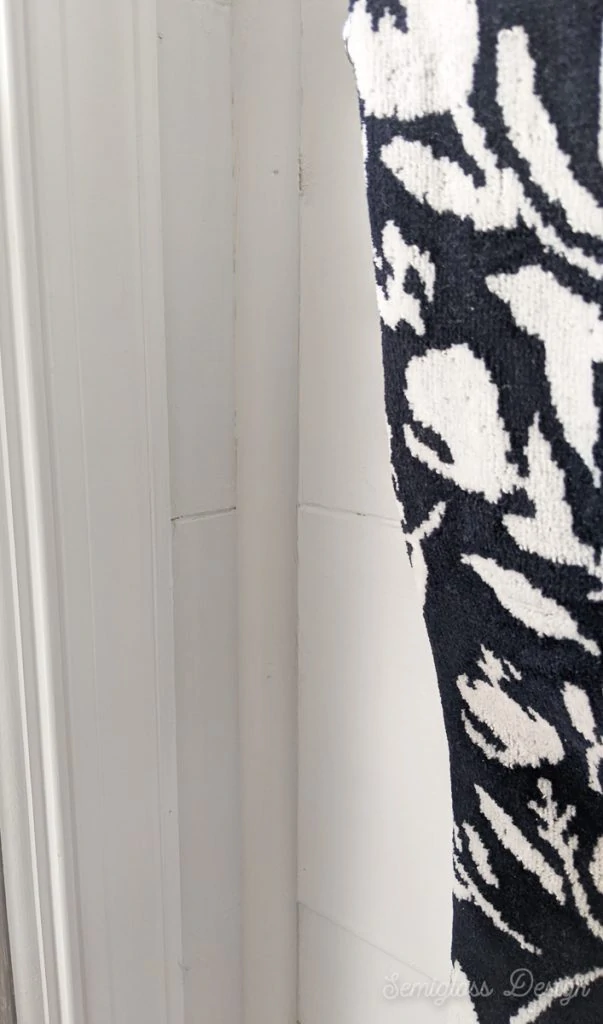
Inside Corners
In my kid’s bathroom, my cuts were perfect, and I was able to just caulk the seam with paintable caulk. This creates a seamless look.
In my bathroom, I used quarter round.
My cuts in this room were not as exact, so the quarter round was able to hide this face. When painted, the trim disappears.
Make sure to use paintable caulk to hide the seams!
Alternatively, you can use cove molding.
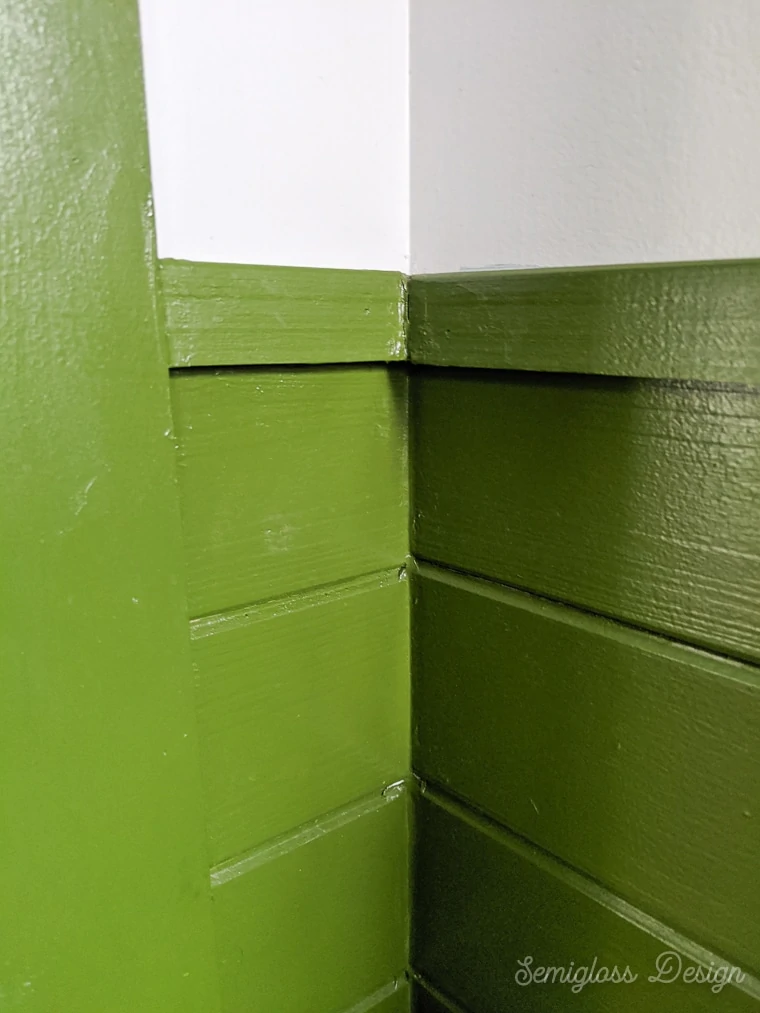
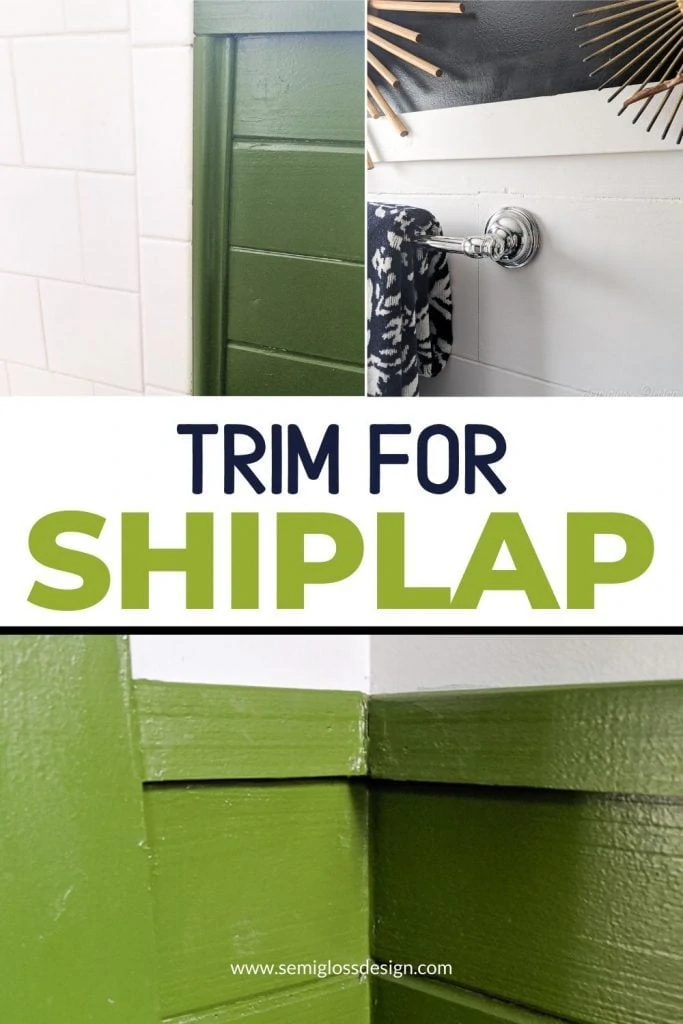
Outside Corners
For outside corners, I always use corner trim.
Corner trim prevents the edges from being too sharp if you scraped up against them. It also hides less than perfect cuts.
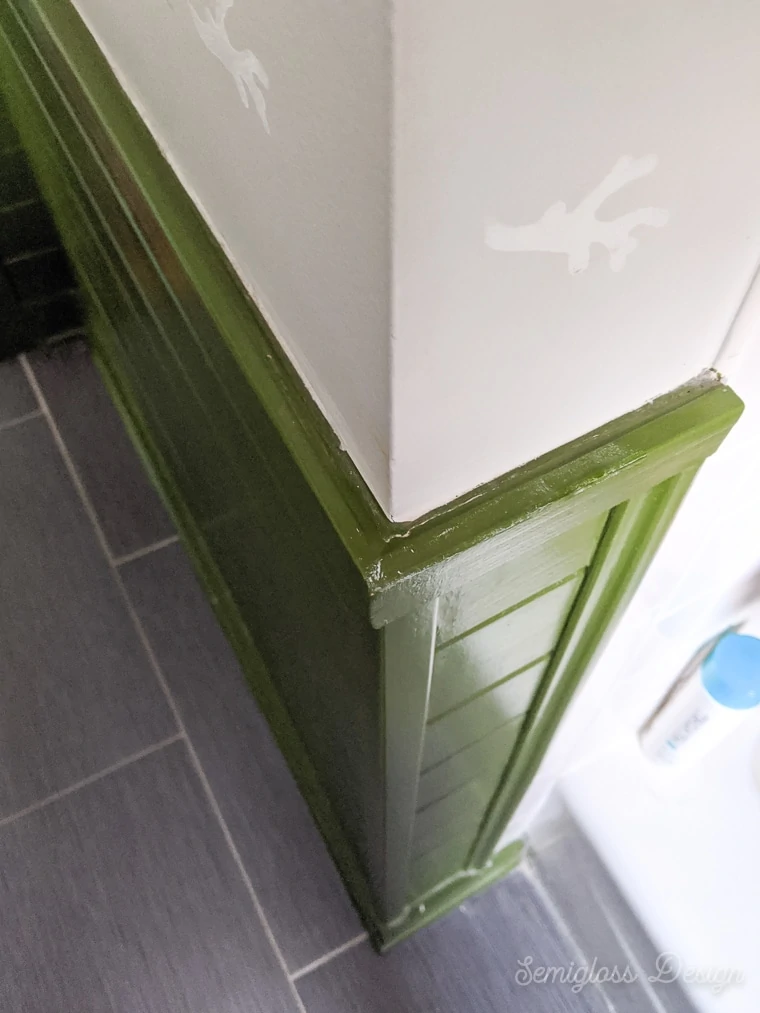
The corner trim provides a nice, rounded corner.
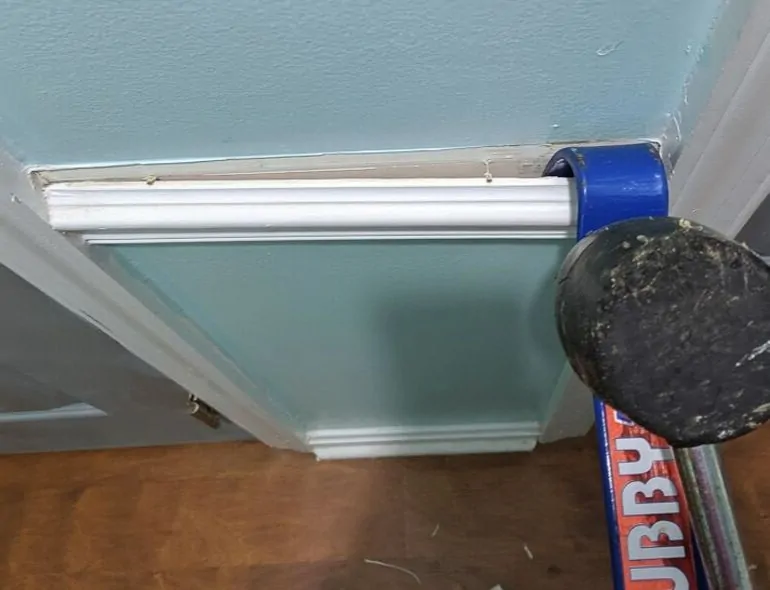
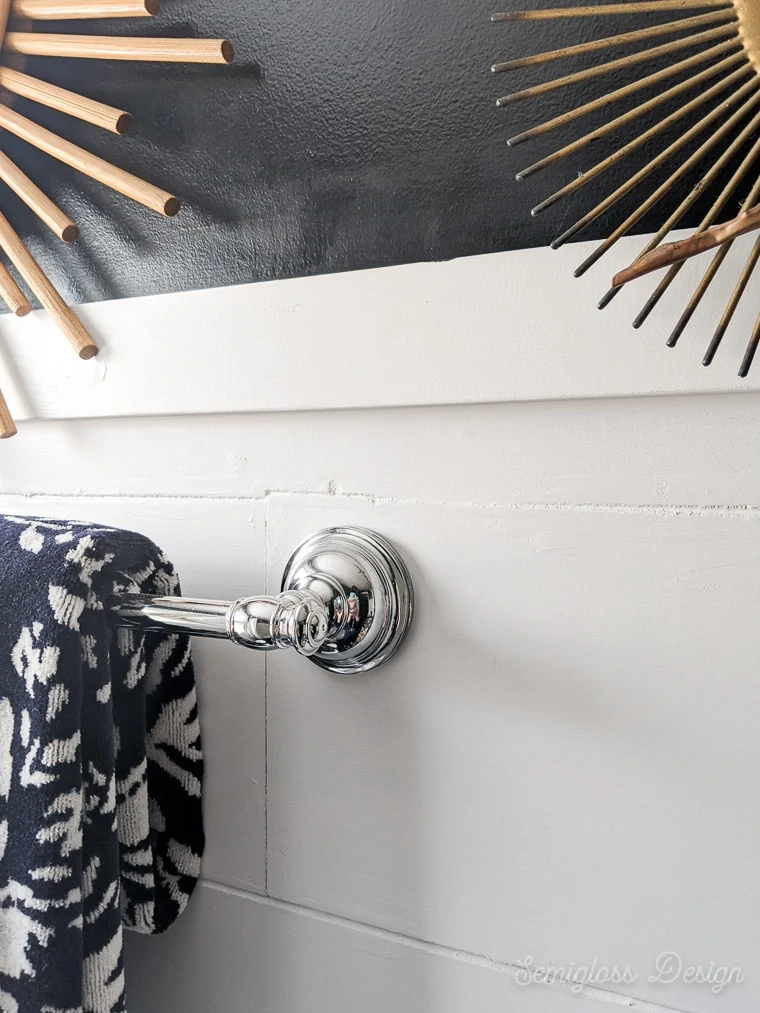
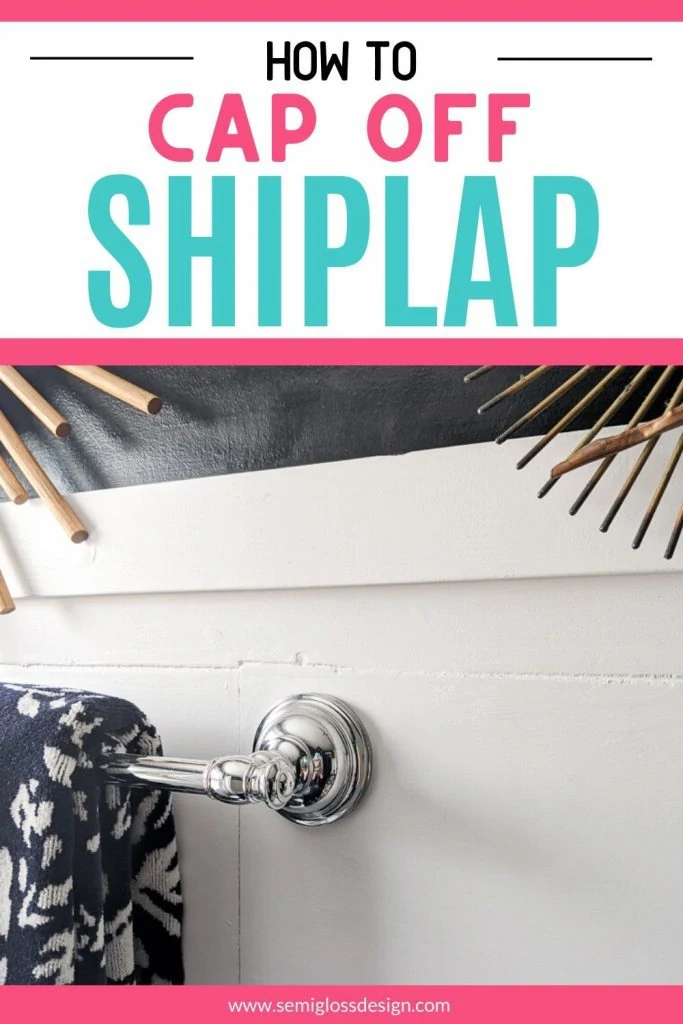
How to Cap Off Shiplap
You have 2 options for the shiplap top.
The trim can partially cover the top and a small portion of the shiplap or it can sit on top of it.
In my kid’s bathroom, I chose the first version. The trim is L-shaped with a lip that fits perfectly over the top of the wood. (See photo above.)
In this bathroom, I chose a more modern look and opted for 1x3s that sit on top of the wood.
Baseboards for Shiplap
Baseboard choice depends on what type of shiplap you use. If you use a thicker shiplap, you will need a thicker baseboard.
In my kid’s bathroom, we removed the old baseboard and replaced it with 1x4s to create a modern look.
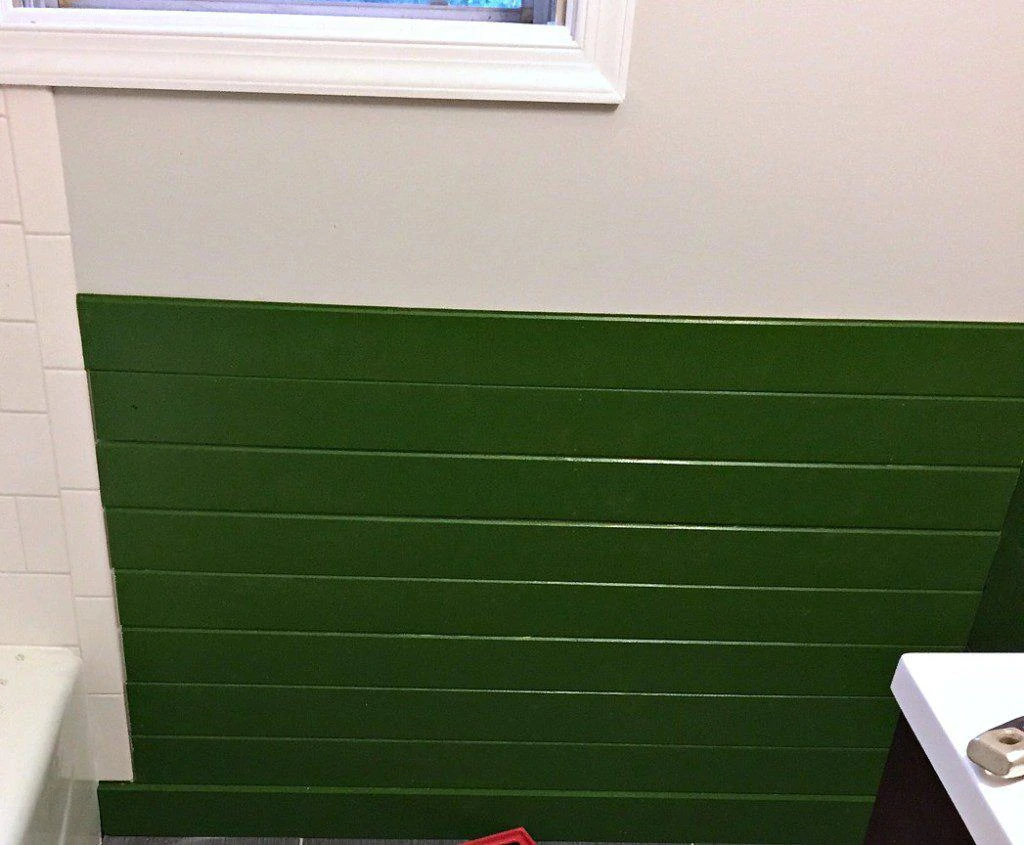
For a traditional look, consider adding a thicker baseboard with more details.
In my bathroom, we used thin luan for the shiplap, so we were able to keep the old baseboards.
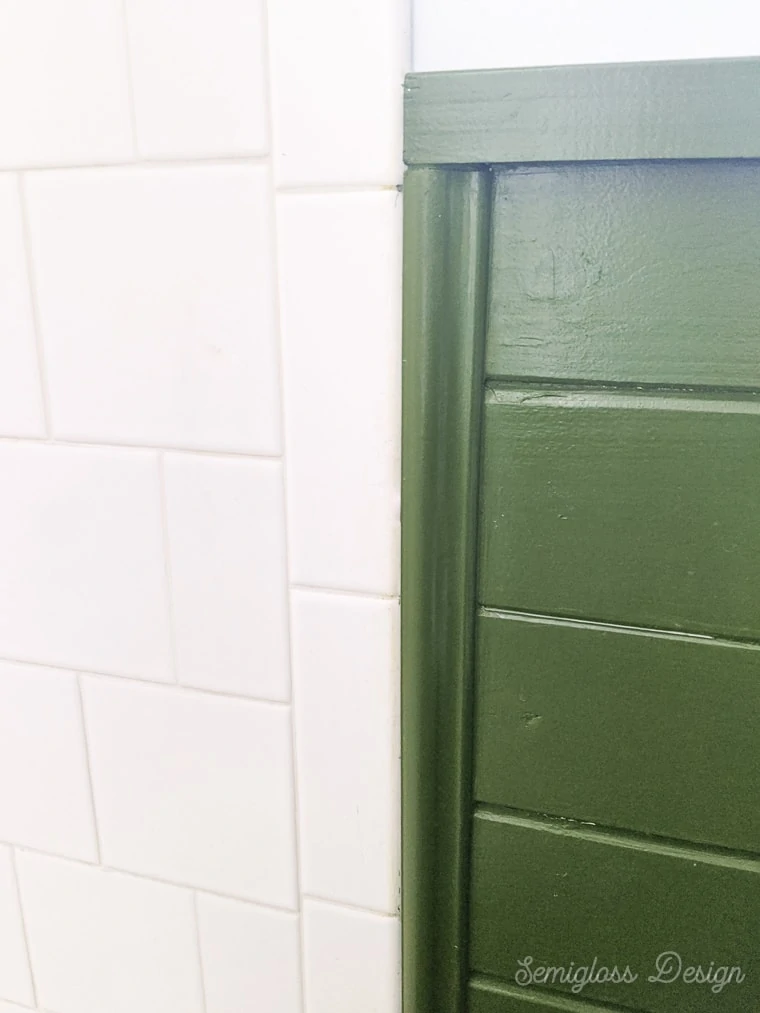
Shiplap to Tile Transition
There are many options for covering where the tile meets shiplap.
You can use any trim with a flat back for this spot. For a modern look, consider using plain trim (like lattice wood).
In this bathroom, I used a more decorative trim for added detail.
Finishing Shiplap
The most important part of adding trim to the shiplap is caulking the edges. Caulk makes the entire project come together and look seamless.
For best results, use paintable caulk. Silicone caulks cannot be painted over and will not look as nice.
Be sure to paint the caulk even if it’s the same color as your shiplap.
Unpainted caulk is impossible to clean and attracts dust. Sealing the caulk will prevent it from becoming a dust magnet.
Quick caulking tip: cut a tiny opening with a utility knife, not the cutter on the caulk gun. This will prevent a lot of the mess from the excess caulk.
You might also like:
Pin for Later!

Emy is a vintage obsessed mama of 2 DIYer who loves sharing affordable solutions for common home problems. You don’t need a giant budget to create a lovely home. Read more…