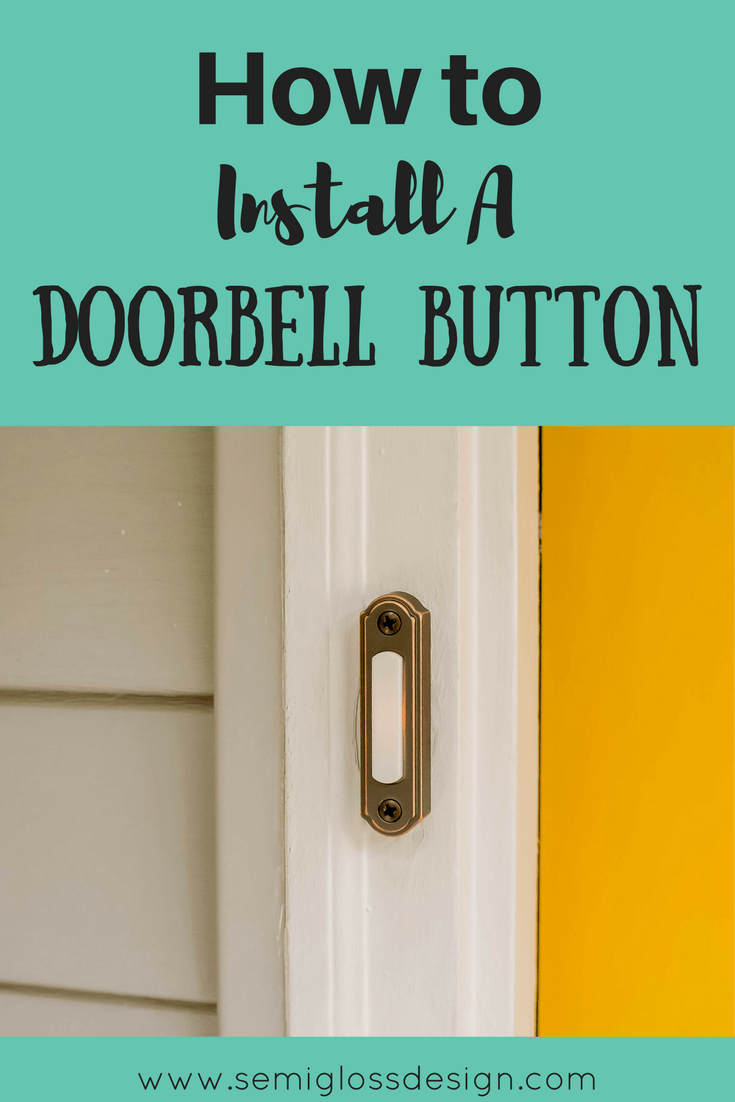
Learn How to Install a Doorbell Button
Small projects often lead to other small projects. When I recently painted my front door, it made the trim look awful, so I had to paint it. Then the light looked bad, so I changed the light fixture as well. All of those shiny new projects made the doorbell look gross, so it was time to change it out as well. Luckily, changing a doorbell button is pretty easy. Learn how to install a doorbell button!
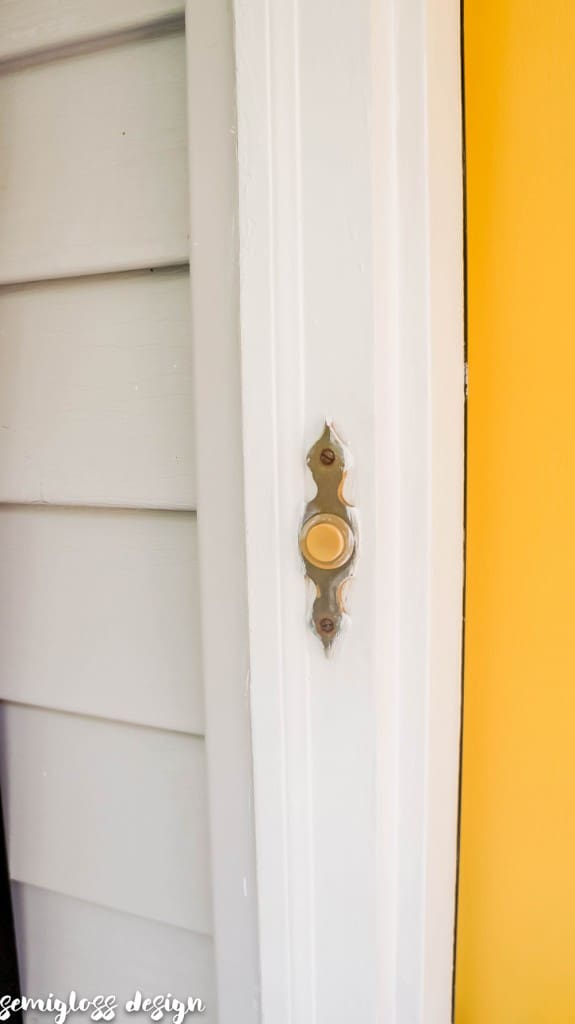
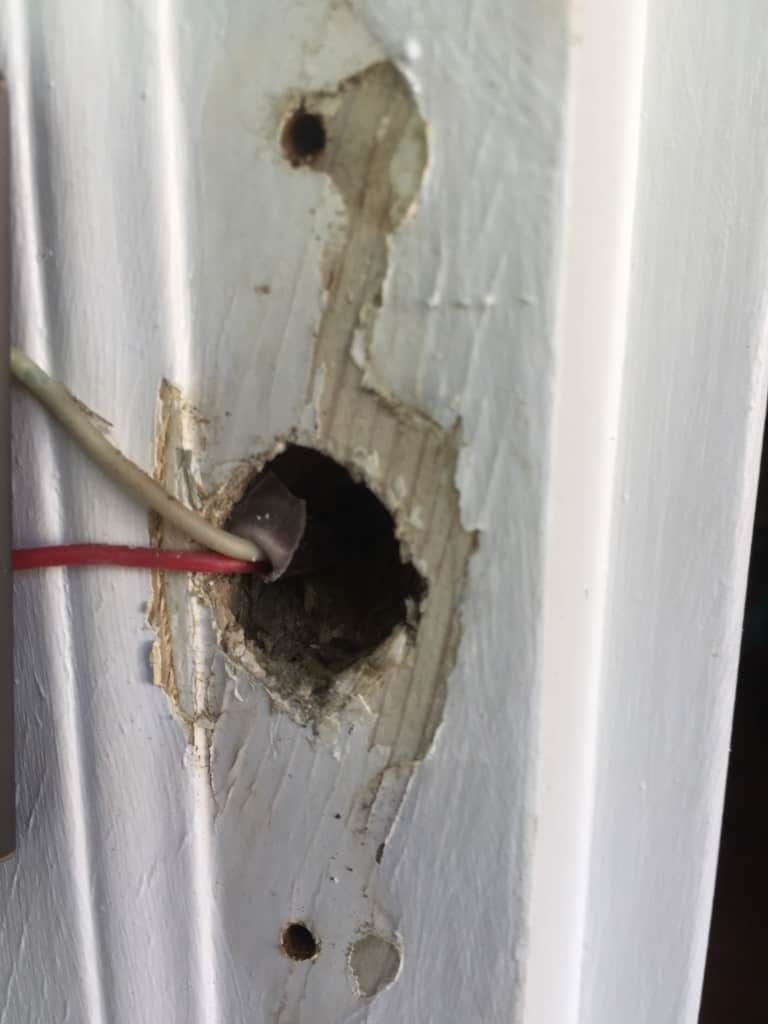
My old doorbell button was dirty and old. It had been painted on and the button had yellowed.
How to Install a Doorbell Button
Supplies
This post contains affiliate links. By purchasing an item through an affiliate link, I earn a small commission at no extra cost to you.
- New doorbell
- Screwdriver
- Voltage tester
As always, when working with electricity, be extra careful. Semigloss Design is not responsible for any accidents or injuries that occur by following this tutorial.
- Turn off the power to your doorbell. This may take a while to locate the correct breaker, but you get the added bonus of annoying your kids by pushing the doorbell 100 times. Score!
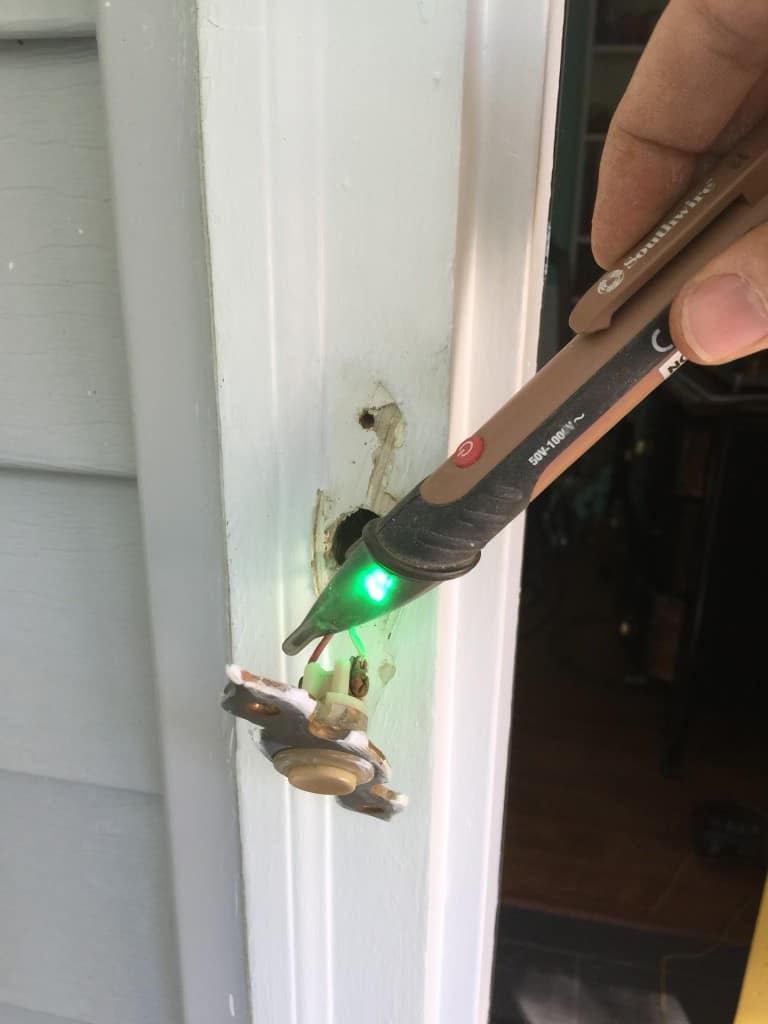
- Use your voltage tester to make sure that there is no power connected to your doorbell.
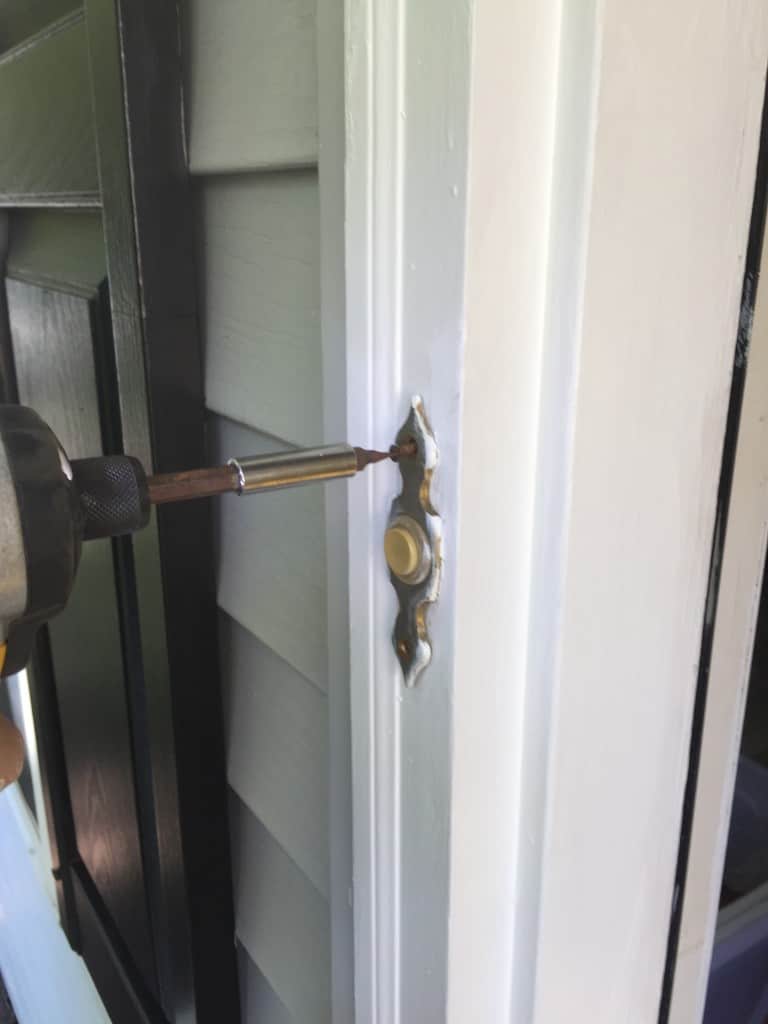
- Unscrew your old doorbell.

- Double check to make sure the power is off. (Our voltage tester turns red and beeps when it detects electricity; green means okay.)
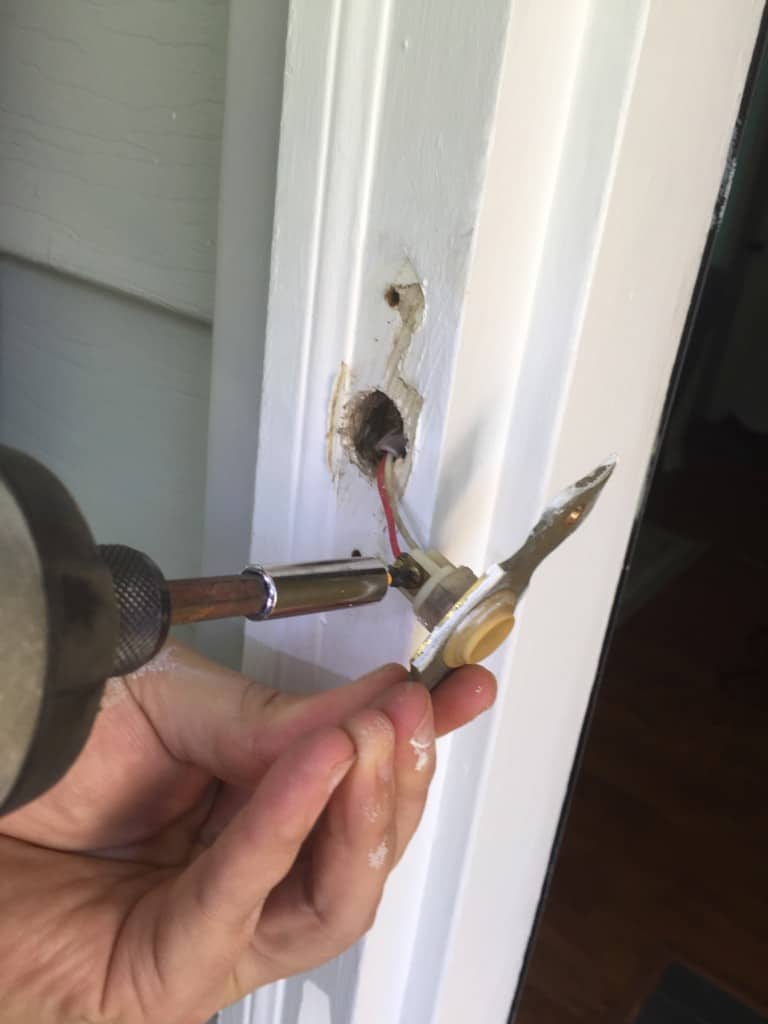
- Disconnect the wires from your old doorbell.
- While the doorbell is removed, take this opportunity to patch and paint where the old doorbell used to be. You will regret it if you don’t do this step!! (We wired ours and left it dangling while I painted and patched it.)
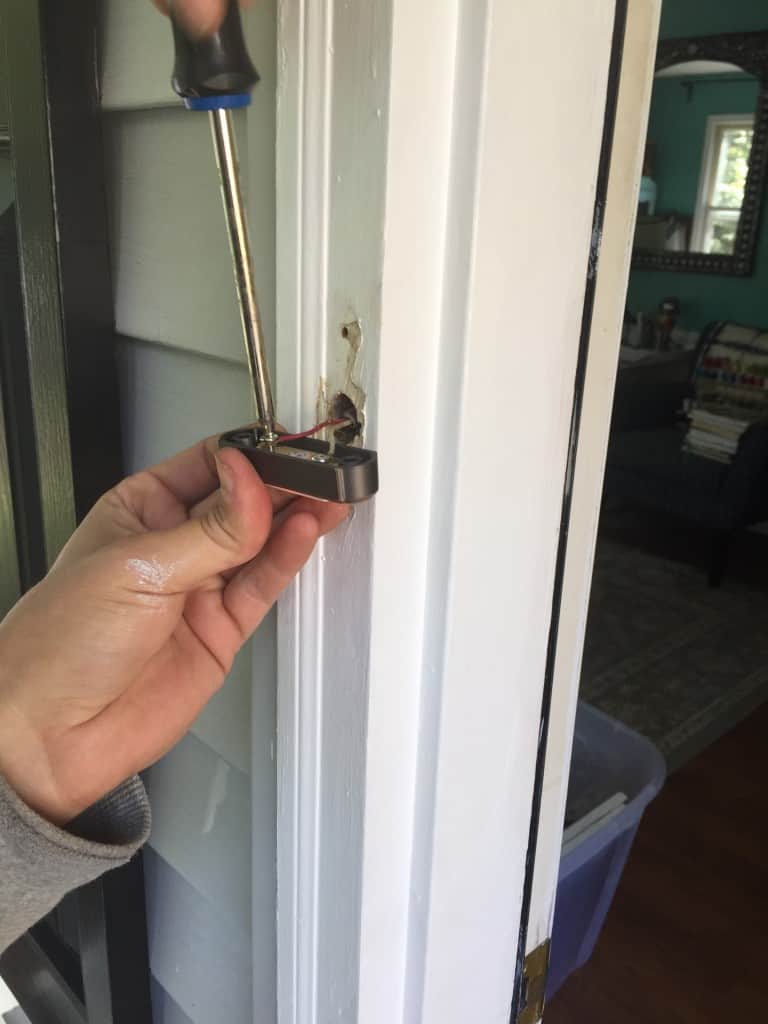
- Once your paint has dried, it’s time to connect the new doorbell. Attach the wires to the screws. All doorbell wiring might be different, so I can only explain what we did. If you have any questions, contact a licensed electrician for help. We had one red wire and one white wire. Our doorbell had 2 silver screws, but one had a plus sign (+) sticker next to it. We attached the white wire to the plain screw and the red wire to the (+) screw. Red is hot, white is neutral.
- Before you screw the doorbell back in, turn the power back on and test it.
- Screw the doorbell in. Now you know how to install a doorbell button.

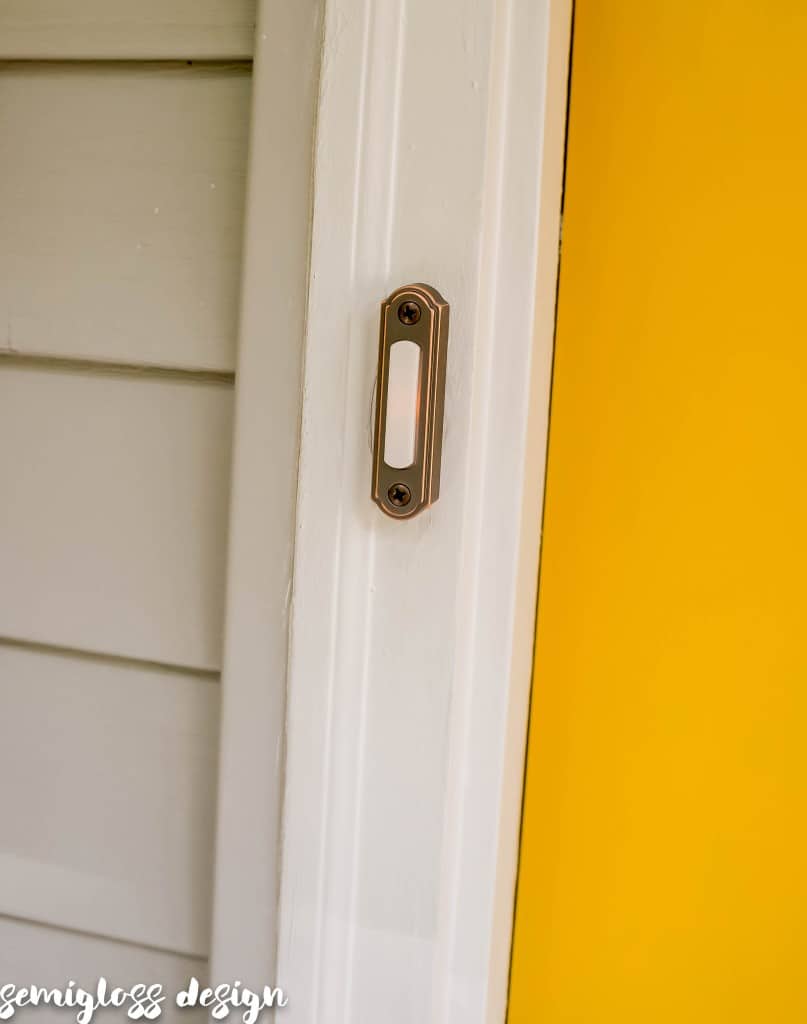
The new doorbell button looks so much nicer! It lights up at night, which is a nice surprise as well.
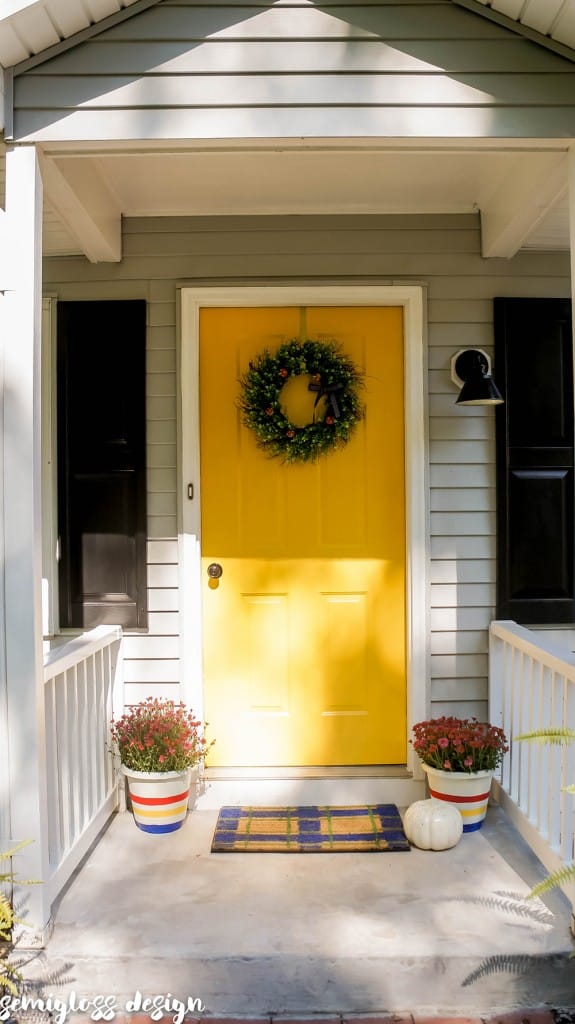
Little things really do make a difference!
Other Posts about Curb Appeal:
- Paint a Front Door
- Paint Vinyl Shutters
- Plaid Painted Doormat
- Mushroom Wreath
- DIY Exterior Farmhouse Light
Pin for Later!

Emy is a vintage obsessed mama of 2 DIYer who loves sharing affordable solutions for common home problems. You don’t need a giant budget to create a lovely home. Read more…