
xTool O1 Omni Review
After experimenting with the xTool O1 Omni for a few months, I’m sharing my review of this UV printer. Learn more about what I love and what I don’t love about this all-in-one printer.
This post contains affiliate links. By purchasing an item through an affiliate link, I earn a small commission at no extra cost to you. As an Amazon Associate I earn from qualifying purchases.
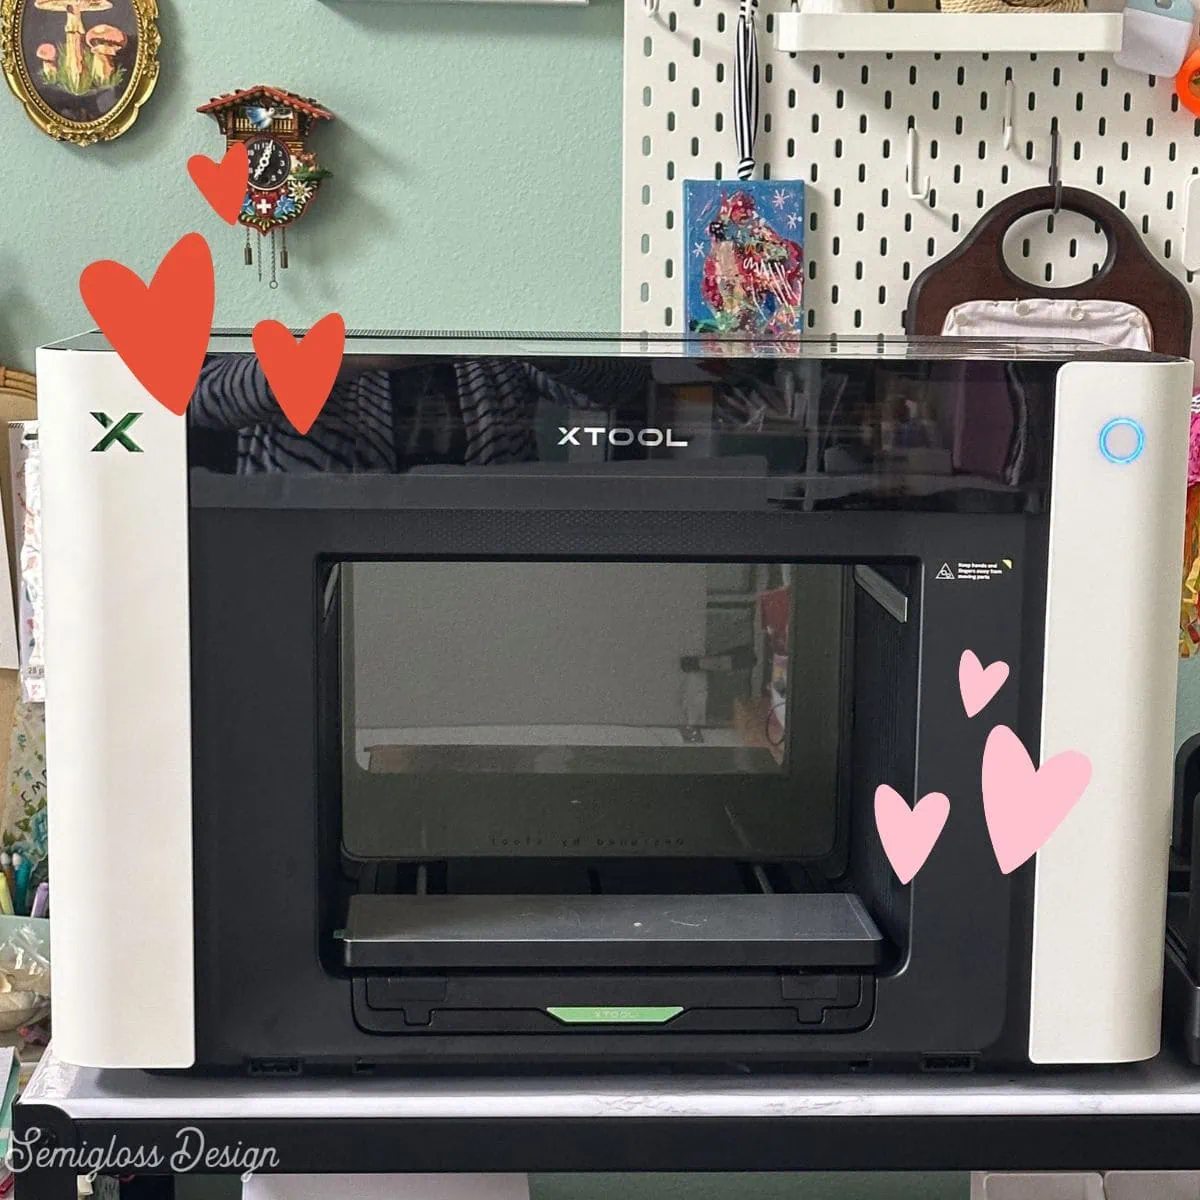
xTool sent me the xTool O1 Omni to review. All opinions are my own.
I’ve been playing with the xTool O1 Omni printer for a few months now because I wanted to use it for a while before I wrote my review.
By the way, when they first send out machines to influencers, we get almost a Beta version of the software. So it can be rocky at first. The software is buggy, and that’s to be expected with a new machine. So if I don’t mention buggy software and you’ve seen it mentioned somewhere else, it’s probably been fixed already.
In the time that I’ve had my O1 Omni, I’ve seen a lot of changes, and I’m so pleased with the current software version. I’ve honestly never seen a company actually listen to its users and fix the confusing wording or parts. But the xTool team has been listening, and it’s so impressive.
It makes me feel like they really care about making good quality machines for crafters.
Enough of my love for xTool. Let’s talk about the machine.
Spoiler alert: I love it. I want to use it all the time, especially with my laser cutter.
All About the xTool O1 Omni UV and DT Printer
If you’re reading this, you might already know a little about the O1 Omni.
If not, here’s a quick overview. It’s an all-in-one UV printer that cures with UV light, creating a waterproof, lightfast image.
I tested the lightfastness, and no changes have occurred after 2 months of direct sun in Florida. That’s pretty impressive.
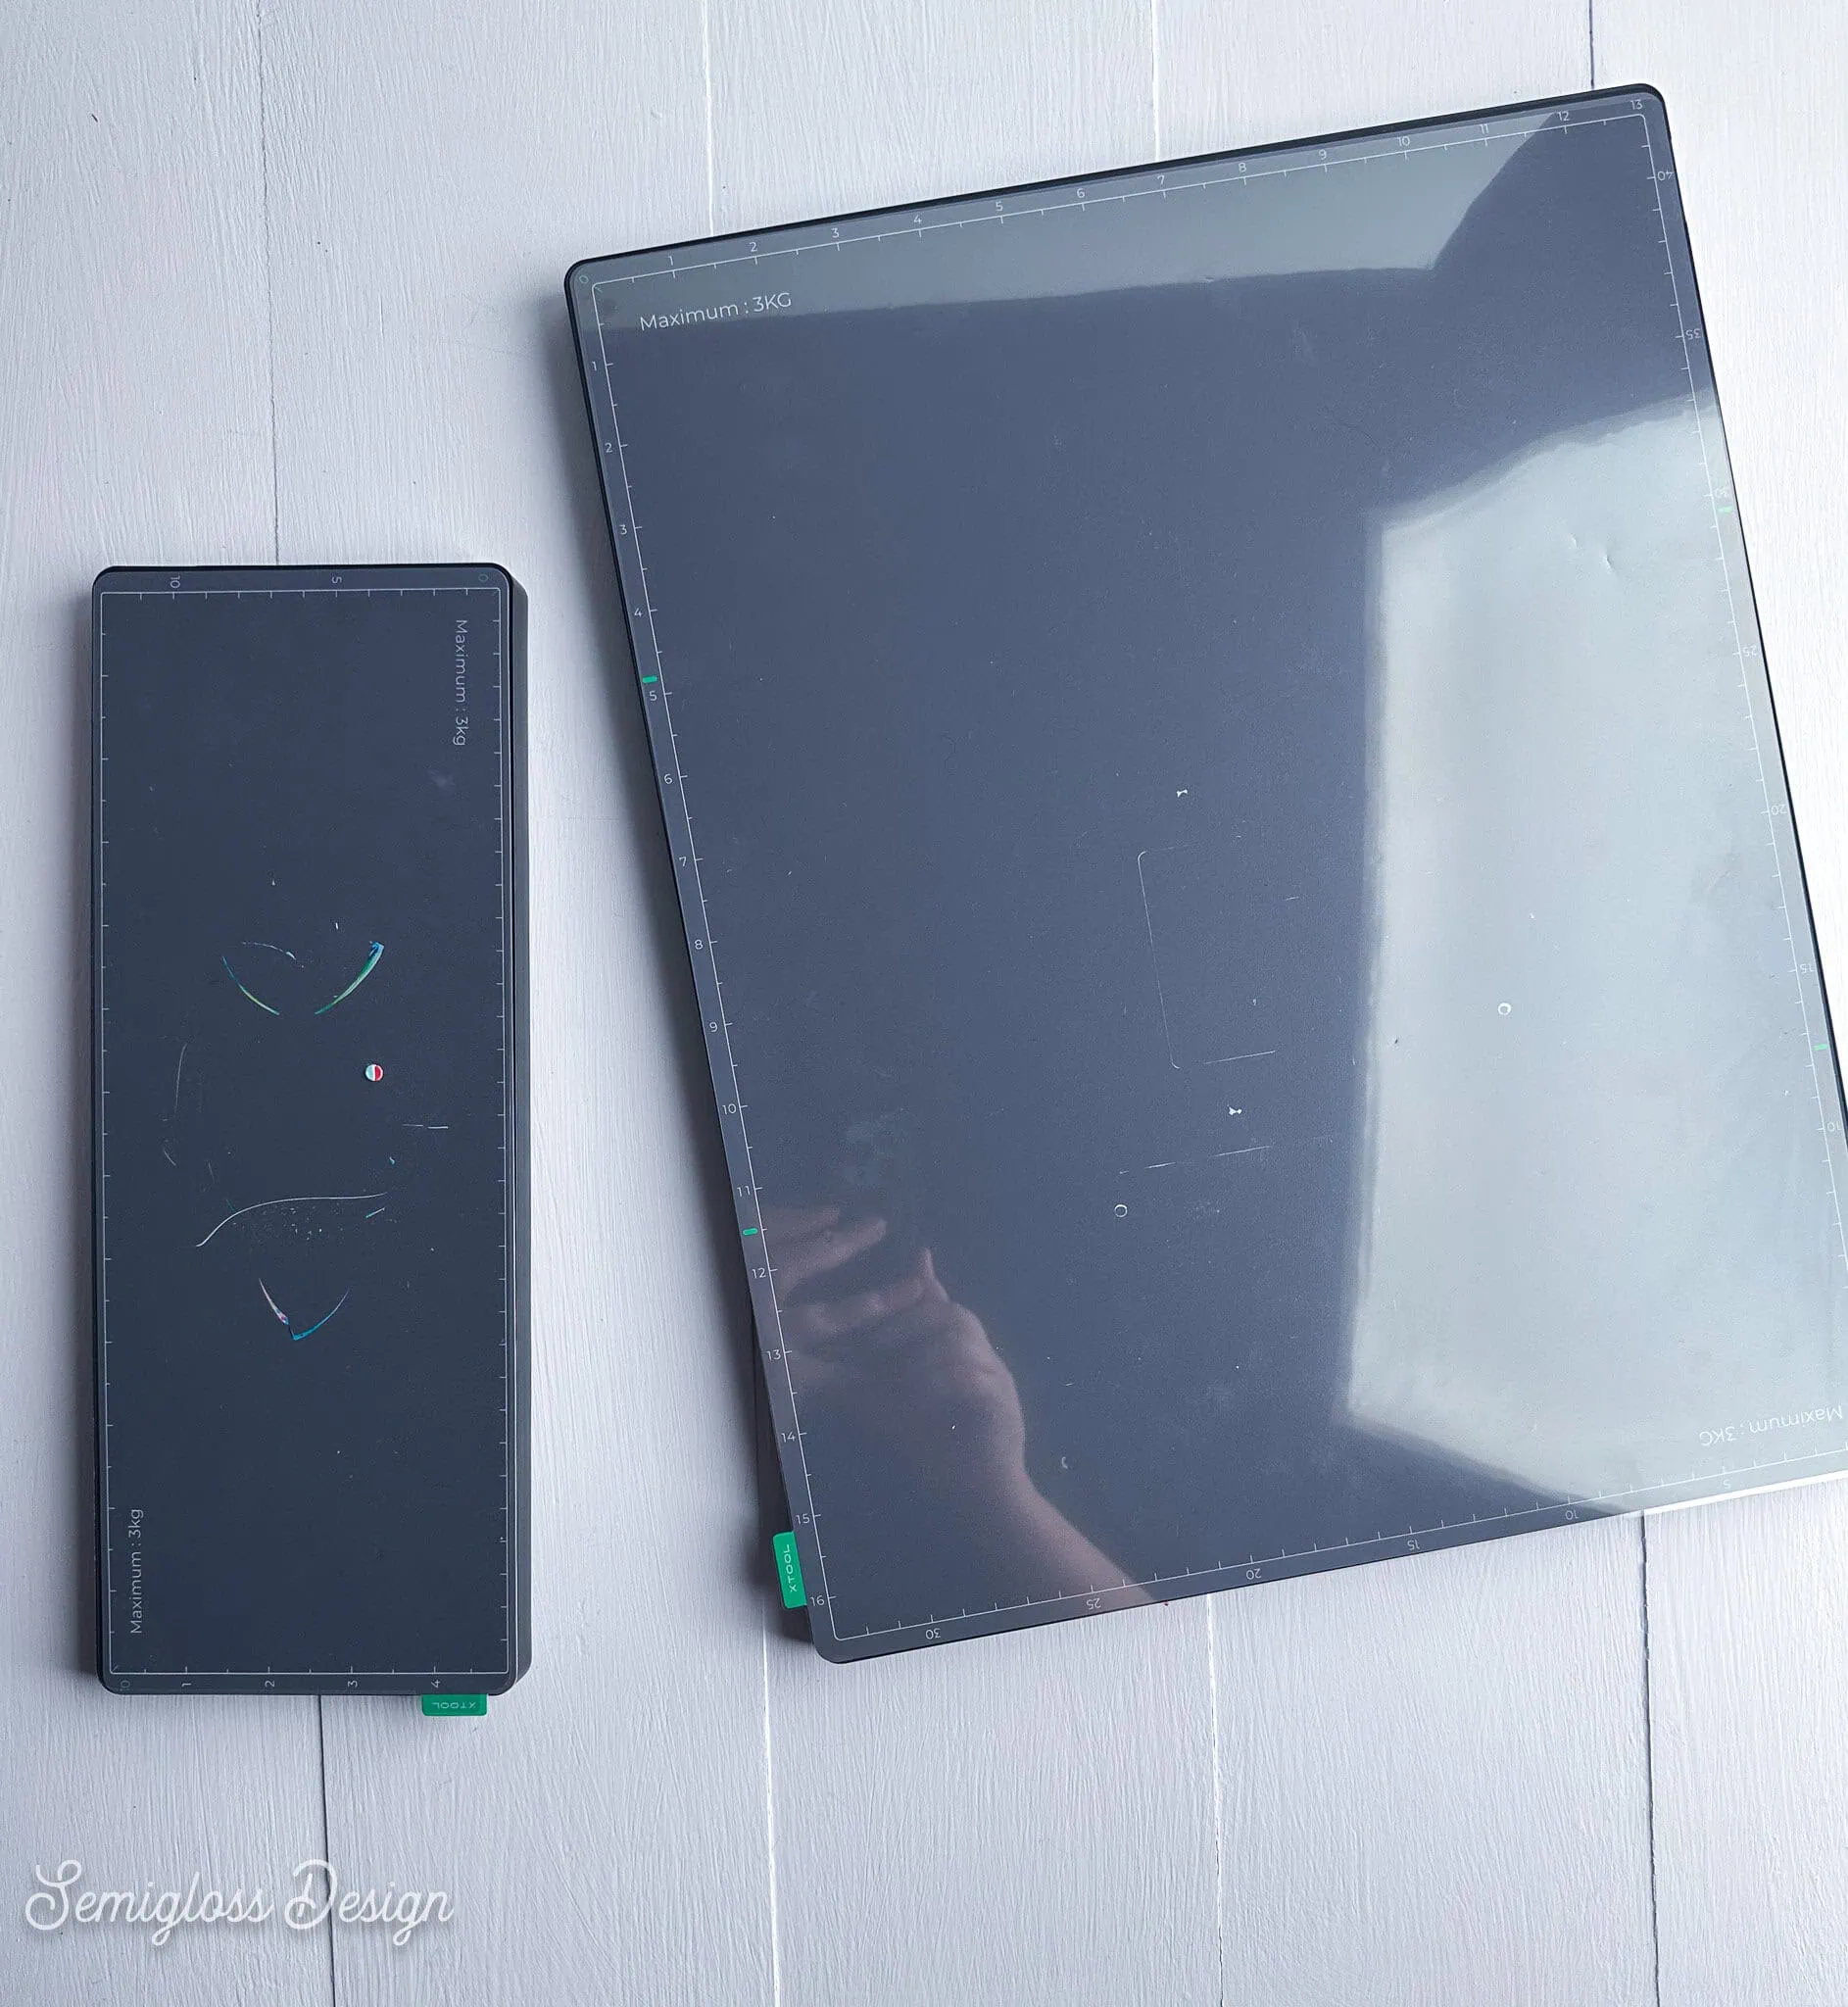
It has two baseplates. The small one is 13 x 4.8″, and the large one is 13 x 16.5″. This lets you print large images. The print resolution is 720 x 1440 DPI.
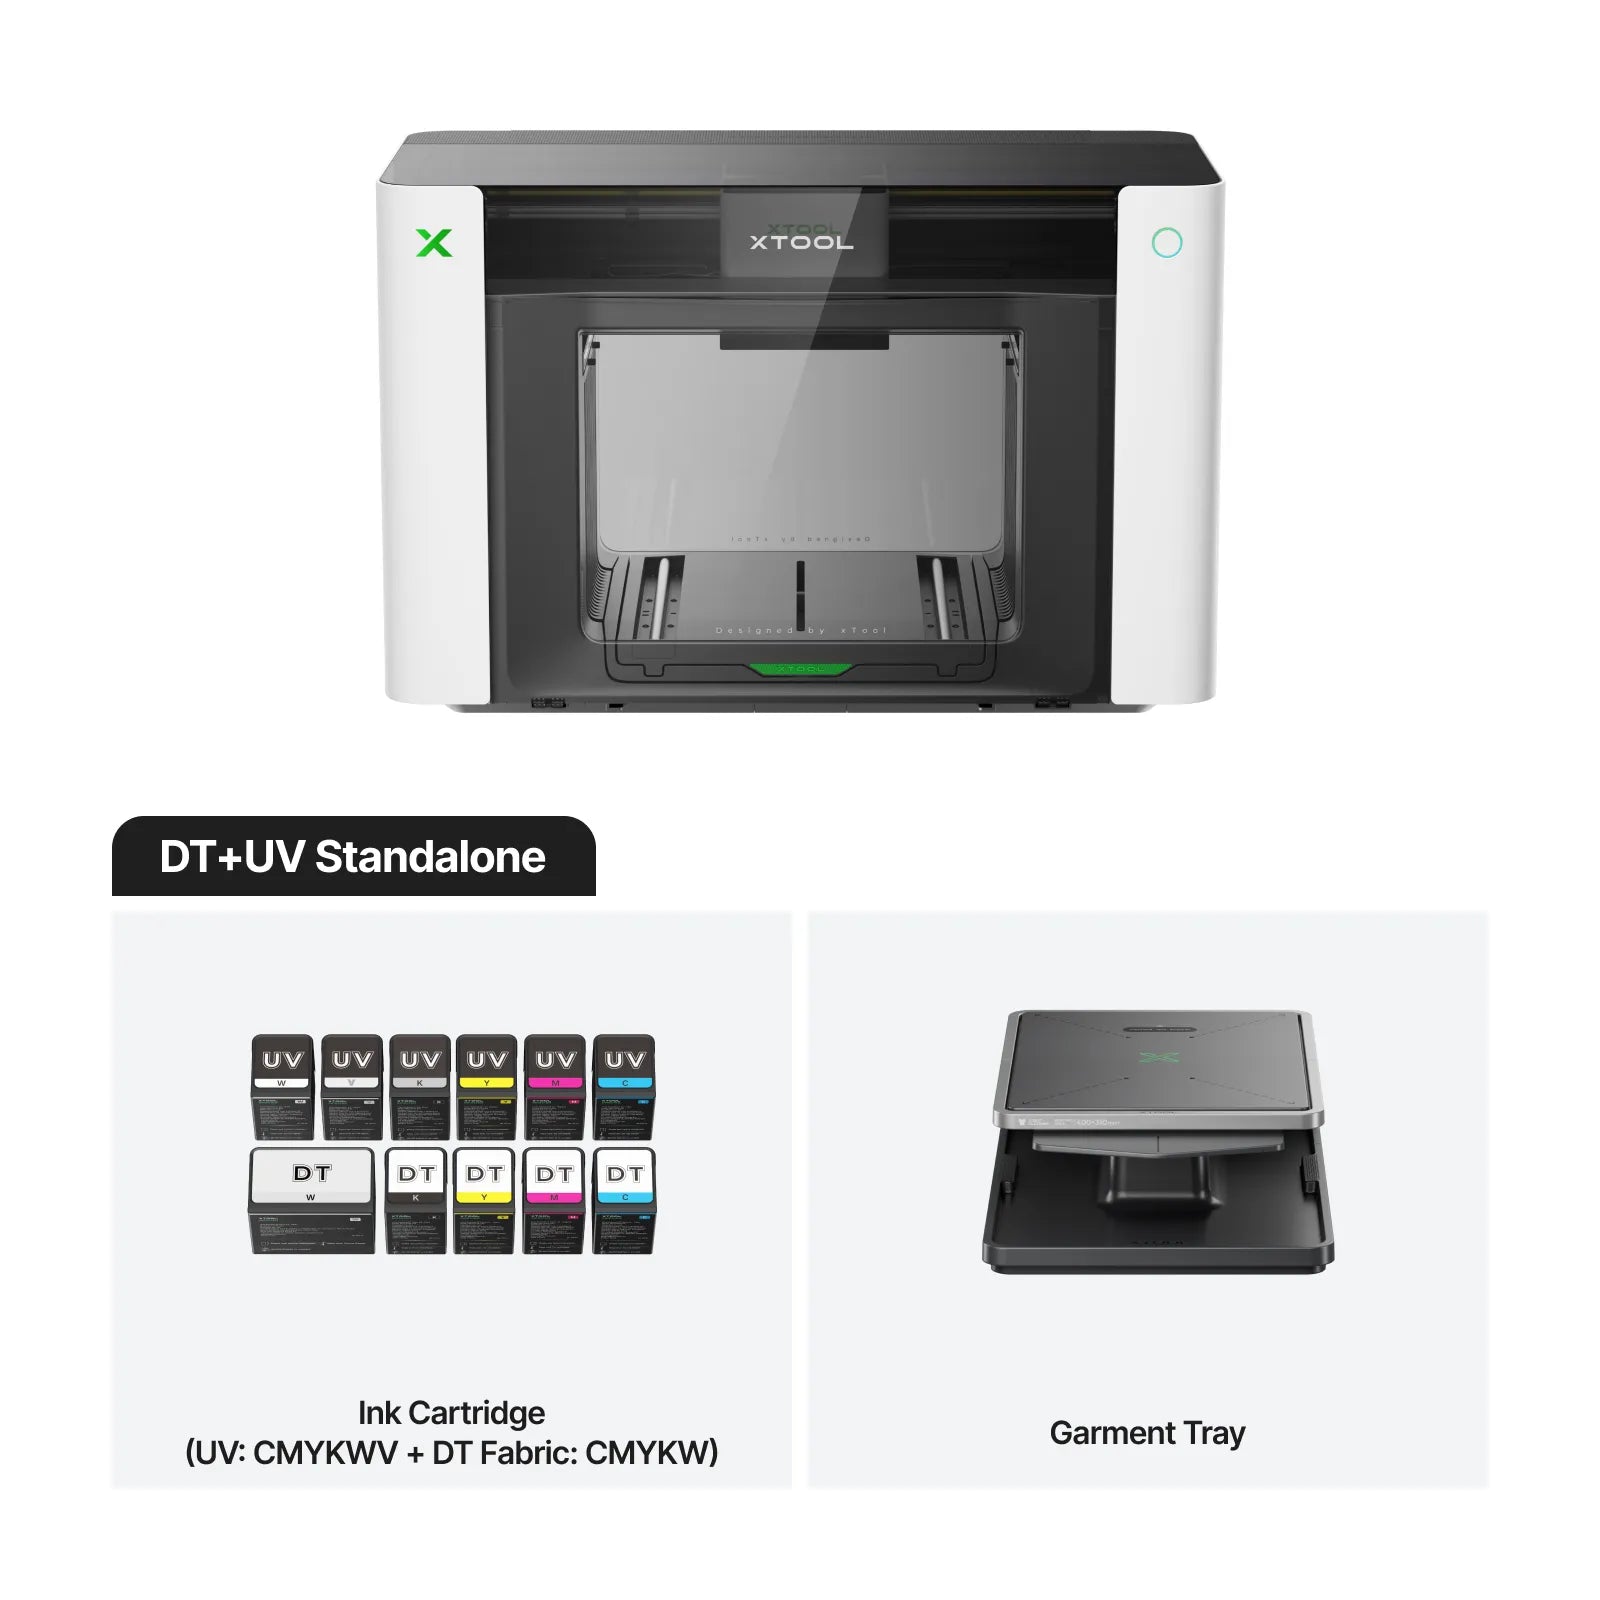
There are 3 different versions. The Single UV printer uses UV ink to print on hard surfaces (like magnets). The Dual UV version includes neon ink and flexible white to print on flexible surfaces. The DT+UV version prints on hard surfaces and fabric, and also uses DTF ink to make DTF transfers.
I have the DT+UV version because I wanted to print on ALL THE THINGS. And I have. It has been so much fun experimenting!
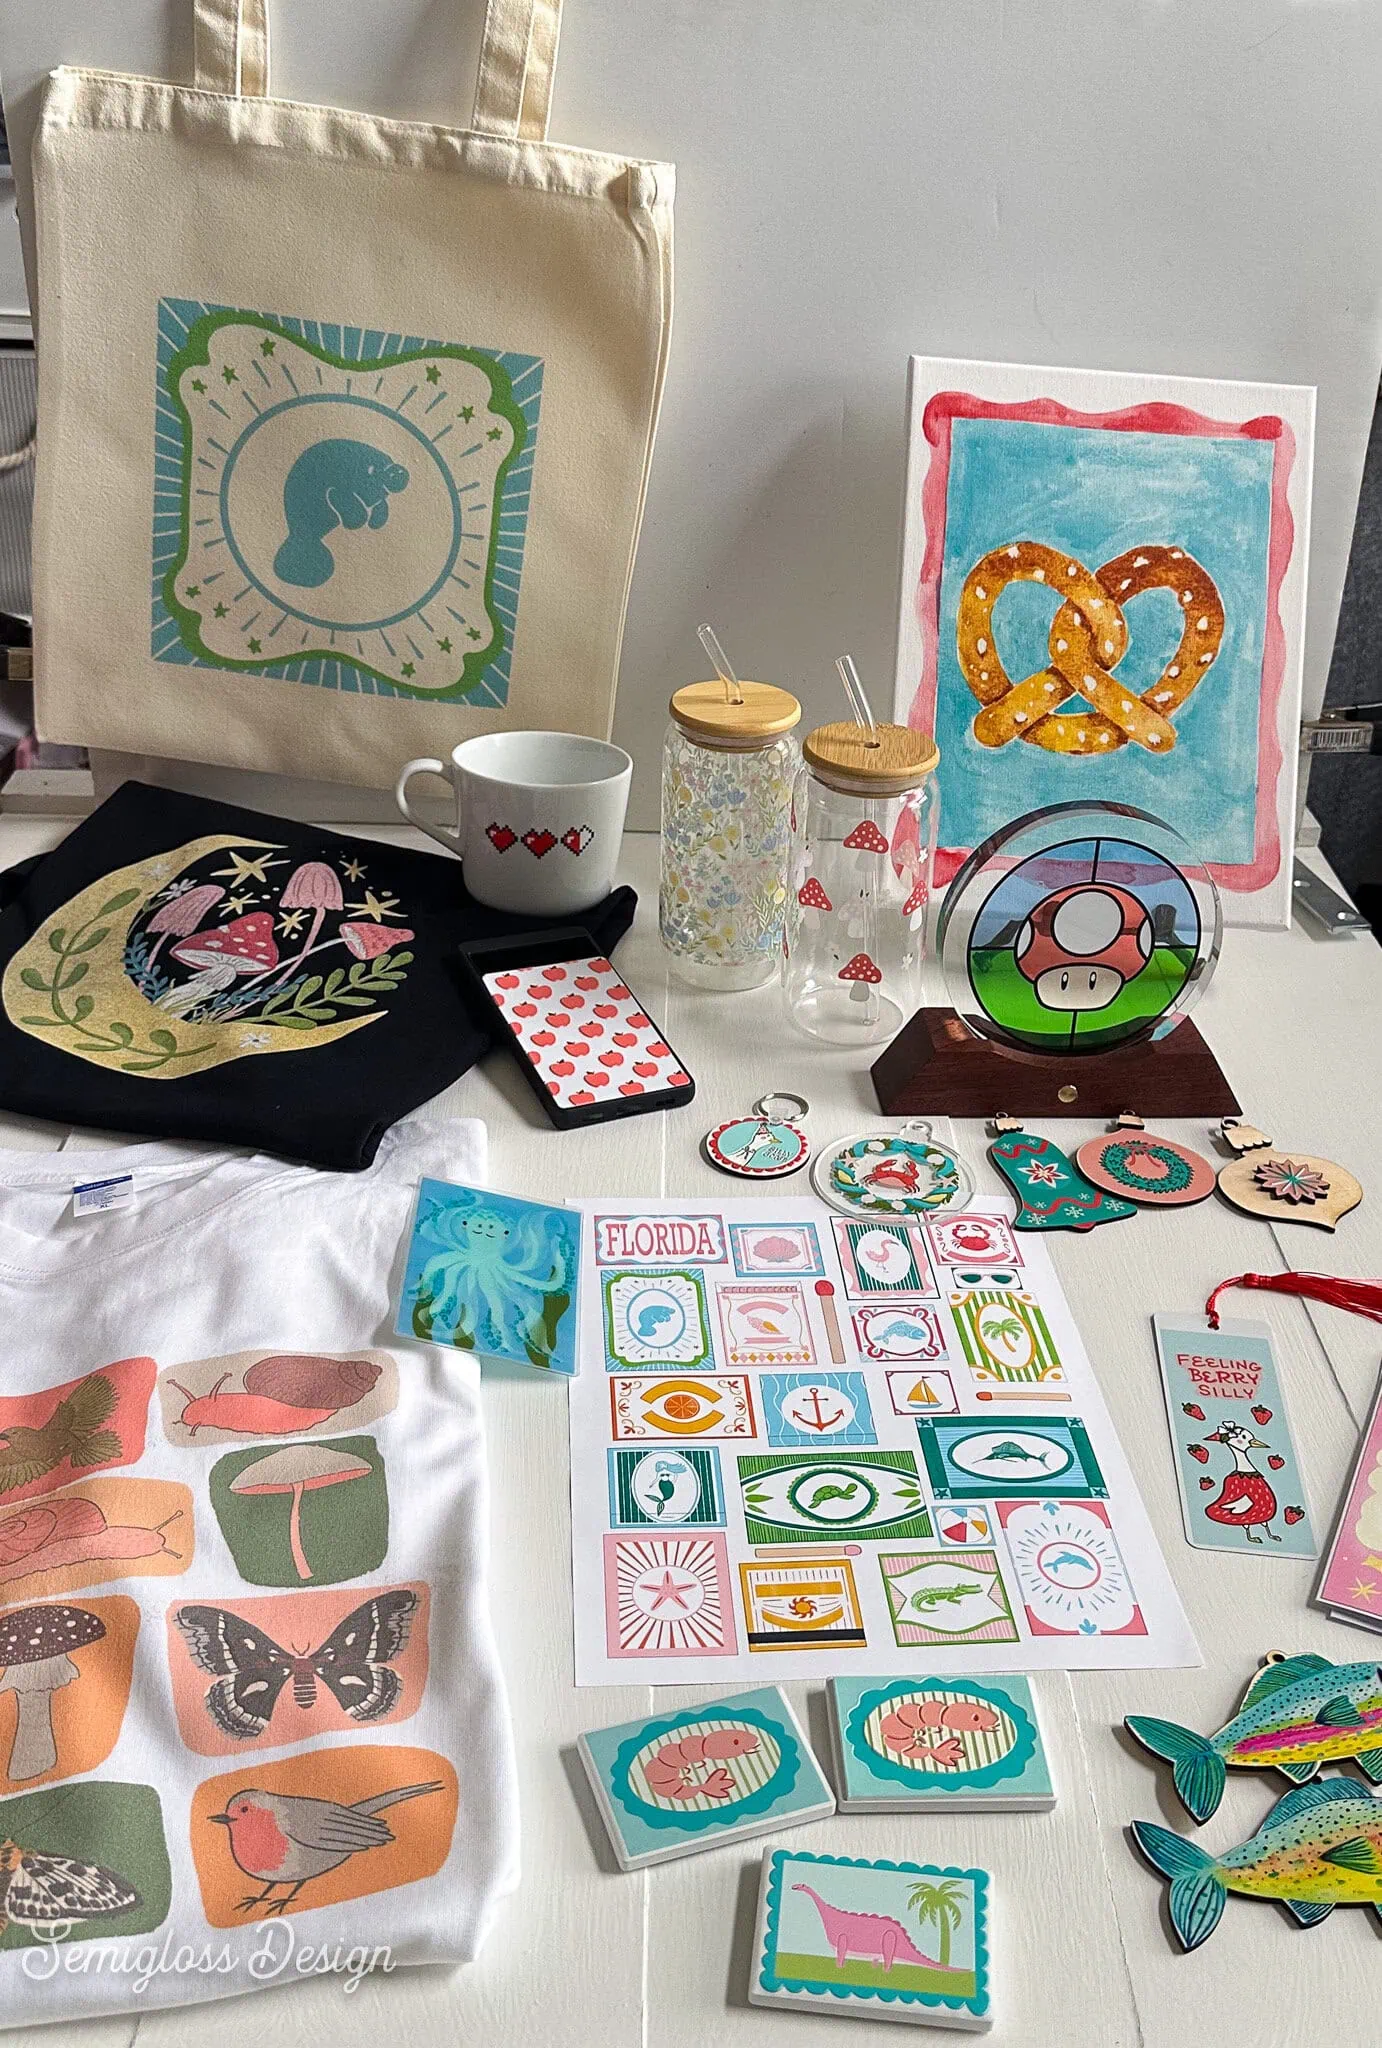
Every single thing I’ve printed has made me squeal with delight, run around, and show my family each new creation. I feel so much glee using this machine to create items with my art.
Setting Up the xTool O1 Omni
When I first received the O1 Omni, I was a bit intimidated because it’s a large machine, and the videos I watched emphasized how long setup took.
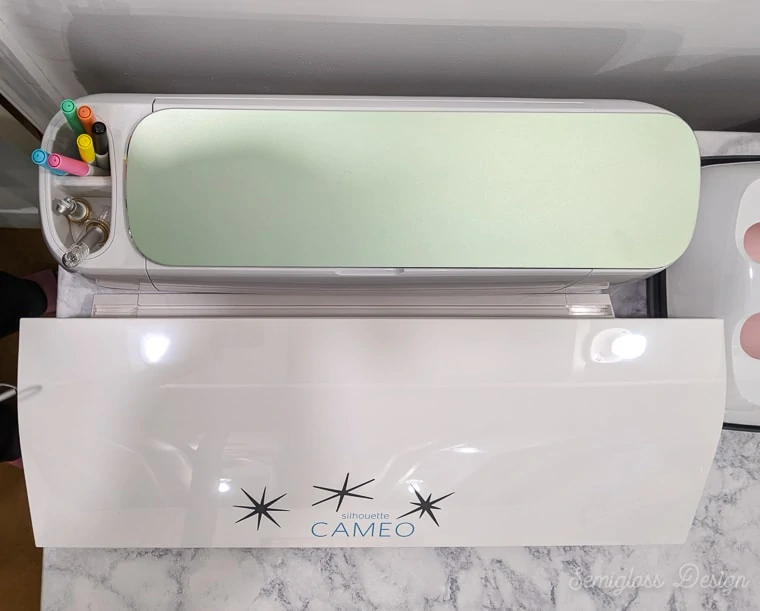
By the way, this machine is big. And weighs 90 lbs. So you need a sturdy table for it to sit on. It also needs room in the back for the large baseplate to move. If you plan to use the roll feeder with the machine, you need an additional 10 inches in front of it.
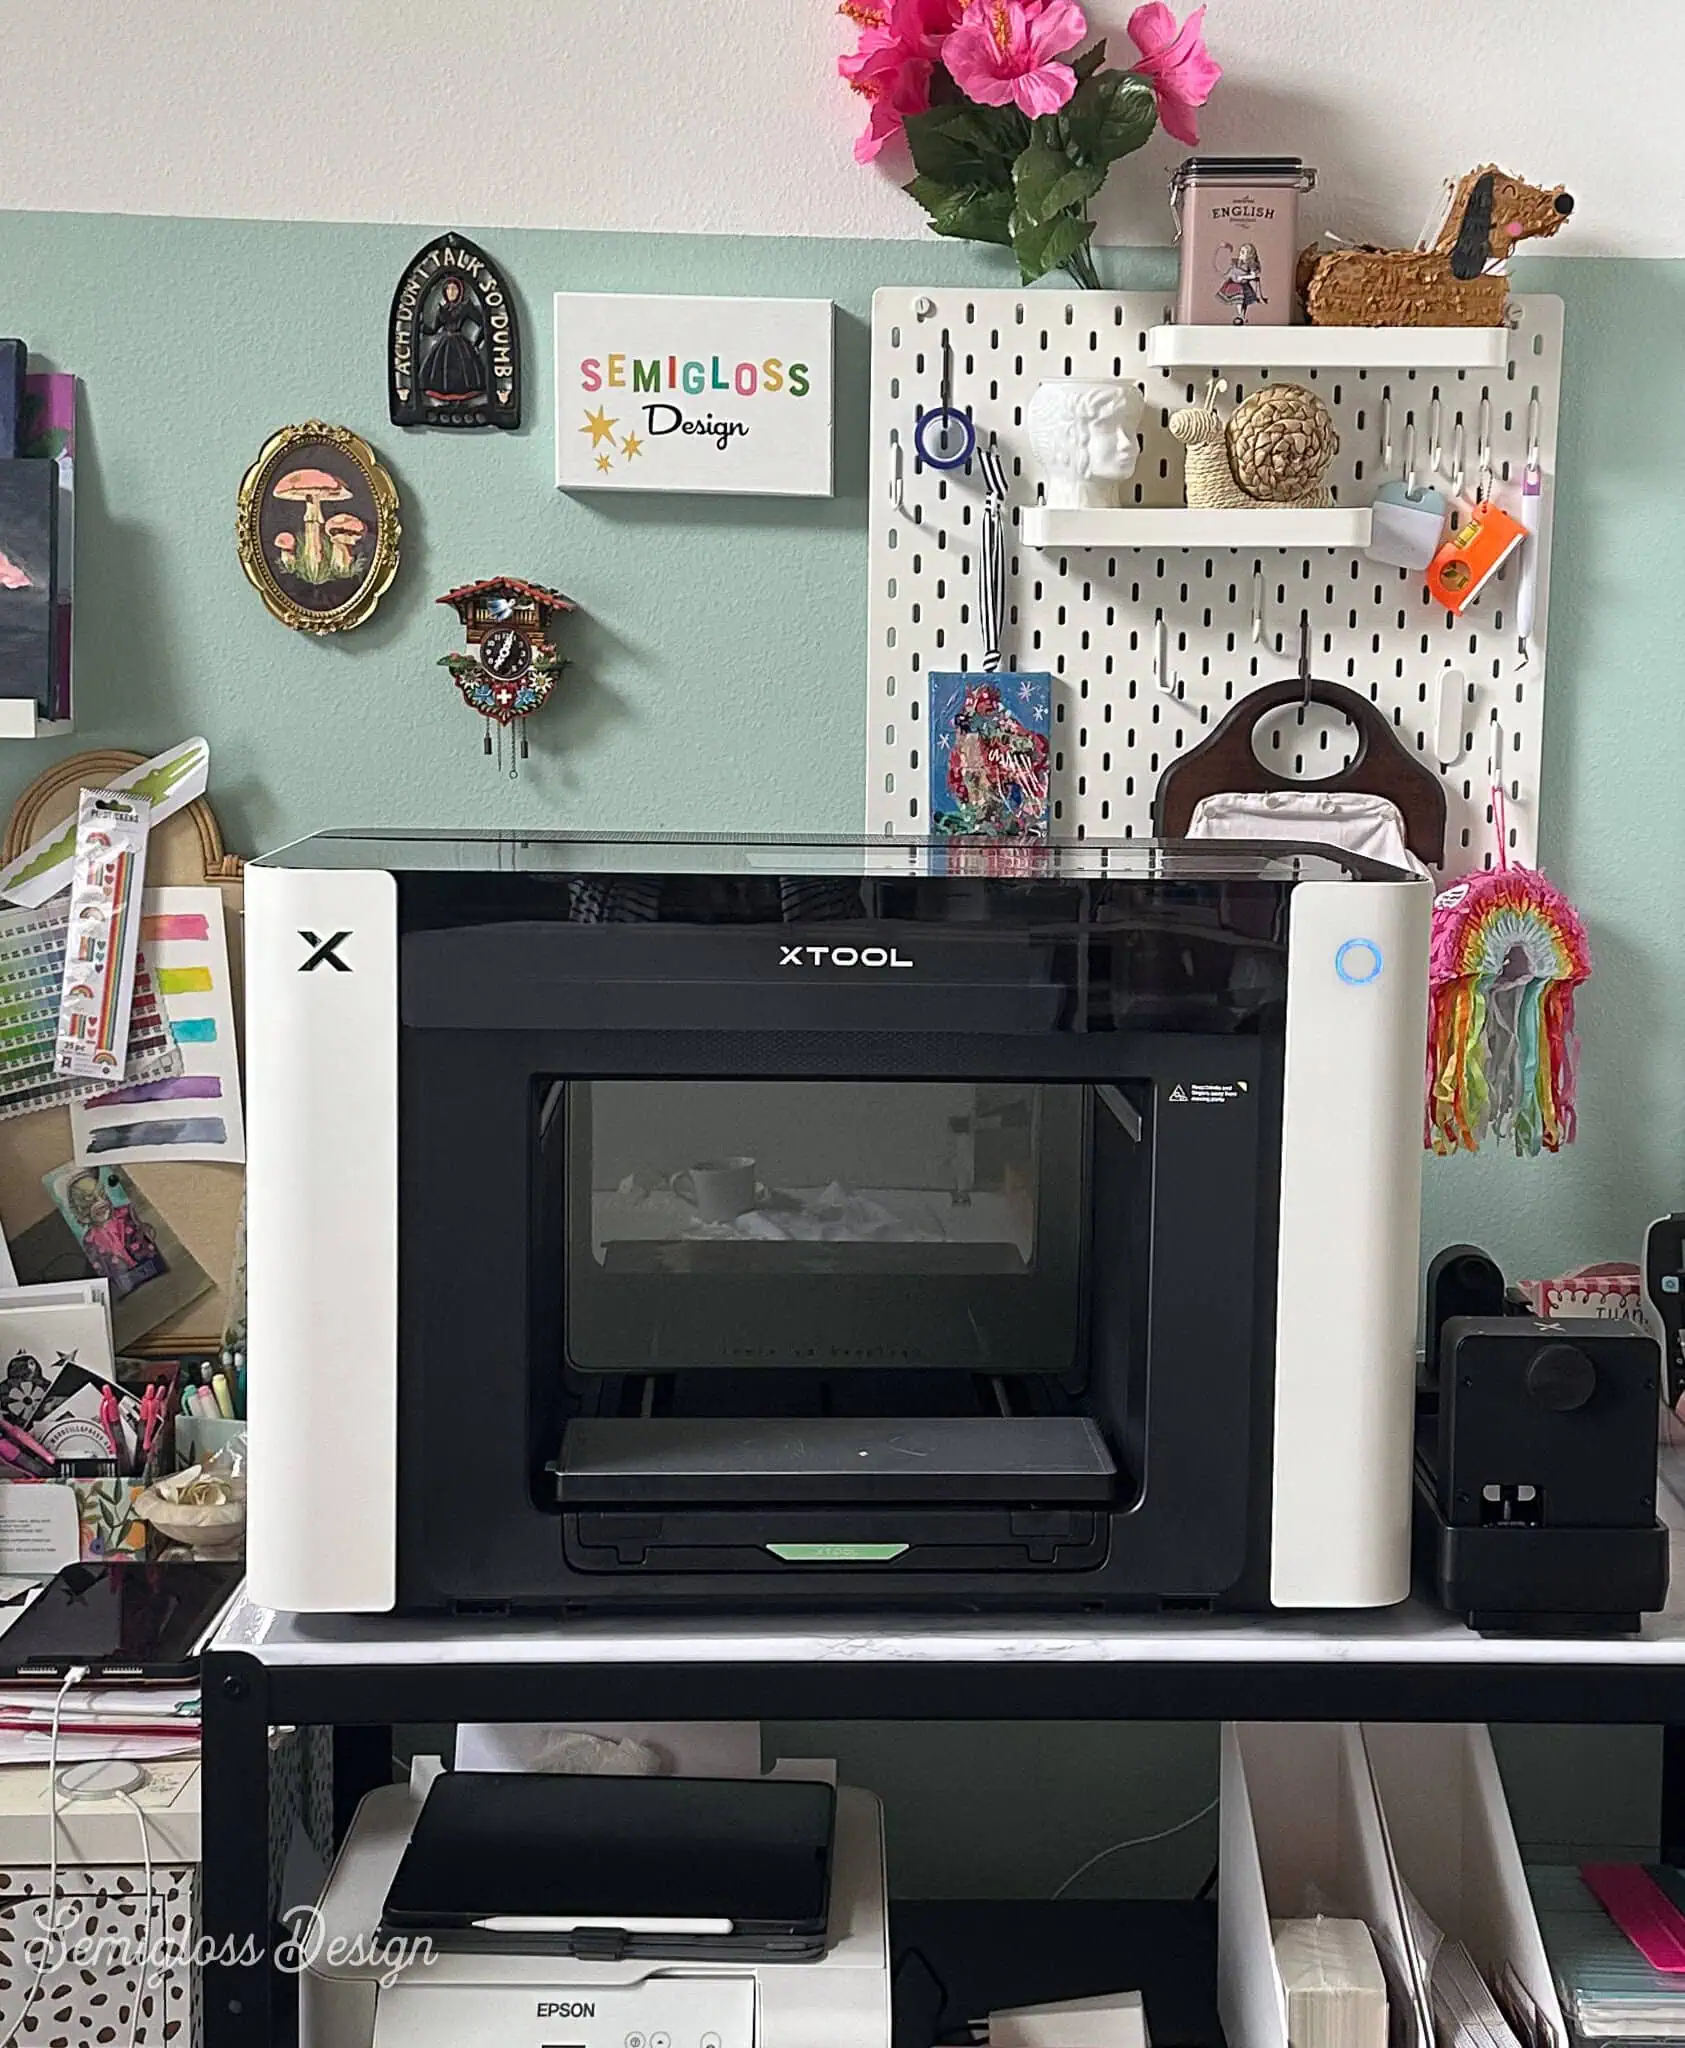
Early videos said that you needed to close the doors for certain projects, but I haven’t found that to be the case. You can remove them, and it gives you a bit more space to work. They snap on with magnets, so if I ever need to replace them, I can.
Setup was pretty easy. It took about 1.5 hours to fill everything and calibrate it. An hour and a half is a long time, but it never felt difficult. There are videos to walk you through every step.
These videos made me feel more at ease, and I go back to them anytime I have an issue. It’s always fixed by recalibrating and cleaning the machine. (This only happens when I print a LOT of things in one day, though.)
Using the O1 Omni
Using the O1 Omni for projects is pretty easy.
I really love the software. xTool Studio is so easy to use and has a lot of features that I haven’t even touched yet. I like that the same software is used for every xTool machine.
xTool Studio has AI features, but it’s unobtrusive if you are against it. If you’re not, you can use credits to purchase designs and generate special techniques.
I use my own art, so I haven’t found it necessary. But they also have a user-based section of designs. You can upload your designs and earn money, which is nice, especially for the laser designs, since they take a bit more knowledge to produce.
Using the machine is pretty nice. It’s not too loud, and I find the sound of it almost relaxing. It beeped a lot at first, which really upset my poor dog. But there’s an easy way to turn it off.
Some of the prints can take a long time, but it’s always worth it when you see the results. Textures and multiple coats take the longest.
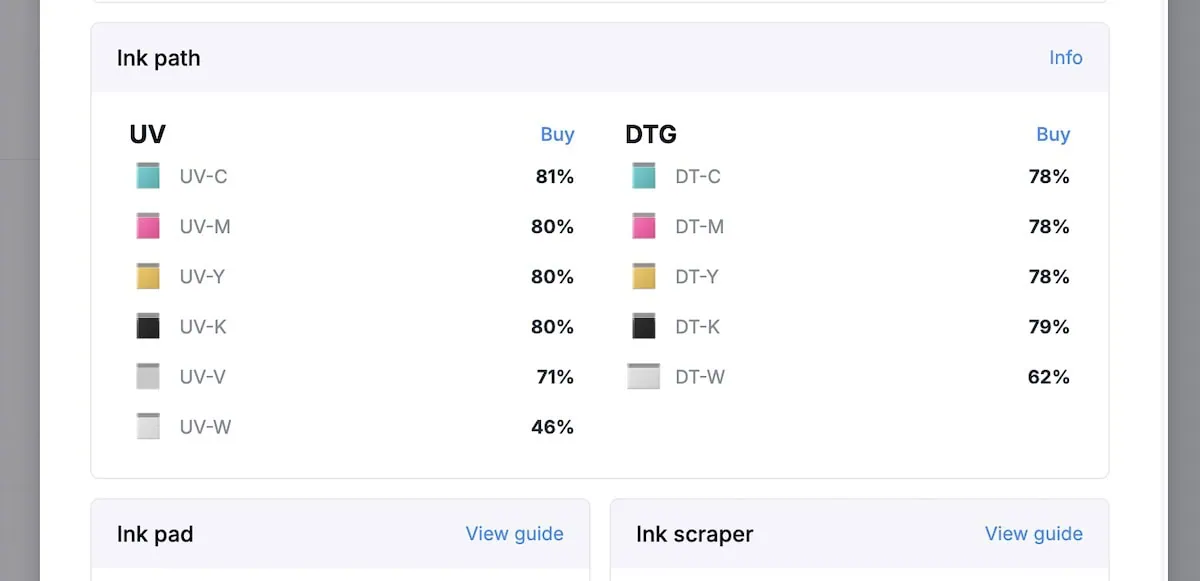
The printer needs to stay plugged in so that the ink can circulate. Every few hours or so, it makes a quiet whirring sound as it moves the ink.
Unlike my laser, it needs to live in a climate-controlled room. I was initially concerned about the printing smell, but I haven’t found it to be an issue. Granted, I’m working in a room with vaulted ceilings, but the smell isn’t particularly noticeable unless you’re adding a lot of texture to an item. And then it just smells a bit plasticky.
After printing all the things, I haven’t even used that much ink. The white seems to be used up the fastest, which is what is used to create textures, so I get that.
Using the xTool Accessories
xTool also sent me the L1 laminator and feed roller and OR1 rotary accessory.
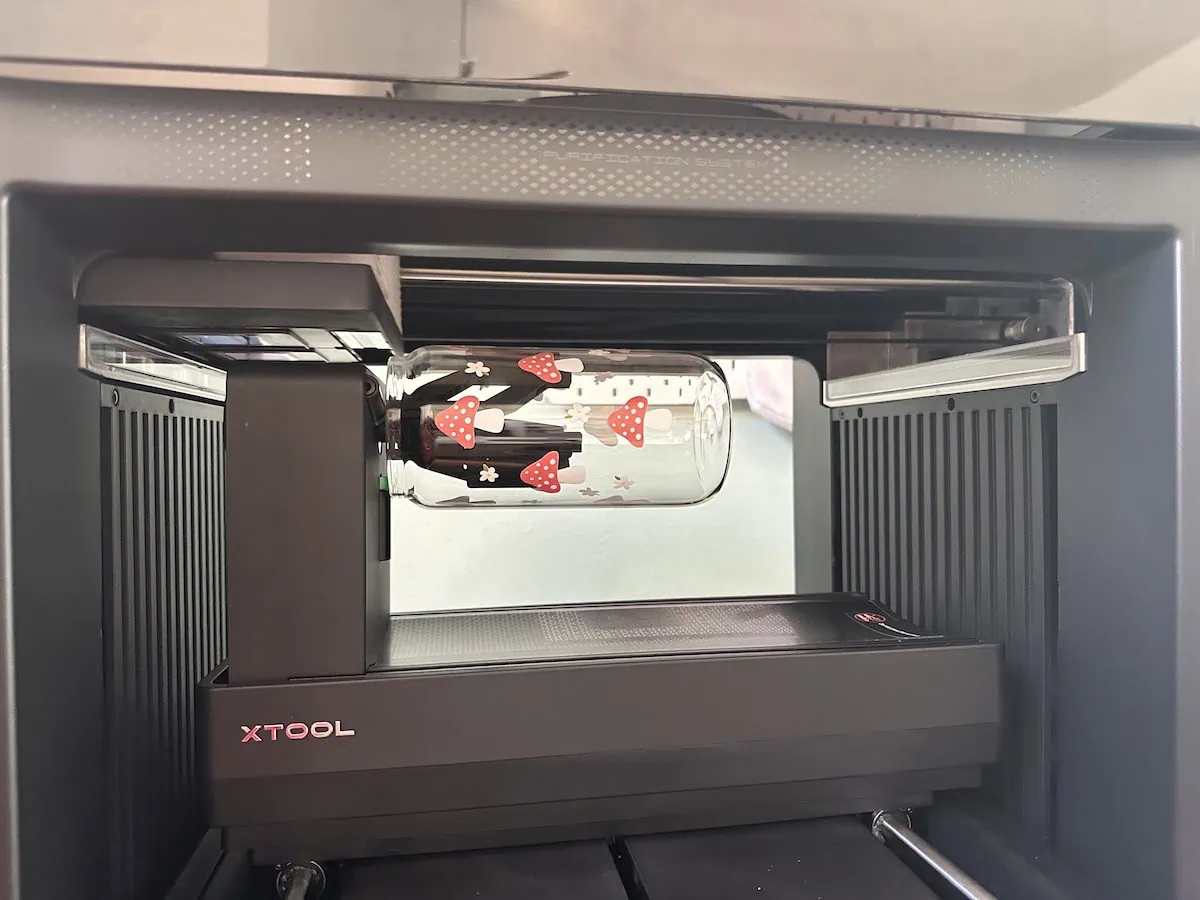
I used the rotary accessory to print a glass tumbler. I found it easy to use, but lining up the design for a seamless pattern was tricky. It was probably due to user error, though.
I’ve used the L1 Laminator to make DTF transfer stickers and decals, and it’s pretty easy to use.
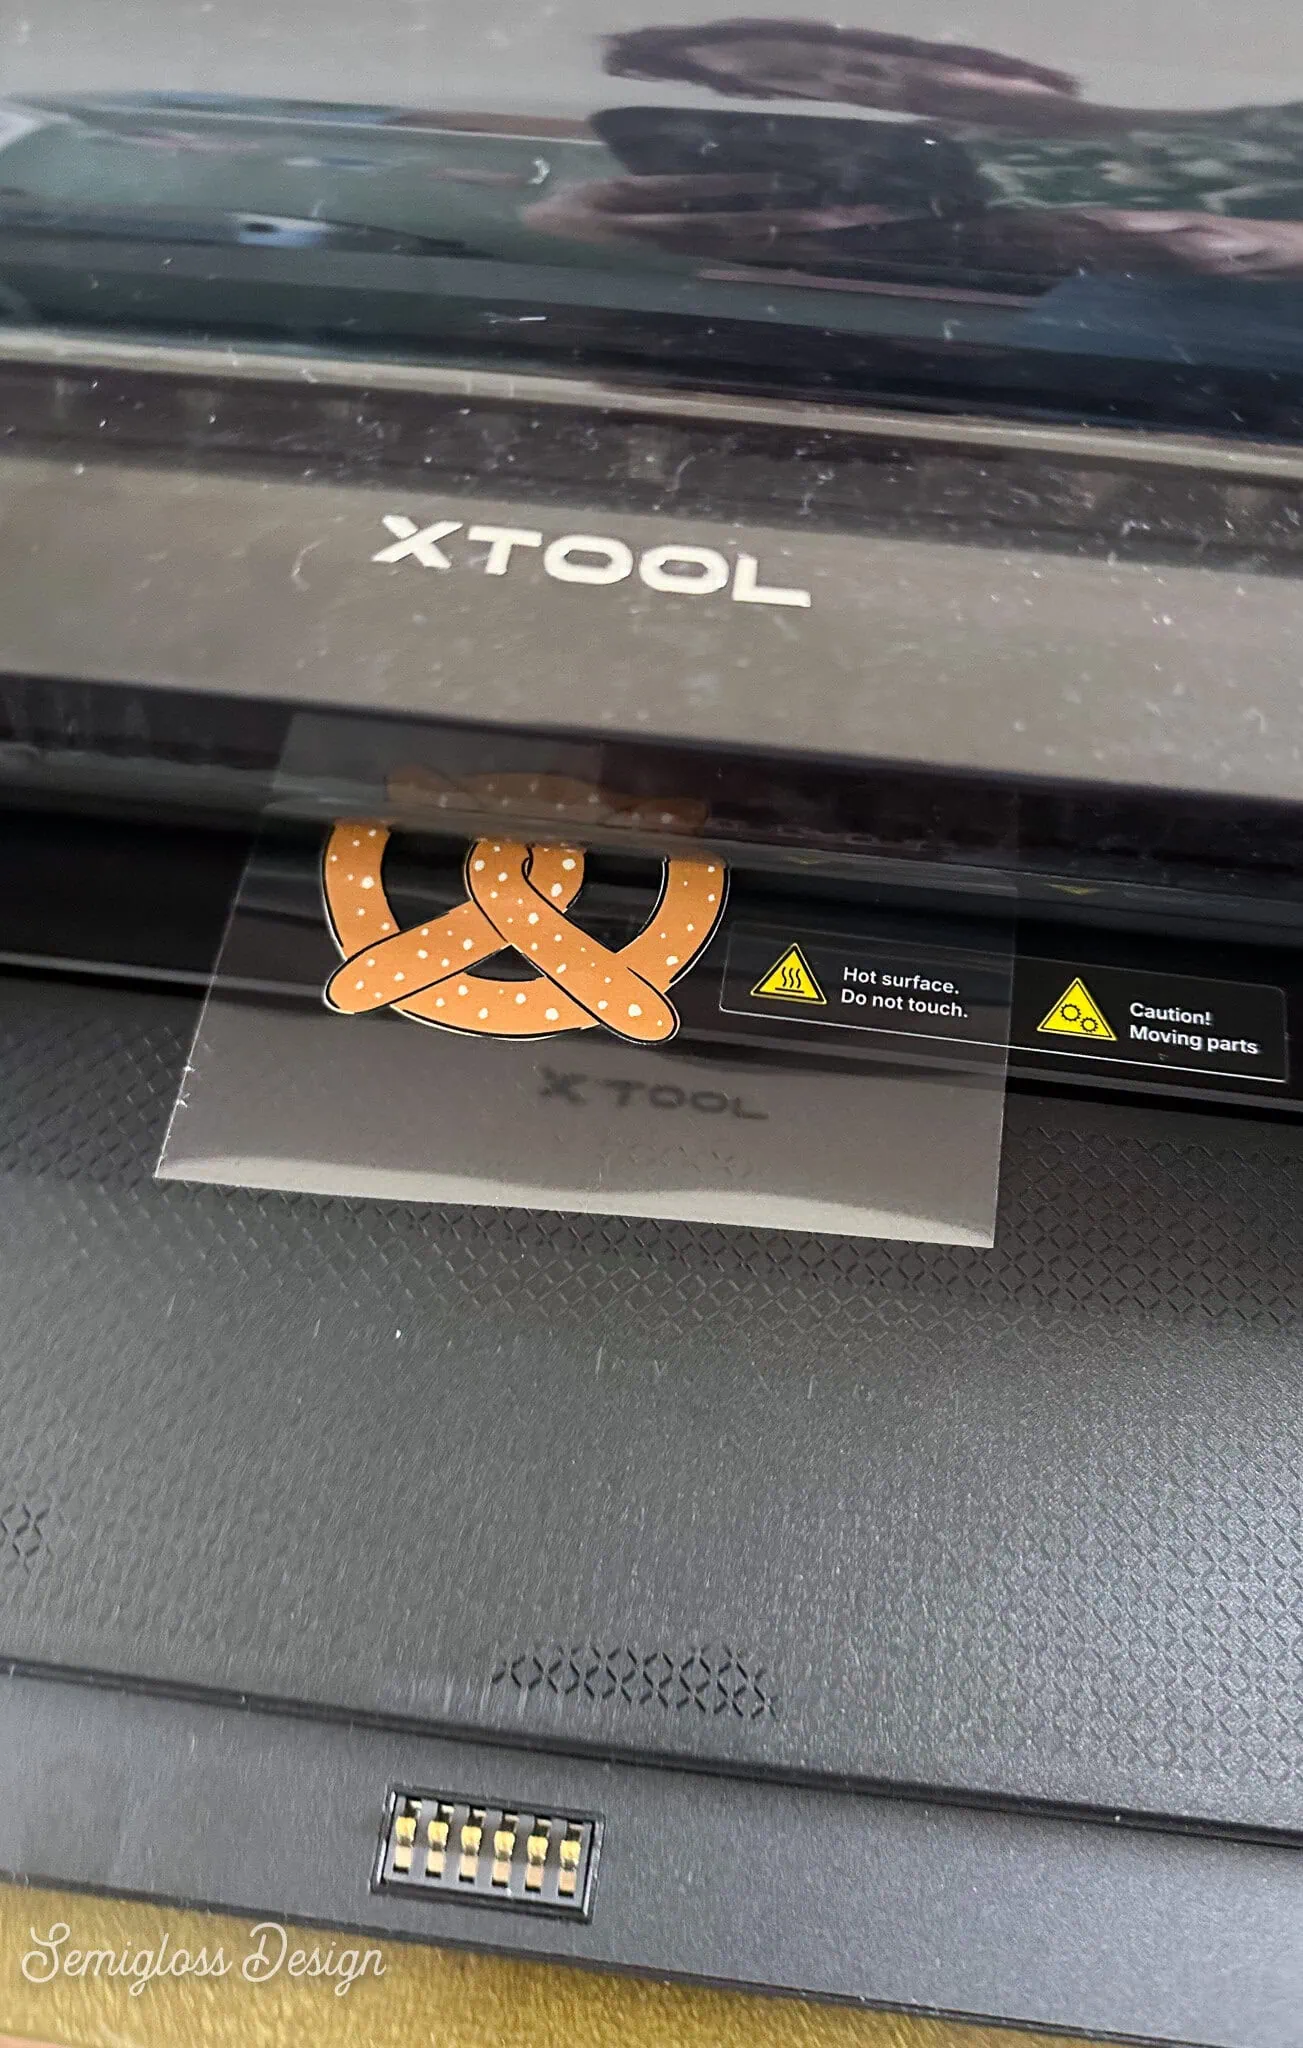
I had an issue where the laminate film got stuck, but it was easy to clear by increasing the feed depth and pulling the film through the front. Then I simply reloaded it.
The roller feed works with the laminator and is used to create long DTF sheets. It came with a roll of canvas for creating banners or long pieces of art. It’s still on my to-do list.
I’m still waiting to try the foil. I’ve tried it with other brands and haven’t had much luck yet. I need to do a bit more testing. So far, it works better if you print the image with black ink and the varnish.
What Else You Need To Buy
What you need to buy will depend on what you want to make. It comes with 3 ceramic magnets to test on.
No matter what, you need blanks of the item you’re printing on. There are blanks for just about anything you can think of. Plus, you can just print on flat surfaces.
If you want to UV print T-shirts, you will need a heat press to set the ink.
For DTF decals and stickers, you need a laminator, A film, and B film (laminate).
To create DTF transfers for shirts, you will need transfer film, a heat press, DTF powder, and a curing oven. The WonderPress is a heat press and a curing oven, and it costs about as much as buying both separately, so save space and buy it instead.
I’ve also bought a box of disposable gloves for cleaning the sensor because it can be messy.
My Favorite Features
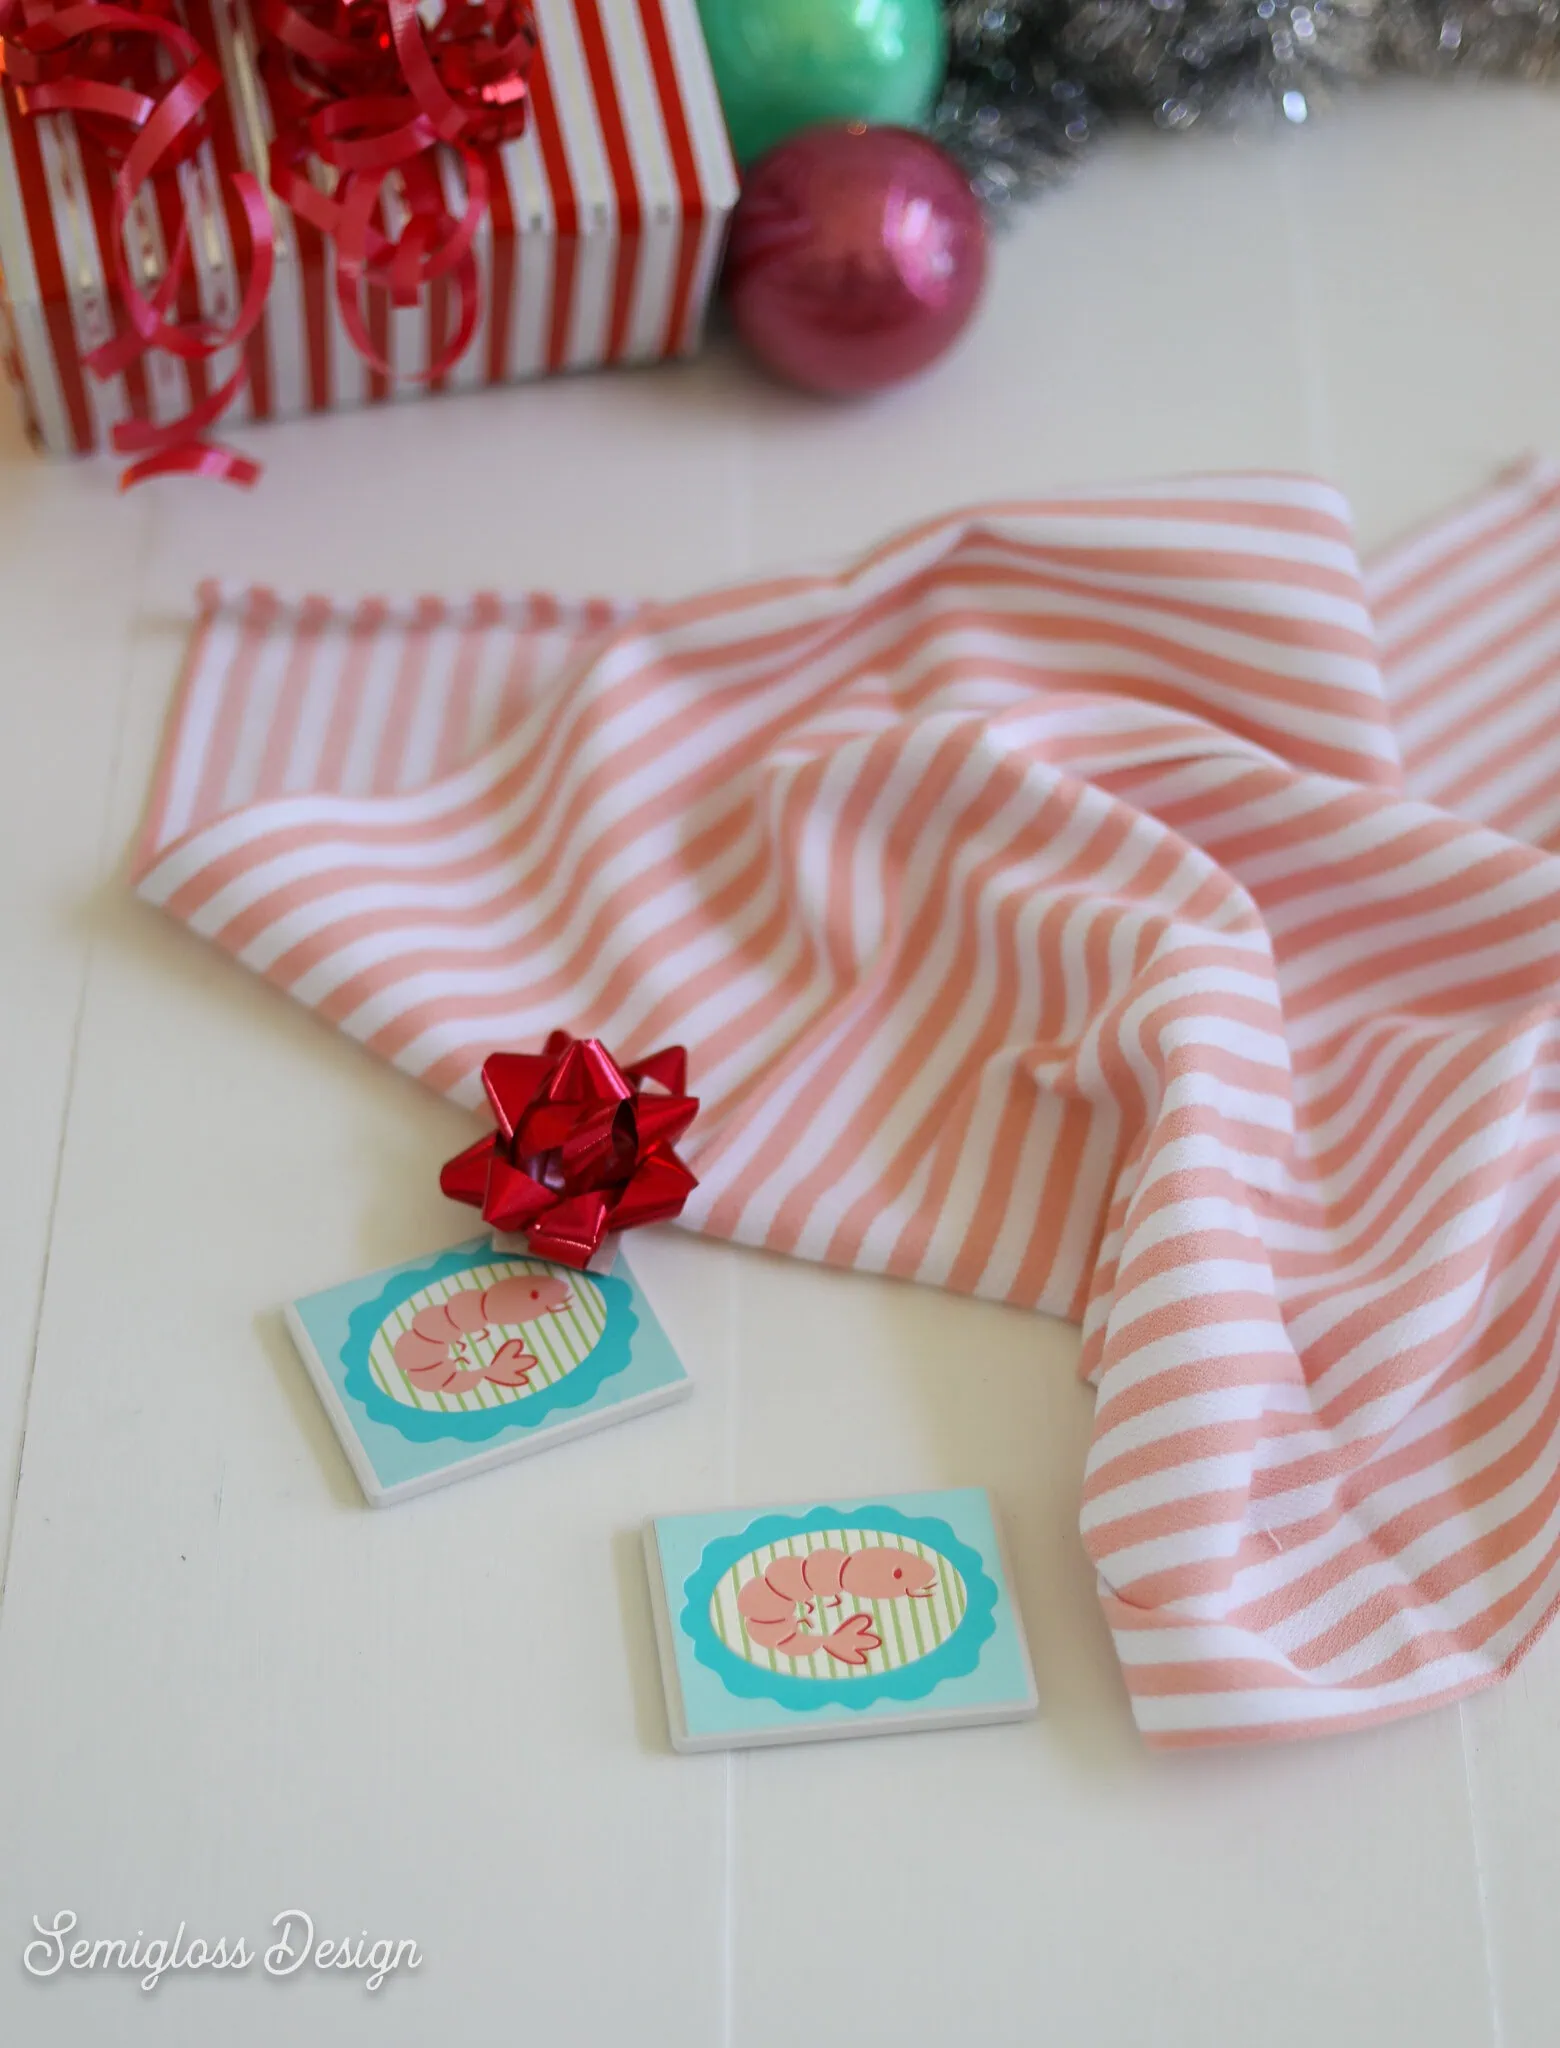
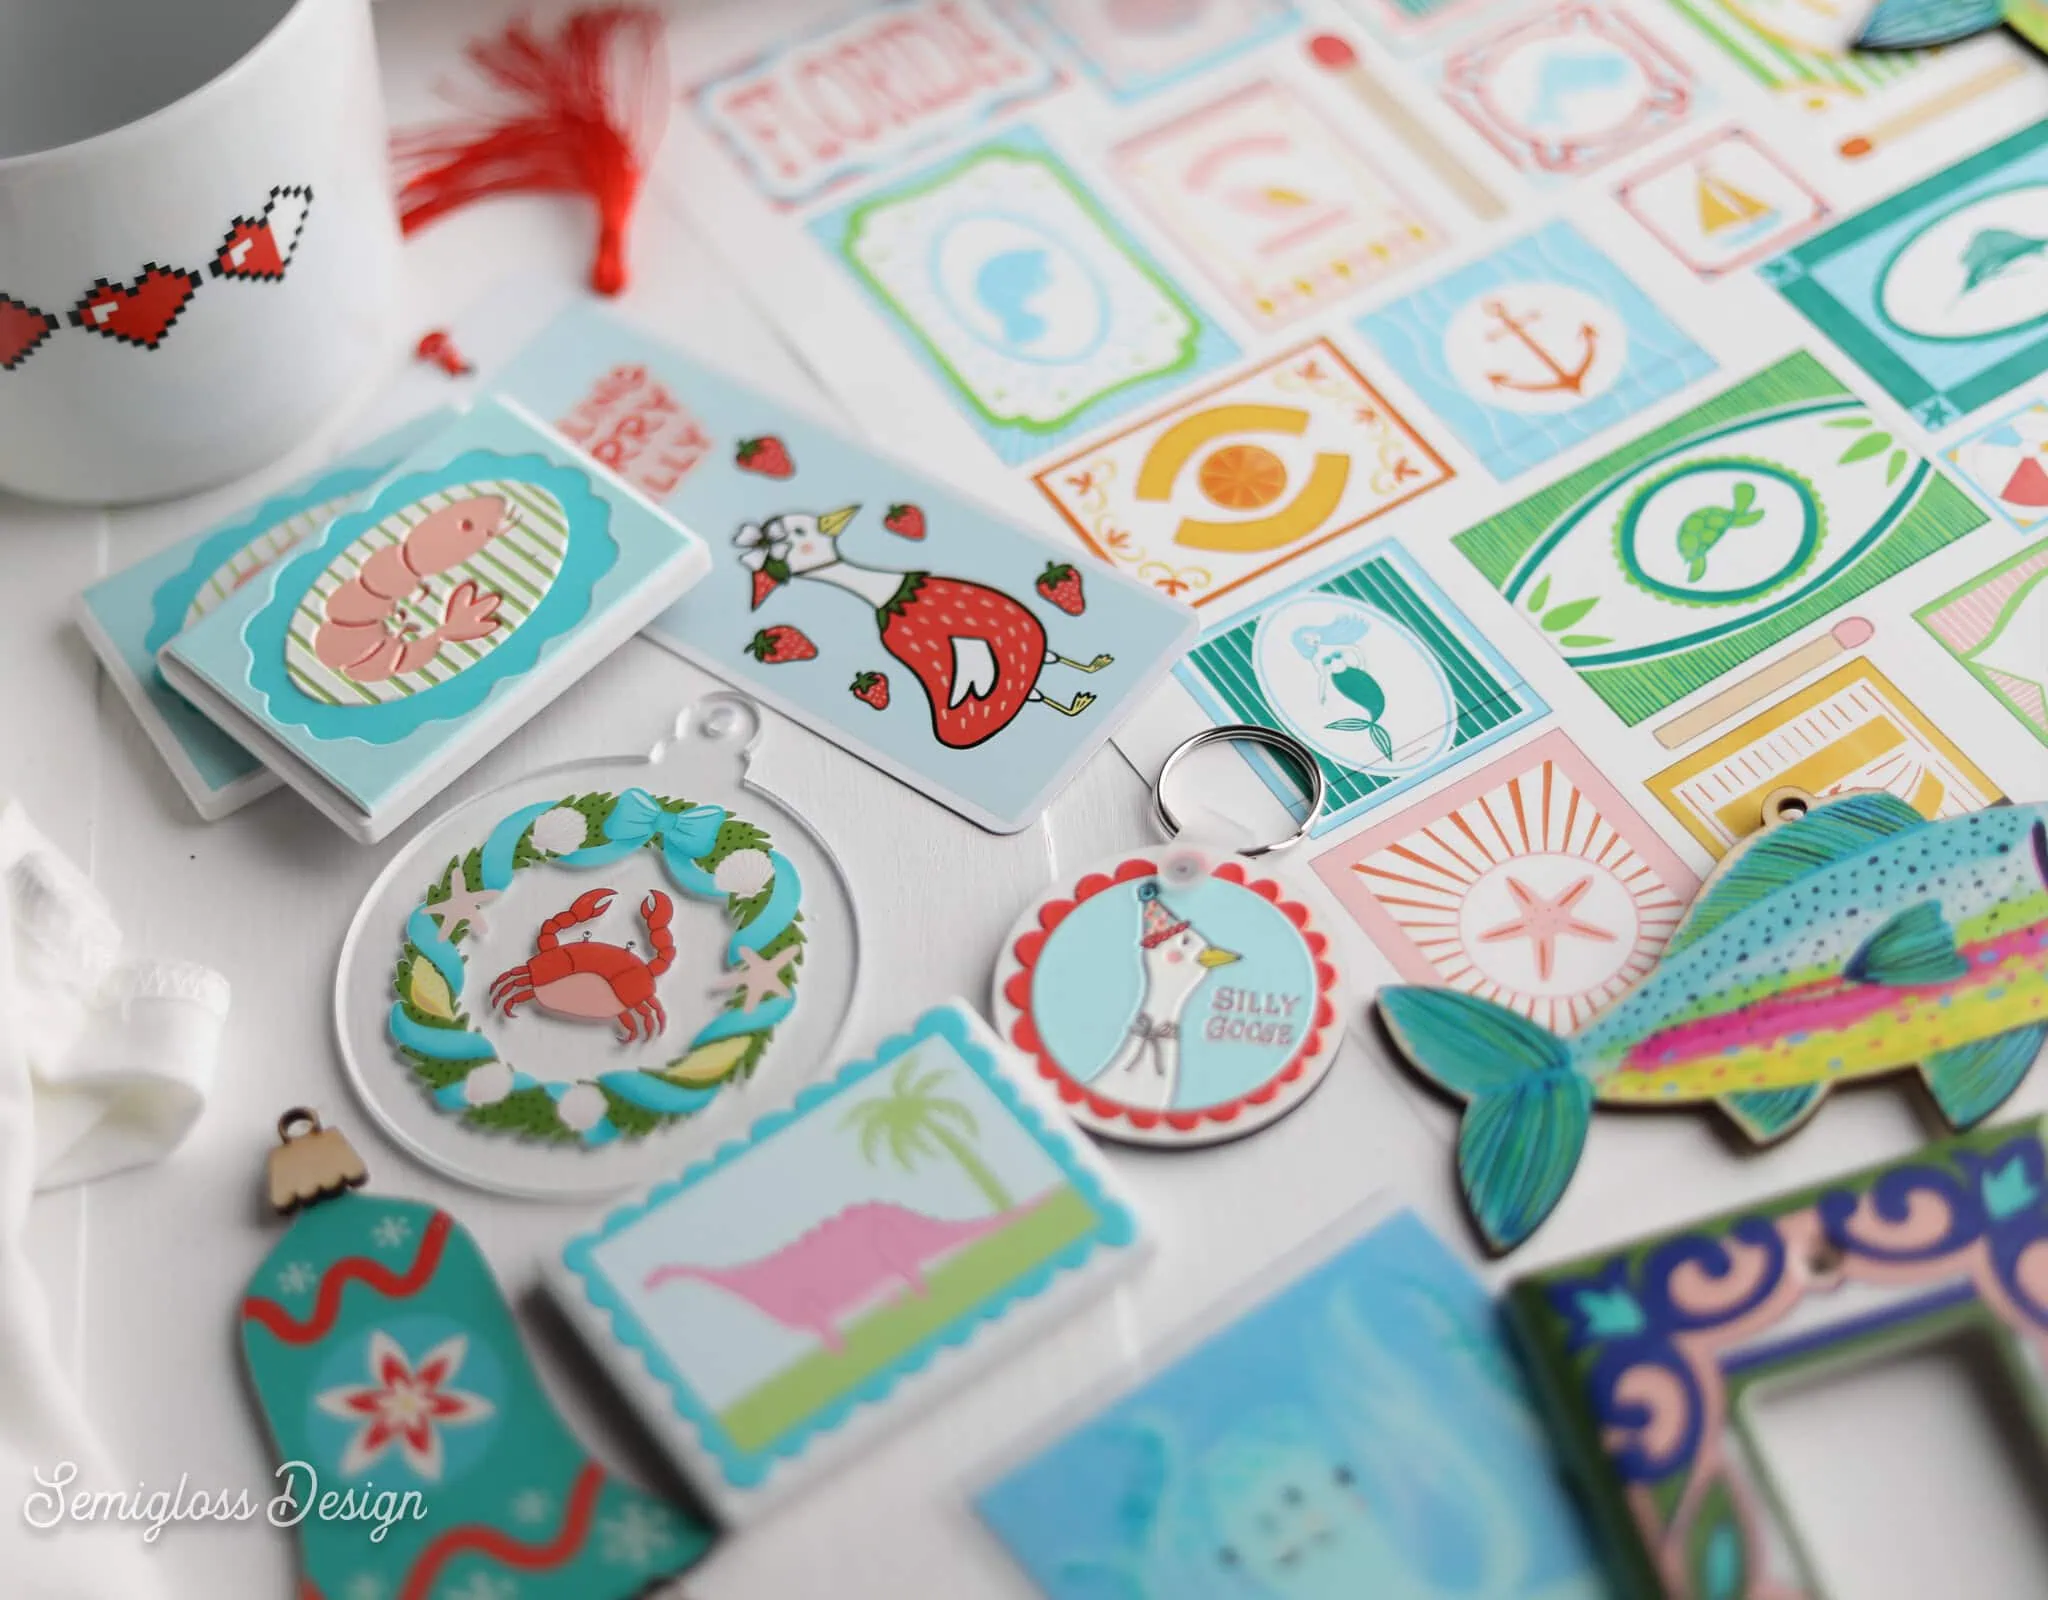
Adding texture to printed items has been one of my favorite features. I love how it makes everything a bit more special. Look at these magnets. The printed one is cute, but I would buy the textured one because it’s even cooler.
I love the DTF printing way more than I thought I would. The DTF T-shirts I made are so lovely. I’ve washed them, and they don’t get weird afterward.
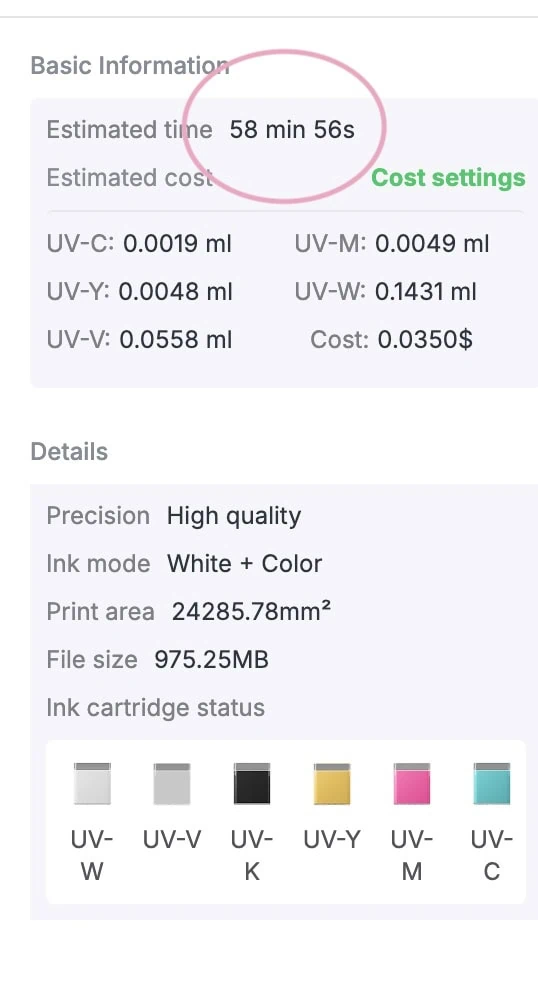
I love that it tells me how much ink everything costs. This makes it easier to figure out pricing.
I love the scanner. It makes placing images really easy.
The print quality is superior to most printers. You can get really clear details, even when it’s tiny. And the lines are very sharp.
It’s really easy to use, especially if you’re printing on hard surfaces. Just stick it on the baseplate, scan it, add your image, choose your settings, and hit print. It’s really a fast process.
Maintenance is really easy so far. At first it was buggy and kept saying that I hadn’t cleaned it enough. But it’s fixed now, and it only takes a few minutes to clean everything.
My Least Favorite Features
I had to think really hard to find things I would change.
This first issue may have been fixed by now, but I wish it were a little easier to move the printhead to clean the scanner. Last I checked, you have to go through a few steps to get to it. It’s not horrible, but since it’s a part of the regular maintenance, it could be easier.
My other complaint is how it works on mugs and tumblers with handles. It’s impossible to print close to the handles, so the design ends up misaligned. Unfortunately, it’s due to the printhead placement, and there’s no way to fix it.
A good workaround is to use a DTF transfer instead, or use a sublimation printer for mugs and tumblers instead.
My last complaint is that the garment baseplate is a bit weird to work with because it’s very large. I’m hoping they’ll offer some smaller sizes in the future.
Be Sure to Check out the xTool Black Friday Deals
Overall Thoughts on the xTool O1 Omni
Writing this xTool O1 Omni review has made me love this machine even more. It makes crafting exciting again. And I find myself wanting to print all of the things. Everyone I know is getting handmade gifts this year!
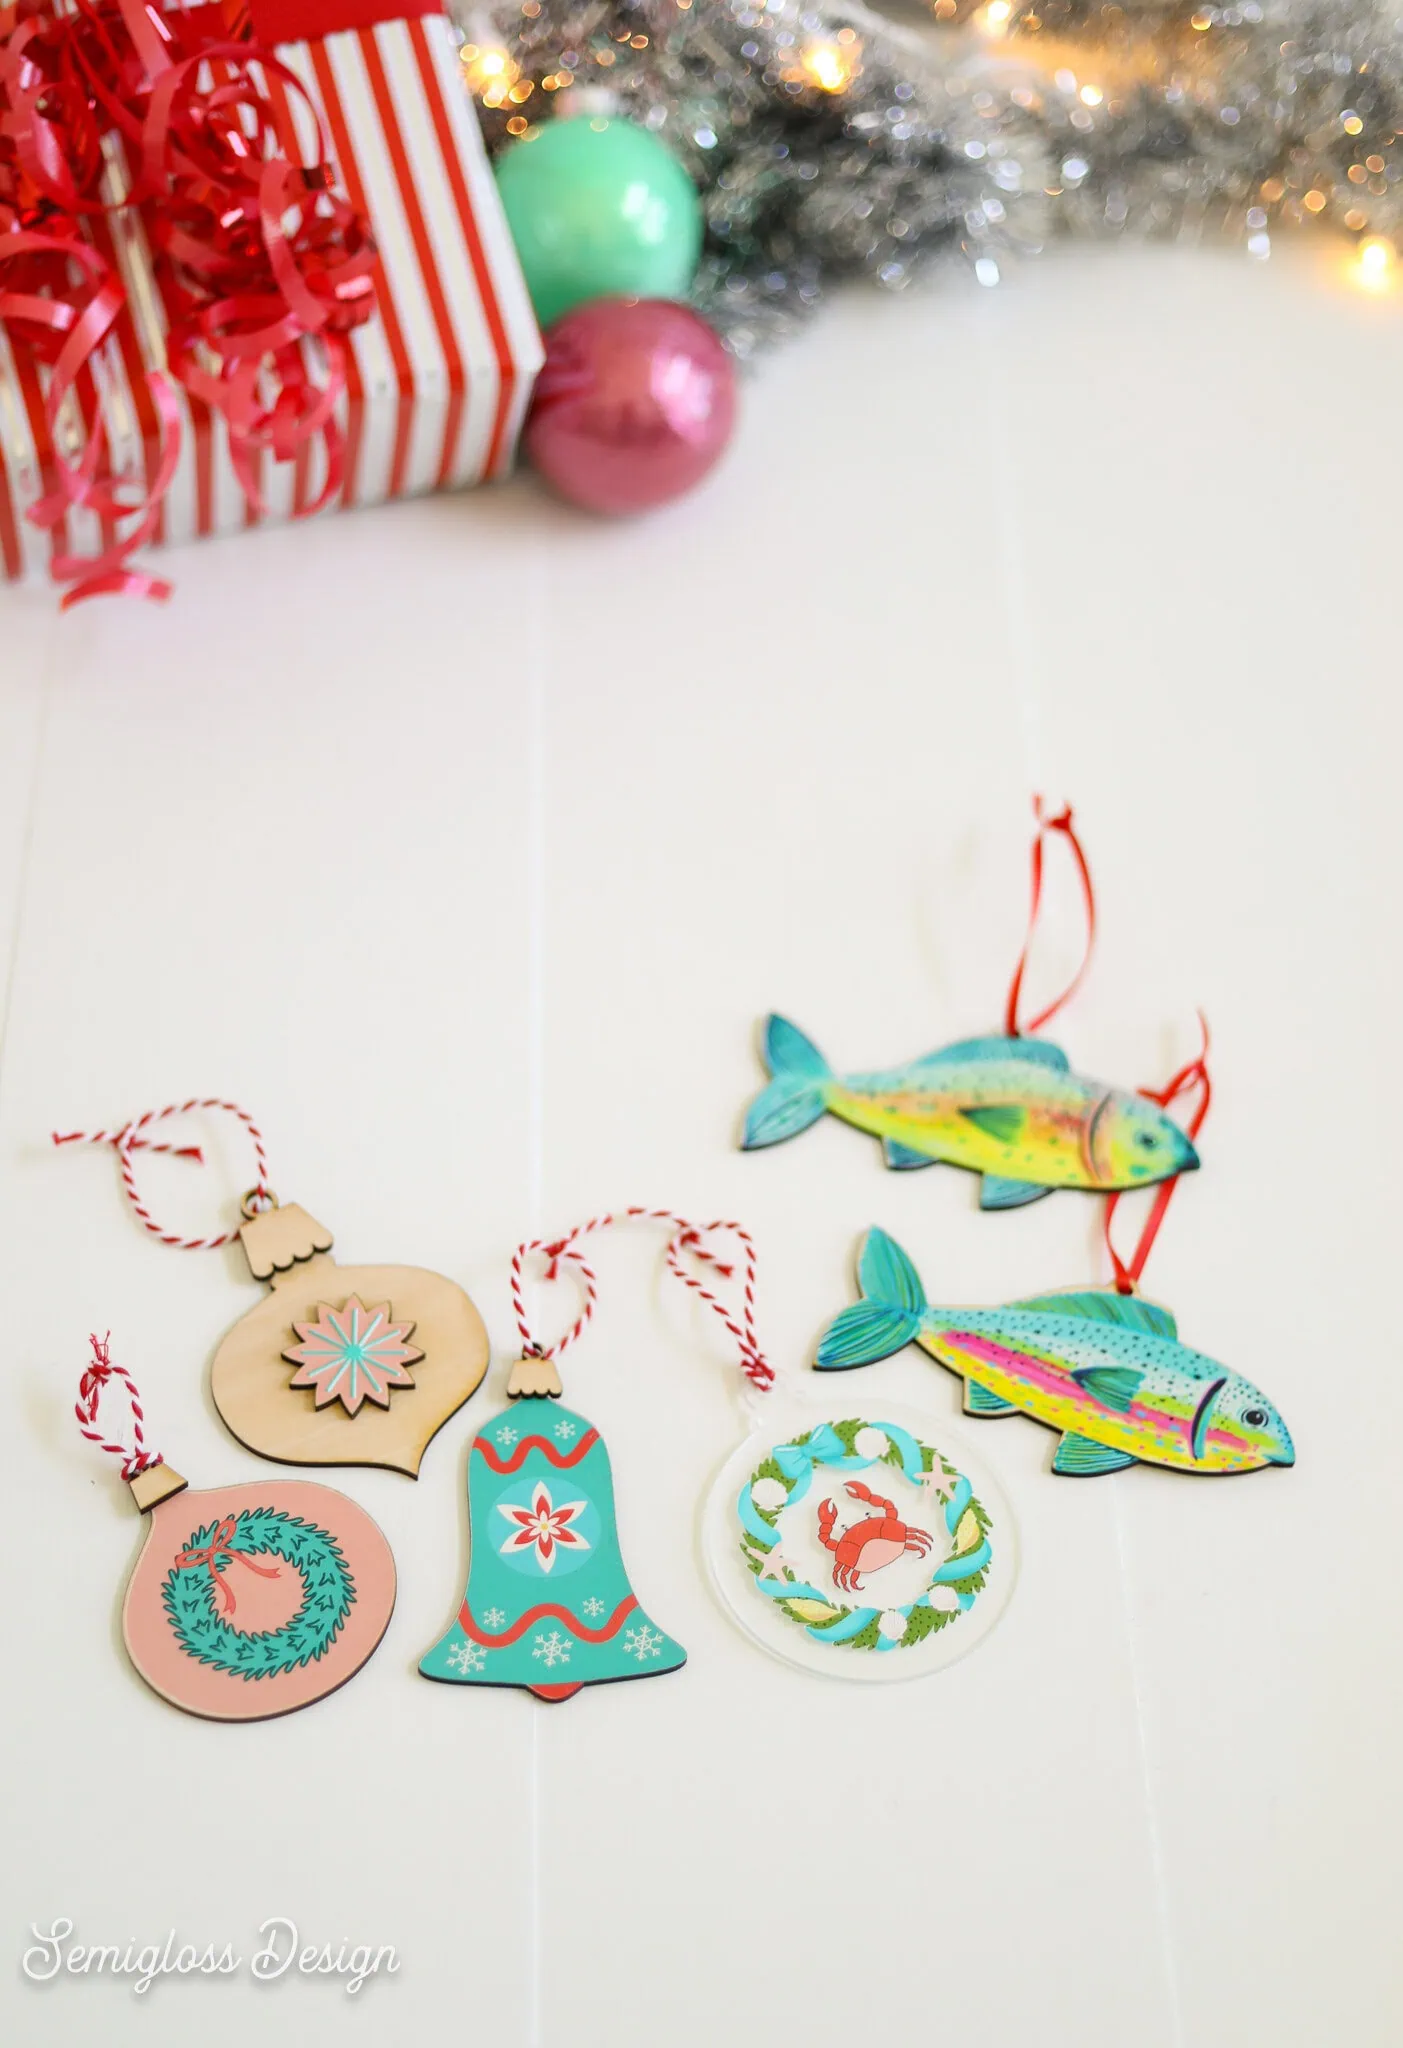
This machine is perfect for people who want to print on a variety of items. If you’re looking to only make T-shirts or tumblers, there are better options. But if you want to make magnets, jewelry, canvas prints, cards, stickers, nail decals, puzzles, journals, keychains, etc., this is the machine for you.
It’s perfect for small businesses looking to create small batches of products or test a concept. I can also see small businesses that offer custom items loving this machine.
It’s great for people who want to make a lot of special gifts. And if you already have a laser cutter, you will love how easy it is to print on laser-cut designs instead of painting!
If you don’t like making all the things, the O1 Omni may not be for you.
xToolO1 Omni Projects I’ve Made So Far
- Printing on Almost Anything
- Making T-shirts with the Omni
- Four Ways to Make Stickers
- Fun Christmas Gifts to Make
- UV DTF Nail Decals
 Buy Now →
Pin for Later!

Emy is a vintage obsessed mama of 2 DIYer who loves sharing affordable solutions for common home problems. You don’t need a giant budget to create a lovely home. Read more…