
How to Print T-shirts with the xTool O1 Omni Printer – Two Methods
Learn how to print T-shirts with the xTool O1 Omni DT and UV printer using two different methods. This all-in-one printer can create both DTF and DTG shirts. I’ll explain the differences between these methods and how to use each one.
This post contains affiliate links. By purchasing an item through an affiliate link, I earn a small commission at no extra cost to you. As an Amazon Associate I earn from qualifying purchases.
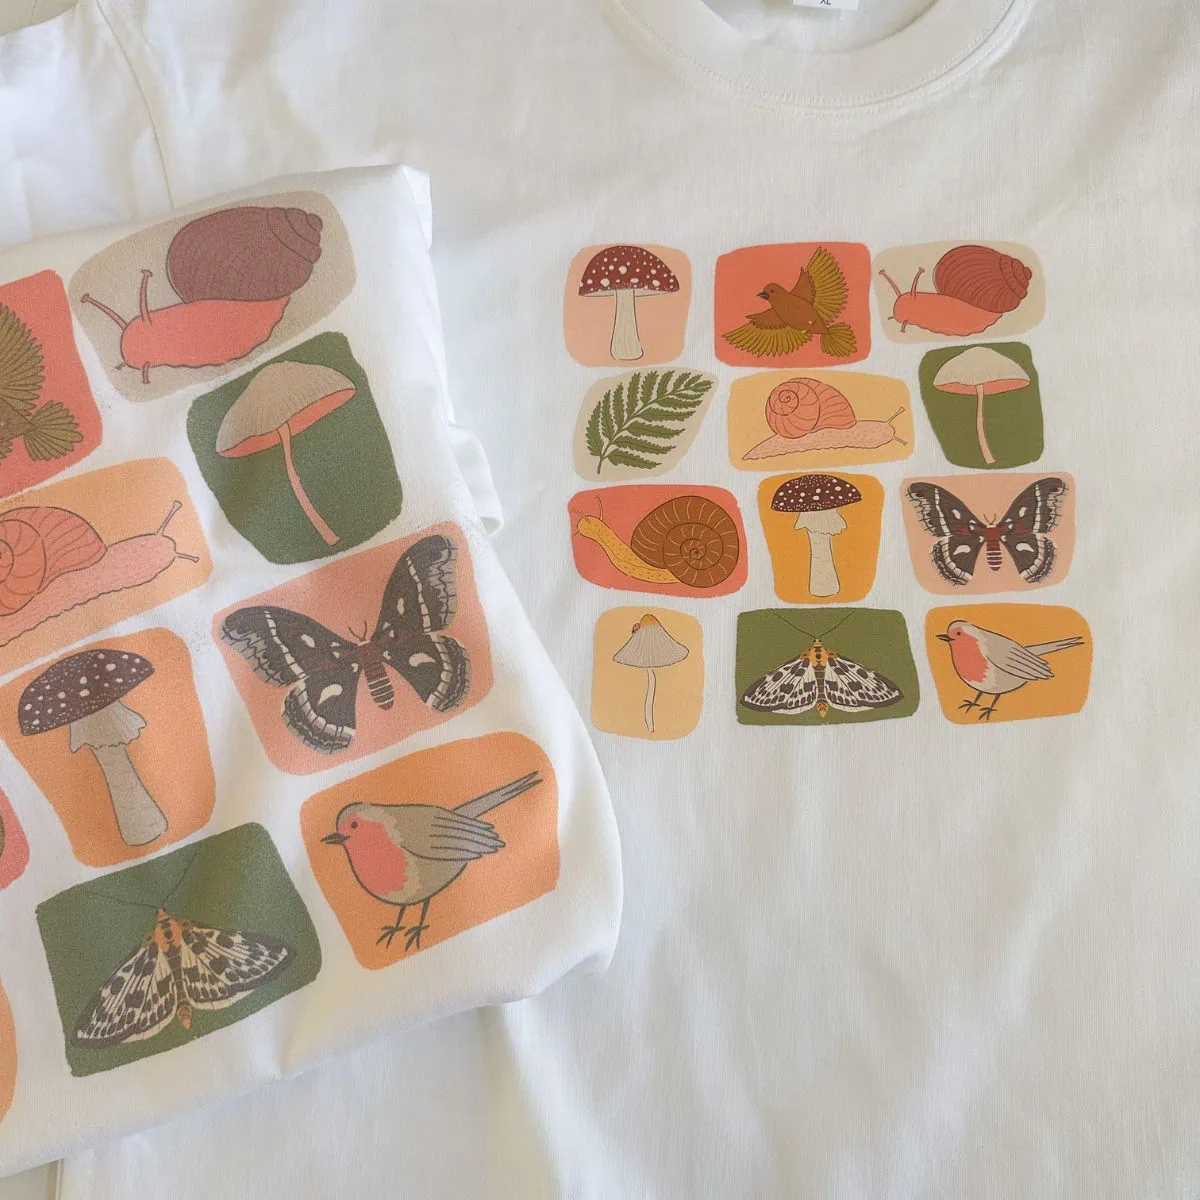
I’m a huge fan of graphic t-shirts, so I was excited to make my own using my xTool O1 Omni DT and UV printer. I love that I can create fun shirts with a lot of color and detail. Most T-shirt making methods need simple designs with a limited amount of colors.
Here’s everything I’ve learned so far in my T-shirt making journey.
What is the Difference Between DTG and DTF Printing?
Acronyms can be confusing, especially when they’re similar. Here’s how they differ.
Application
DTG uses special ink to print directly on the shirt. Then it’s set with a heat press. DTF uses transfer film and powder that needs to be cured. The transfer is set with a heat press.
Feel
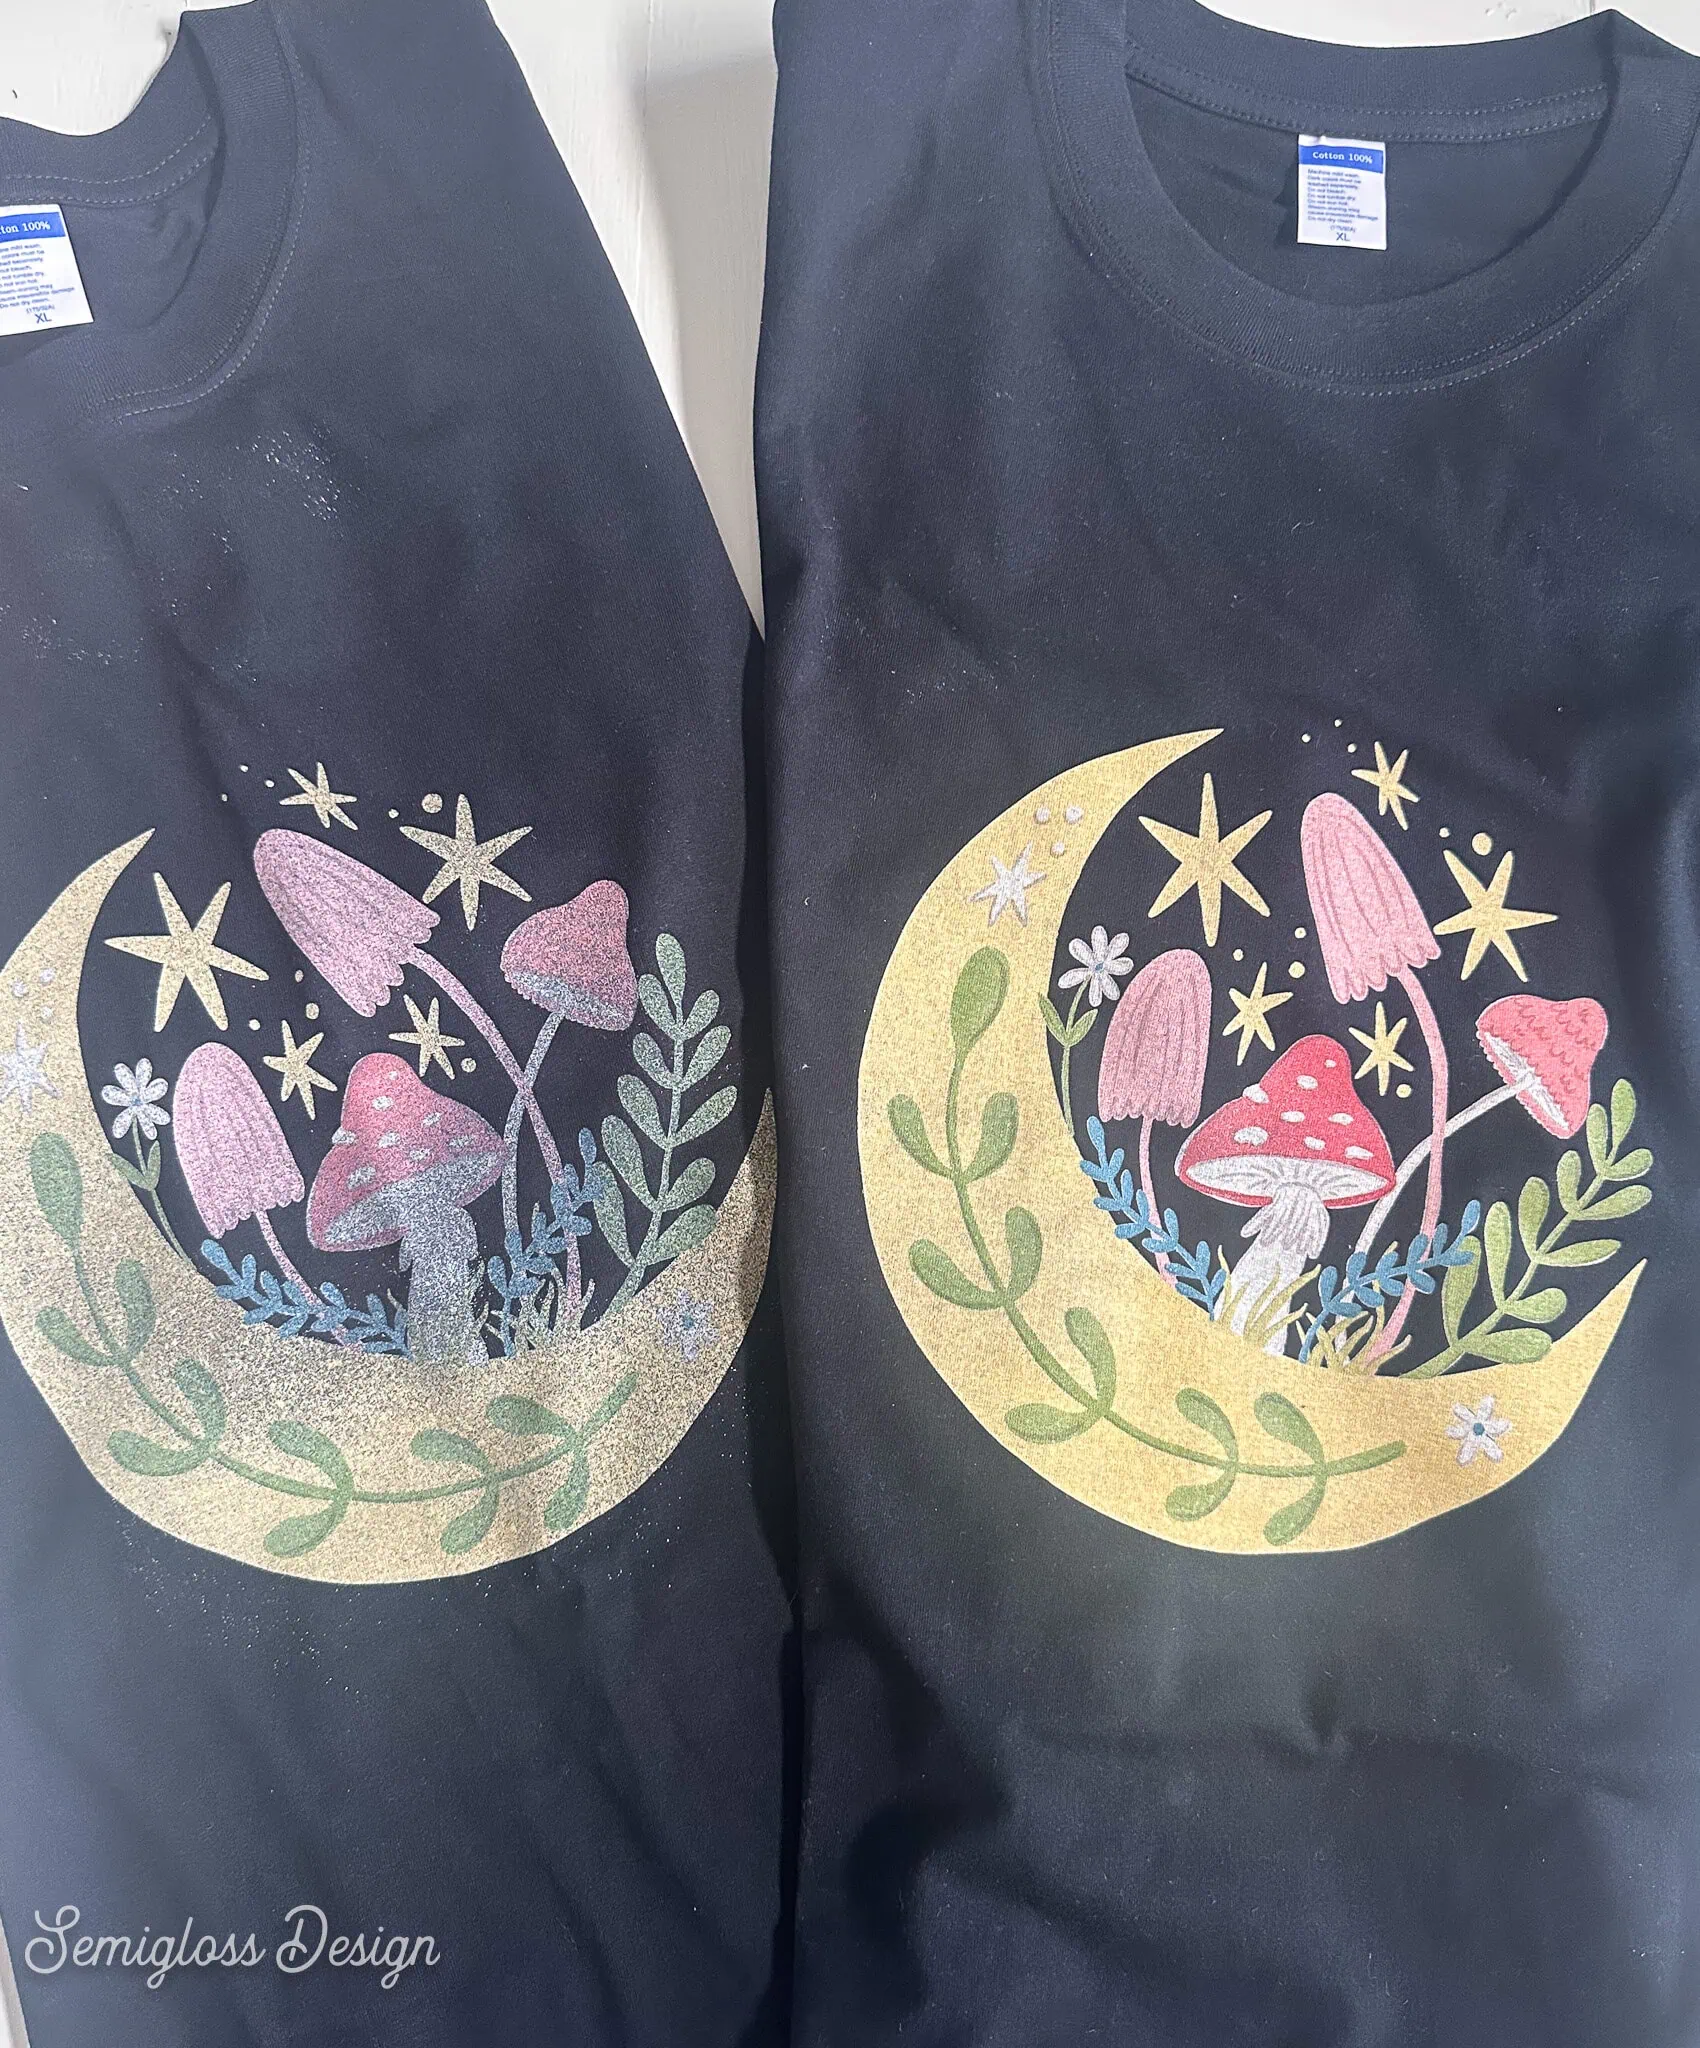
The biggest difference is how they feel to the touch. DTG ink absorbs into the shirt, so they’re a bit softer.
DTF shirts have a layer on top, so they feel a bit stiffer at first. It softens over time, though.
Use
DTG printing works best with cotton shirts. Synthetic-blend shirts can be used with DTF transfers.
The xTool O1 Omni handles both white and black shirts well for DTG printing. When pretreated, the ink is pretty opaque. However, DTF transfer is a bit more opaque.
Ease of Making
I originally thought DTG shirts were easier to make. All of the other equipment felt so intimidating. Then I made a DTF shirt and realized that it might be easier because it’s a little more forgiving.
Both options are pretty easy, though.
How to Print on T-Shirts
Here’s how to DTG print on white shirts, black shirts, and how to use DTF transfers to make shirts.
DTG Printing on White Shirts
Other Supplies Needed:
- White Shirt
- Heat Press
Directions
- Press the shirt in the heat press for 10 seconds at 320 F degrees. This removes wrinkles and moisture.

- Remove the garment tray frame.
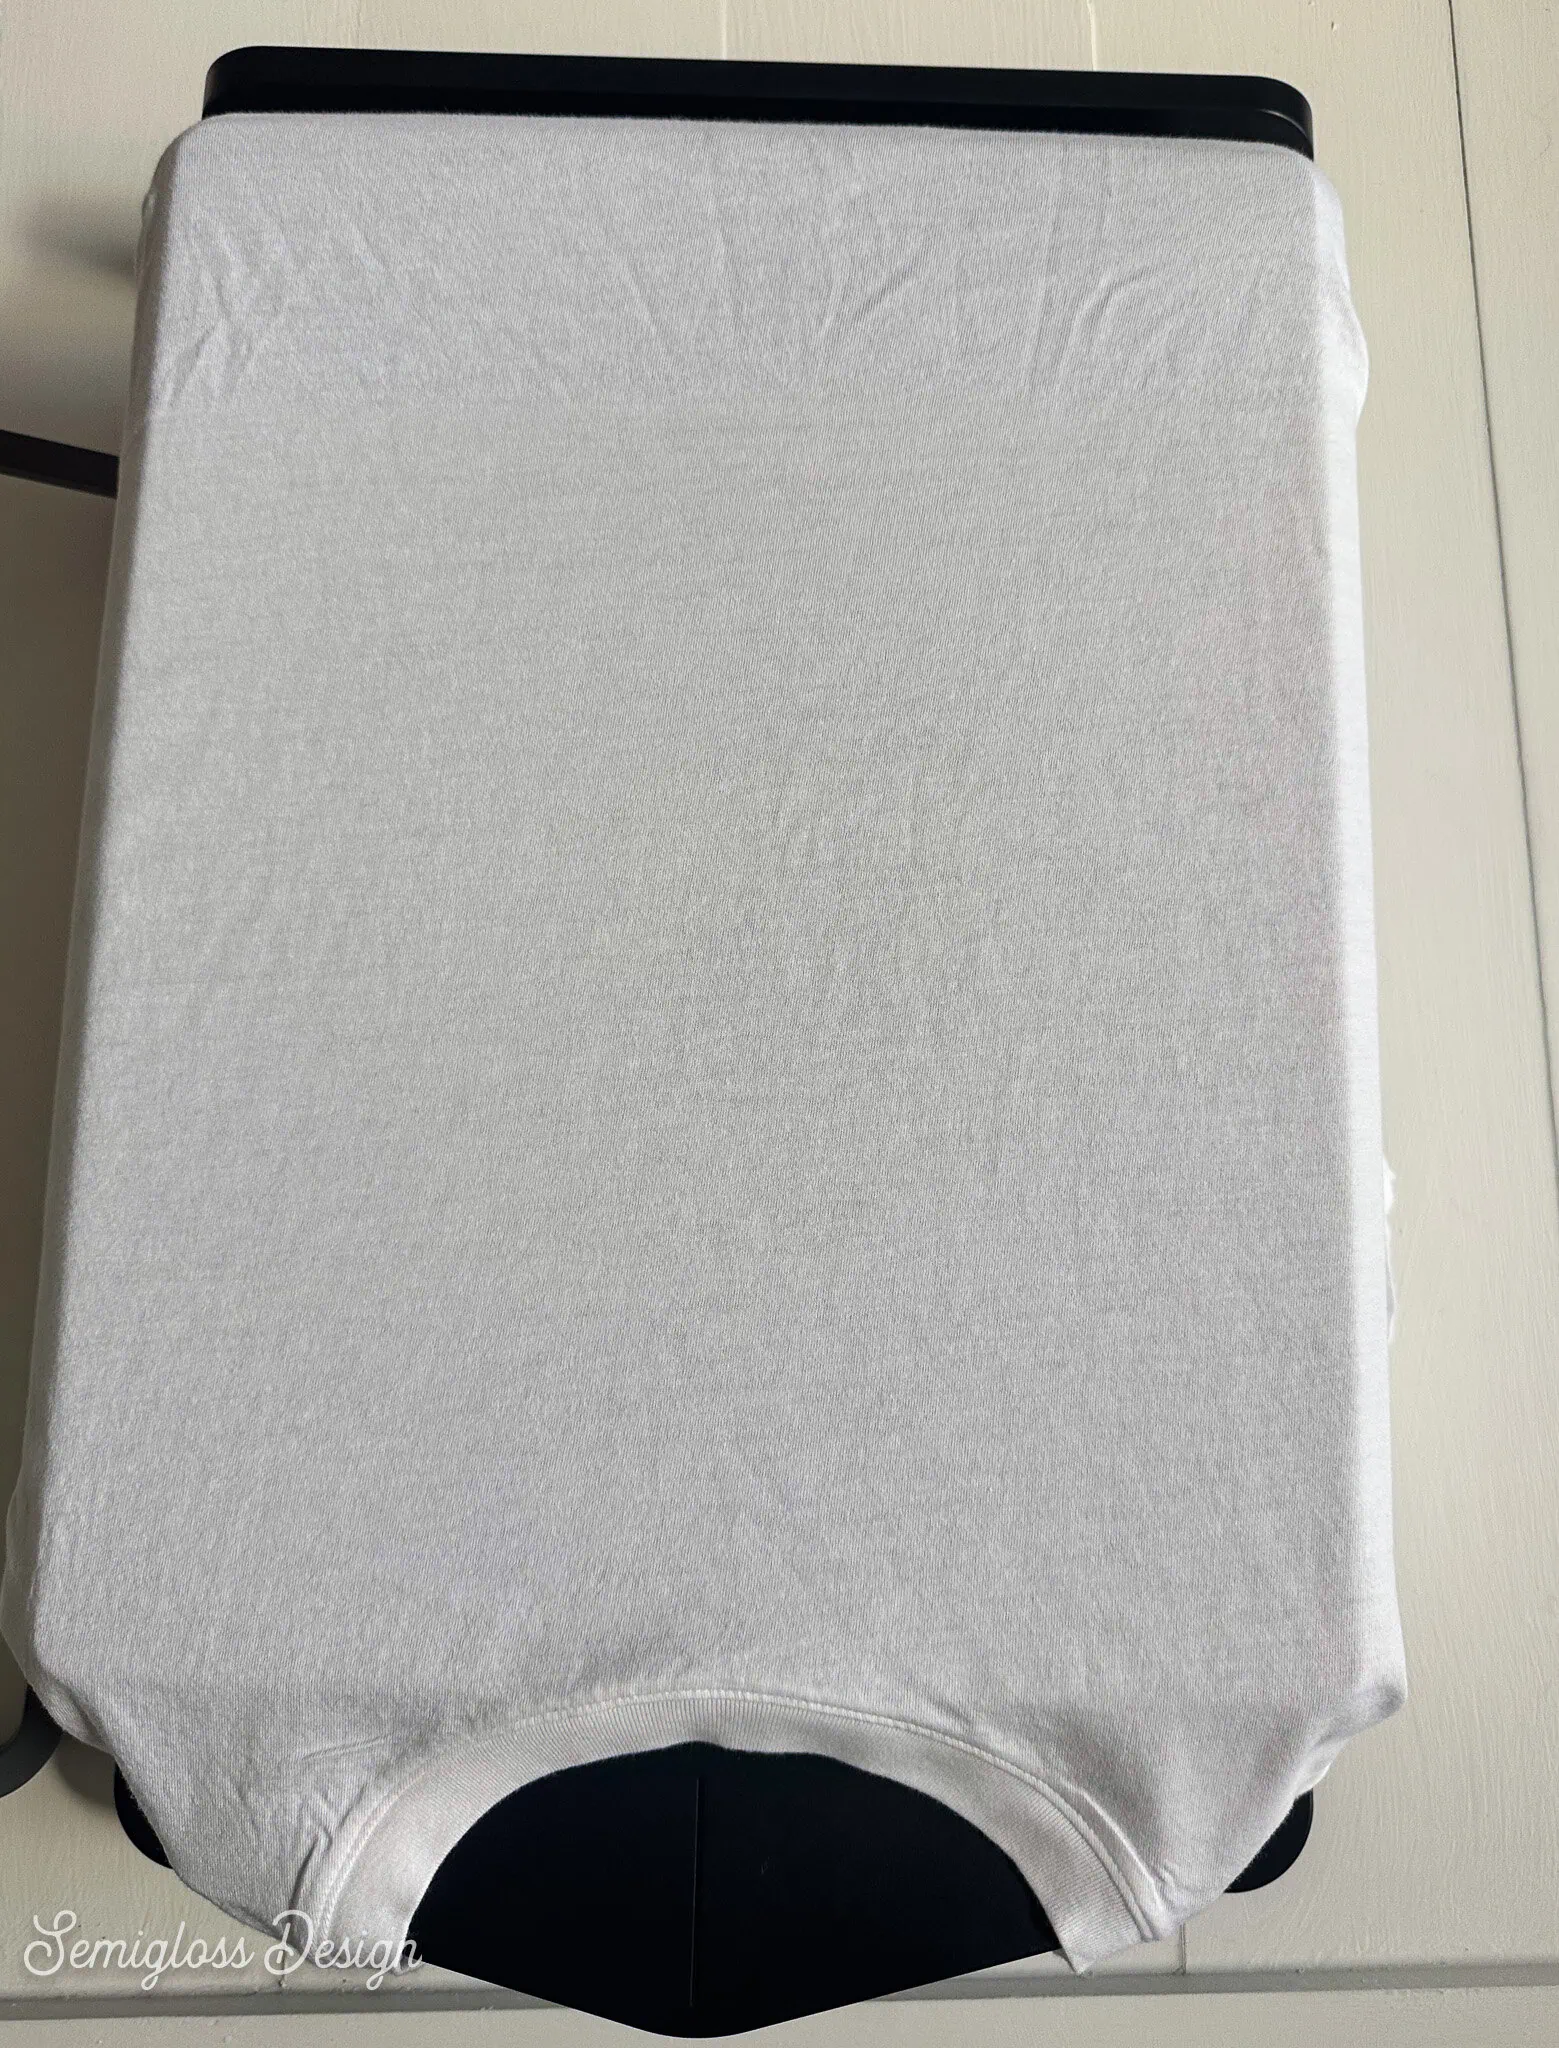
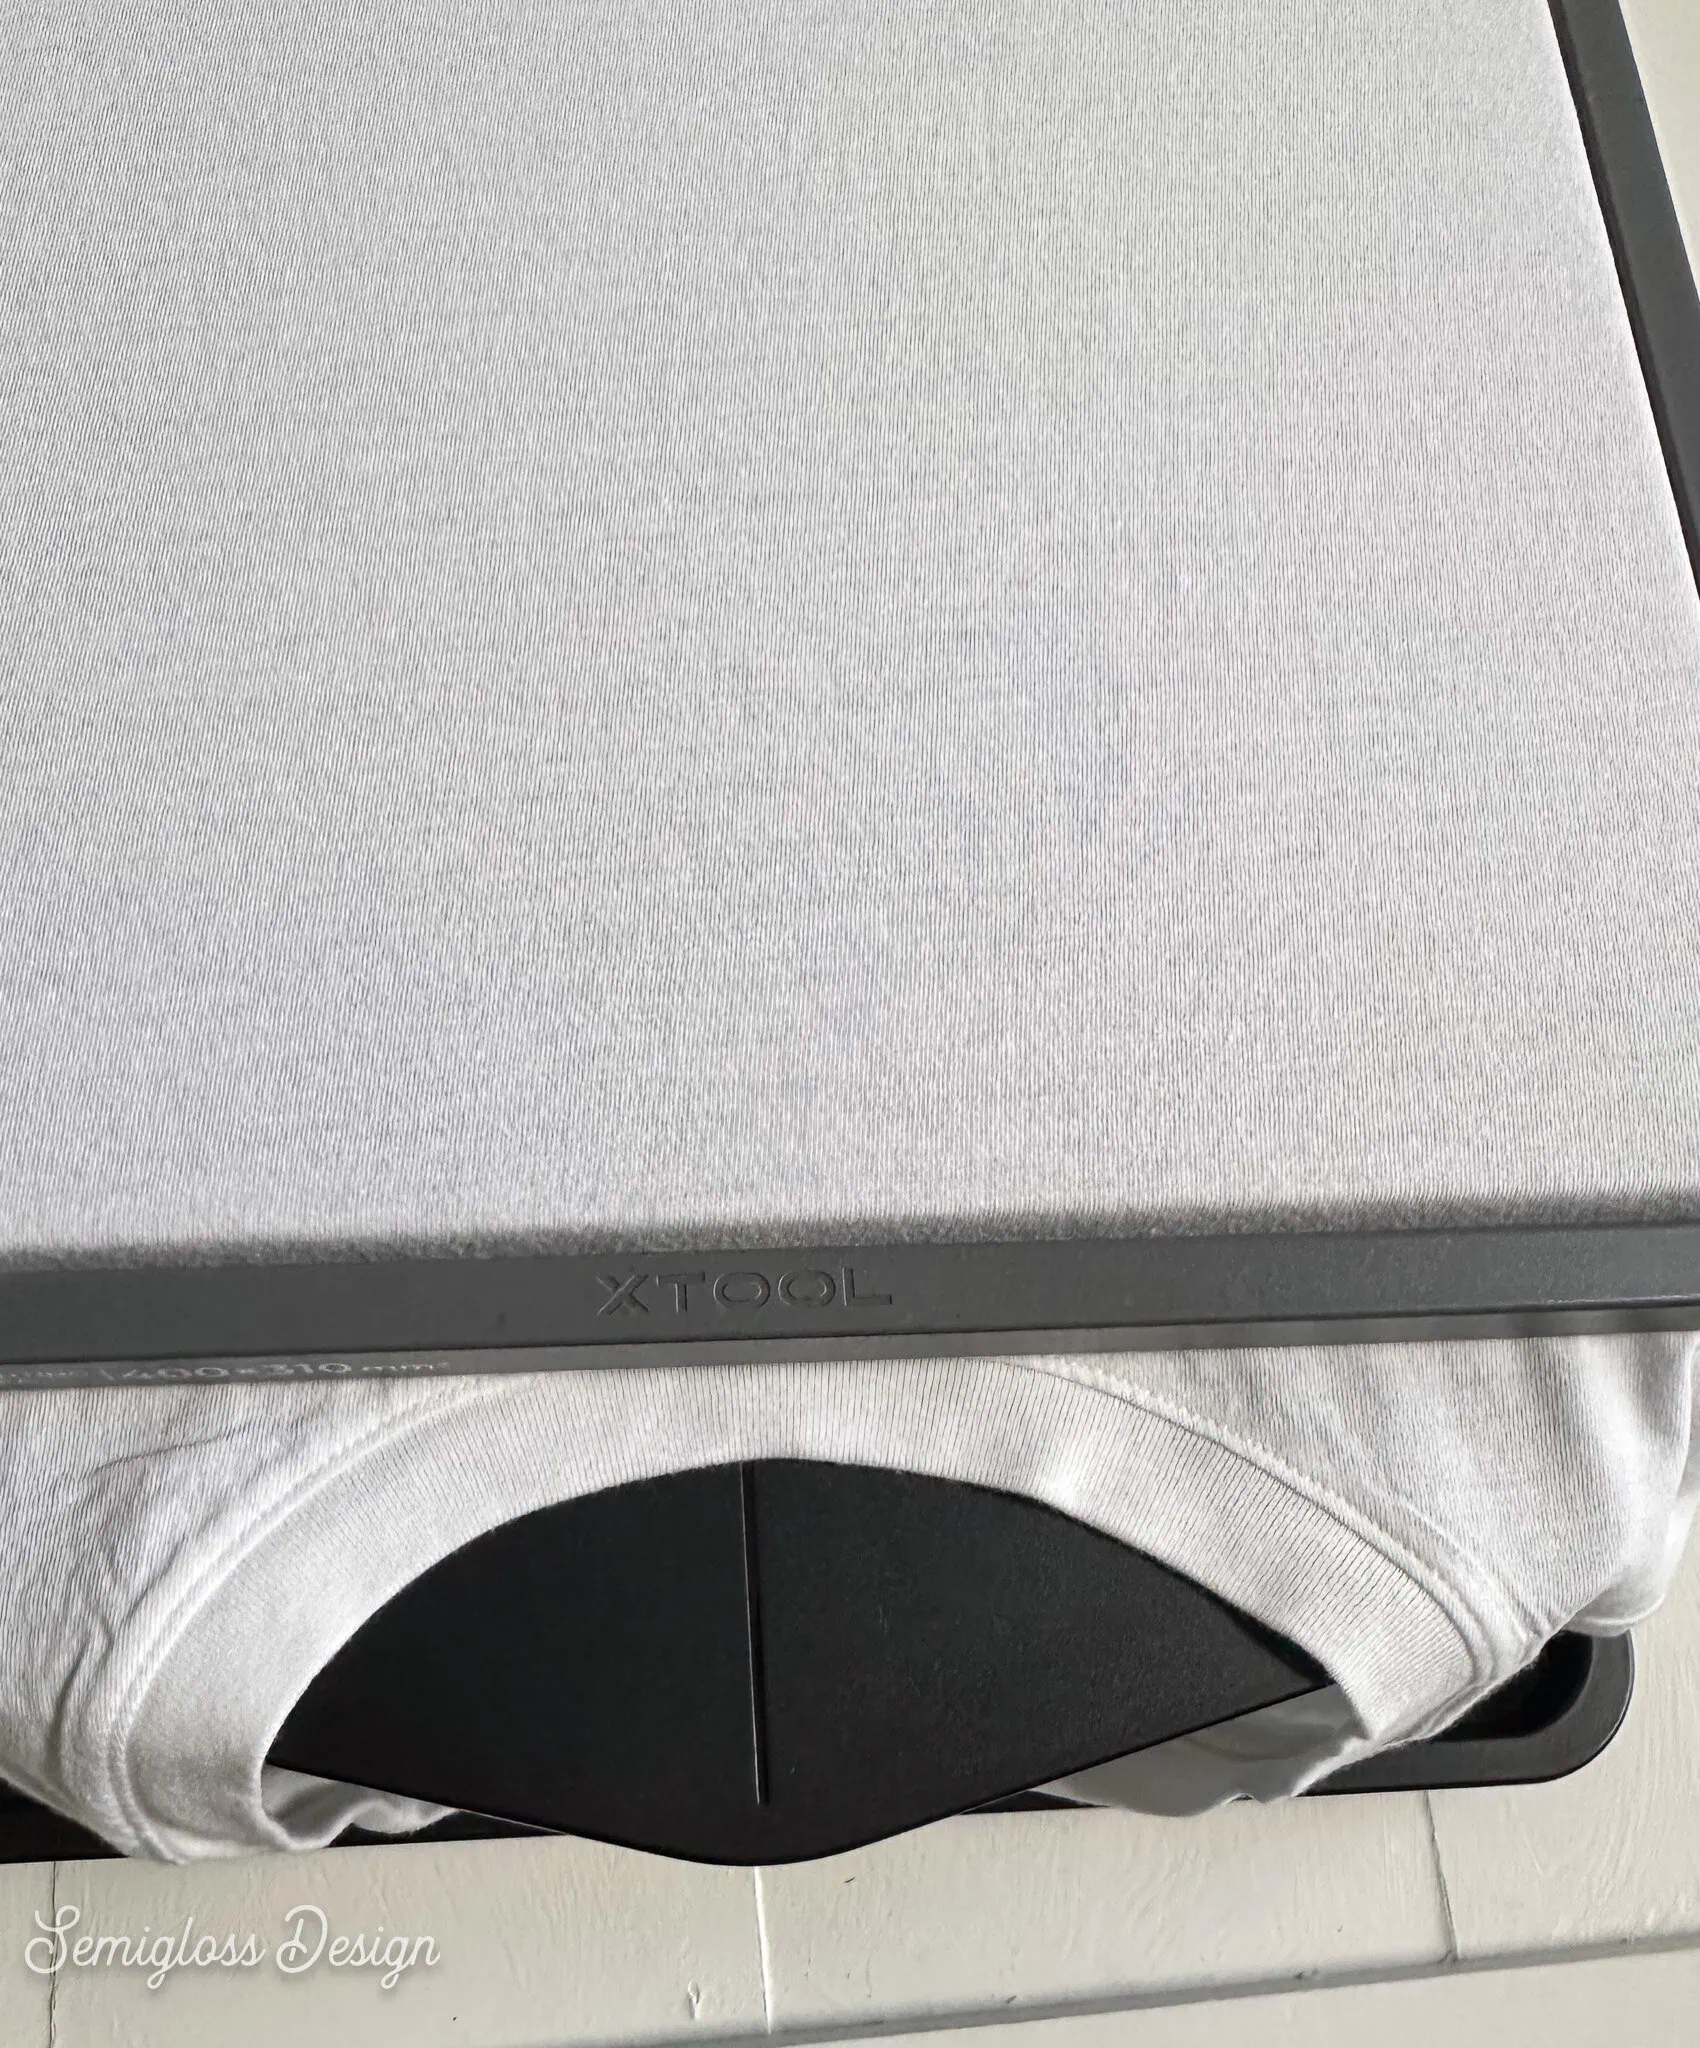
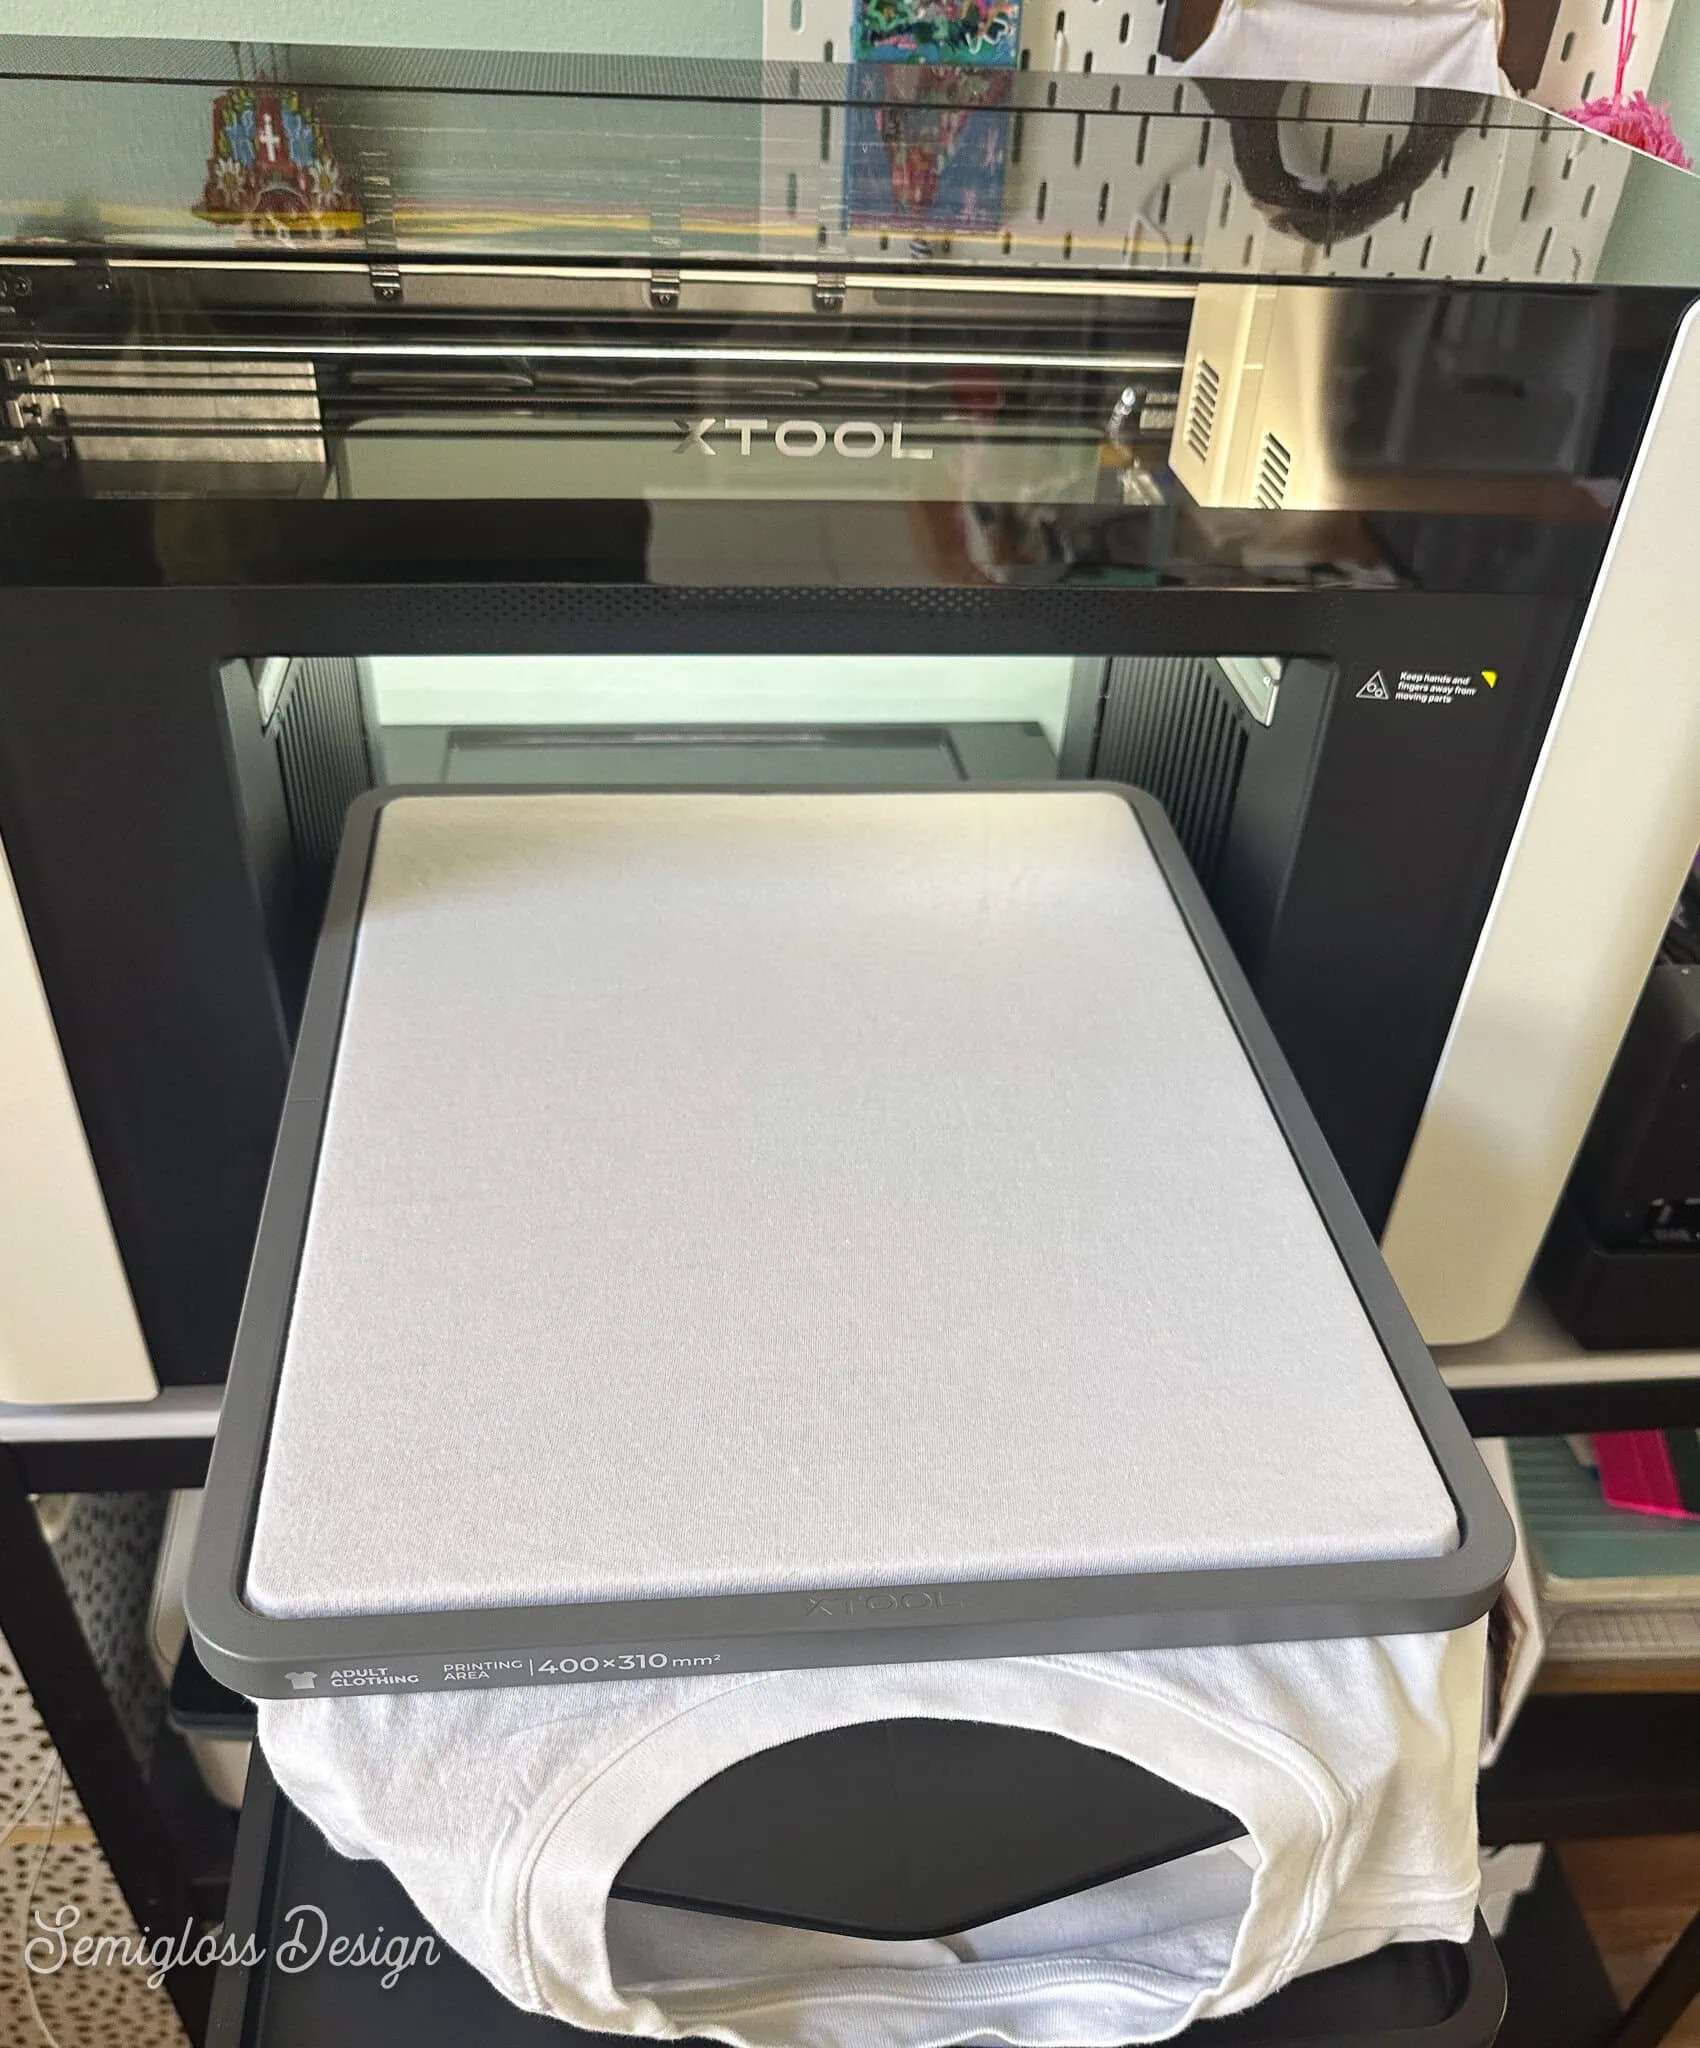
- Place the shirt on the garment tray. The front faces out. Center the neckline, but pull it up beyond the frame. The printer prints based on the highest point, so it’s important to have a flat surface.
- Pull the shirt tight and tuck any extra bits of fabric into the base.

- Install the garment tray in the xTool O1 Omni. It will click into place.
- xTool Studio will prompt you to change the mode to Garment tray. Just press Switch.

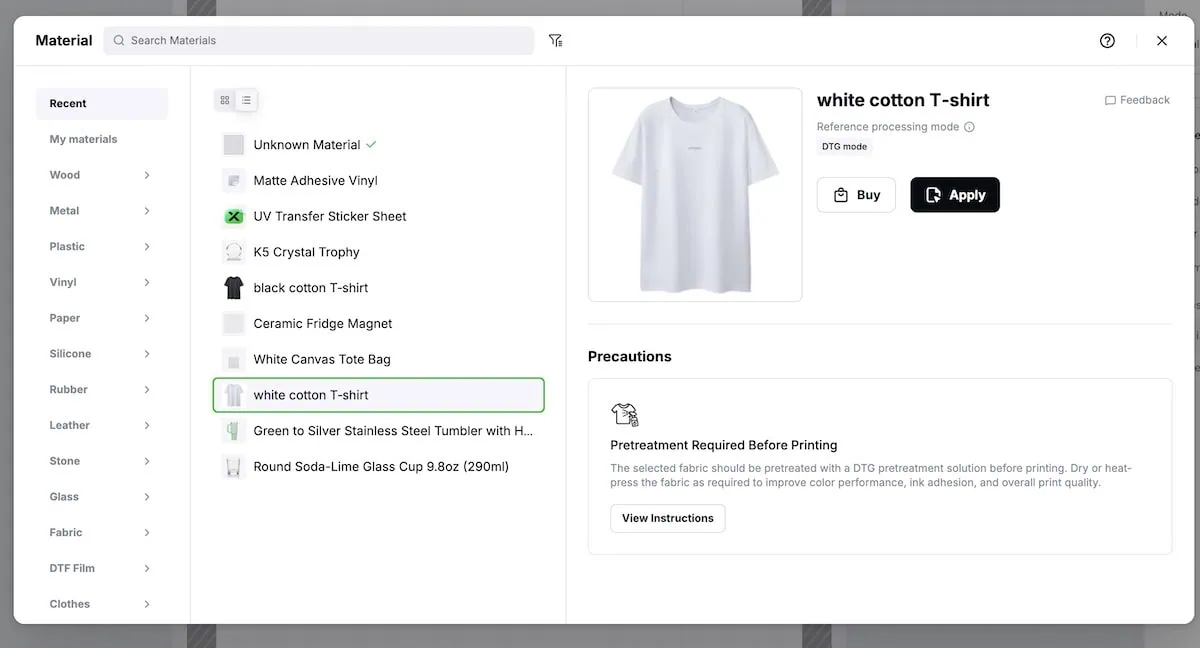
- Under material, choose “White Cotton T-shirt”.

- Scan the material.

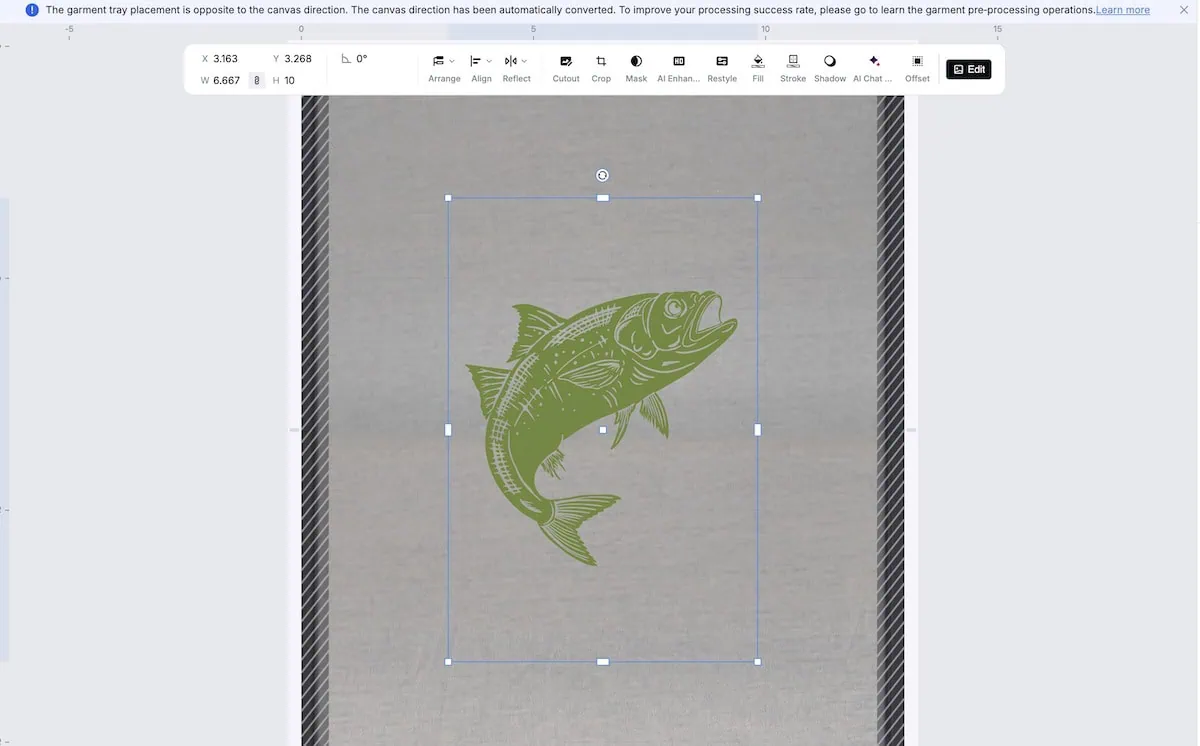
- Upload the design and resize. The software shows the design right-side-up, but it knows to print it upside-down.

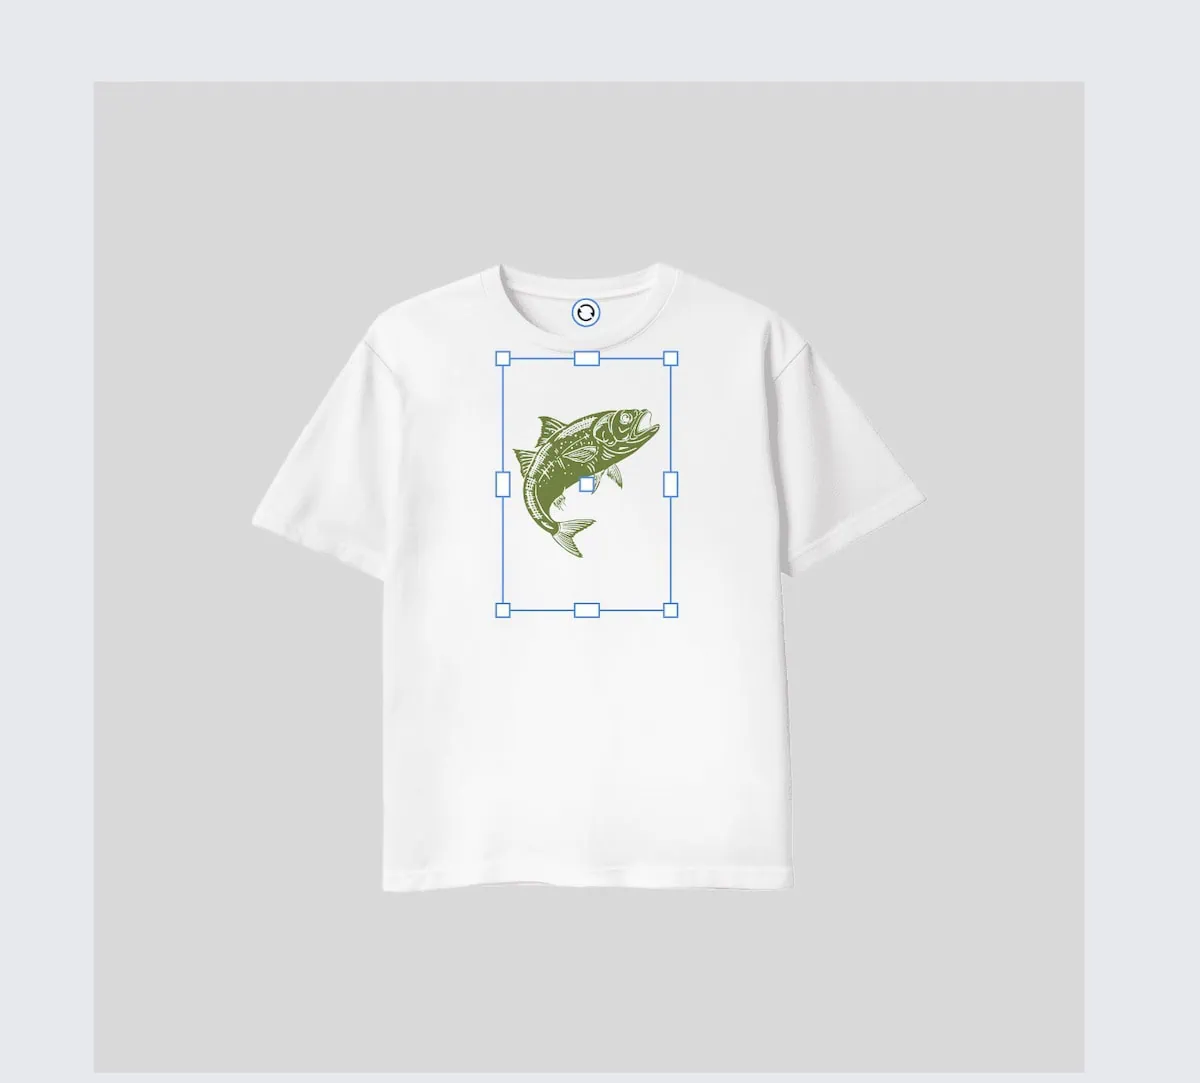
- There’s a mock-up option to help you figure out where to put your design. You will need to move your design on the main project page, but it can be helpful for figuring out the size and placement.

- Check the ink settings and make sure you’re happy with them. For white T-shirts, I leave it as it is.
- Press Process to start printing.
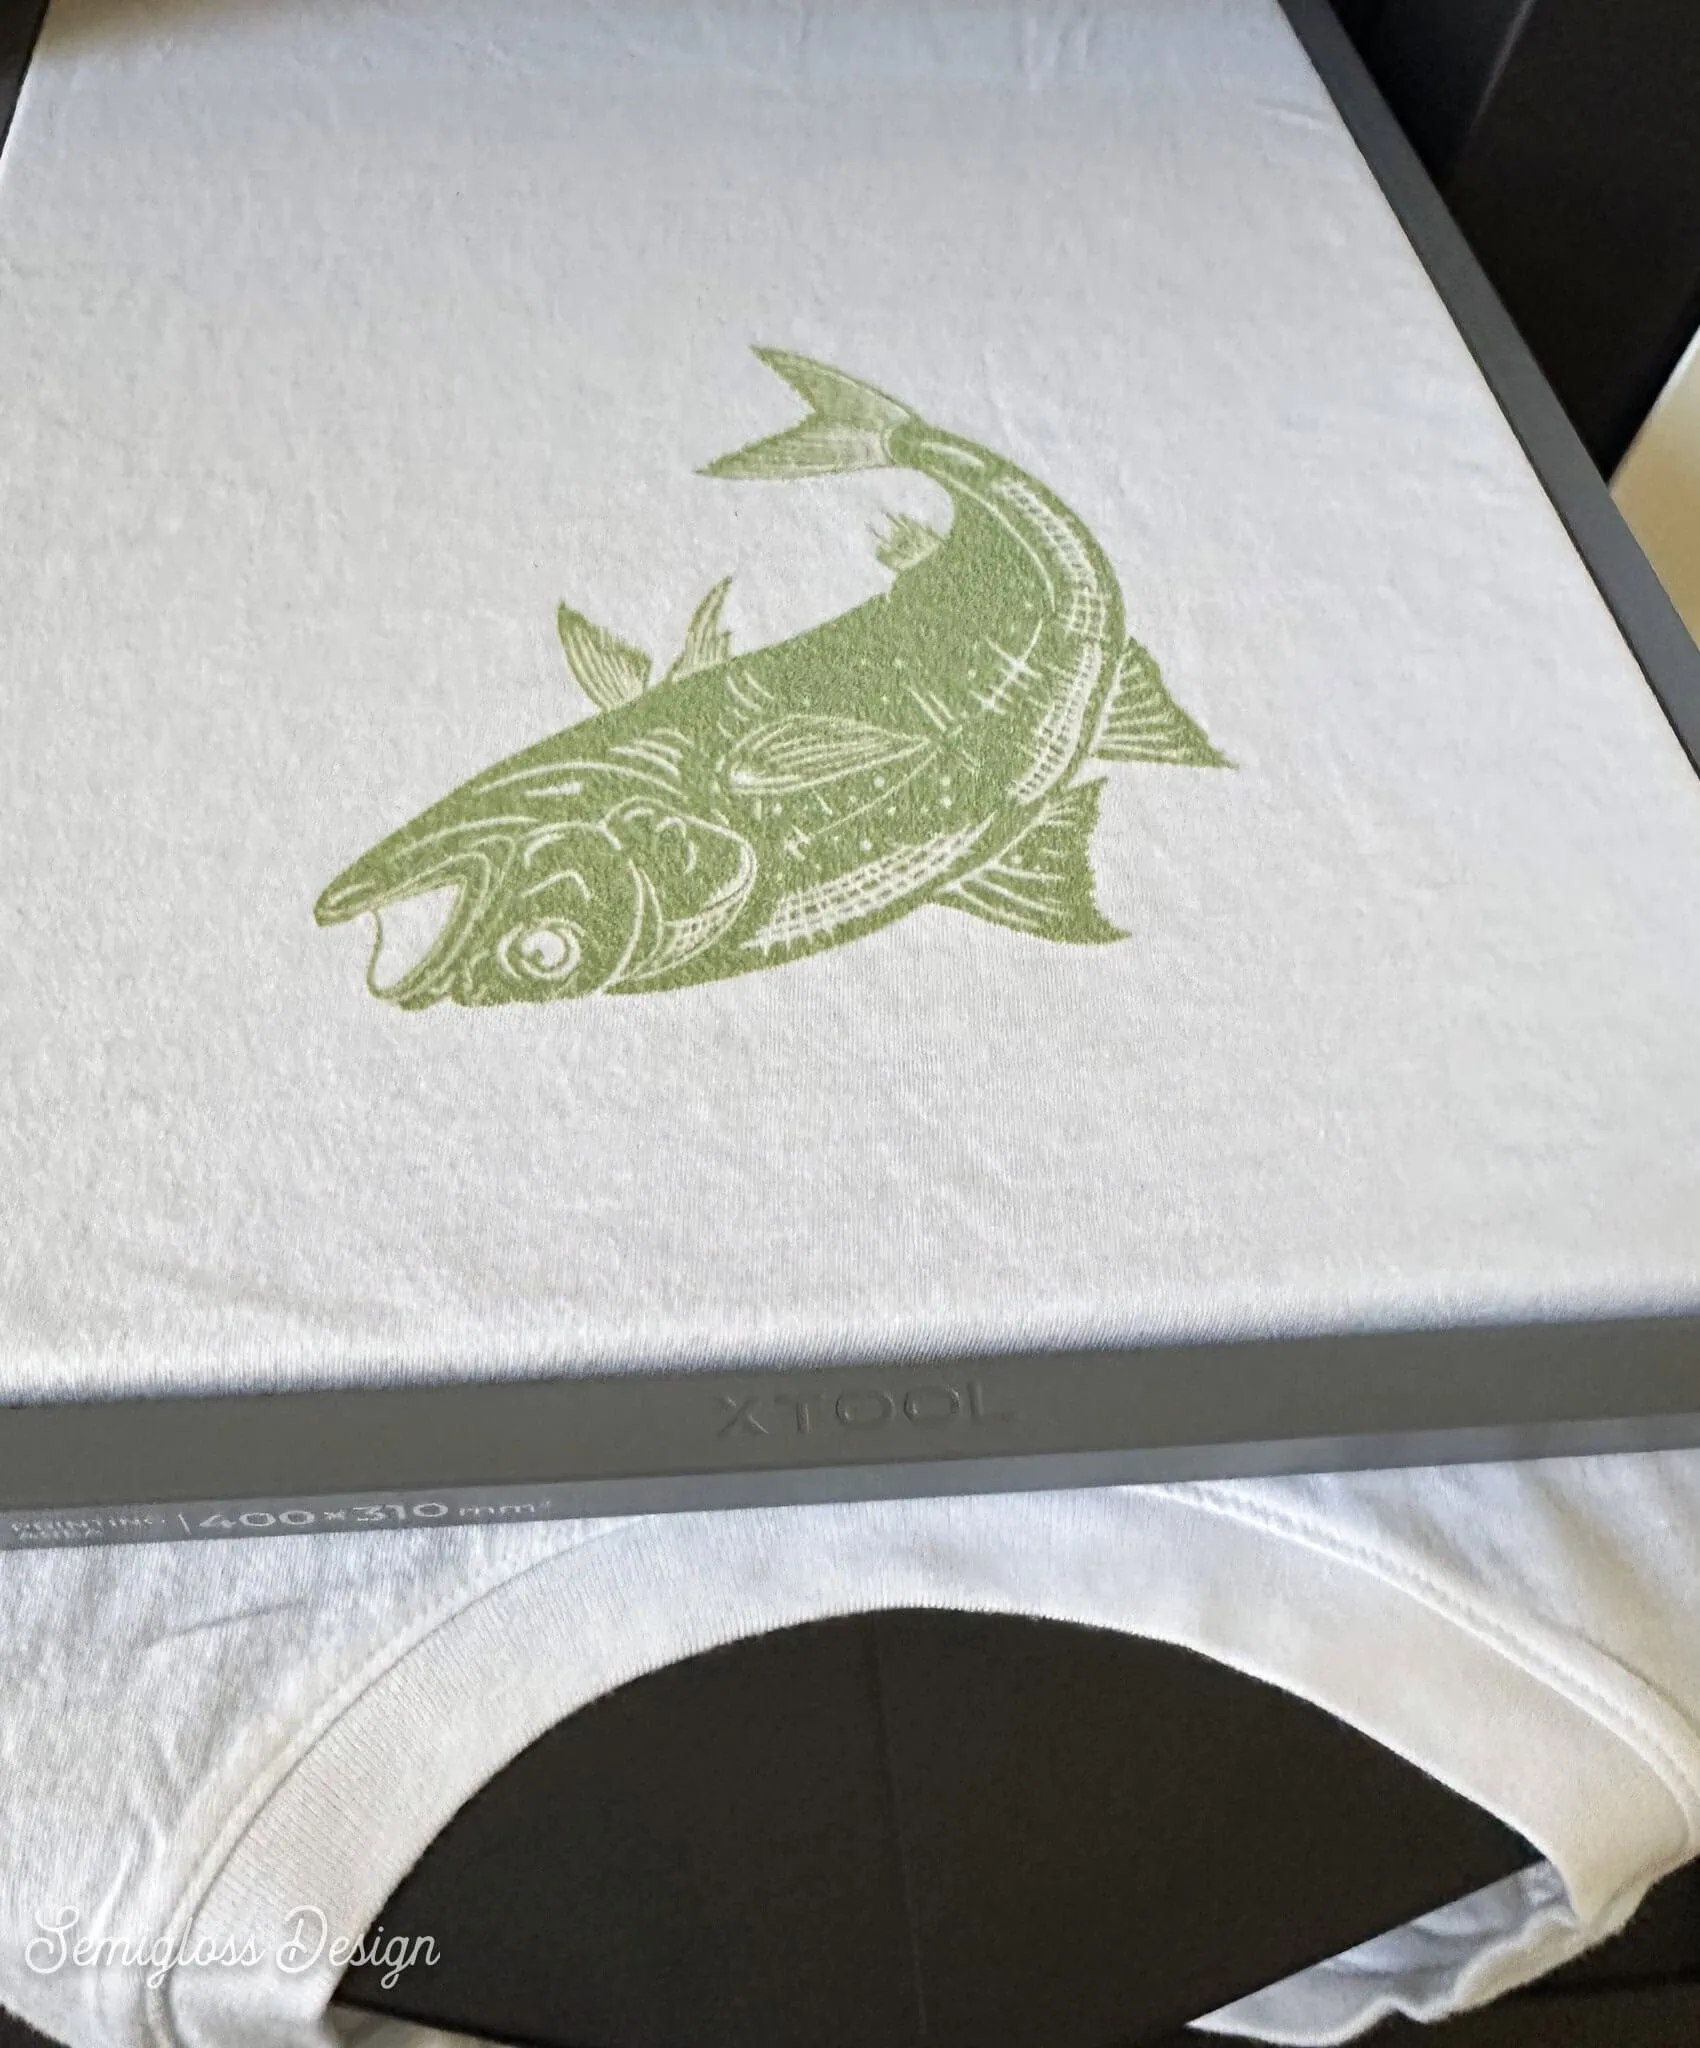
- When it’s finished, let it sit for about 5 minutes before you touch it.
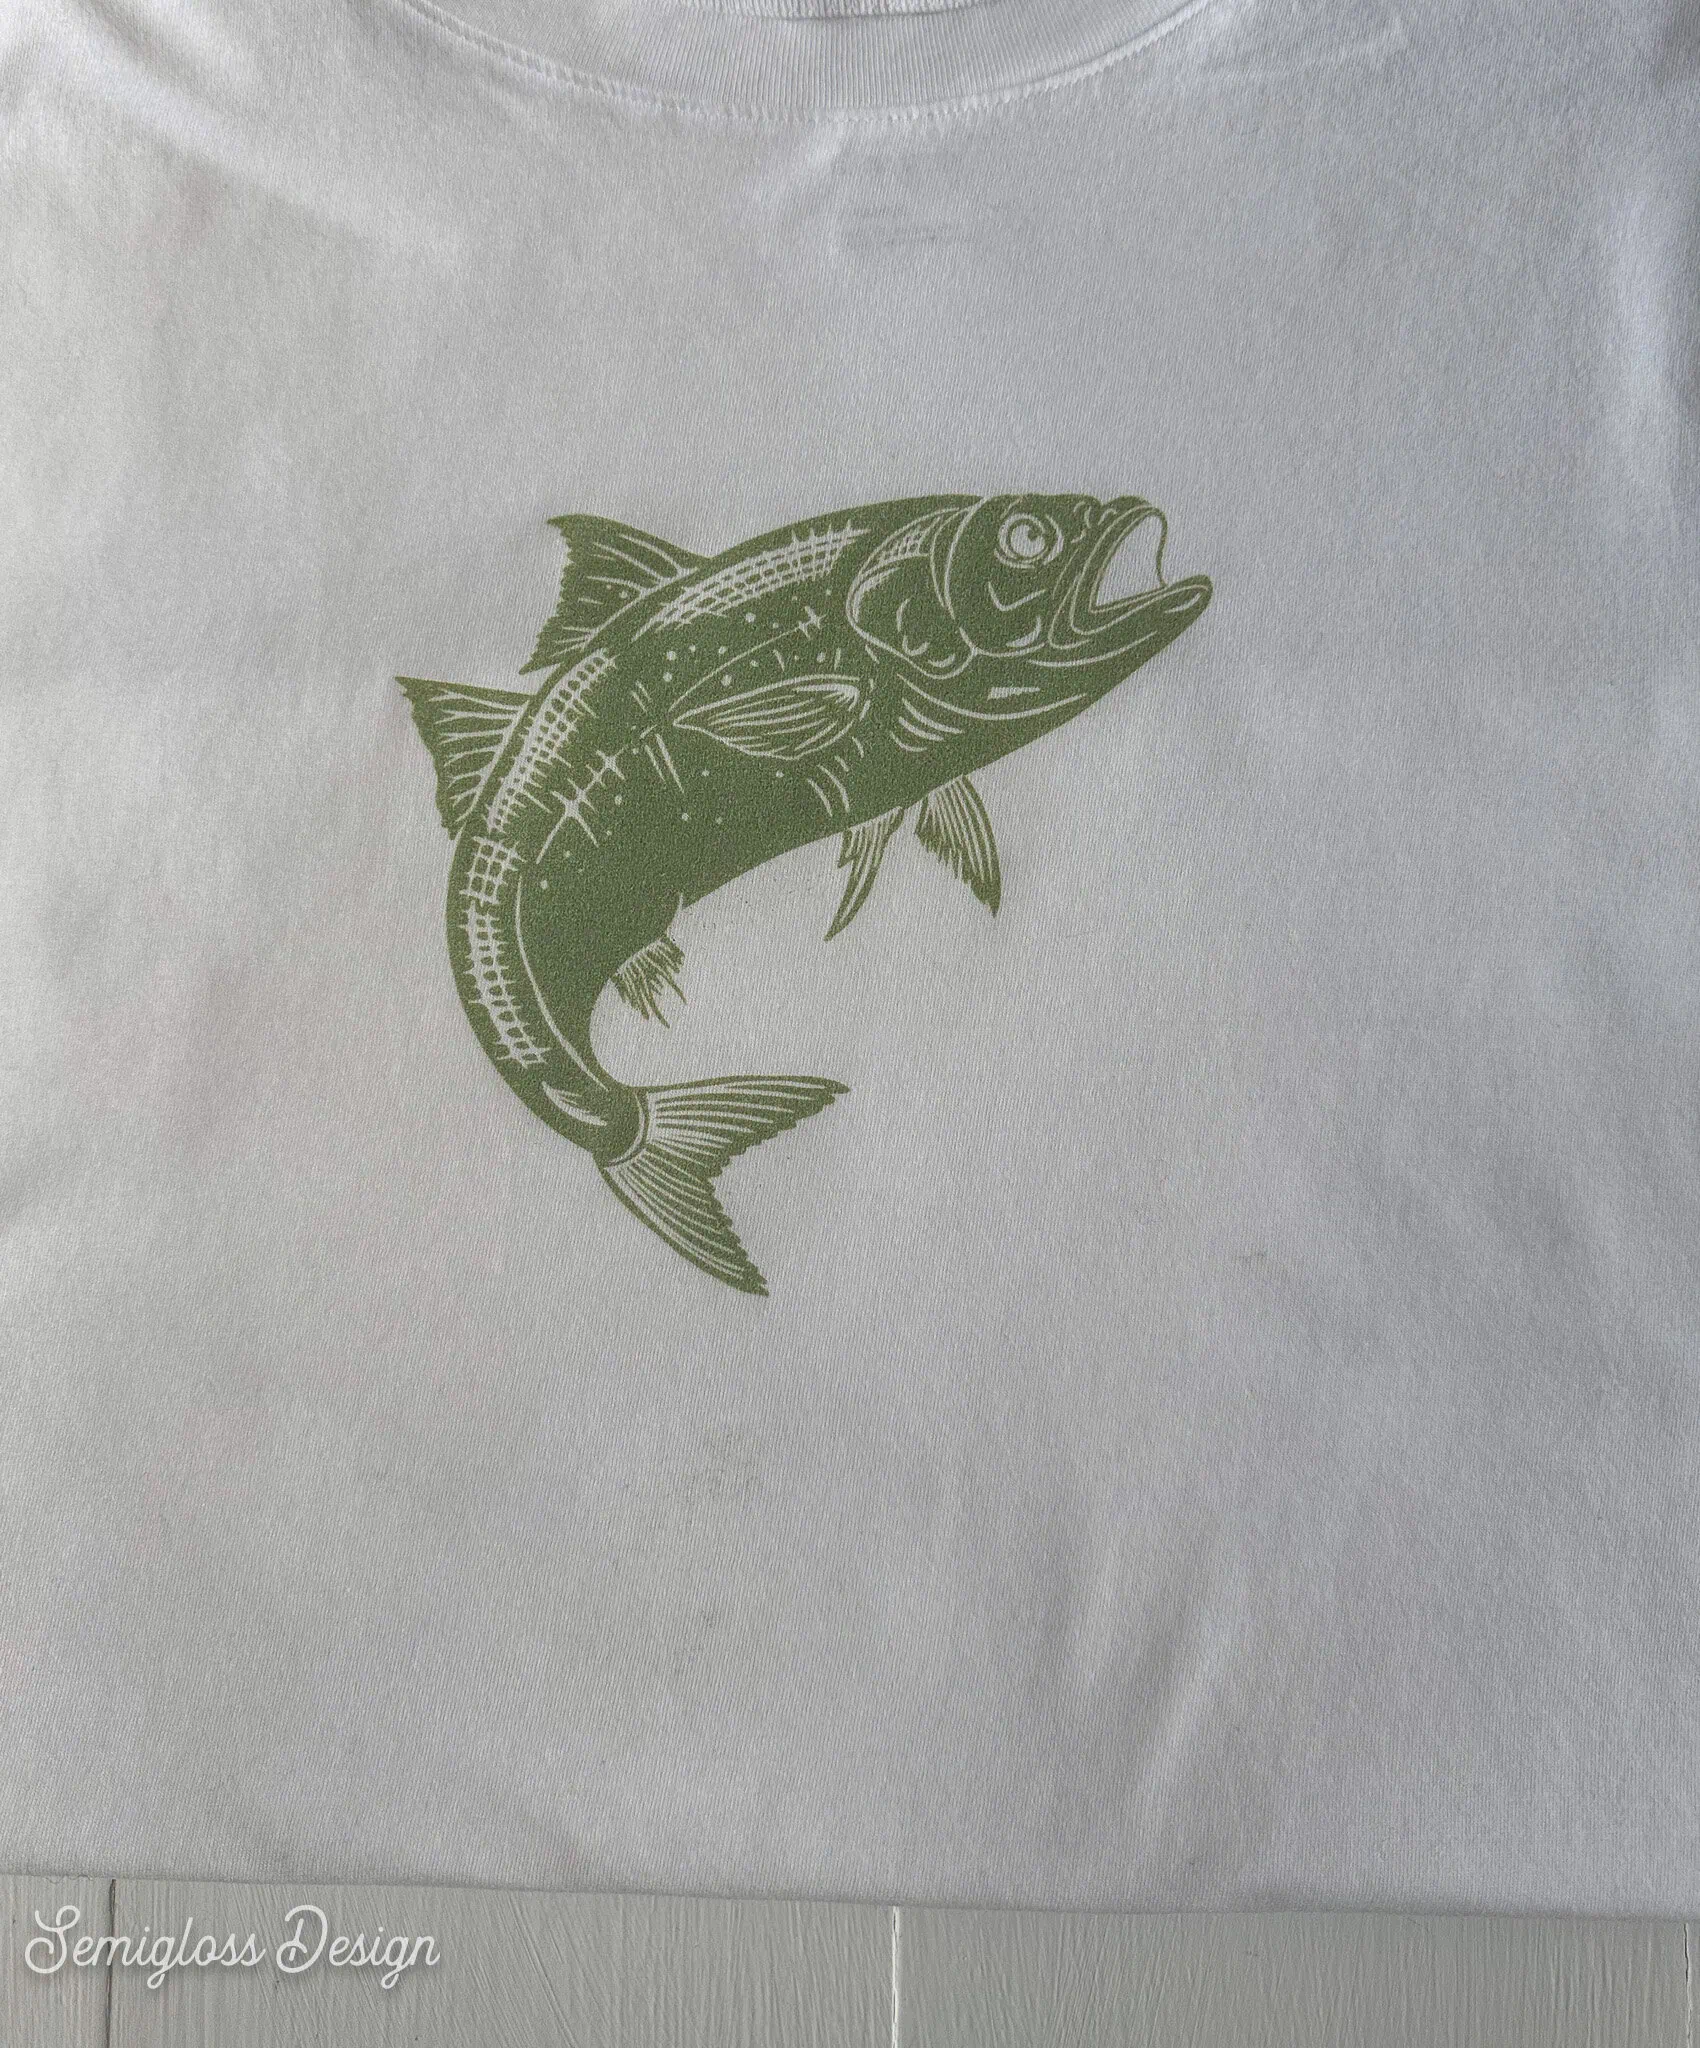
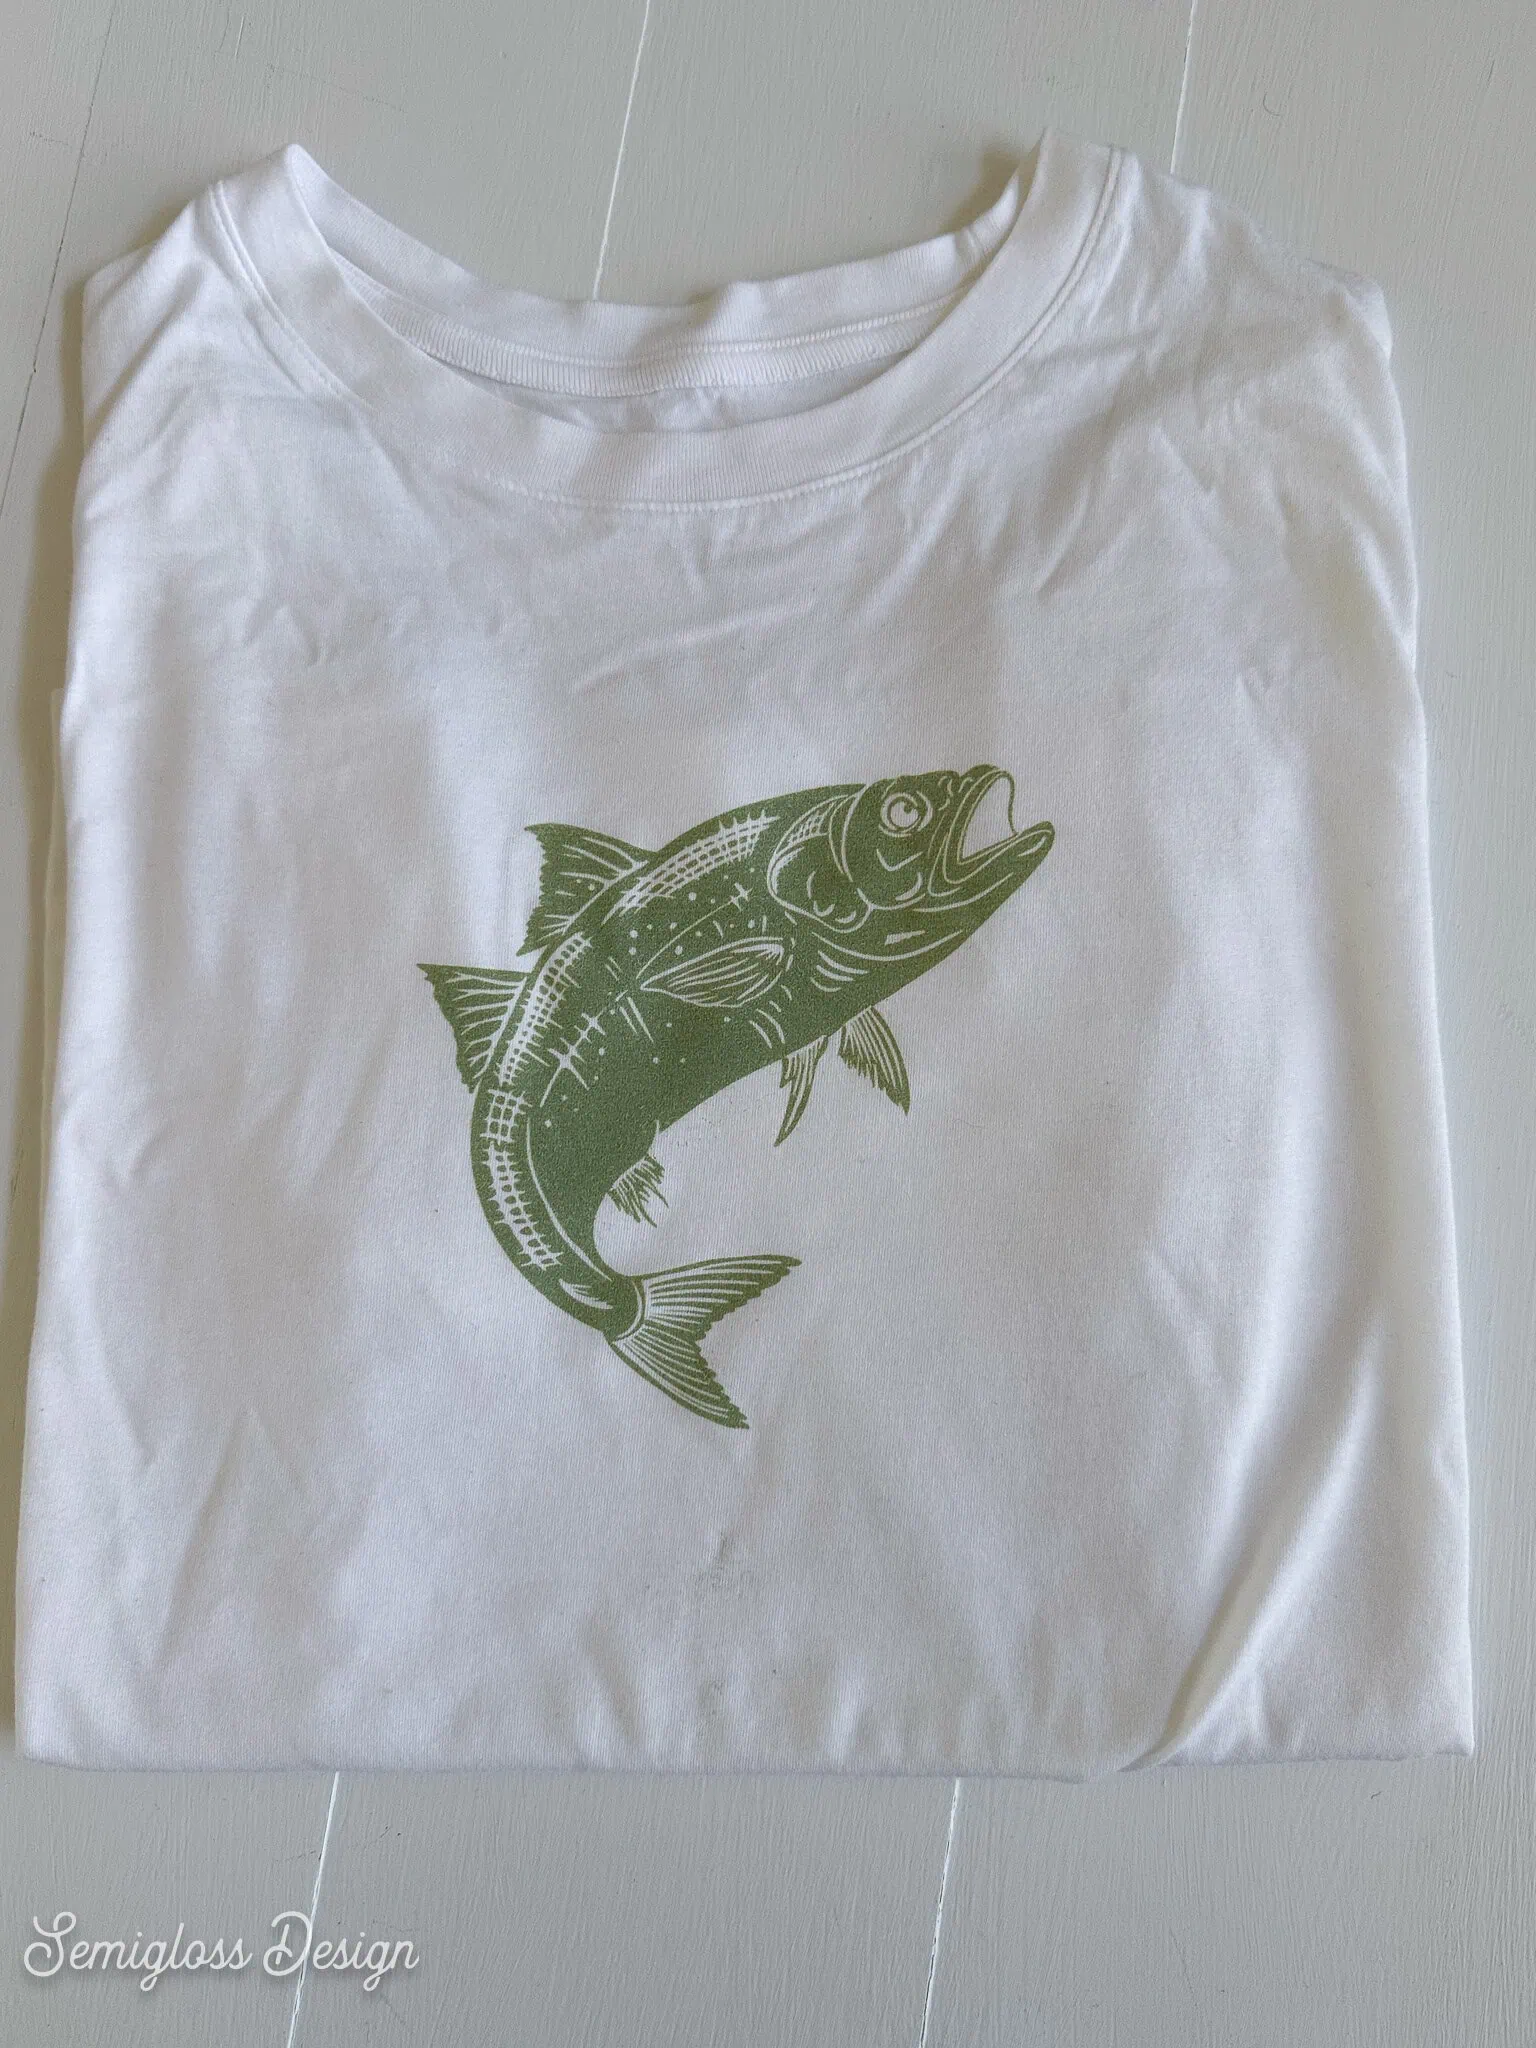
- The image can look a bit weird before pressing. Don’t worry, though! It looks better after the heat press.
- When you remove the shirt, make sure it doesn’t rub against itself.
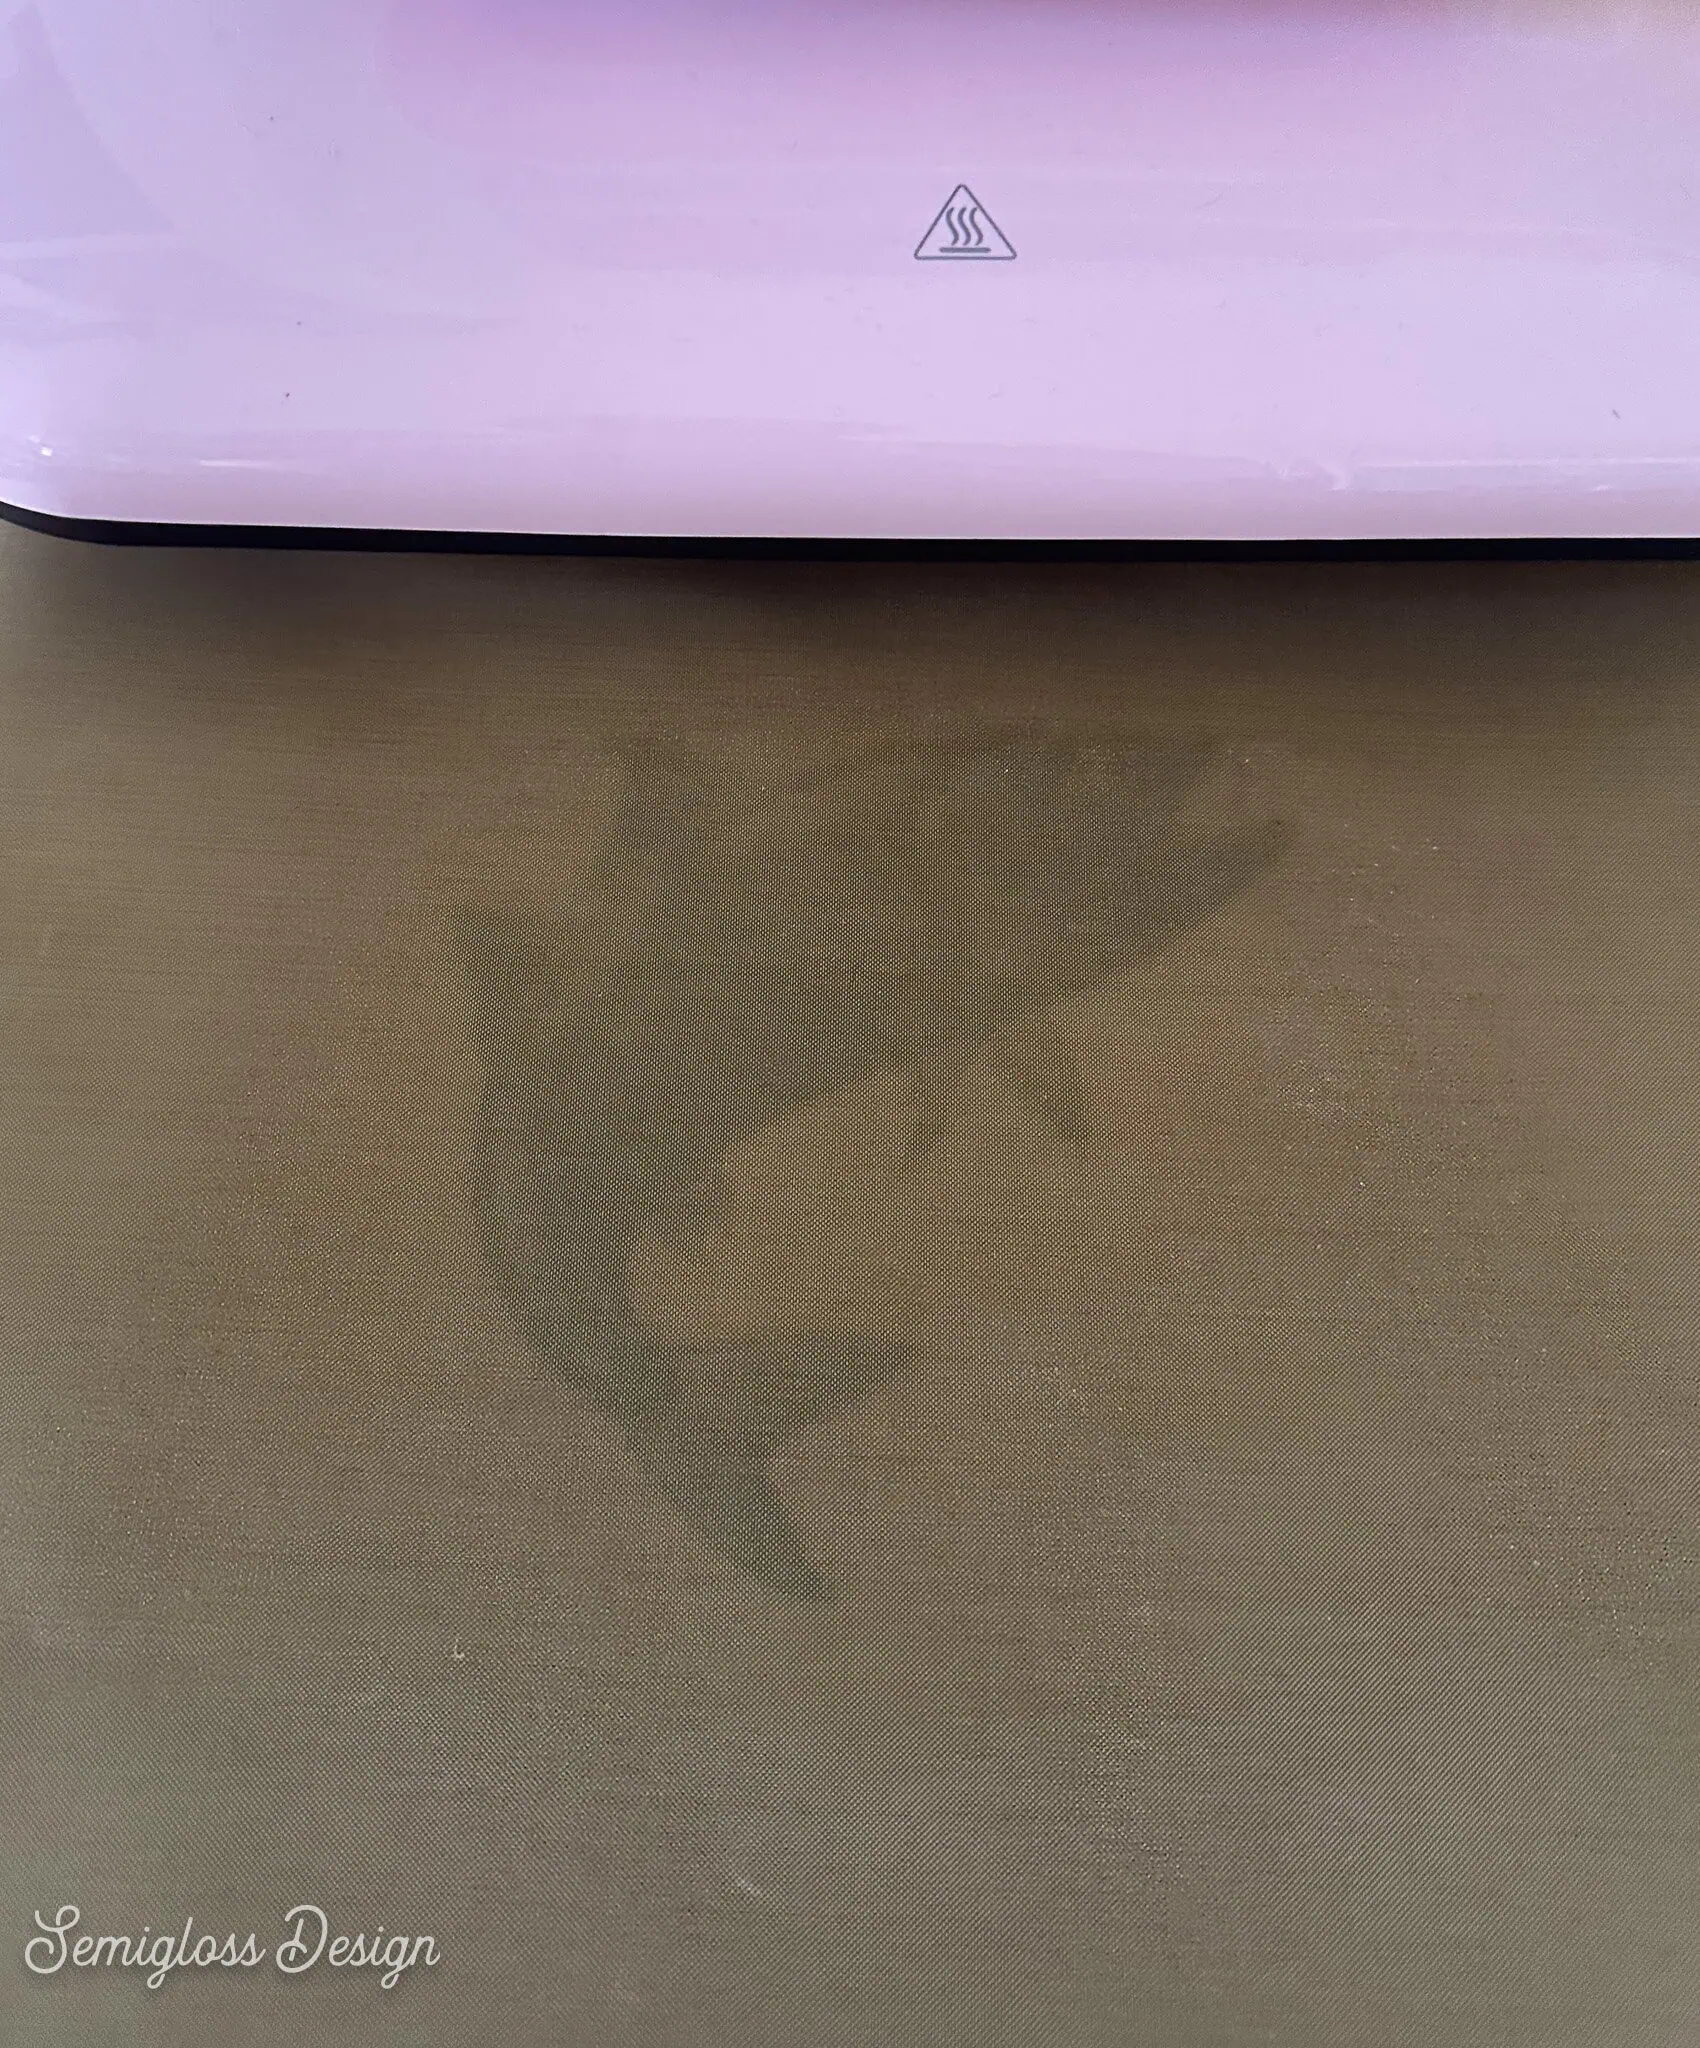
- Carefully place it in your heat press. Place a Teflon sheet on top. Don’t slide it.
- Press the shirt at 320 for 60 seconds.
- Let it cool off before removing it.

DTG Printing on Black (or Colored) Shirts
Other Supplies Needed:
- Black shirt
- Heat Press
- Pre-treatment spray for dark fabric (included with garment tray)
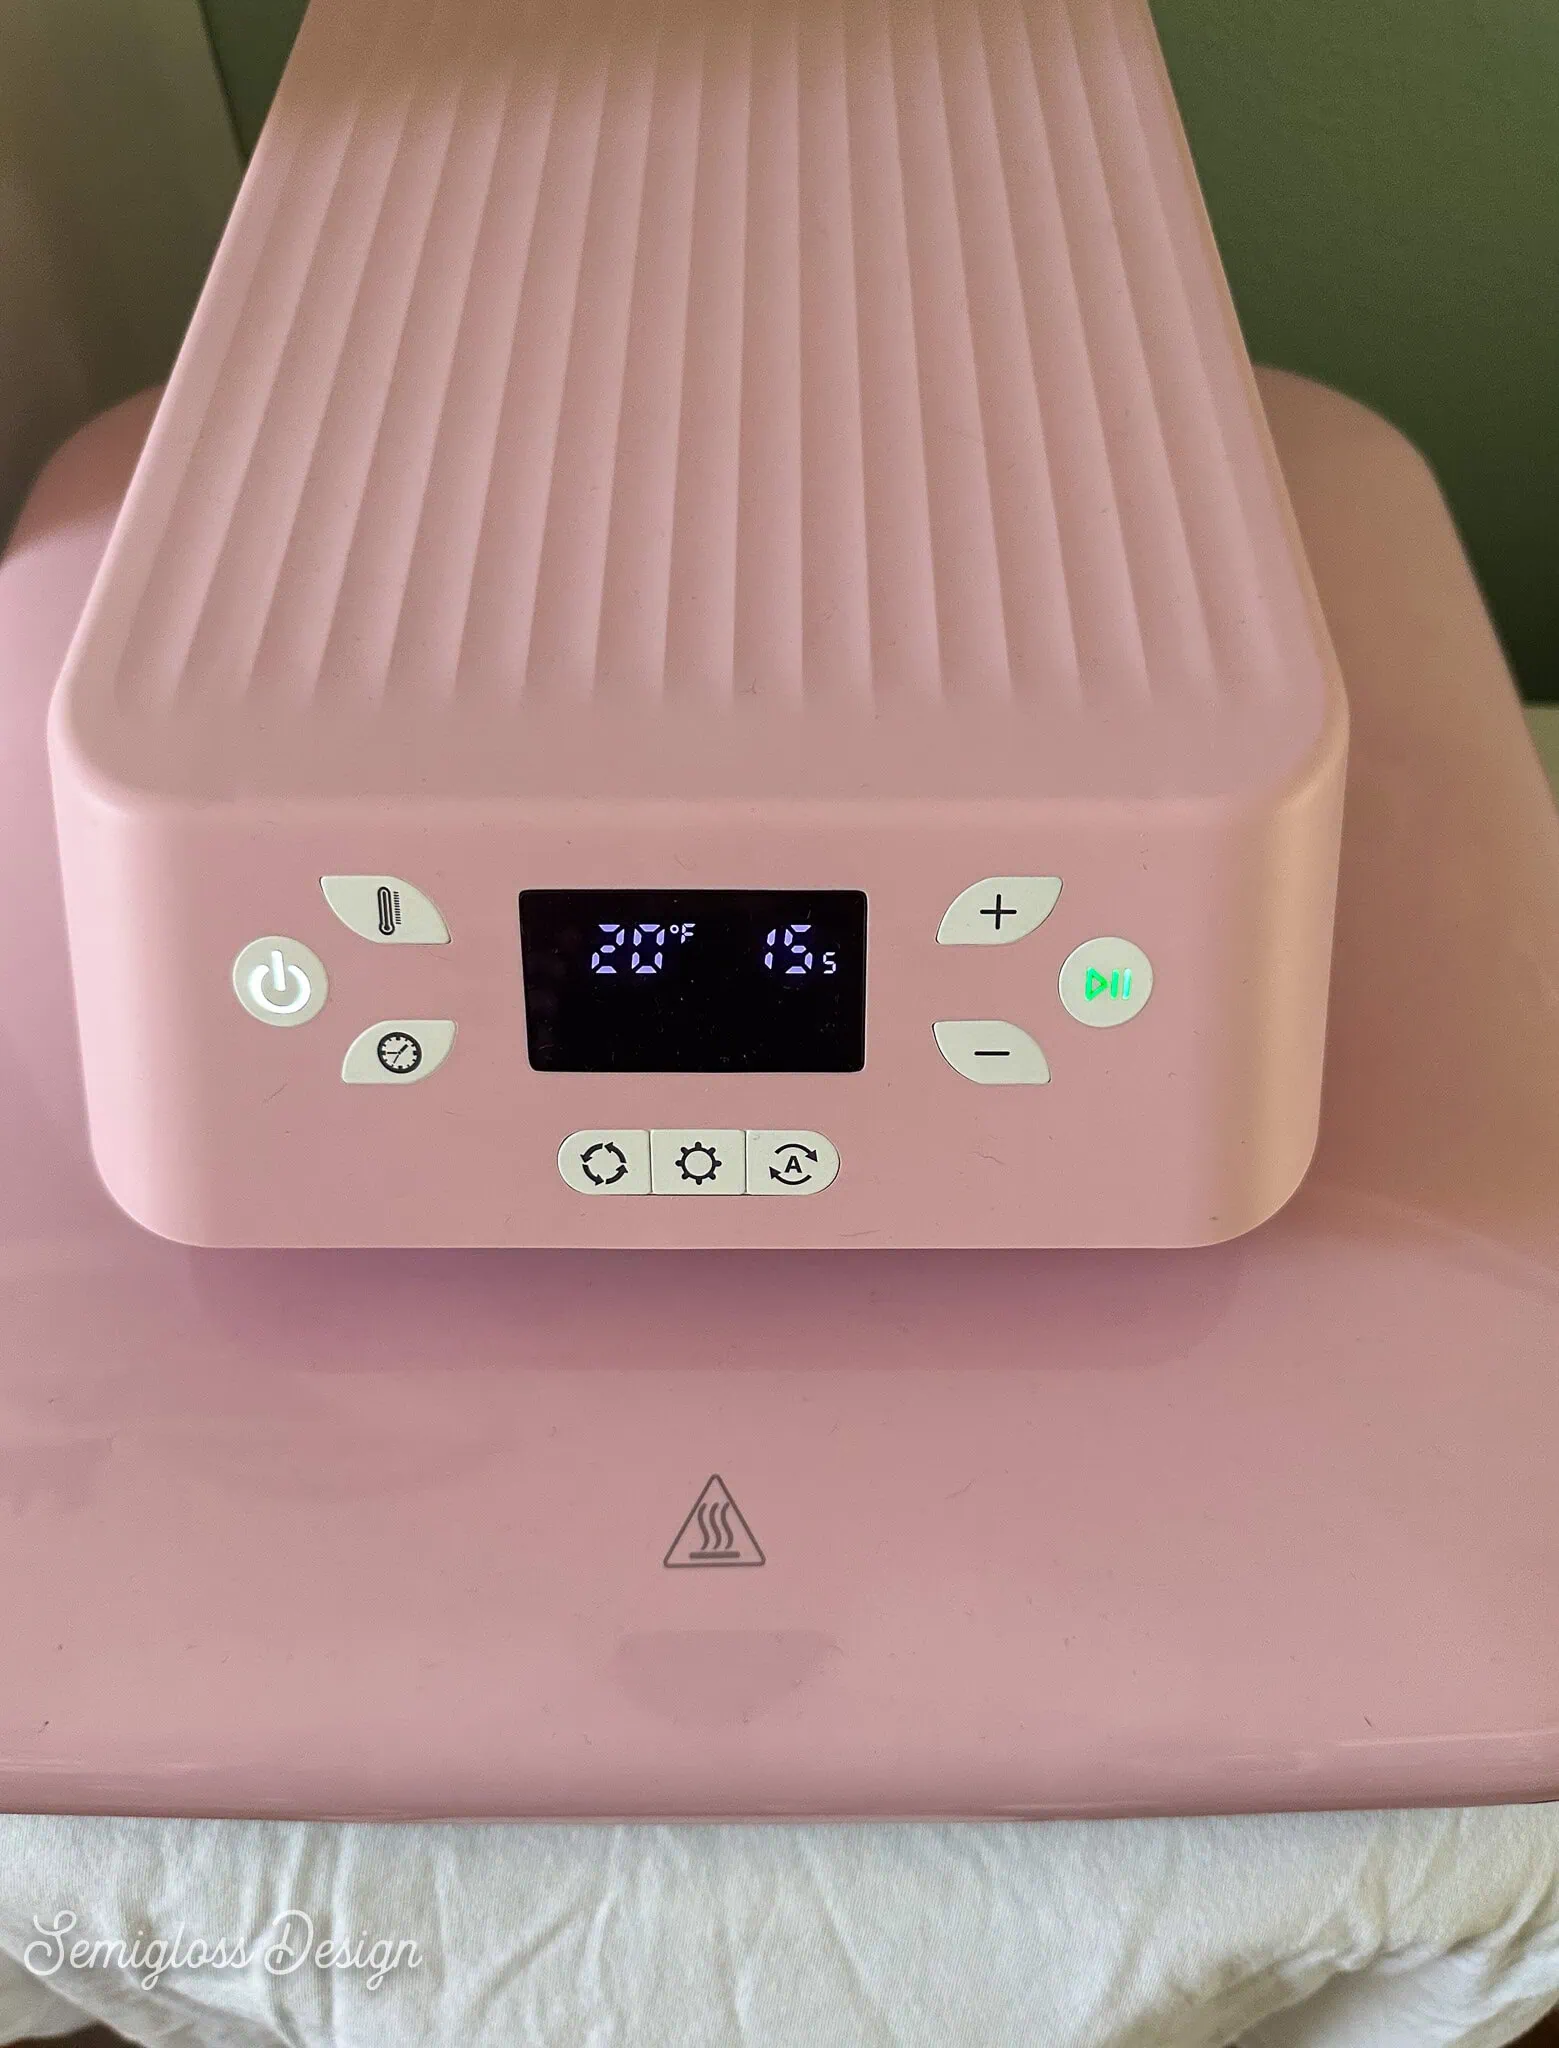
Black and colored shirts require pretreatment. It’s really easy, though!
Directions
- Press the shirt at 320 F degrees for 10 seconds.
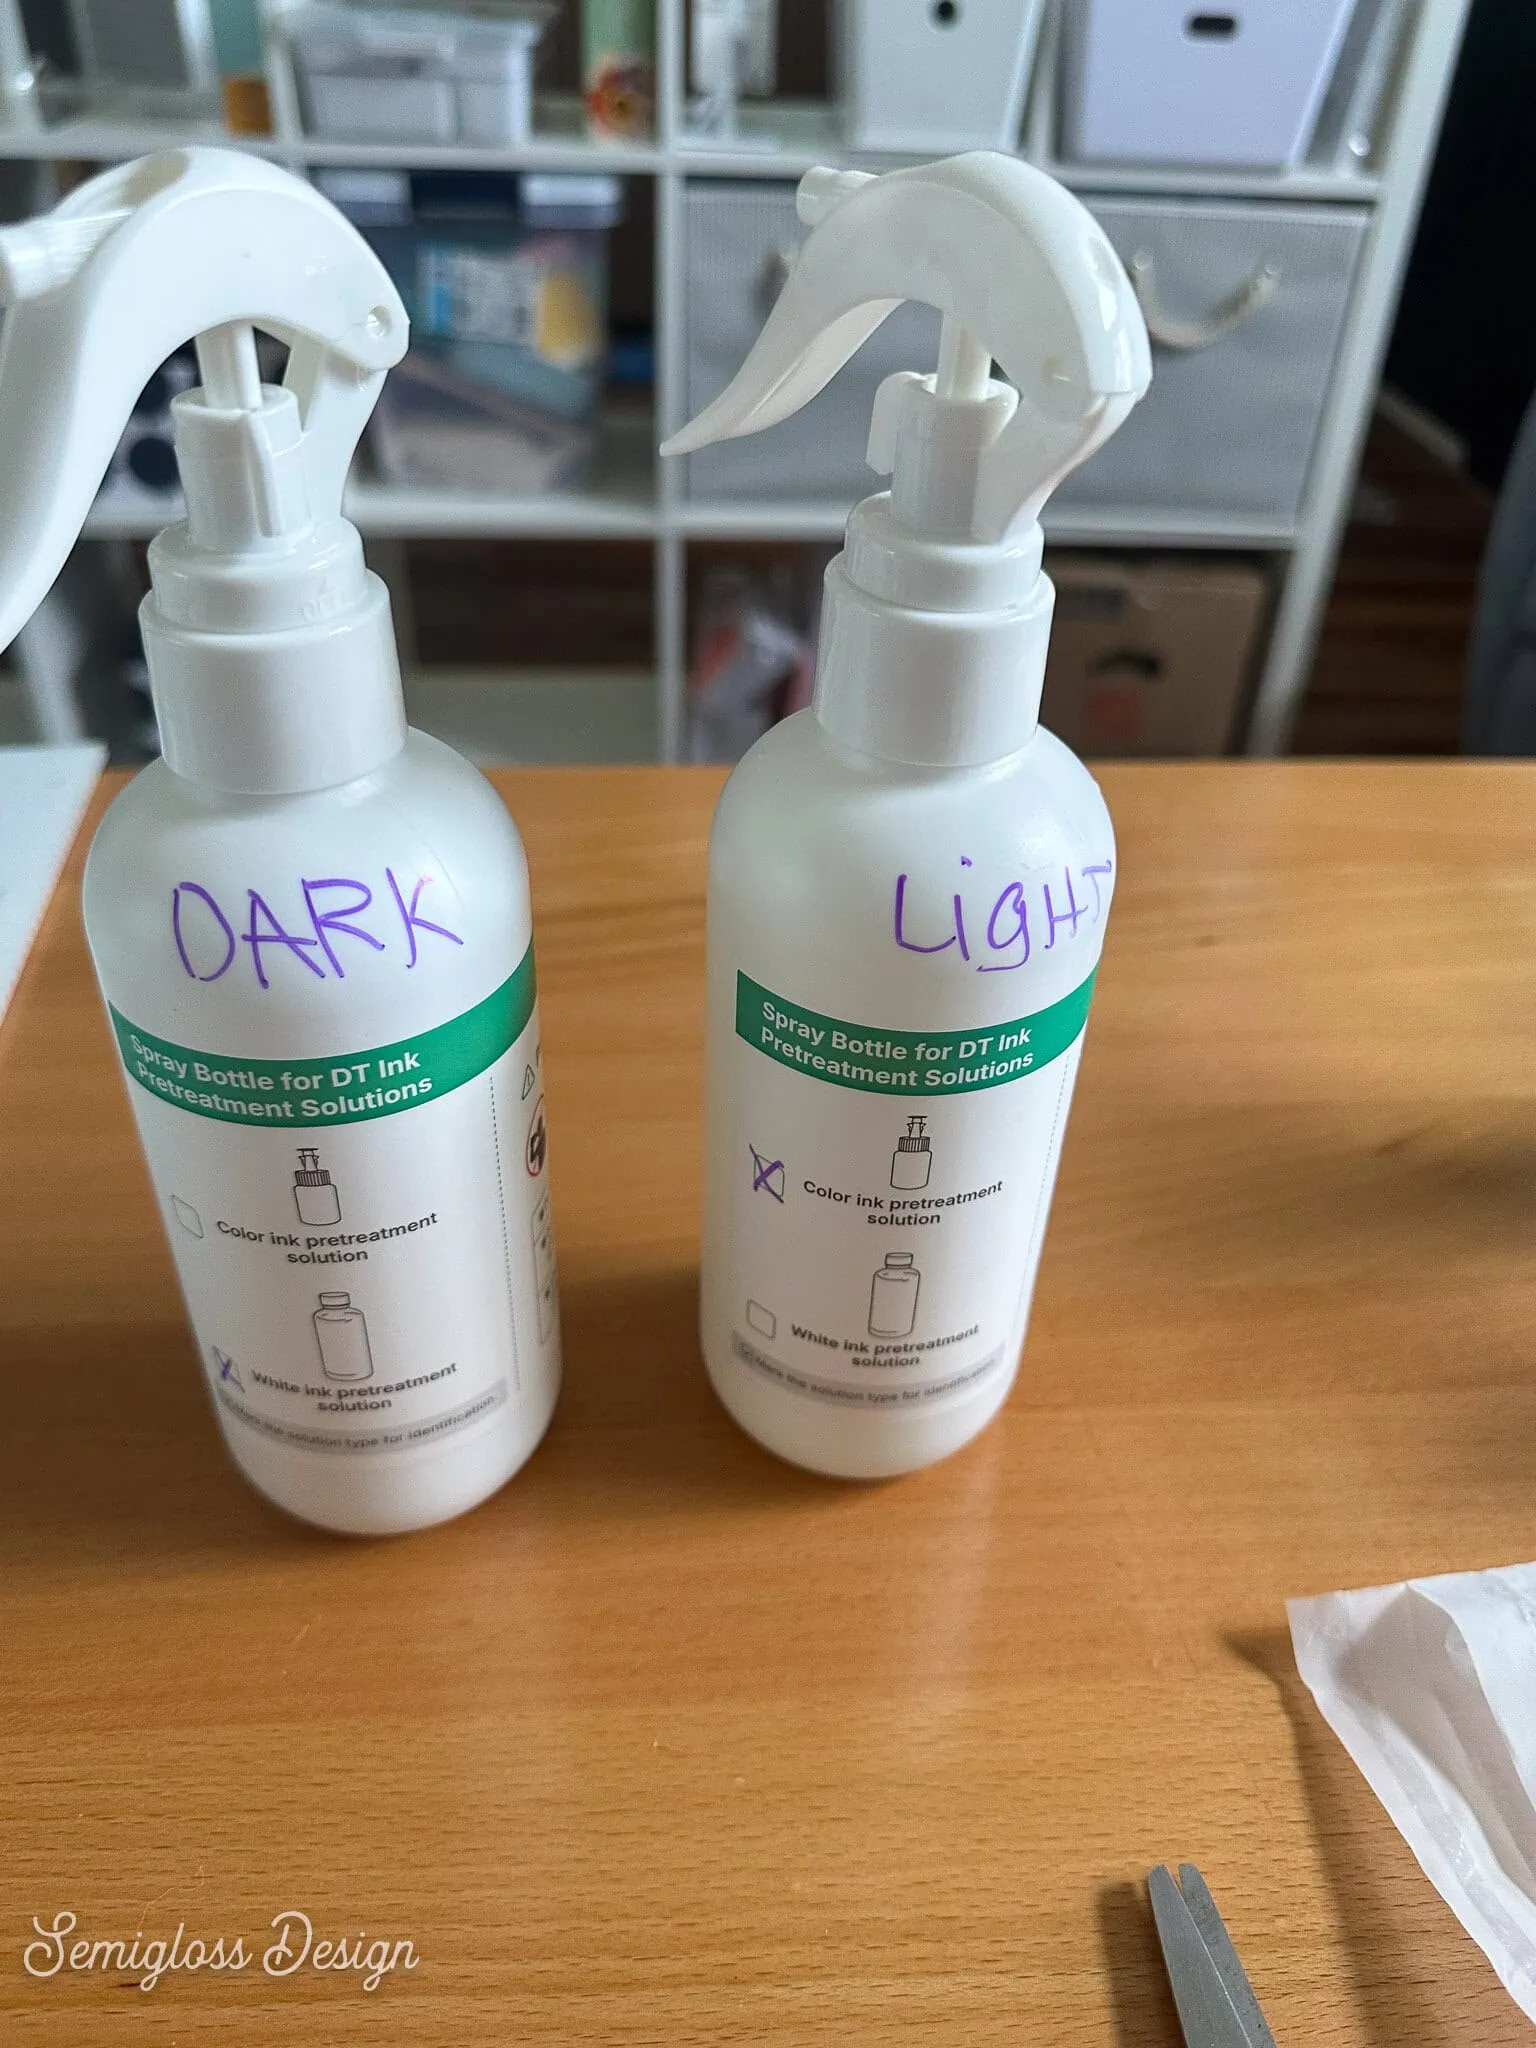
- Remove it and lay it flat. The garment tray comes with pretreatment spray. Fill the bottle almost to the top, then add about 9 drops of the solution. Make sure you label it. The checkboxes are confusing, so I wrote “Dark” (fabric) on the bottle.

- Replace the lid and shake the bottle.
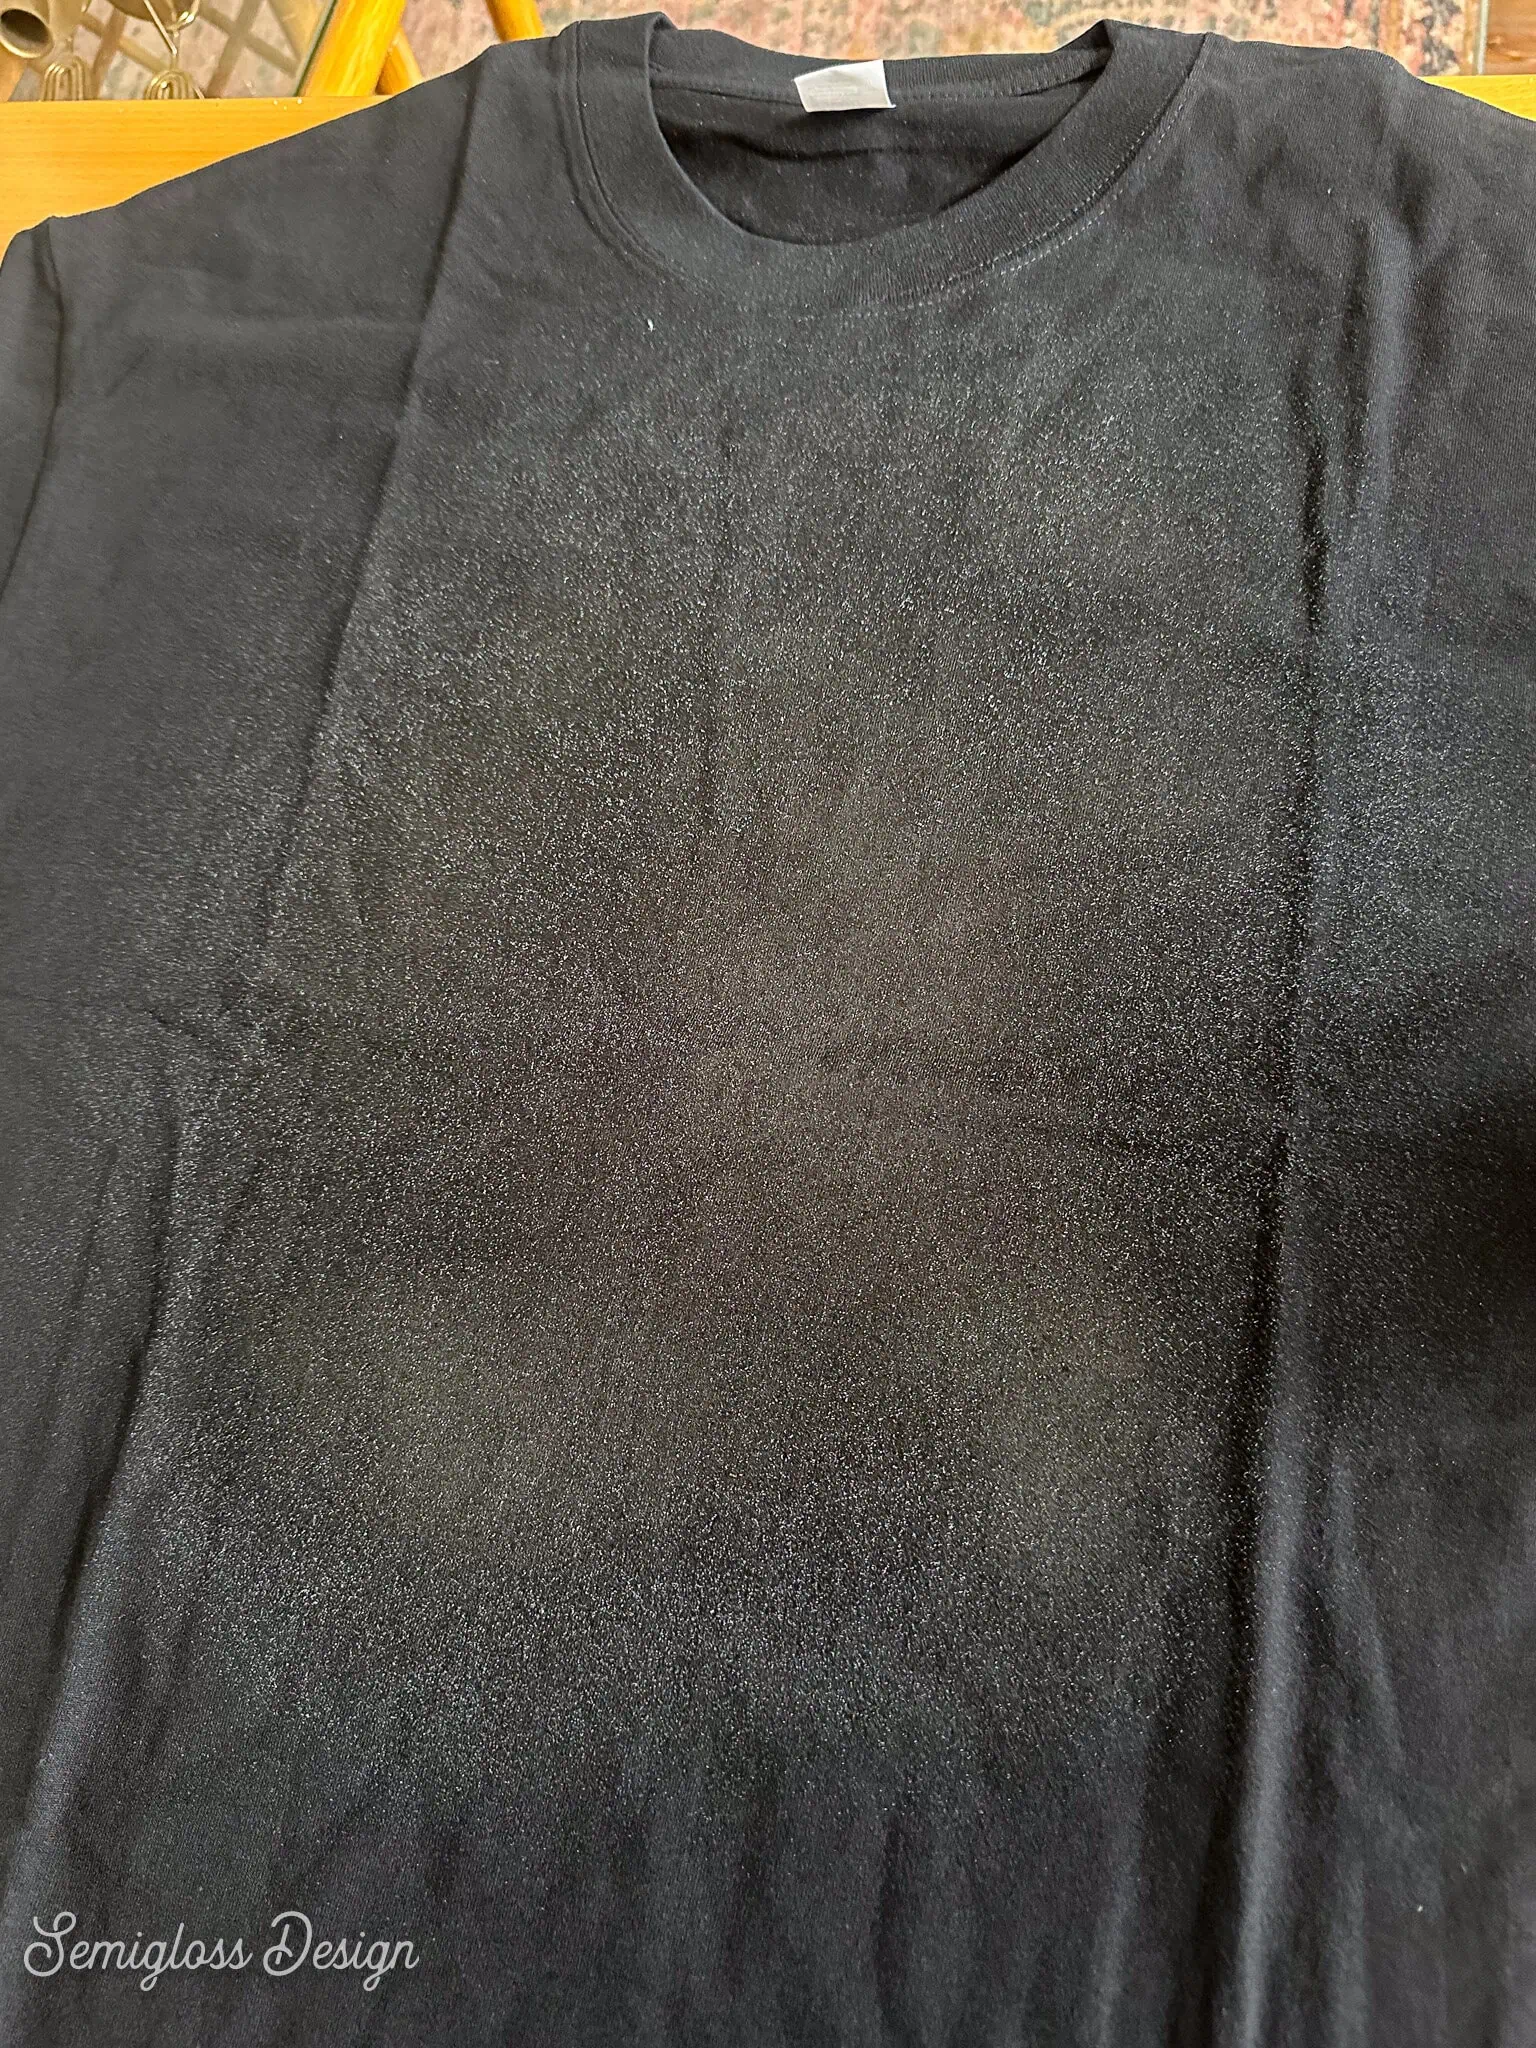
- Spray the shirt. You should be able to see the spray on the shirt. It looks white on a black shirt. Be generous.
- Press the shirt at 320 degrees for 60 seconds.
- Follow the instructions above until you get to step 7. Choose a black T-shirt for the material.
- In step 11, change the white layers to 3. This gives the colors more opacity over the black shirt.
- Follow the rest of the directions above.
Tips For Getting a Perfect Print
- Don’t skip the pre-treatment spray when printing DTG on dark colors. Be generous with the spray. It should be visible. On black shirts, it almost looks white. Colored shirts look wet.
- Don’t move the shirt from the printer right away. The ink is still wet. The instructions say to leave the shirt for about 3 minutes. The ink can still transfer to other parts of the shirt.
- Be really careful when moving the shirt to the heat press. Don’t let it touch itself or ink will transfer.
- If you use a Teflon sheet, be very careful not to drag it across the ink when sliding the T-shirt into the heat press.
- For colored shirts, use at least 3 coats of white. It will look so much better.
- A good design is key. If you start with a pixelated design, it will show on the shirt.
- The garment baseplate is a bit large for smaller T-shirts, so bunching can occur if you try to slide the T-shirt onto it. It’s best to lay it on top and place the frame over it.
FYI: I’ve tested printing a thinner T-shirt, and there was no bleed-through.
DTF Transfer on Shirts
This method feels a lot more involved, but once you make one shirt, you’ll see how easy it is. I made 3 projects in a row!
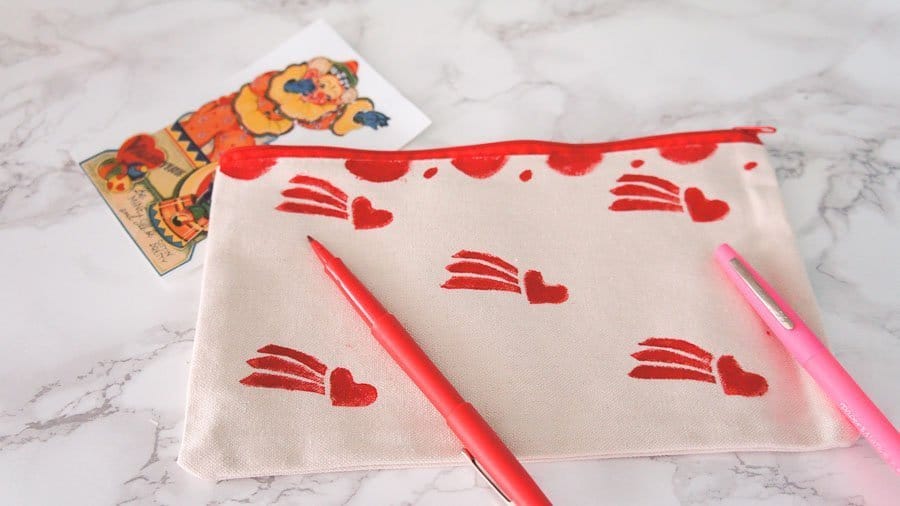
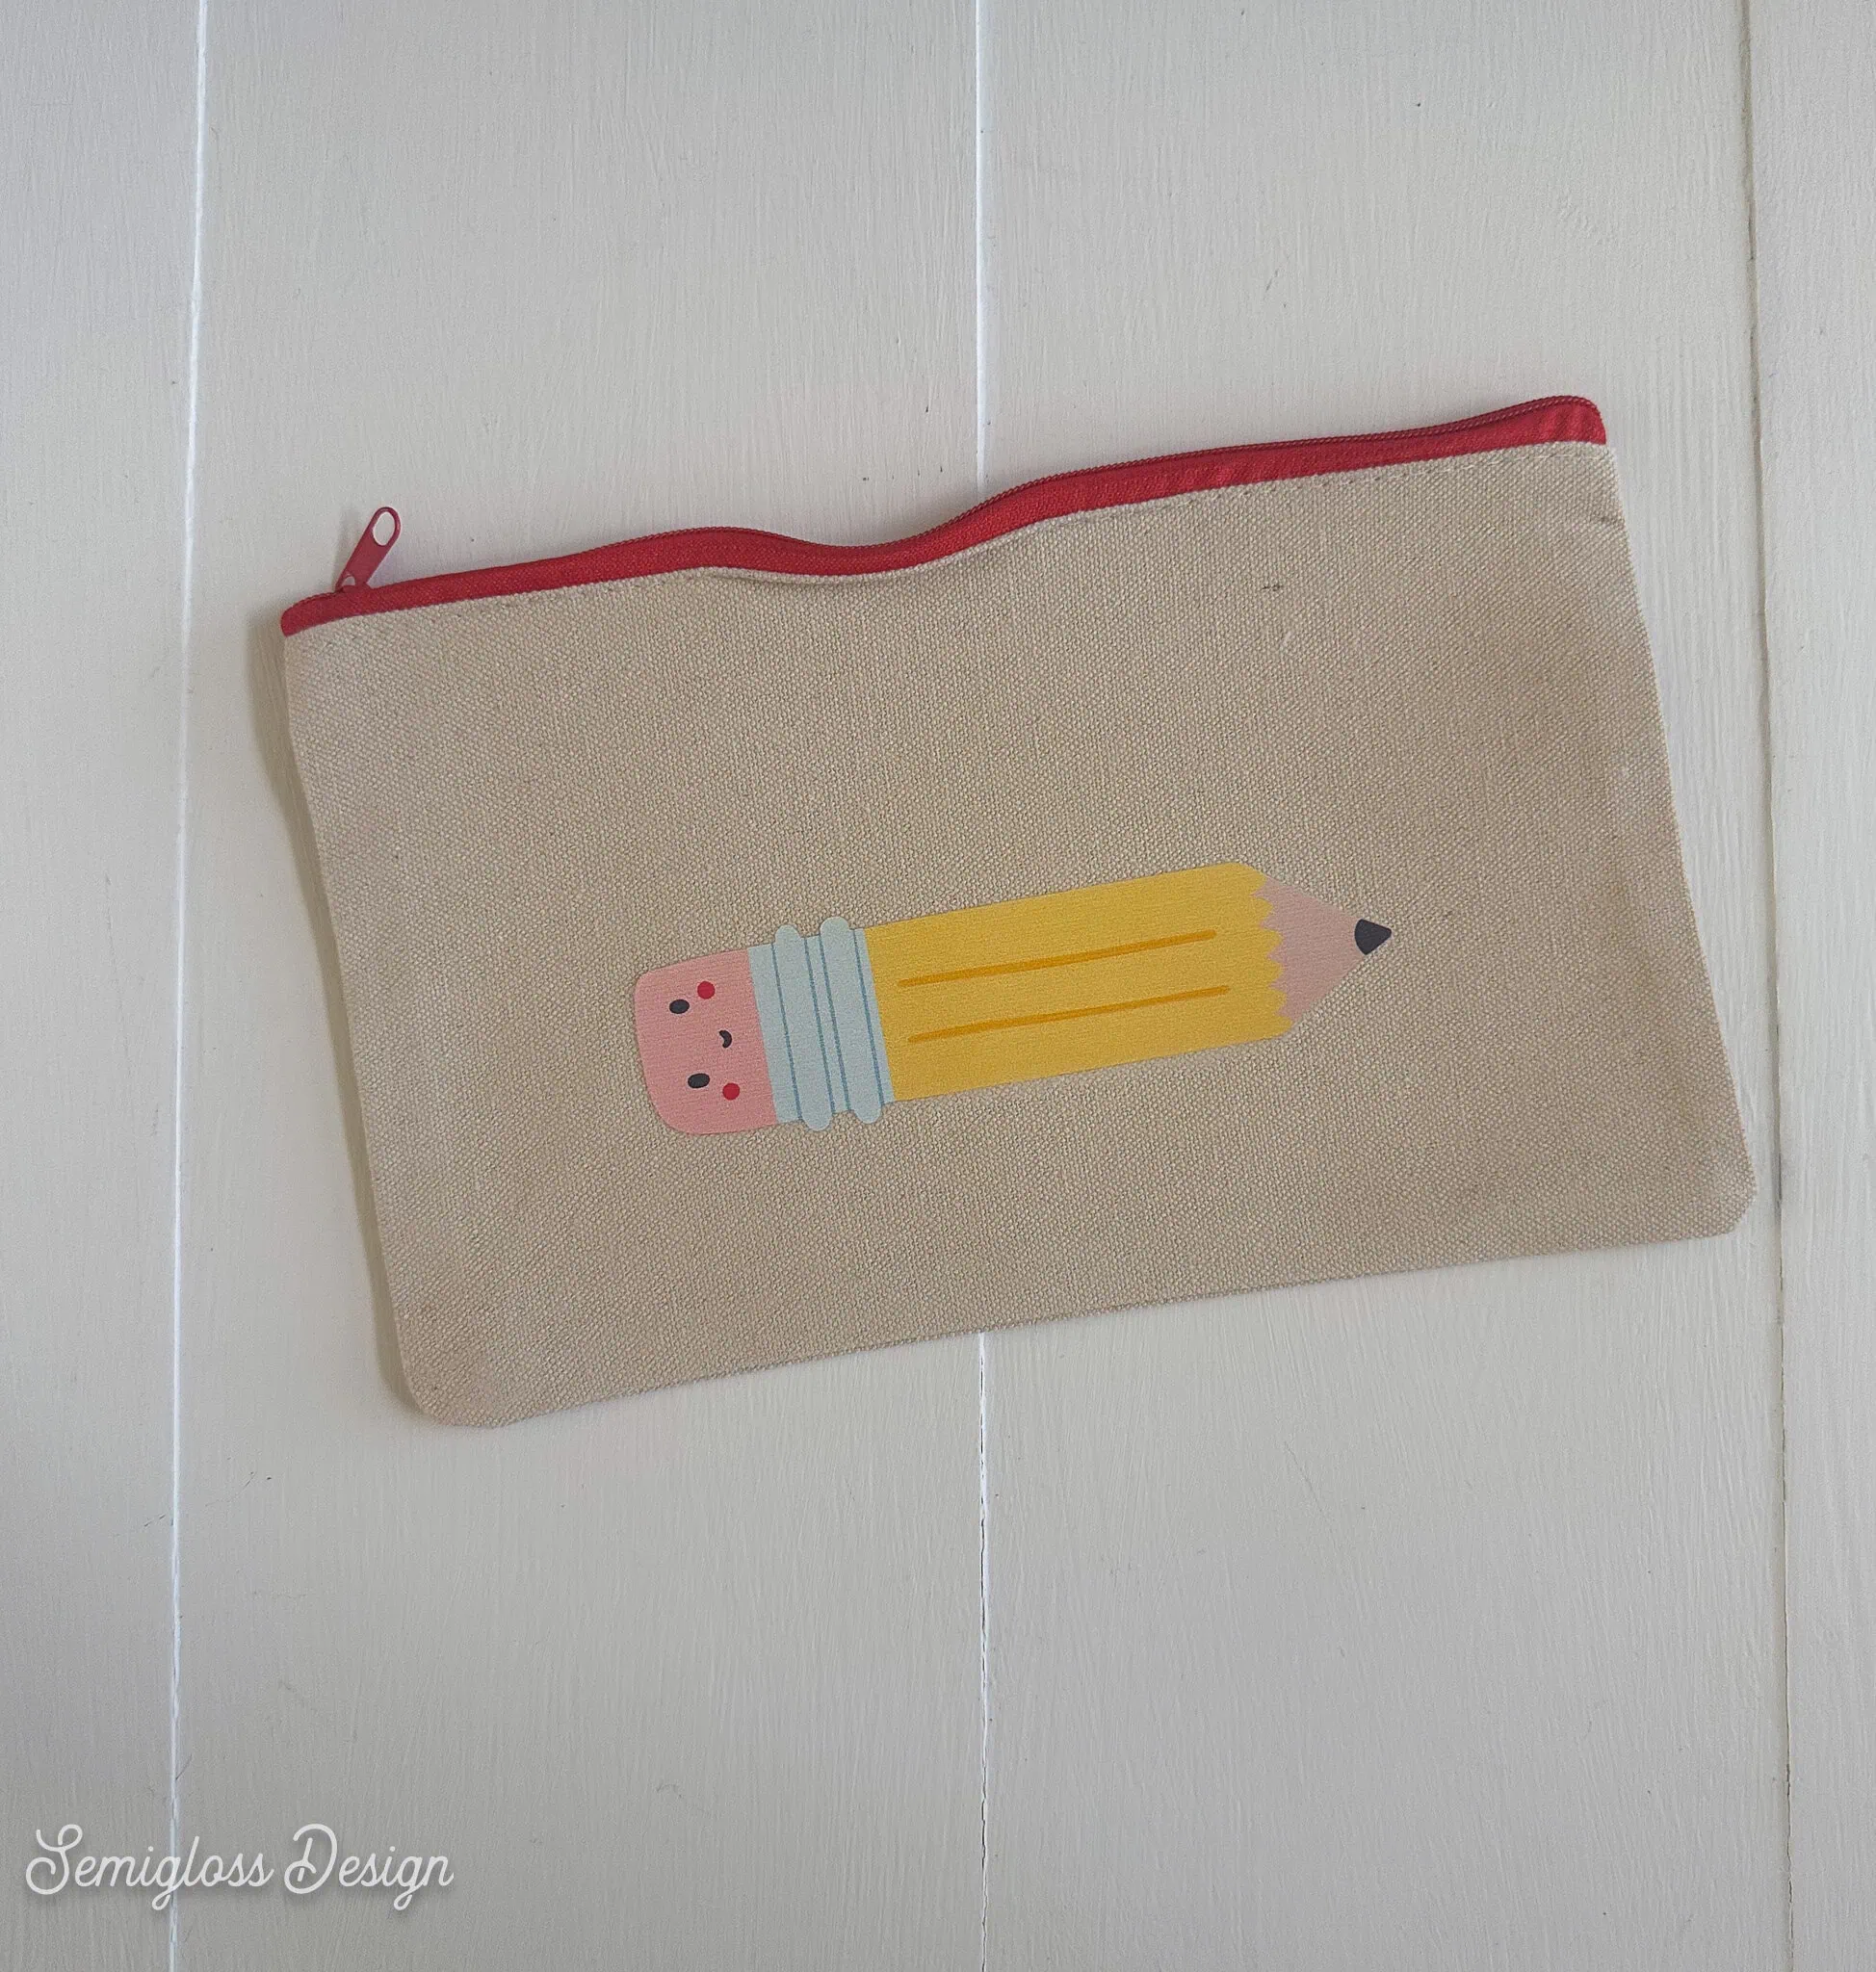
I always like to test a small project first, so I experimented with a DTF transfer on a pencil pouch. So cute!
Other Supplies Needed:
- Shirt
- Heat Press
- DTF Film
- Powder
- Container for Pouring Powder
- DTF Curing Oven
- Heat Resistant Gloves (the curing oven is HOT!)
If you don’t want to buy a heat press and a curing oven, the xTool Wonderpress and Craft Oven module is a great all-in-one solution.
Directions
These instructions include photos from a few different shirts in progress.
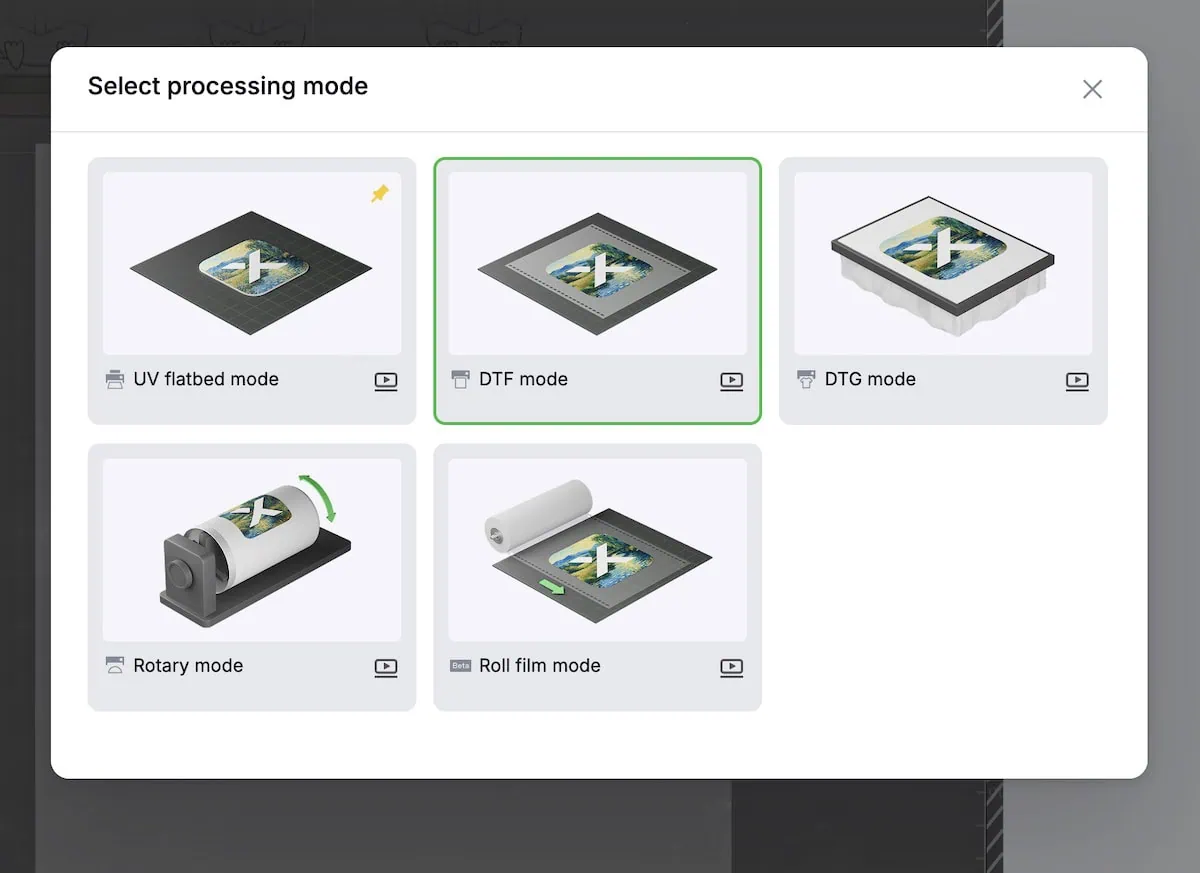
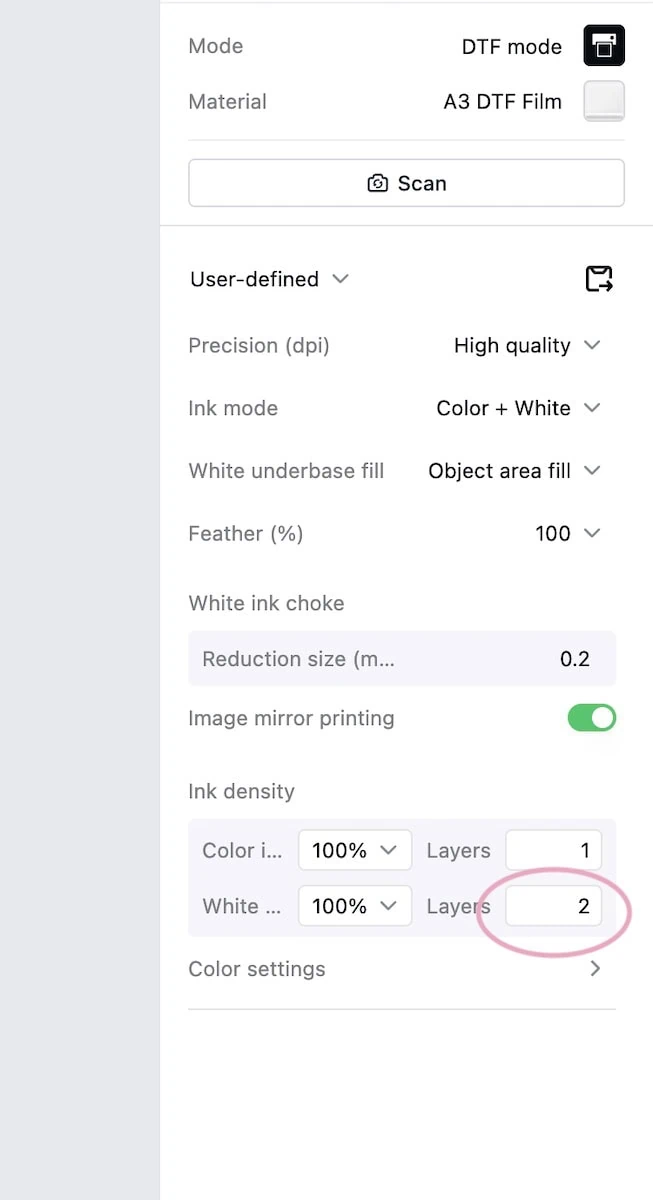
- In xTool Studio, set the mode to DTF.

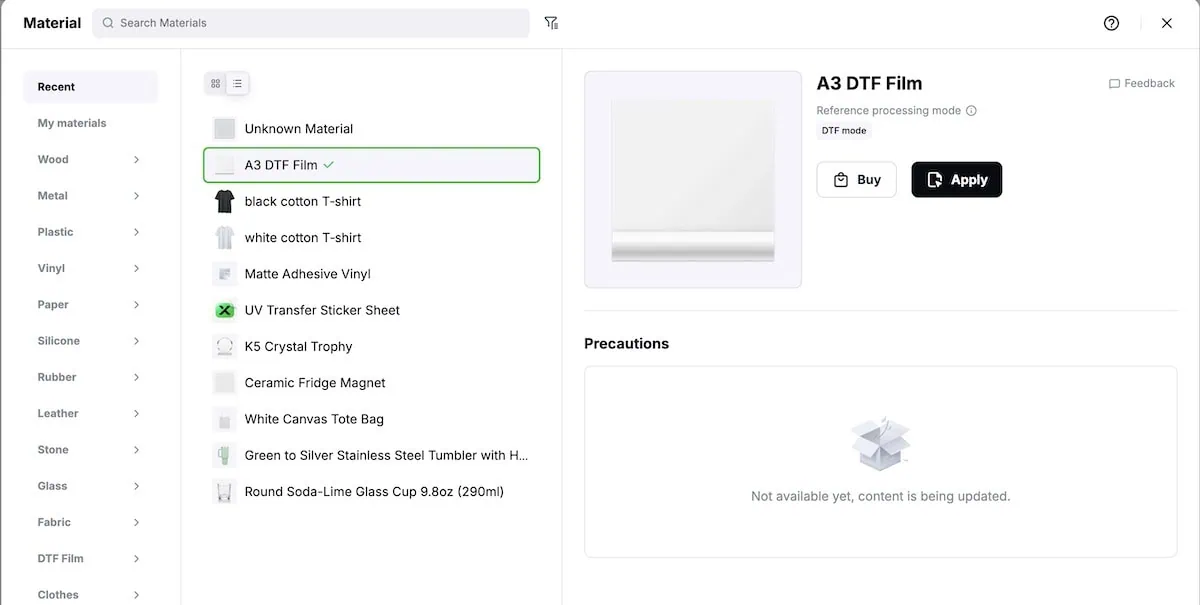
- Set the material to DTF transfer film.

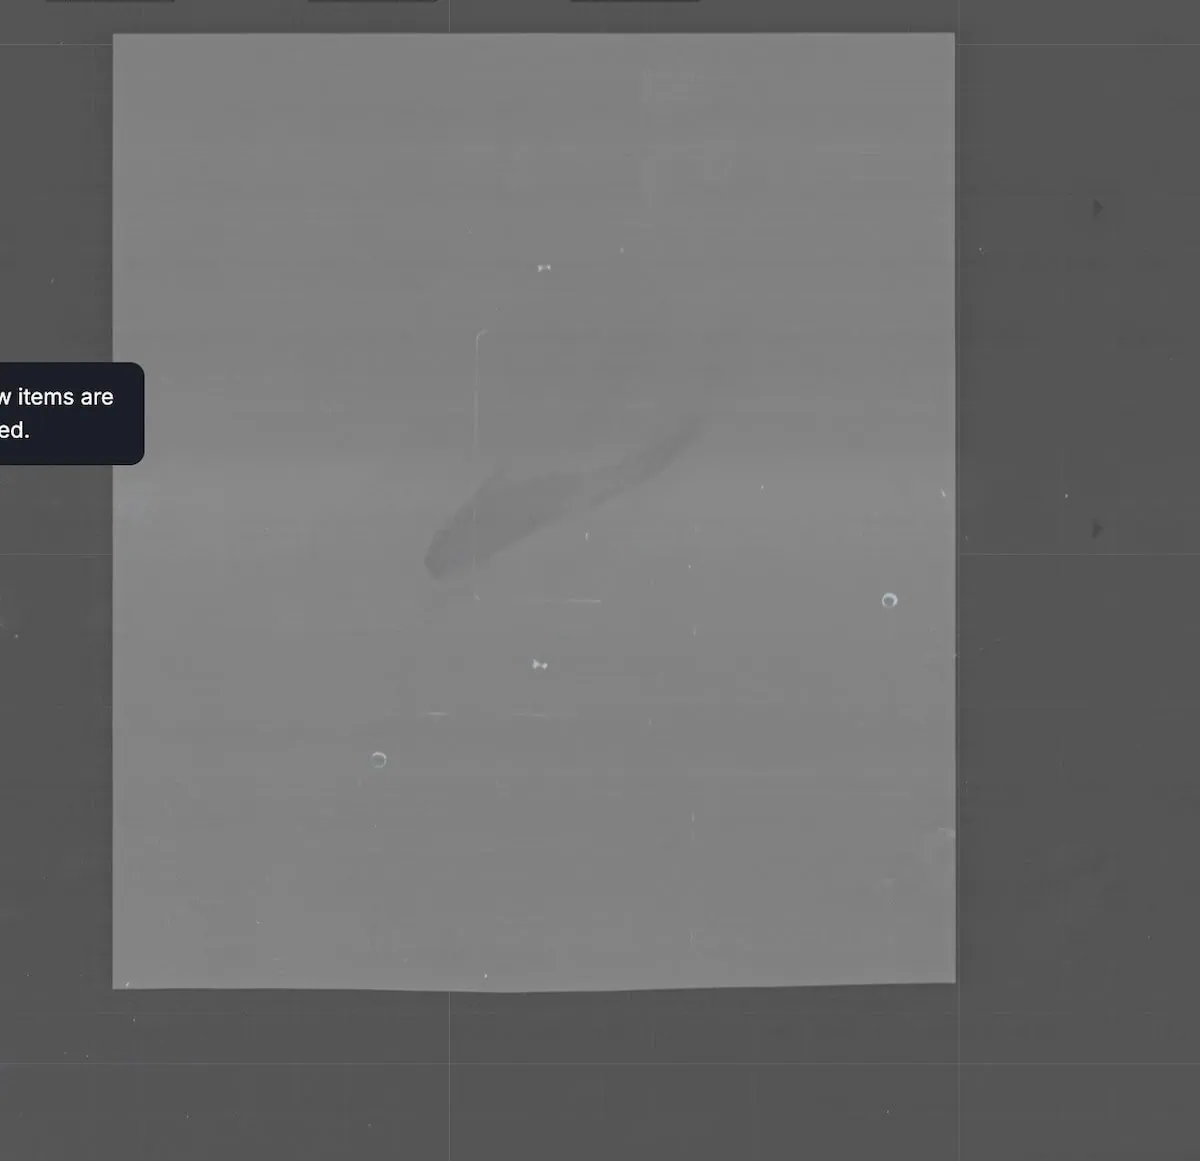
- Place the DTF transfer film on the large baseplate. Your film should tell you which side to place up.
- Scan the material.

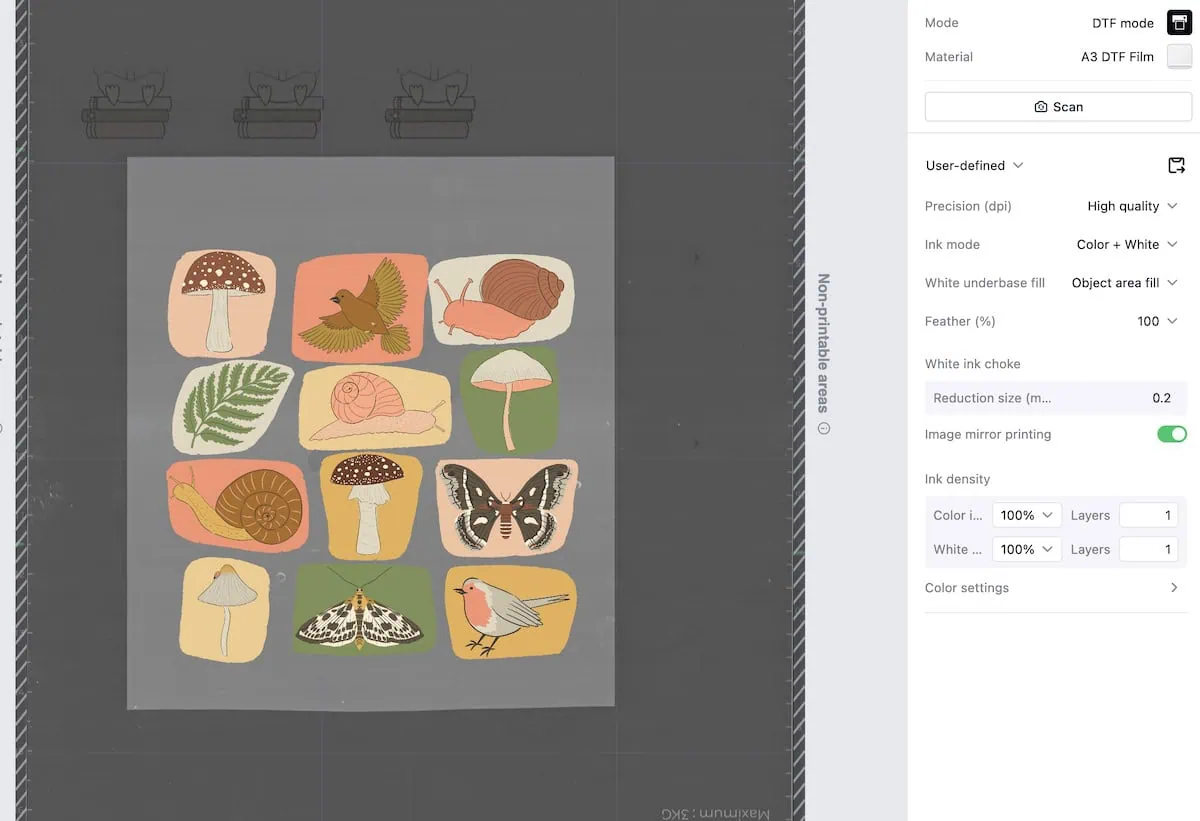
- Upload your image. Move and resize as needed. The mirror button will be checked.

- I increased the white ink levels to 2 for a black T-shirt.

- Press Process.
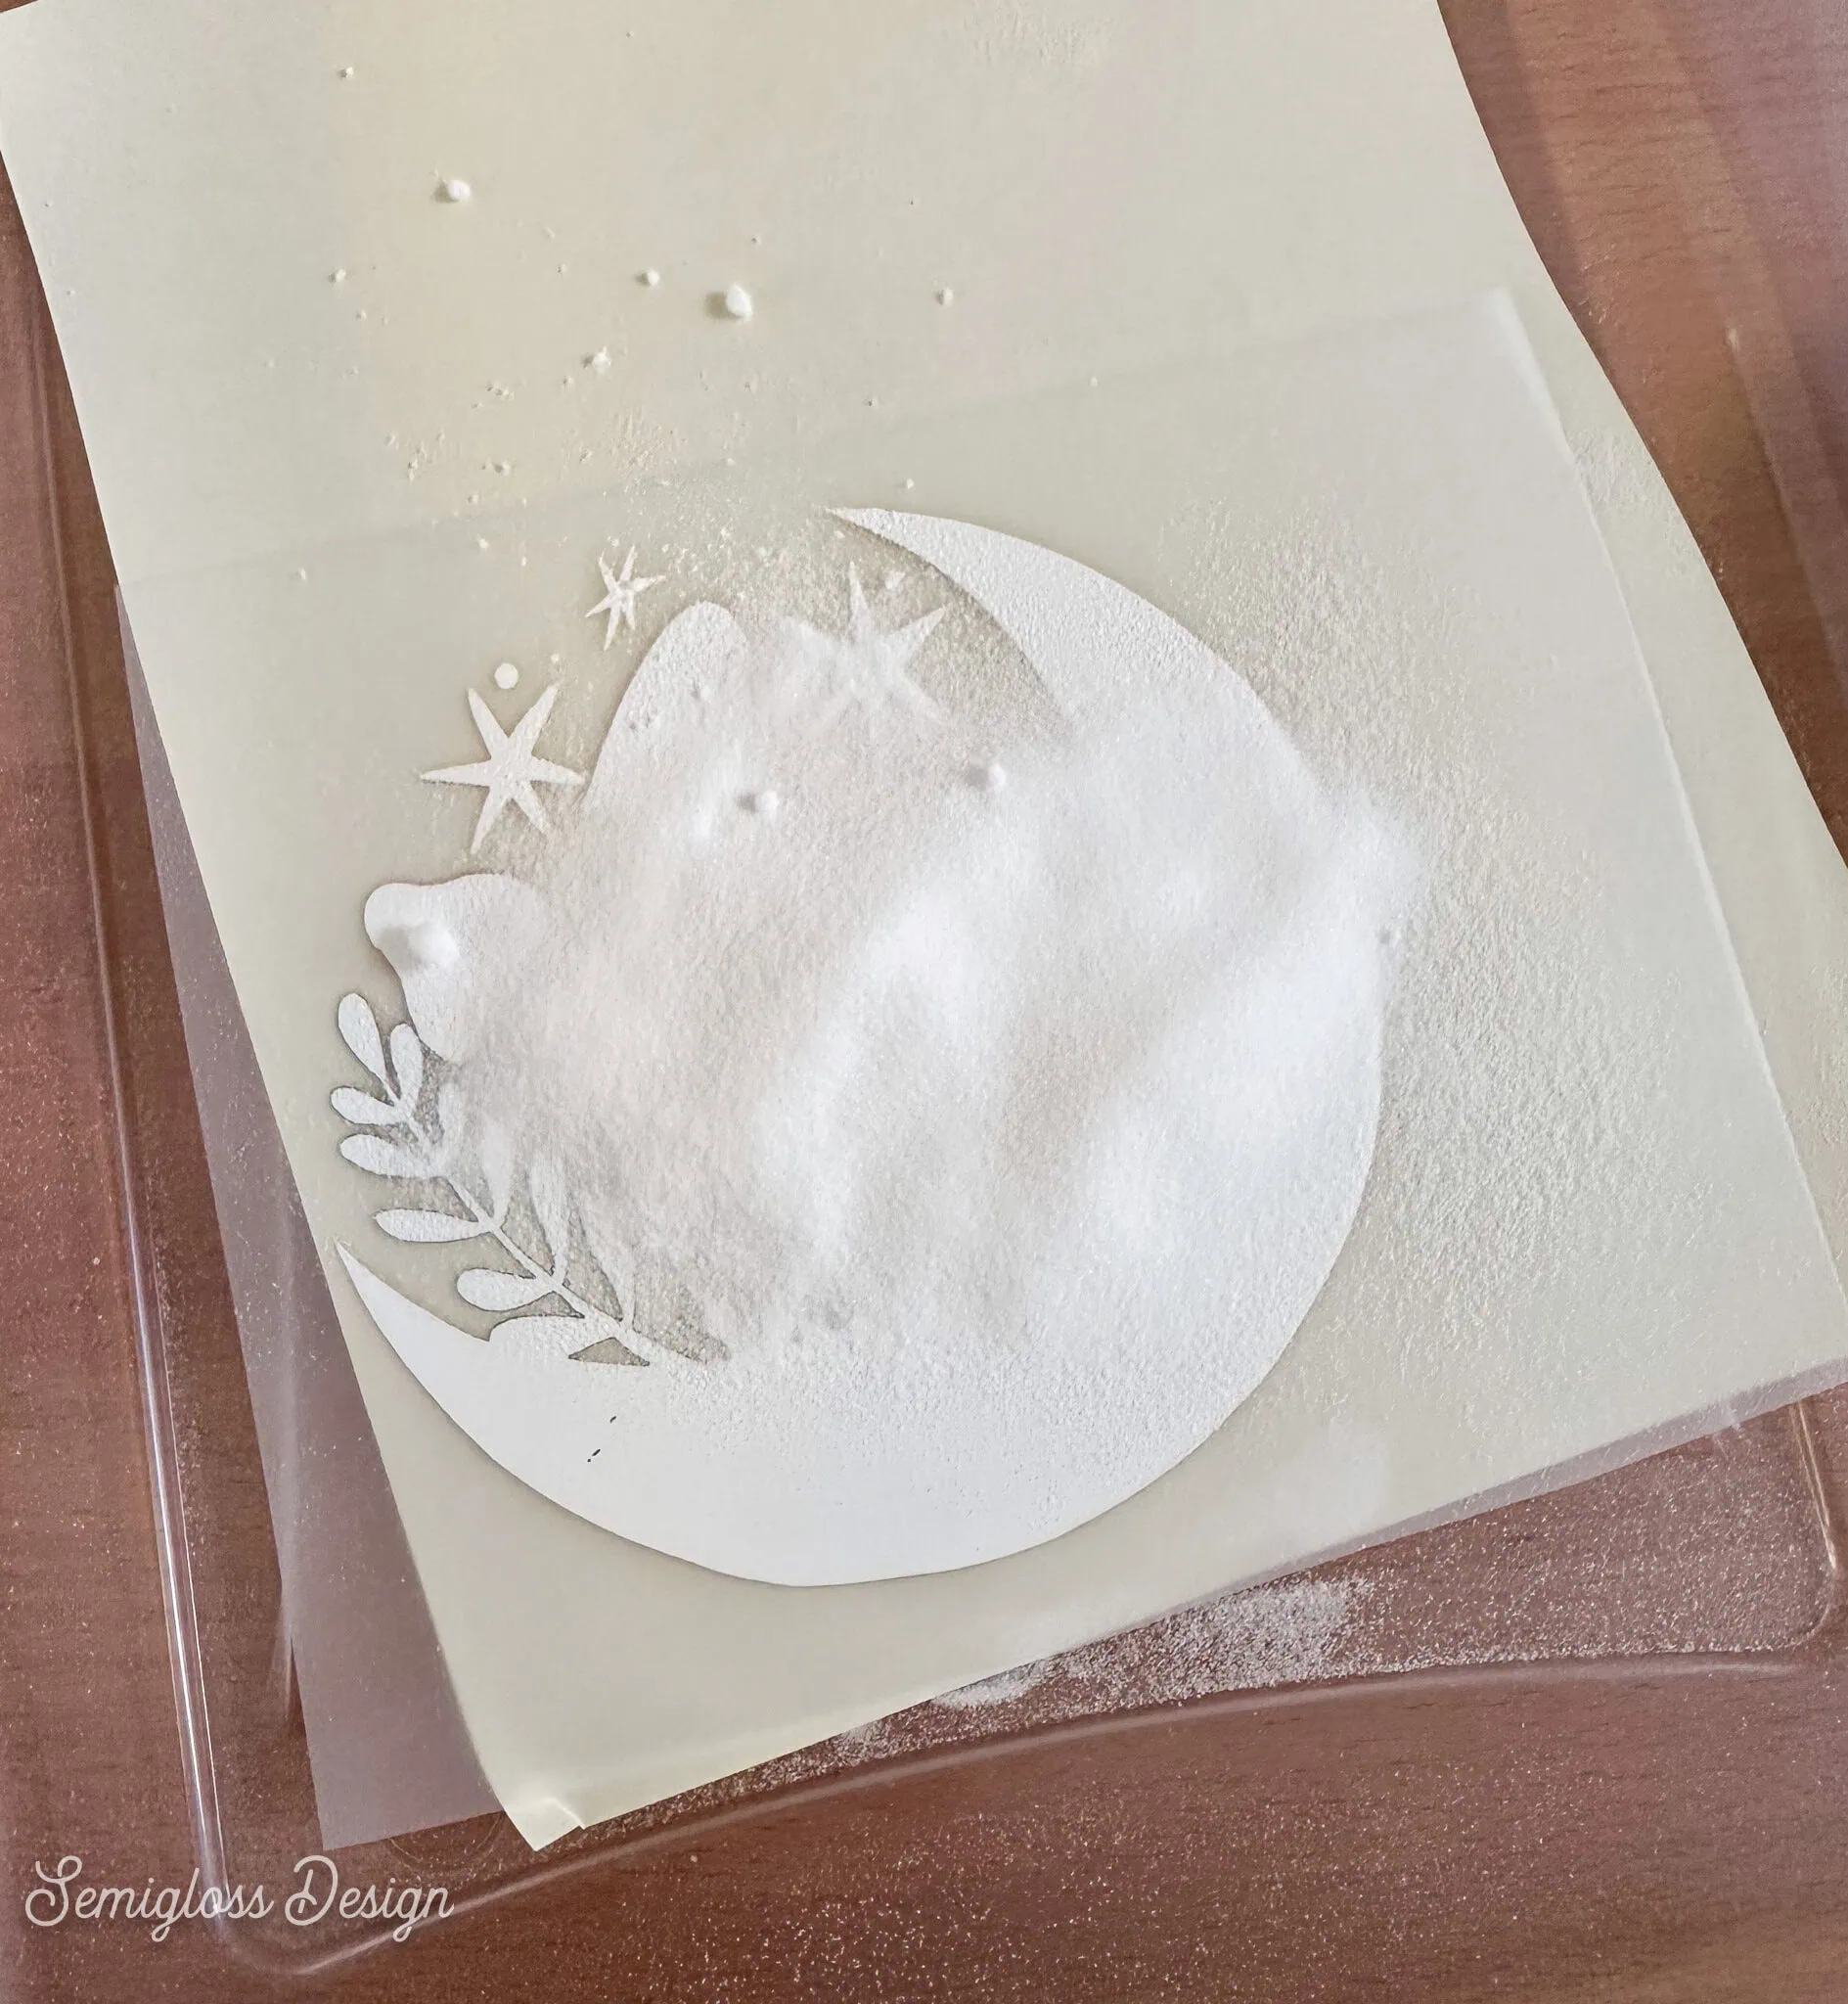
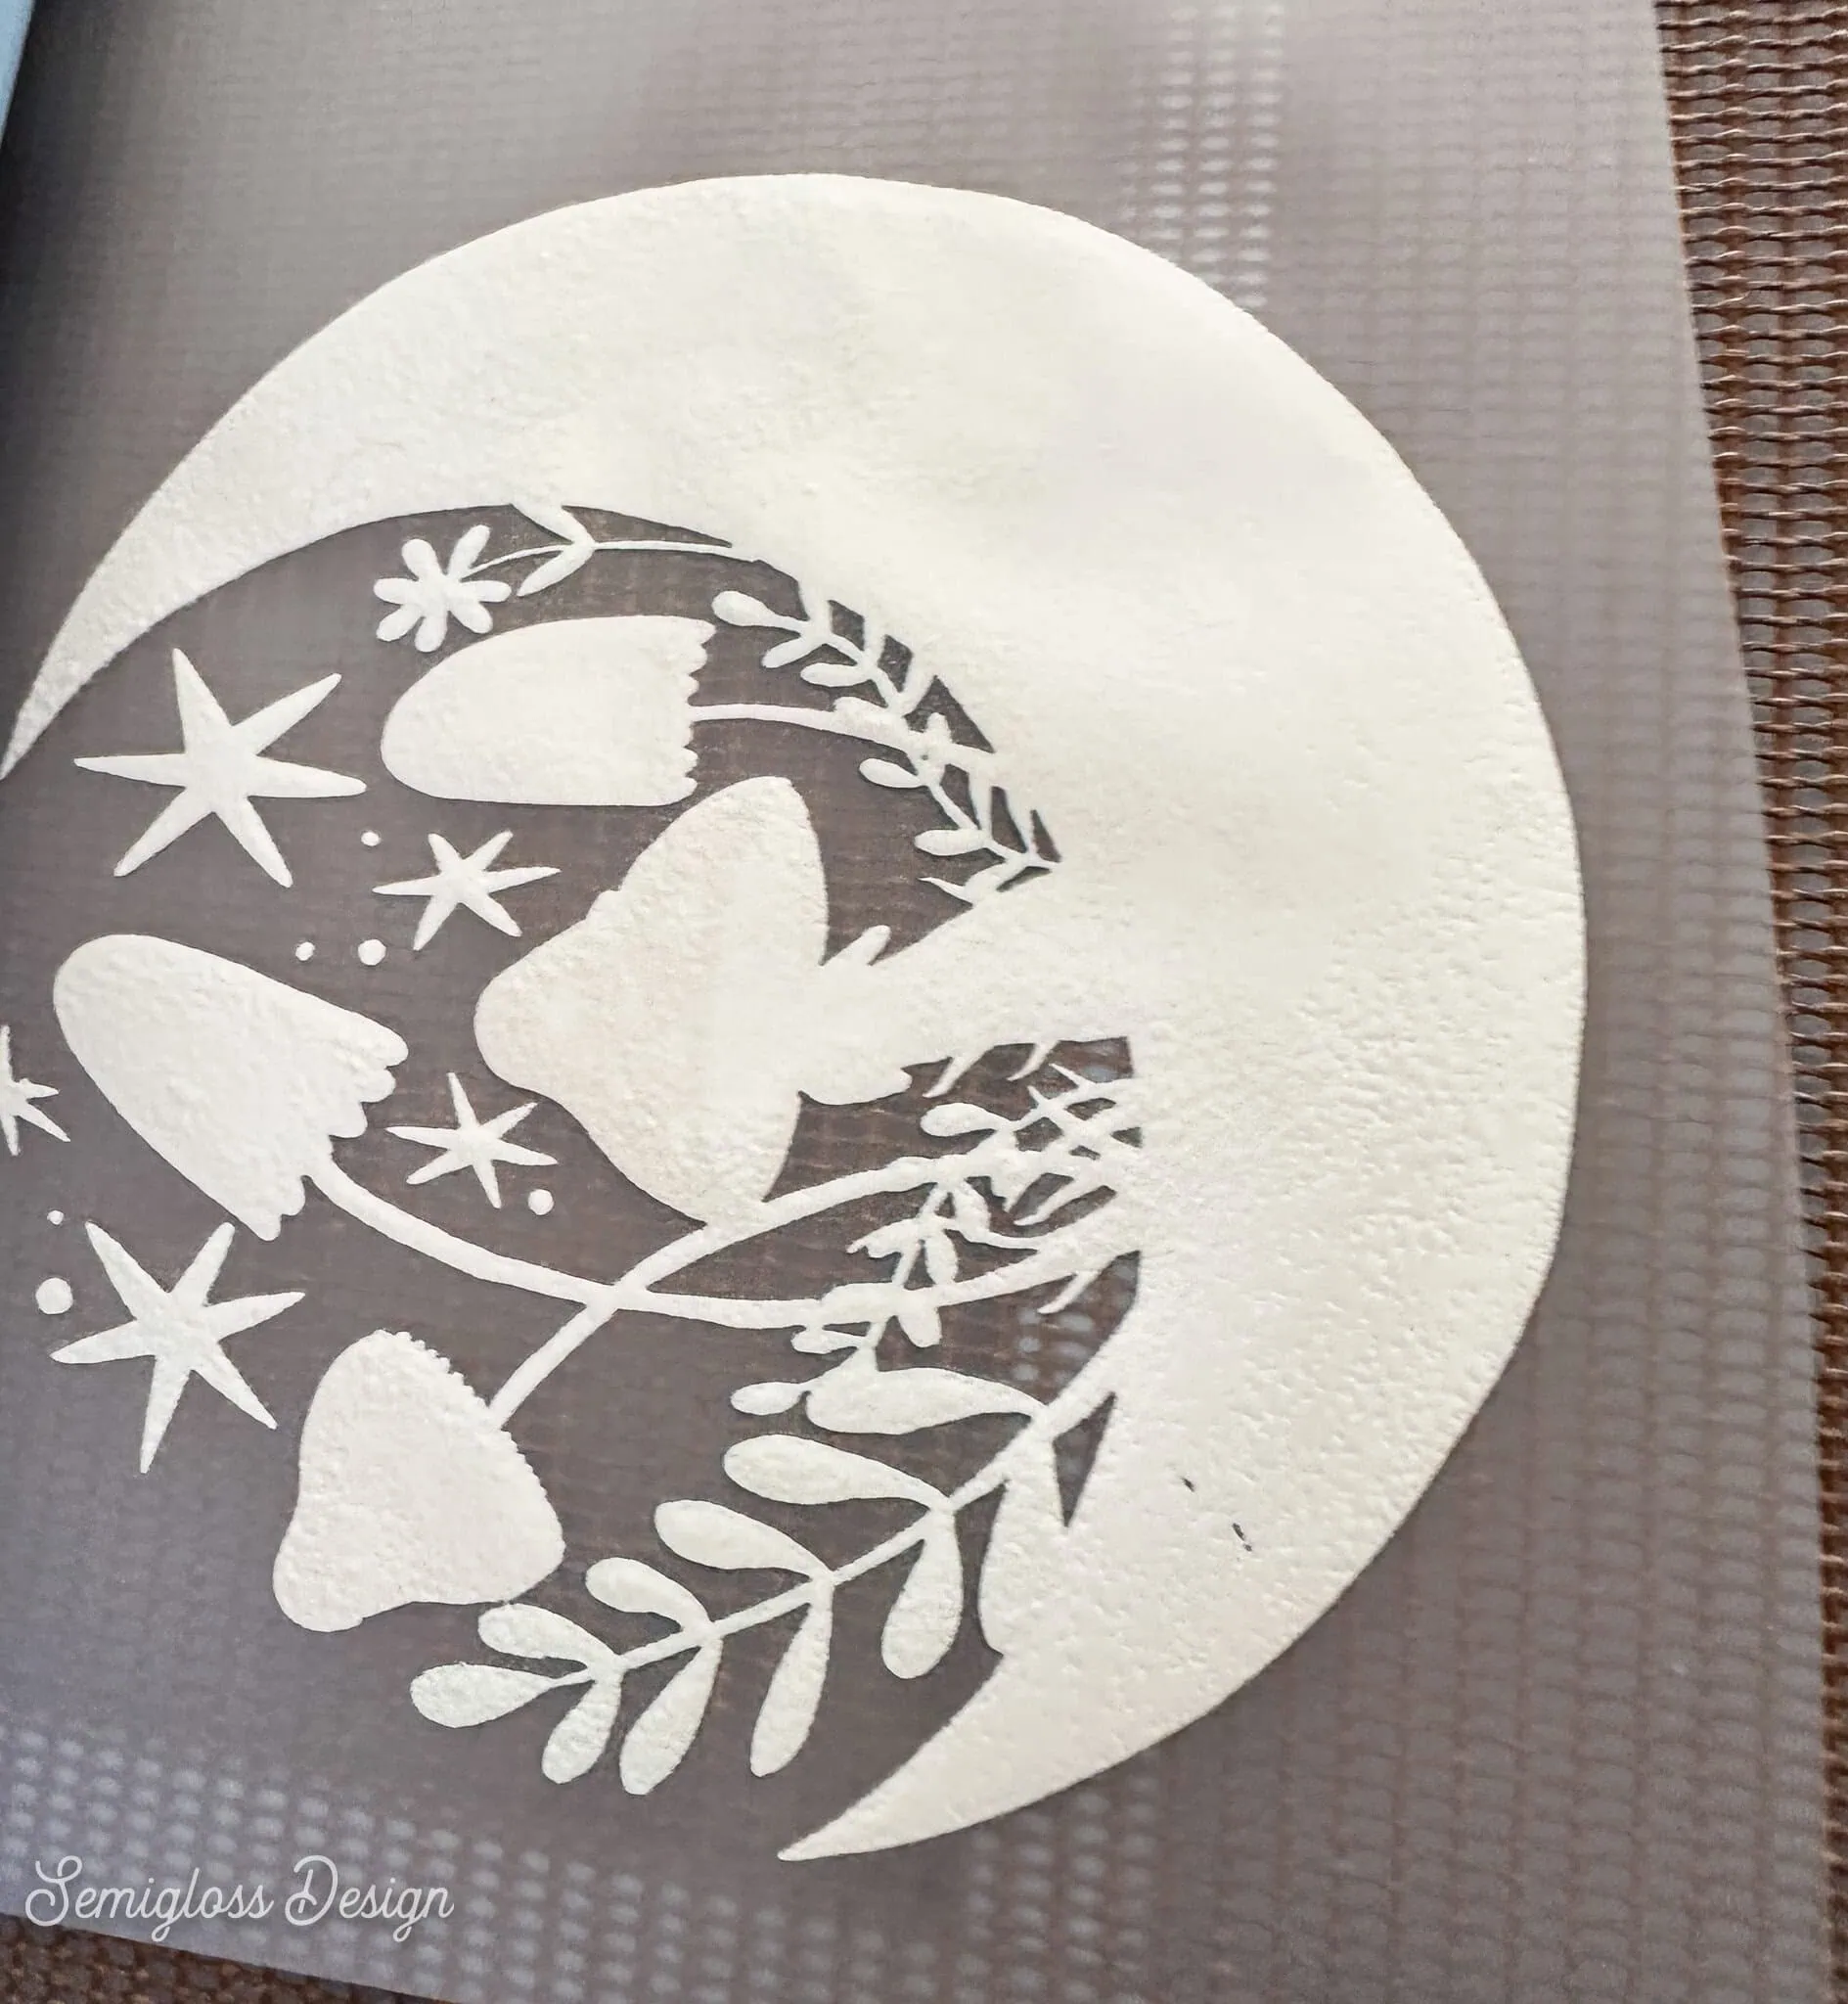
- After it prints, move the image to a plastic container. This helps contain the mess. Pour the DTF powder over the white ink.

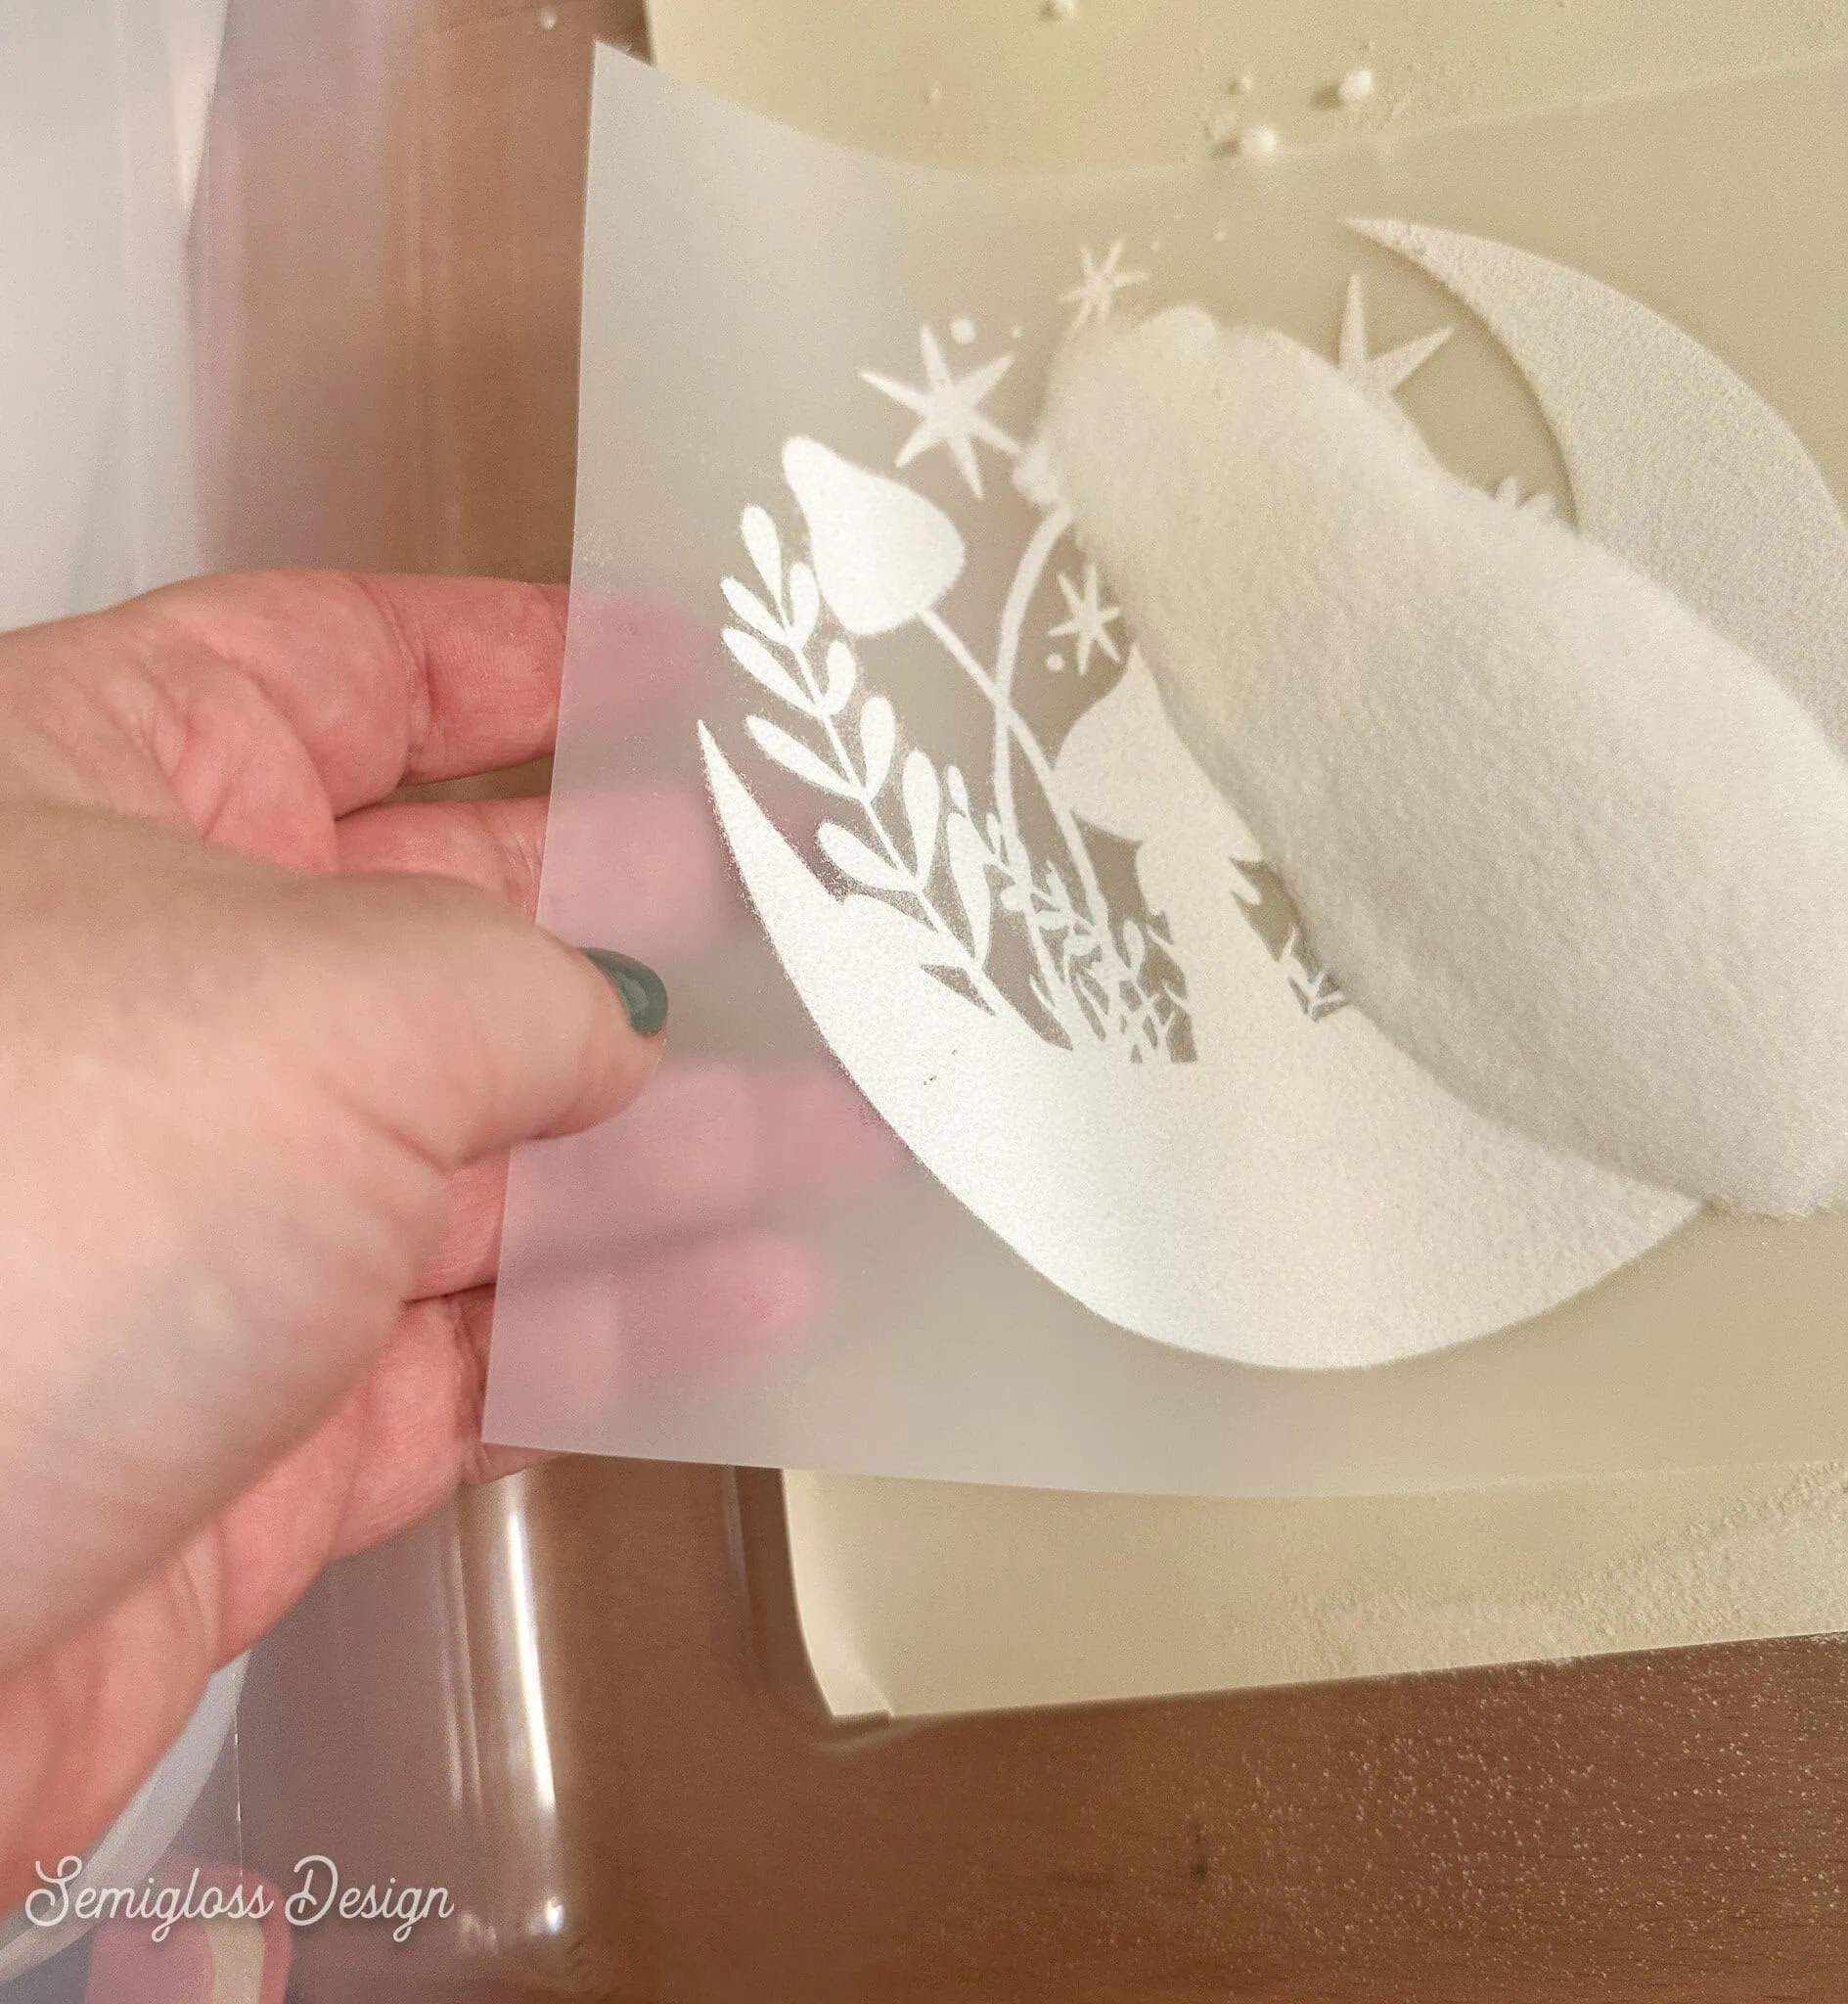
- Shake off the excess powder and place it back into the container.
- Use a soft brush to remove any excess powder from the unprinted areas. (I didn’t know to do this, so I have small bits of powder on my shirt.)
- Preheat the curing oven.
- Your curing oven will tell you the temperature to use. Mine was 148 C.
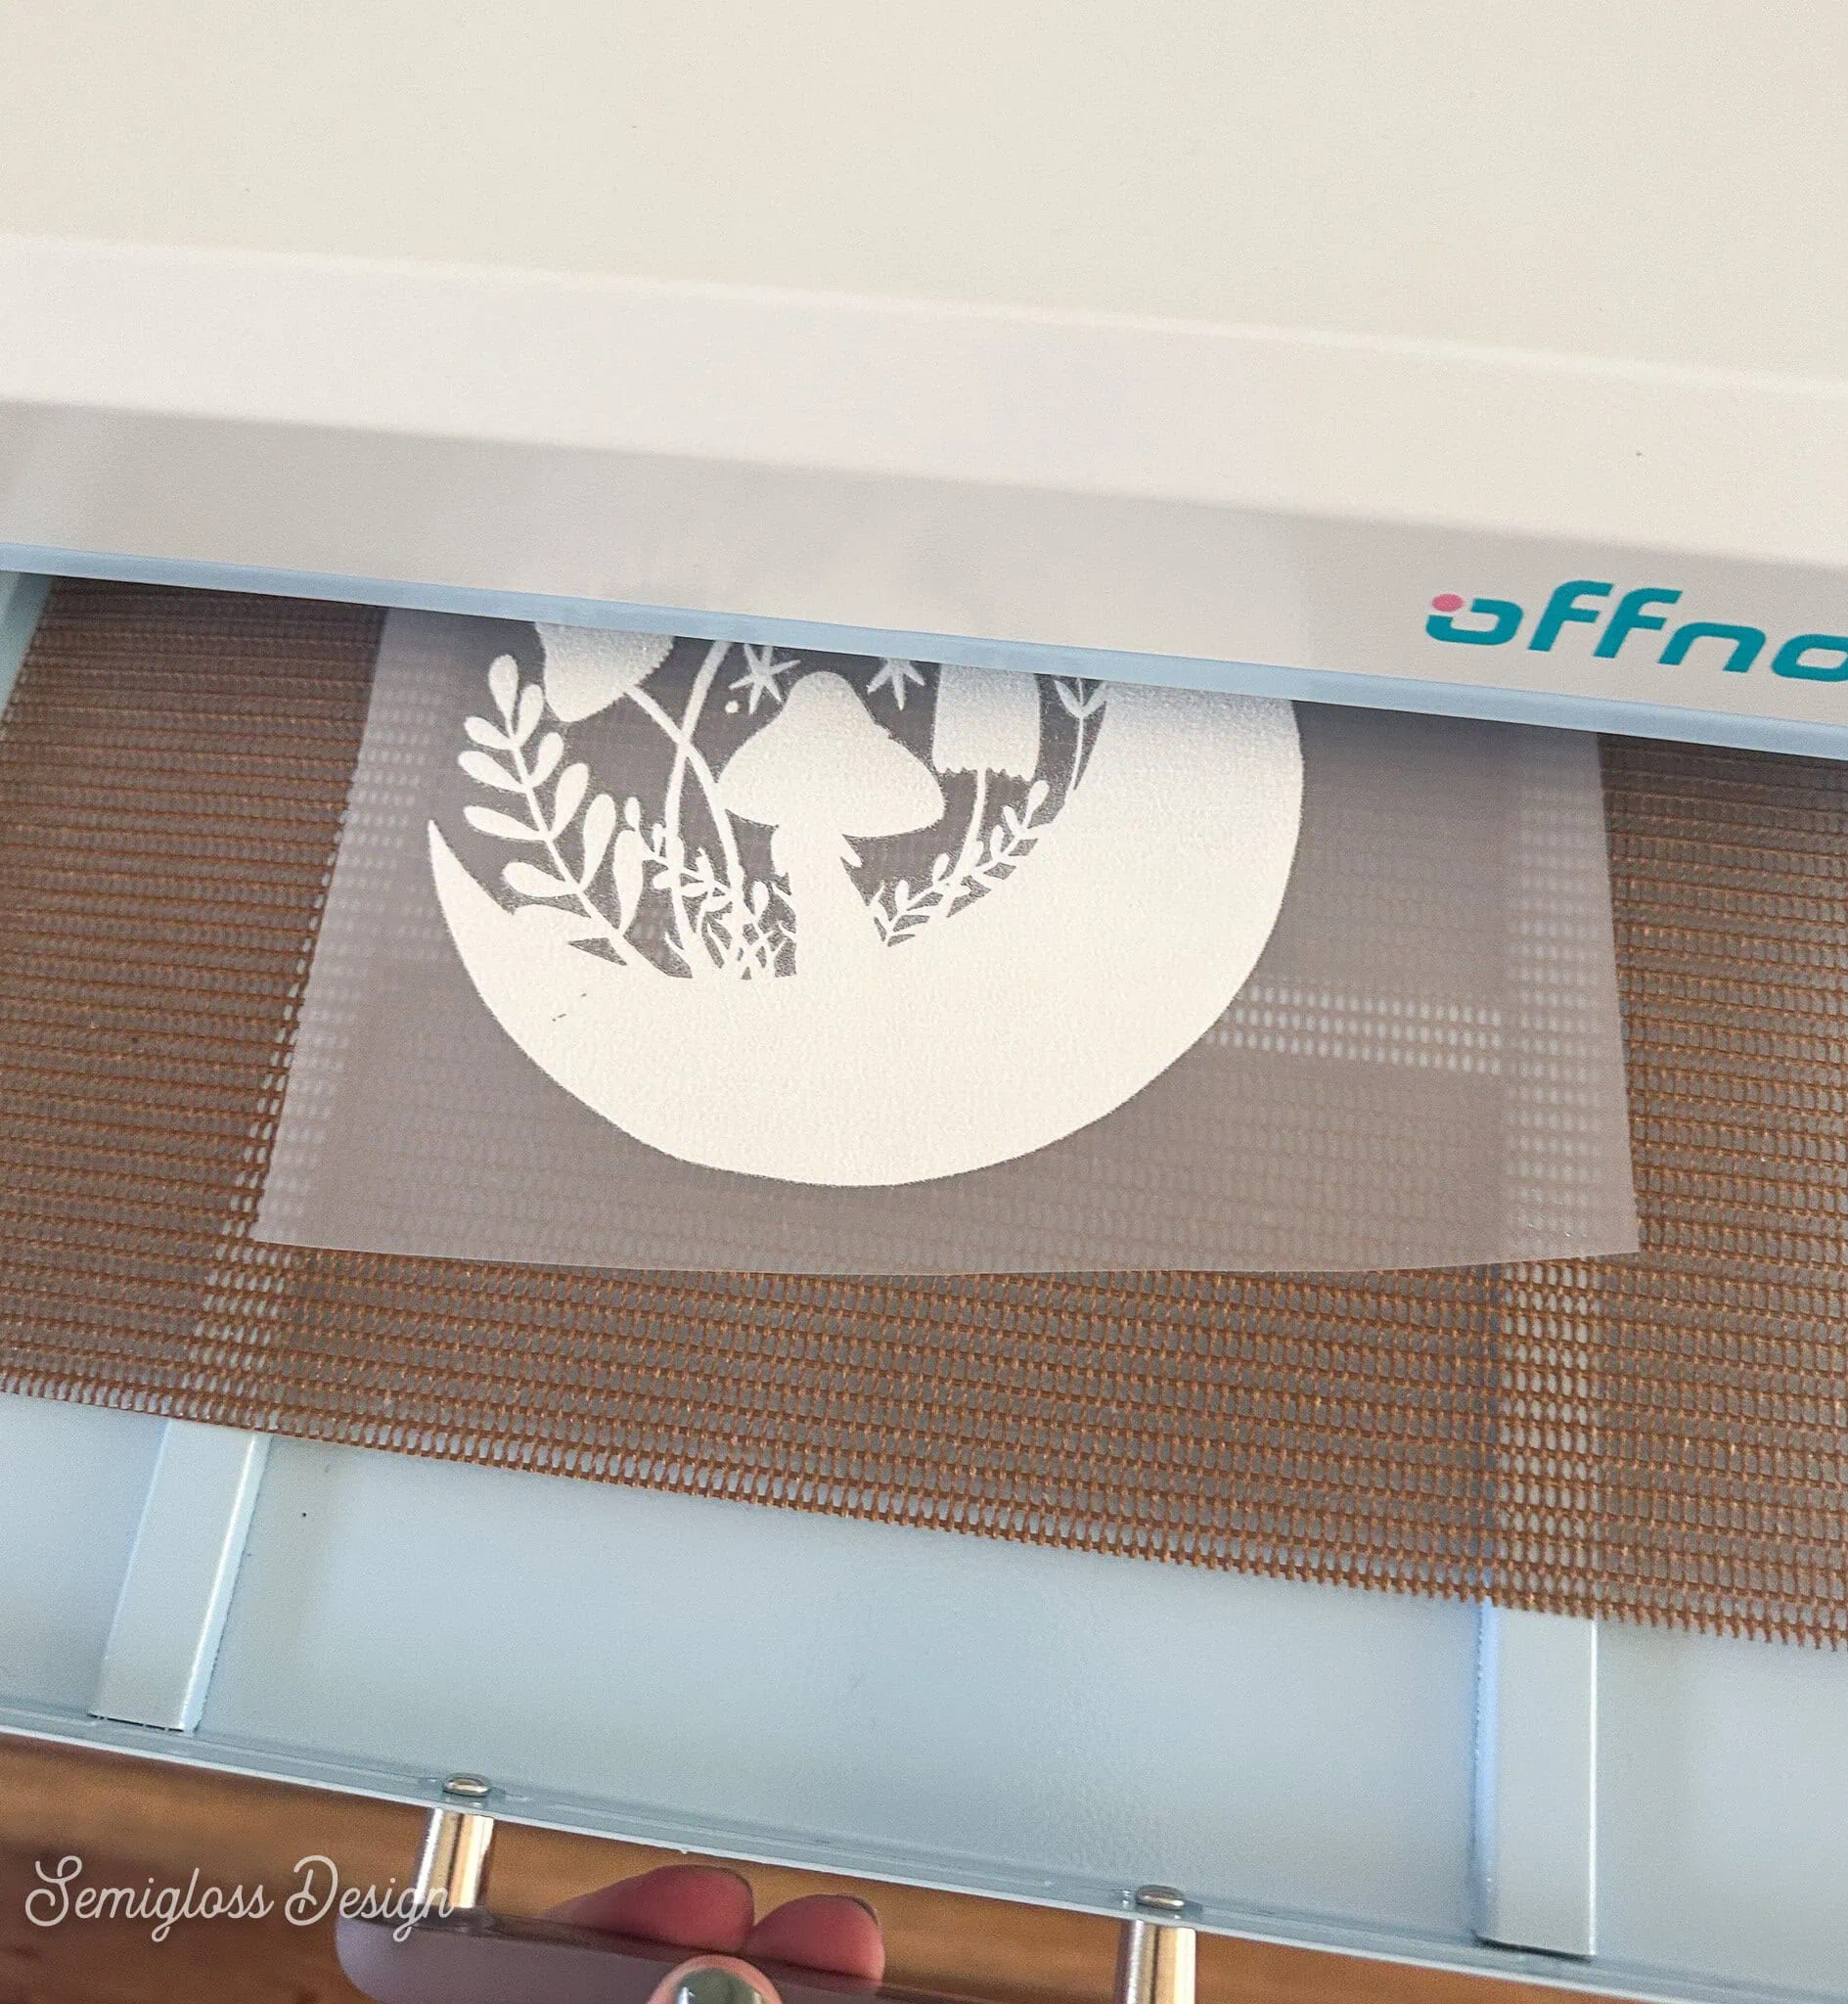
- When it reaches the right temperature, place the film with powder into the oven, powder side up.
- Press the start button.
- While it’s curing, get your shirt ready. I pressed the shirt for 10 seconds to remove wrinkles and moisture.
- Leave the shirt on the heat press so that it’s ready for the DTF transfer.
- When the curing oven is done, inspect the powder. It should be melted and have an orange peel texture.
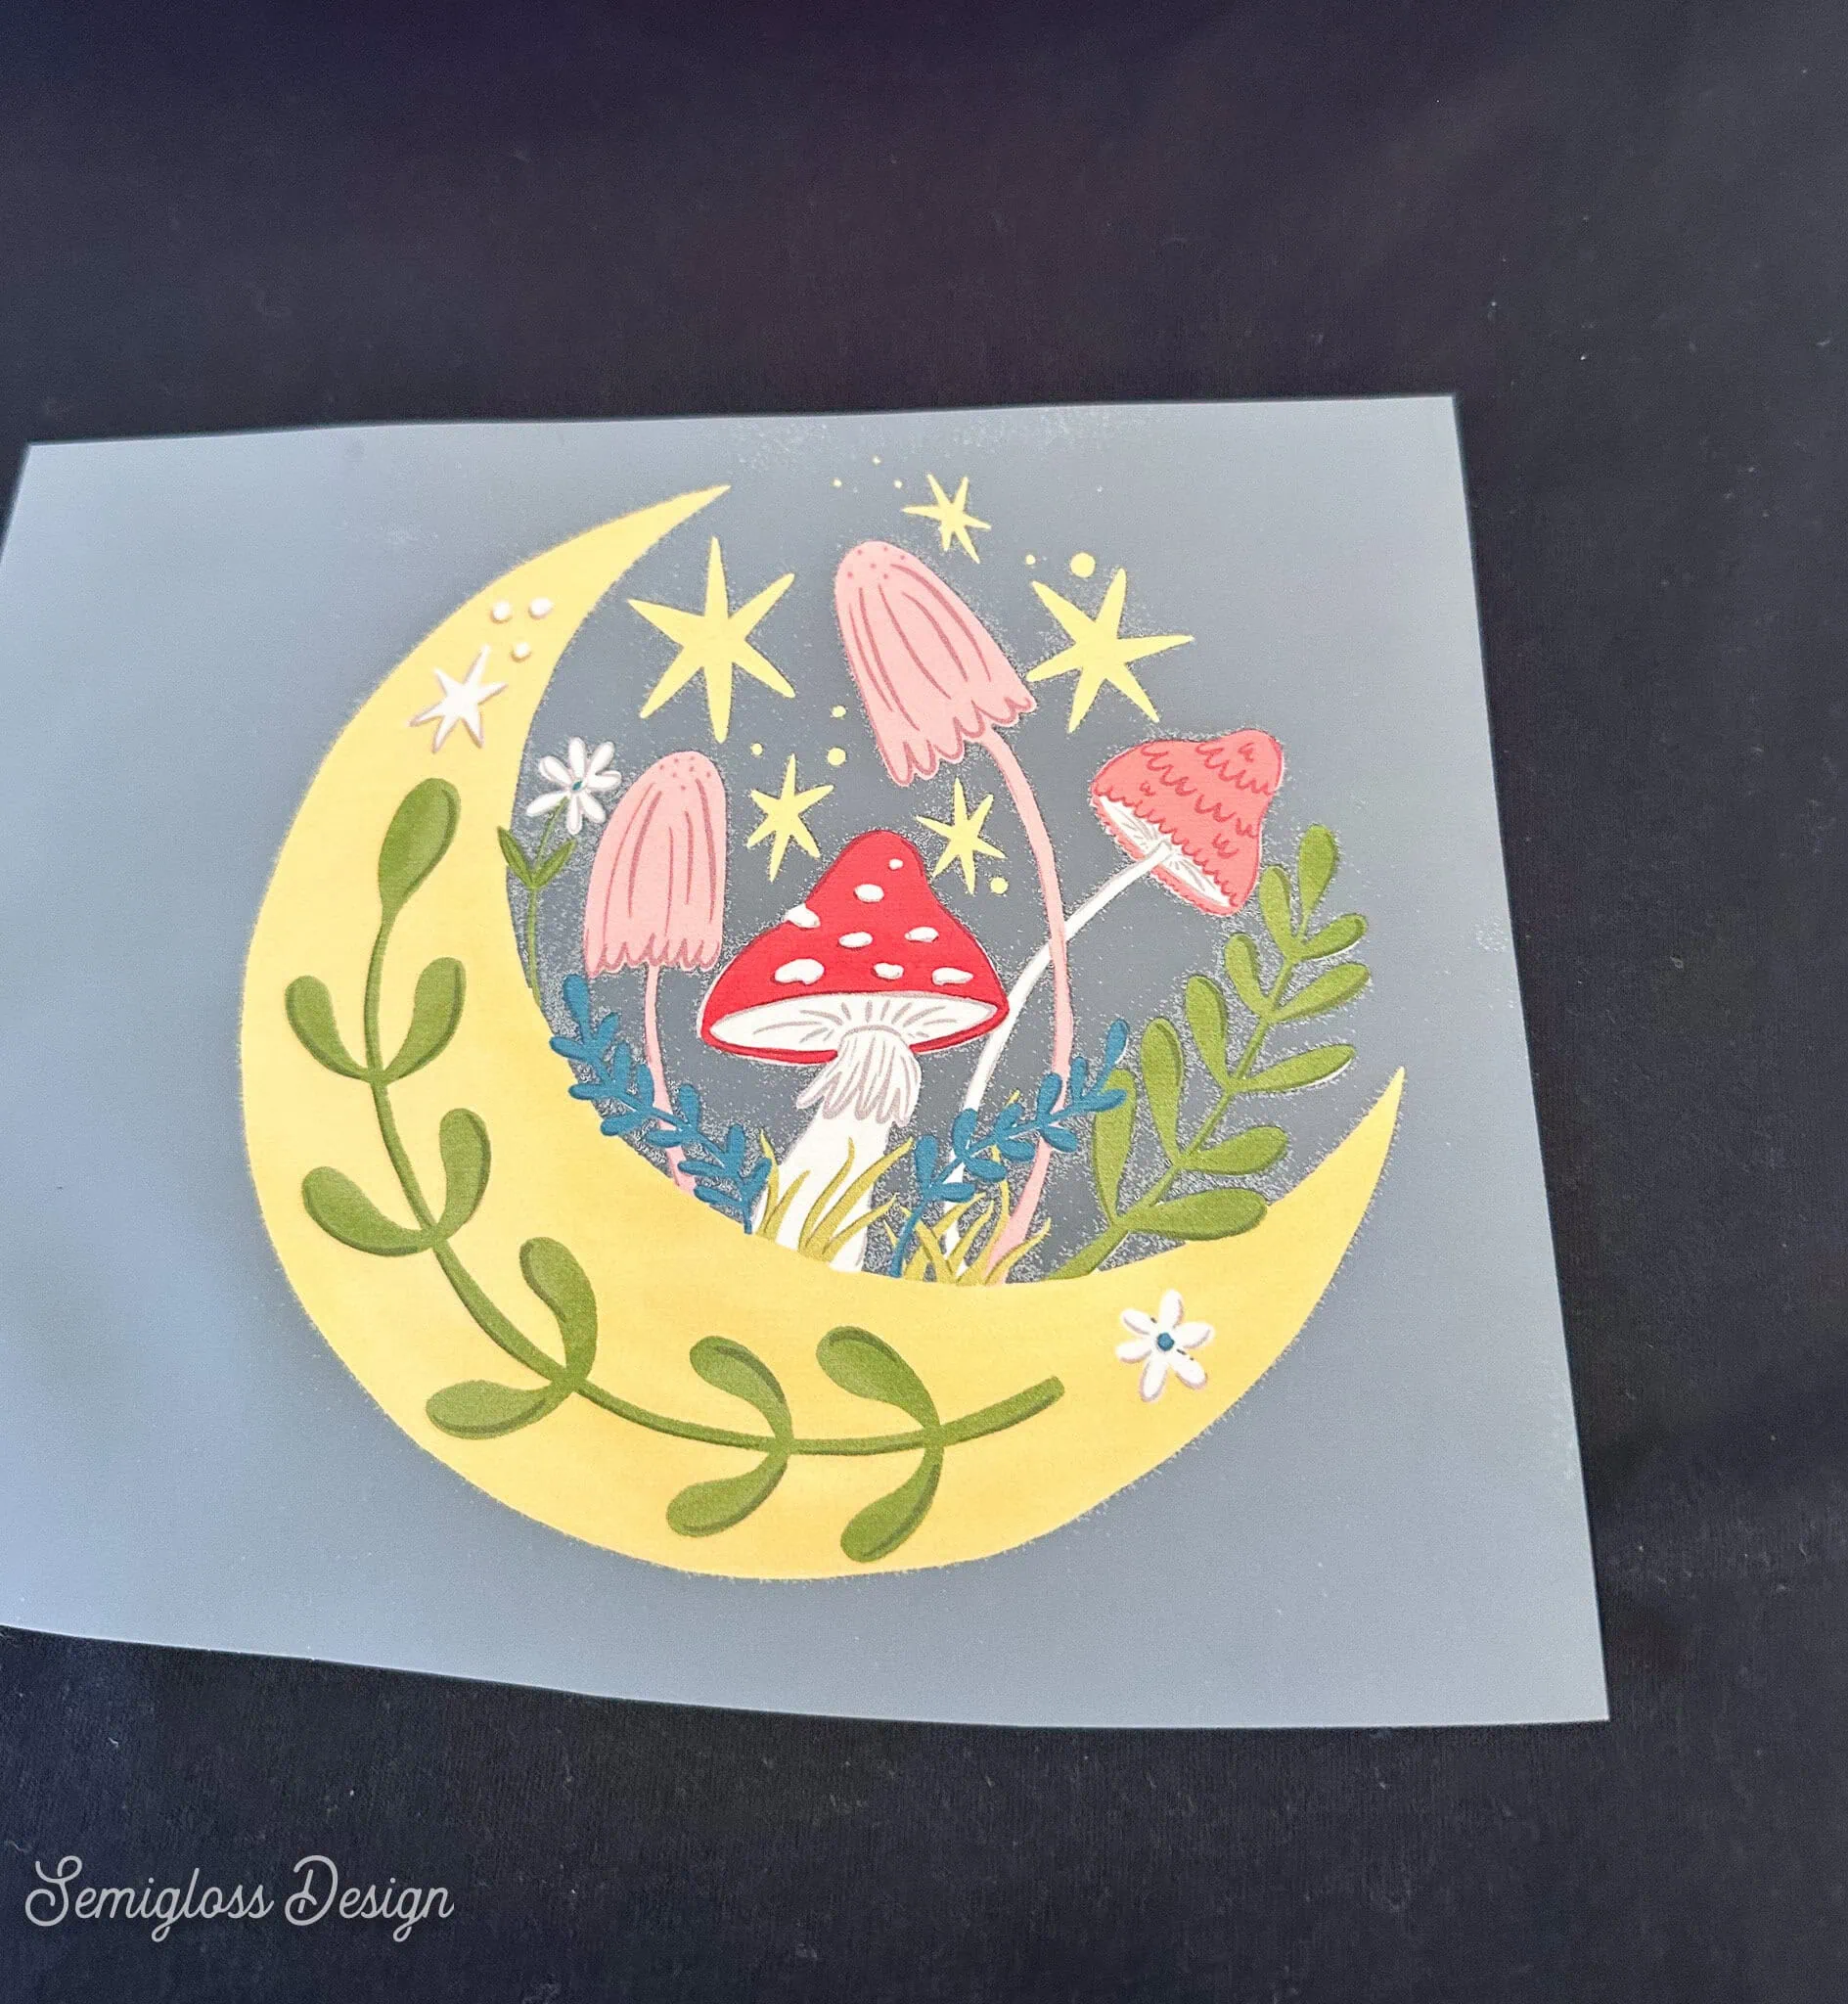
- Remove the transfer and place it onto the shirt, powder side down. Slide it around until you find the best placement.
- Press the shirt at 320 F for 10 seconds.
- Press it again for another 10 seconds.
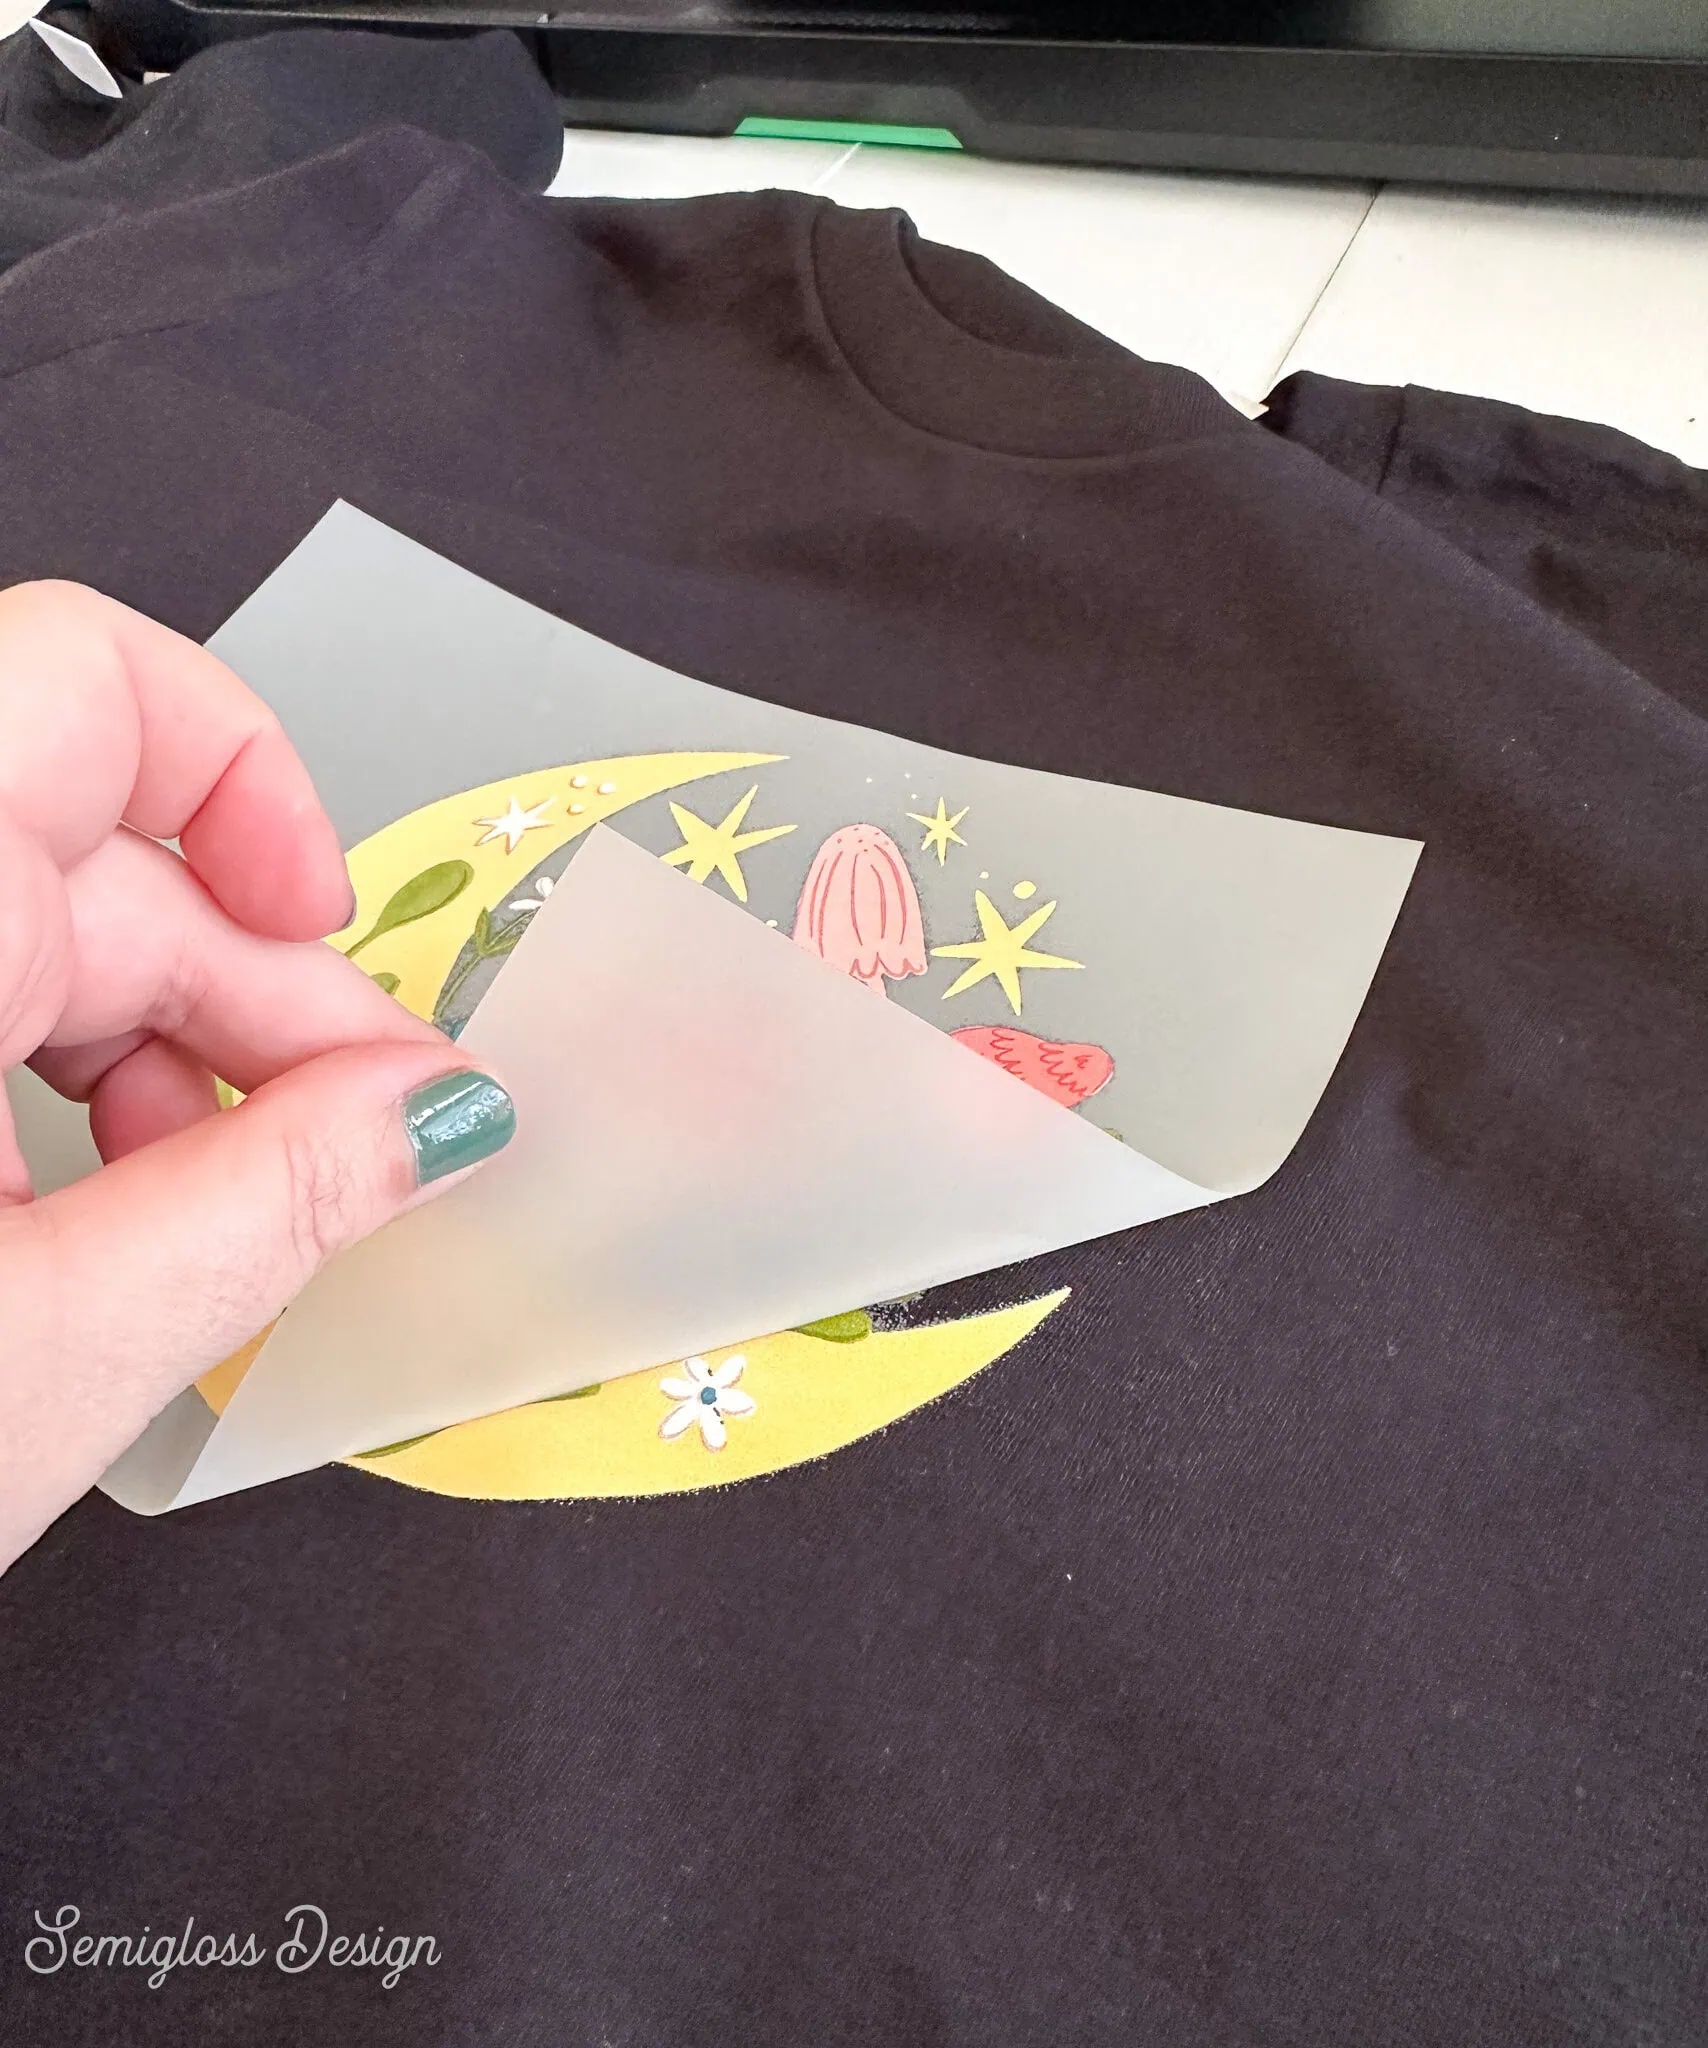
- Remove the shirt and let the transfer cool for a few minutes.
- When it’s cool, gently remove the film and discard.

The Results
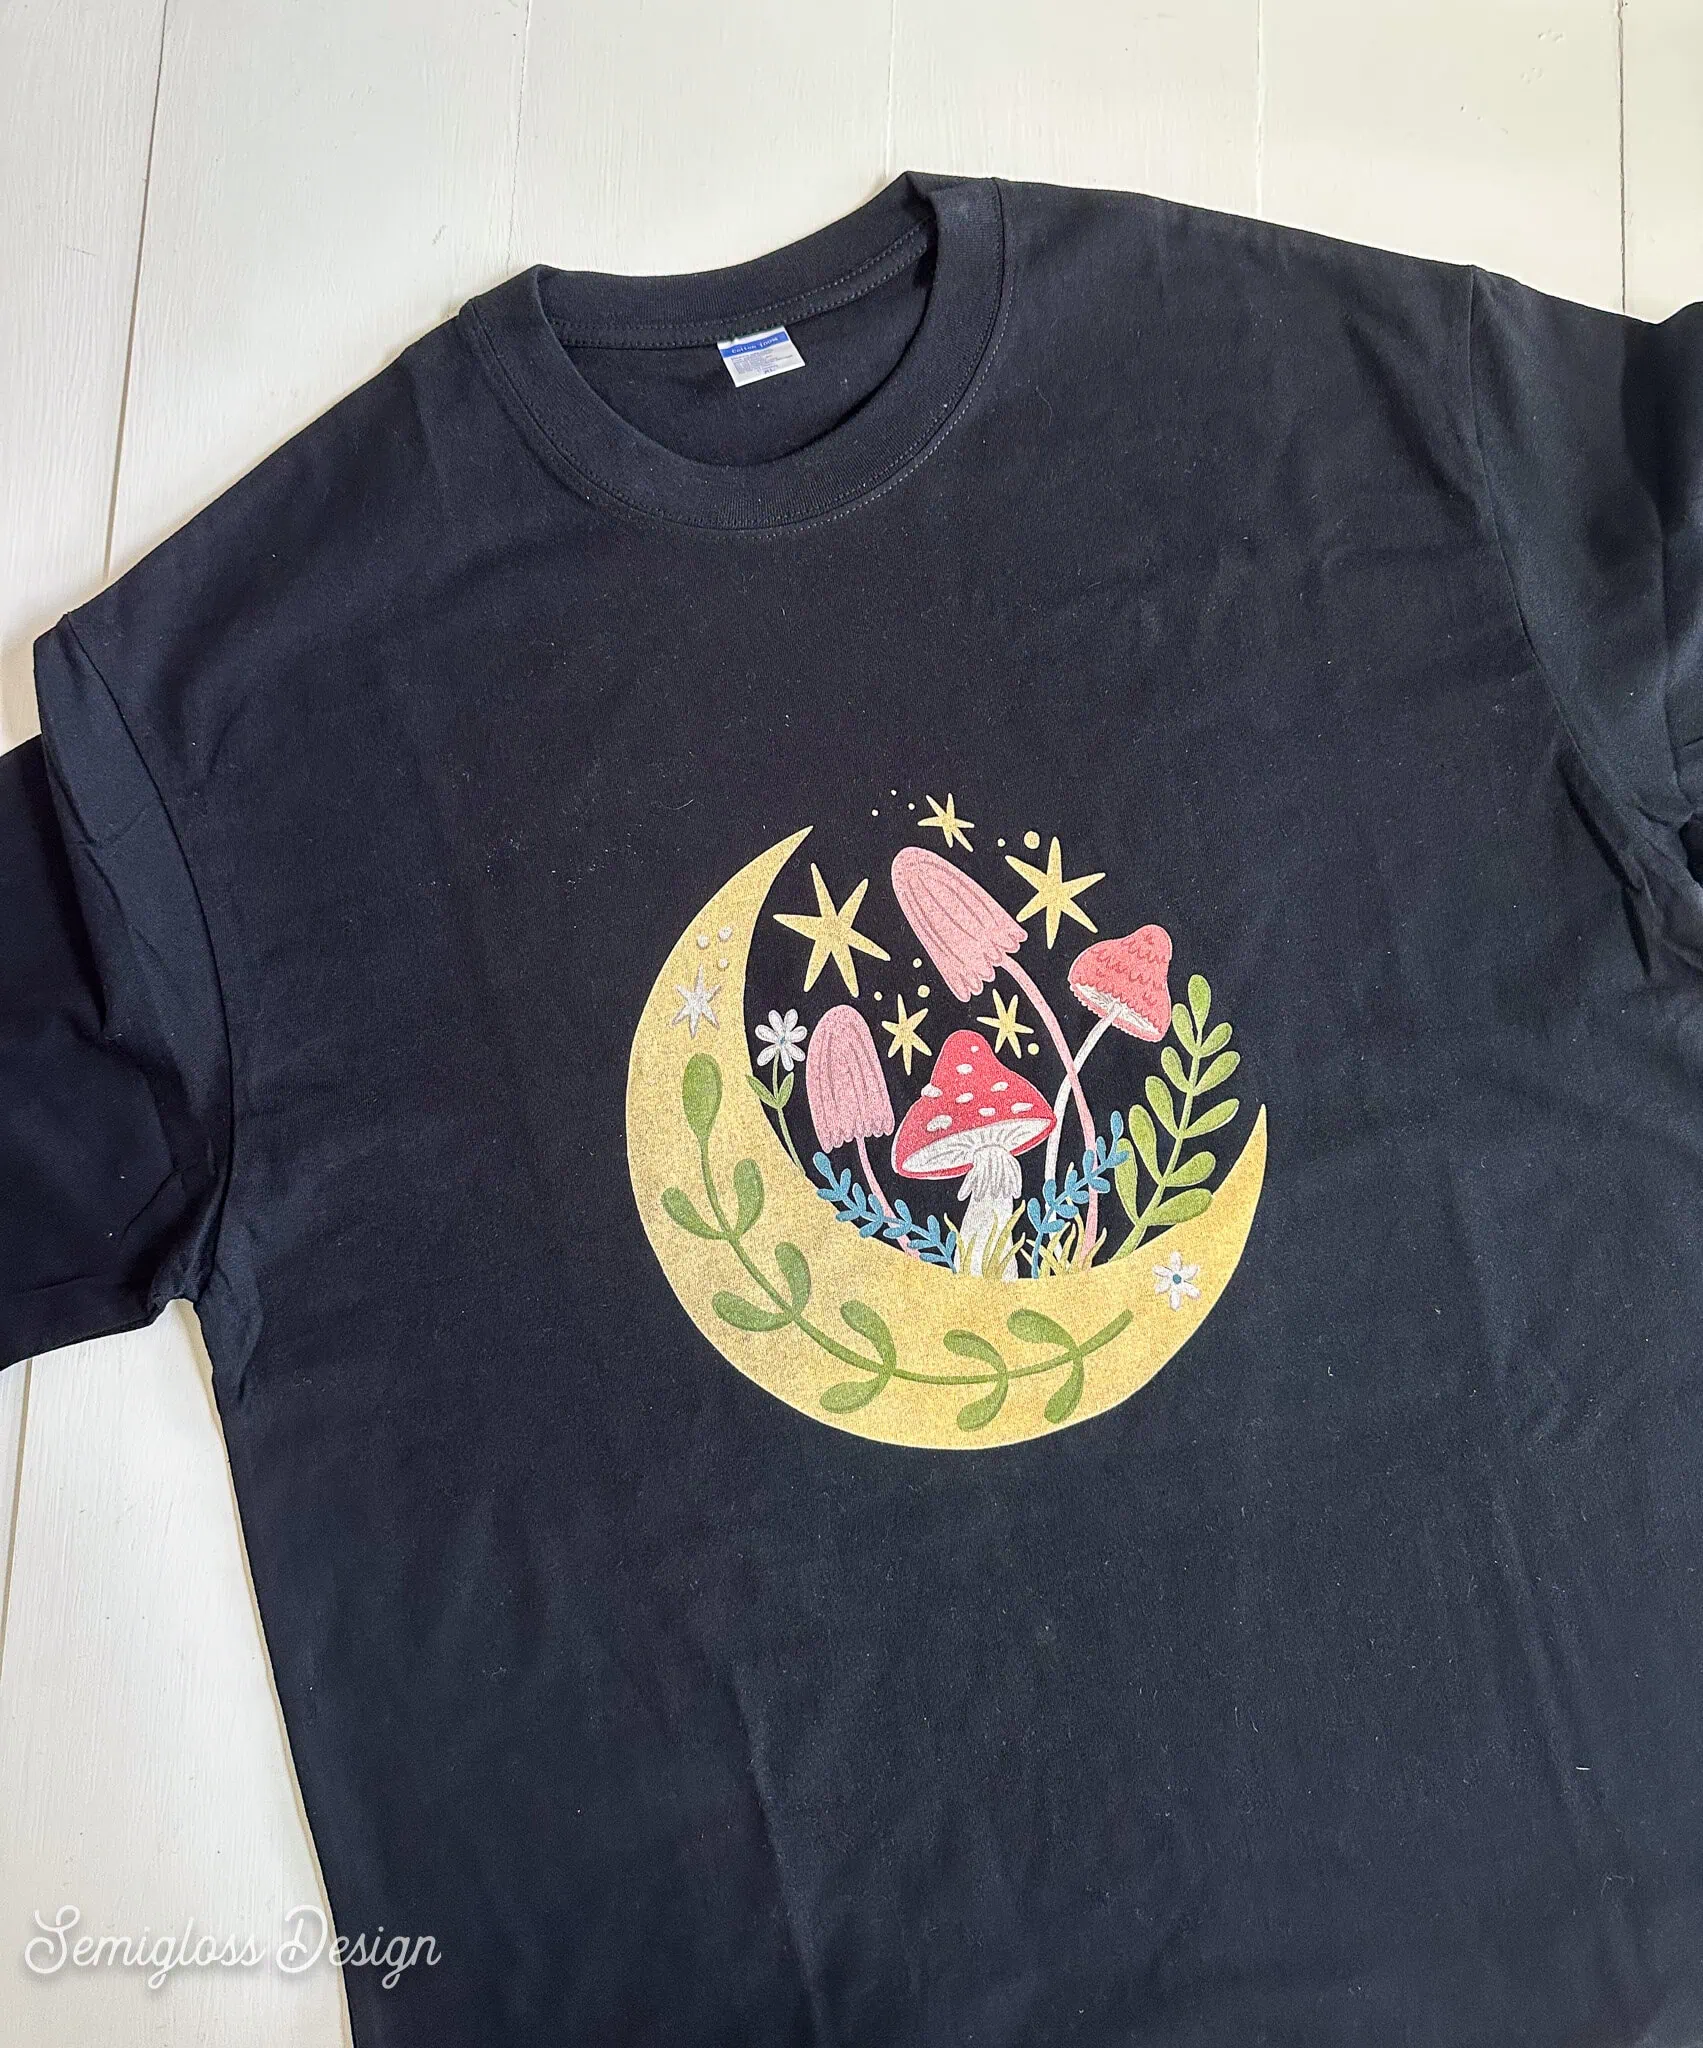
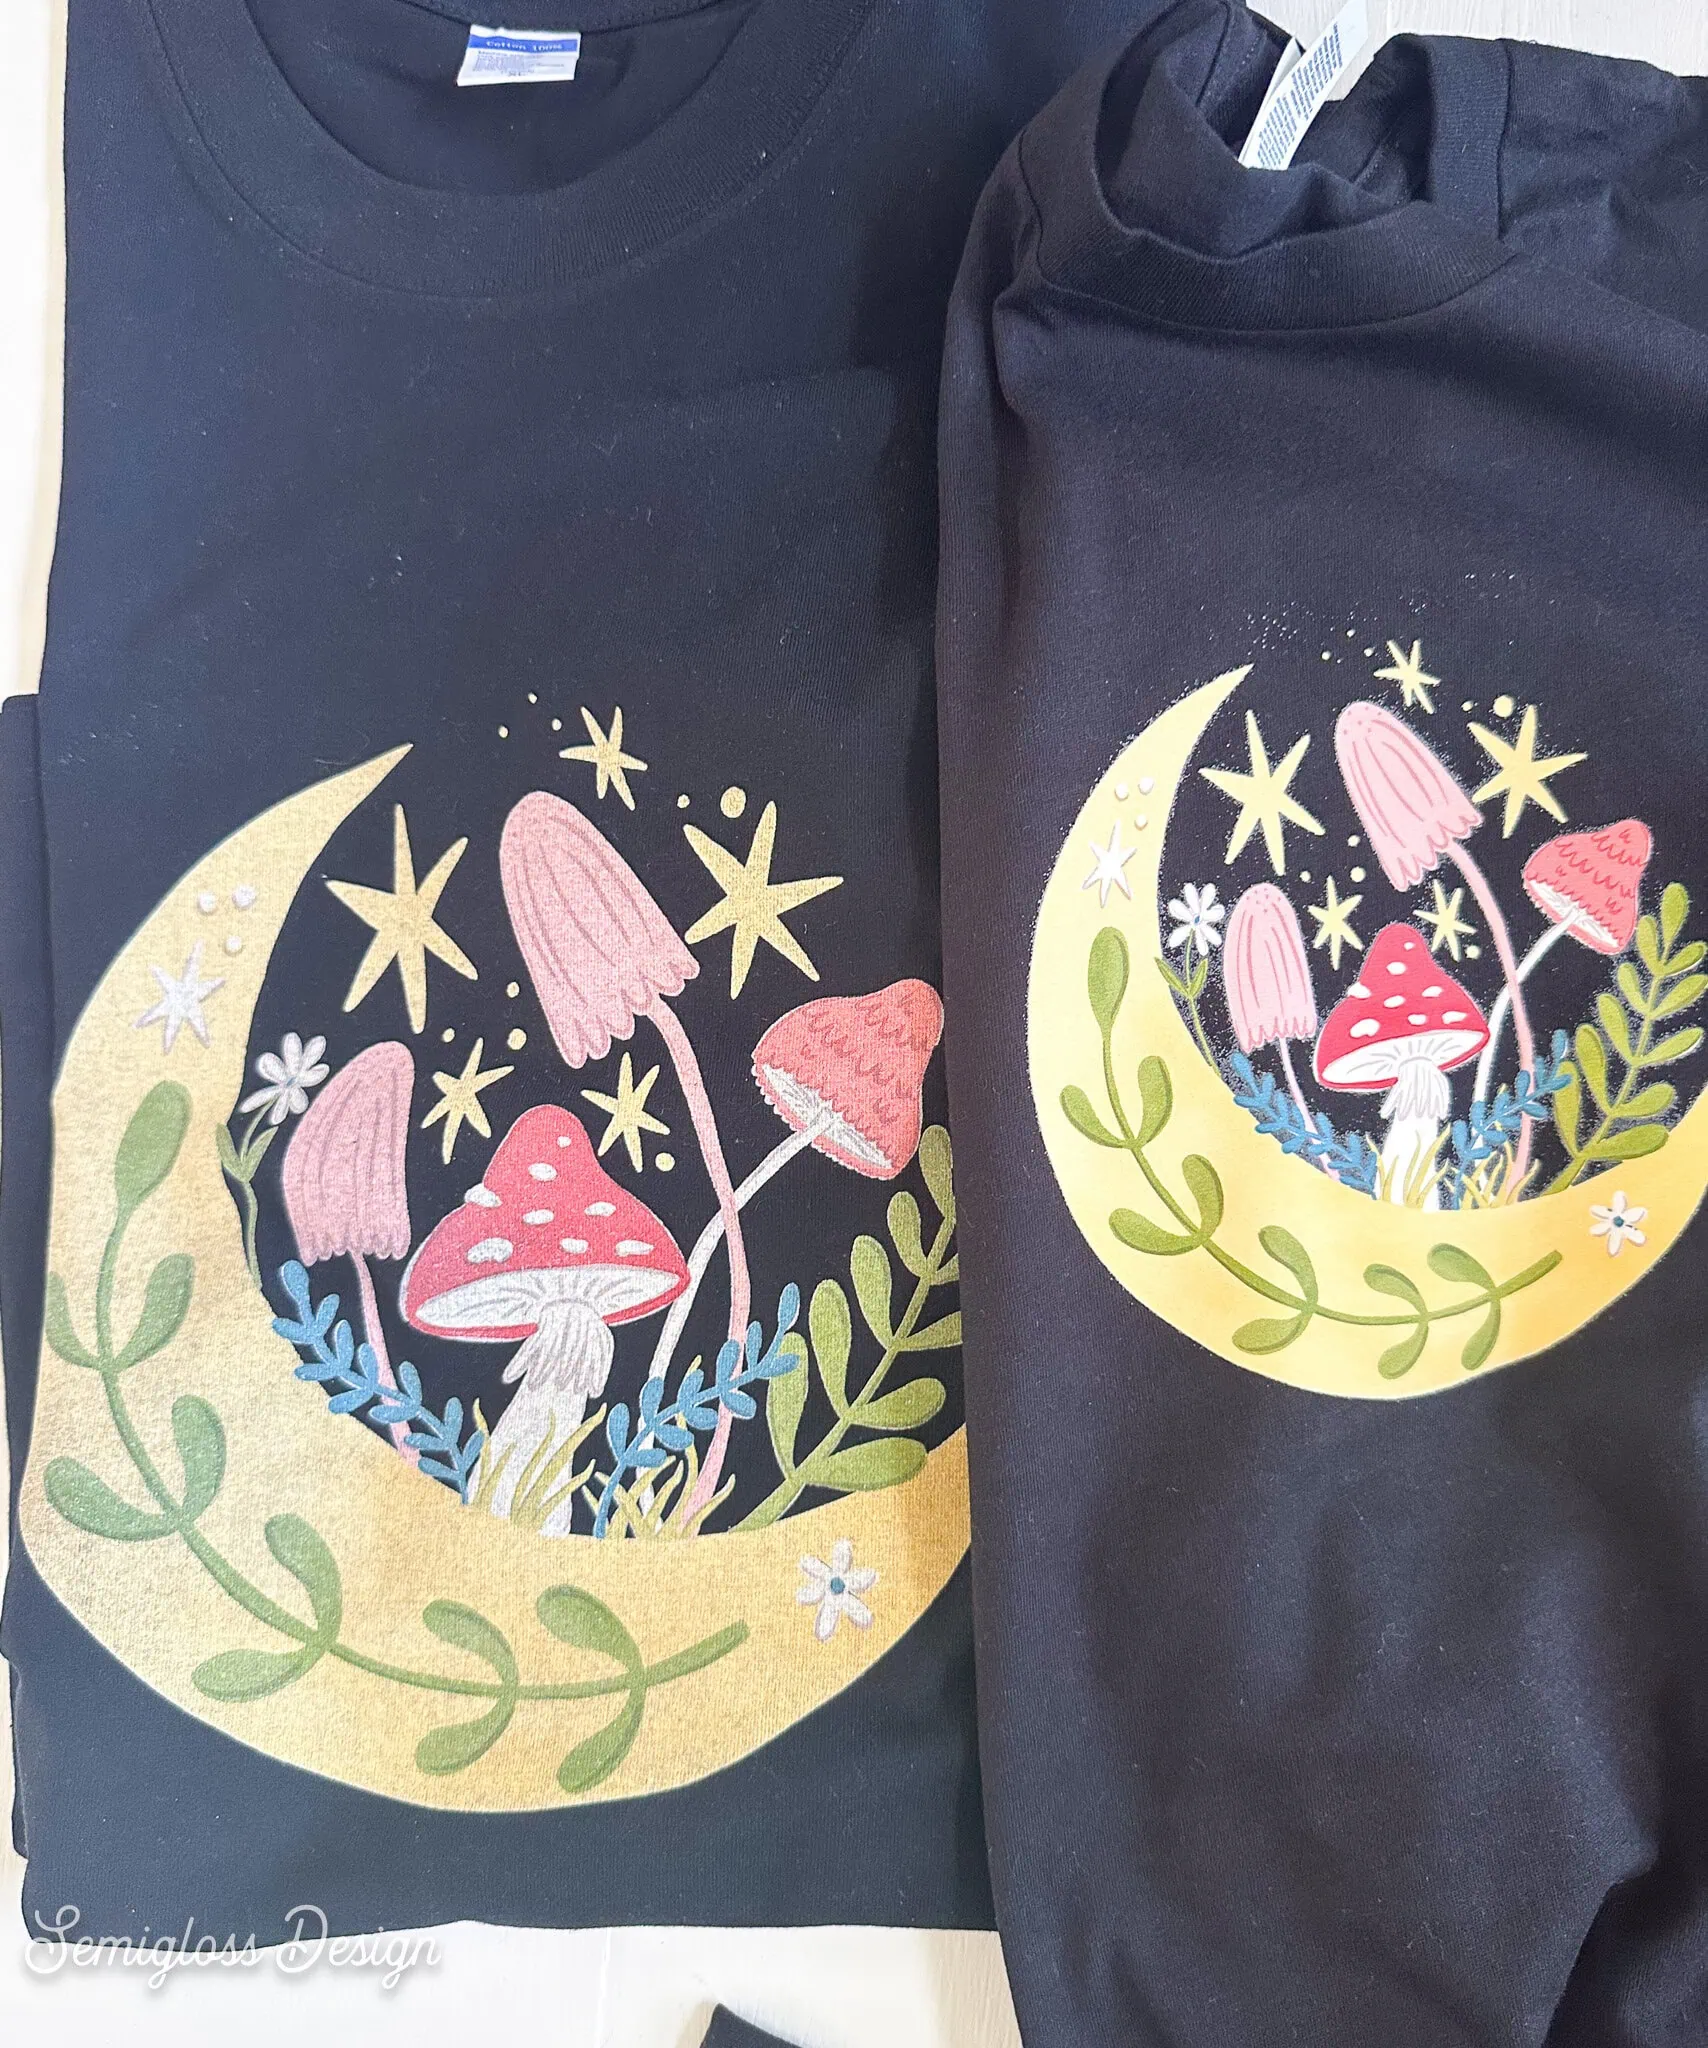
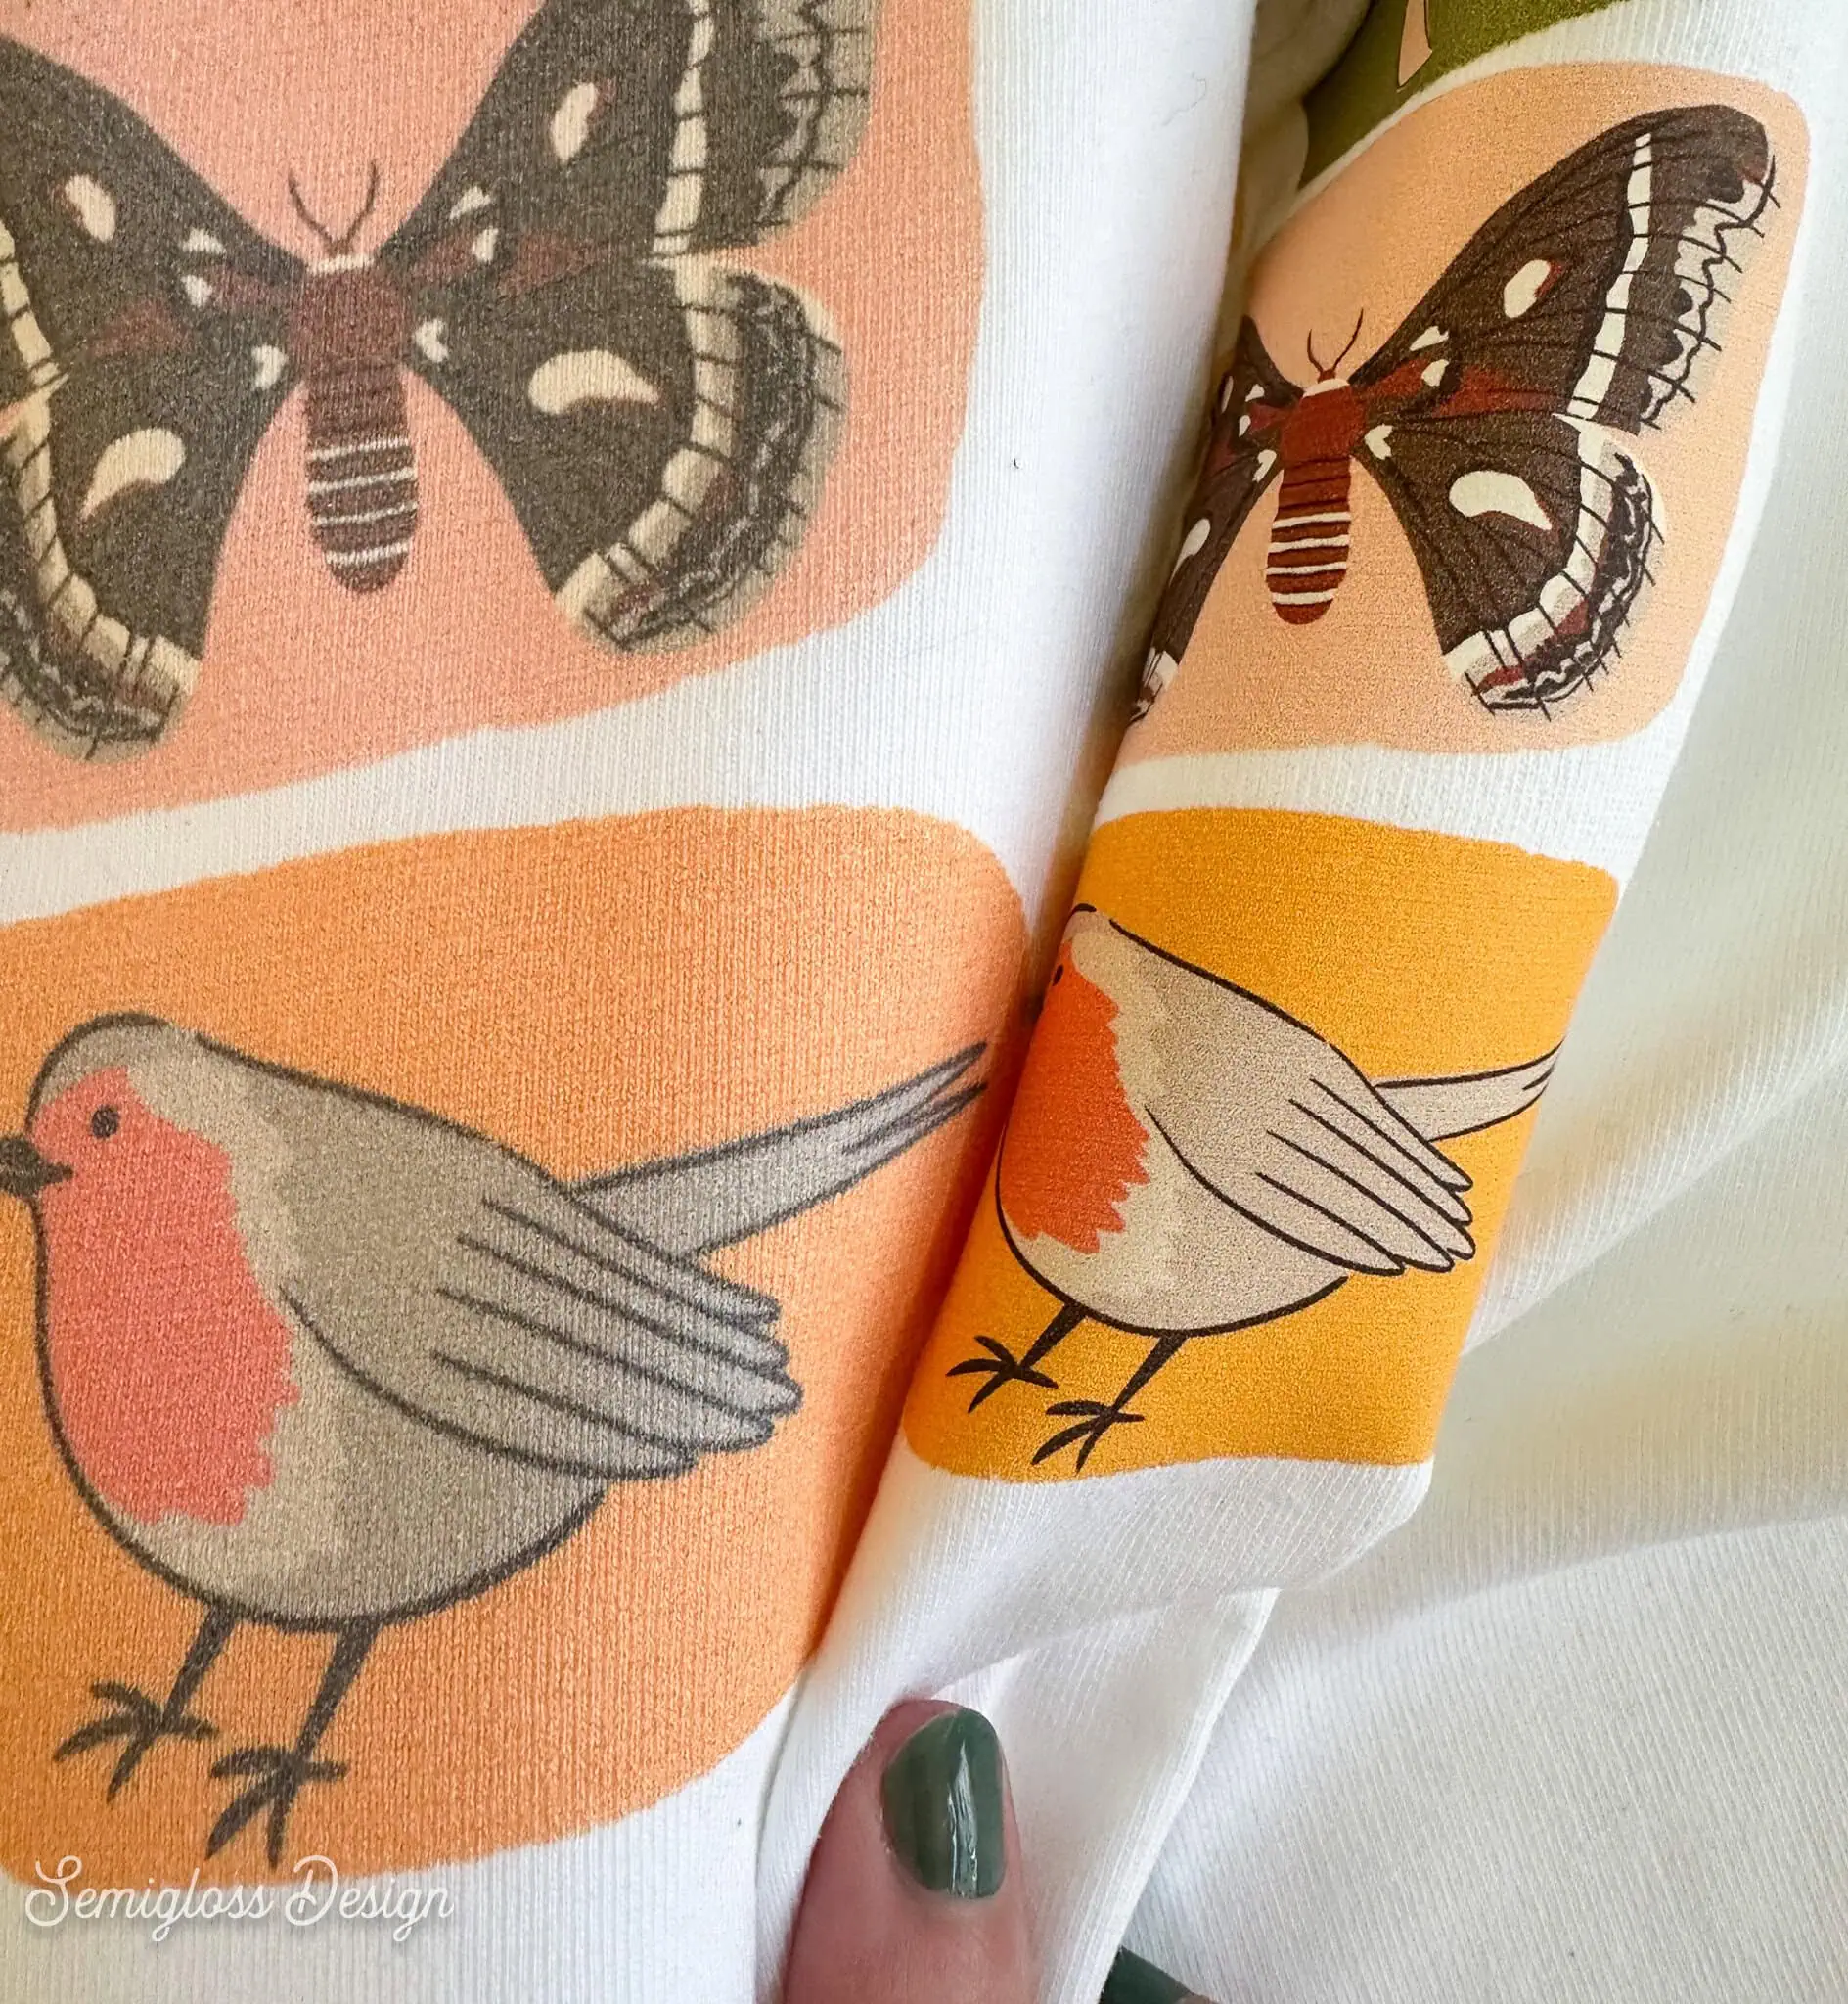
I’m not sure which method I prefer. The DTG printed shirts feel a bit softer and more vintage. The DTF transfer shirts are a bit thicker, but the colors are more vibrant. And I know the texture softens with time.
It’s nice to have a printer with both options!
Want to learn more about the xTool O1 Omni printer? Here are some of my other O1 Omni projects so far.
Pin for Later!

Emy is a vintage obsessed mama of 2 DIYer who loves sharing affordable solutions for common home problems. You don’t need a giant budget to create a lovely home. Read more…