
Easy DIY Paper Bookmarks
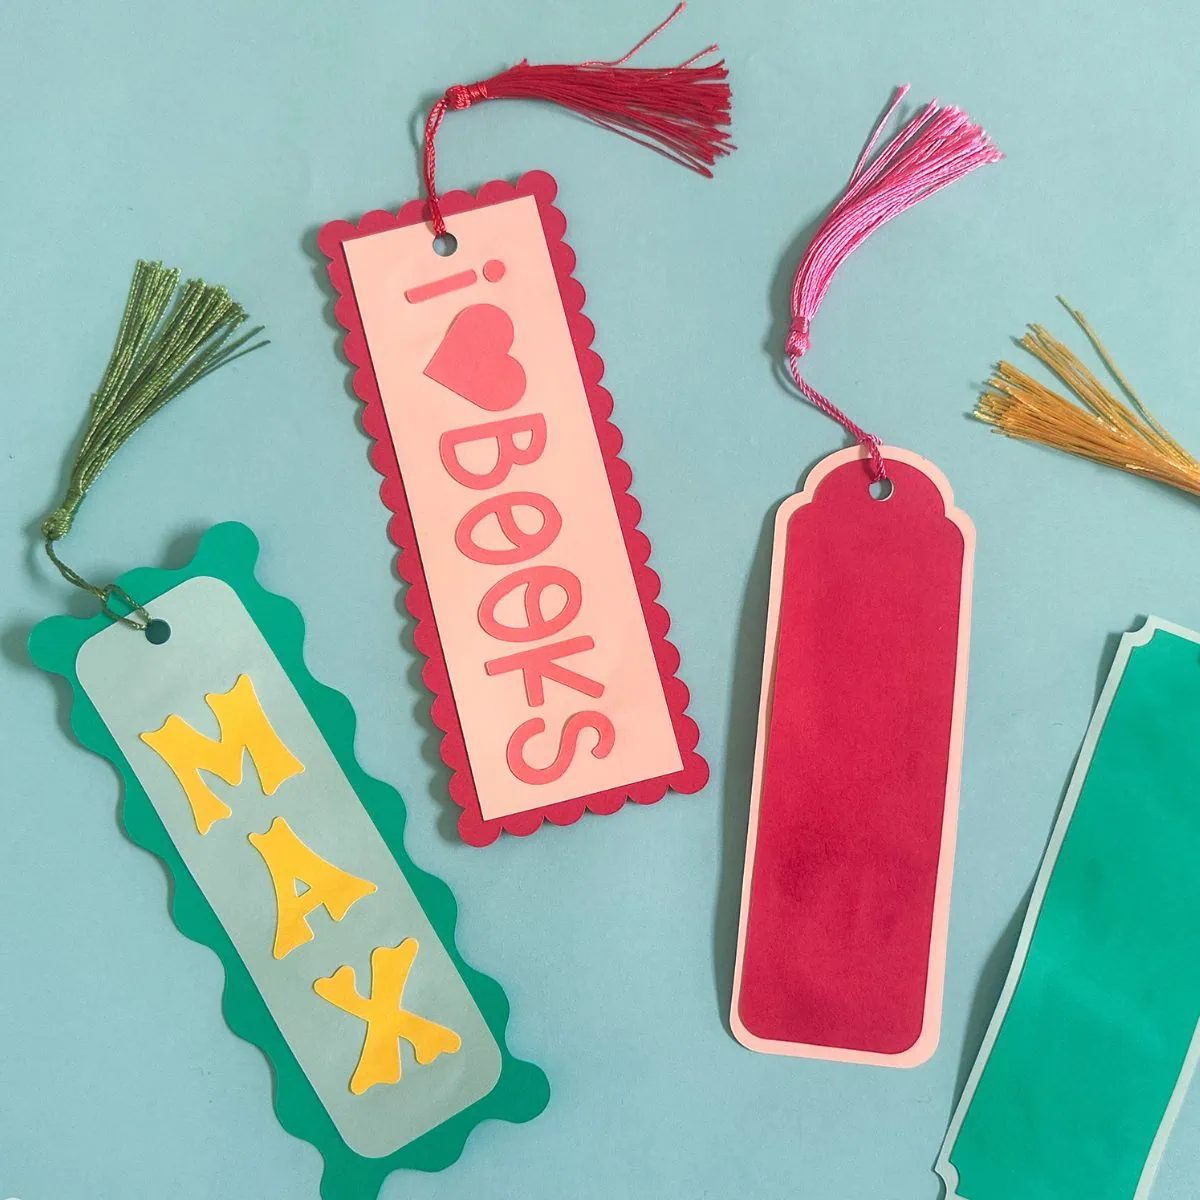
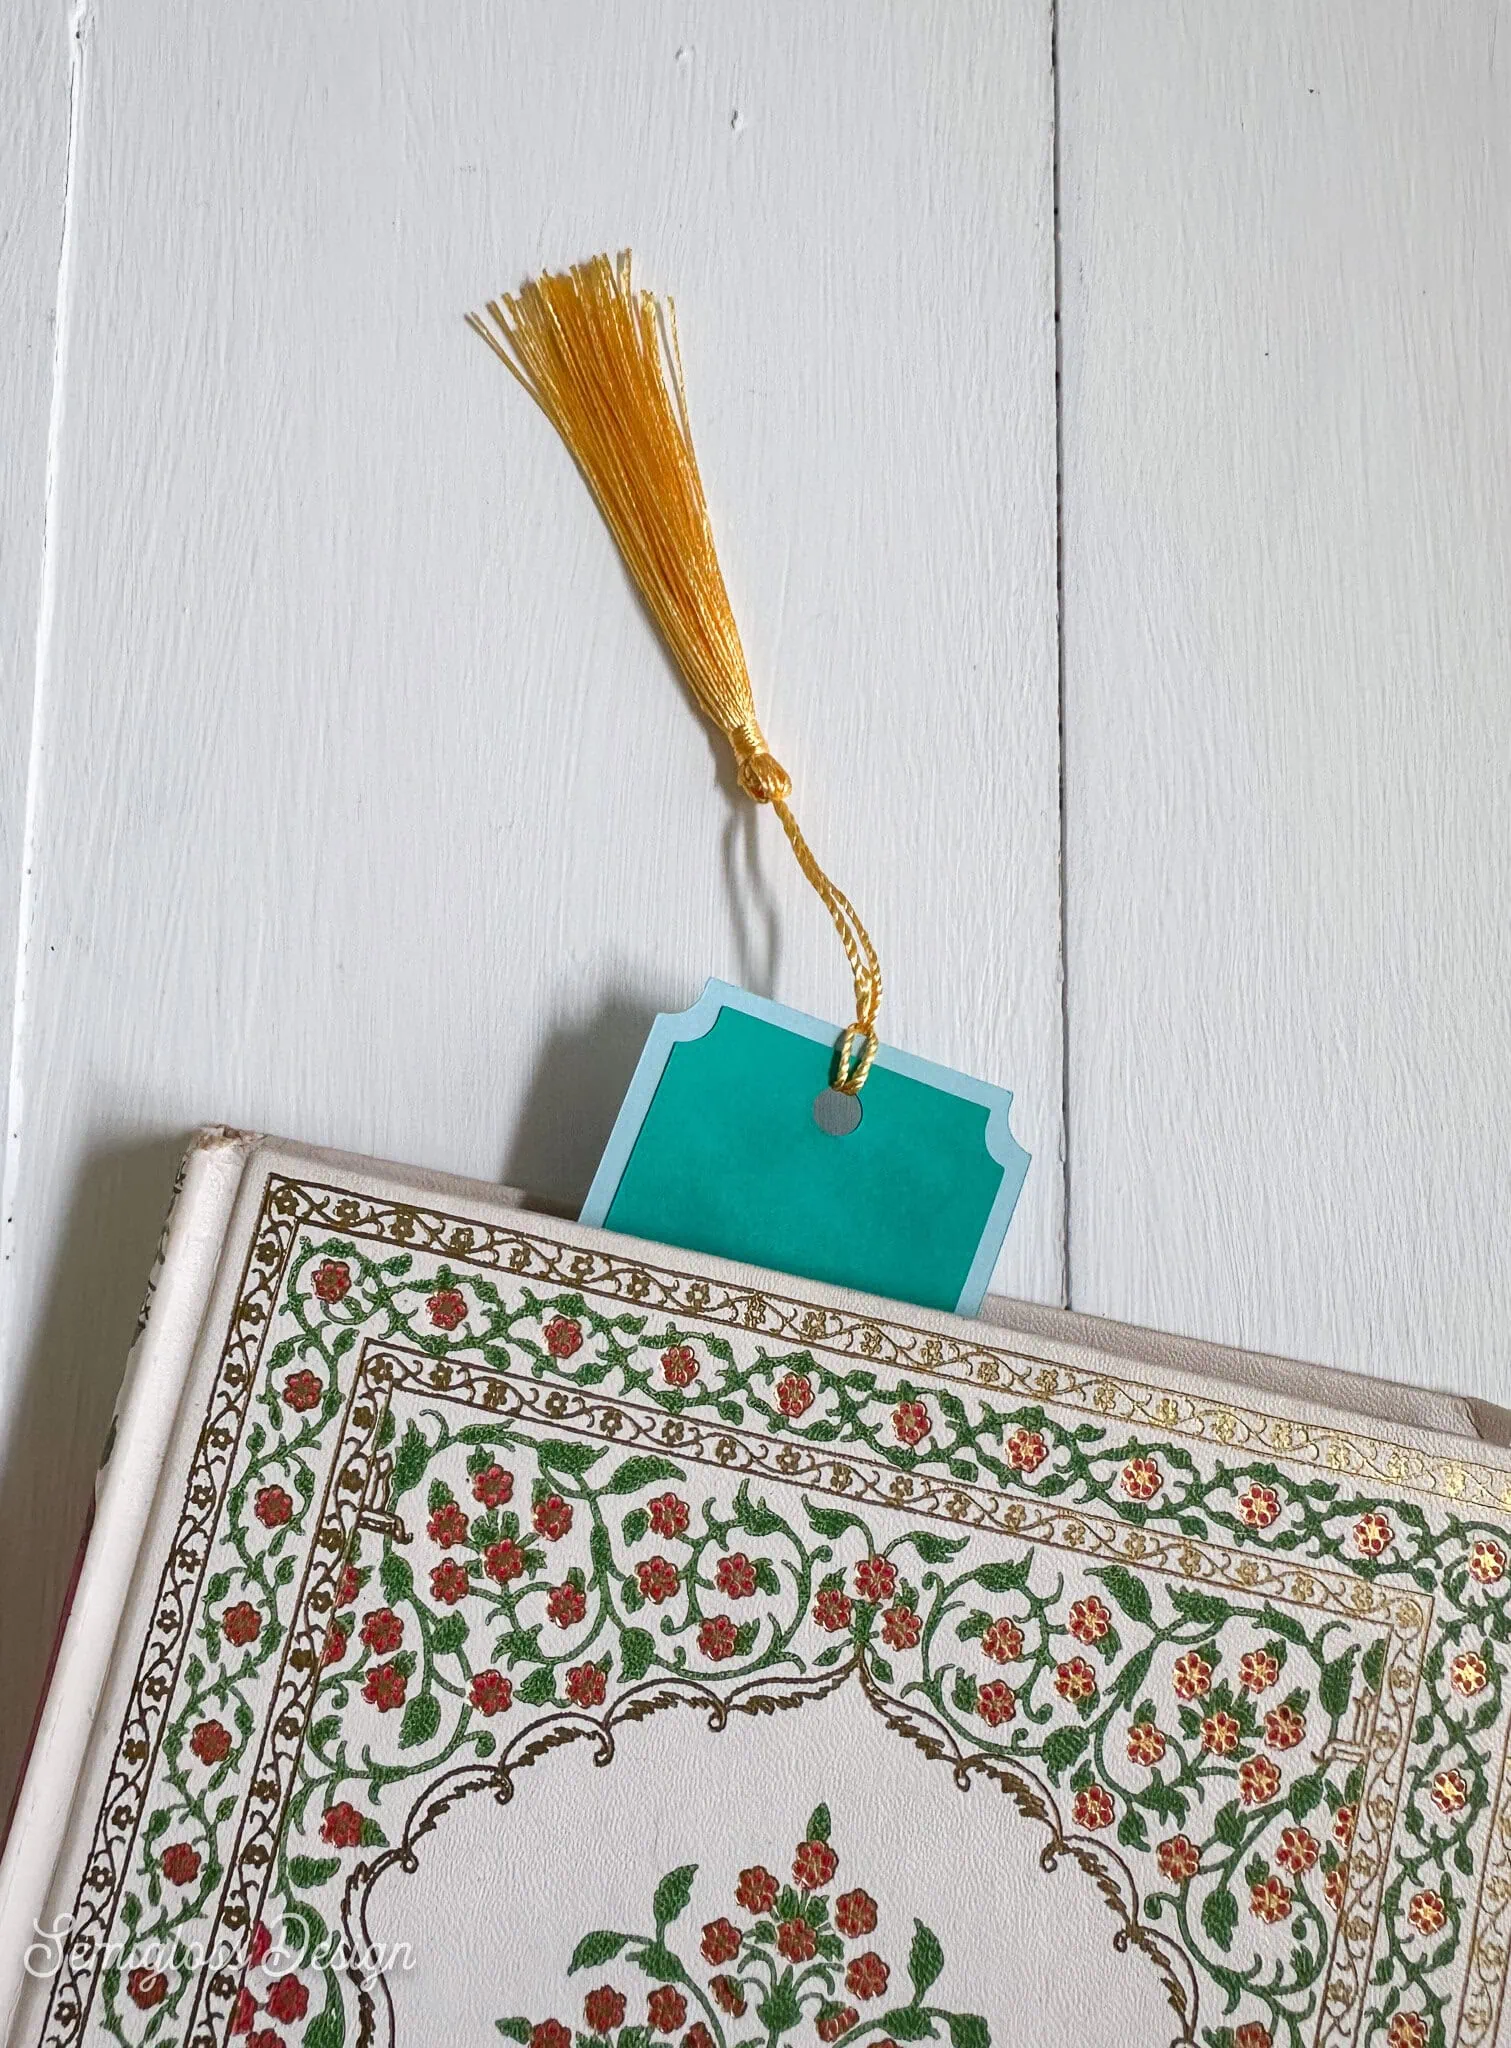
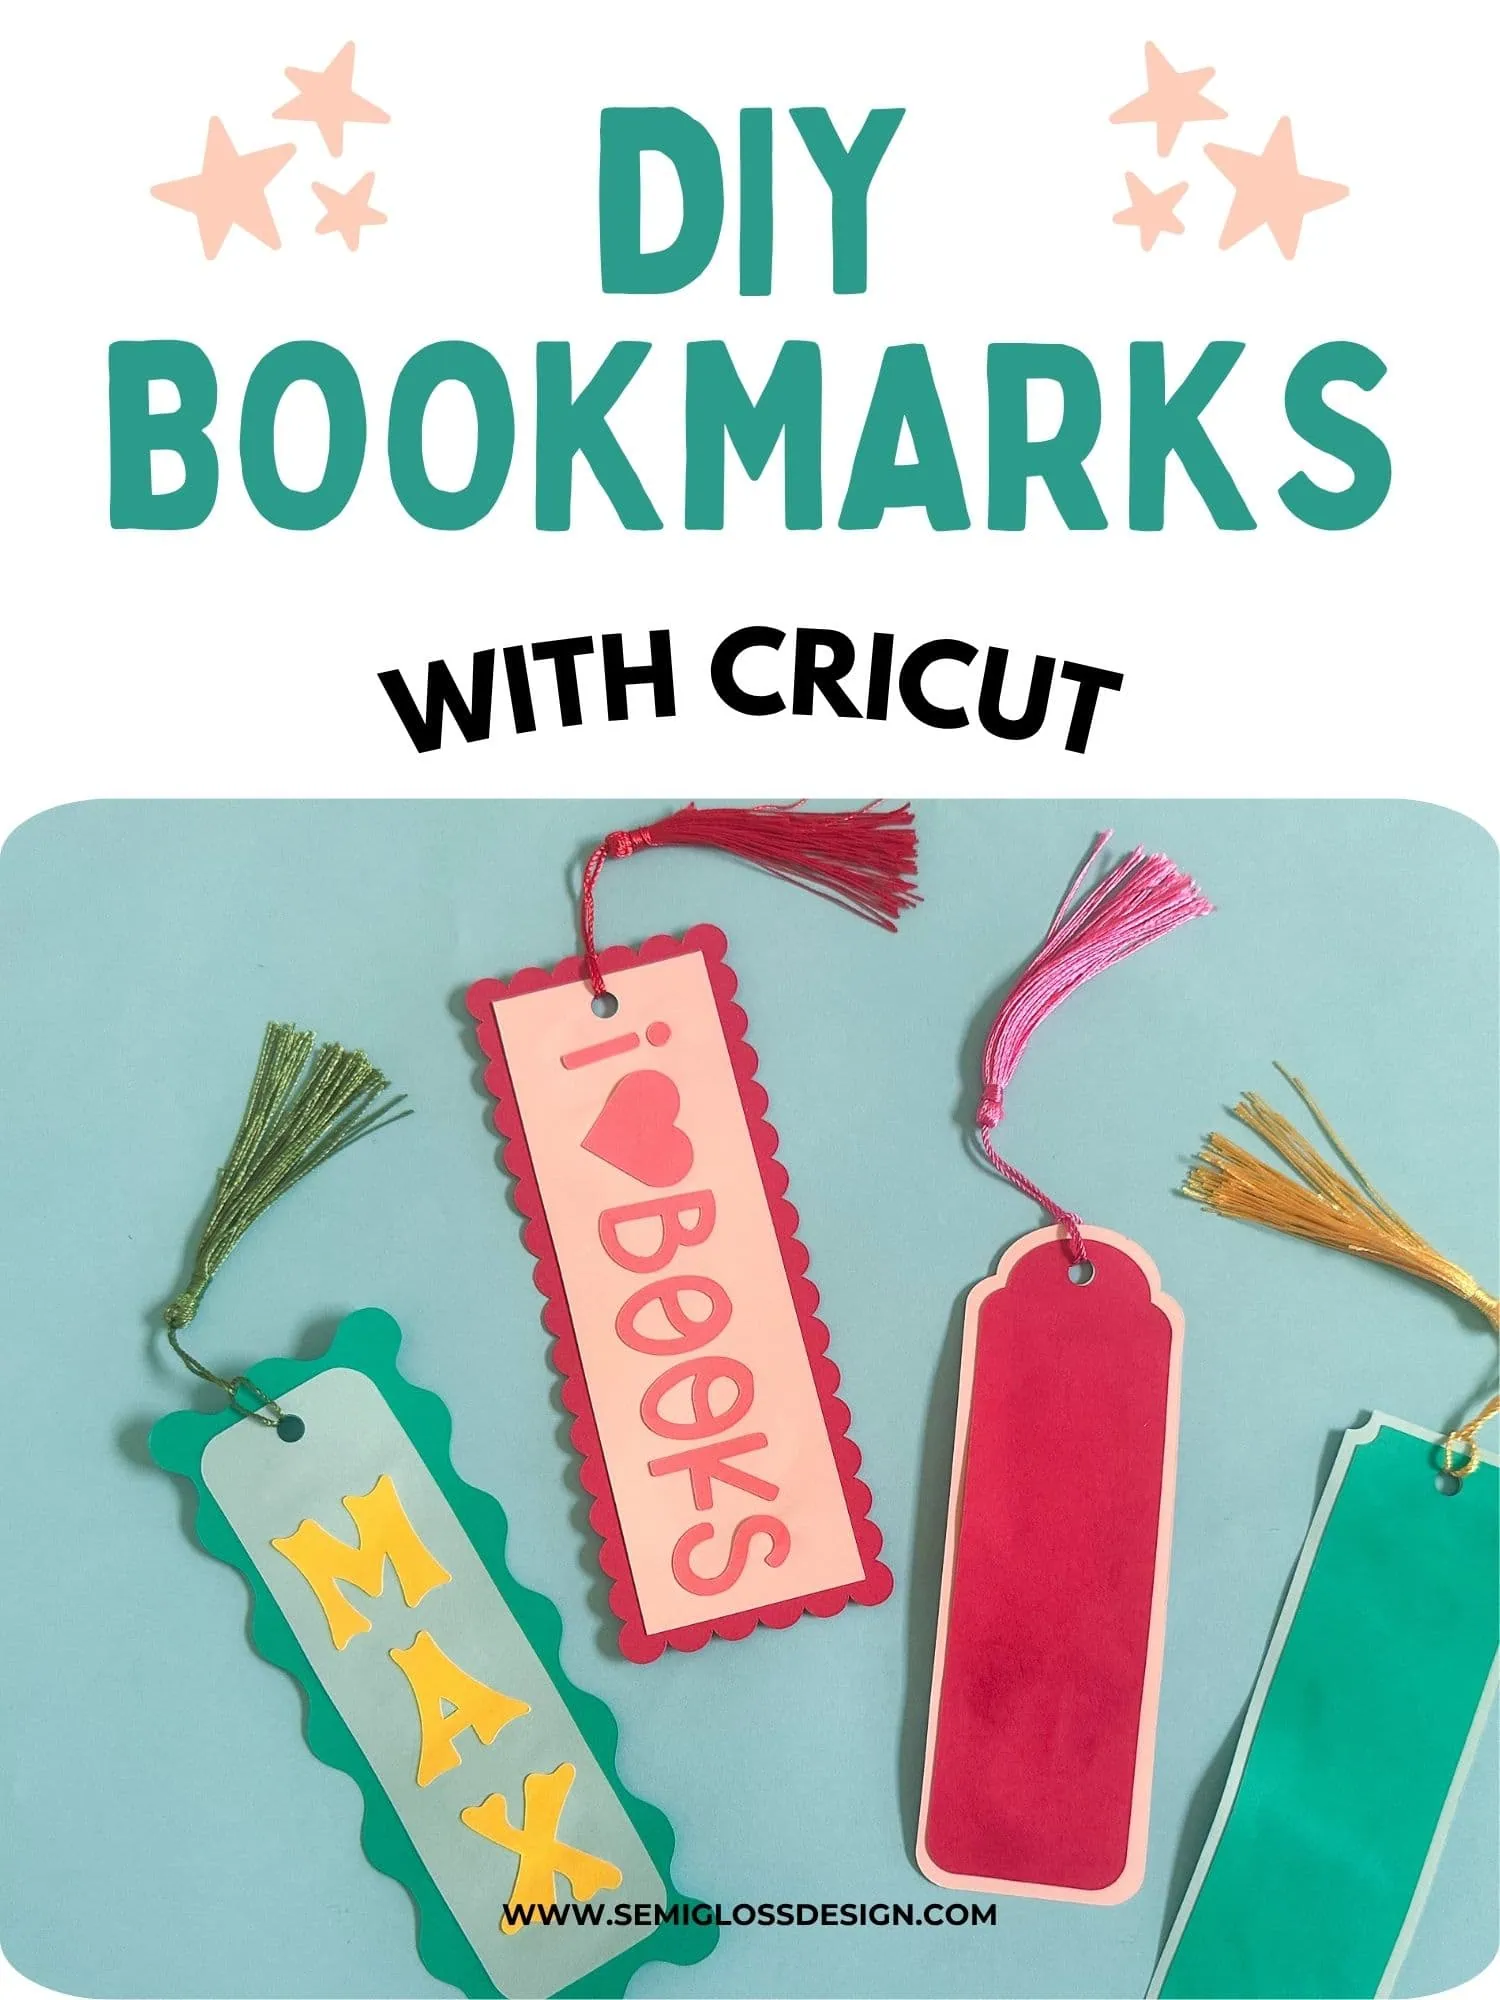
Make your own paper bookmarks with this easy tutorial. Use your Cricut and cardstock to make custom bookmarks. These easy layered bookmarks are a great way to add a handmade touch when gifting a book!
This post contains affiliate links. By purchasing an item through an affiliate link, I earn a small commission at no extra cost to you. As an Amazon Associate I earn from qualifying purchases.
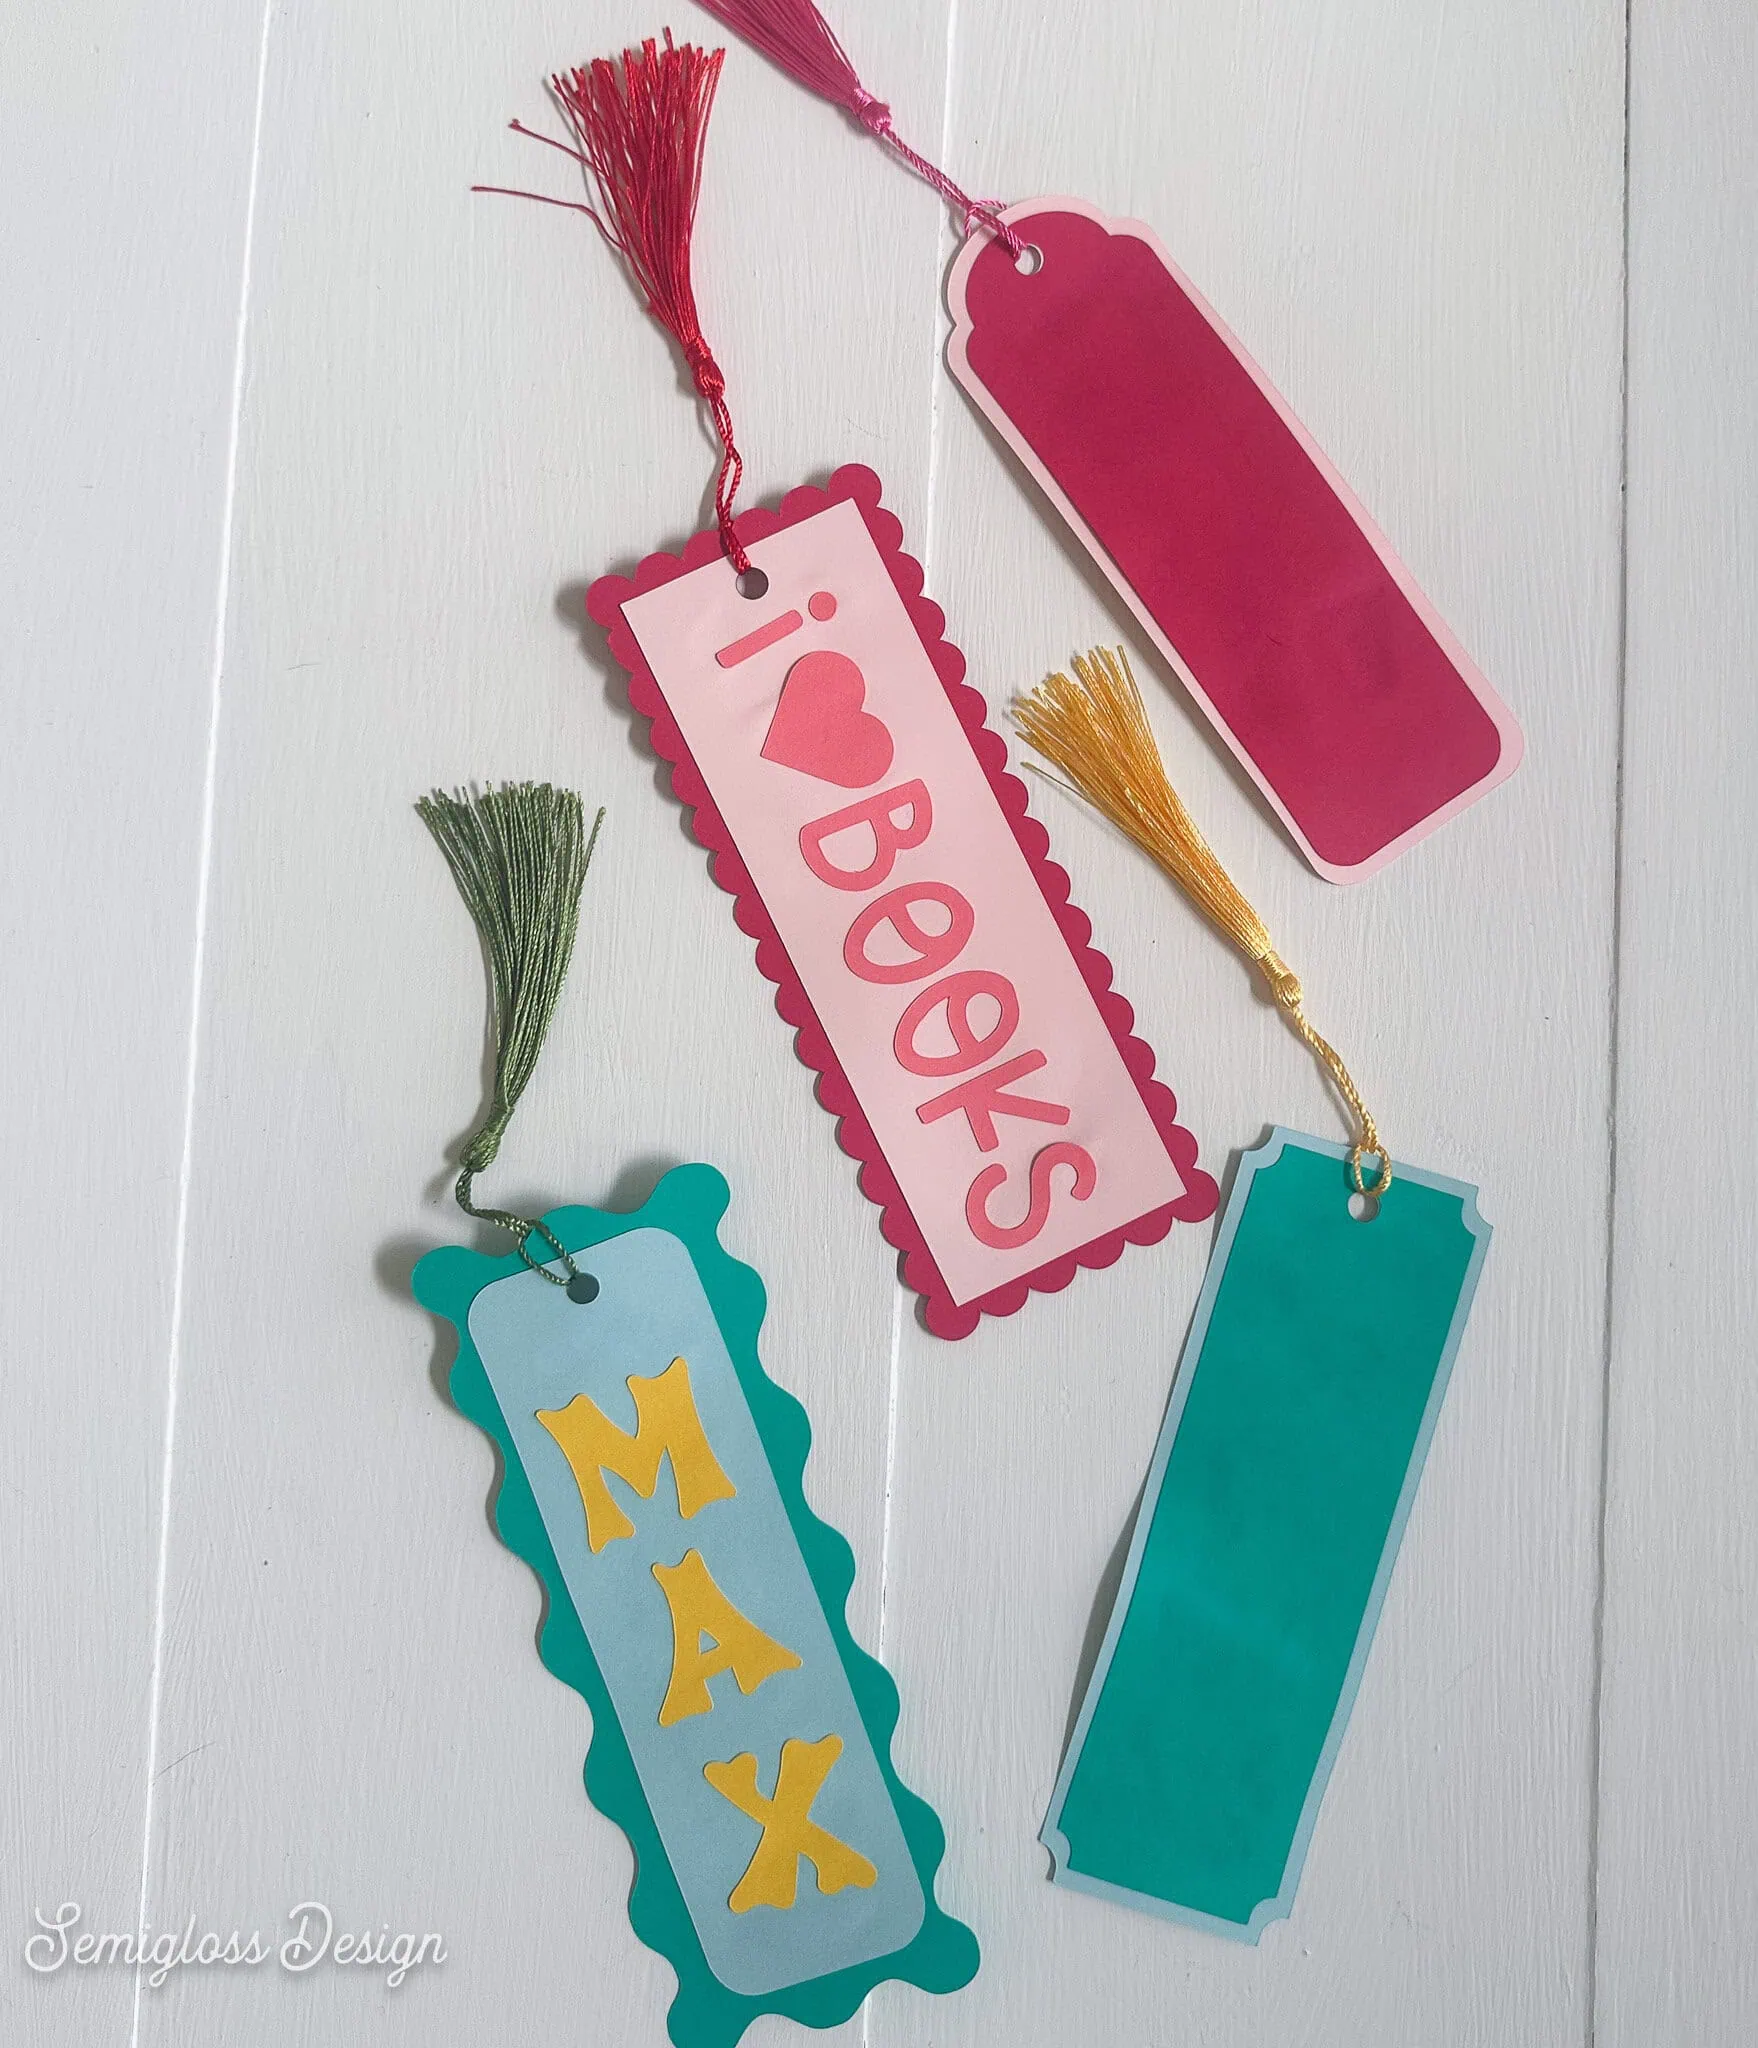
Bookmarks are so easy to make and customize. Just add elements or text to personalize.
How to Make Paper Bookmarks with Cricut
Supplies Needed:
- Cardstock
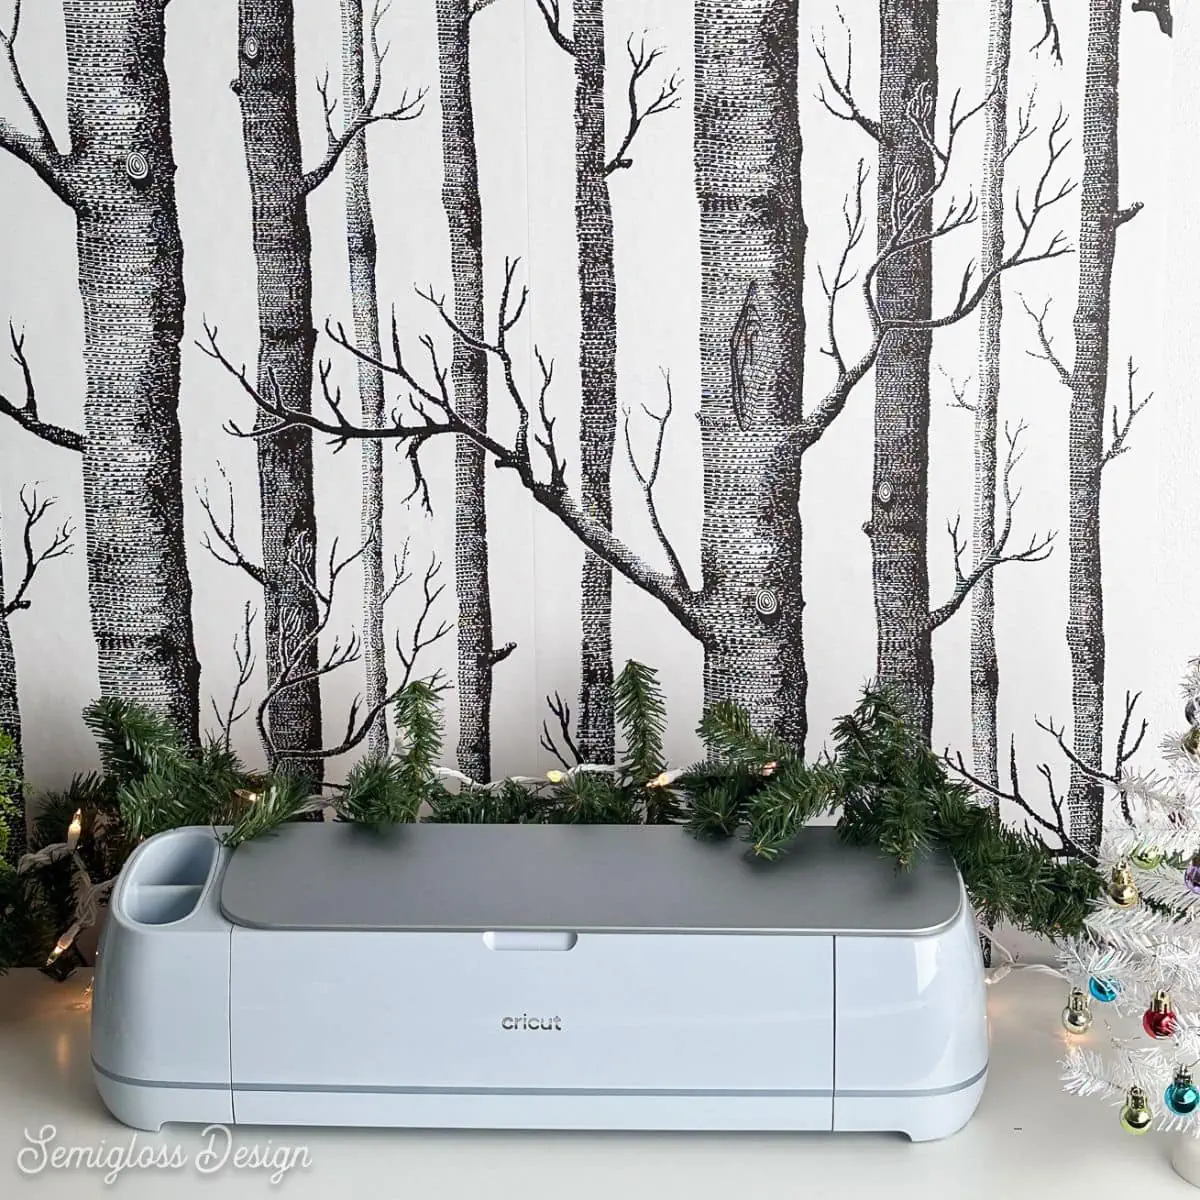
- Cricut
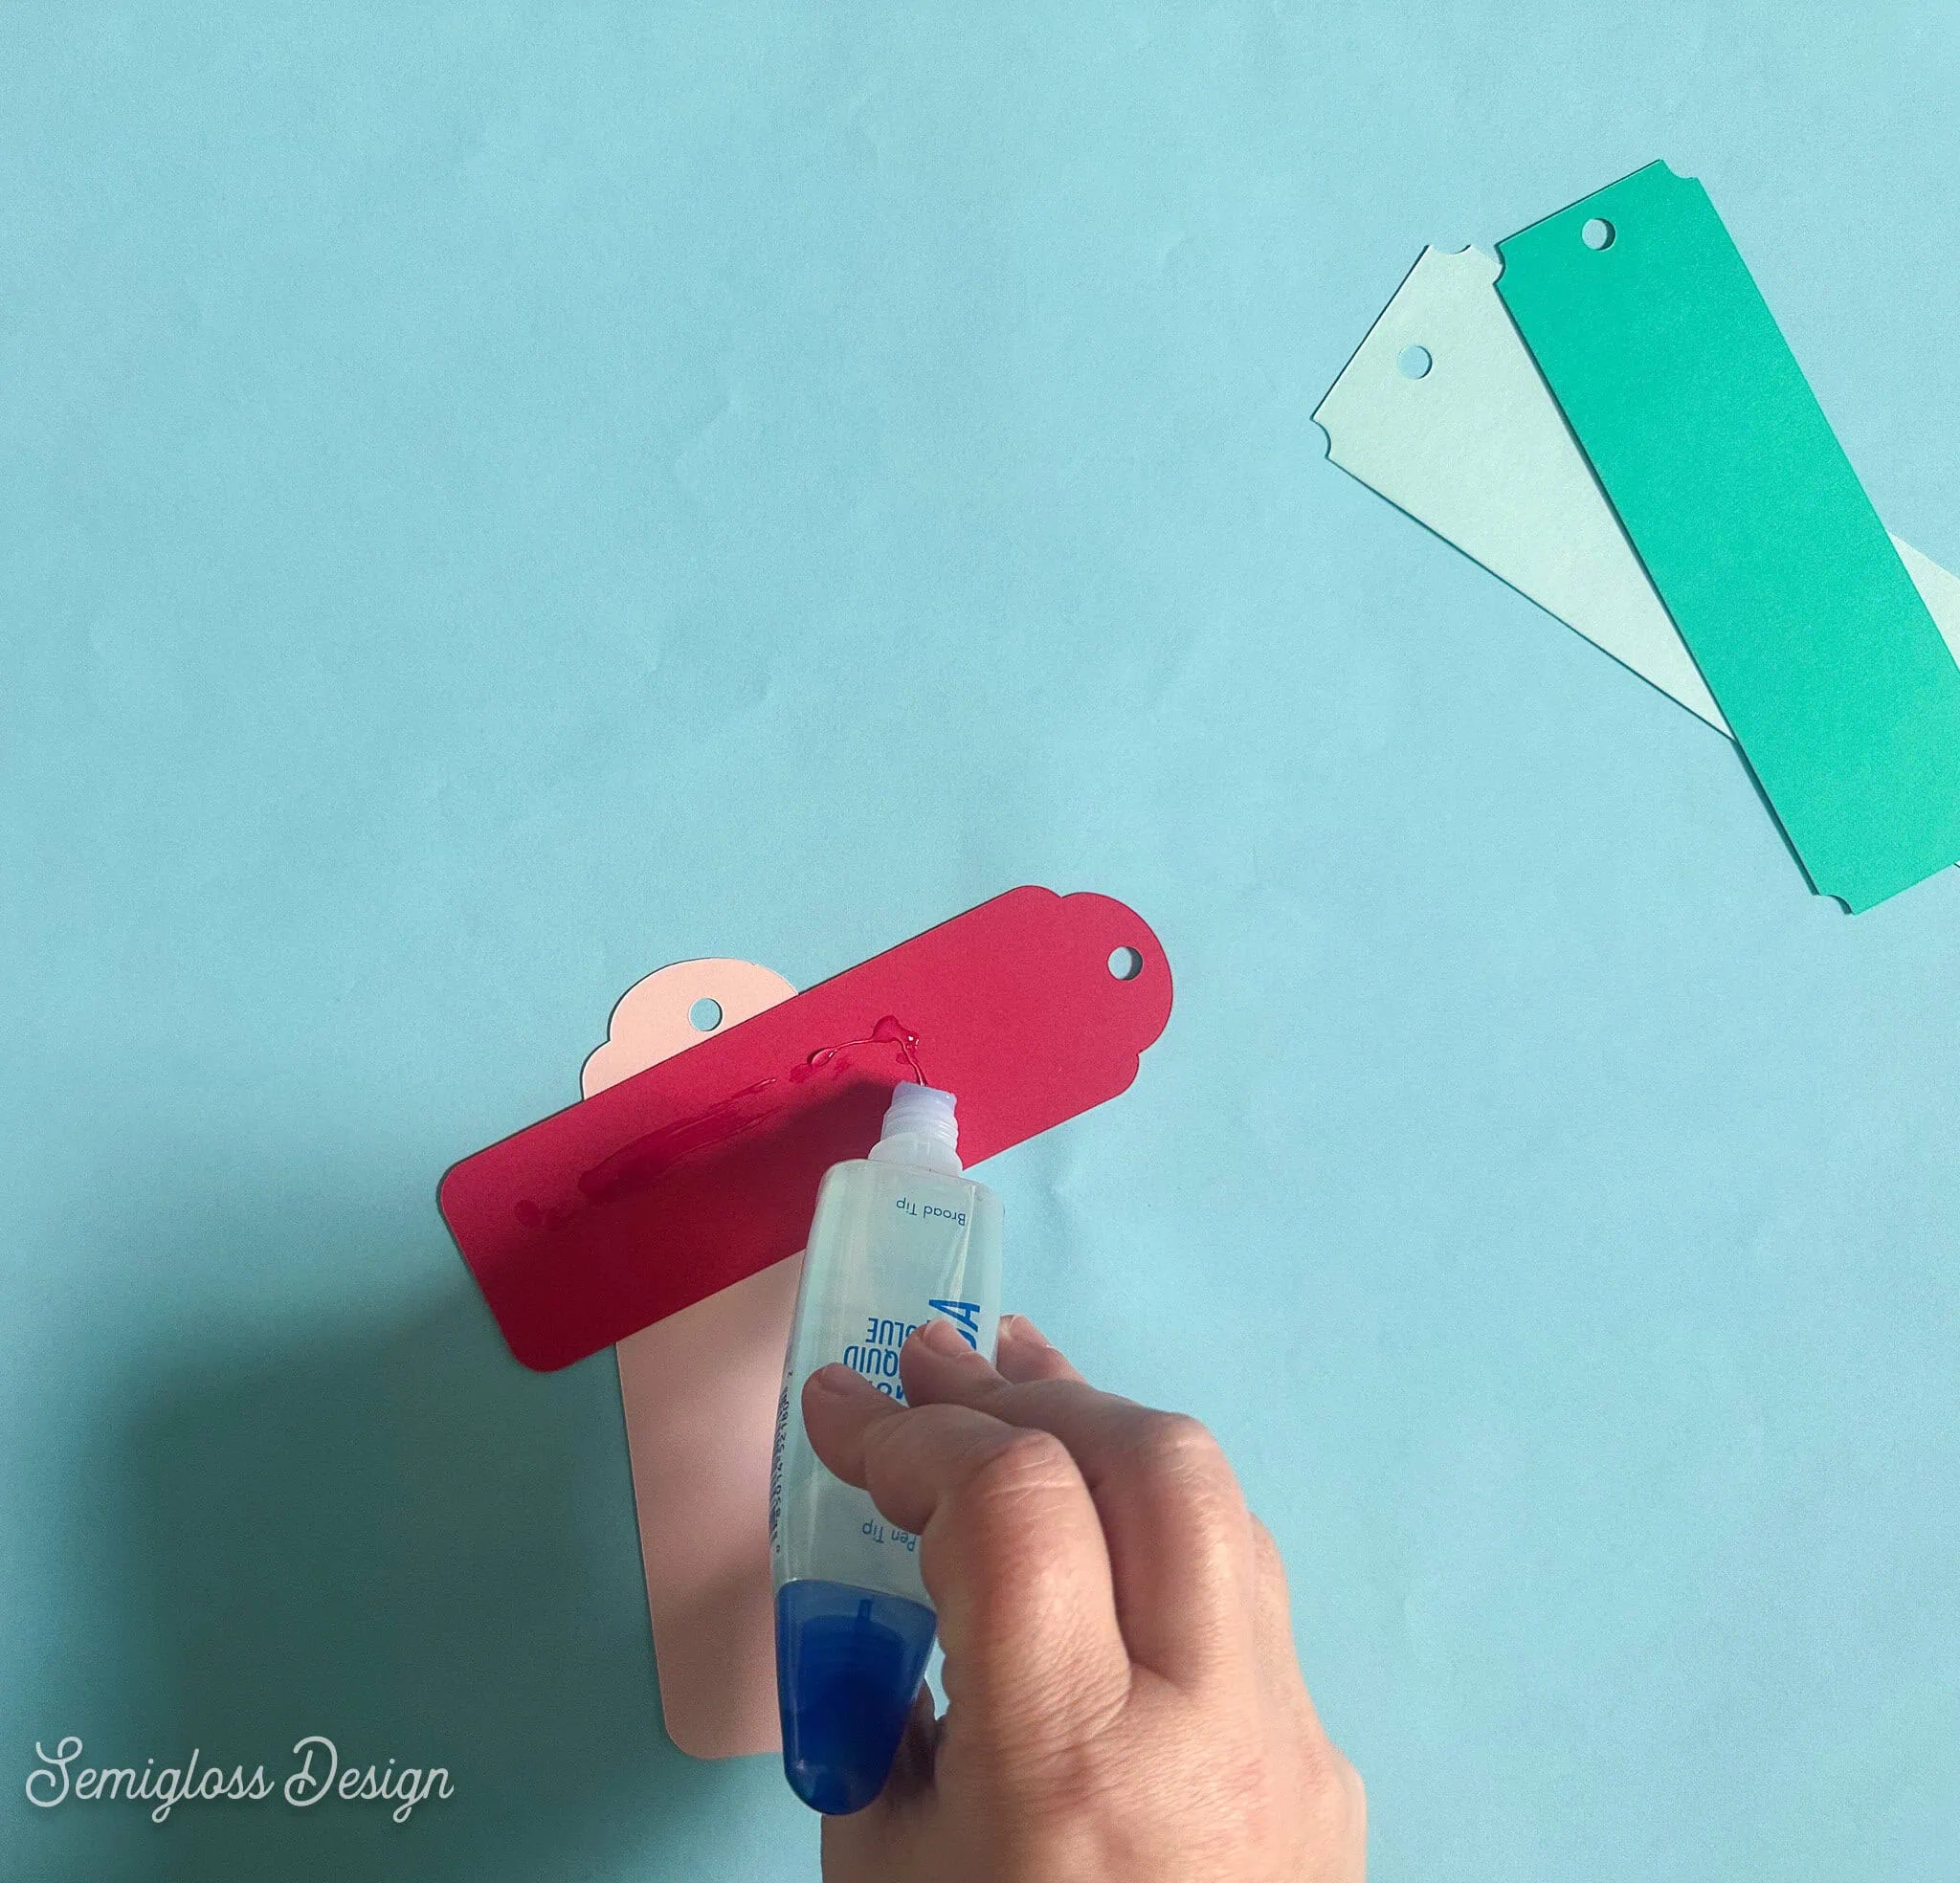
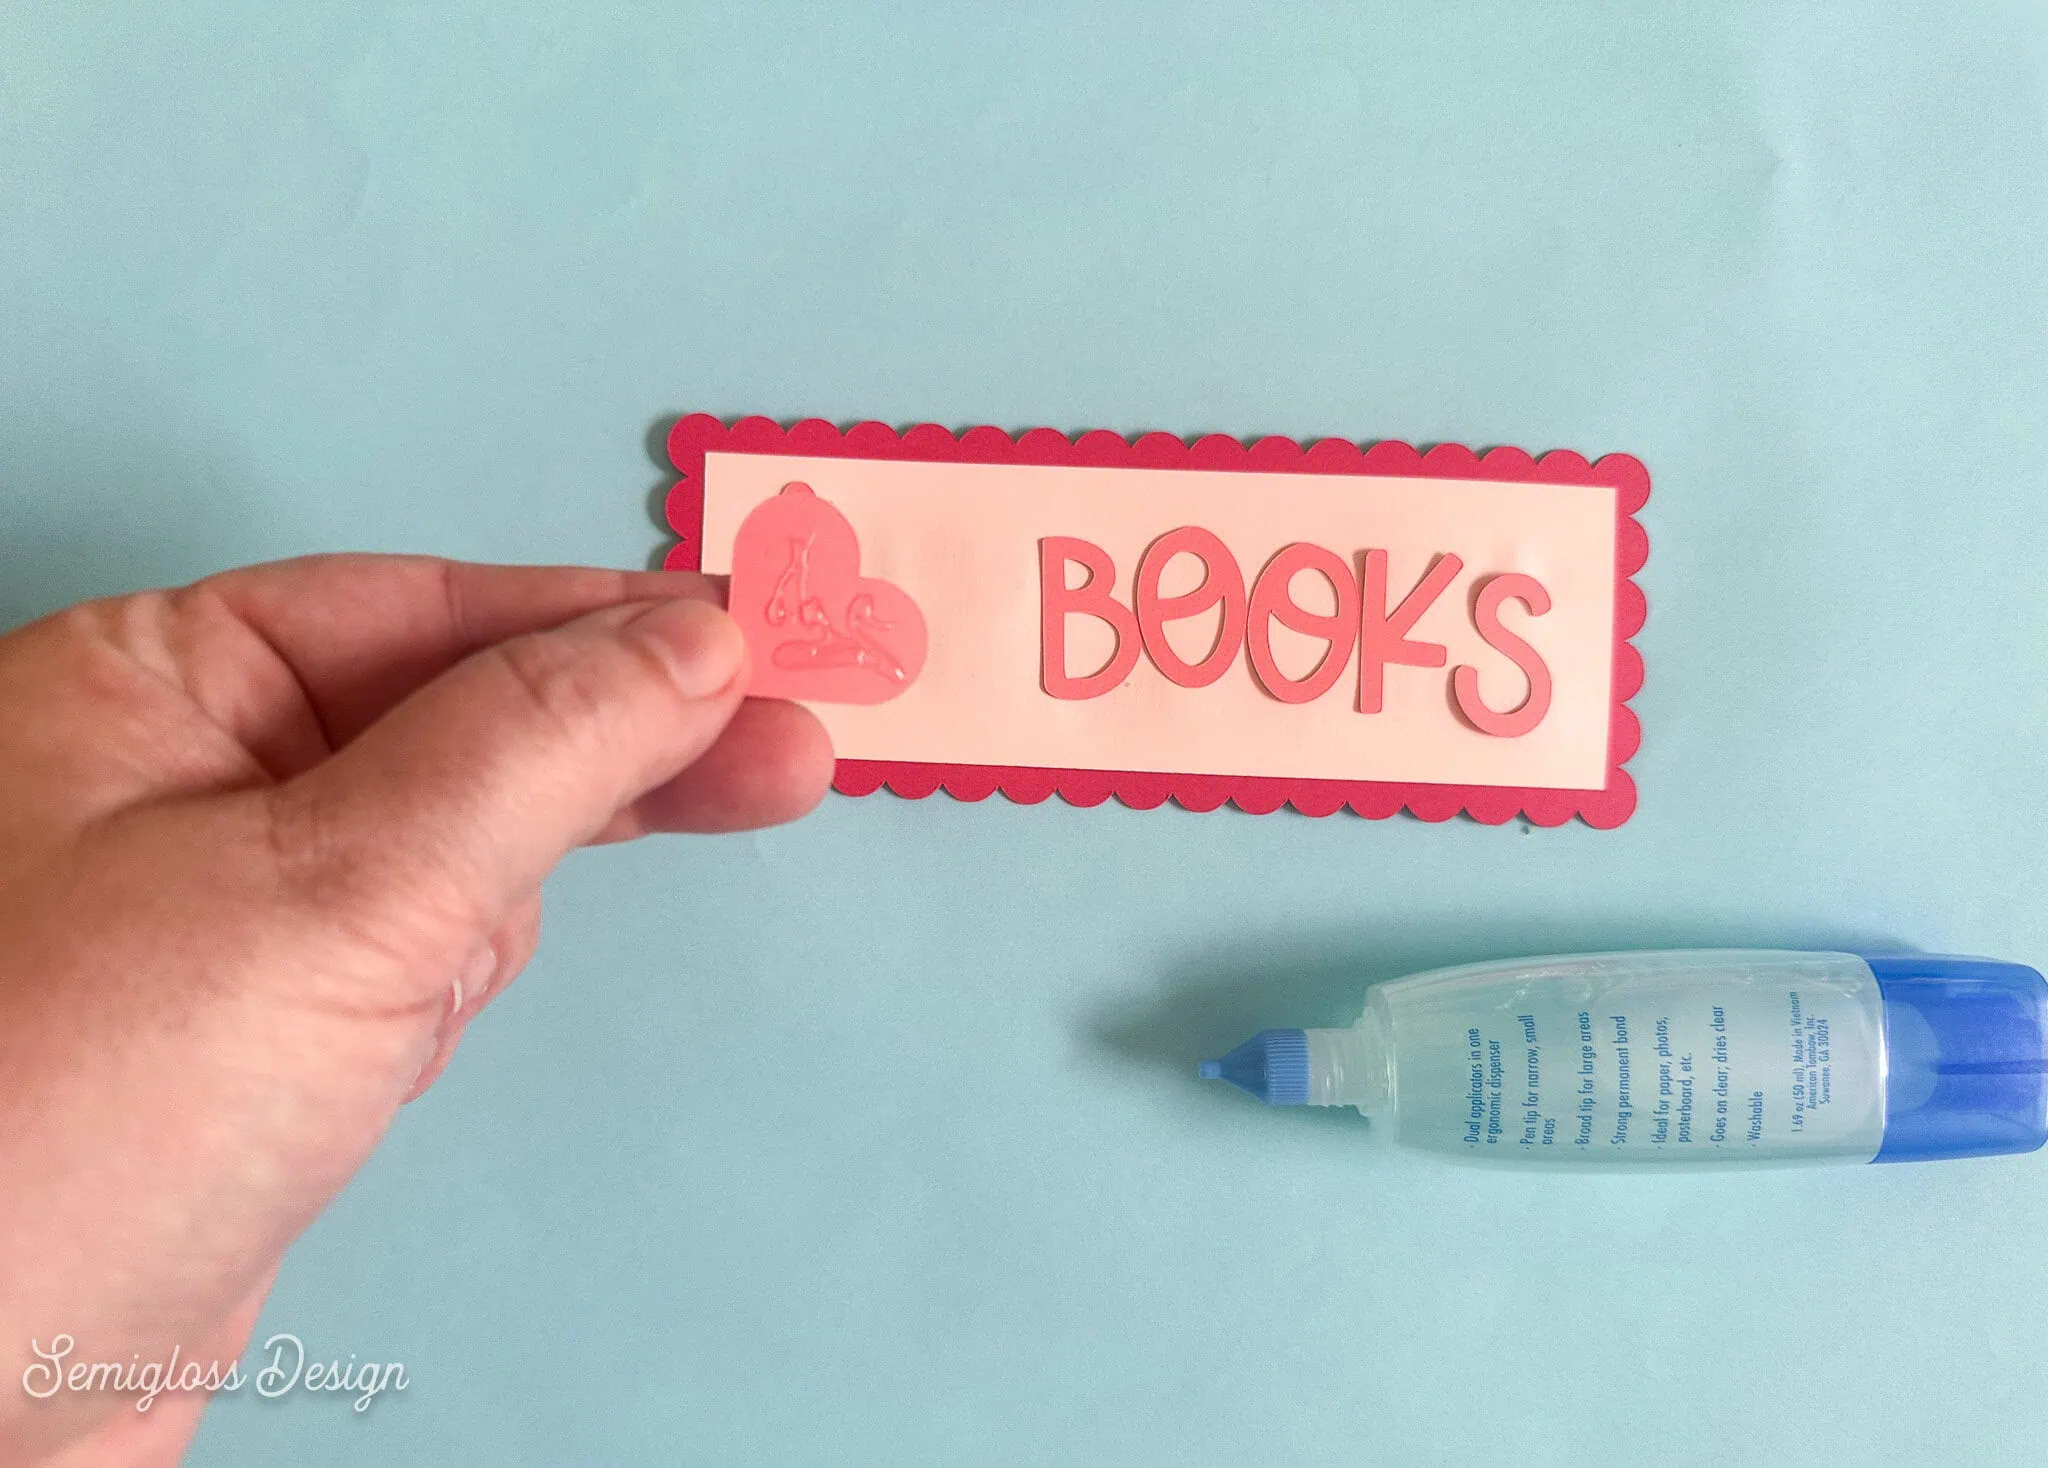
- Glue Pen (I used this pen that has a broad side and a thin side)
- Tassels
- SVG for Bookmarks
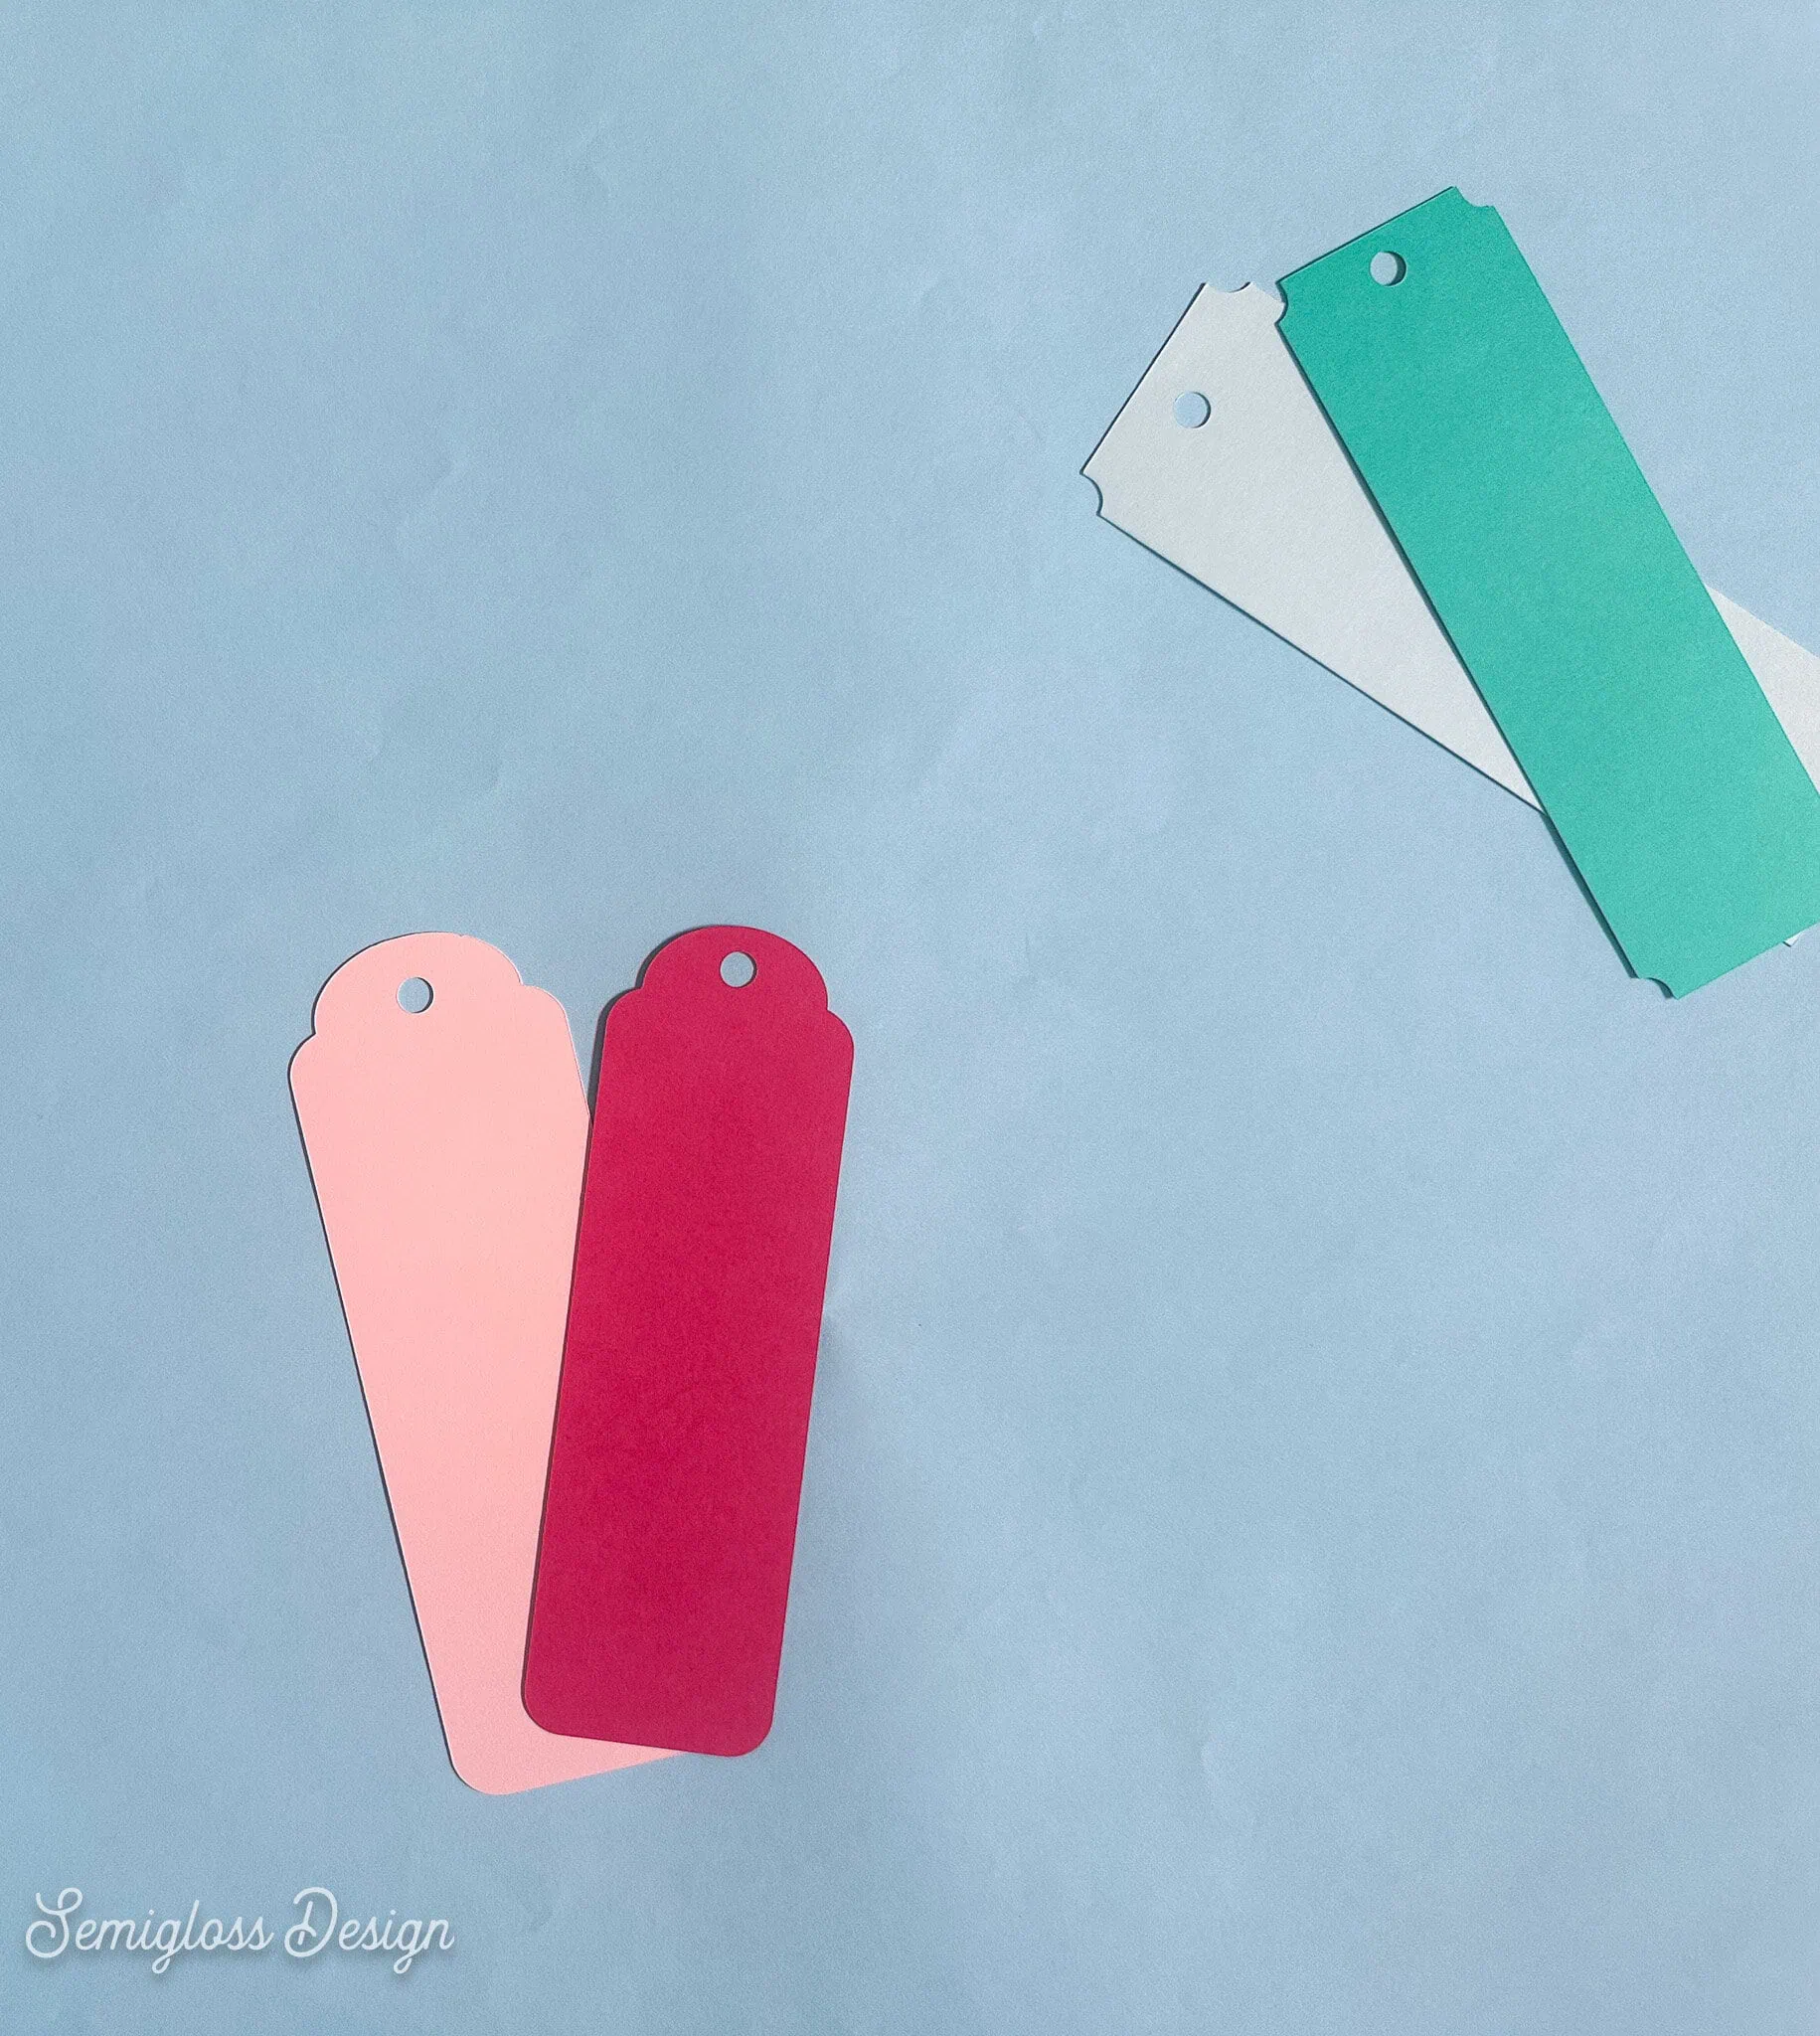
- Upload and cut your design as usual.

- Add elements or text to customize the bookmarks. I used the Cricut Access Fonts “BTC Spring Break” and “BFC Spooky Ghost”.
- Peel the mat away from the cardstock to prevent the paper from curling.
- Use the glue pen to attach the top layer to the bottom layer, aligning the hole for the tassel. Make sure the top layer is centered.

- Add any elements or cut text designs.

- Flip the bookmark over and place something heavy on top to help it lie flat while it dries.
- Finally, add the tassel and enjoy!

More Info on Cricut Fonts
I used Cricut Access fonts, but you can also look at the free fonts. At the time of writing, 135 fonts are available. I wrote a post about my favorite free Cricut fonts here.
You can also use fonts installed on your computer. If you add fonts, use reputable sites. I like Dafont.com. I also like to purchase fonts from Creative Market.
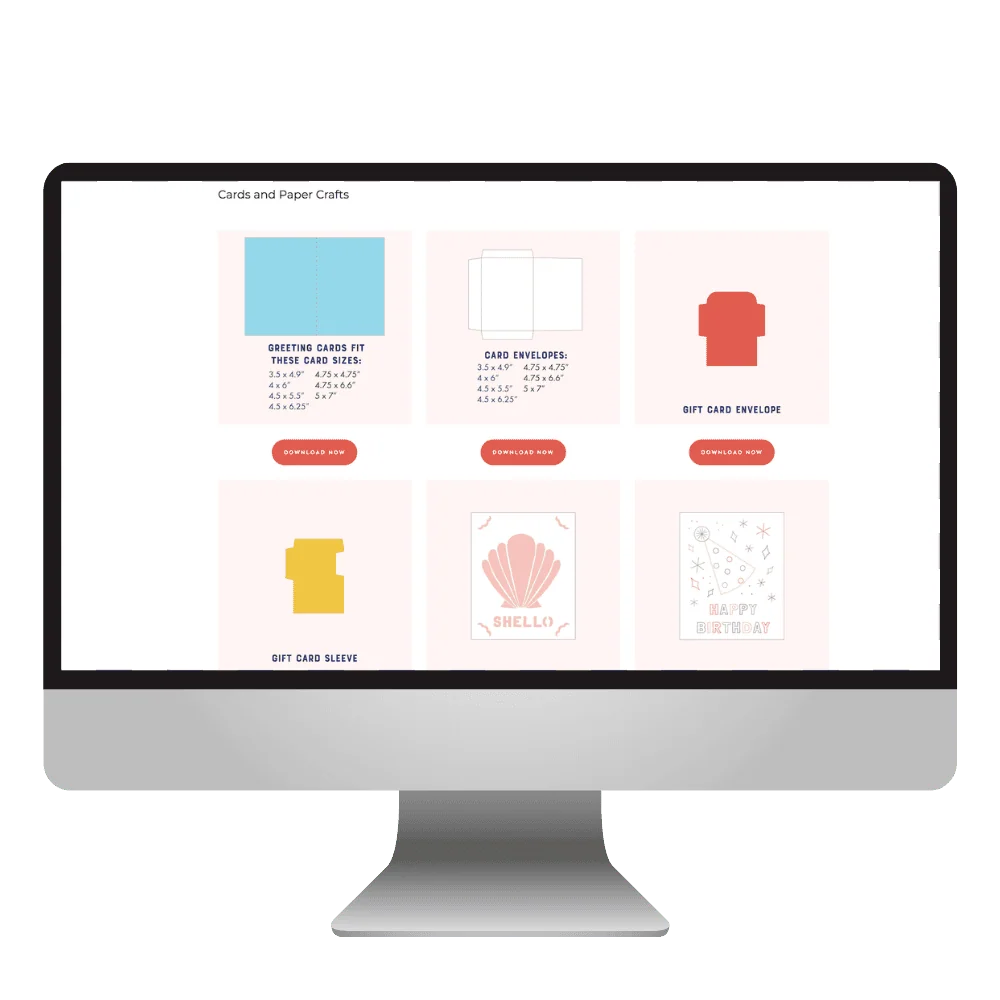
Get my free SVG files
Get Crafting Today
Get access to my SVG library with over 50 cut files and cheat sheets.
You might also like:
Shop My SVG Designs
Pin for Later!

Emy is a vintage obsessed mama of 2 DIYer who loves sharing affordable solutions for common home problems. You don’t need a giant budget to create a lovely home. Read more…