
How to Make UV DTF Nail Decals
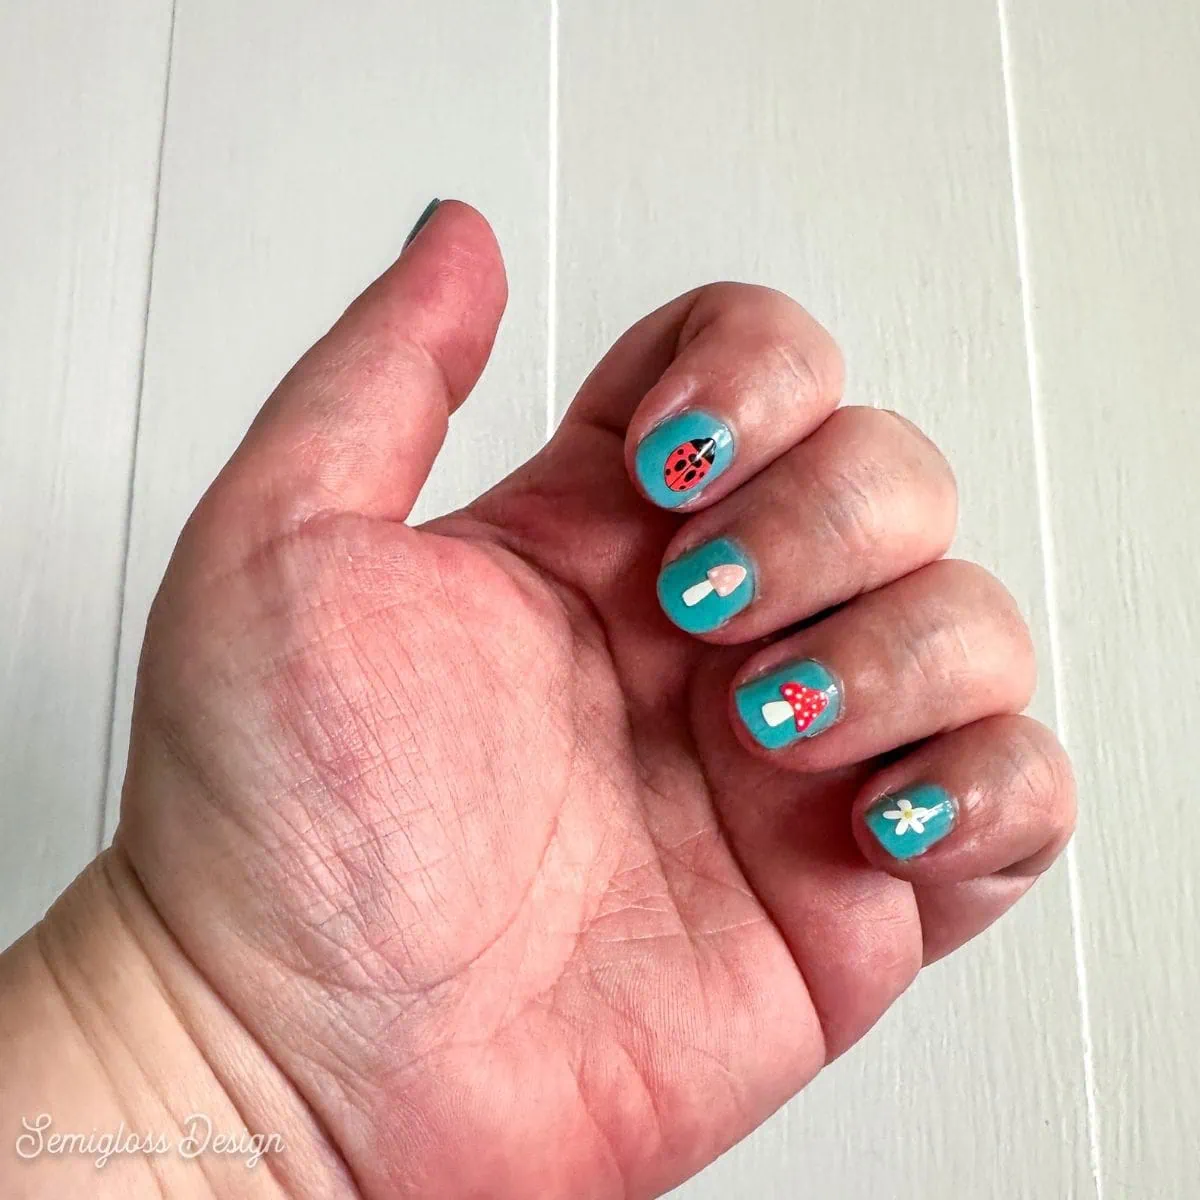
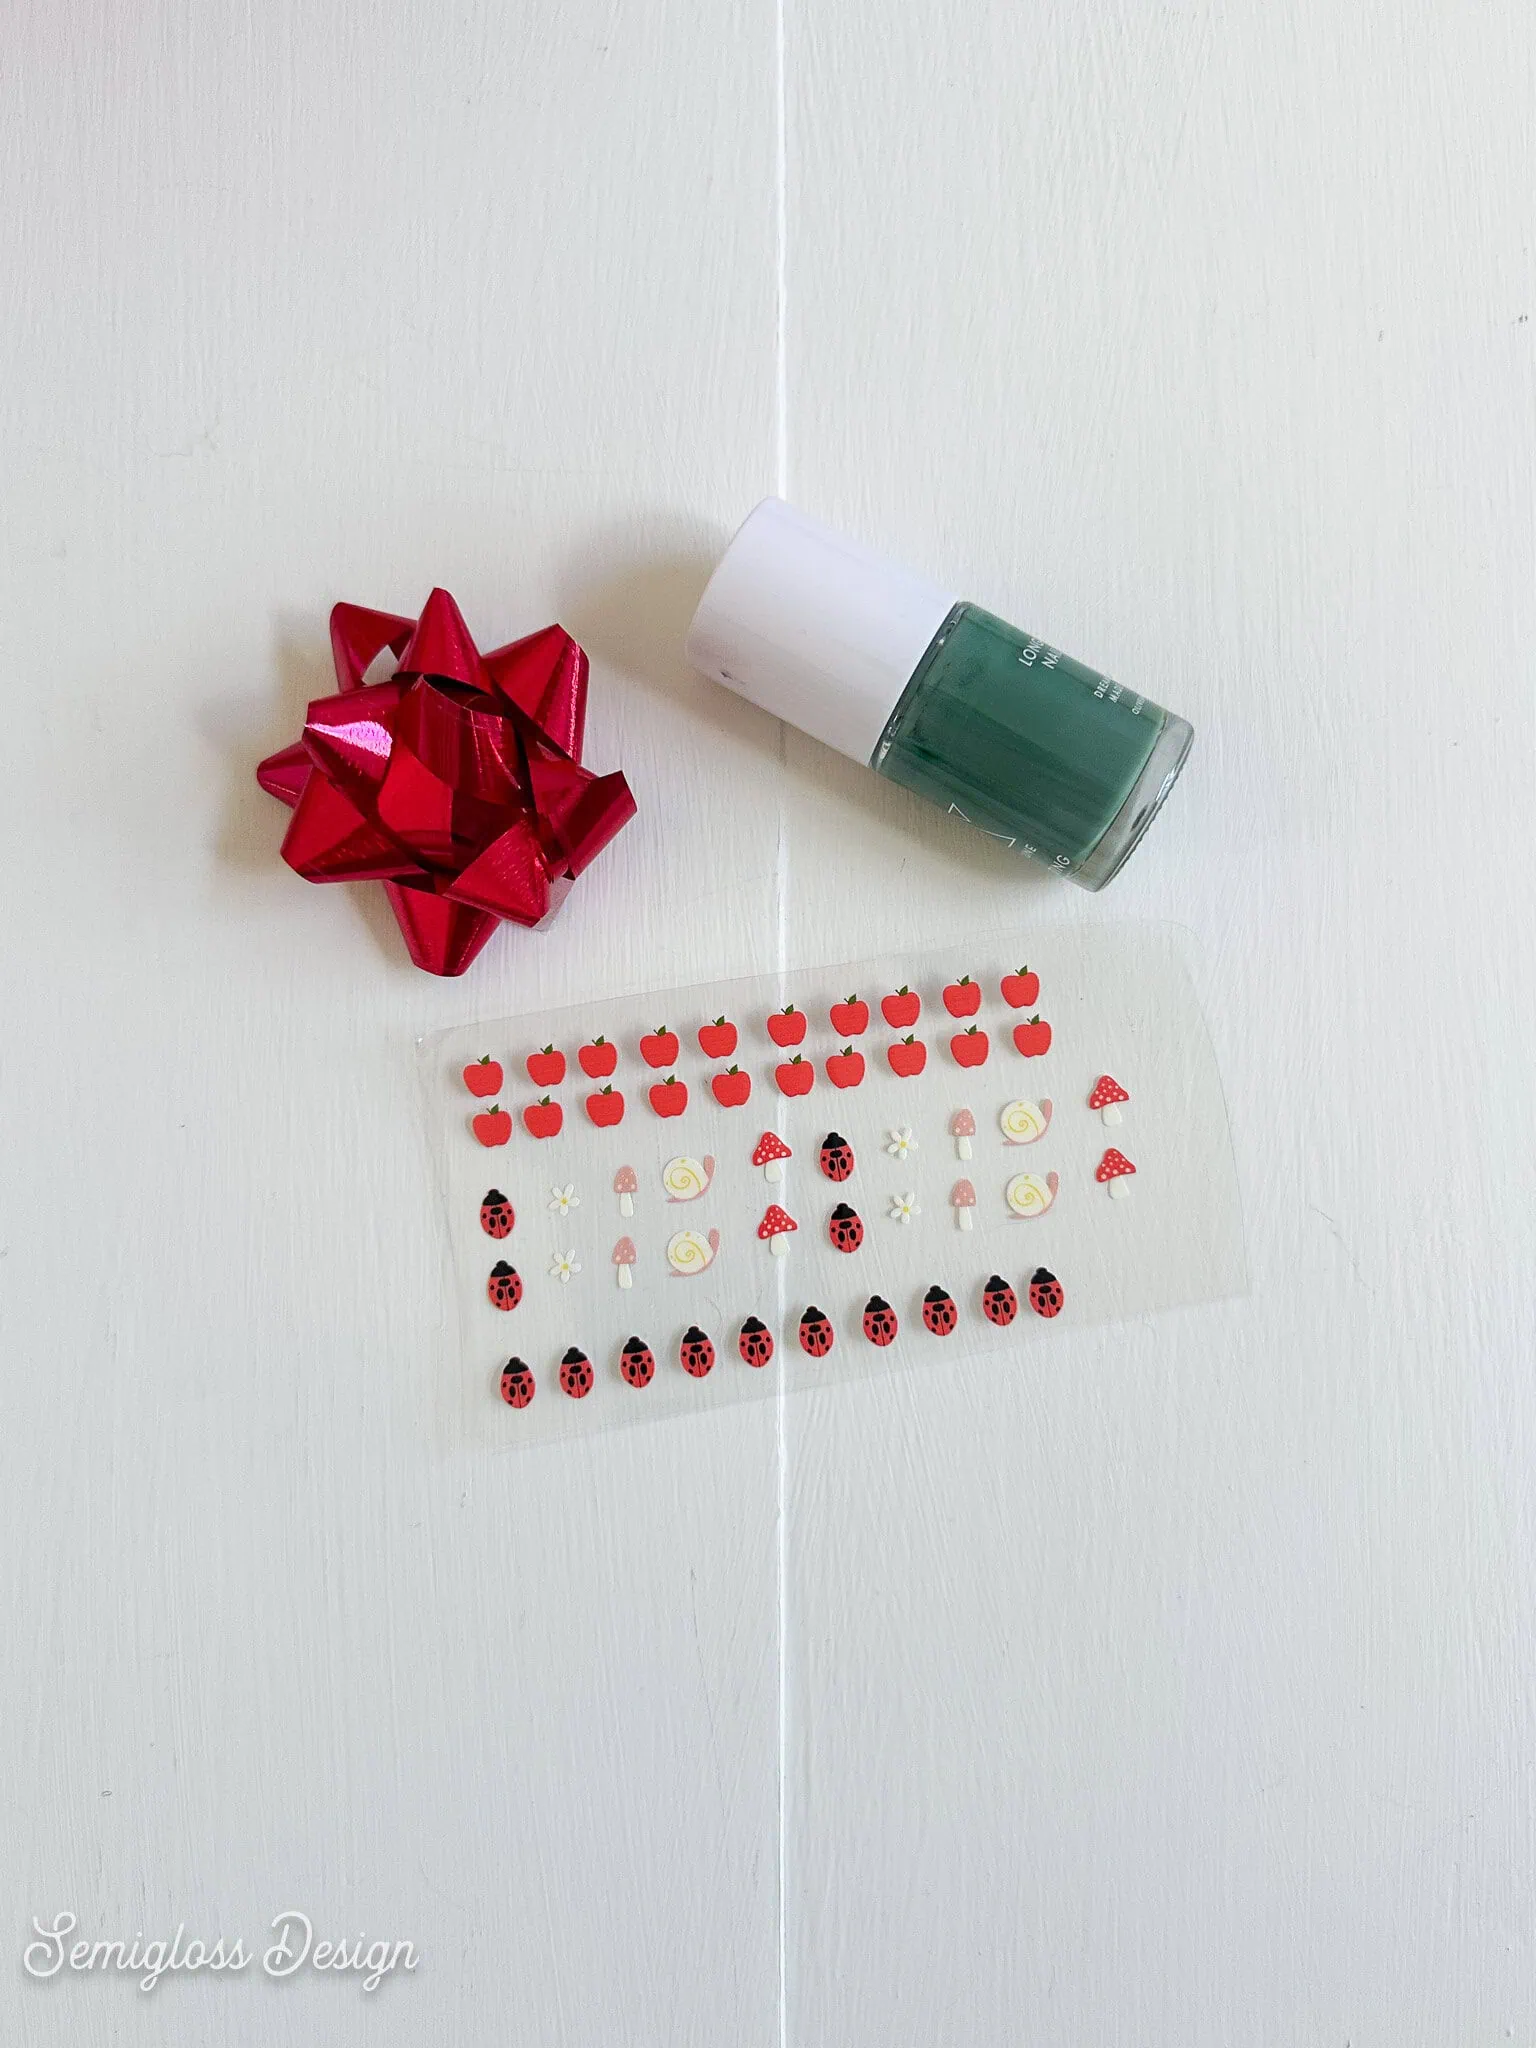
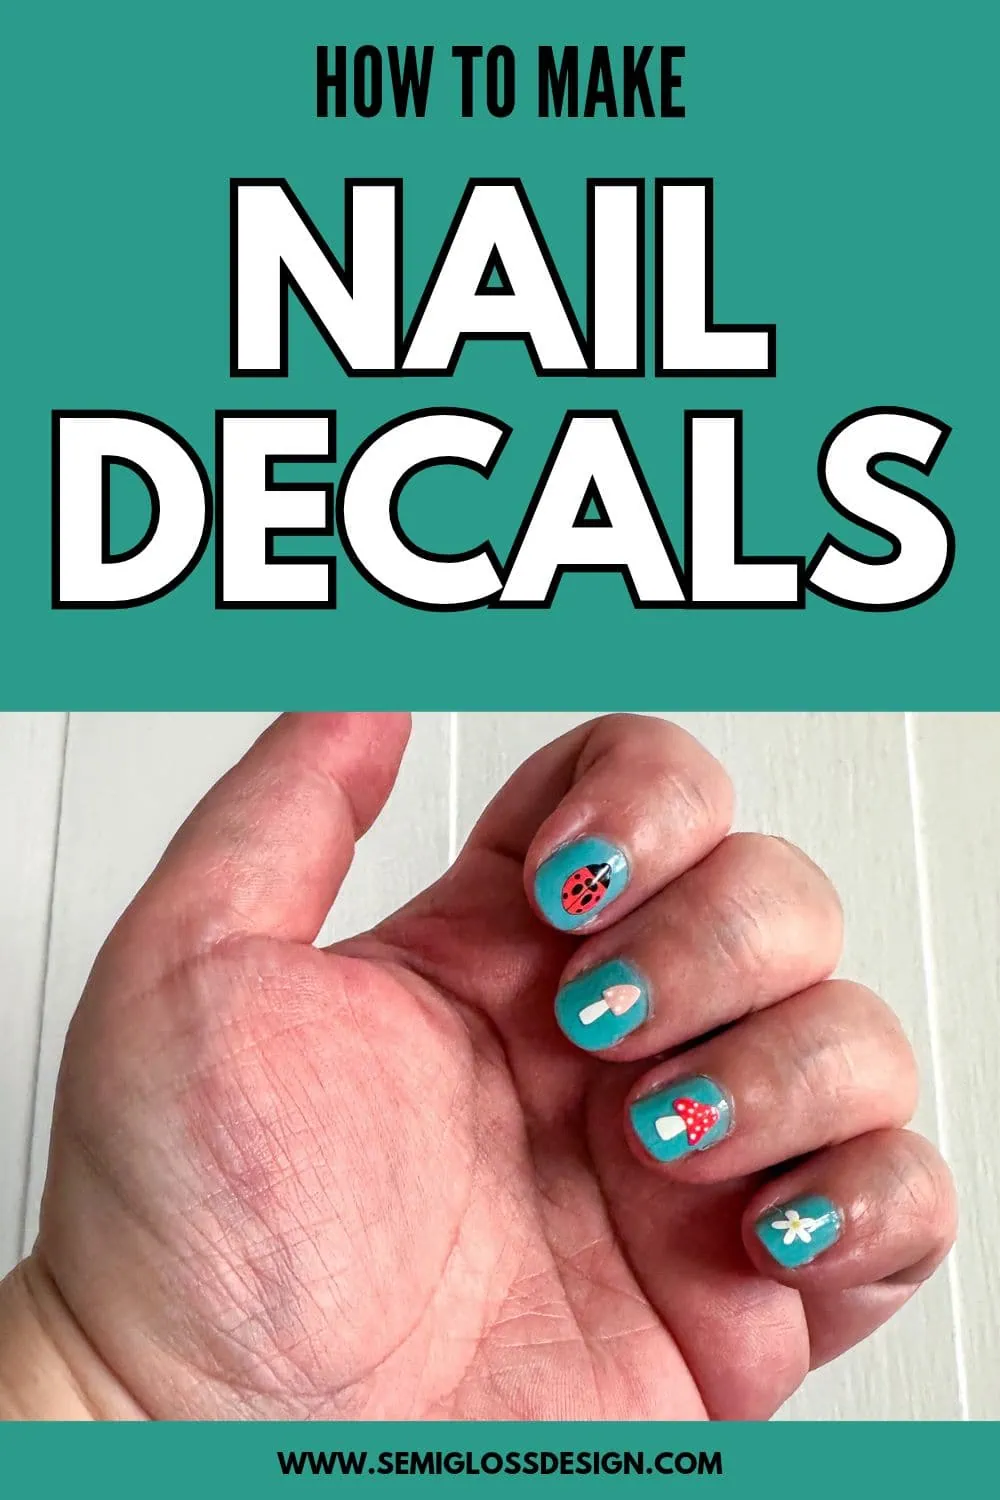
Make your own custom UV DTF nail decals. There’s no need to be a nail polish whiz! These cute decals are easy to make and even easier to apply!
This post contains affiliate links. By purchasing an item through an affiliate link, I earn a small commission at no extra cost to you. As an Amazon Associate I earn from qualifying purchases.
xTool sent me the xTool O1 Omni to try out. All opinions are my own.
Painted nails make me feel more put together. I love adding cute decals for a little extra style.
Creating my own designs is even better! The finished nail decals feel smooth when they’re applied. I really love this technique. This might be one of the coolest ways to use the xTool O1 Omni.
For this tutorial, you need the DT and UV version of the xTool O1 Omni.
Be Sure to Check out the xTool Black Friday Deals
How to Make UV DTF Nail Decals
If you draw your own designs, draw them much larger than they need to be. You can reuse the art later, but it will also look better in the long run. Keep in mind that the designs will be very small, so keep details to a minimum.
I created my designs in Procreate, but you can use whatever drawing program you like. If you can’t draw, try using a program like Canva to create cute designs. Just download the files as PNG.
Supplies Needed:
- xTool O1 Omni Printer (UV and DT)
- A Film
- Laminator
- Your Designs
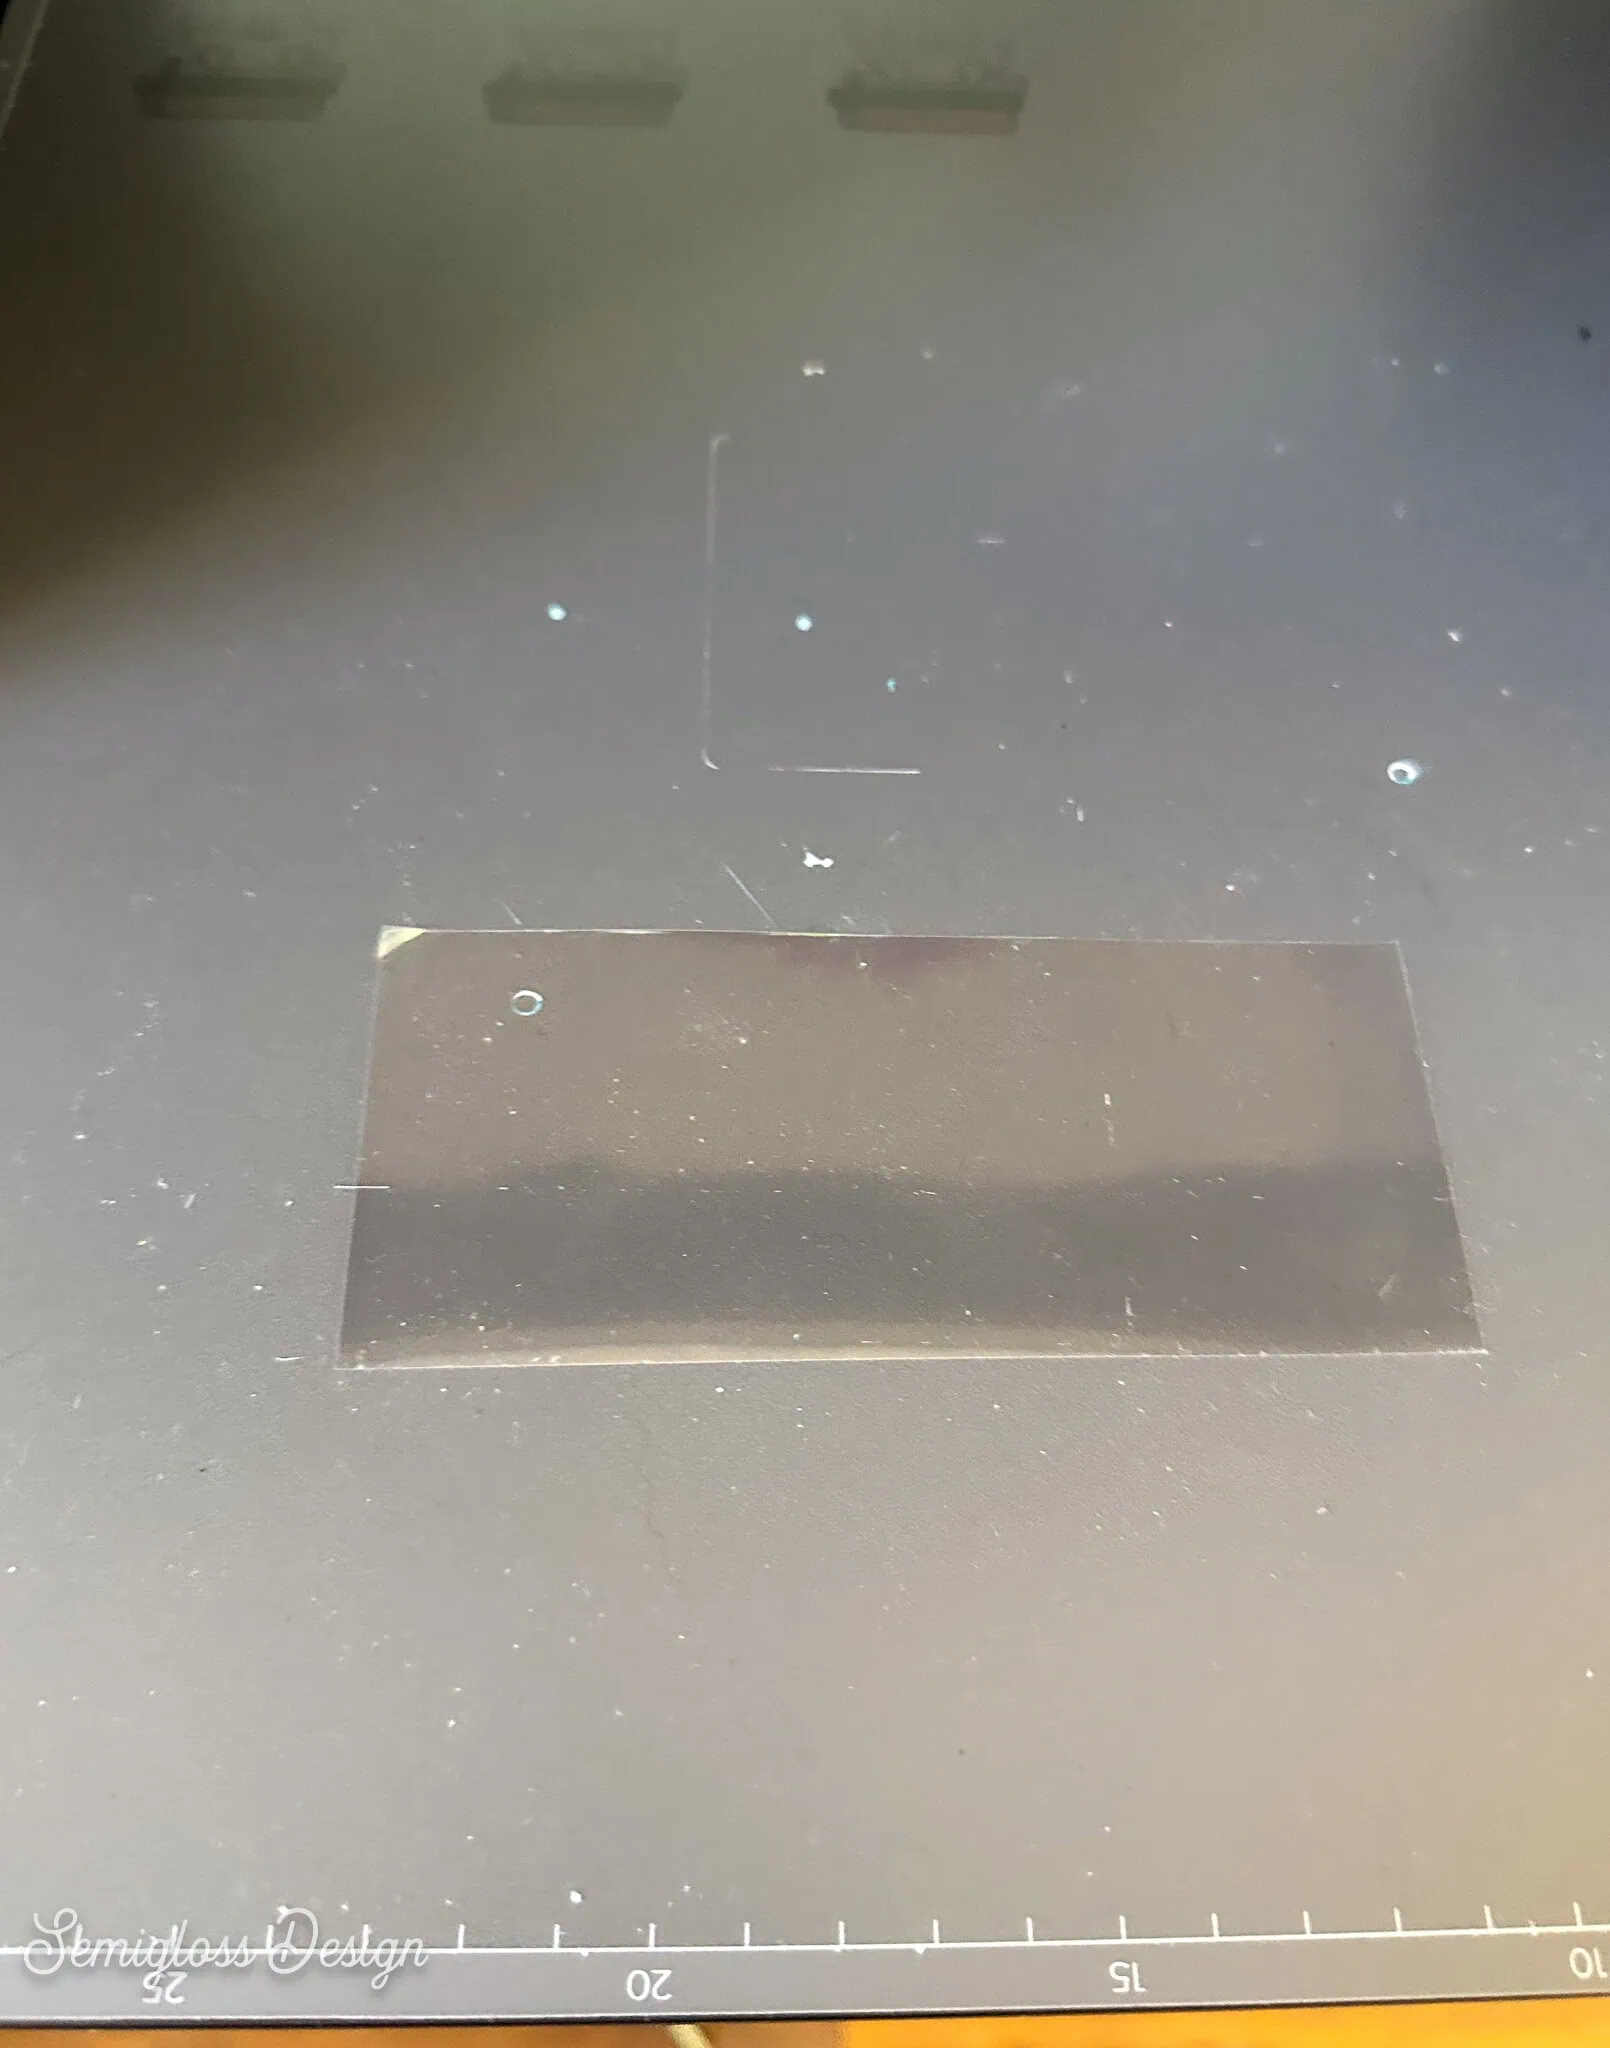
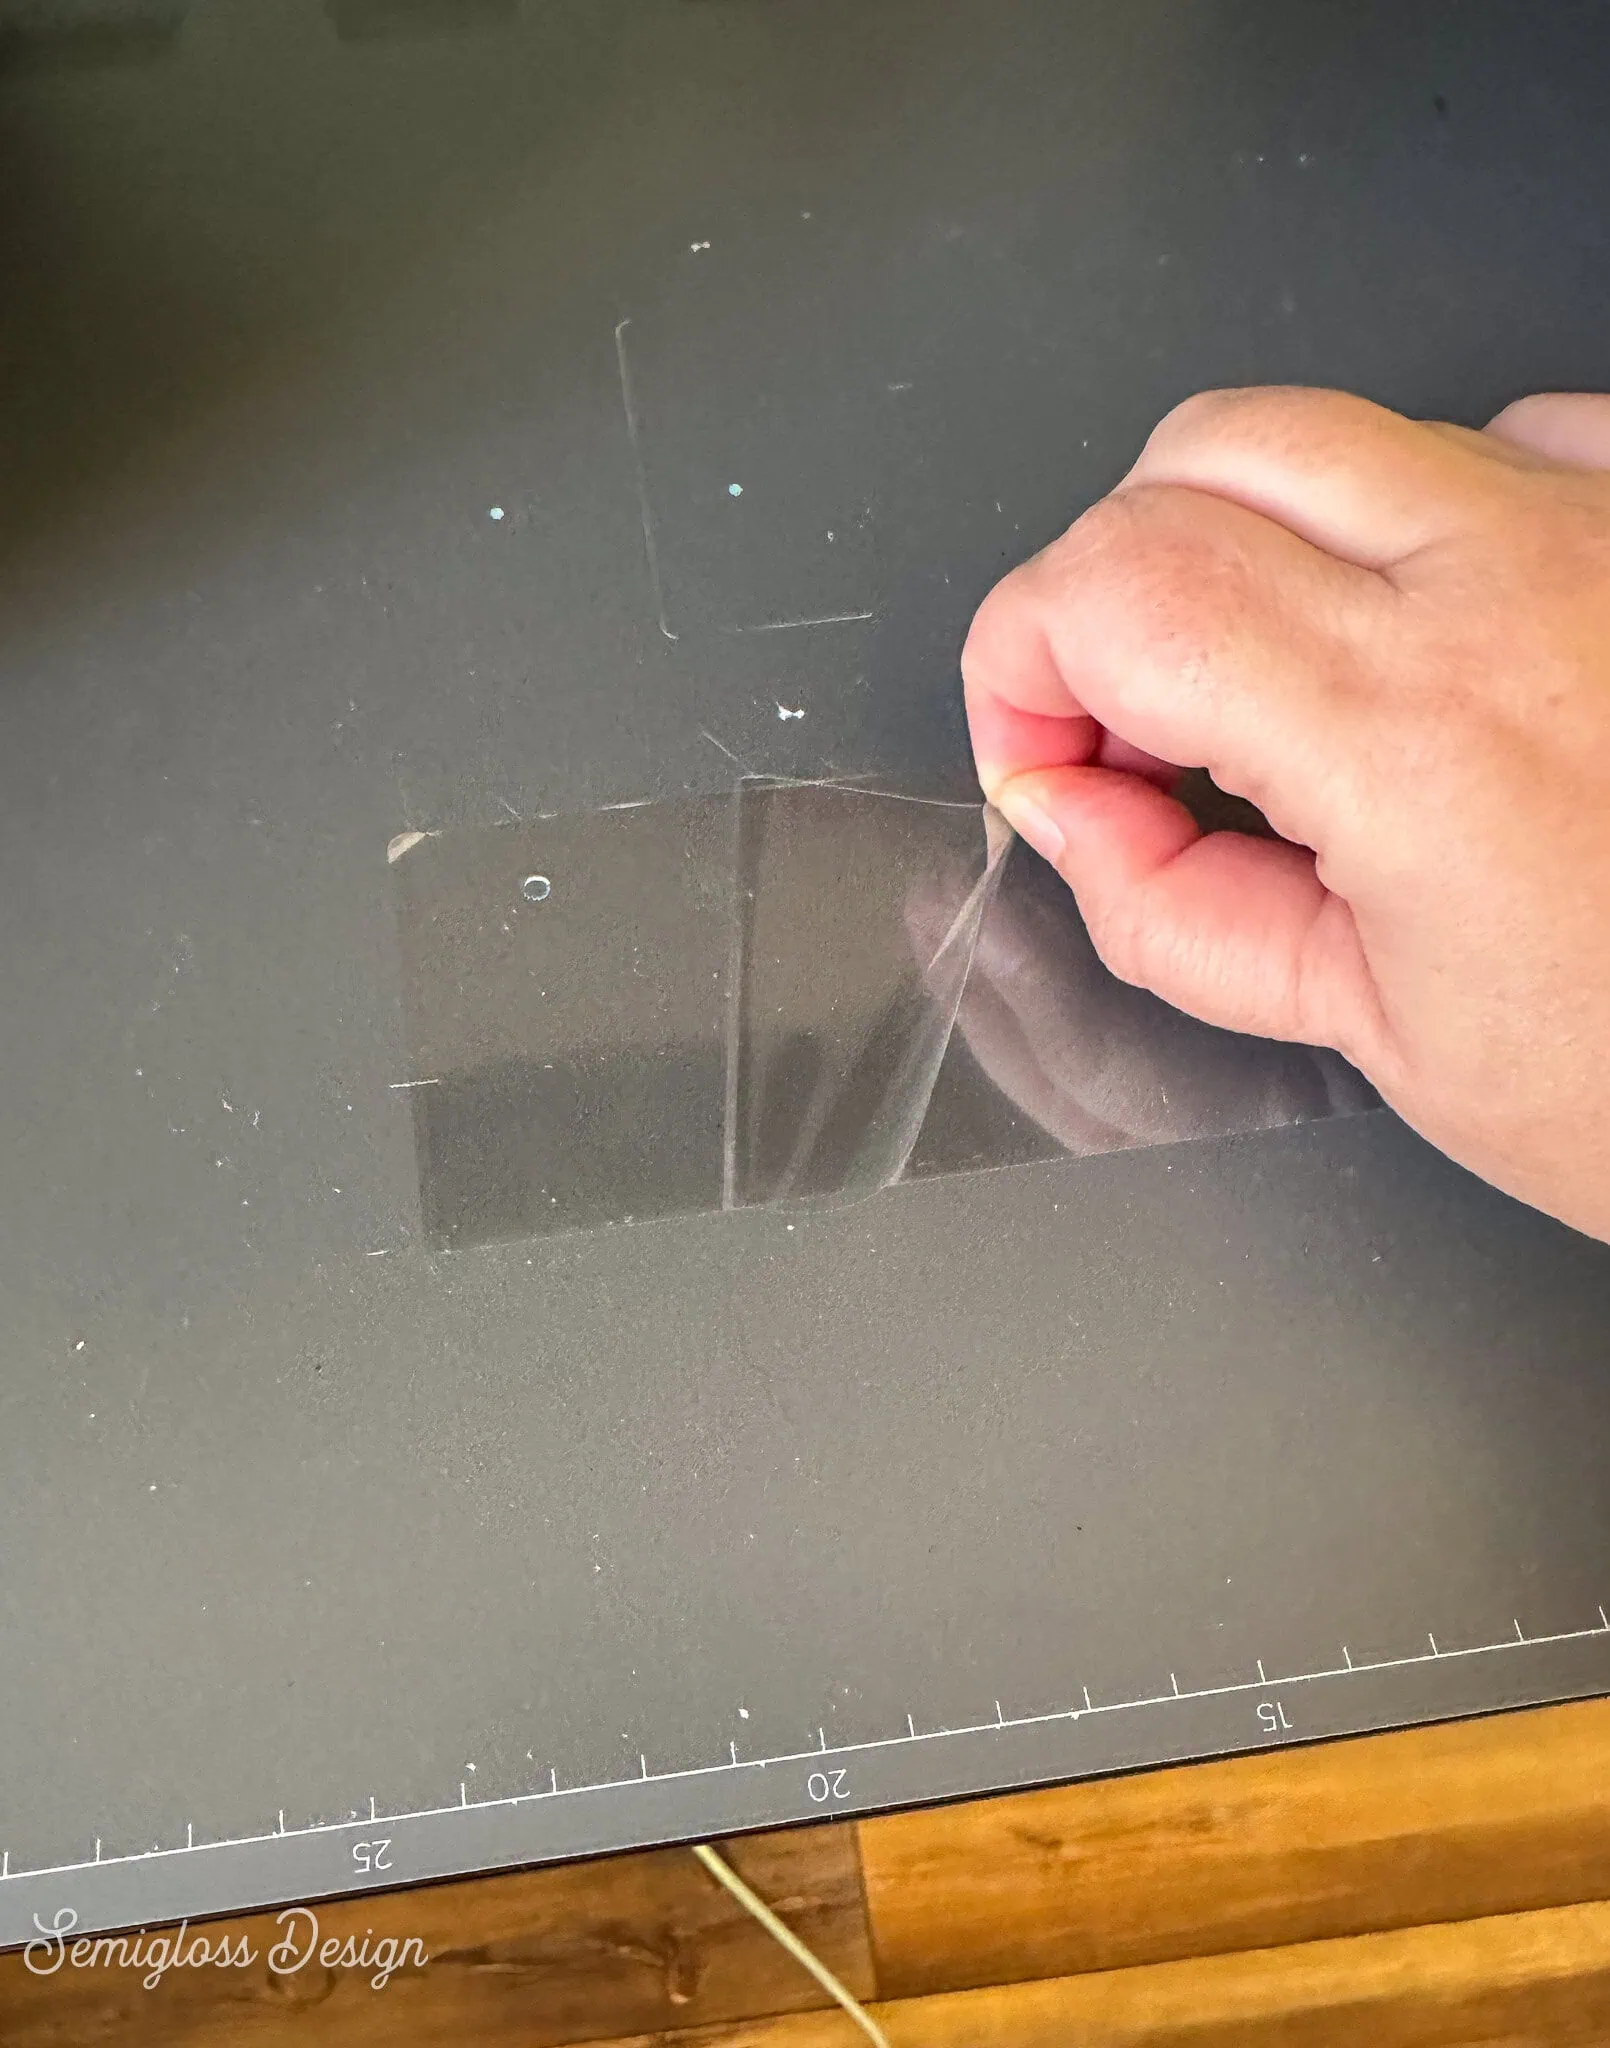
- Place a sheet of A film onto the baseplate of the xTool O1 Omni. The sheets are much larger than needed, so I find it helpful to cut them down to size first.

- Remove the backing paper.
- Scan the material.
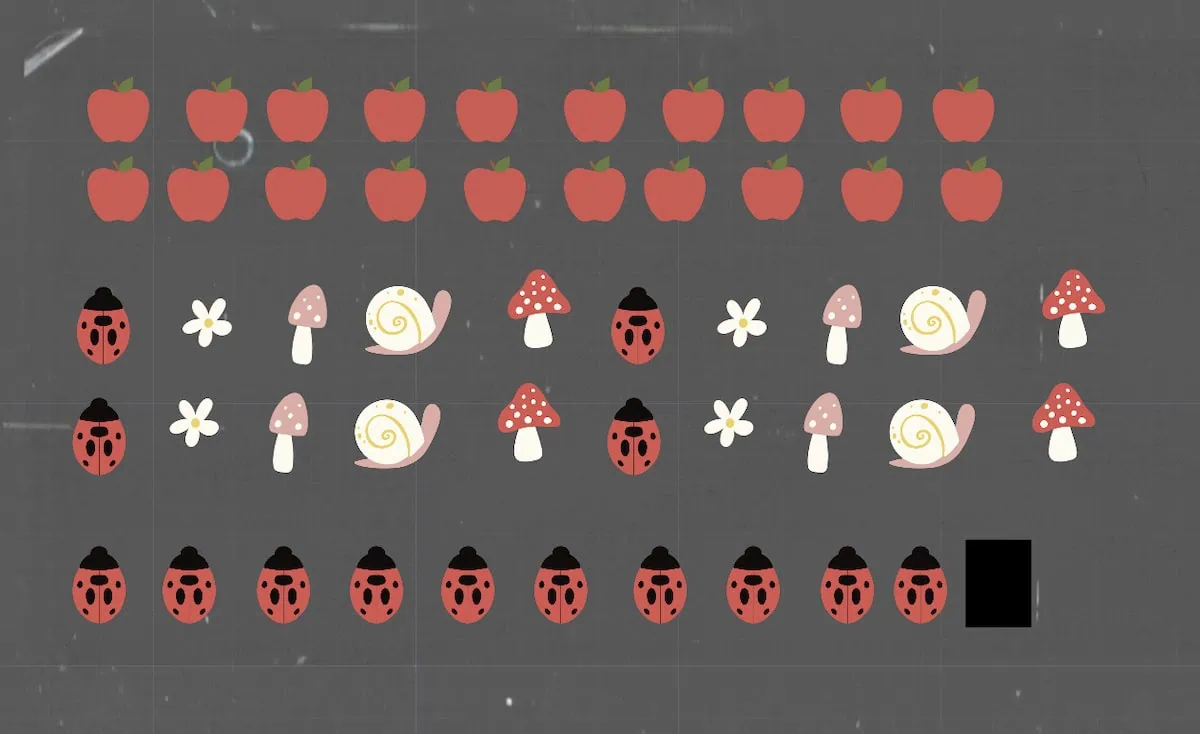
- Upload your designs. PNG works best.
- Resize your designs. They need to be about .25 x .35 in. If your nails are really long, they can be longer. Make a rectangle this size to help with resizing. Just delete it before printing.

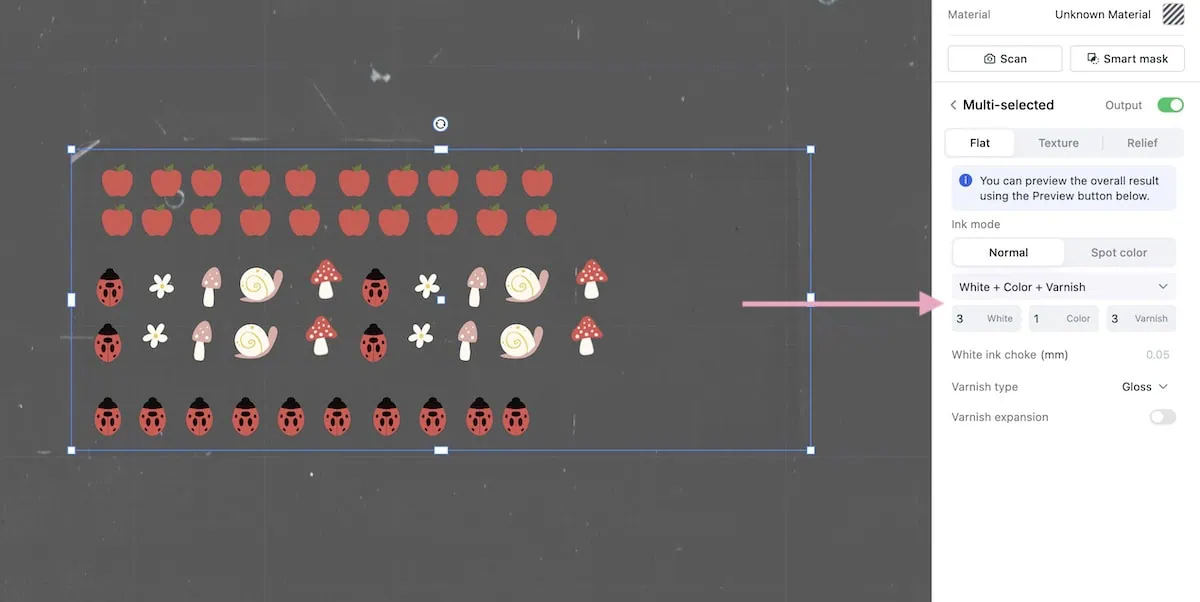
- Change the ink settings to white, color, and varnish. I used 3 coats of white, 1 coat of color, and 3 coats of varnish. The white layers make them thick enough that they transfer easily, and the varnish protects the finish.

- Process your design.
- When it’s done, carefully remove the film from the baseplate.

- Heat the laminator. It beeps when it’s ready.
- Place the printed film over the sensor in the middle. It will feed automatically.
- When it comes out the other side, press the cut button.
- Use scissors to cut away the excess laminate film.
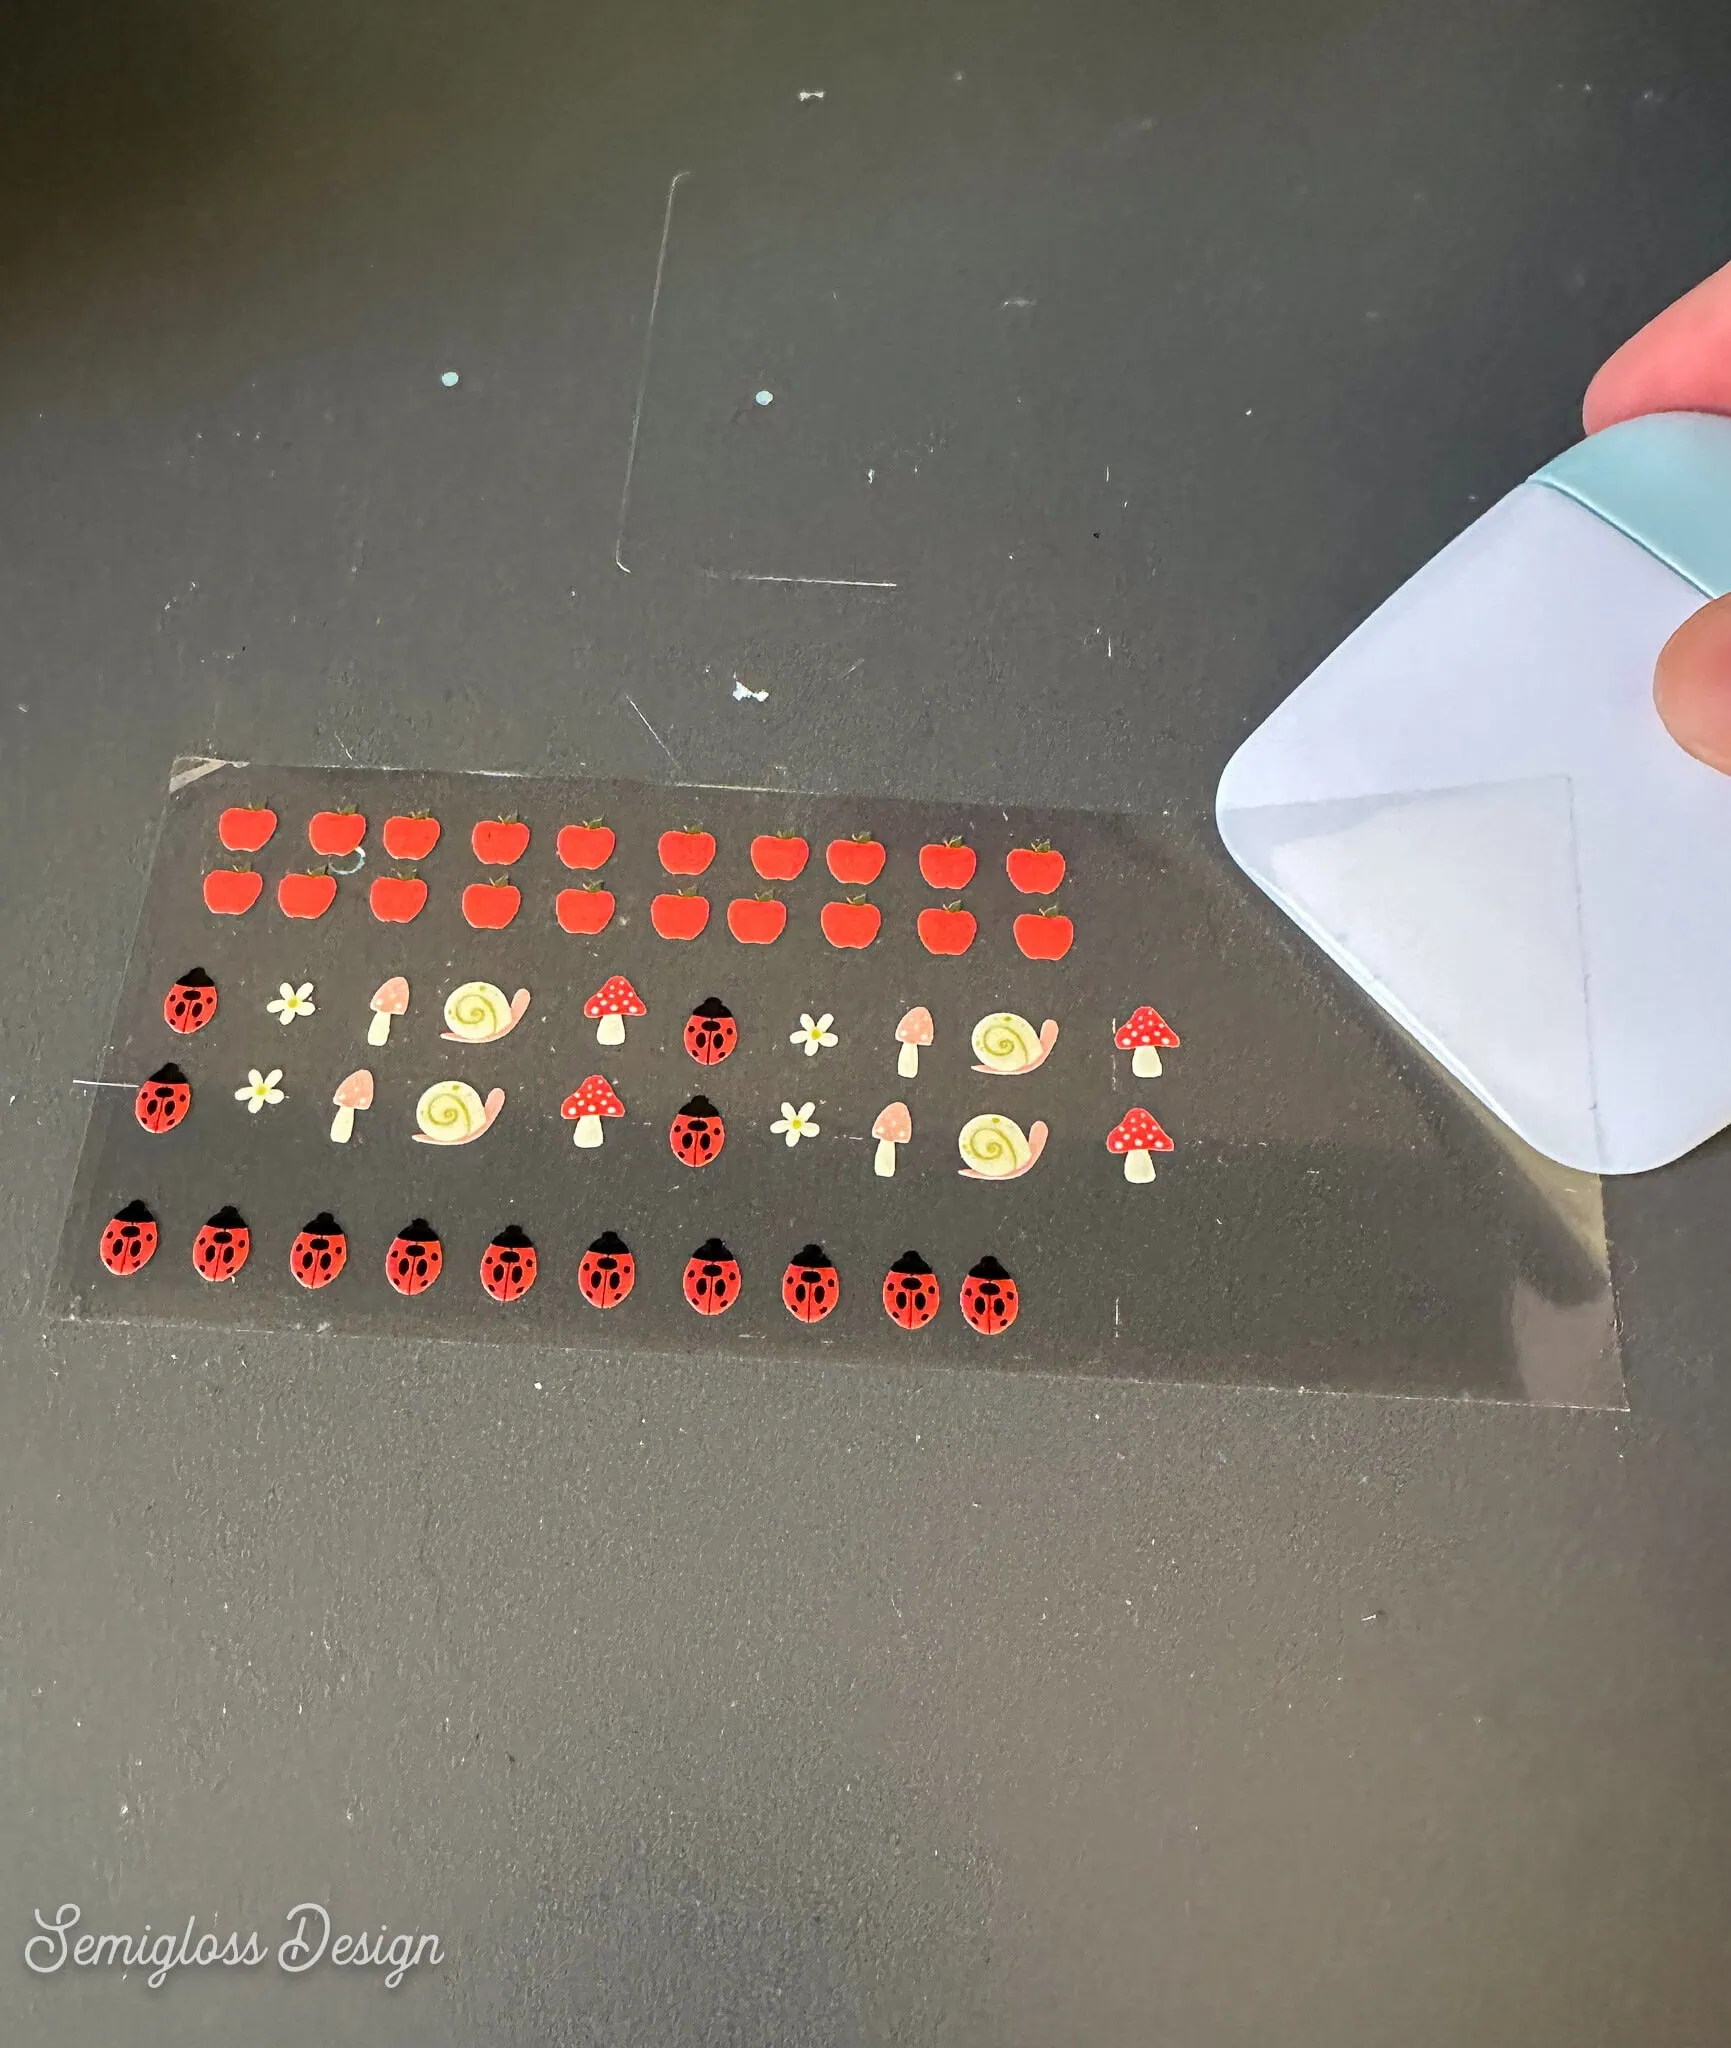
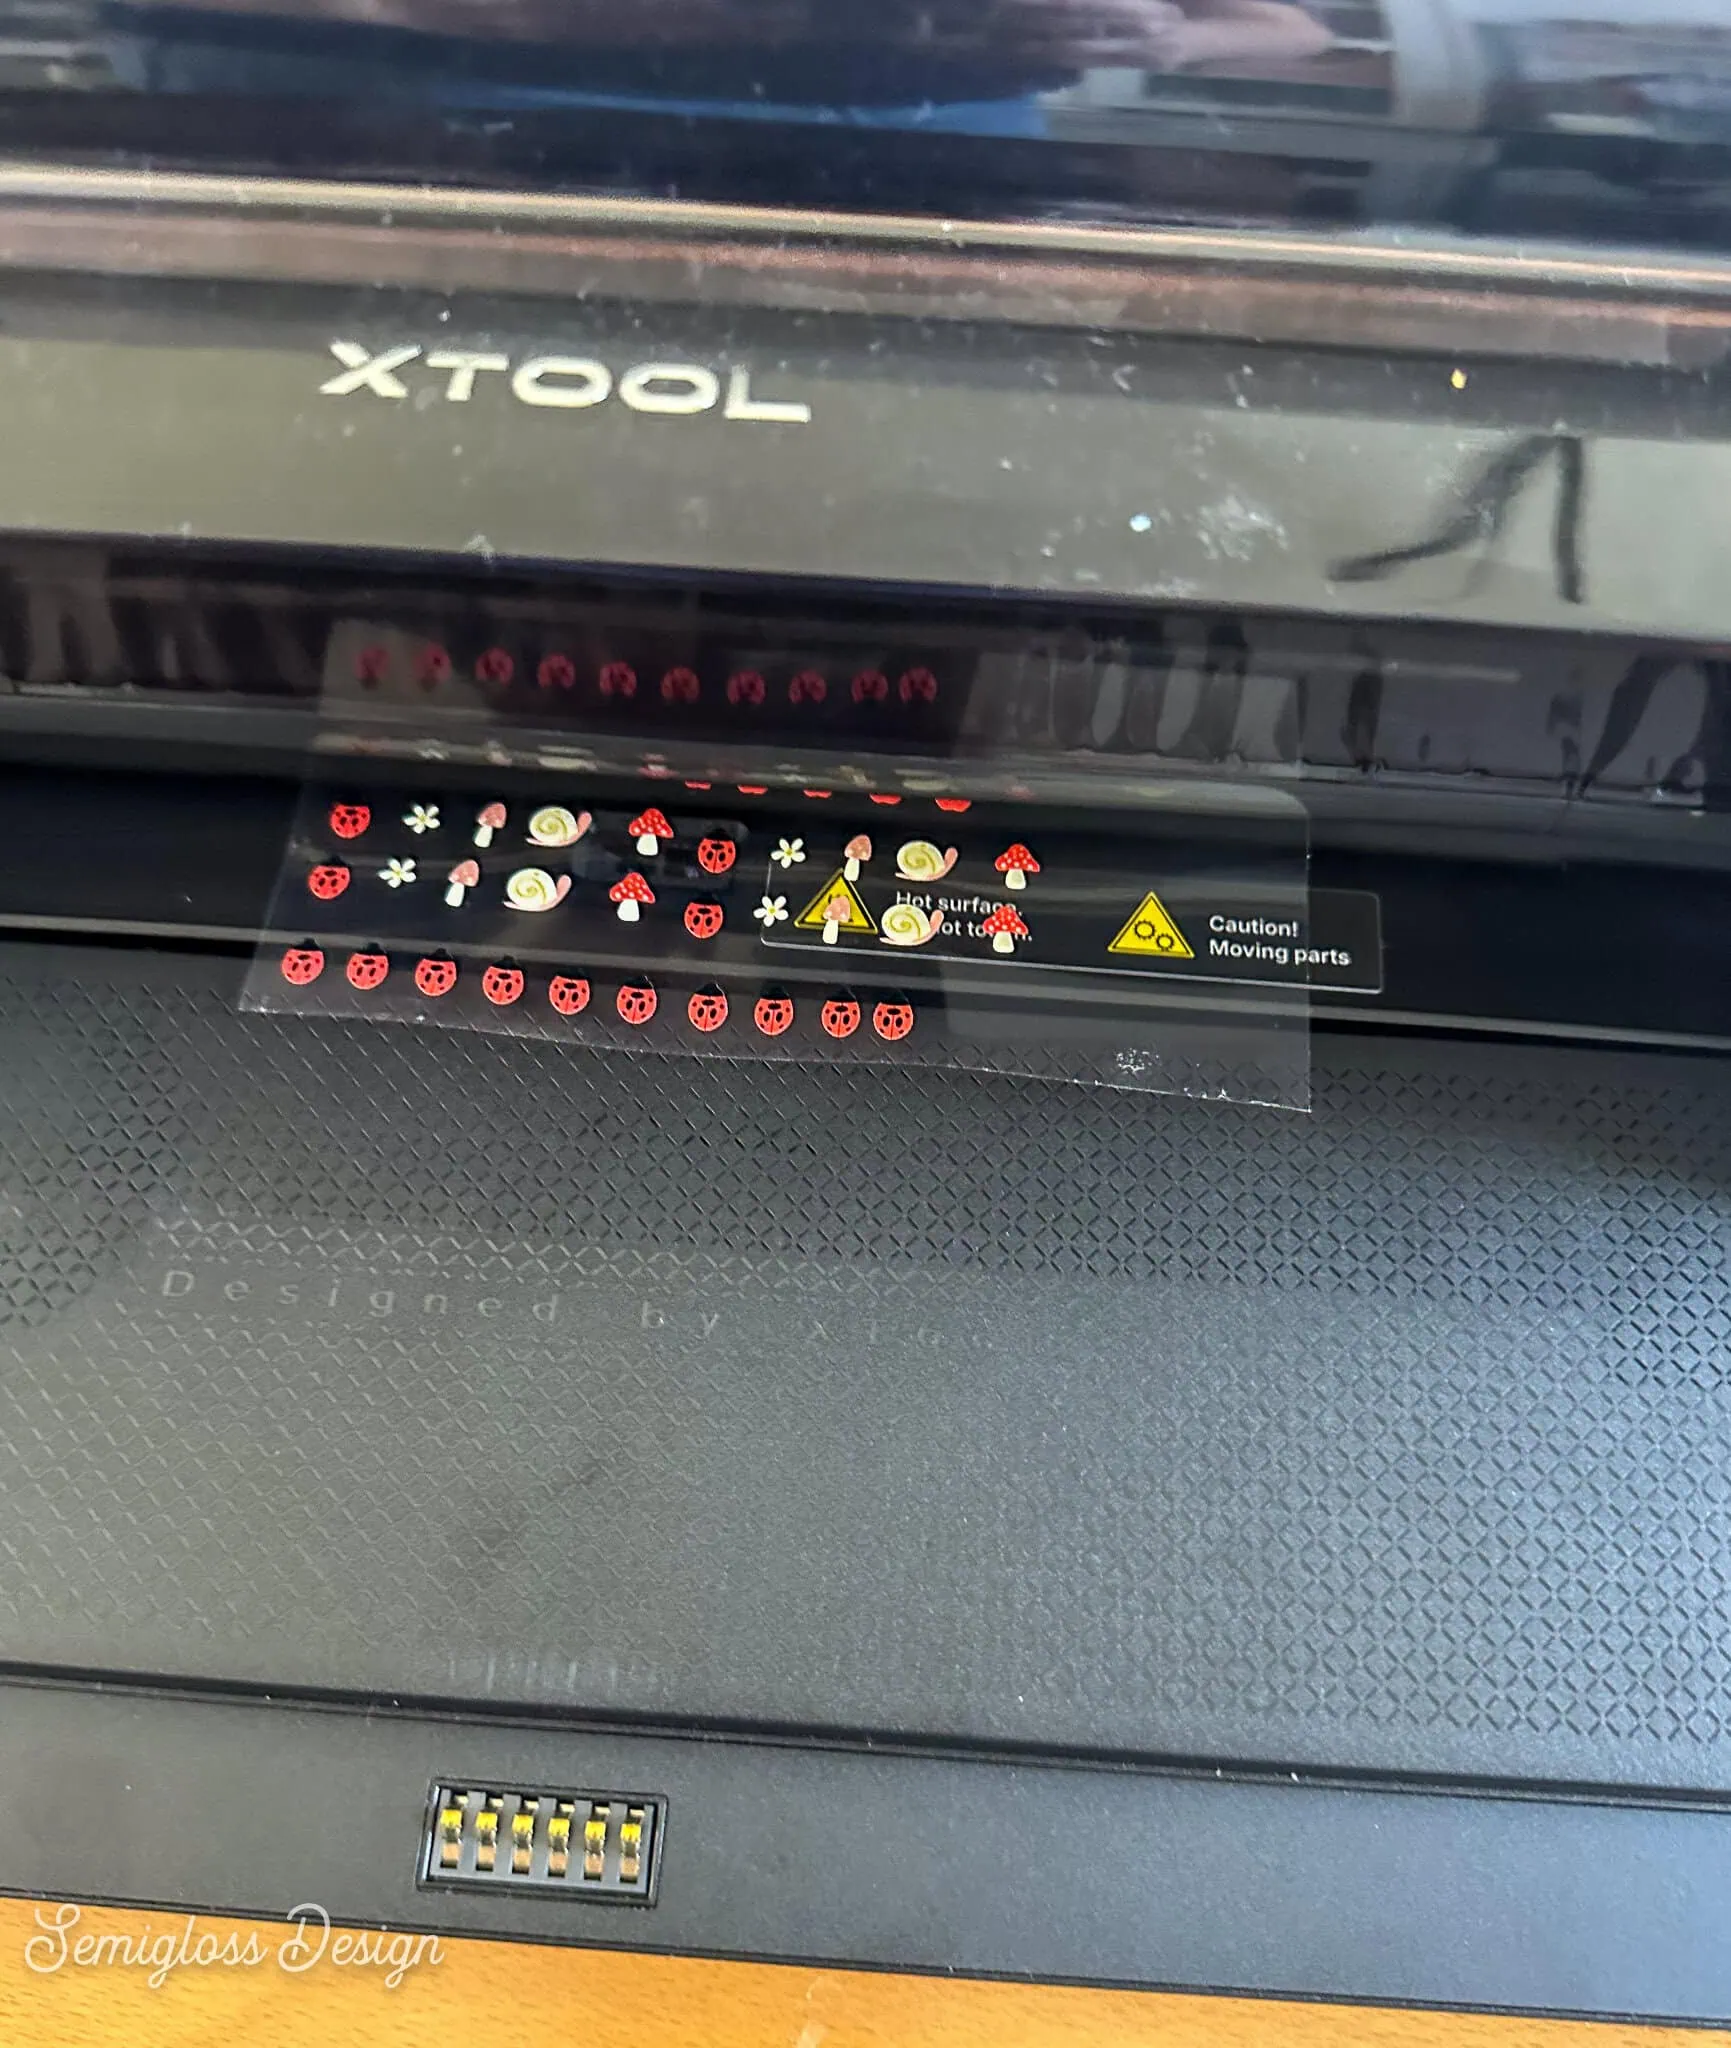
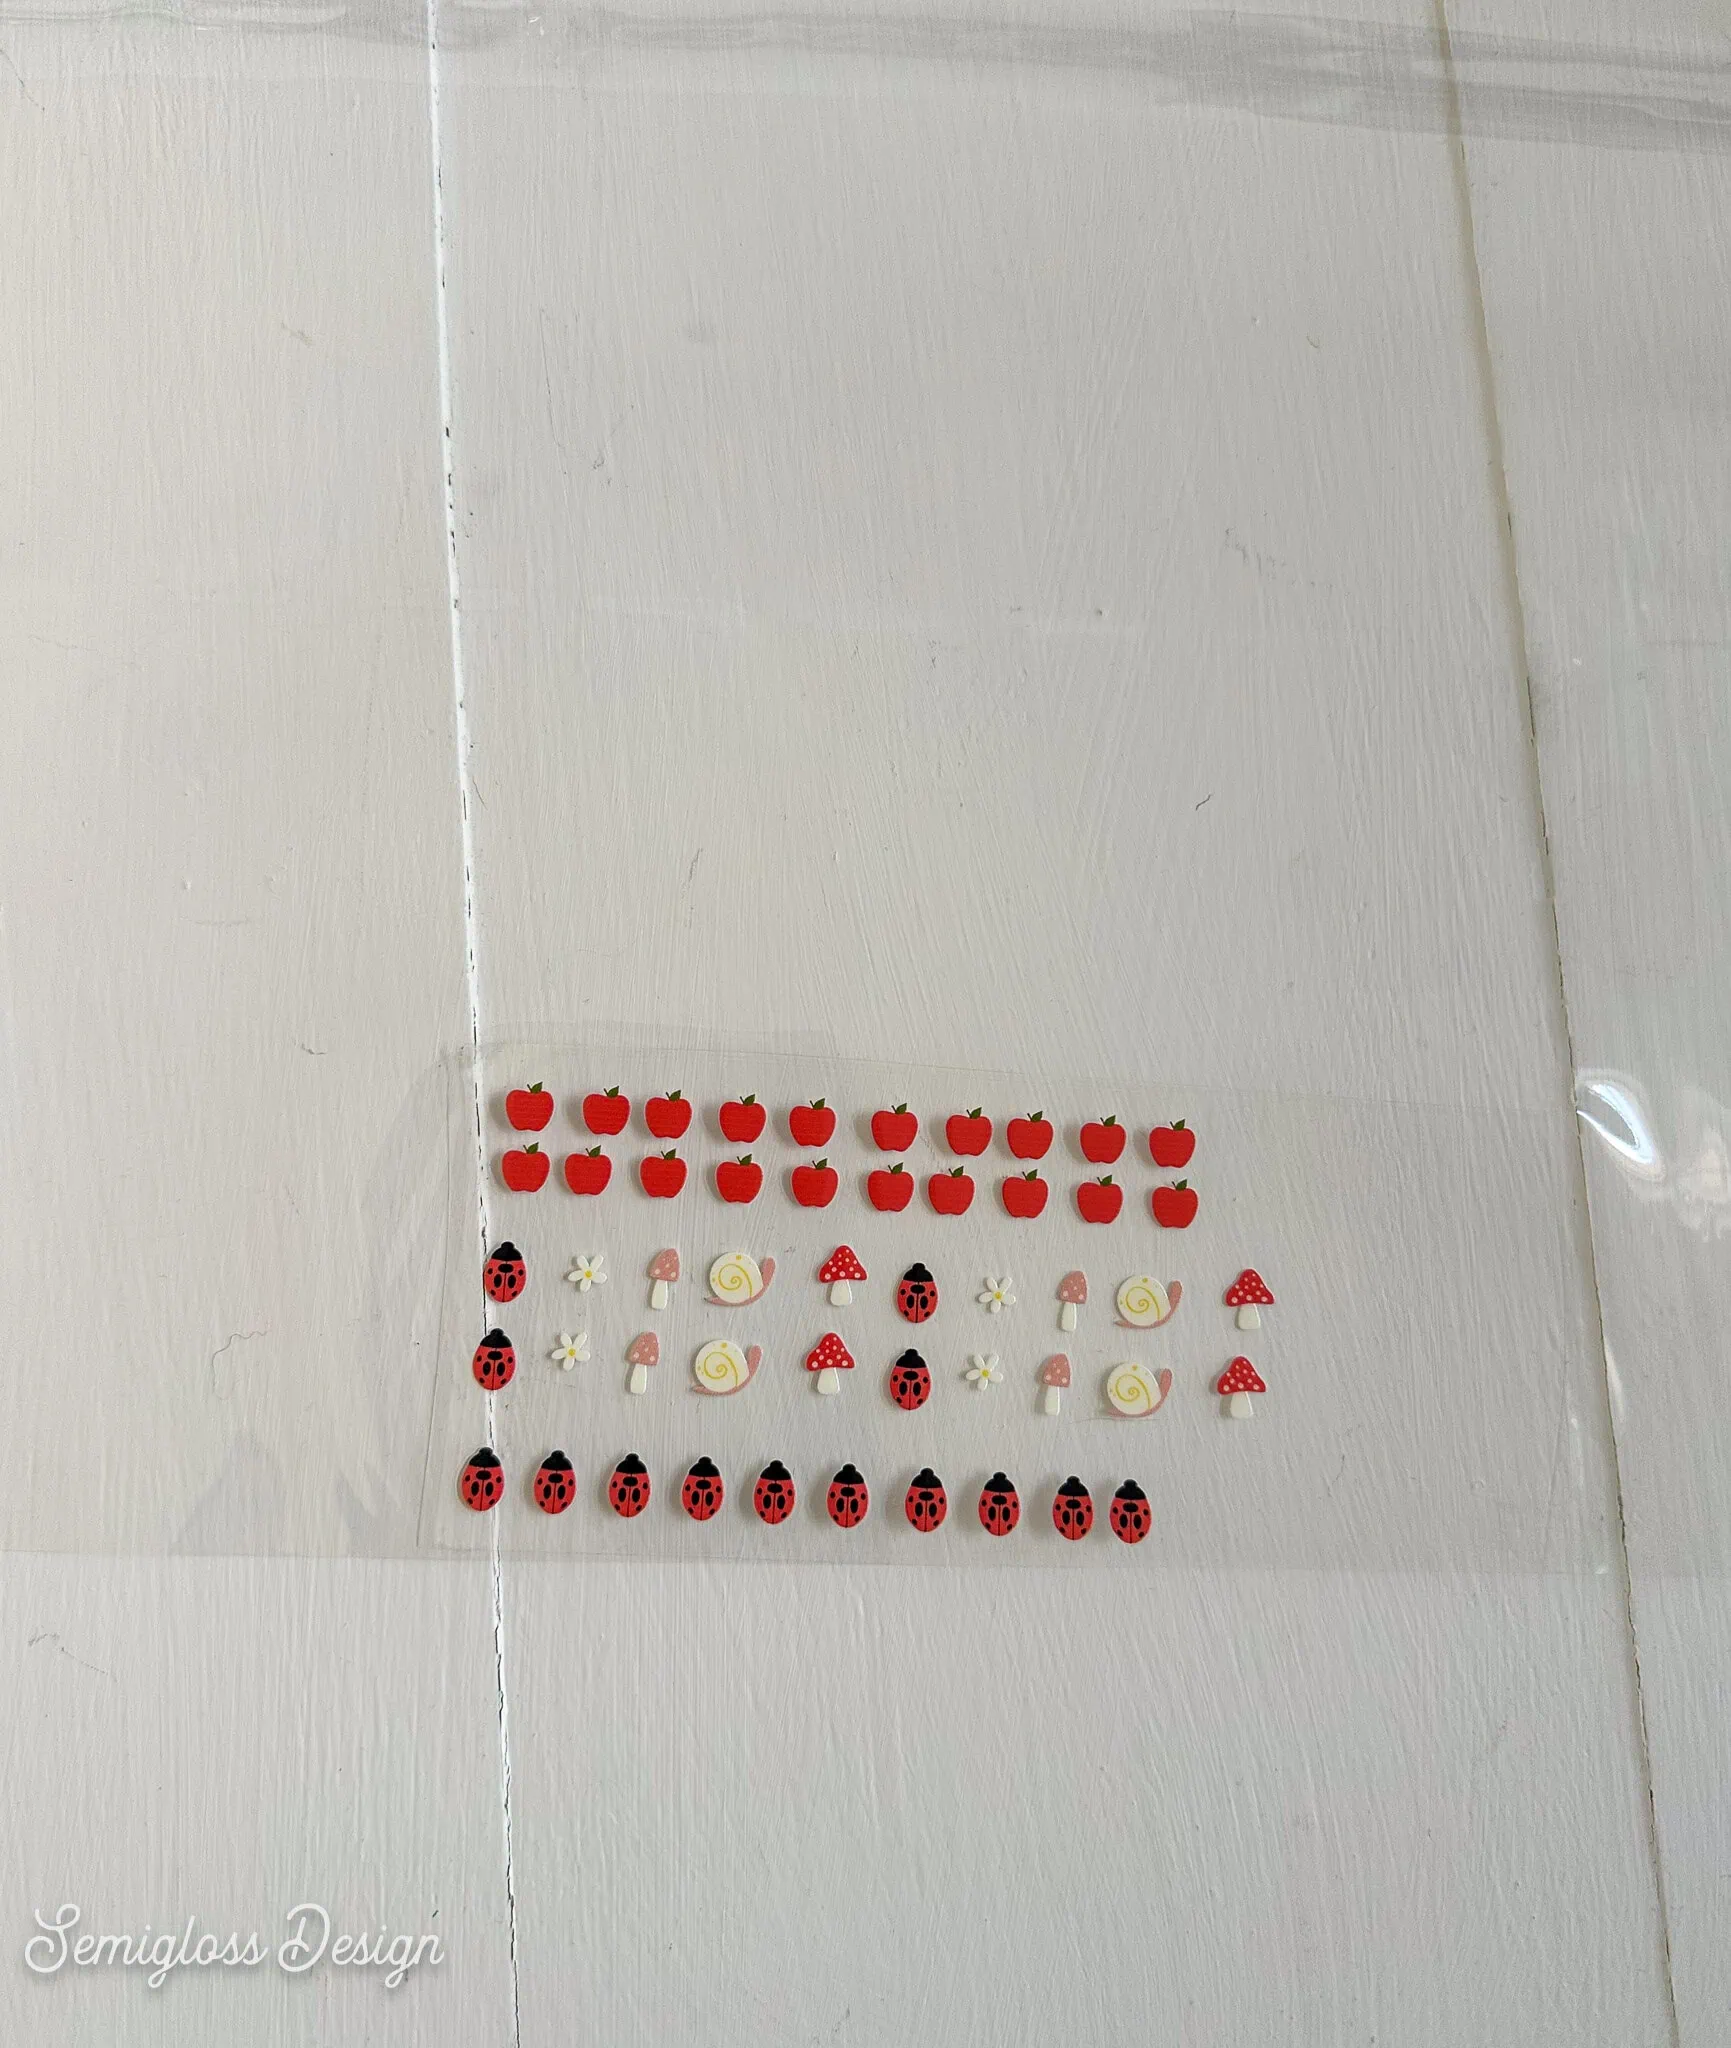
Applying the Nail Decals
- Start with clean hands for best results.
- Cut the elements apart.

- Peel the back layer away.
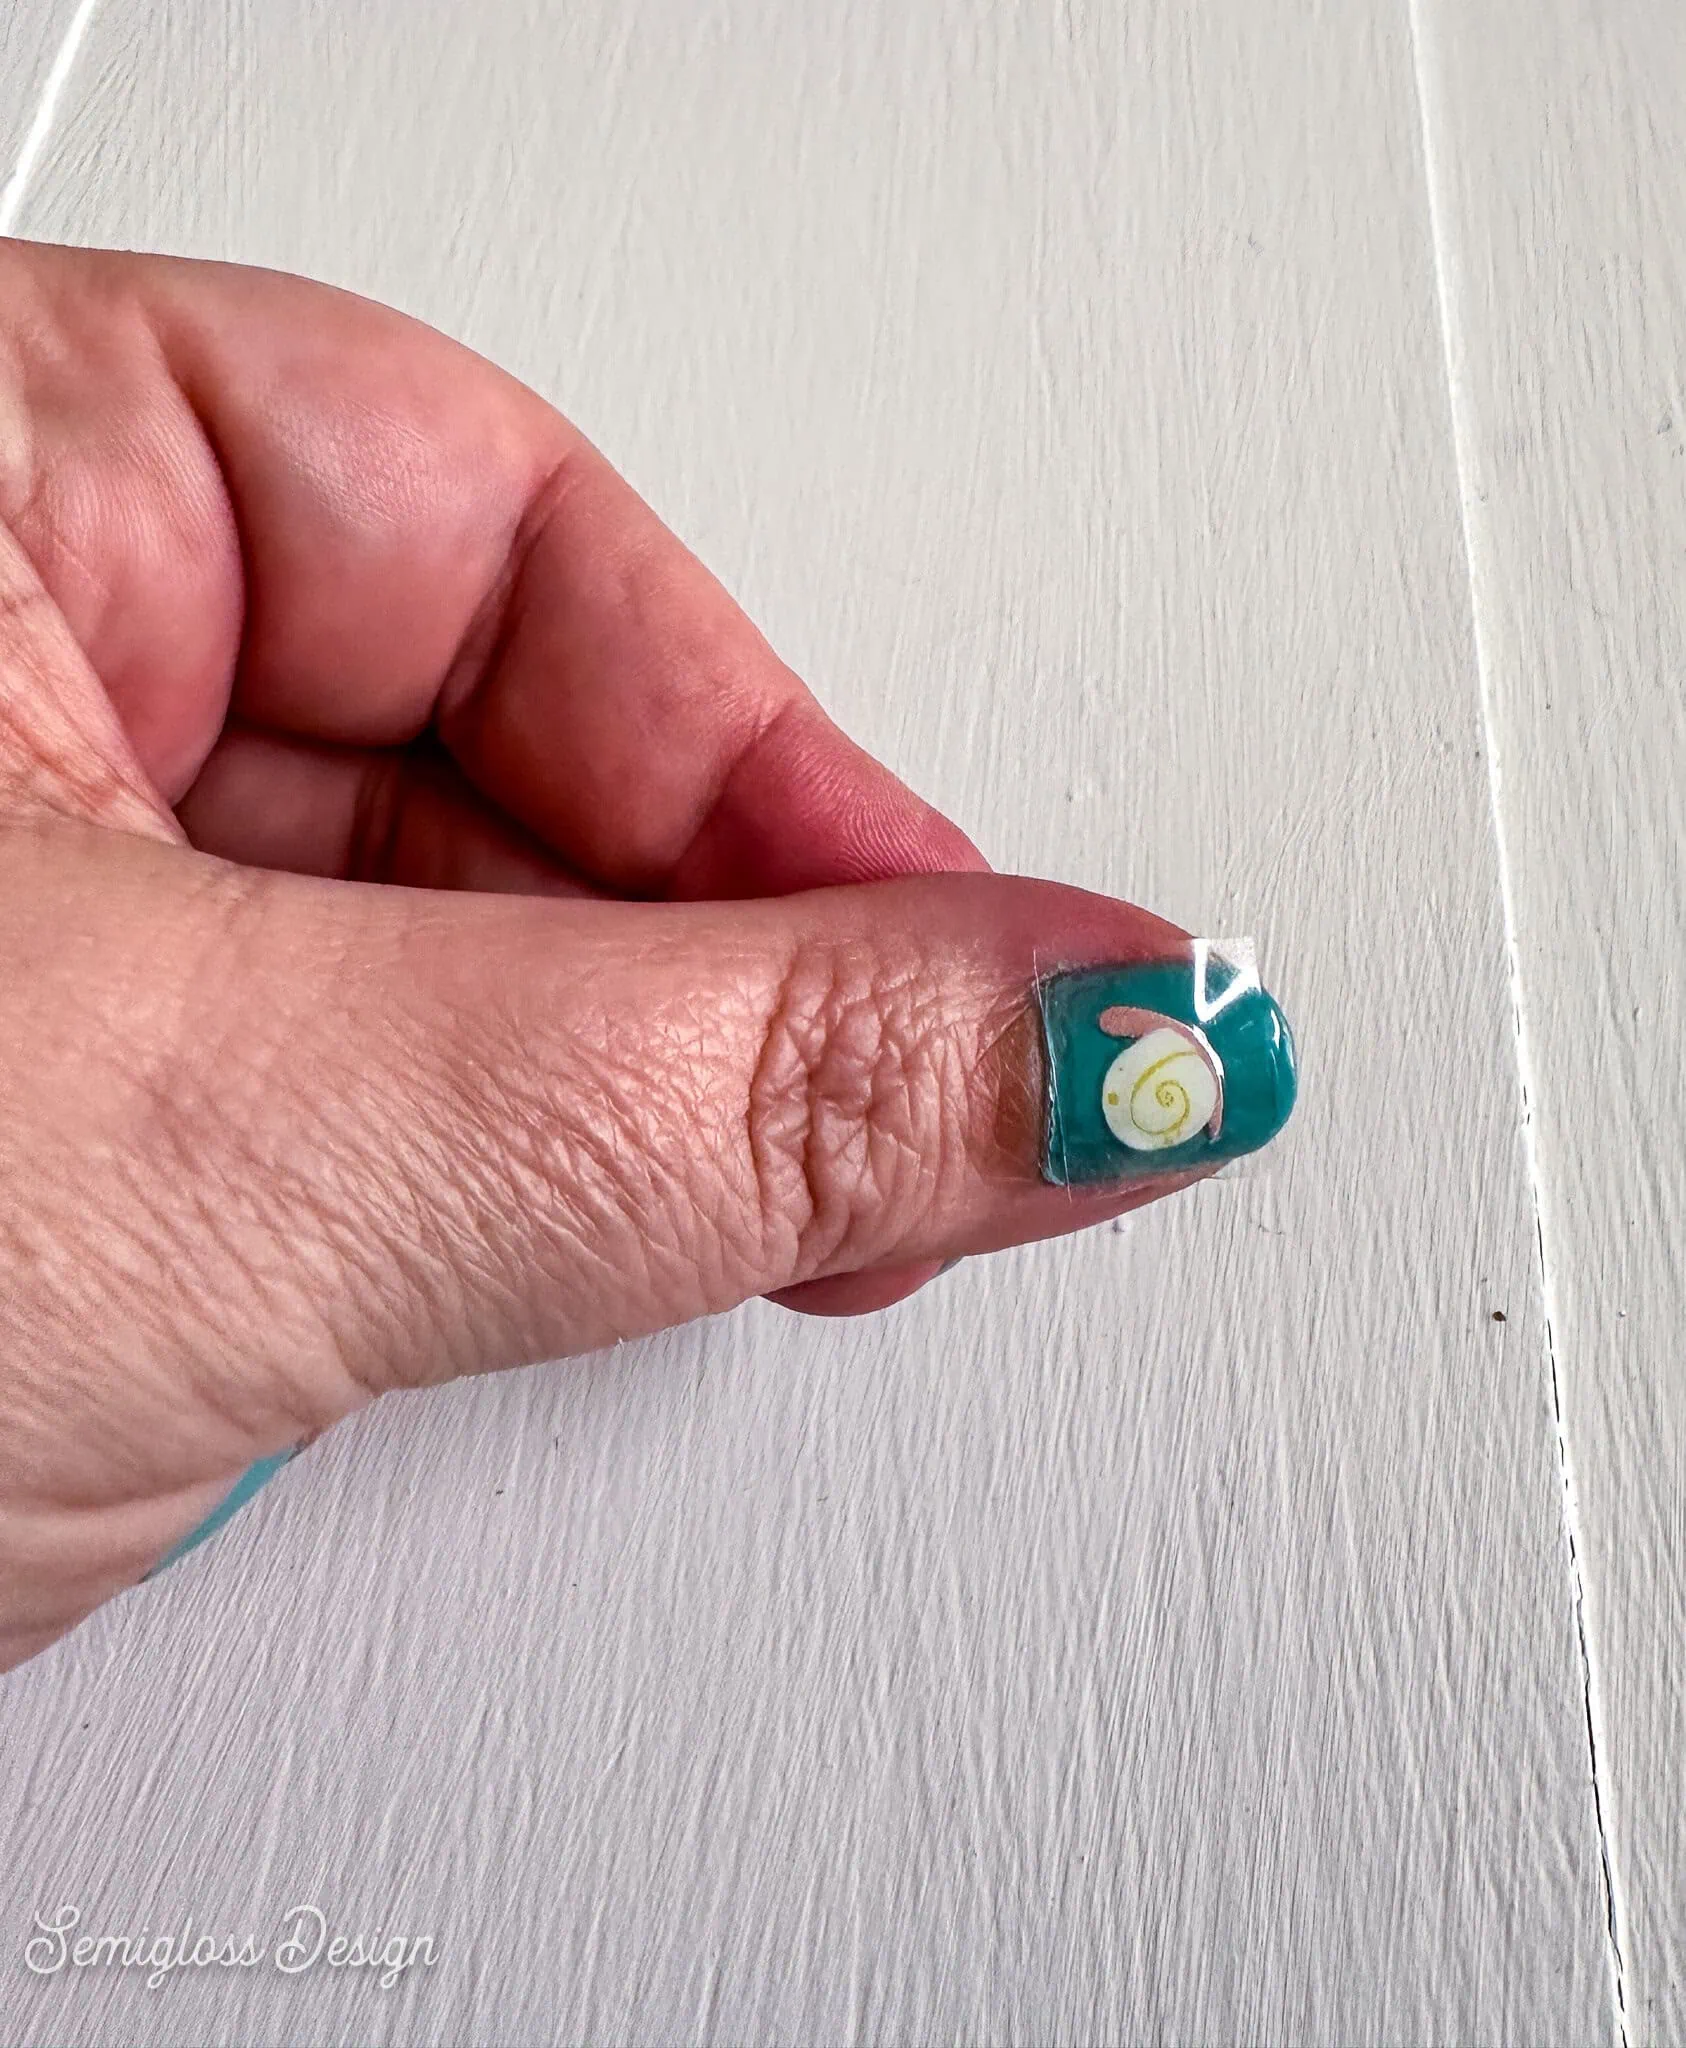
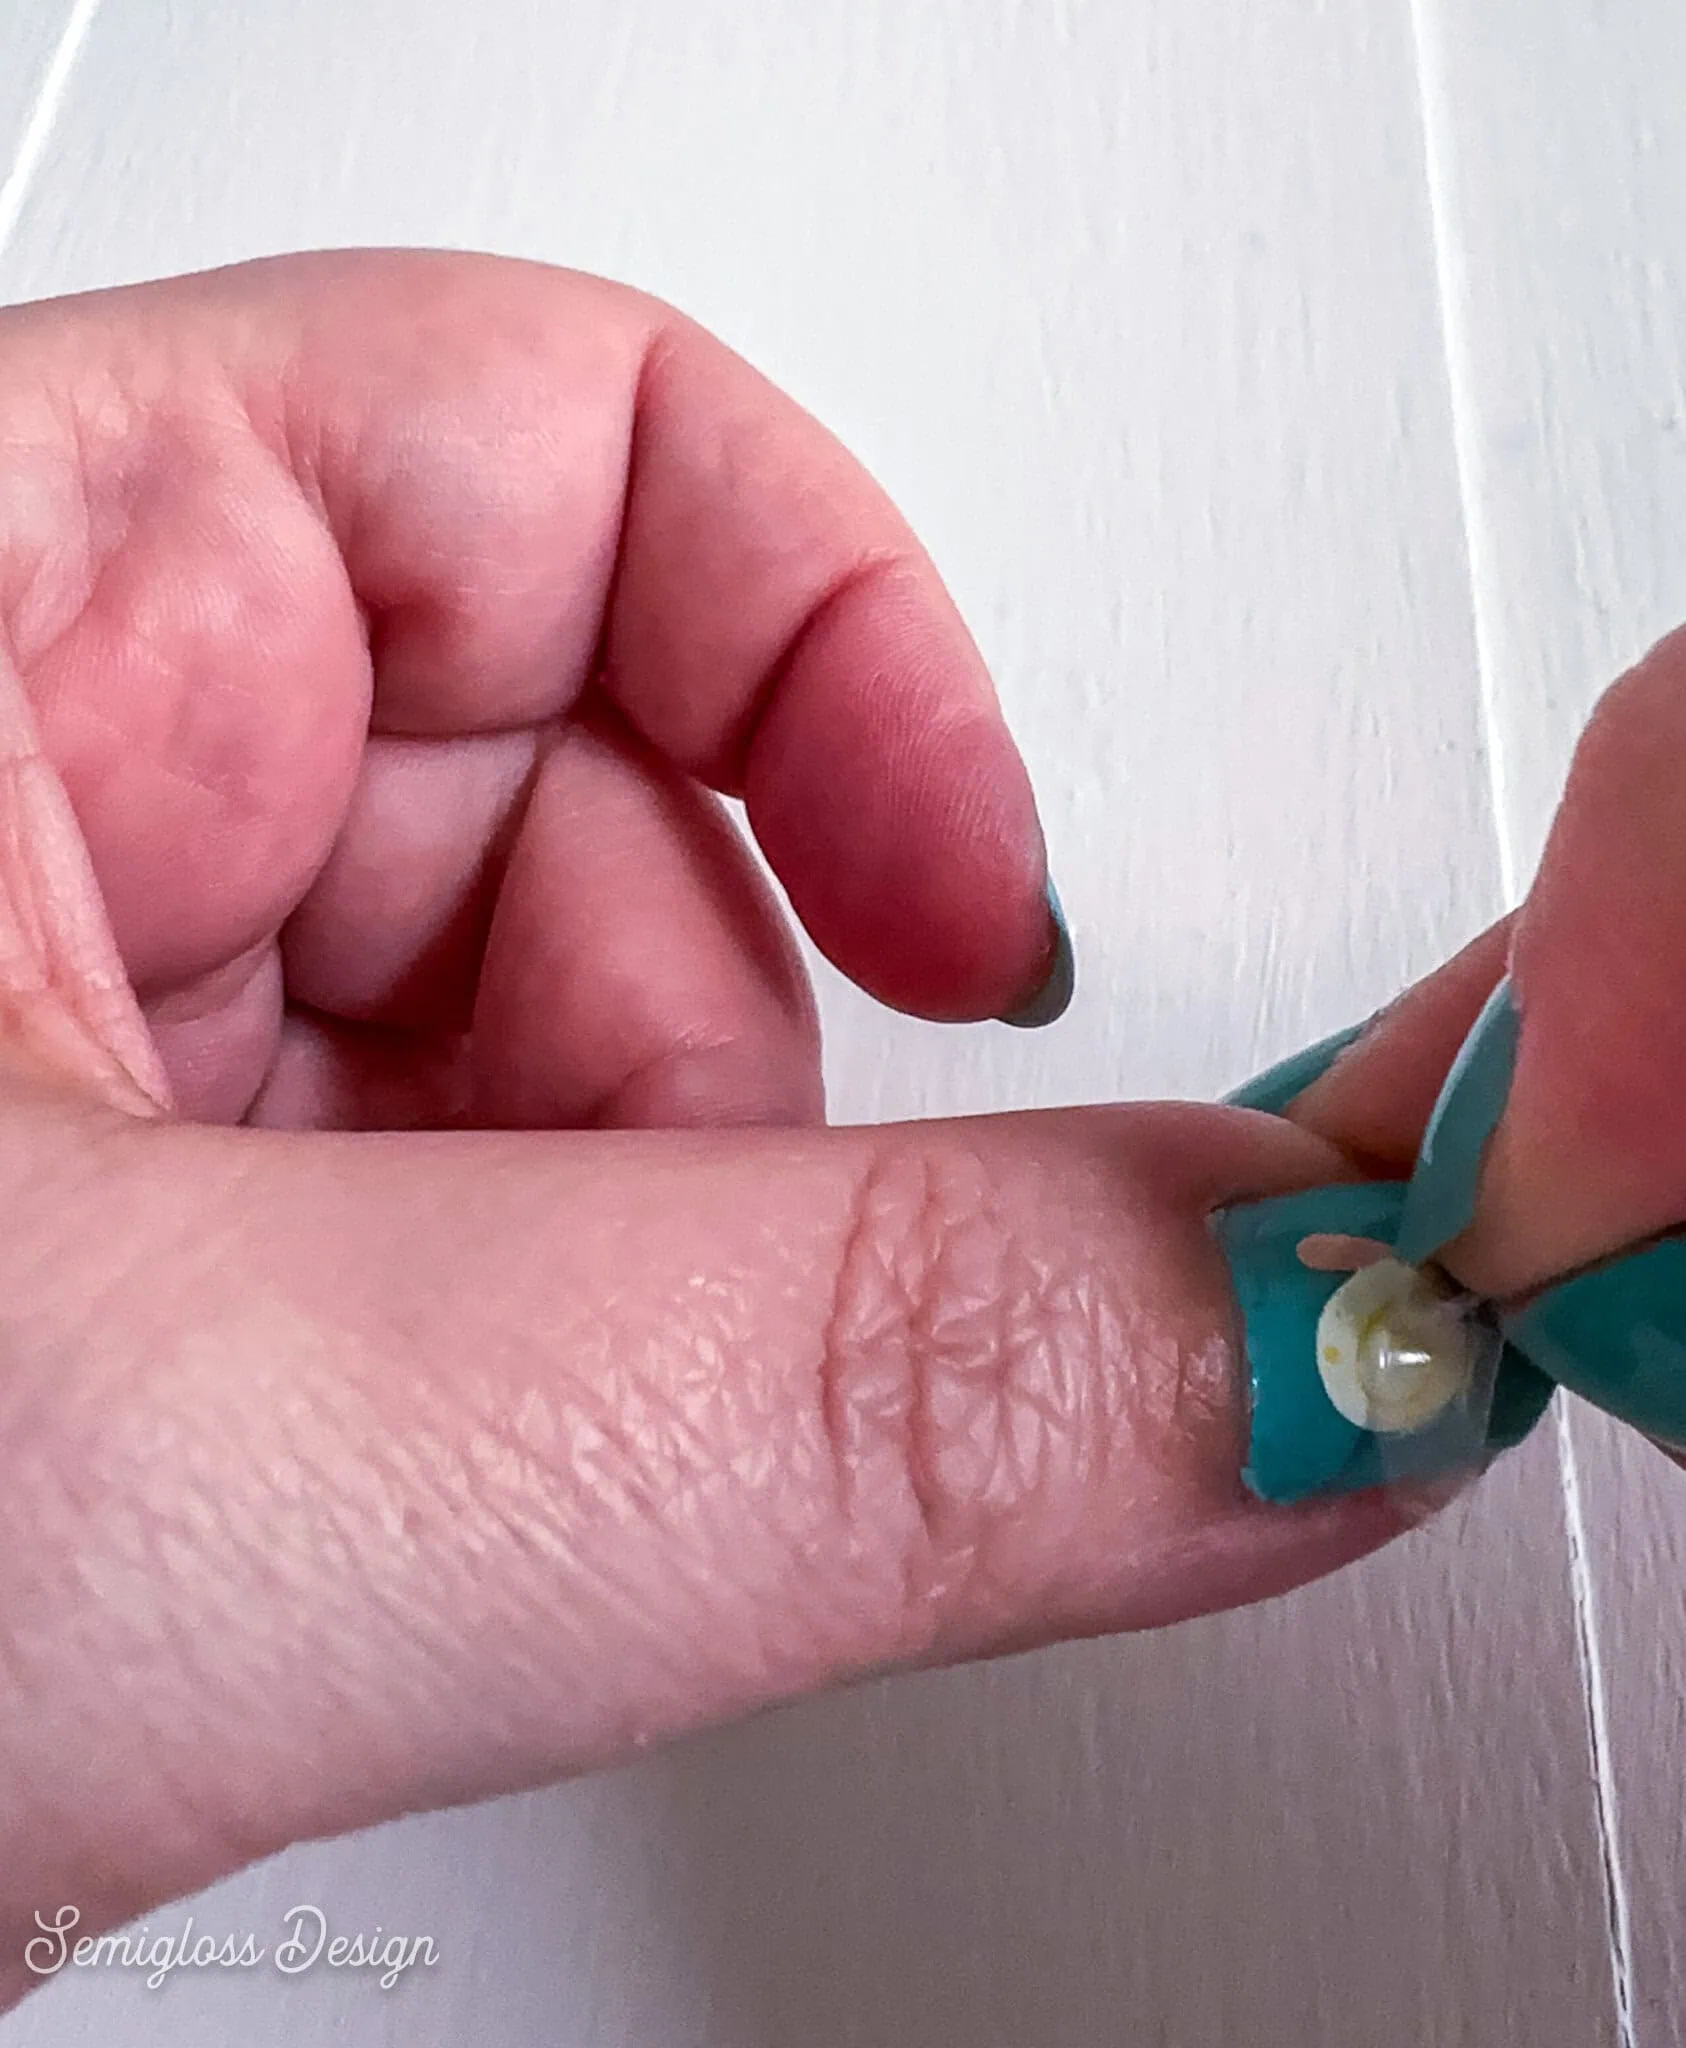
- Press it onto the nail and rub.

- Peel away the top layer sheet.
- If desired, apply a clear top coat.
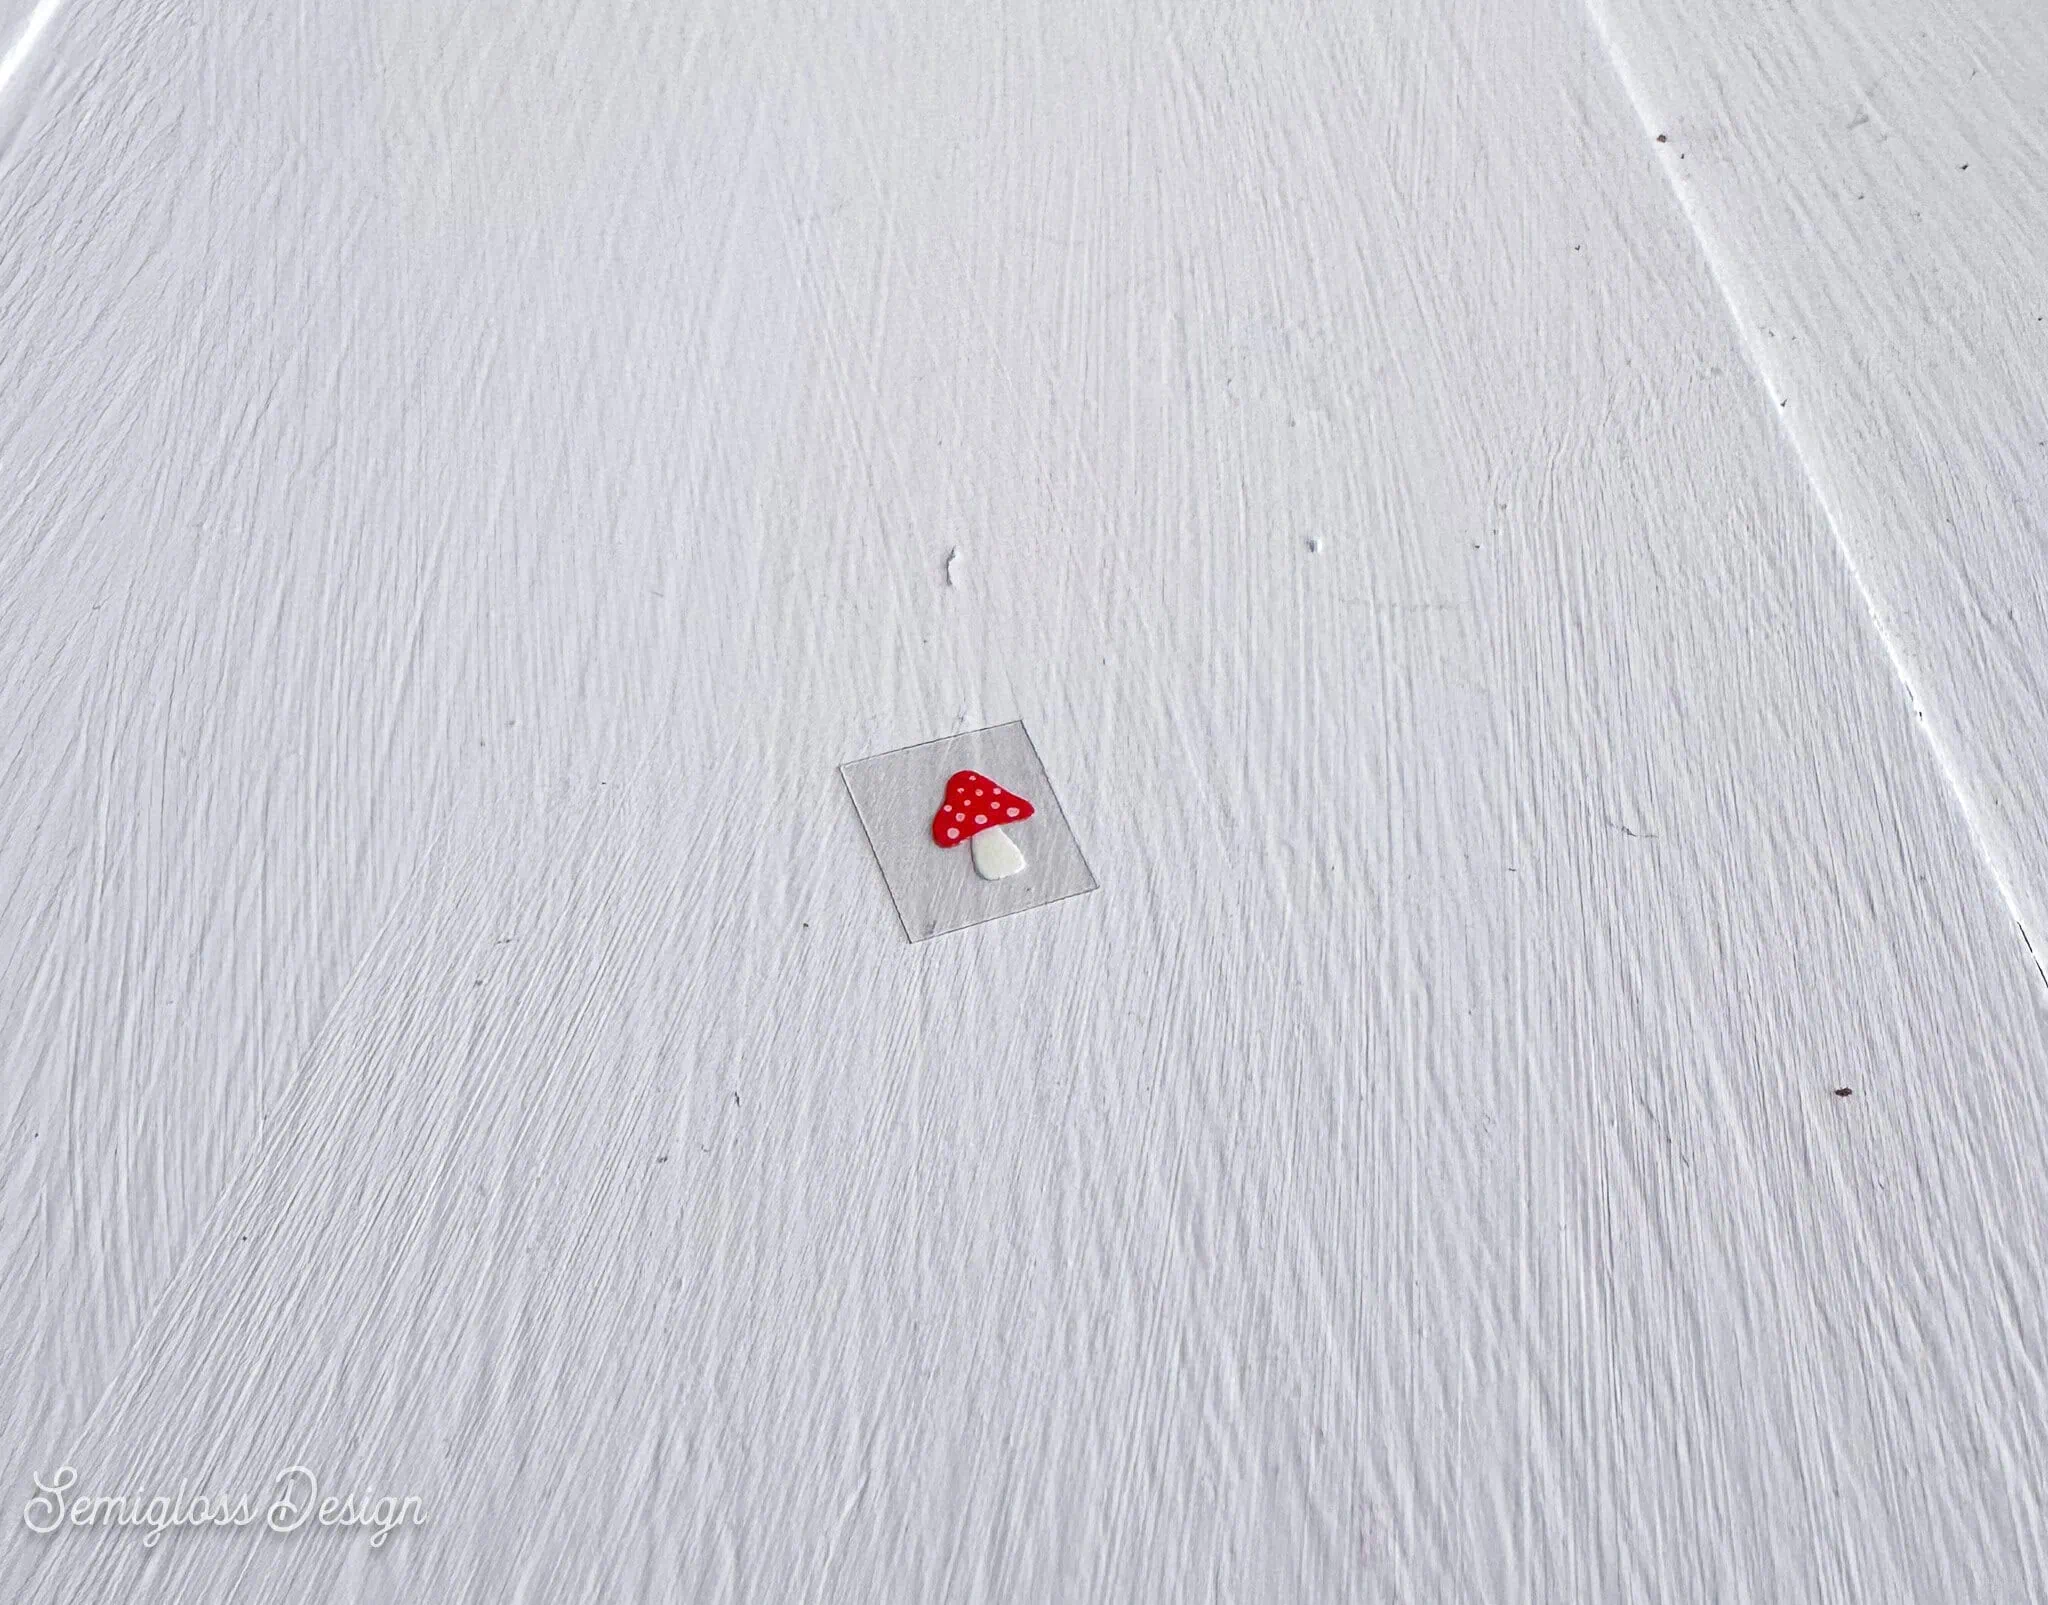
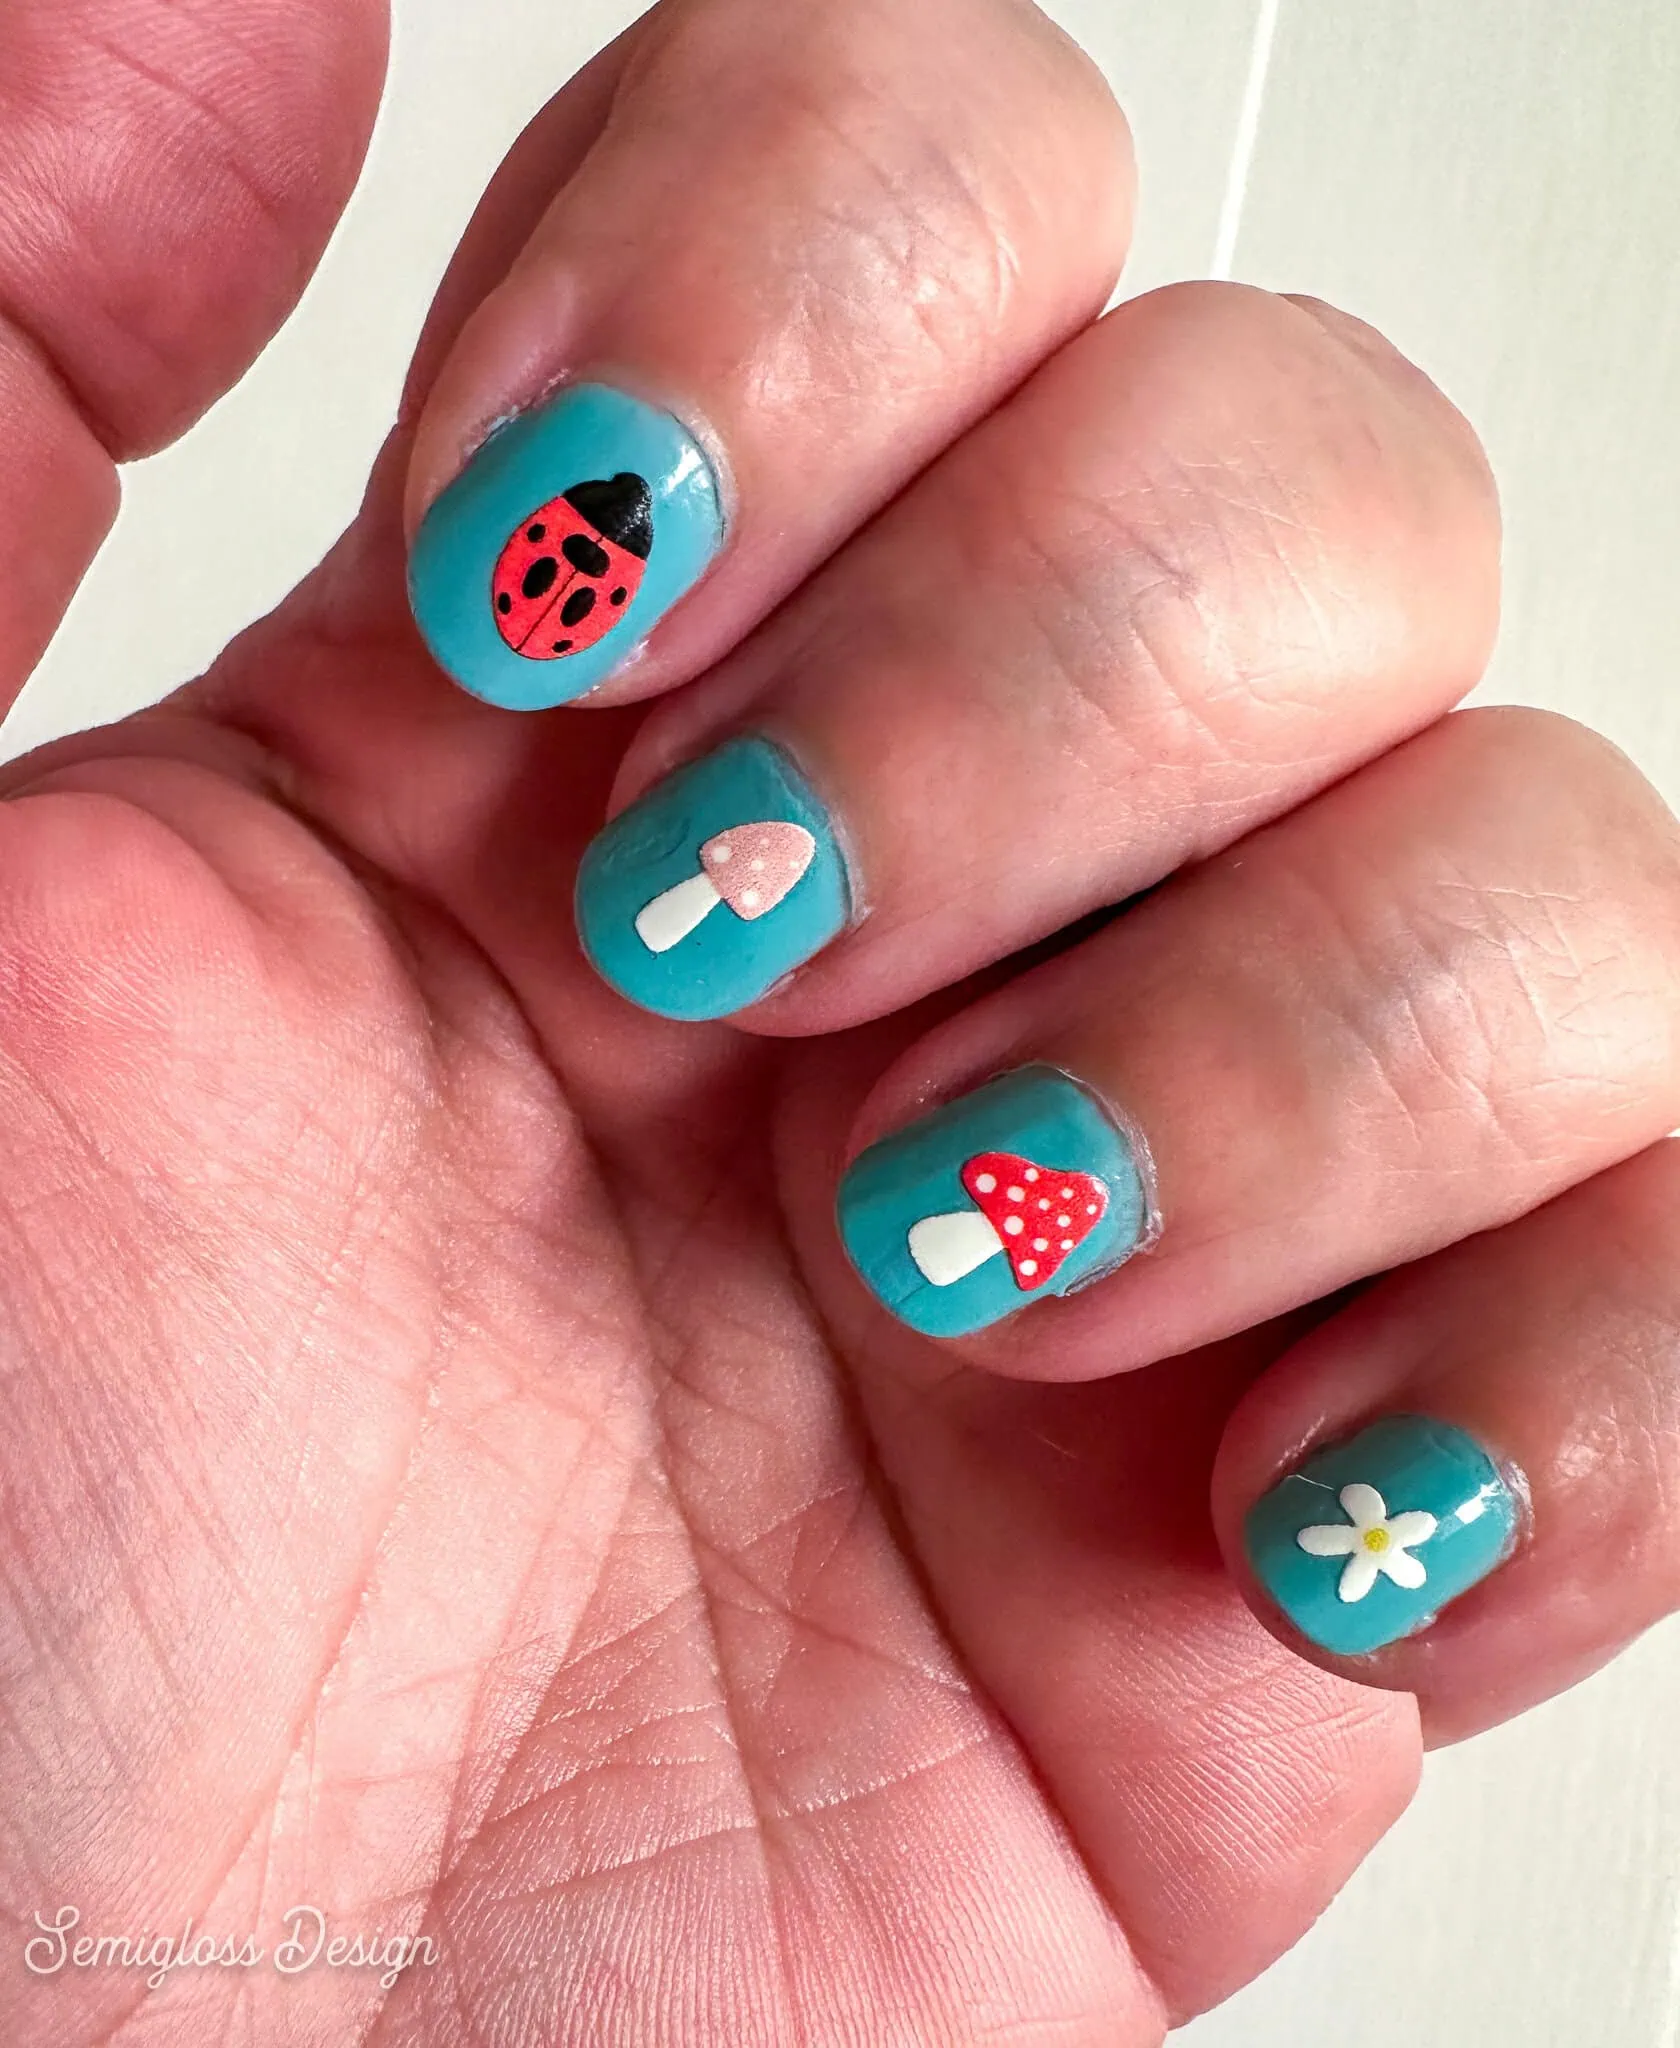
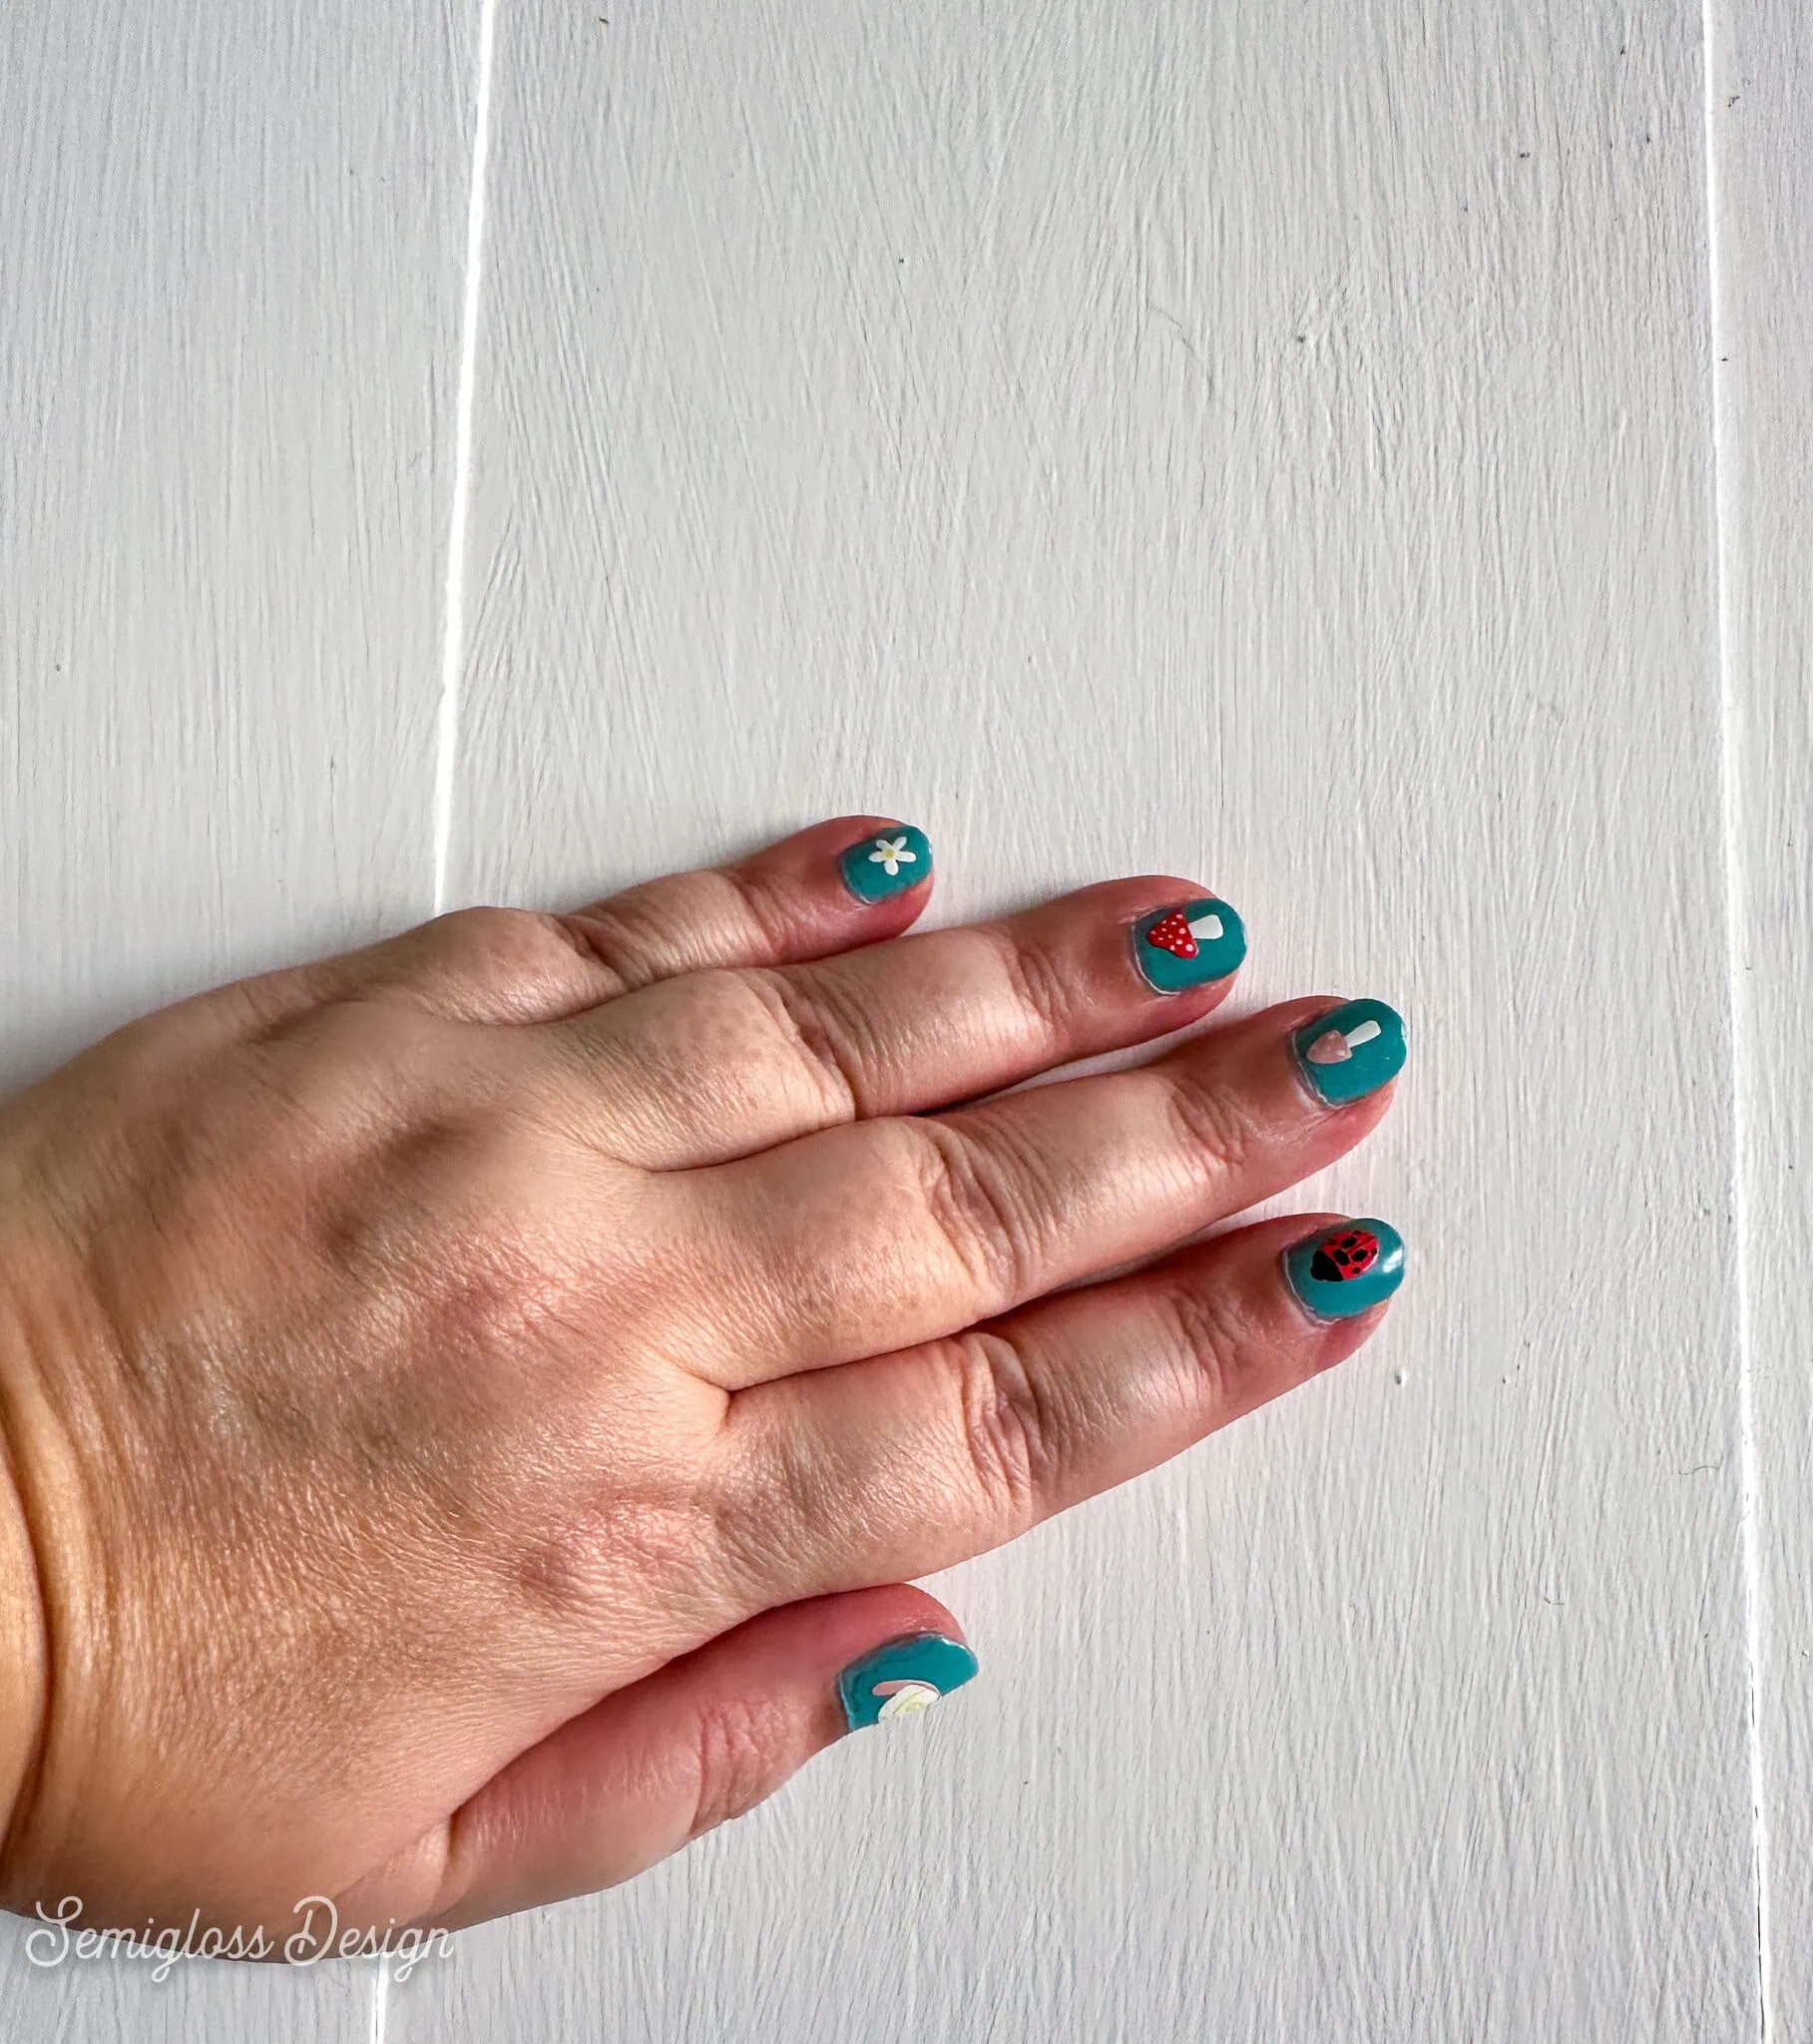
I’ve washed my hands and washed a few dishes, and they’ve held on just fine, even without a top coat.
Keep the protective sheet on the nail decals until you use them.
Check out my Other xTool O1 Omni Projects
- Making T-shirts with the xTool O1 Omni
- DIY Stickers
- How to Print Almost Anything
- DIY Gifts to Make with xTool O1 Omni
Pin for Later!

Emy is a vintage obsessed mama of 2 DIYer who loves sharing affordable solutions for common home problems. You don’t need a giant budget to create a lovely home. Read more…