How to Install USB Outlet in Just a Few Minutes!
Learn how to install USB outlet!
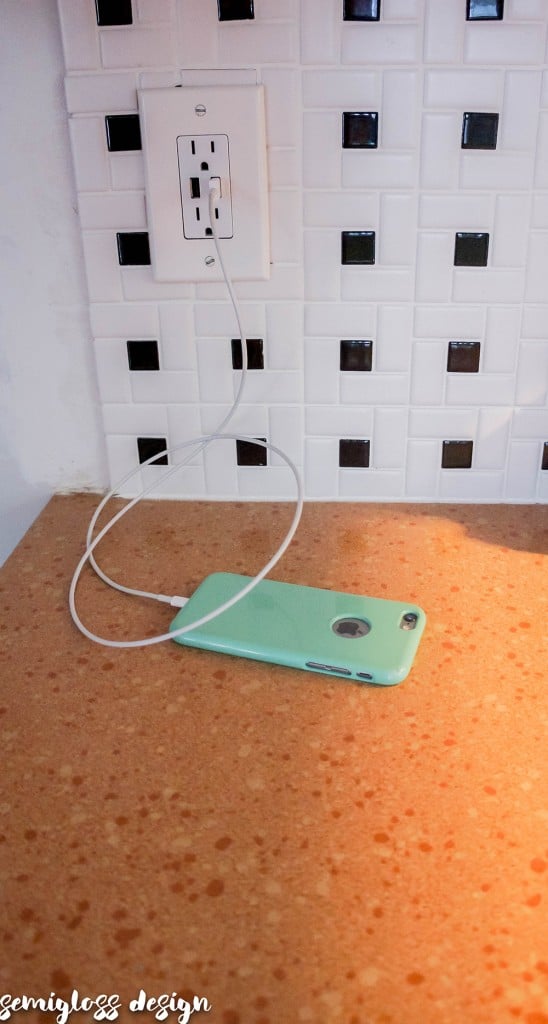
Our charging area resembles a plate of spaghetti: cords everywhere. With several devices phones and other devices that need to charge daily, we needed to add more USB chargers to the house.
I’ve had my eyes on a USB outlet since they first came out. The price has dropped significantly on them and now I want them everywhere! My husband wants to replace every single outlet, but that’s a bit overkill.
For now, adding one to the kitchen is a great way to conquer the cords. The best part of all? It only took less than 15 minutes! Keep reading to learn how to install a USB outlet.
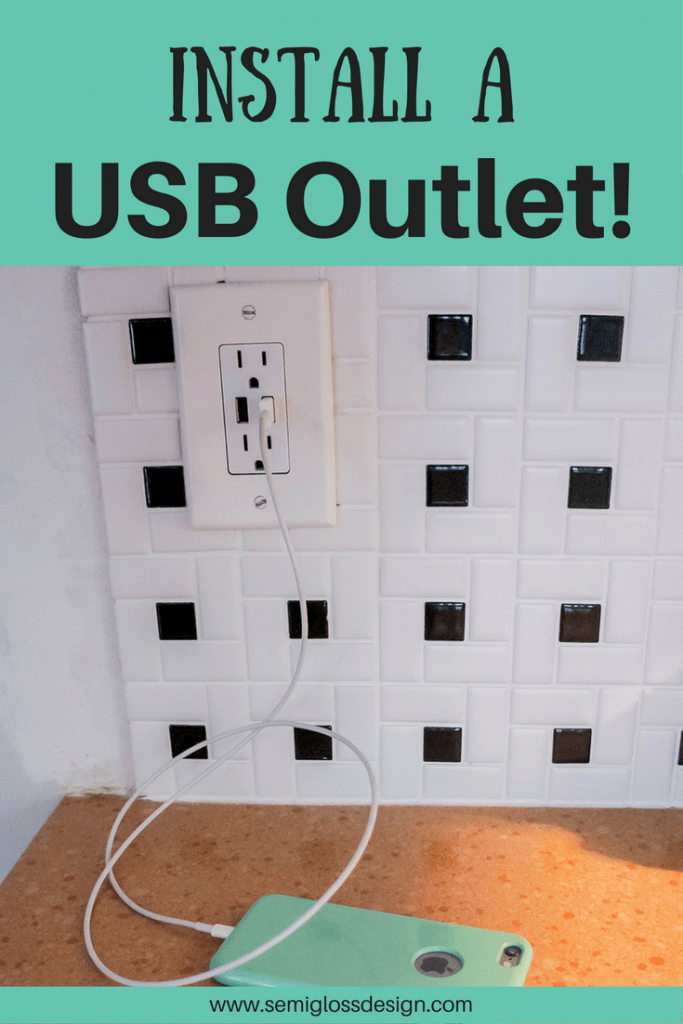
An unintentional bonus of this project: we now have one less almond-colored outlet to eventually change.
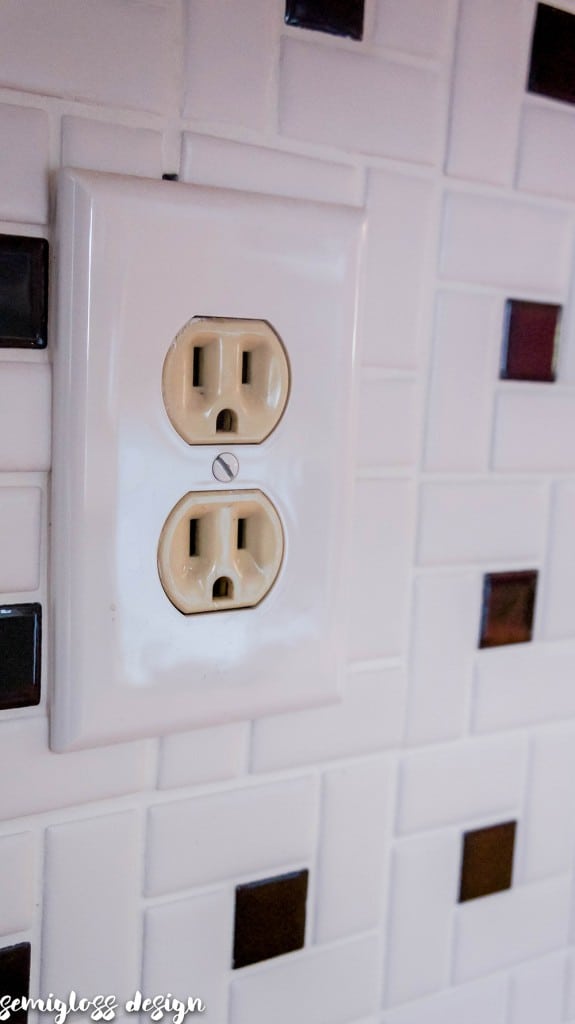
How to Install USB Outlet
Safety Disclaimer: Semigloss Design is not responsible for any accidents that occur due to this tutorial. We are not trained electricians. Always err on the side of safety and if you’re uncomfortable with this tutorial, pay a licensed electrician to change your outlet.
That being said, I do feel that installing a USB outlet is a project that most homeowners can tackle. It’s pretty simple. Cut the power, check it, and double-check it before you touch anything.
Supplies
This post contains affiliate links. By purchasing an item through an affiliate link, I earn a small commission at no extra cost to you.
- USB Outlet
- Outlet cover
- Screwdriver (we used a Hammerhead – See notes at end of post.)
- Voltage detector
- Pliers
- Electrical socket tester
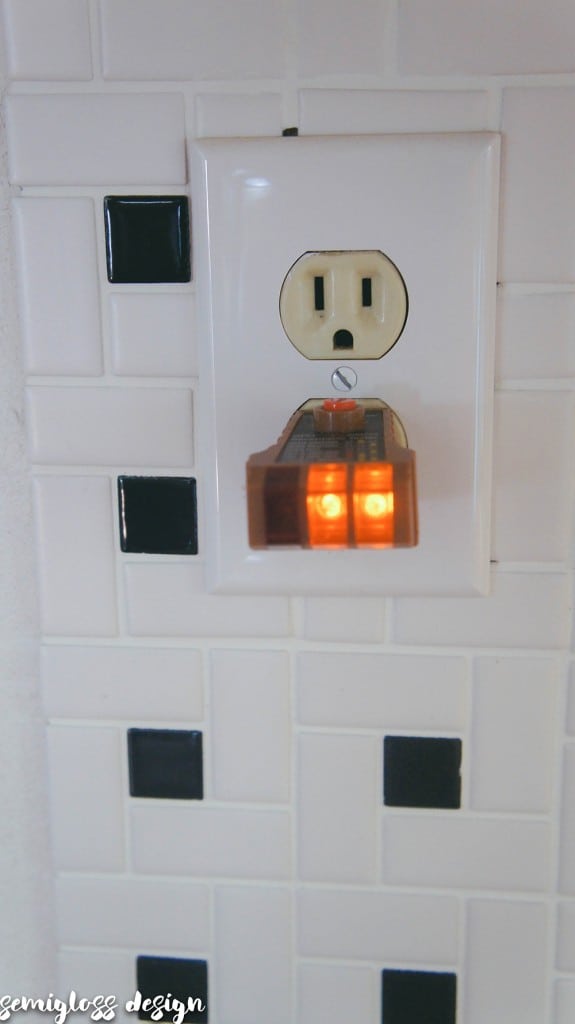
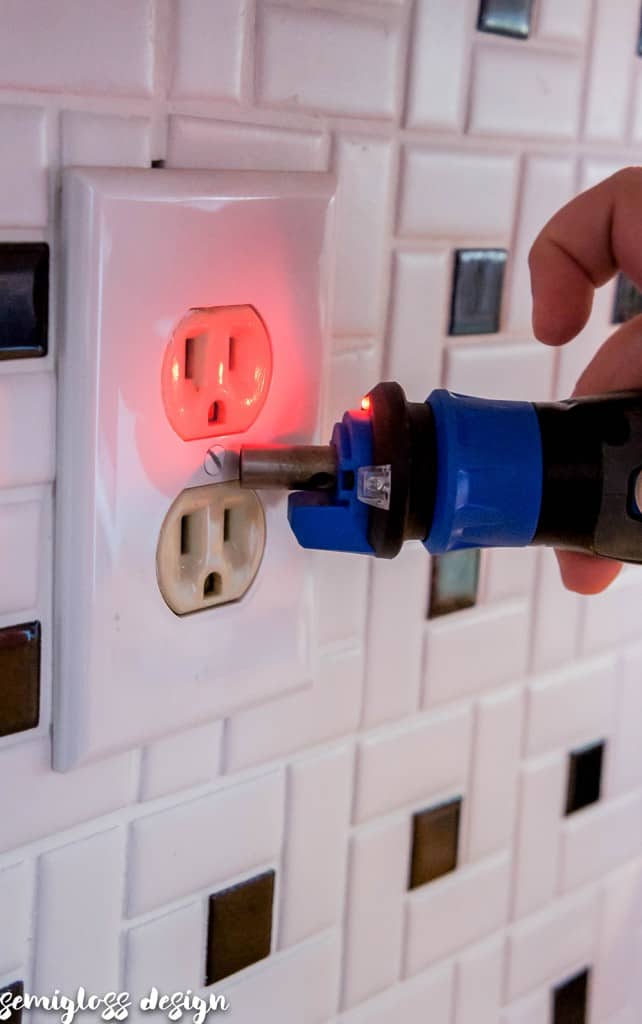
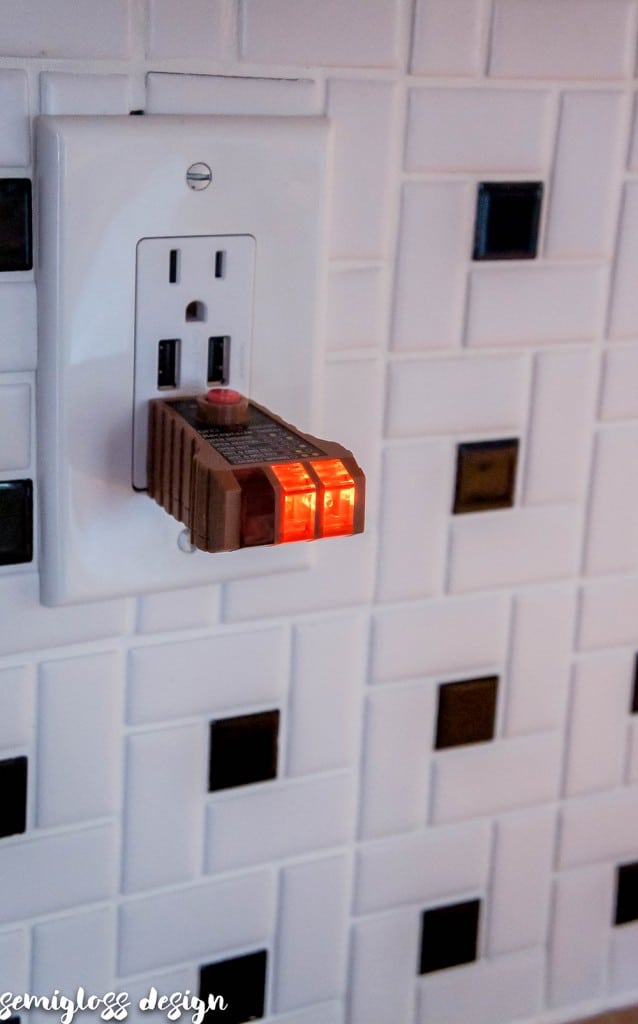
- Cut power to the outlet you’re using. If you’re nervous, you can cut power to the whole house at the breaker, but it’s not necessary. We normally plug in a socket tester and have one person watch for it to go off and another person at the circuit breaker. The person who is monitoring the socket tester yells at the person at the breaker when the light goes out. Breakers are supposed to be labeled, but I personally have never lived in a home where every single outlet is labeled perfectly and makes sense. Sometimes a breaker for a bathroom controls a single outlet in a kitchen. You’ll have to test your outlets. The device we’re using actually shows you if your outlet is wired correctly. In this instance, we’re just using it to see at a quick glance whether the power is on.
- Double check that the power is out with a socket tester.
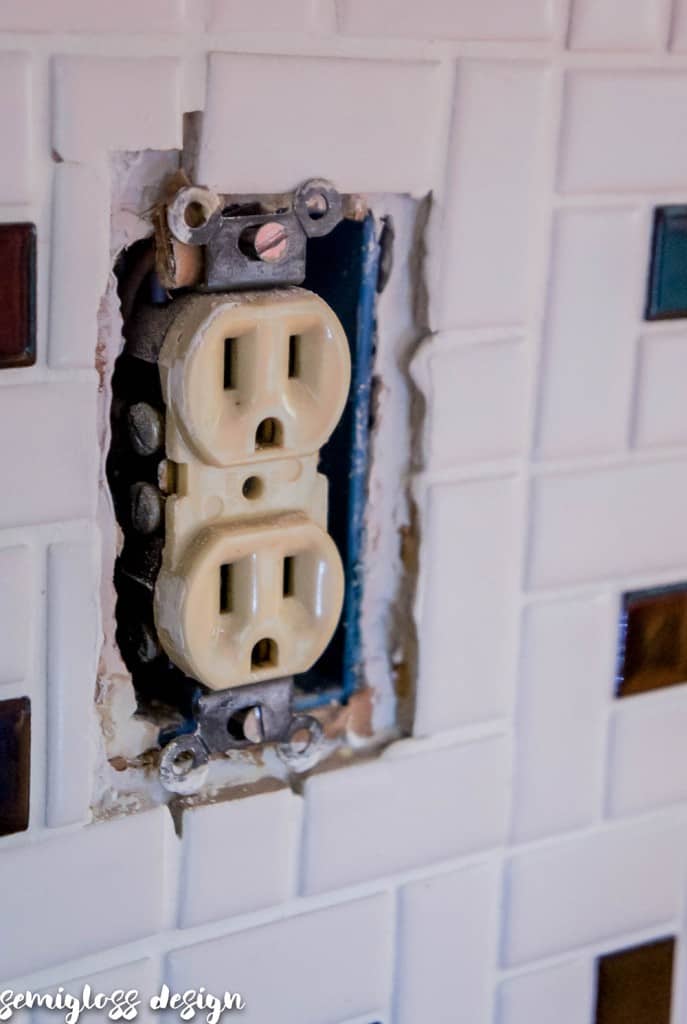
- Remove the cover.
- You can check the power one last time using a voltage detector.
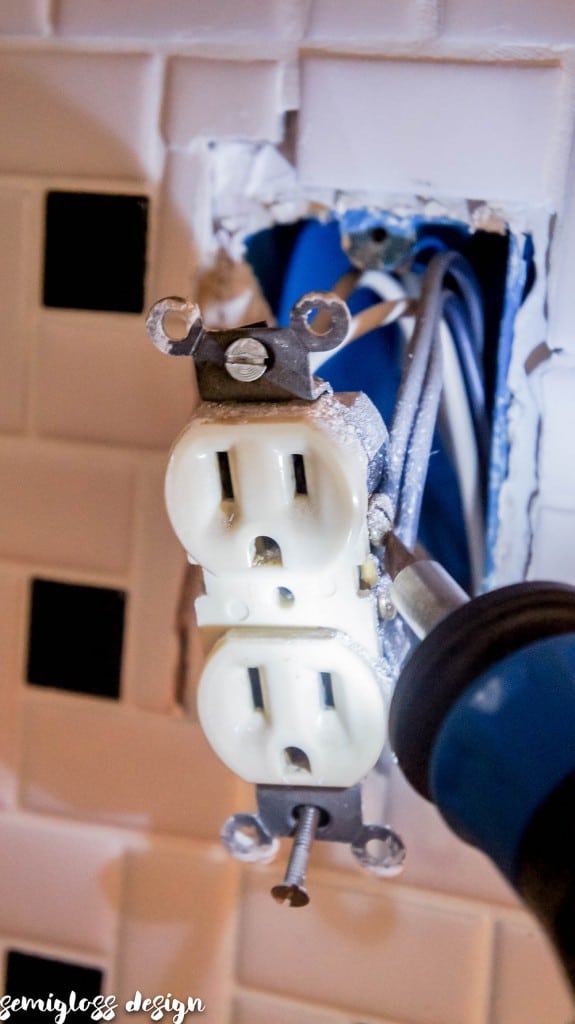
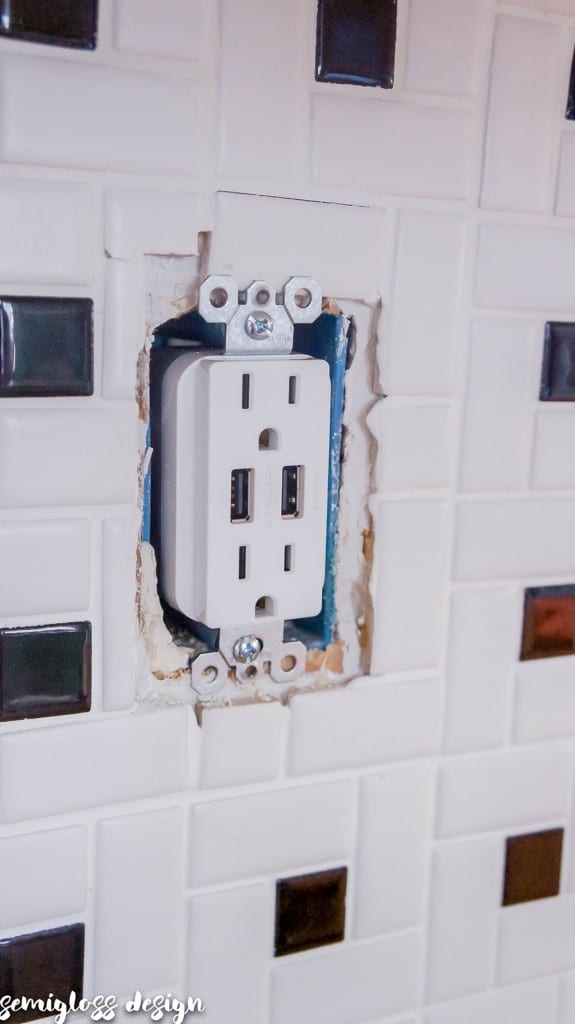
- Unscrew the old outlet from the box in the wall.
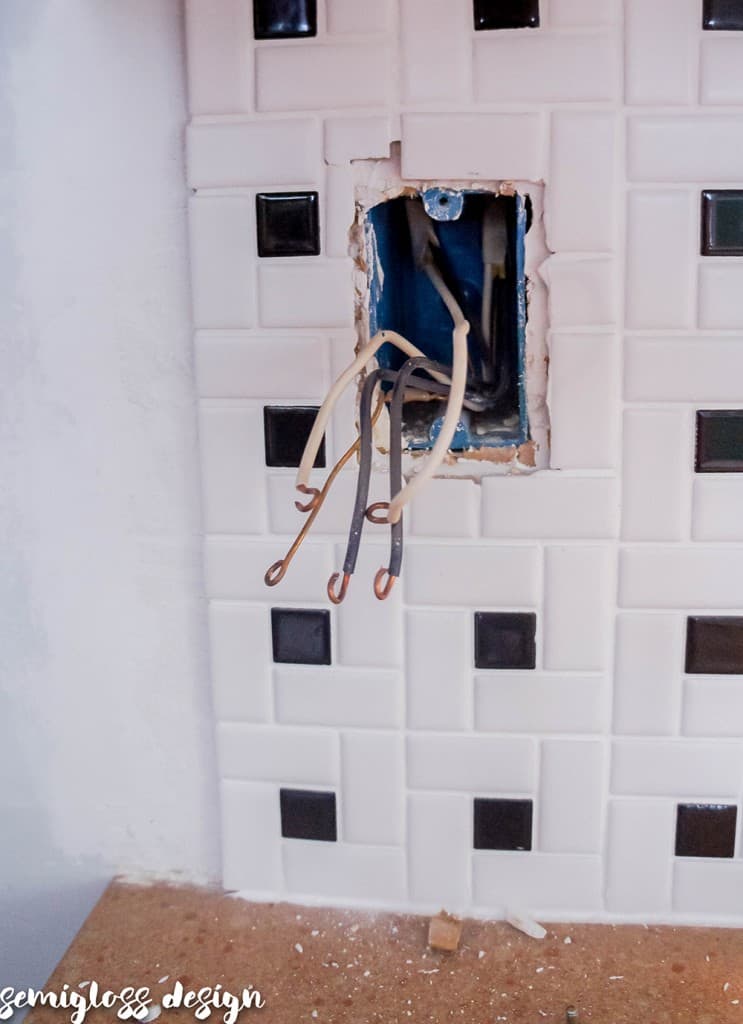
- Remove the wires electrical wires from the old outlet. You should have 2 black, 2 white and one copper or green wire. If you have other wires, seek professional help from a licensed electrician.
- Wrap the copper wire around the green screw. This is your ground wire. Tighten the screw. We didn’t do it in this order and should have because this is the hardest part!
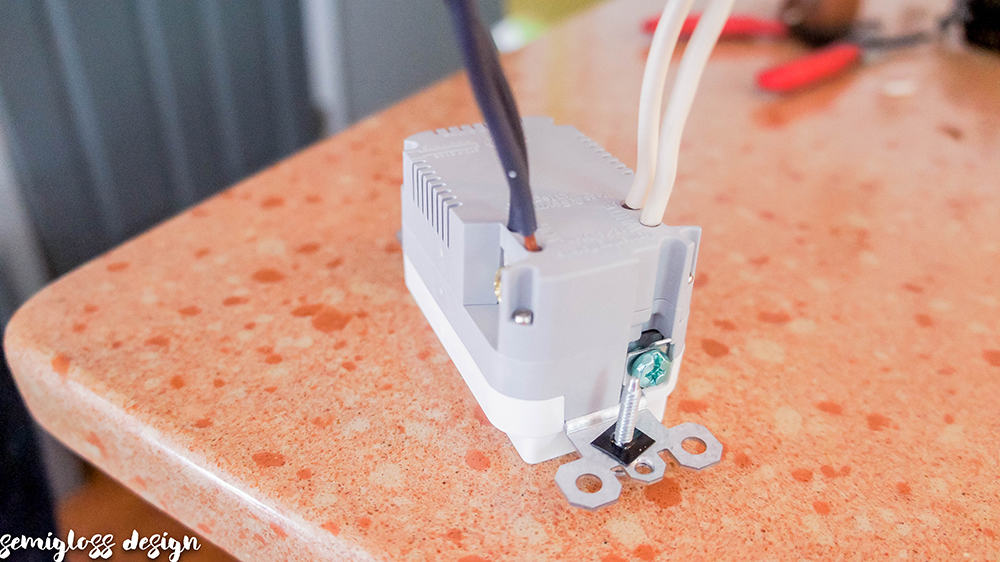
- Slide the other wires in the holes in the back and then tighten the corresponding screw for each color. Black wire is hot and goes to brass. White is neutral and goes to the silver screw. (This picture just shows how easy the wires slide into the holes. The wires are not actually long enough for the outlet to sit on the counter. It’s very hard to take a picture of something when you’re working with 4″ of space.)
- Shove the outlet back in and screw it into the case in the wall.
- Turn the power back on and test it.
- Replace the outlet cover. Now you know how to install a USB outlet!
Overall thoughts on the USB charger
We loved how easy this outlet was to install! No flathead screws! This baby uses Phillips screws, which is so much nicer to use! Plus, the slide-in wires are so much easier than the typical wires that you have to wrap around the screws. Of course, there’s still that copper wire to wrap around its screw, but one versus the normal 5 really makes this a fast process!
The box on this outlet is large, so we had to cut our wires a bit shorter to make everything fit better. If you’ve ever switched out an outlet, you know that the wires are usually crazy long anyways. This makes it easy when wiring, but difficult when shoving the outlet back into the box.
I’ve read reviews that say that it doesn’t charge very fast. I haven’t tested how fast it charges but will update once I have. We normally charge phones overnight, so it probably isn’t an issue for us.
Update: I haven’t noticed that the USB charger is particularly slow. We mostly use it to charge the Echo device that we use for music in the kitchen.
Thoughts on the Hammerhead Screwdriver
I bought my husband the hammerhead screwdriver because it seemed like the perfect all-in-one tool for electrical work. He normally needs about 5 tools and I thought it would be nice to just use one.
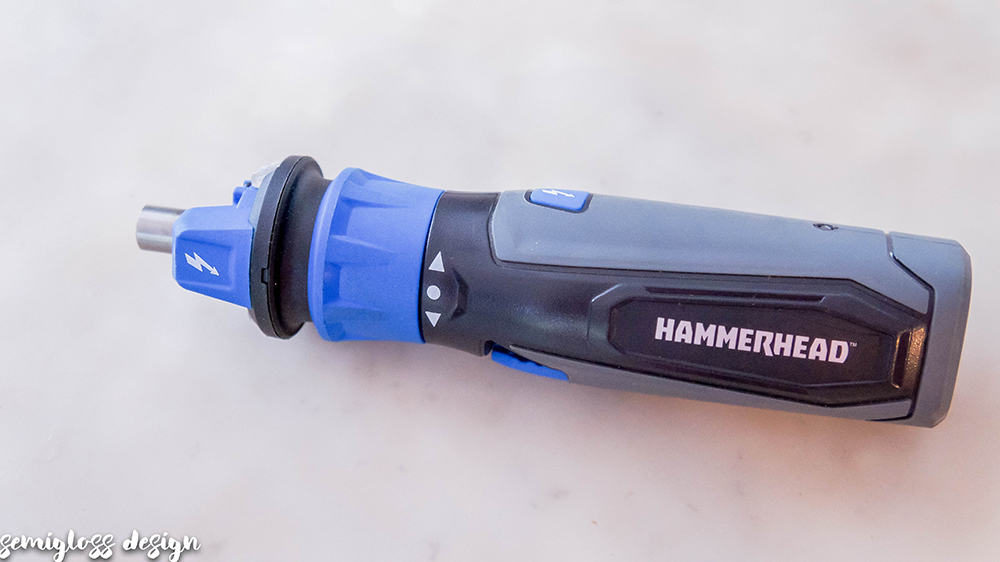
It’s a screwdriver with voltage testing capabilities. It’s supposed to curl wire as well. Plus, it has a handy spotlight on it. Ours might have been a bit dead (it recharges with a micro USB charger (whoa this just got meta!) and it’s been a while since it has been charged. We’ve used it before and I don’t remember hating it.
We ended up using a regular screwdriver for most of the process because the electrical one wasn’t strong enough to unscrew the wires from the outlets. Those screws are usually on pretty tightly. The voltage tester worked great though. The screwdriver was also too weak to curl the wire, so we used pliers.
Pin for Later!


Emy is a vintage obsessed mama of 2 DIYer who loves sharing affordable solutions for common home problems. You don’t need a giant budget to create a lovely home. Read more…





YESS!!!! The number of times I’m trying to find something to plug my USB cable into is crazy! I’m totally doing this!!!
Me too Lidia! Or my daughter has stolen my spot! 🙂
Hubby installed these for us in the kitchen and bedroom. They make such a difference as I could never find that little adapter when I needed it!
I love them so much and my husband wants them everywhere now!
This is really good to know. I am embarrassed to admit I didn’t know they existed.
They will be really handy, I need to go see how much they are. Thank you.
Don’t be embarrassed! I practically live at Lowes lately! 😉