DIY Vertical Herb Garden for the Wall
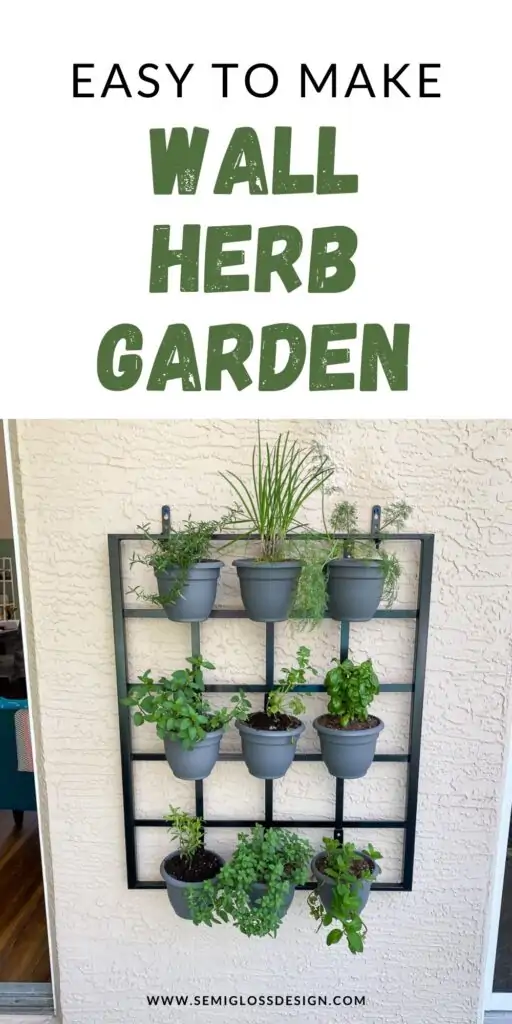
Learn how to build a DIY vertical herb garden. This wall garden holds 9 plants in a small amount of space, perfect for patios.
This post contains affiliate links. By purchasing an item through an affiliate link, I earn a small commission at no extra cost to you. As an Amazon Associate I earn from qualifying purchases.
Our new house is located next to a nature reserve, which means that we have a lot of wild animals walking through our backyard.
It’s amazing to watch, but I know that these animals will destroy any garden that we try to build.
Luckily, we have a screened-in patio where everything is safe.
I’ve been wanting to grow herbs because we eat a lot of fresh herbs in warmer weather.
My daughter makes a killer Caprese salad, so I wanted to keep her stocked with fresh basil.
This meant coming up with an attractive solution for growing herbs inside of our screened-in patio area.
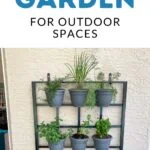
So we decided to build a vertical herb garden on our wall. I really love how it turned out.
It’s super easy to take care of. You can fit a lot of plants in a small space. And if a plant dies, it’s easy to replant a new one.
Herb Garden FAQs
If you’ve never grown herbs, they’re pretty easy to take care of. I don’t consider myself a green thumb, but for the most part, even I can keep most herbs alive.
Which Herbs Should You Grow?
That depends on what you like to eat. We always grow basil, mint, and chives.
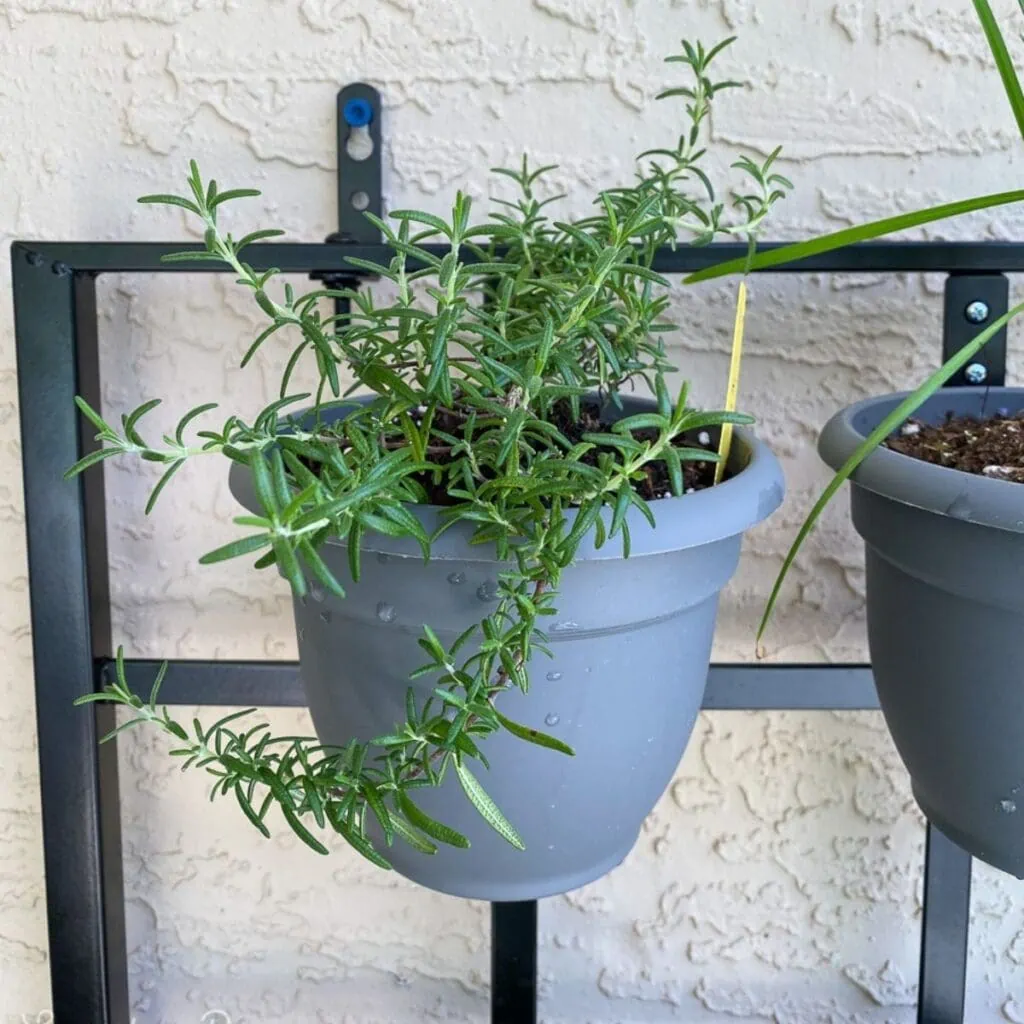
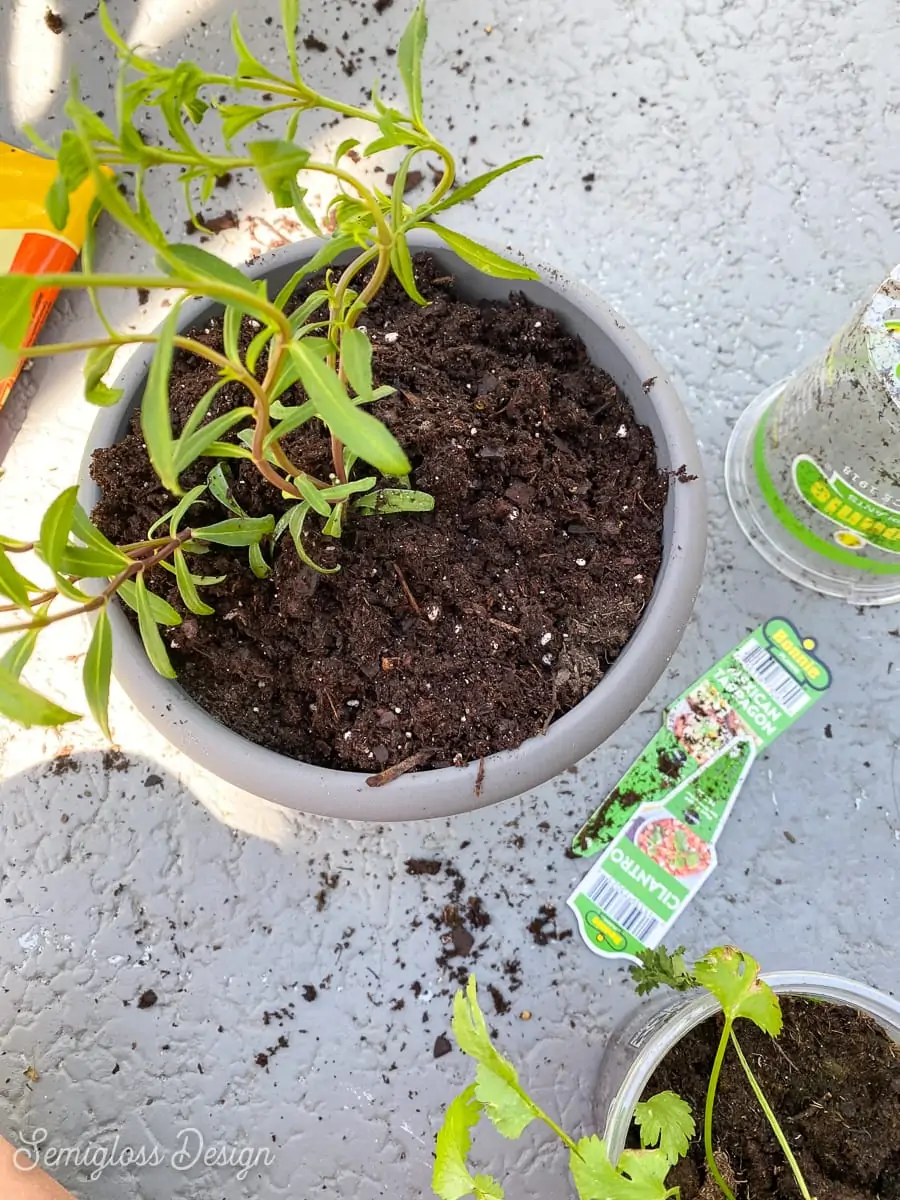
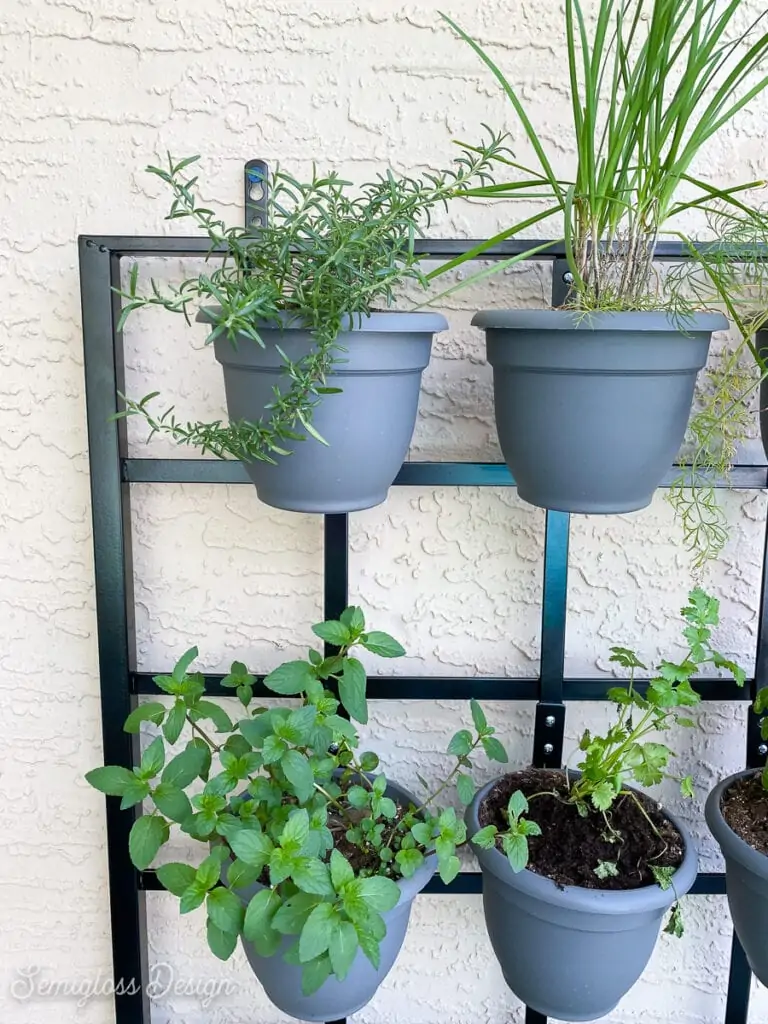
This year we’ve also added dill, tarragon, rosemary, oregano, another mint variety, and cilantro.
Cilantro is harder to grow than other herbs and my cilantro plant has already been replaced once. It’s very delicate, so it needs a bit more care.
Where Should I Place My Herb Garden?
Herbs need plenty of sunshine, so place them in an area that receives tons of sun. They need about 4 hours a day.
If possible, grow them in a location close to your kitchen. If you have to walk around the house to get to the herbs, you probably won’t use them or take care of them.
Can I Grow Herbs Indoors?
If your home gets tons of sunlight, give it a shot. If you’re good with plants, you will probably have more luck.
However, most homes do not get enough sun. My home faces east and gets so much sunlight that we joke about wearing sunglasses inside, and I still don’t think it would be enough light.
If you really want to try it, you can always try using a grow light to help the plants.
(Keep in mind that this setup includes pots that leak water for drainage, so it would be messy for an indoor location.)
Tips for Growing Herbs
I’m not a plant expert at all, but here’s some tips for growing herbs.
- The most important tip: Don’t buy potted herbs from the grocery store to plant. They are modified to only live for a week. It even says it on the label. This took me years to figure out.
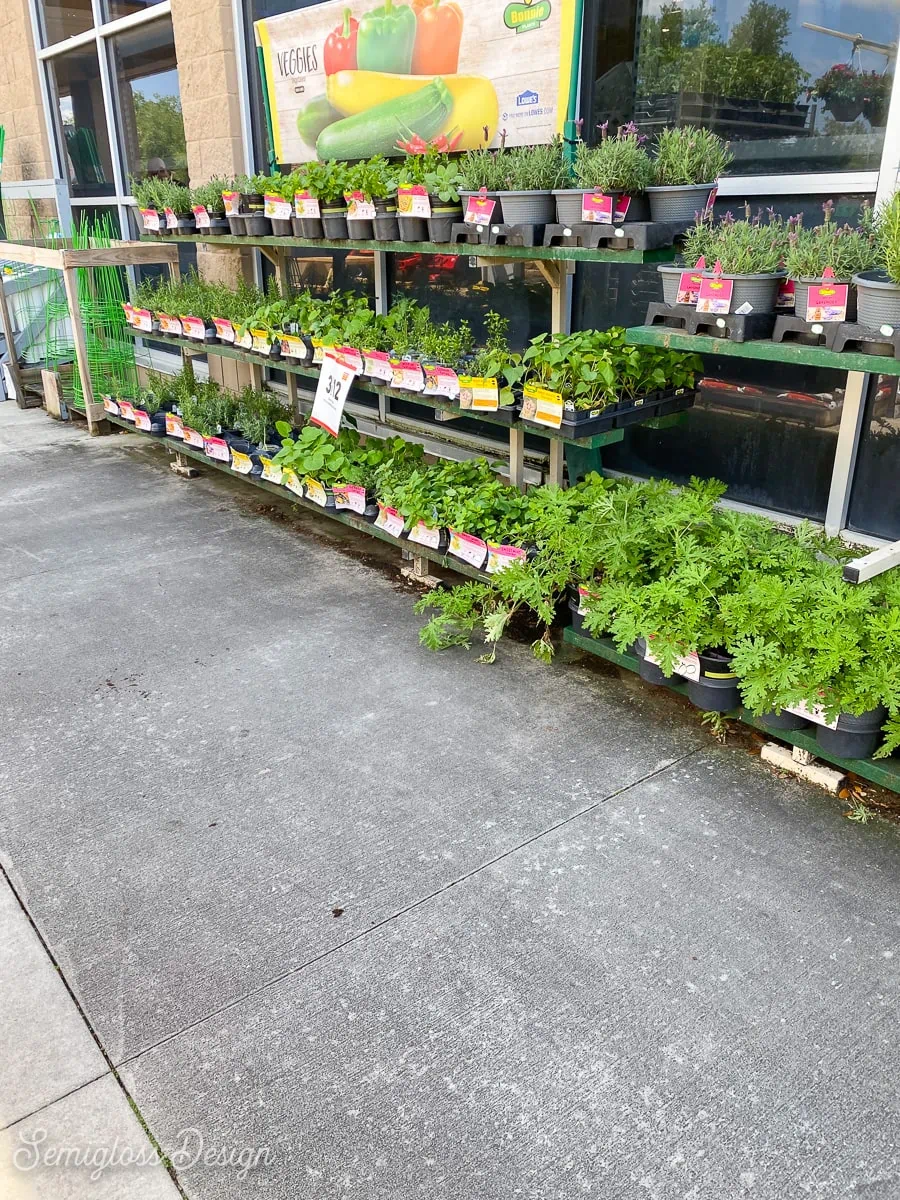
Instead, buy them from a garden center. - Mint will take over any space that they’re planted in, so keep that in mind. Always plant it in a pot by itself for best results.
- Most herbs prefer a drier environment. Be careful of overwatering them.
- Cilantro is probably the neediest herb. The flowers needs to be pinched off and doesn’t like a lot of water or too much sun. And be really careful when transplanting the roots.
- Don’t let the pots dry out too much. This is really important if you use terracotta pots since the pots absorb the water.
How to Build a DIY Vertical Herb Garden
Supplies Needed:
- Metal Trellis
- 9 Plant Hangers
- Metal drill bit
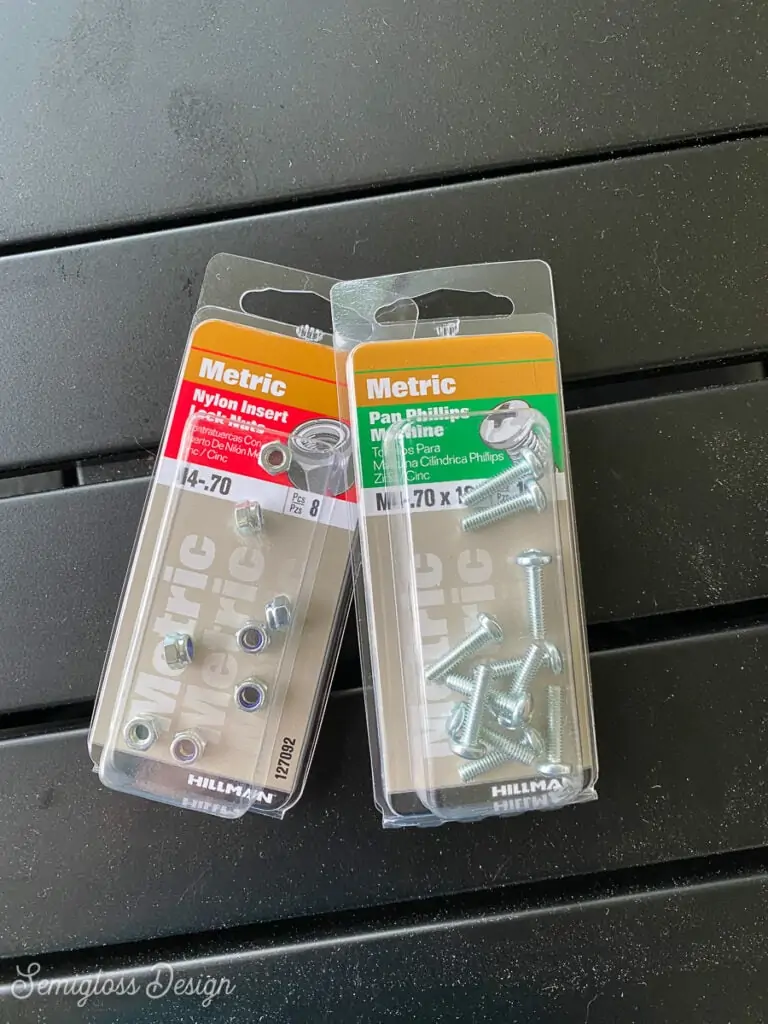
- Screws and nuts
- Ratchet
- Screwdriver
- Drill with hammer drill capabilities
- 9 – 6″ pots (The plastic ones fit in the plant hanger better than terracotta.)
- Potting soil
- Herbs
We also used a special masonry drill bit and screws to attach the trellis to our stucco wall.
Building the Vertical Herb Garden
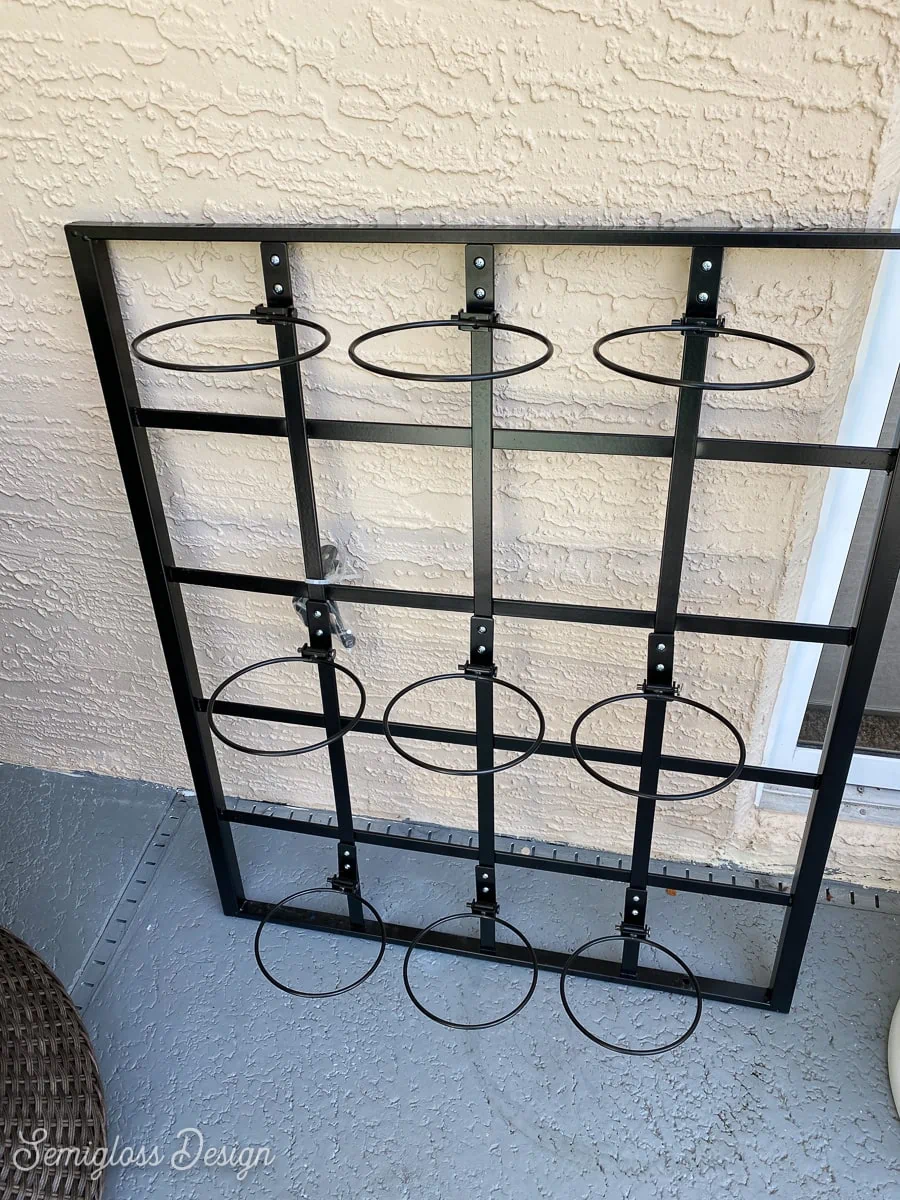
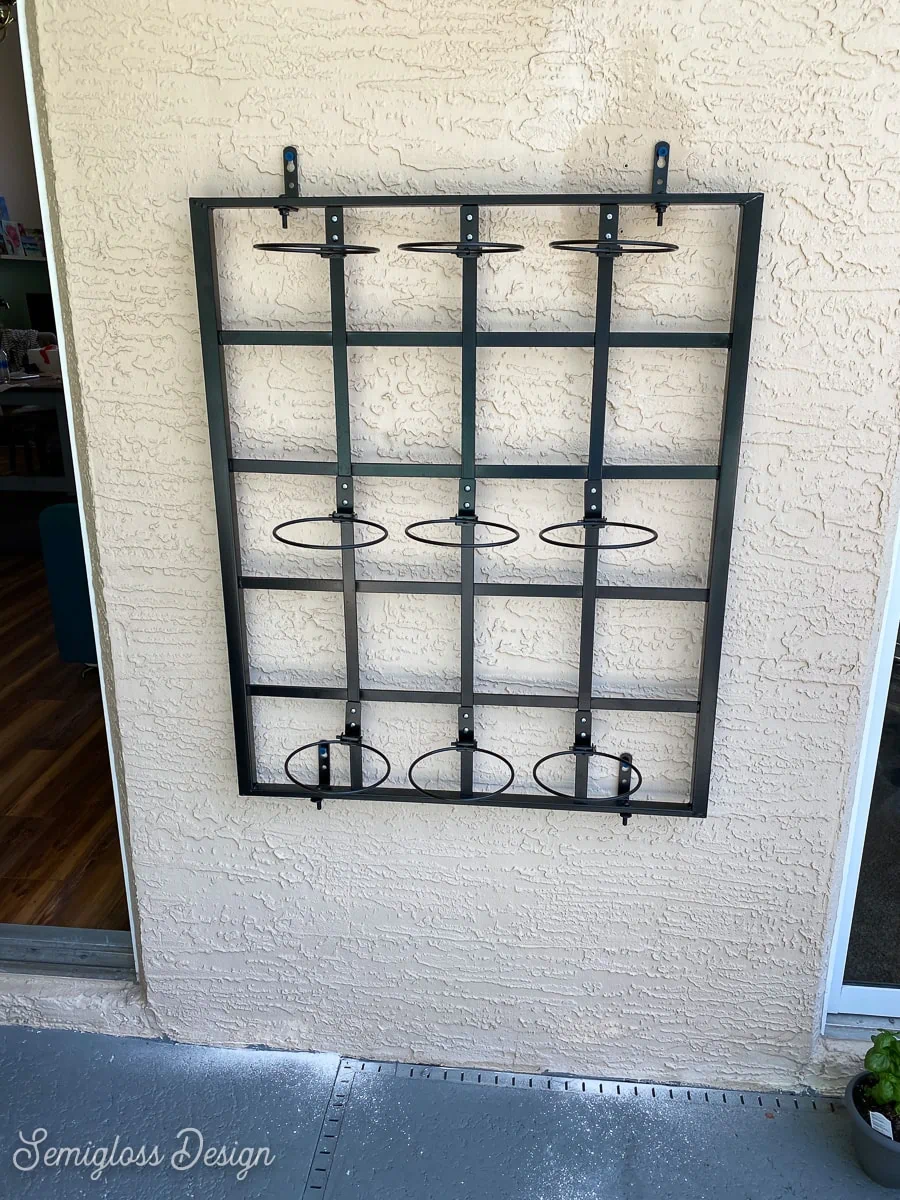
- Decide where you want the pots to sit on the trellis. We decided to add 9 pots, so we spaced them evenly on the trellis grid.
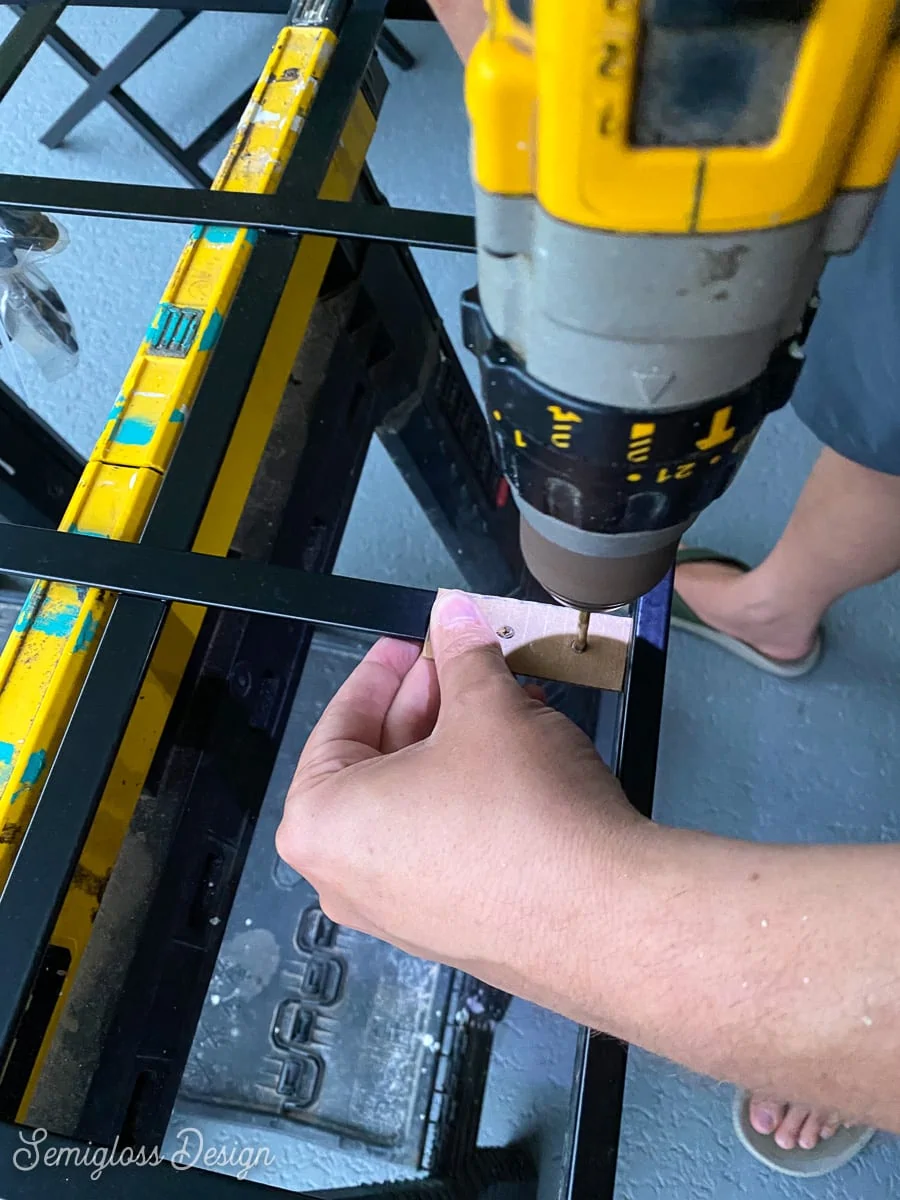
- Make a cardboard template for the holes on the plant hanger. Make sure that you have the plant hangers positioned right-side up.
- Use the templates to drill through the trellis.
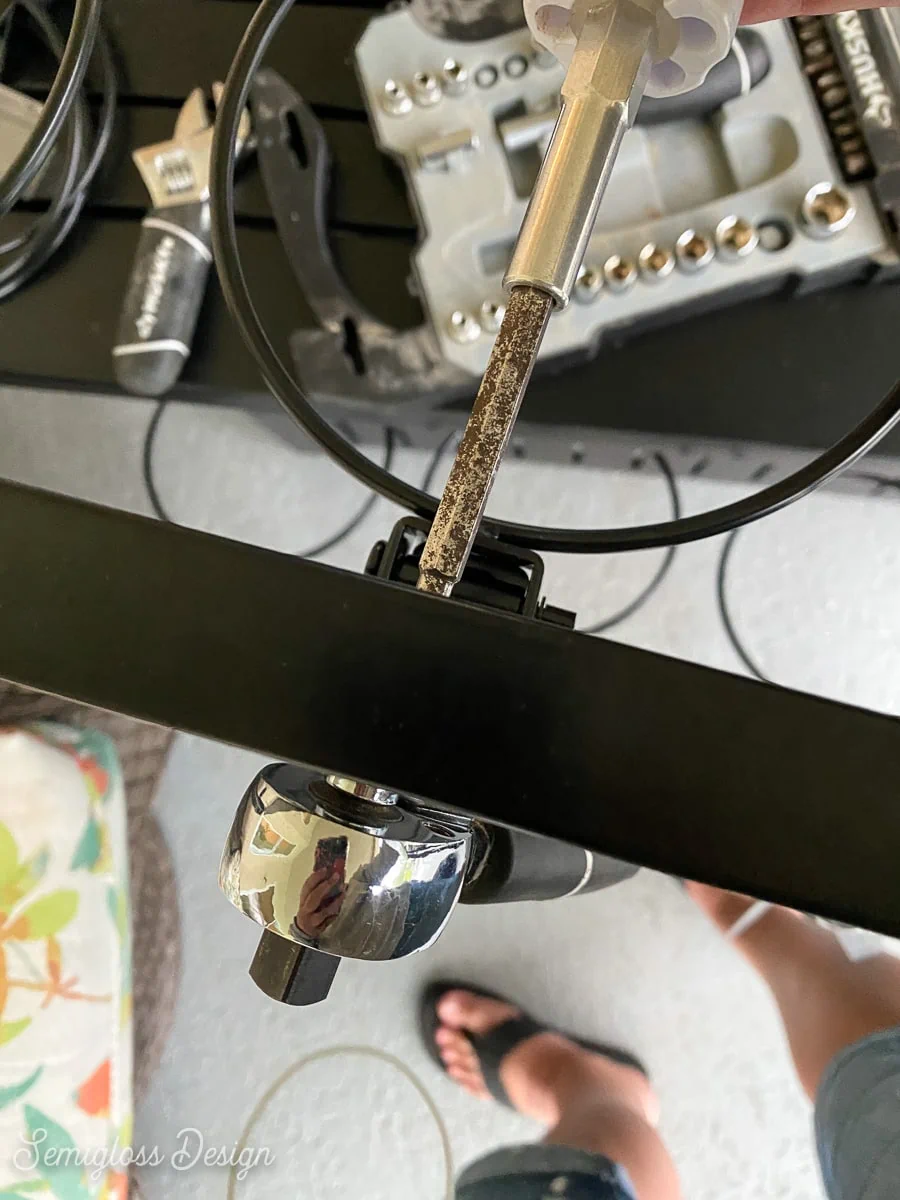
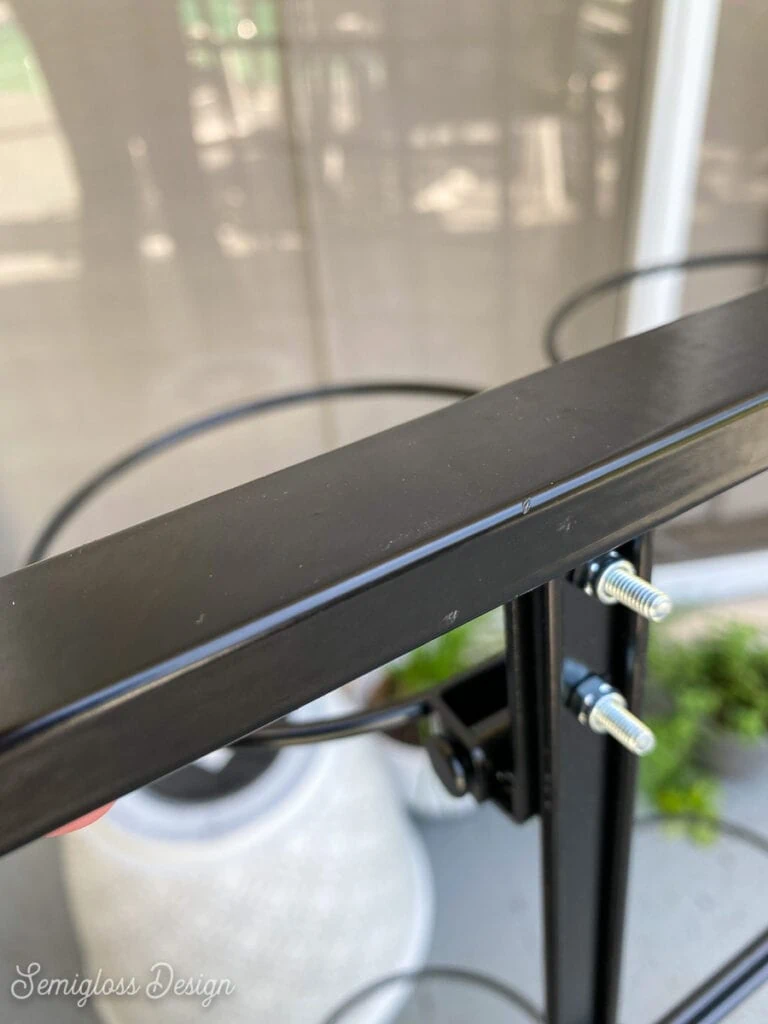
- Attach the plant hanger to the trellis with screws and nuts. (If you’ve never done this before, hold the screw in place with a screwdriver and use a ratchet to attach the nut on the back.)
- Repeat this step for every plant hanger.
Planting the Herbs
- If your pots don’t have holes at the bottom, drill holes to give them drainage. Plastic pots have spots indicated for drilling.
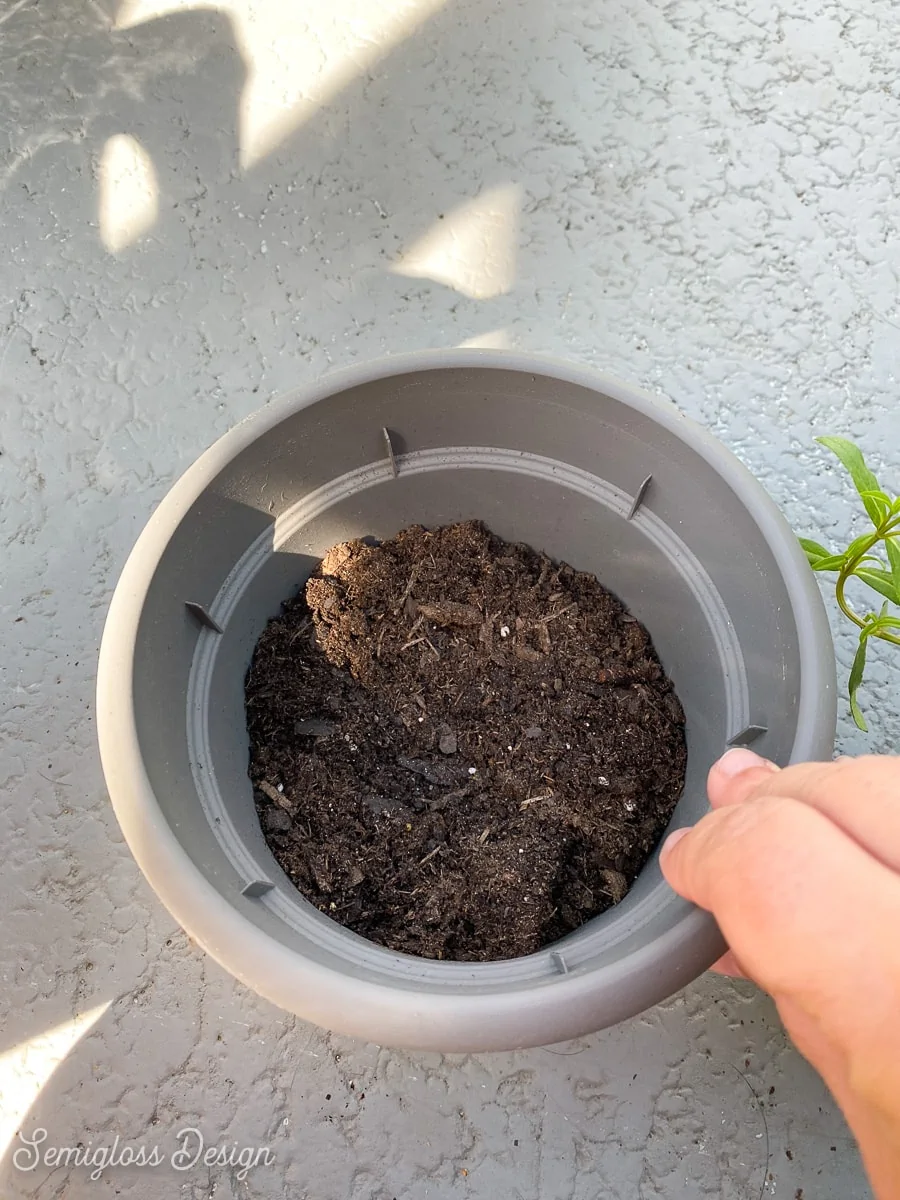
- Add a few inches of dirt to the pot. Your plant should be almost level with the top of the pot.
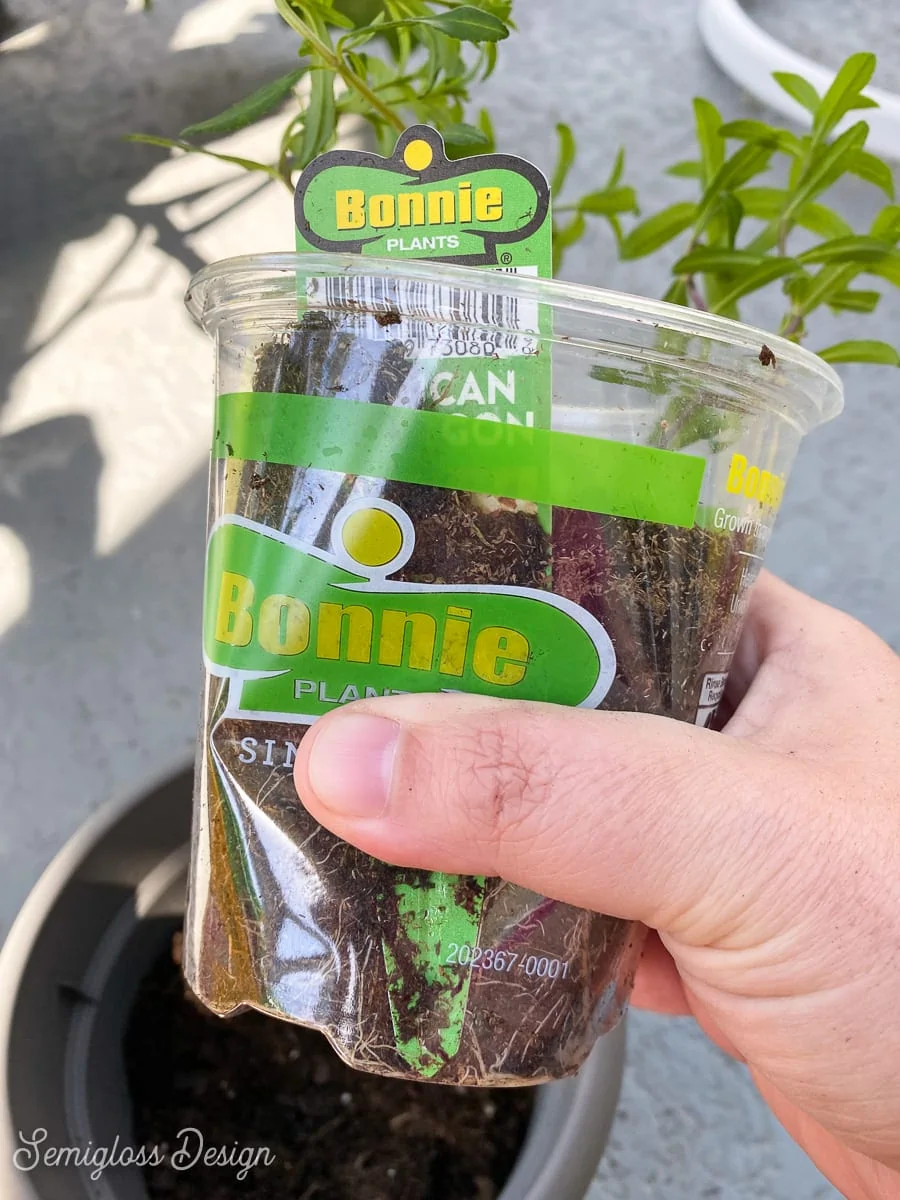
- Remove the herb from the plastic pot. If it’s difficult, squeeze the sides of the plastic pot.
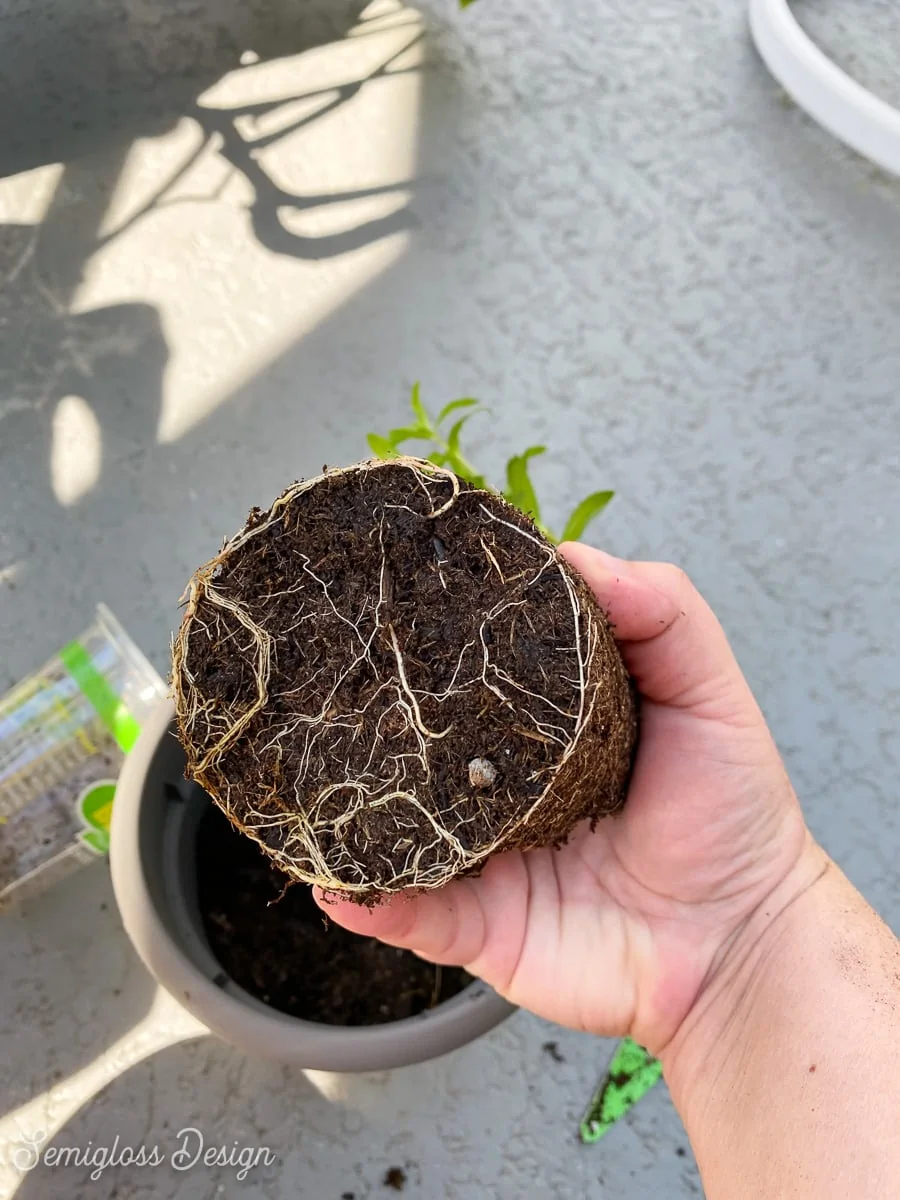
- Some herbs will need their roots broken up because they’re growing too tightly. Do this gently, being careful not to destroy too much. (Unless it’s cilantro. Don’t touch the roots at all.)
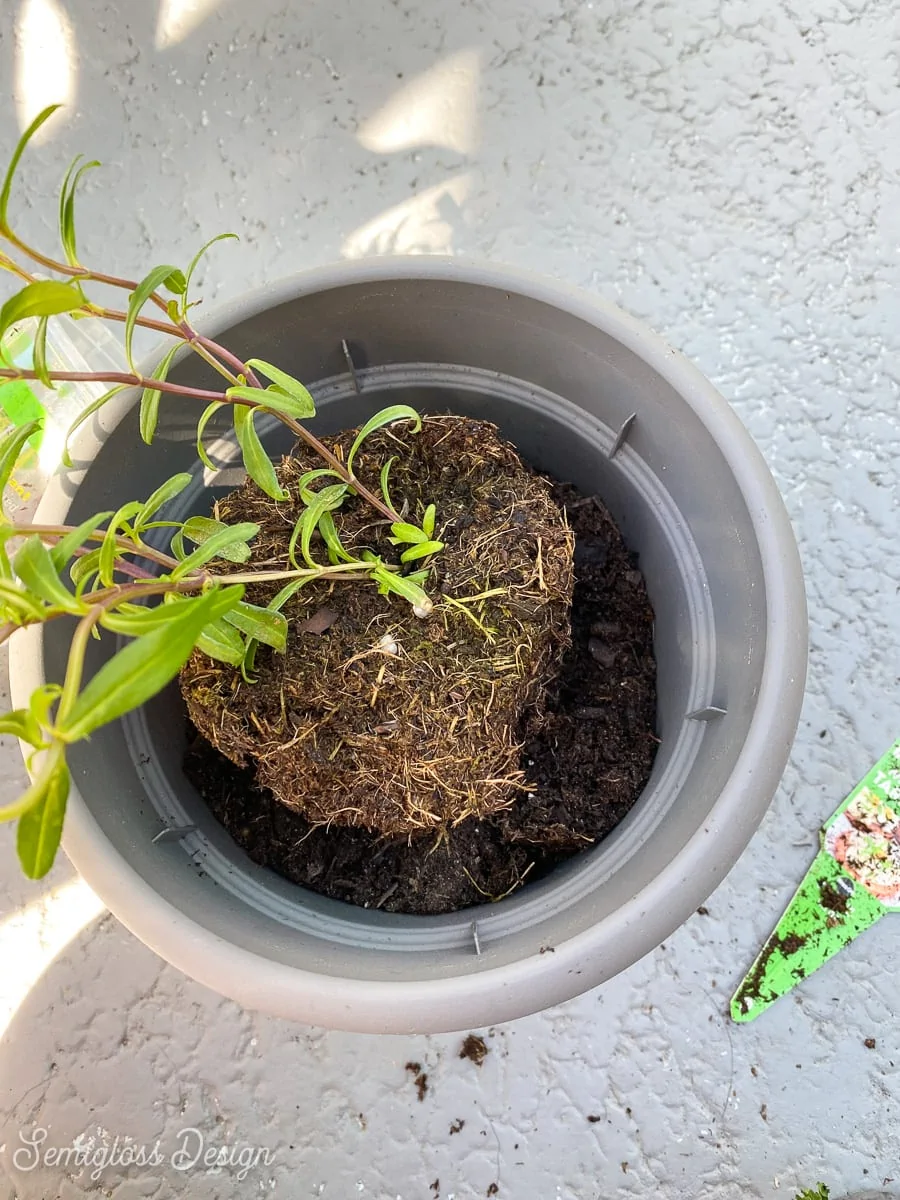
- Place the herb in the pot.
- Add more dirt around the edges.
- Water the plants to help them adjust to their new environment.
Hanging the Herb Garden on the Wall
We have stucco walls, so this is how we hung this on our wall. Here’s a post with more details about hanging stuff on stucco walls.
If your house is made of something else, the hanging instructions will vary.
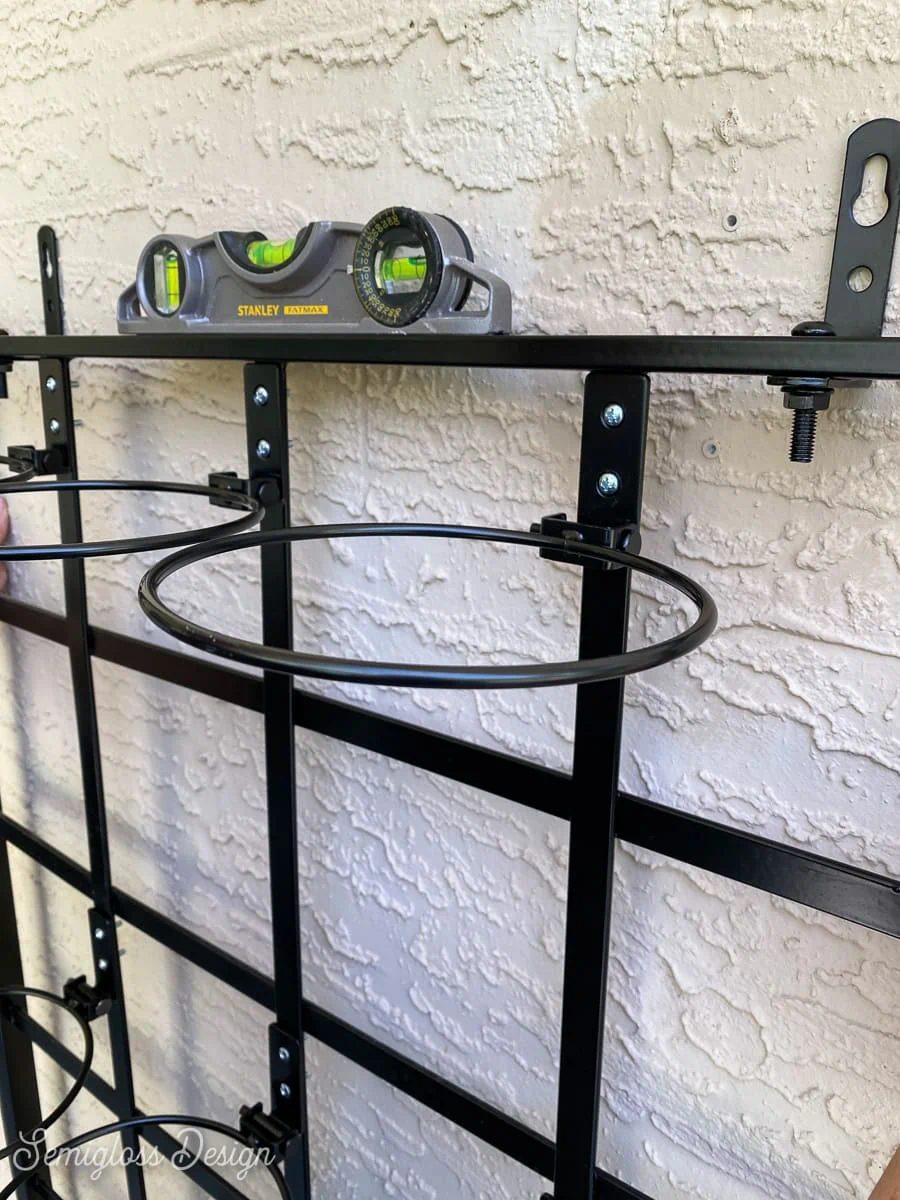
- The trellis comes with brackets to hang on the wall. Attach those to the trellis.
- Use a level to make sure that the trellis is straight.
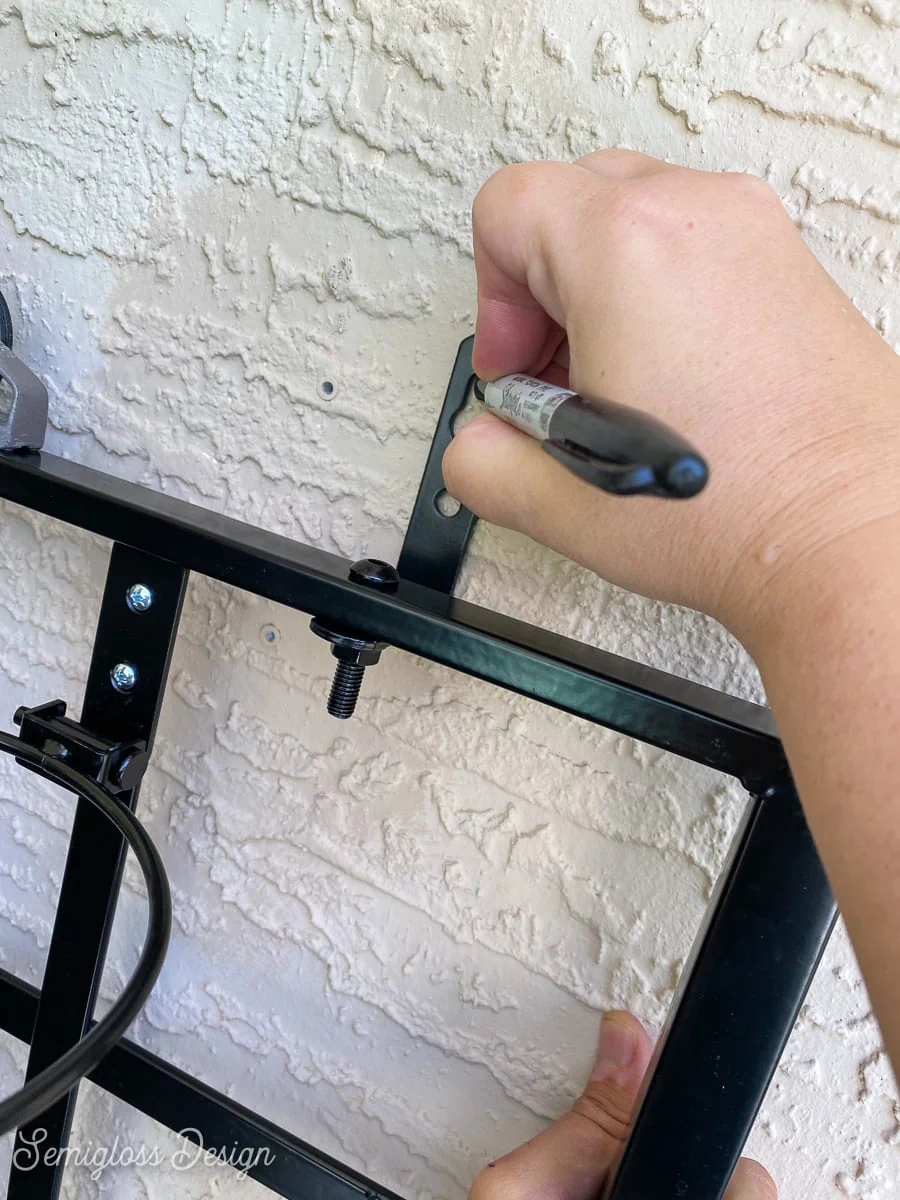
- Mark where the screws need to go.
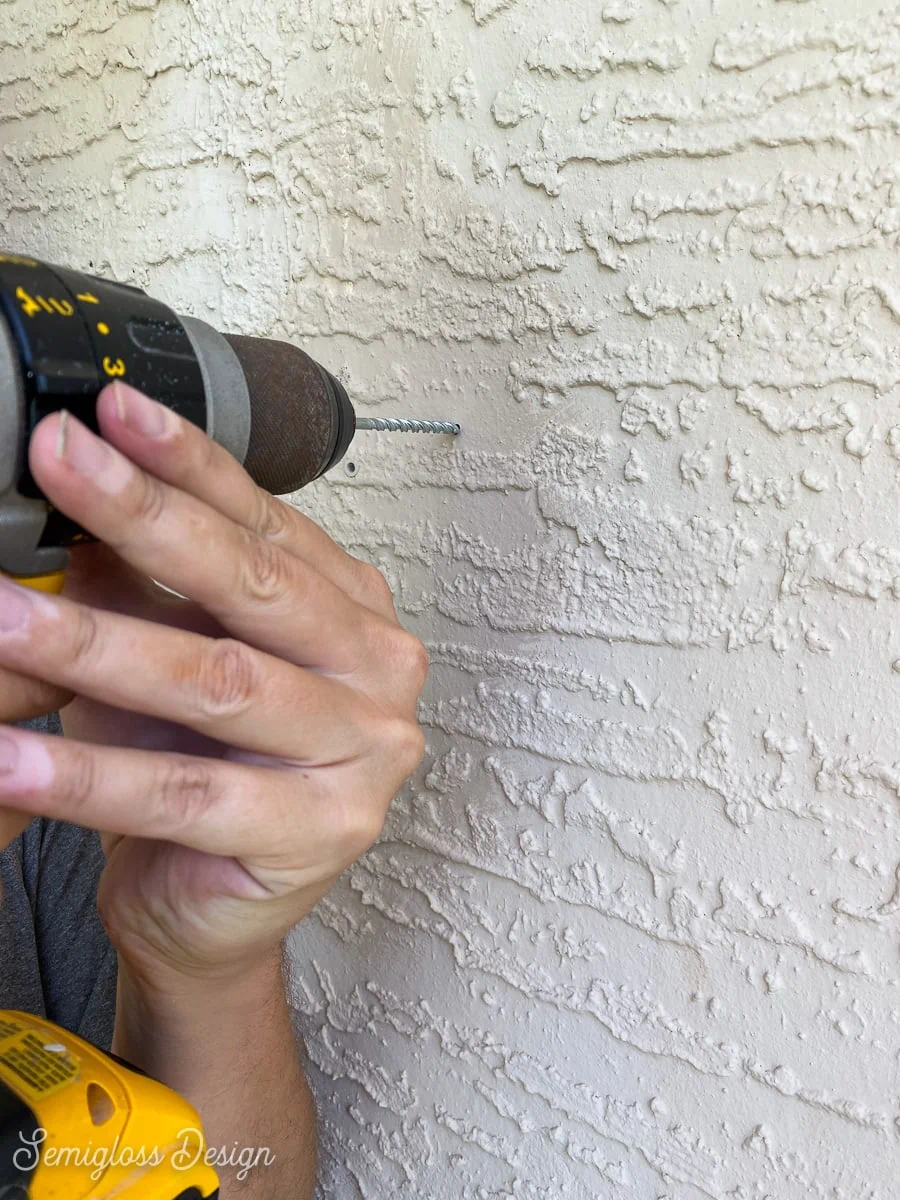
- Use a masonry bit to pre-drill the holes in the stucco. You will need to set your drill to the hammer-drill setting.
- Install masonry screws with a star bit, but not all the way. (If you’ve never used star bit screws, you will love them!)
- Use the brackets on the trellis to hang on the screws.
- Tighten the screws to secure it.
- Add the herbs.
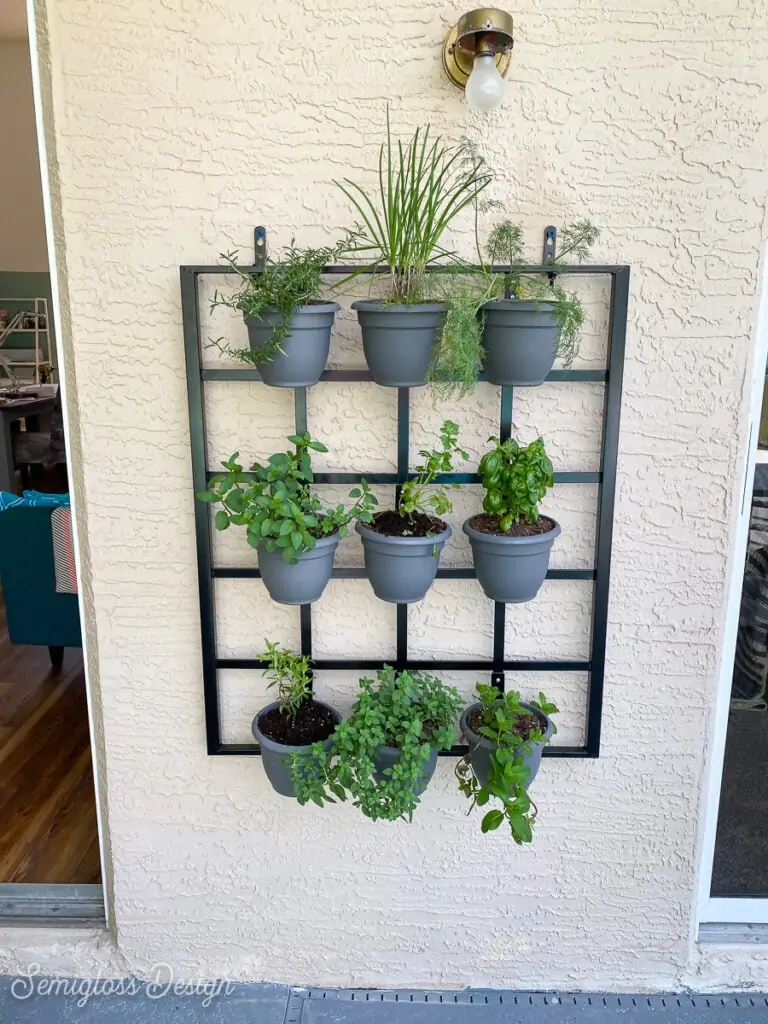
From there, just make sure that you keep them watered.
When you water from the top, the water drains from the pots into the lower pots, which is pretty cool.
Happy planting!
You might also like:
Pin for Later!

Emy is a vintage obsessed mama of 2 DIYer who loves sharing affordable solutions for common home problems. You don’t need a giant budget to create a lovely home. Read more…


