
Printable Advent Calendar with Coloring Pages
Make your own printable advent calendar to count down to Christmas. This DIY advent calendar includes printable coloring pages for every day leading up to Christmas.
This post contains affiliate links. By purchasing an item through an affiliate link, I earn a small commission at no extra cost to you. As an Amazon Associate I earn from qualifying purchases.
xTool sent me the C1 Color Cutter to try out. All opinions are my own.
Is there anything better than an advent calendar to count down the days until Christmas?
I created this printable advent calendar to provide a fun coloring activity for the days leading up to Christmas.
It’s perfect for kids and adults. I look forward to coloring a page every day in December!
I printed my pages on cardstock so I can use markers. It handled both water-based markers and alcohol-based markers well. The printed ink isn’t affected by either marker!
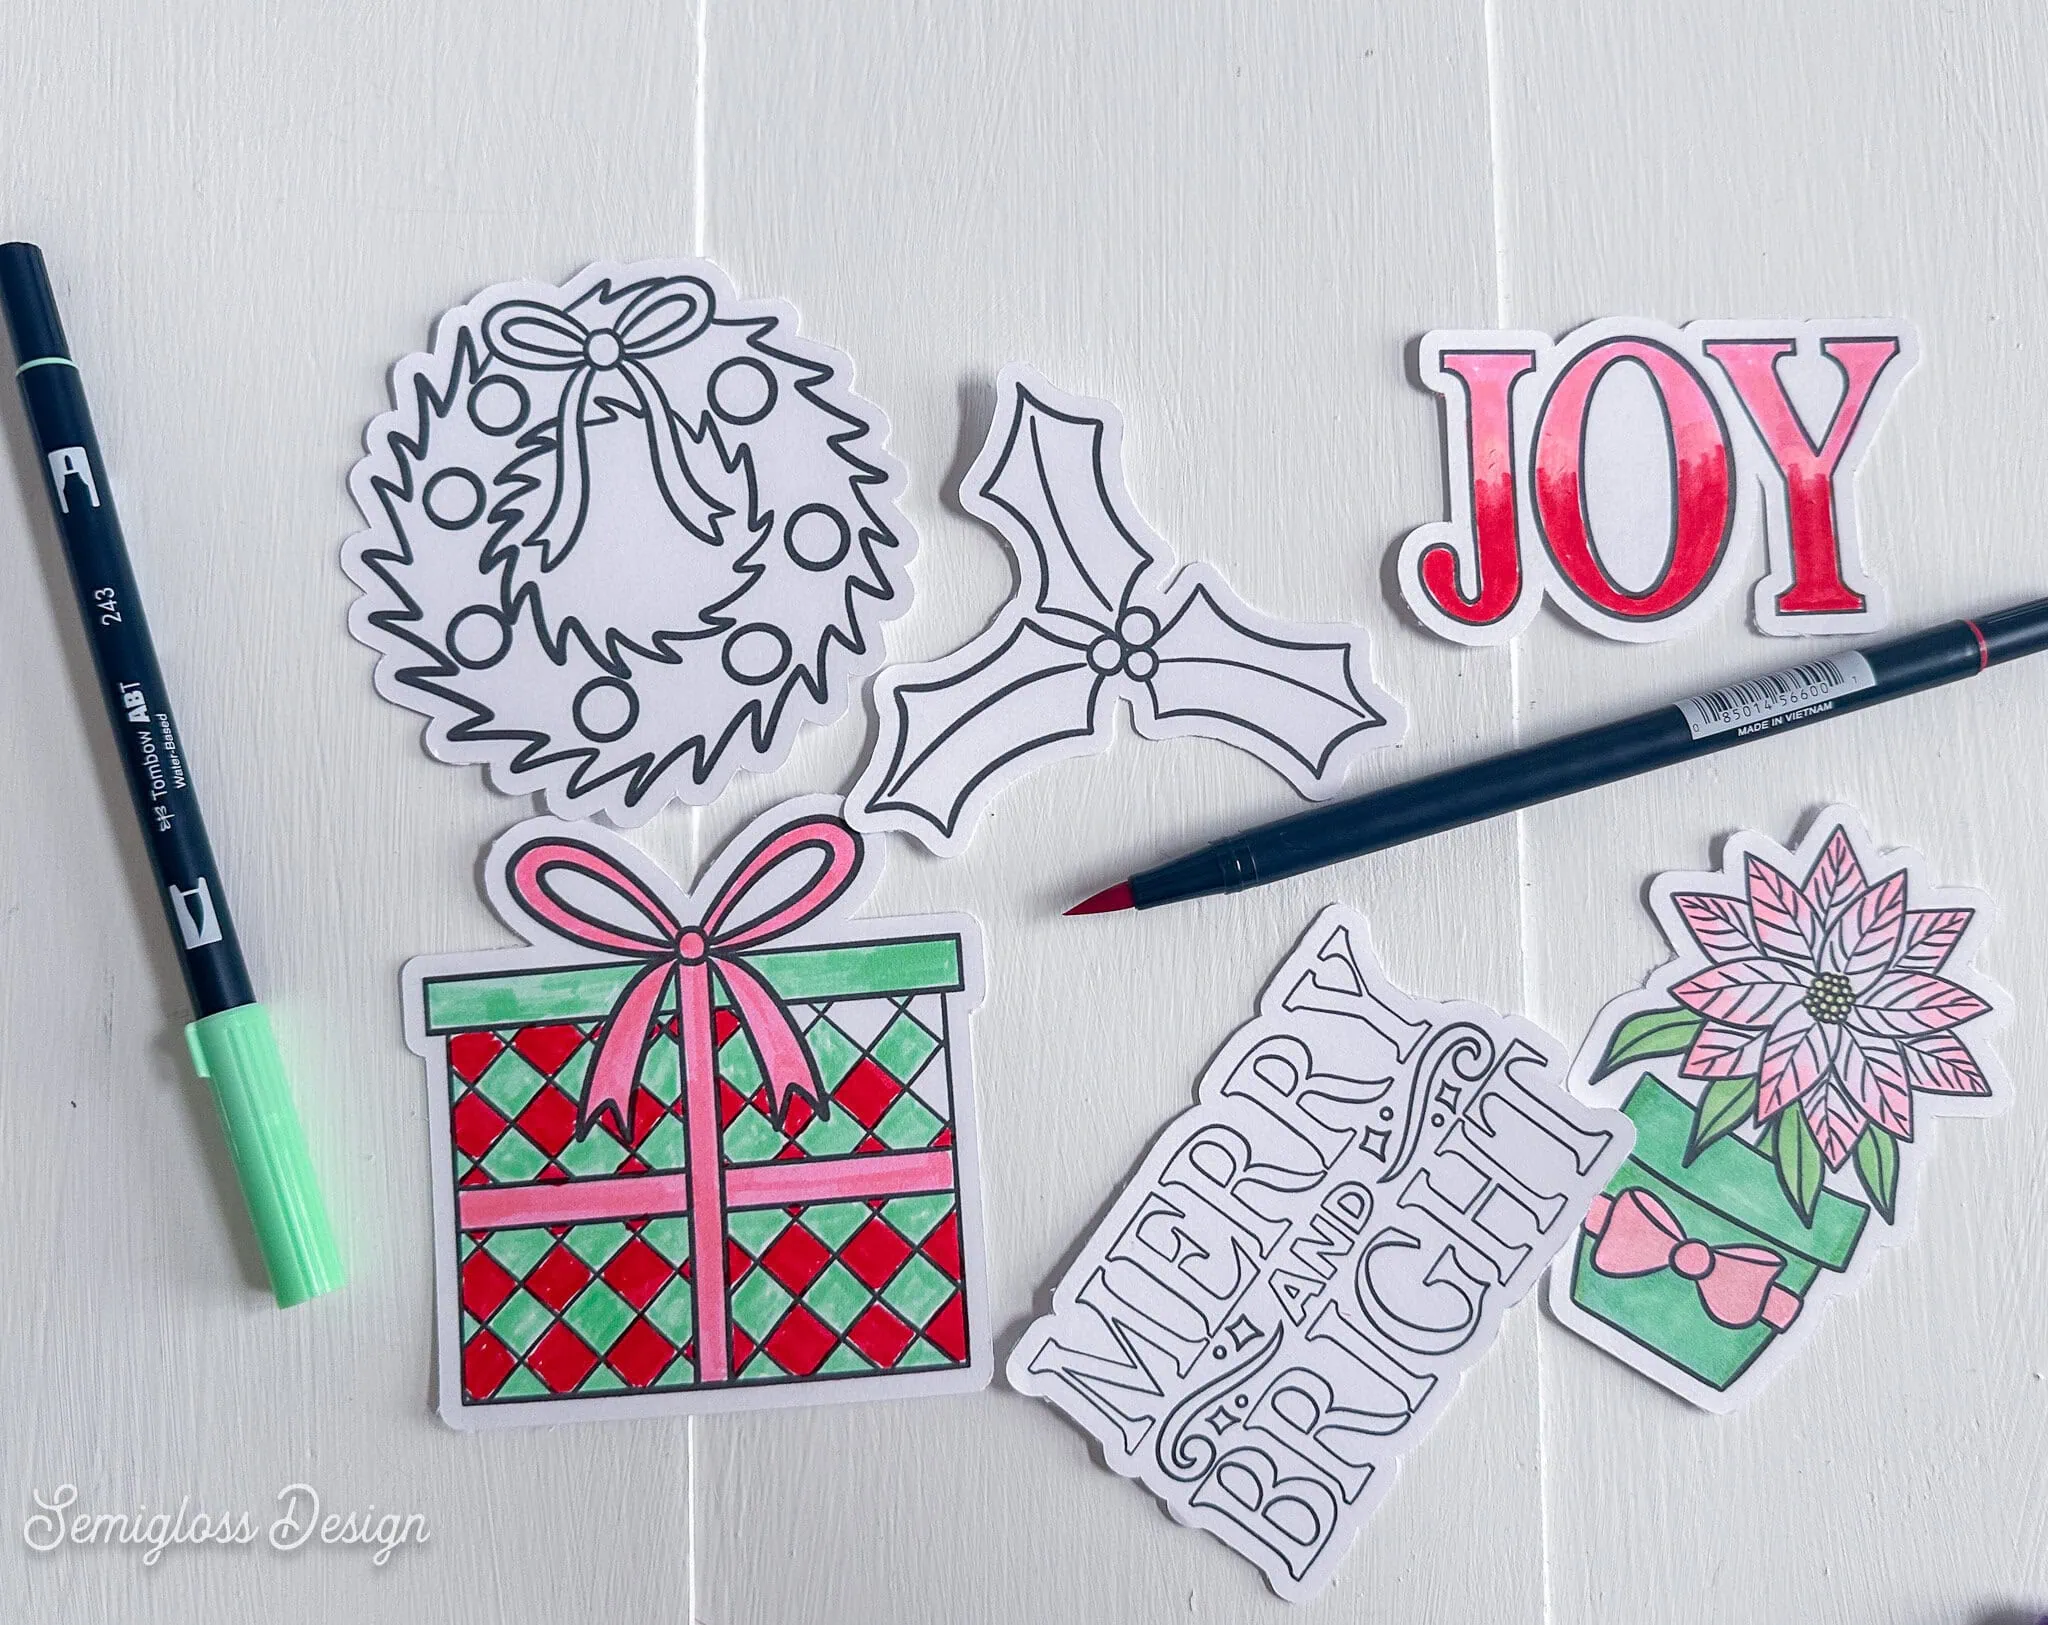
I used the xTool C1 Color Cutter to print the designs and cut them out to create cute coloring pages. How cool is it that this machine prints AND cuts!
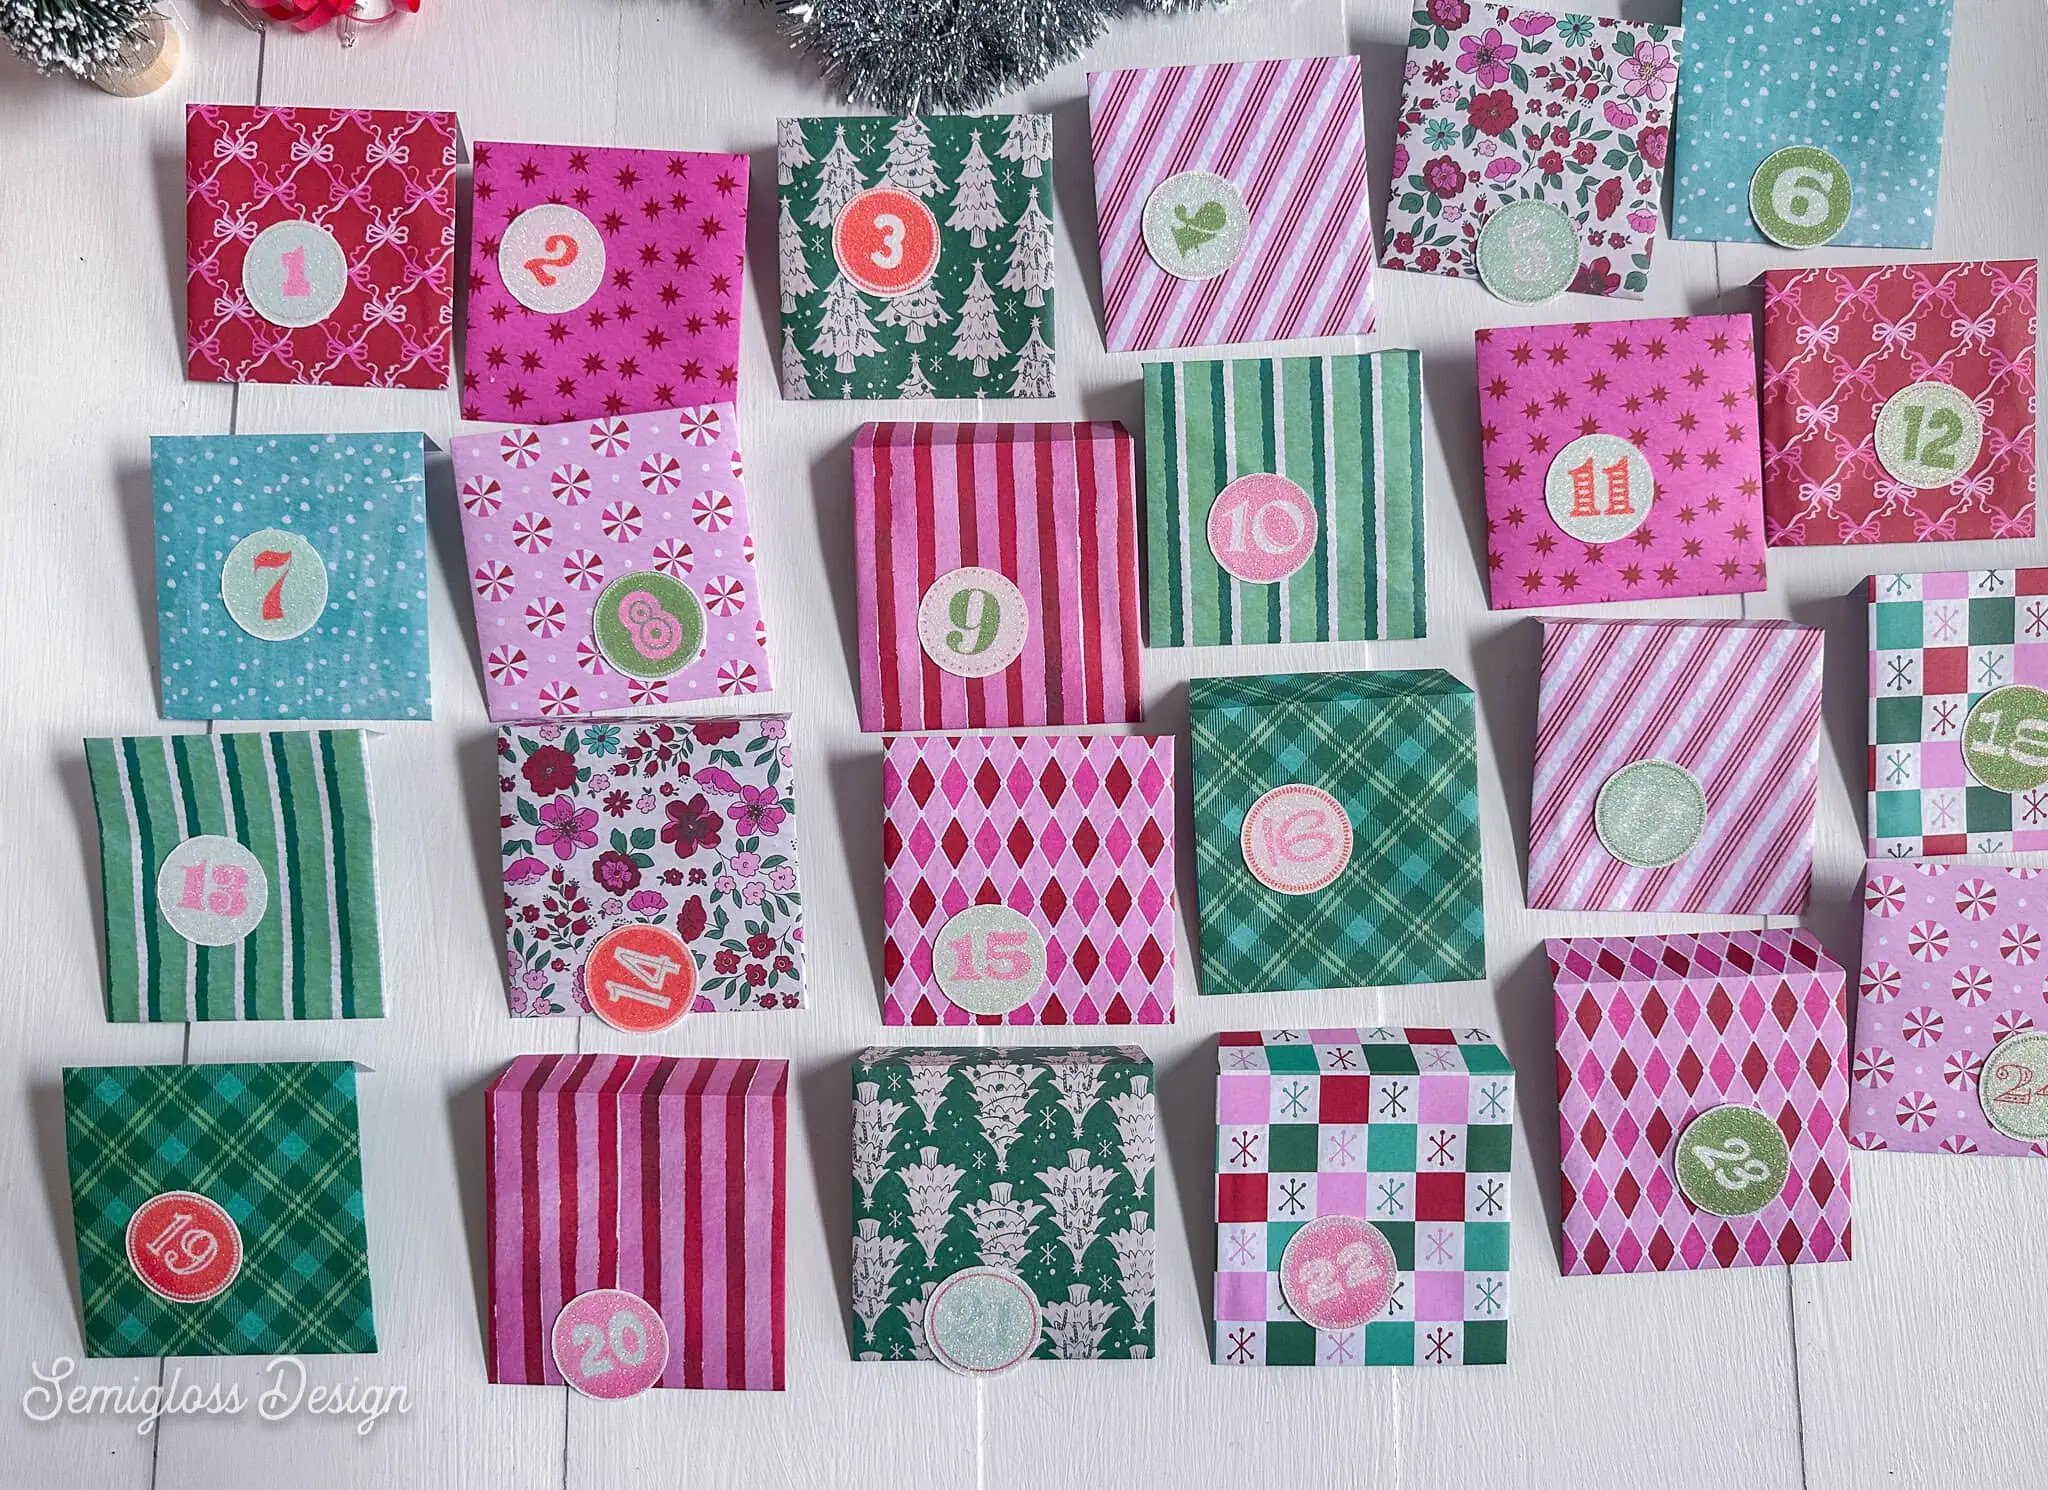
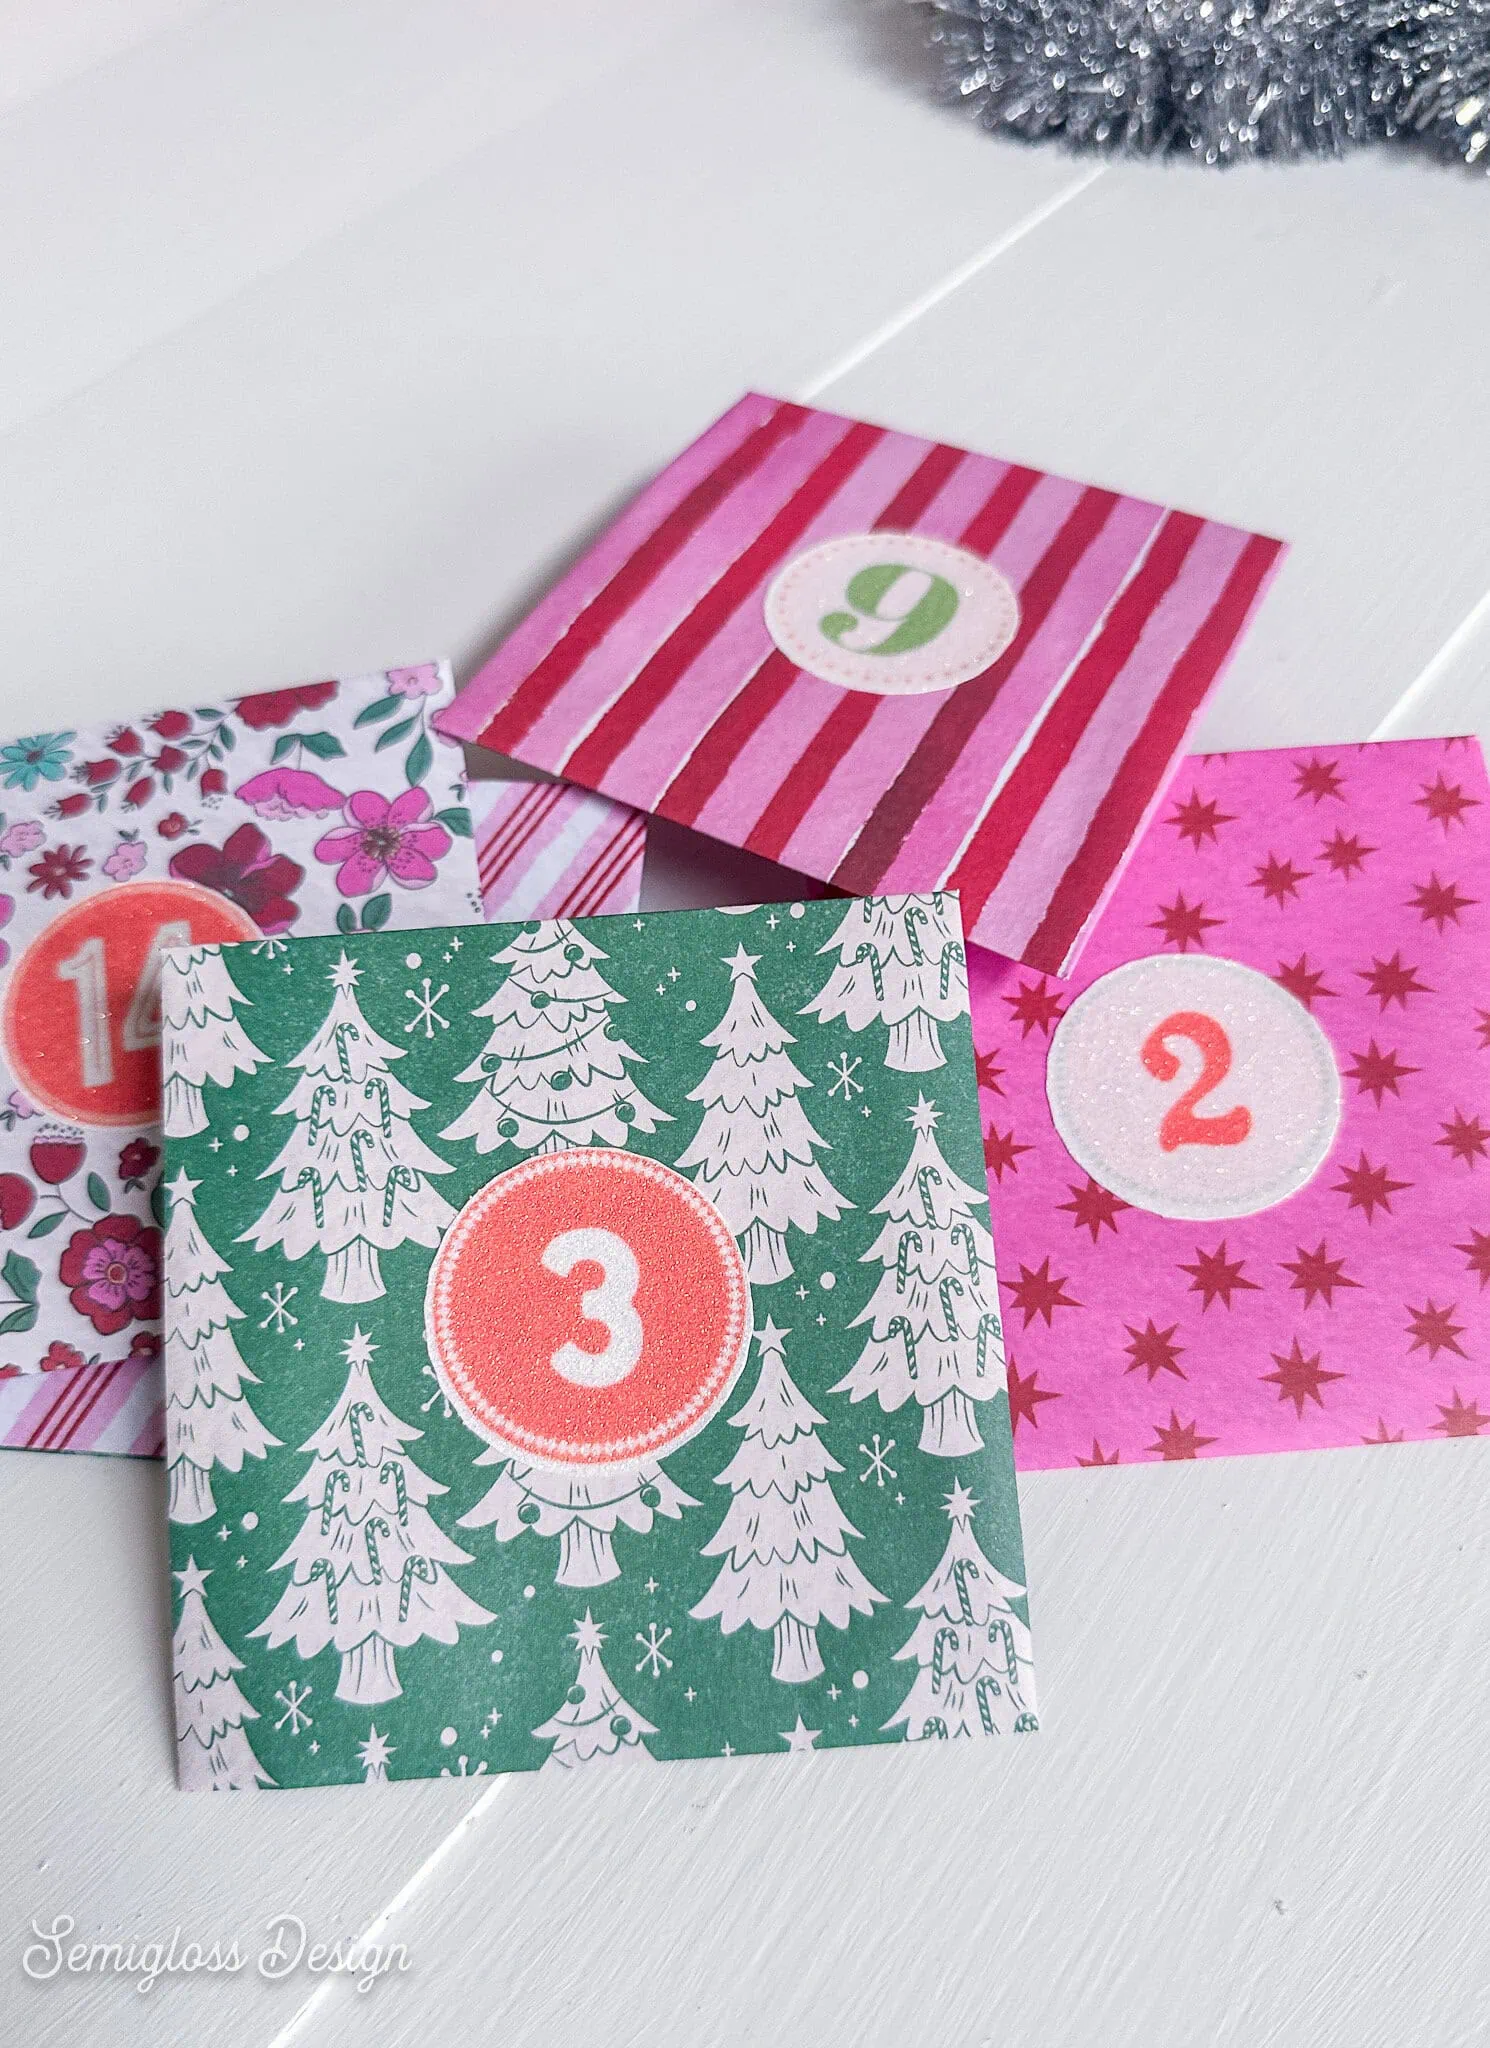
Then I used the cut feature to create the envelopes. I also printed and cut the number stickers. It was a lot of fun to make!
Just use a hole punch and string to turn each coloring page into an ornament!
Printable Advent Calendar with Coloring Pages
Supplies Needed:
- xTool C1 Color Cutter
- Cardstock (4 sheets)
- Sticker paper – I used this fun glitter paper
- Paper for envelopes (I used 12 – 12×12″ sheets)
- Glue
- String
- Mini clothespins for hanging
- Bone folder
- Ruler
- Printable design (download available at bottom of post)
Making the Coloring Pages
- Download the design file, provided below.
- In xTool Studio, create a new project.
- Place a sheet of cardstock on the mat and load it into the C1. The machine will scan the paper and show you where it sits on the mat. No more guessing!
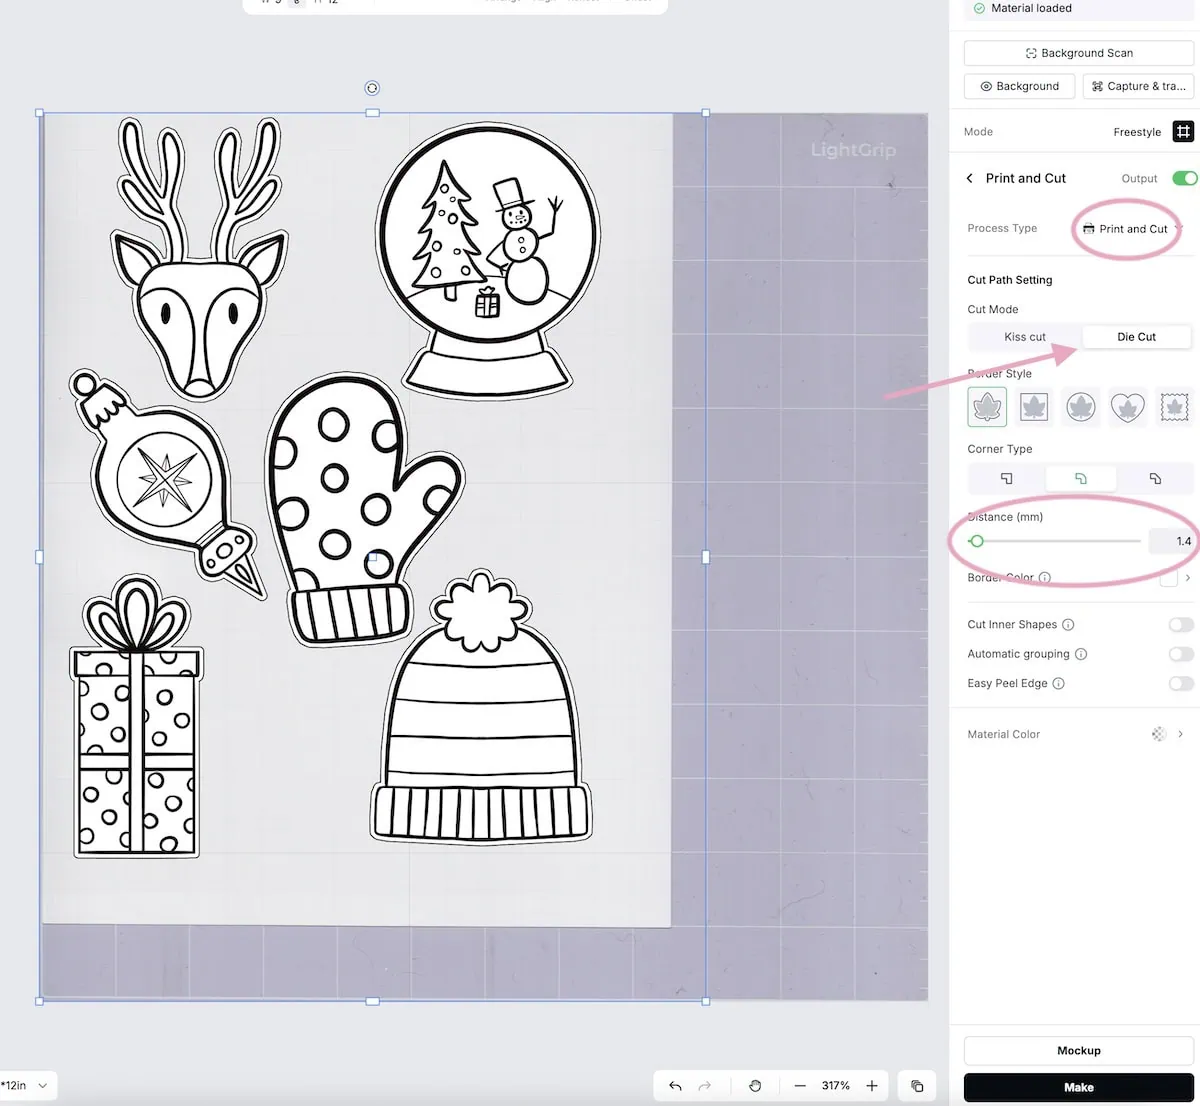
- In xTool Studio, upload a coloring page.
- Move it to fit the paper on the mat.
- Choose Print and Cut and select Die-Cut.
- Increase or decrease the distance if desired. This adds an offcut. Larger offcuts look great for complex designs, like the lettering.

- Press the Make button.
- Select the material. I chose “200g white cardstock”.
- Double-check the cut setting. It should be 300 for cut pressure.
- I changed the print quality to normal quality.
- Press Start and press the blinking button on the machine.
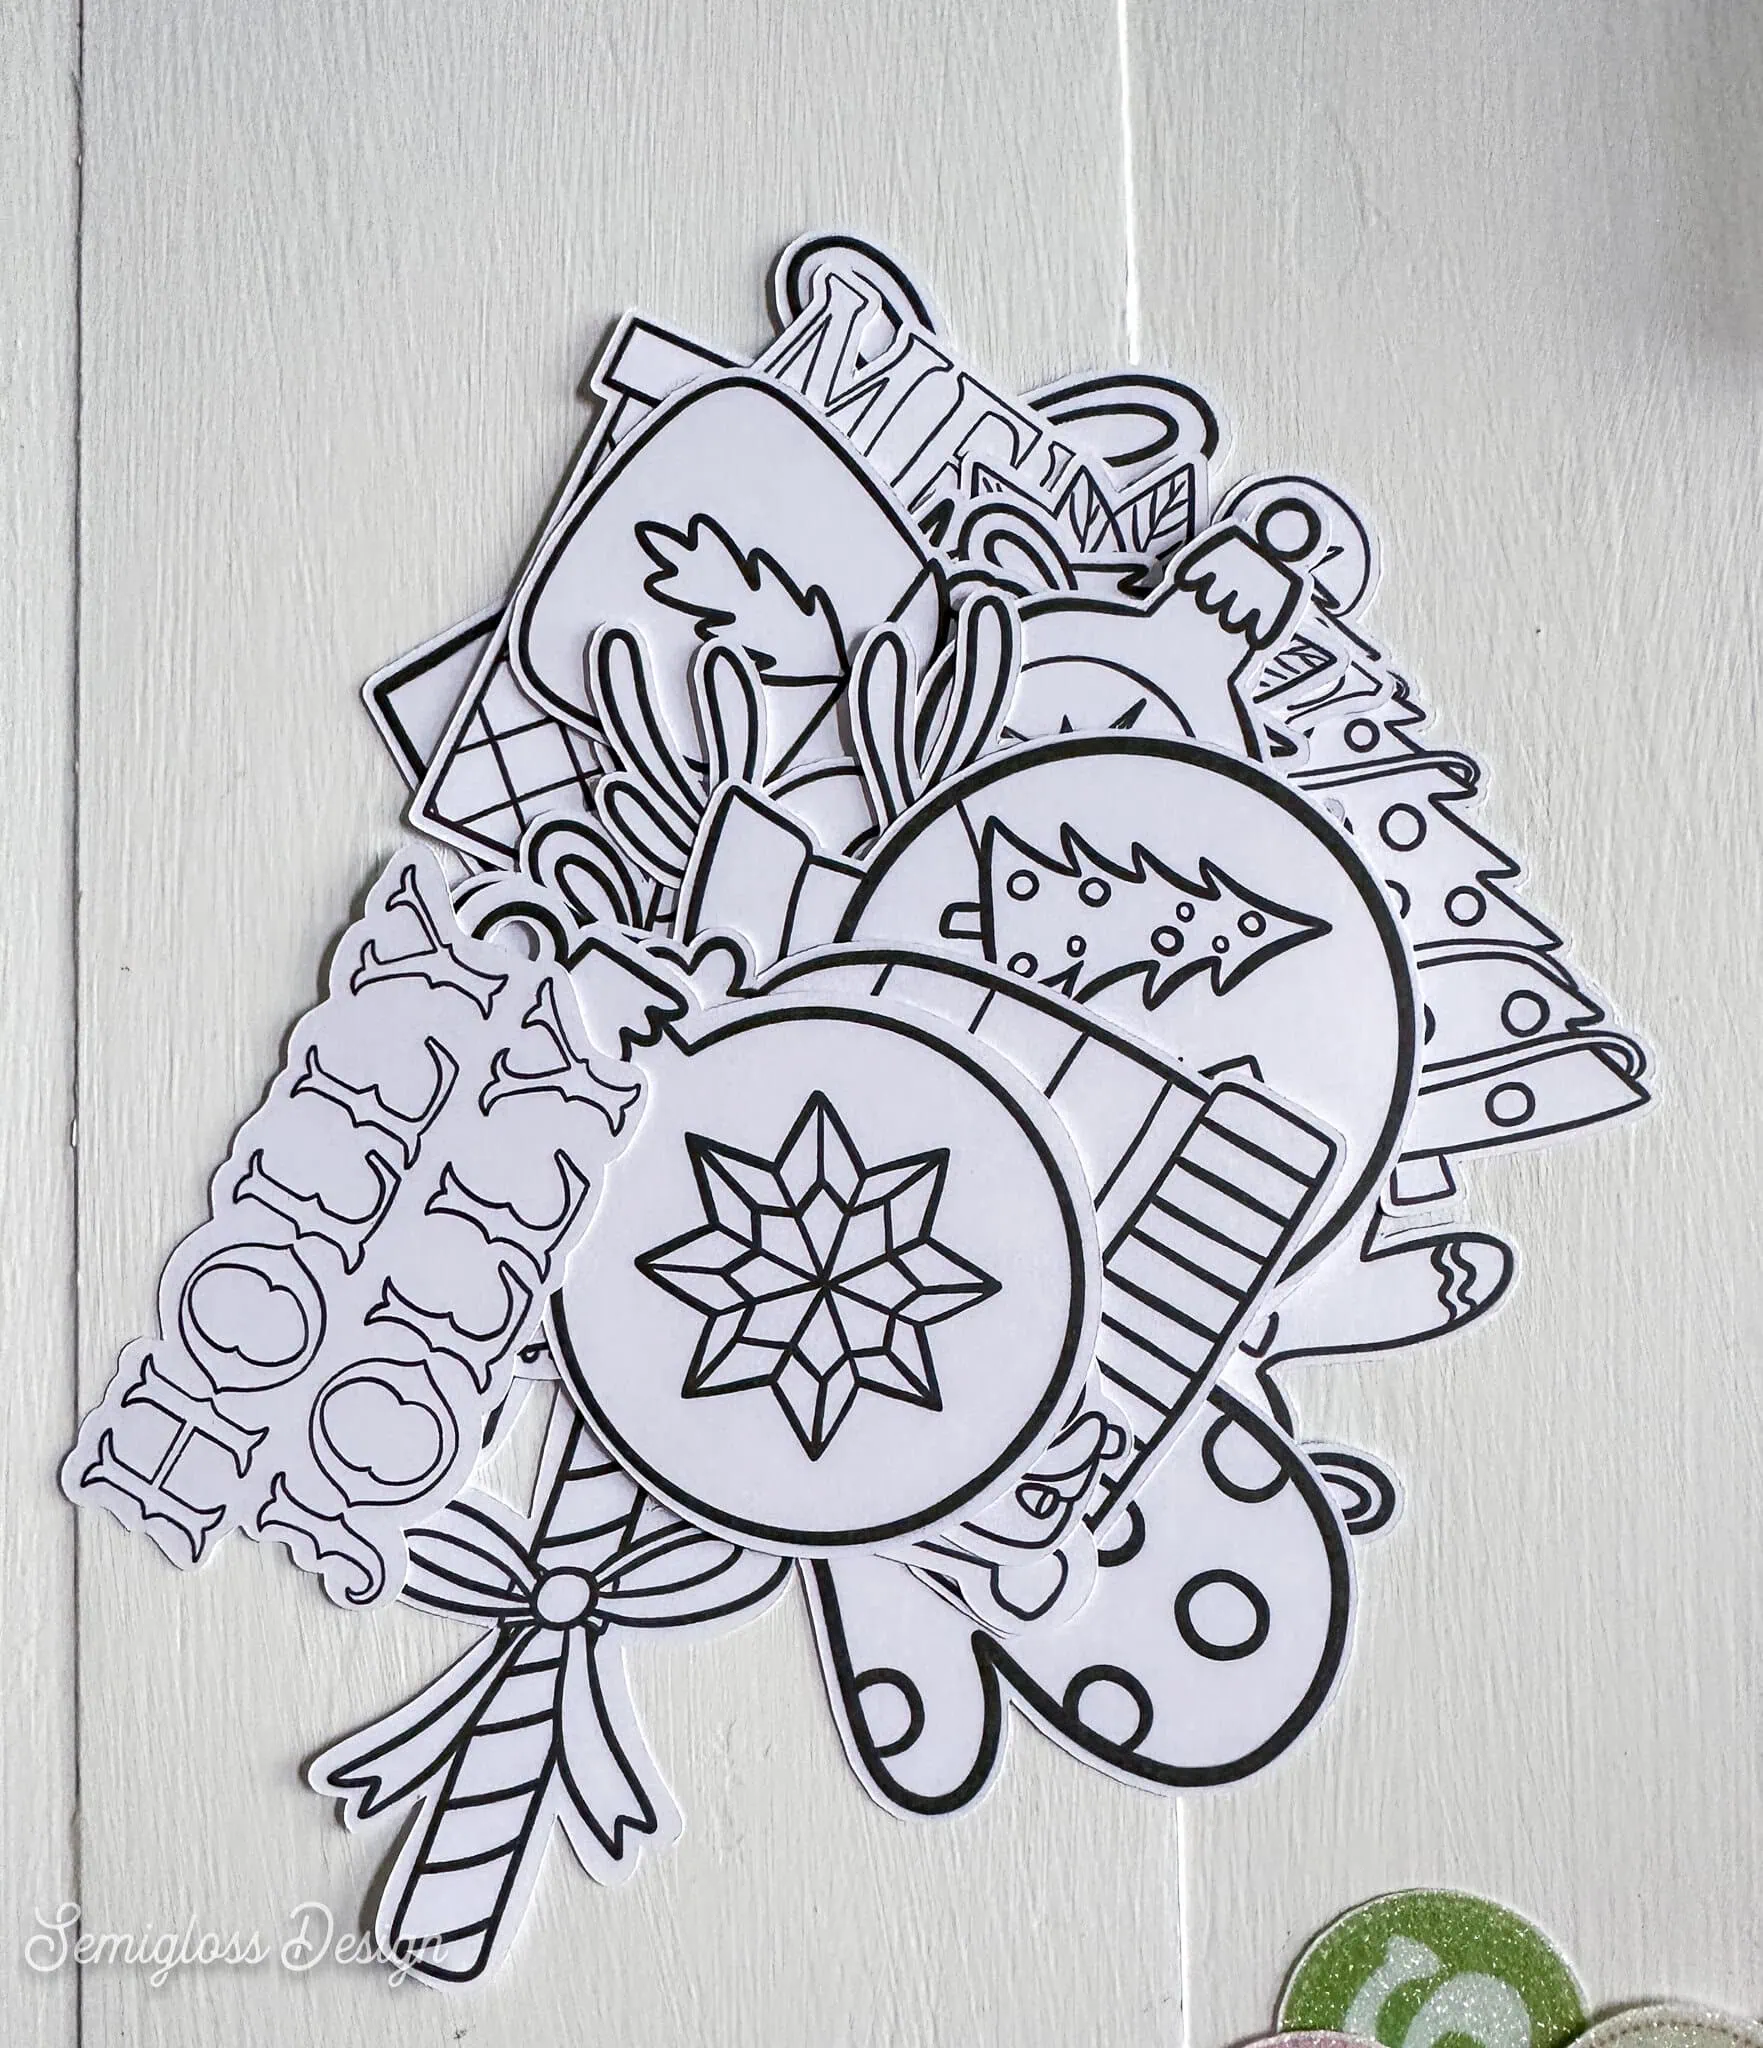
- When it finishes cutting, unload the mat and weed away the extra cardstock.
- Then gently peel the cut shapes from the mat.
- Repeat for the other coloring pages.
Making the Countdown Number Stickers
Learn more about making stickers with the xTool C1 Color Cutter.
- Load the sticker paper onto the mat and into the machine.
- Upload the design.
- Move it to fit the sticker paper.
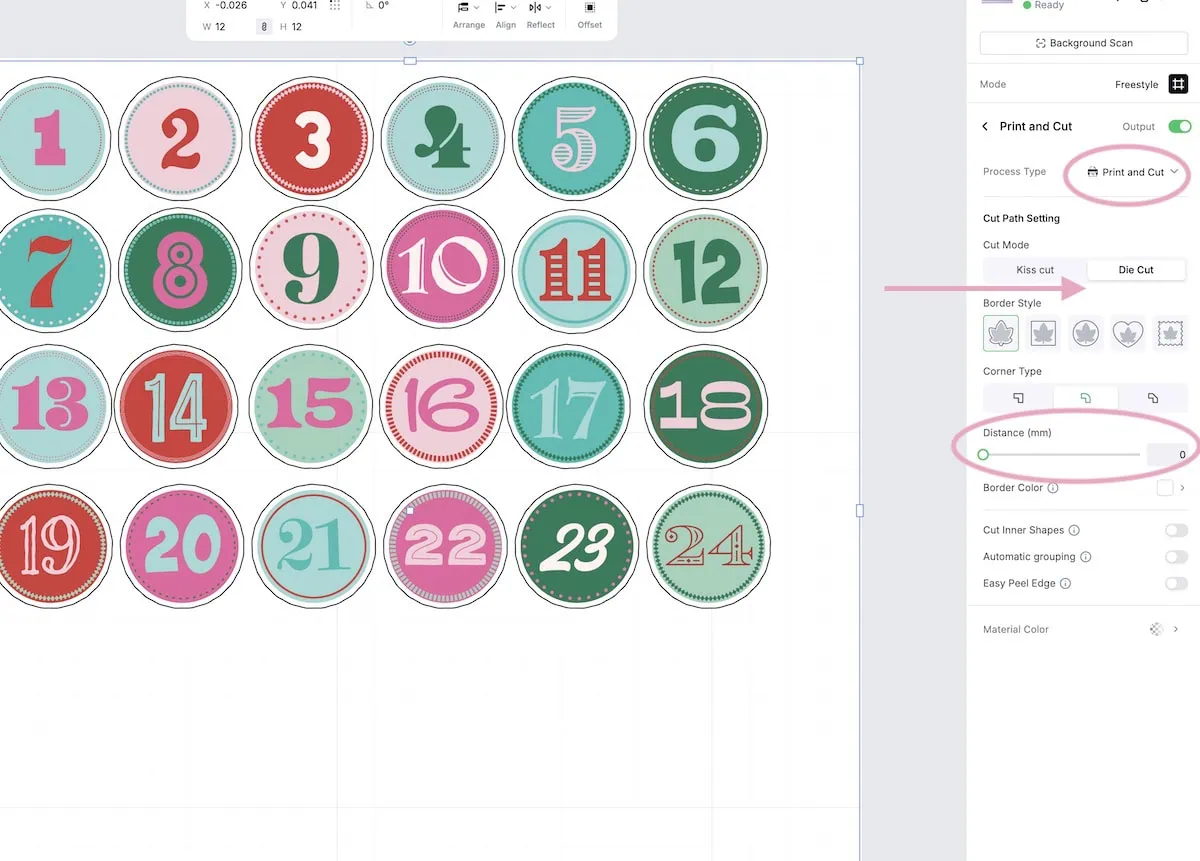
- Select Print and Cut.
- Choose either die-cut or kiss-cut. Either choice is fine.
- Change the distance to add or remove the offset. I set mine to 0 to remove it.

- Click Make.
- If you used xTool sticker paper, it scanned the QR code and chose the materials and settings. If not, select a sticker paper for the material.
- Check the settings and make sure they look right. The cut pressure for Kiss-cut will be lower (about half of the die-cut pressure).
- Keep the print quality at high.
- Press Start and press the button on the machine.
- Unload the mat when it’s finished.
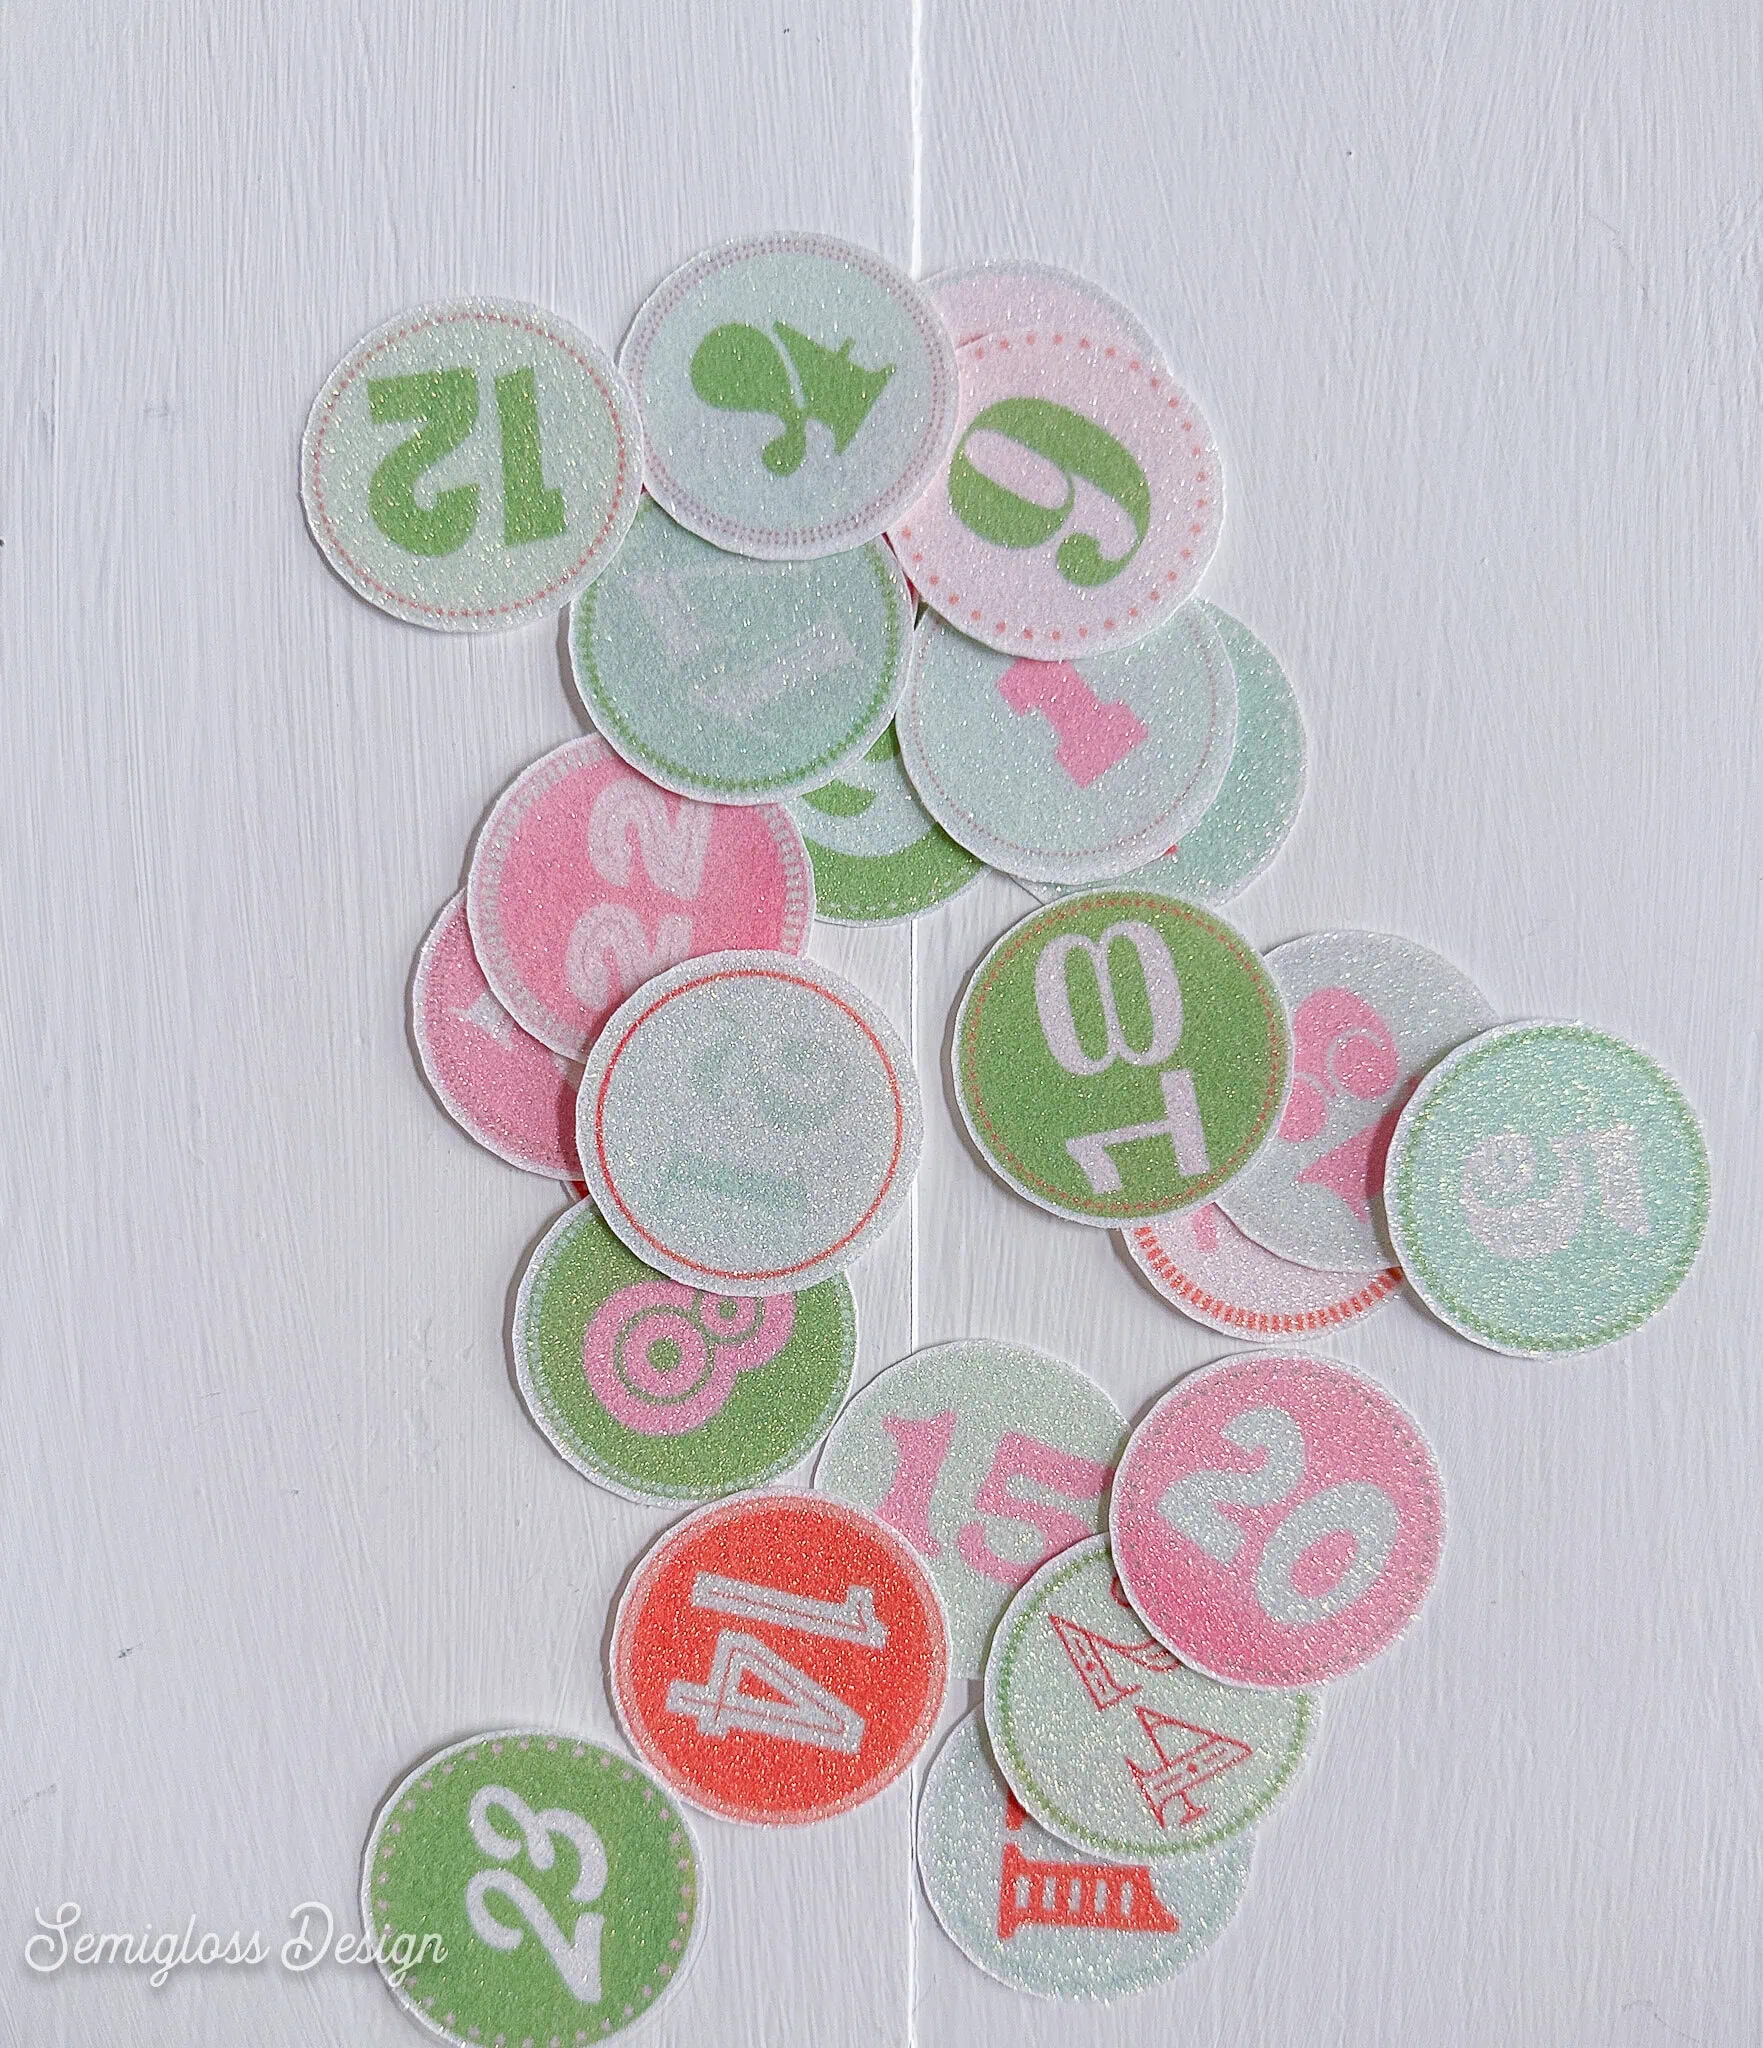
The colors turned out a little different than I made them. I always find turquoise colors tricky to print. But I still love them.
Making the Envelopes
- Start a new project.
- Load a sheet of scrapbook paper onto the mat.
- Upload the design.
- Move it to fit the paper on the mat.
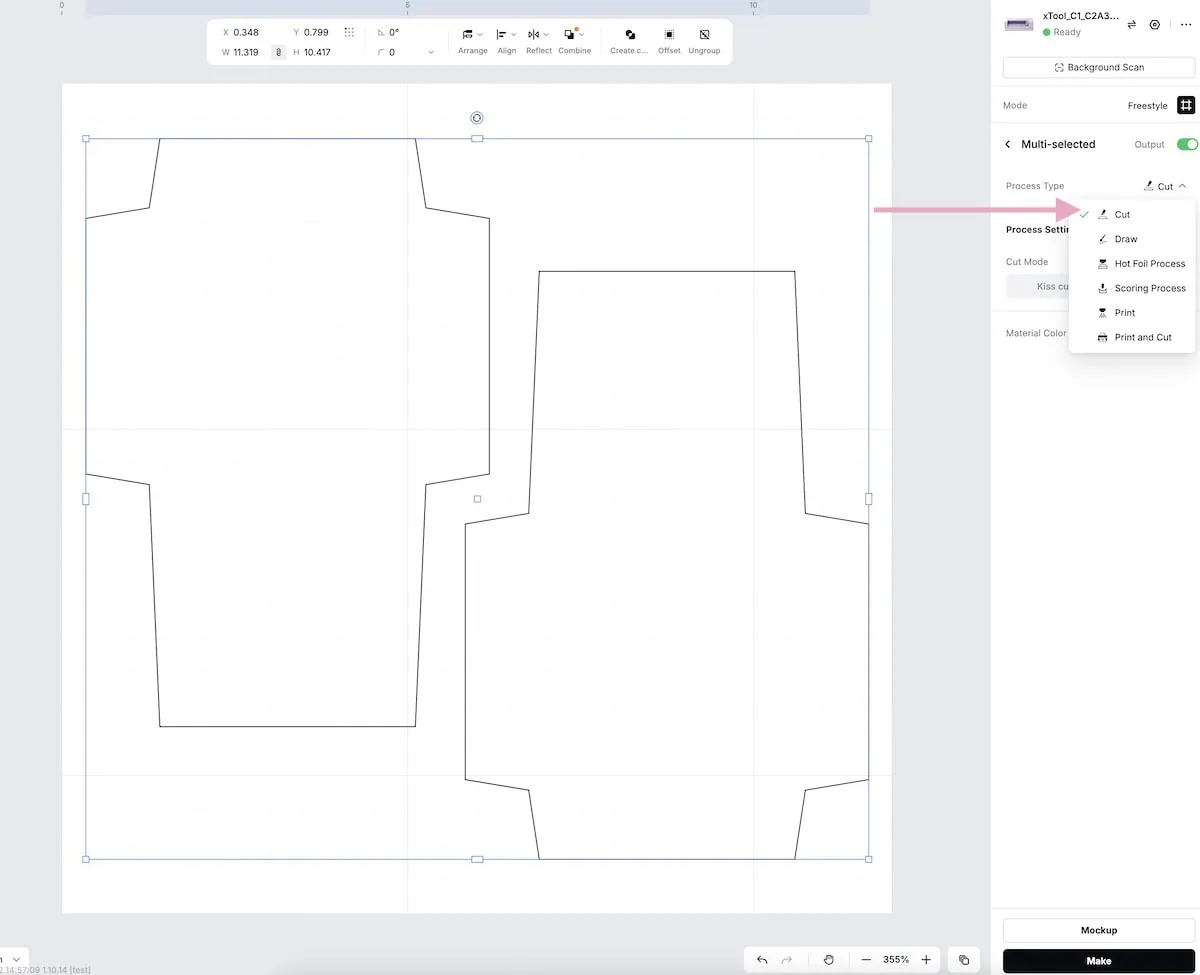
- Choose Cut from the menu.

- Then select Die-cut.
- Press the Make button.
- Choose your material. Since I used scrapbook paper, I chose A4 printing paper, and it worked perfectly! Thicker paper will need different settings.
- Press Start and press the button on the machine.
- Gently unload the paper from the mat when it’s finished.
- Click Process again to repeat the process for each sheet of paper.
Putting Everything Together
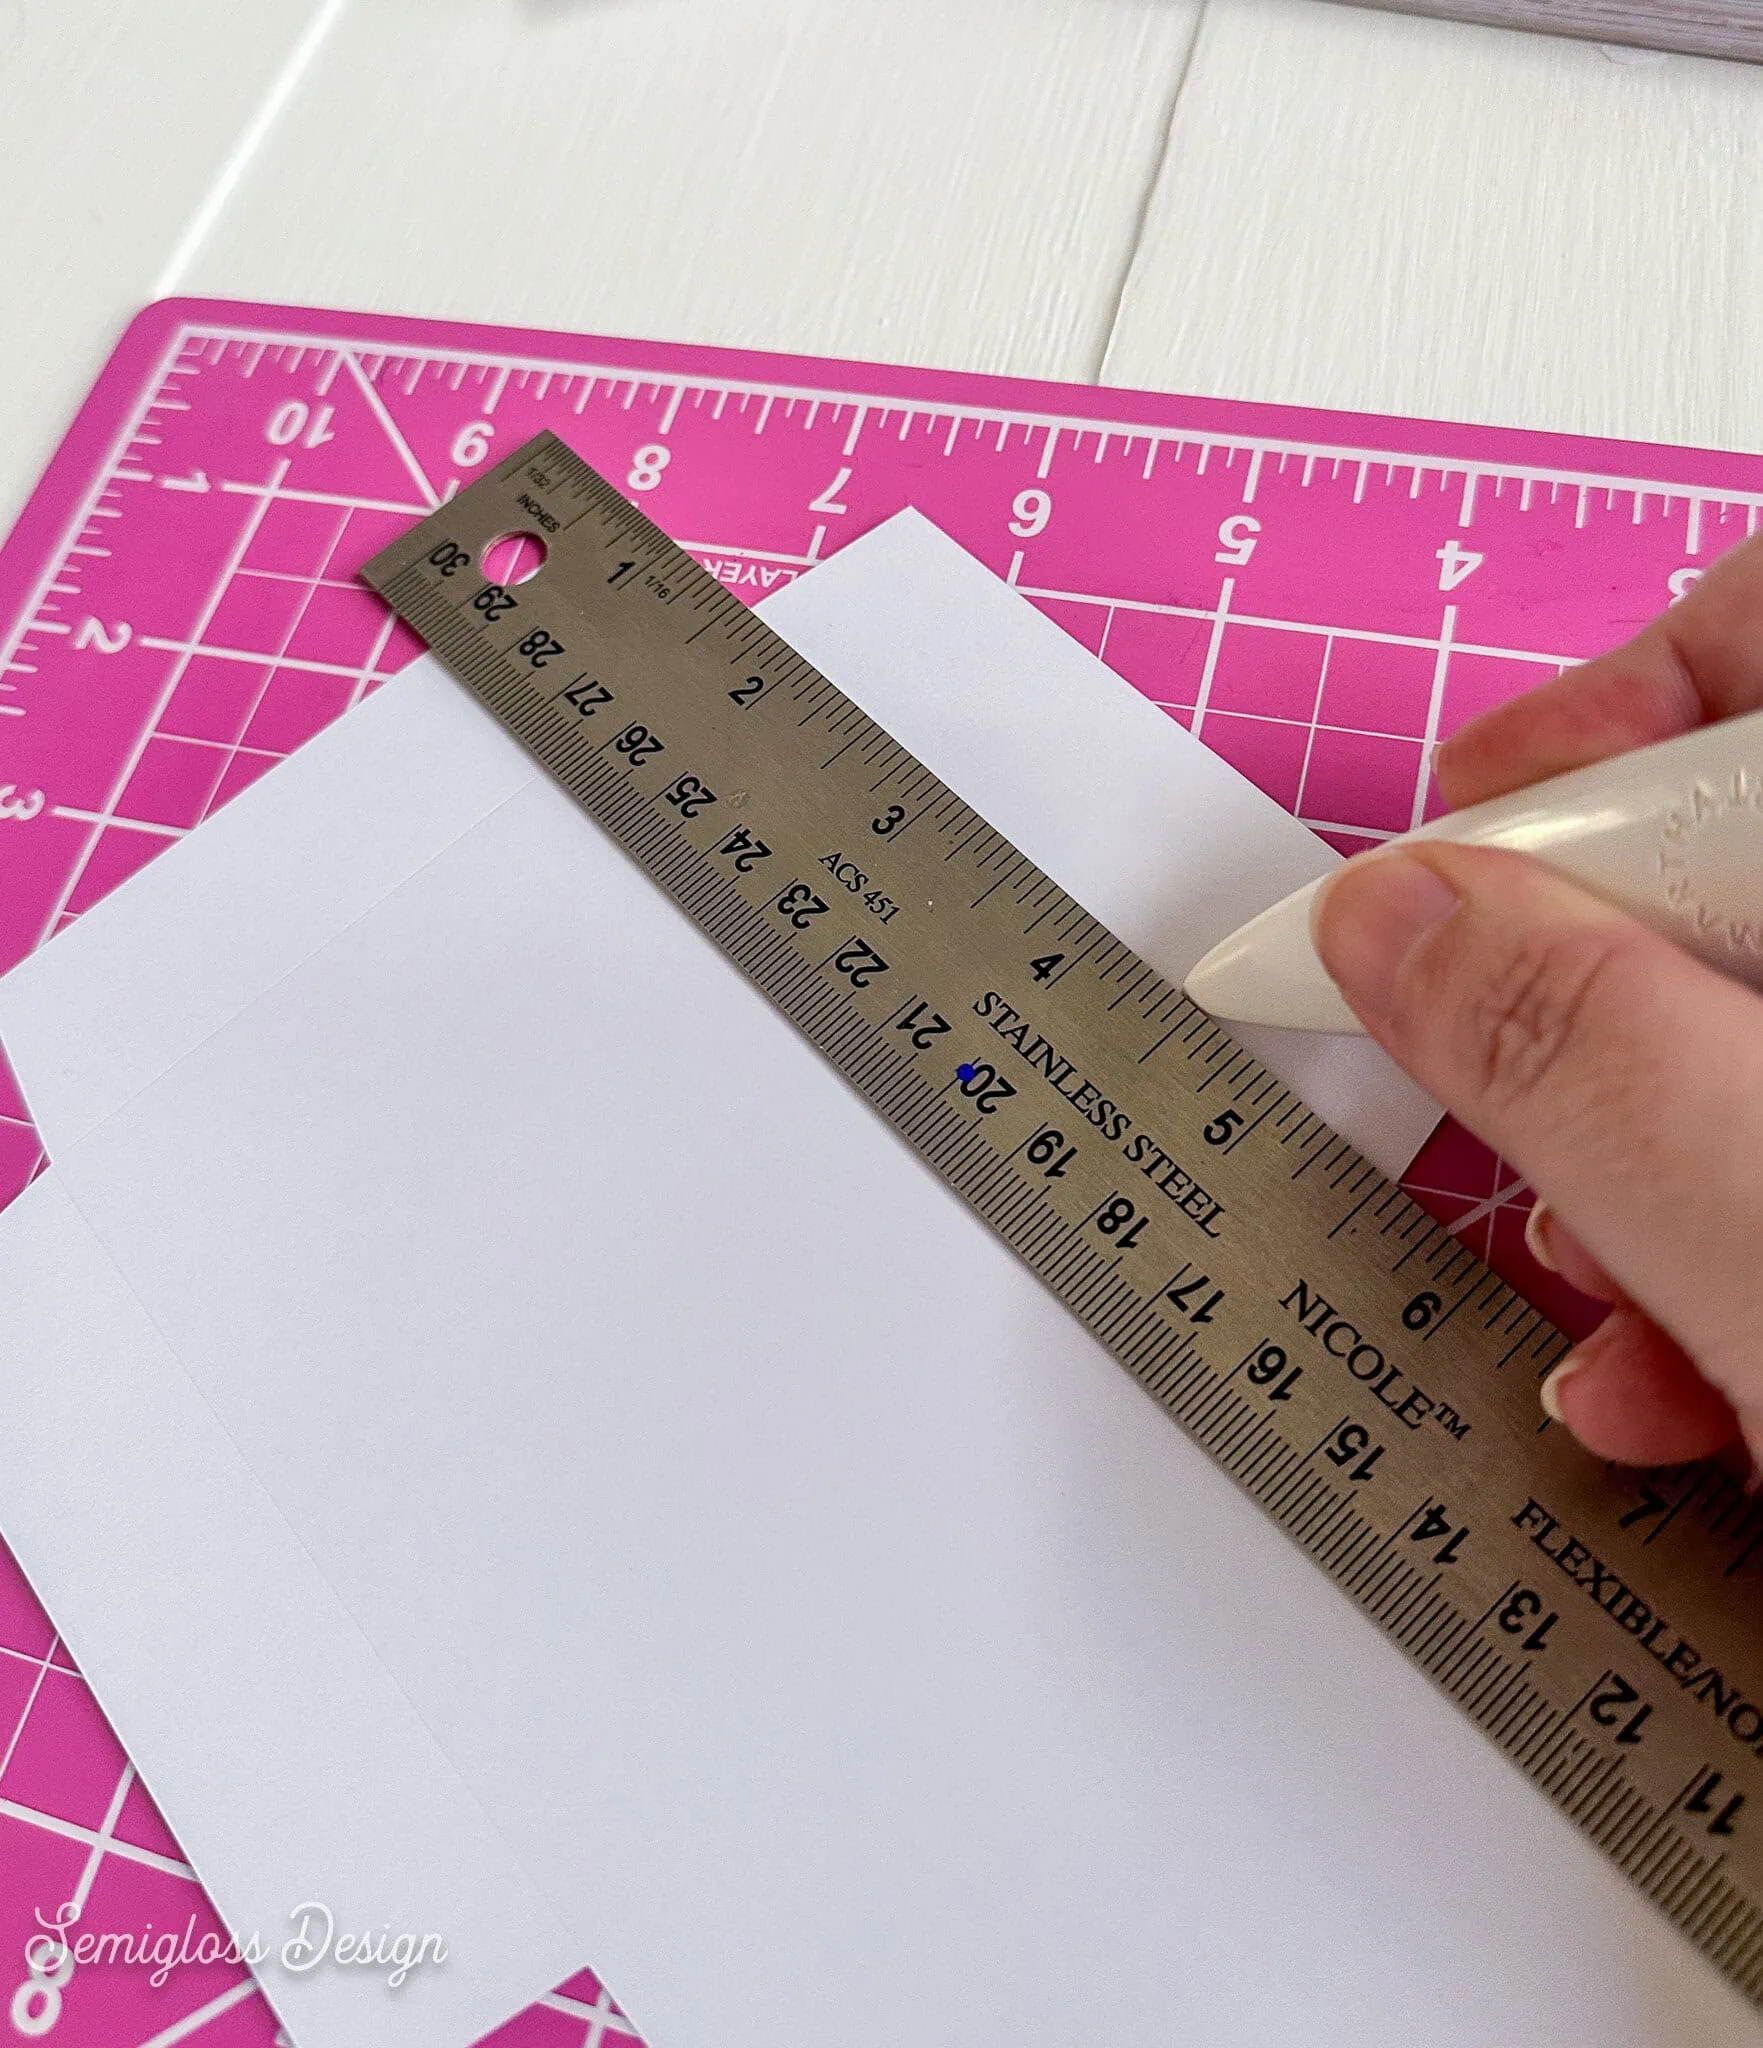
- Use a bone folder and ruler to score the fold lines on the envelope shapes.

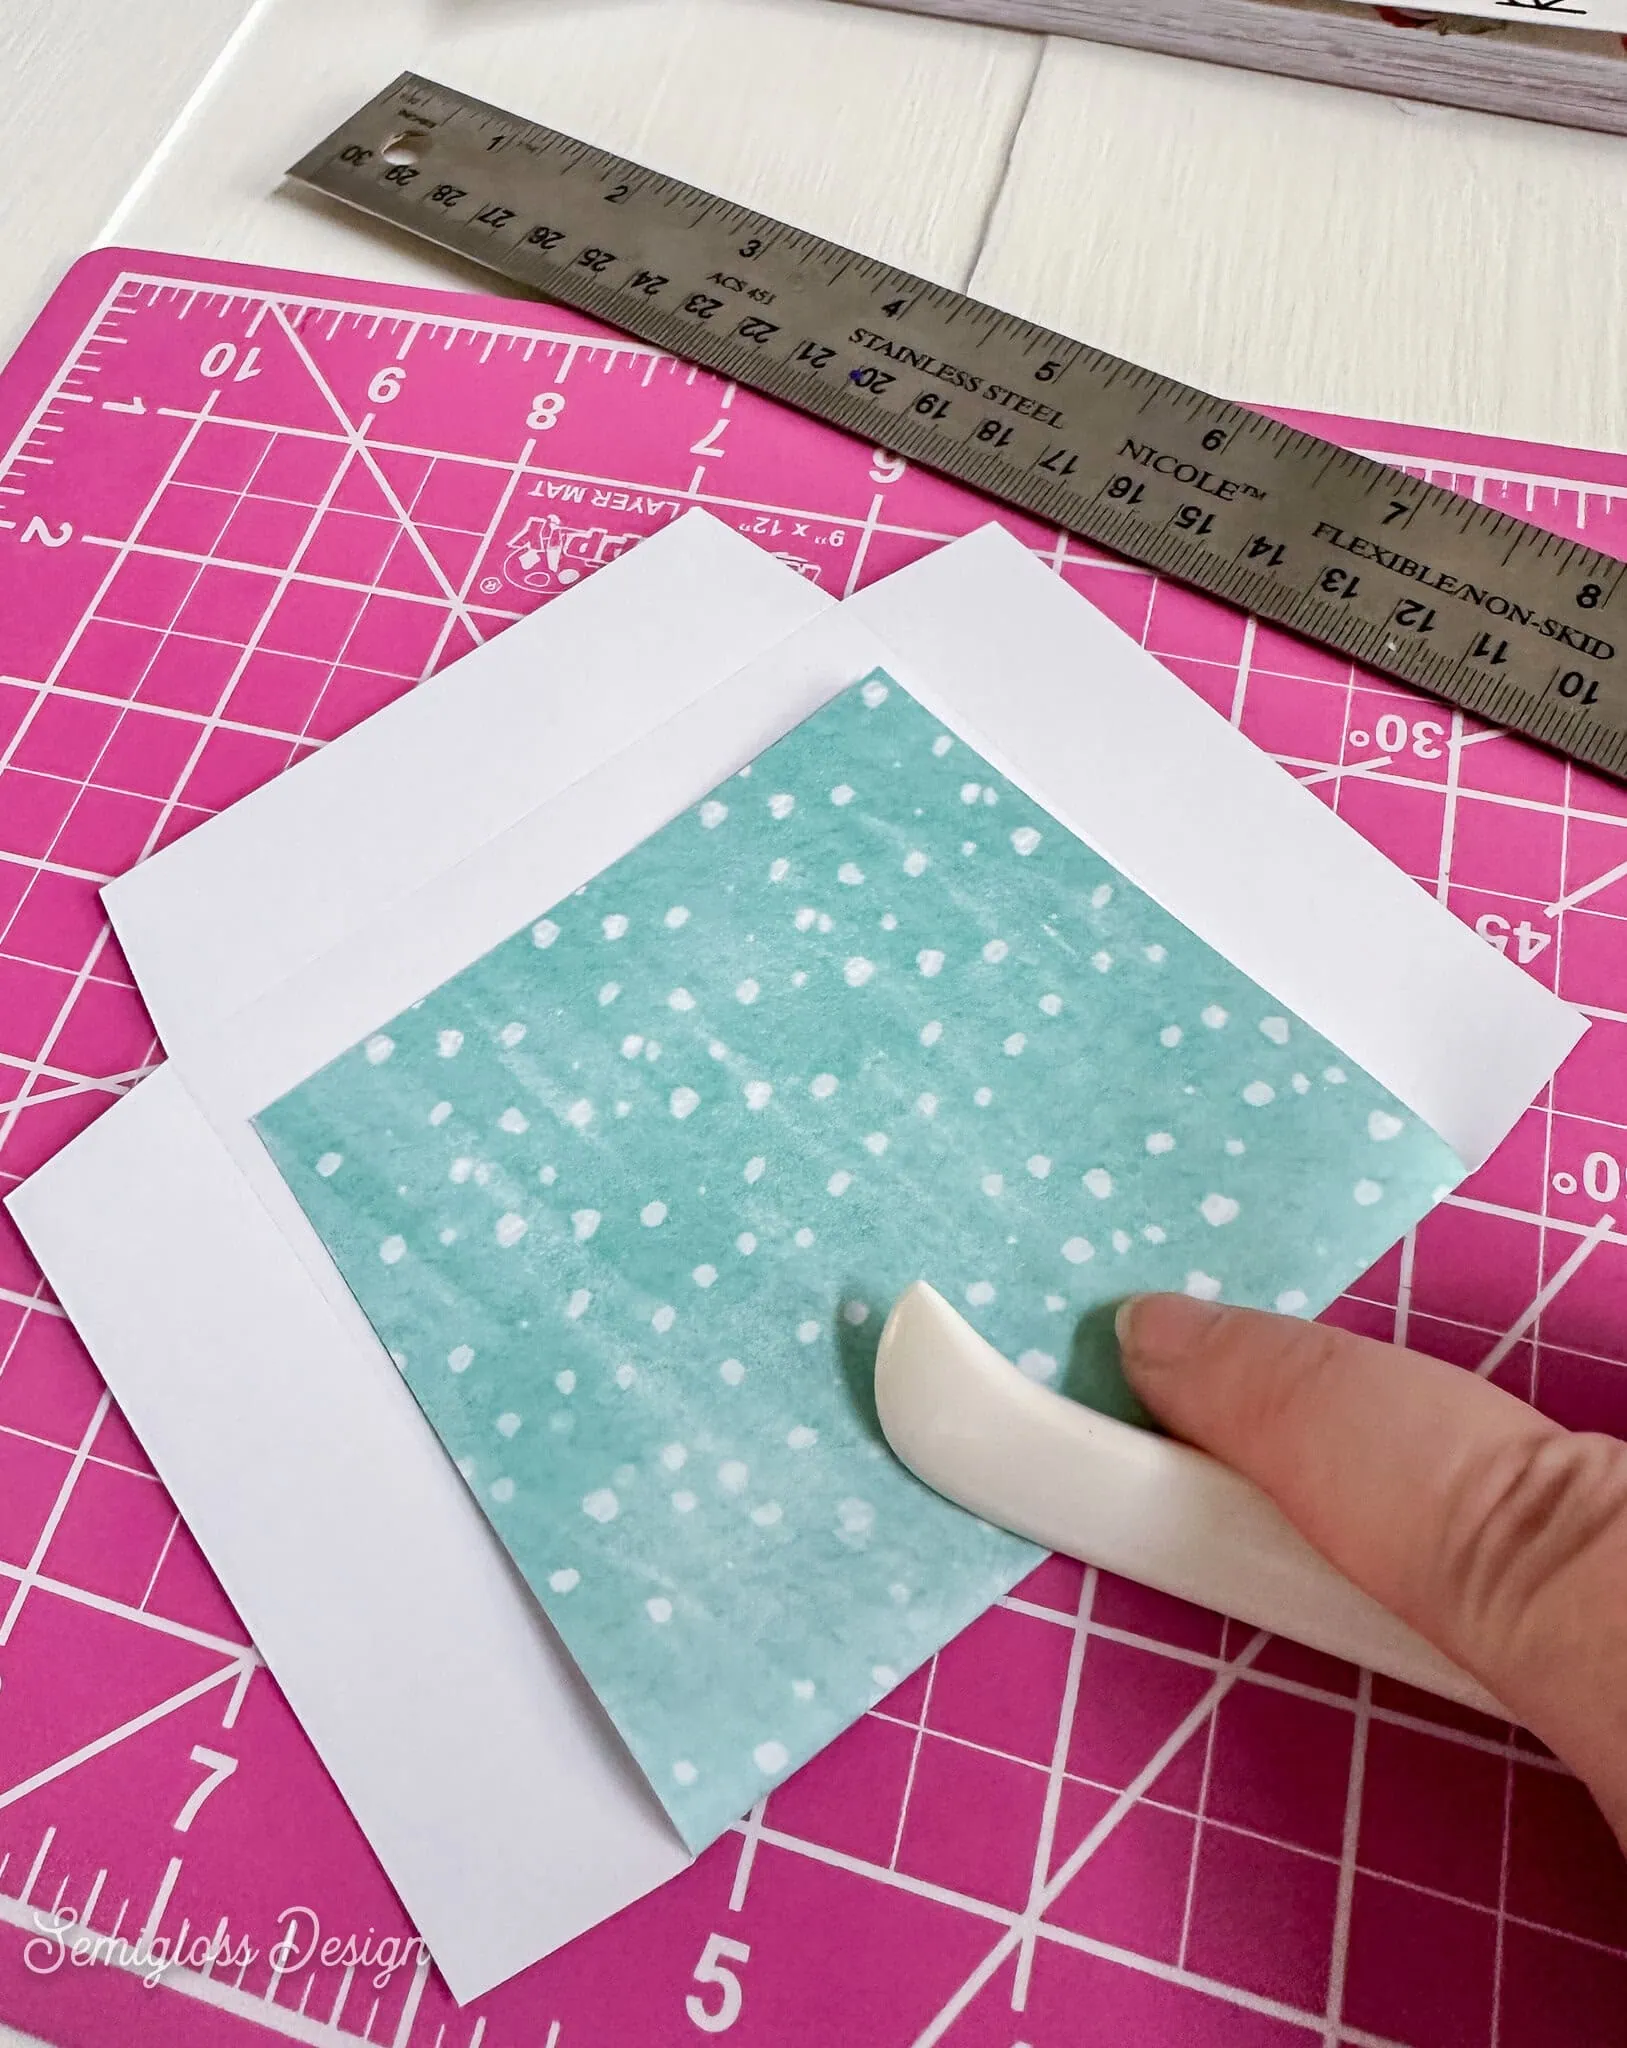
- Then gently fold each flap over.

- Press it with the bone folder to make sharp creases.
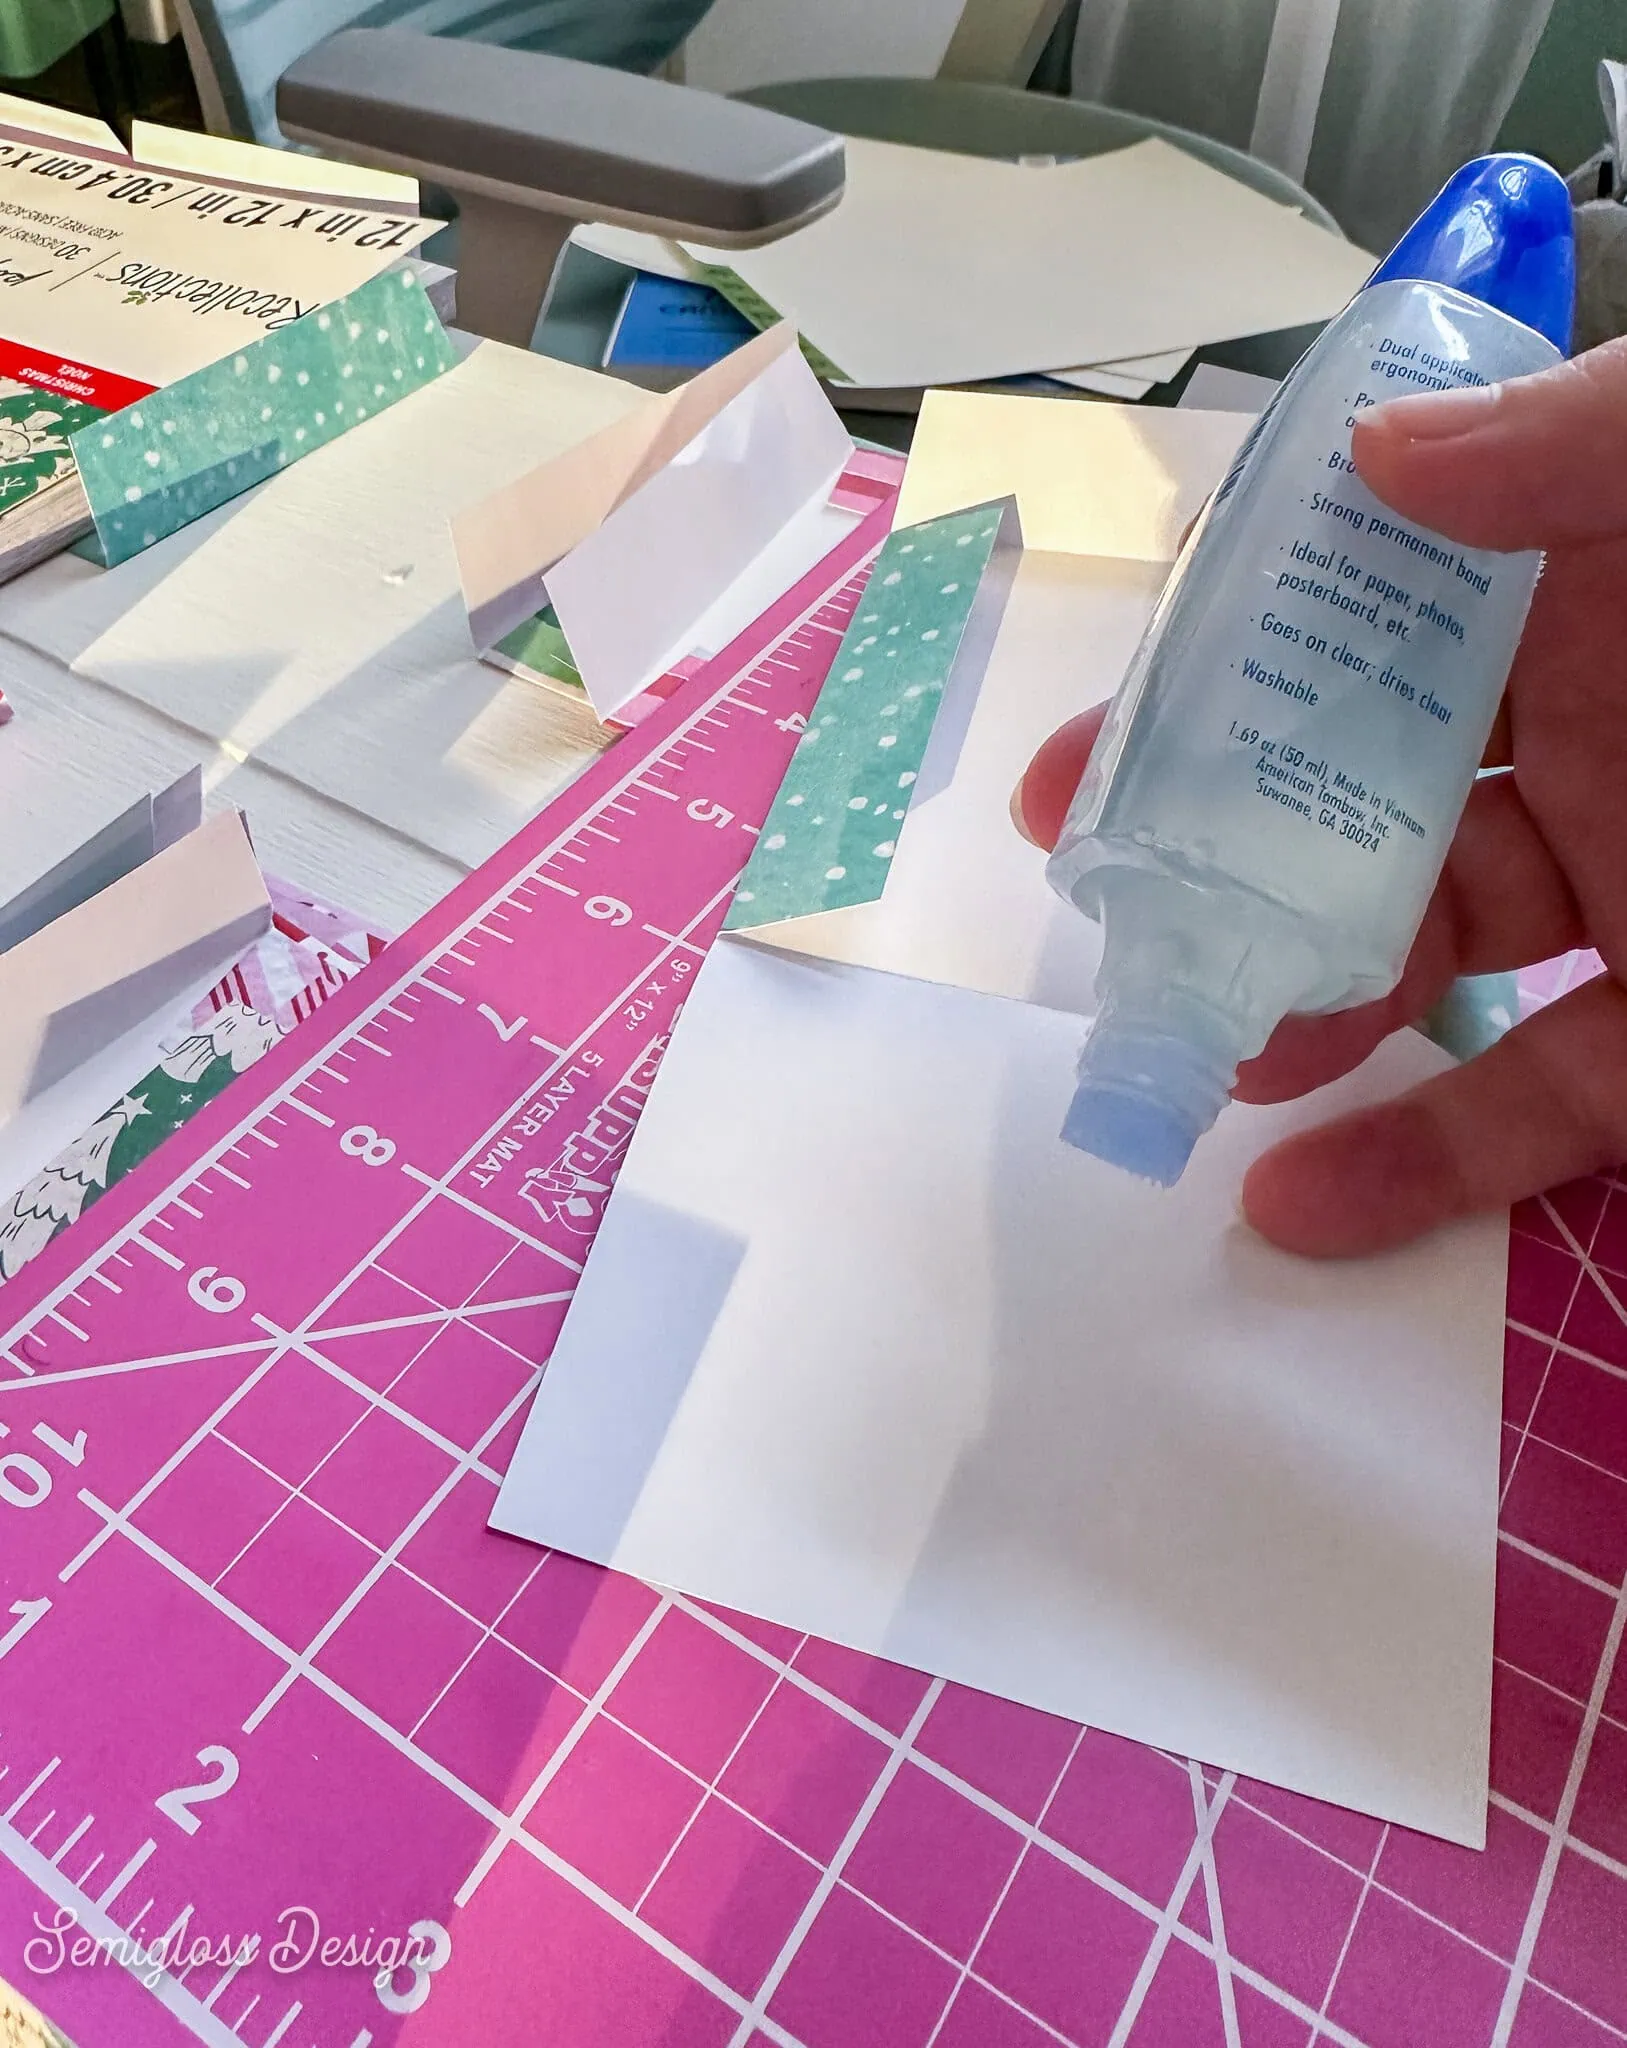
- Add glue to the side flaps, then fold the bottom flap over.
- Place the envelopes under something while they dry.
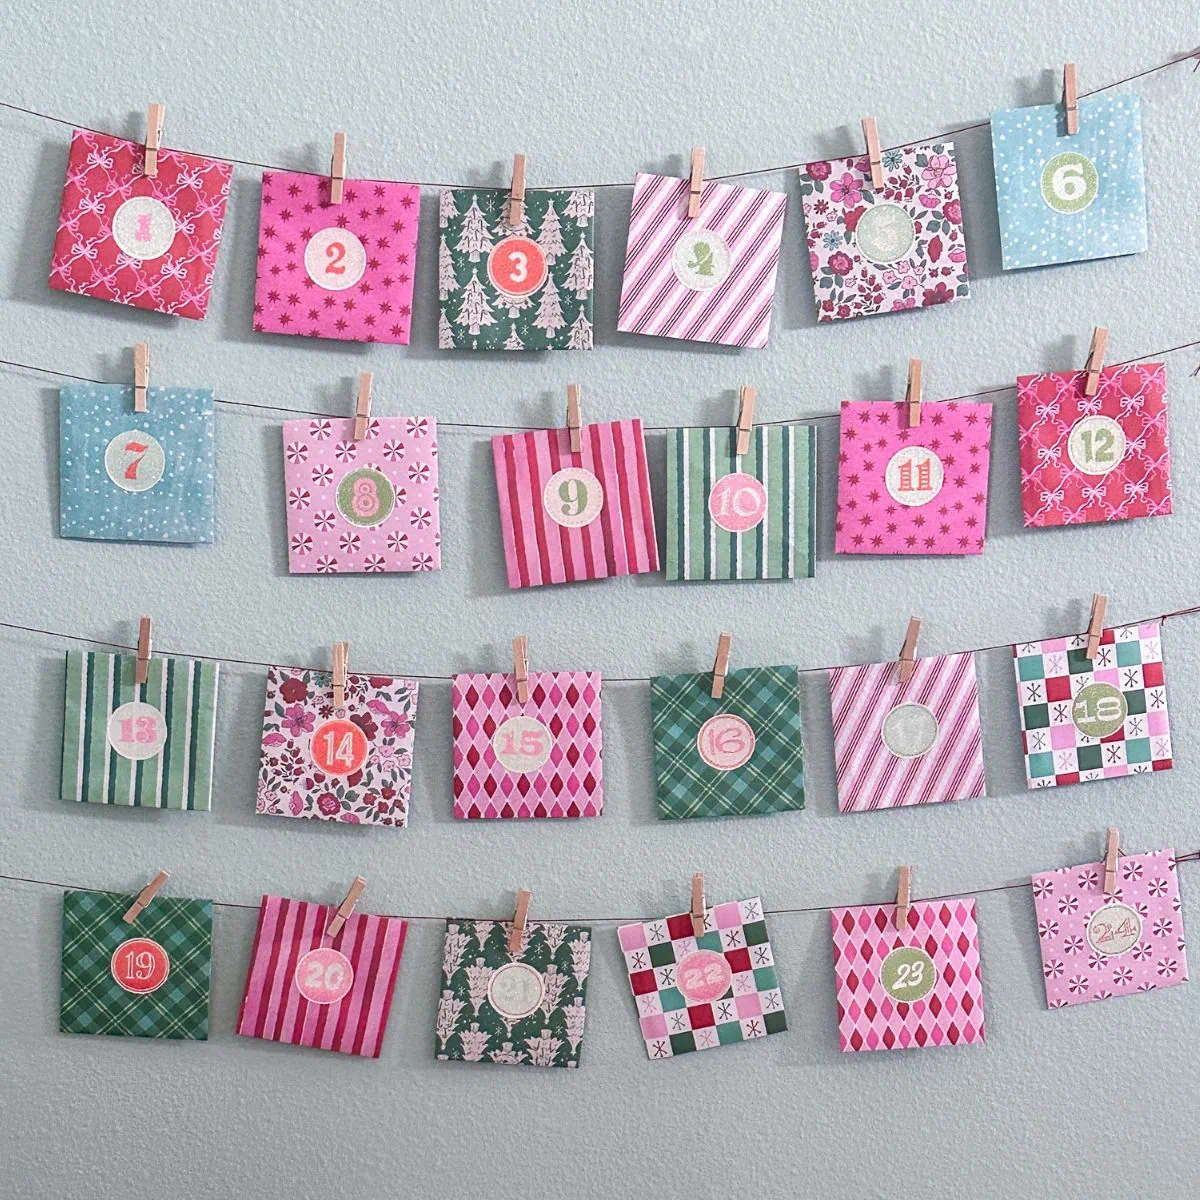
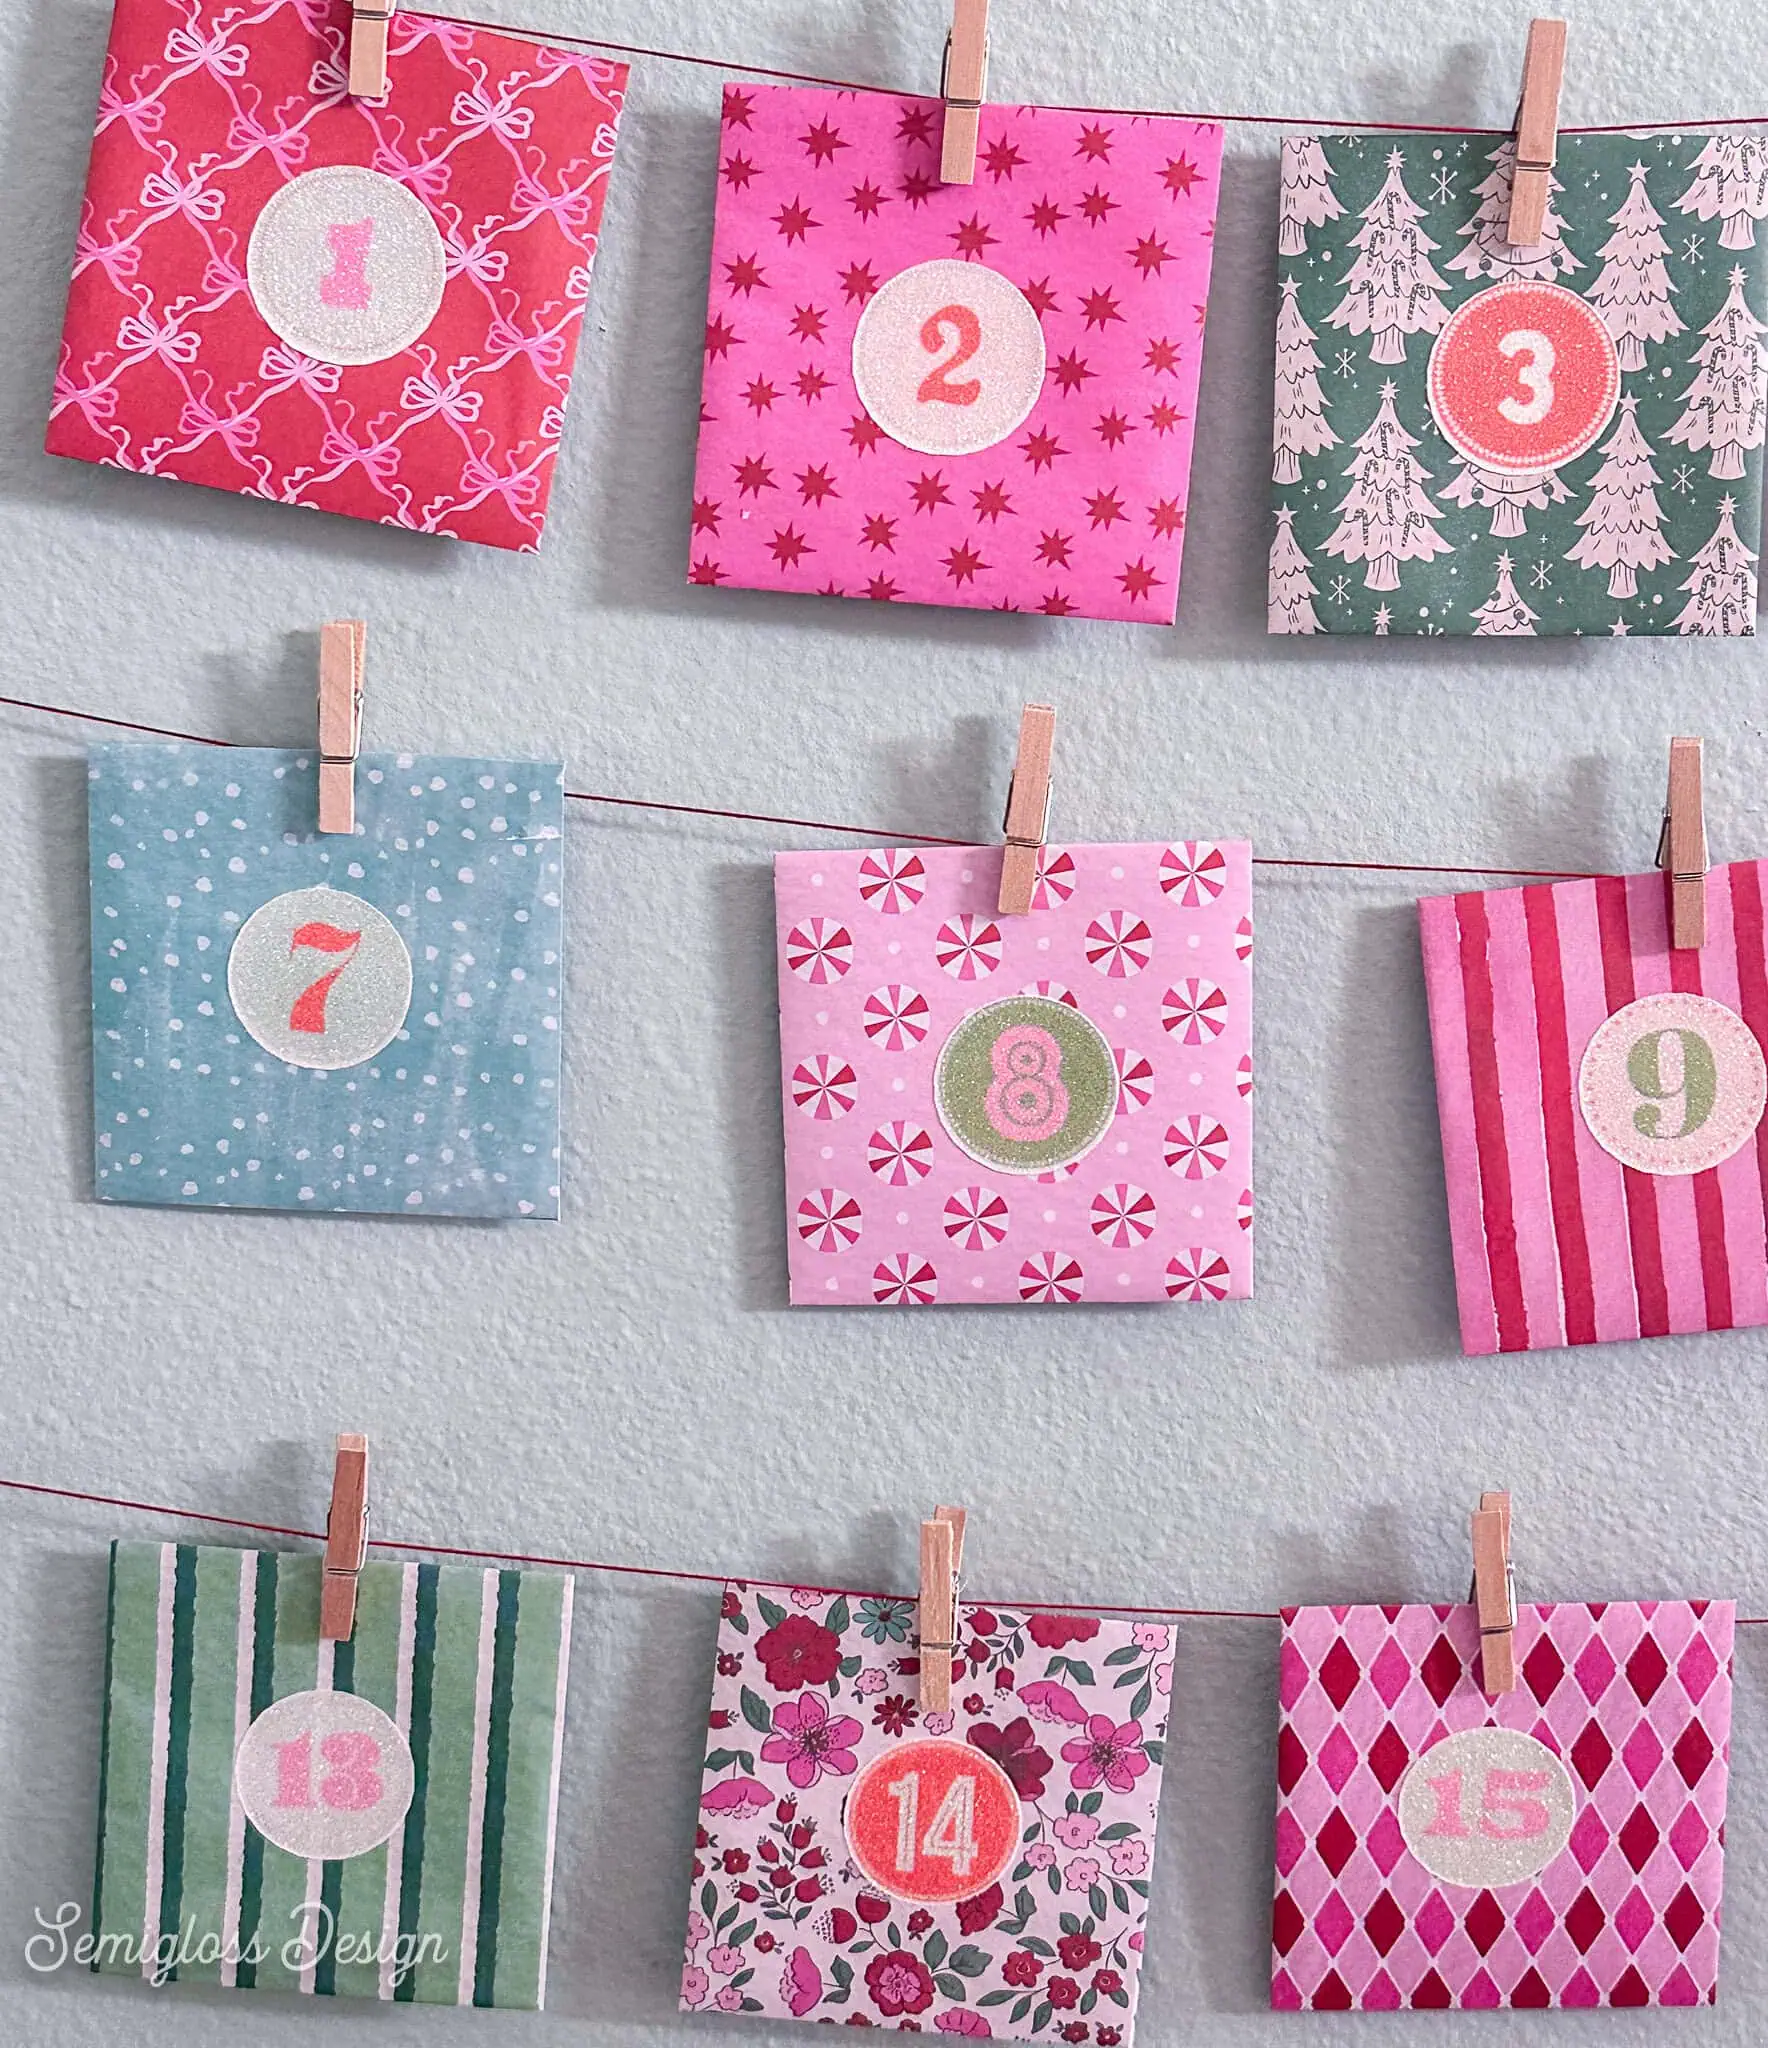
- When they’re dry, lay out your envelopes to find a nice arrangement. I didn’t want to repeat the same design twice, and I wanted to spread the colors around.

- Place the stickers (unpeeled) on the envelopes.
- If needed, change the envelopes around to make a better combination. I tried to maximize contrast between the stickers and envelopes.
- When you’re happy with the arrangement, peel the sticker backing and press the stickers onto the front of each envelope.

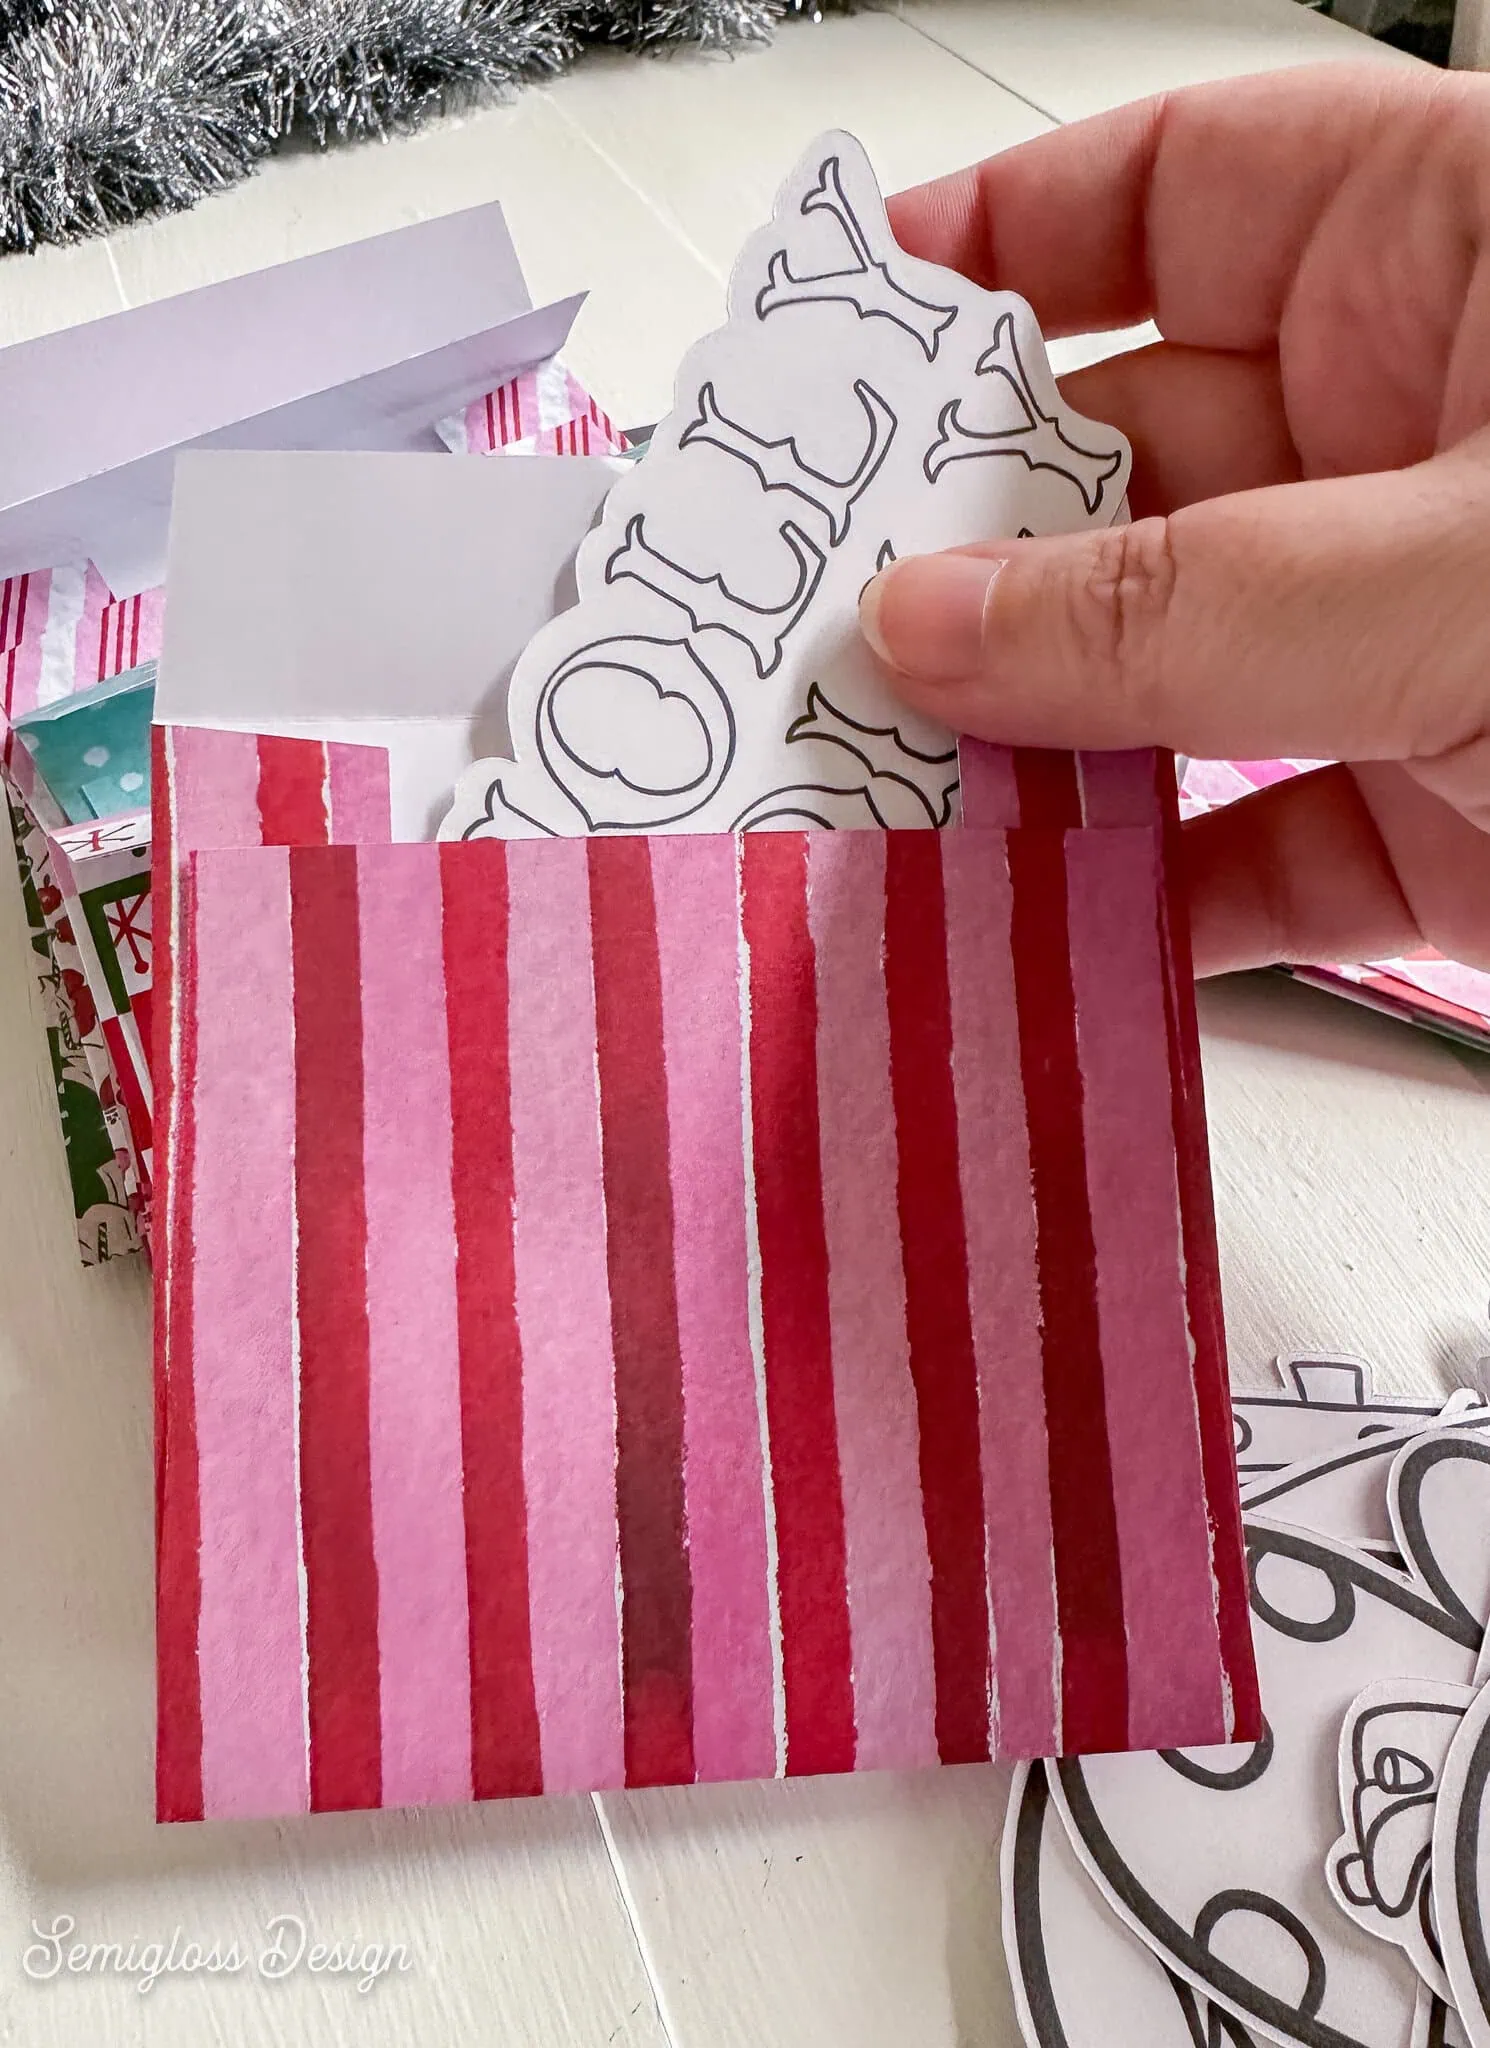
- You can choose which coloring page goes into each envelope, or you can do it randomly. I chose to do it randomly so that each day is a surprise. I mixed up the envelopes and added the coloring pages.
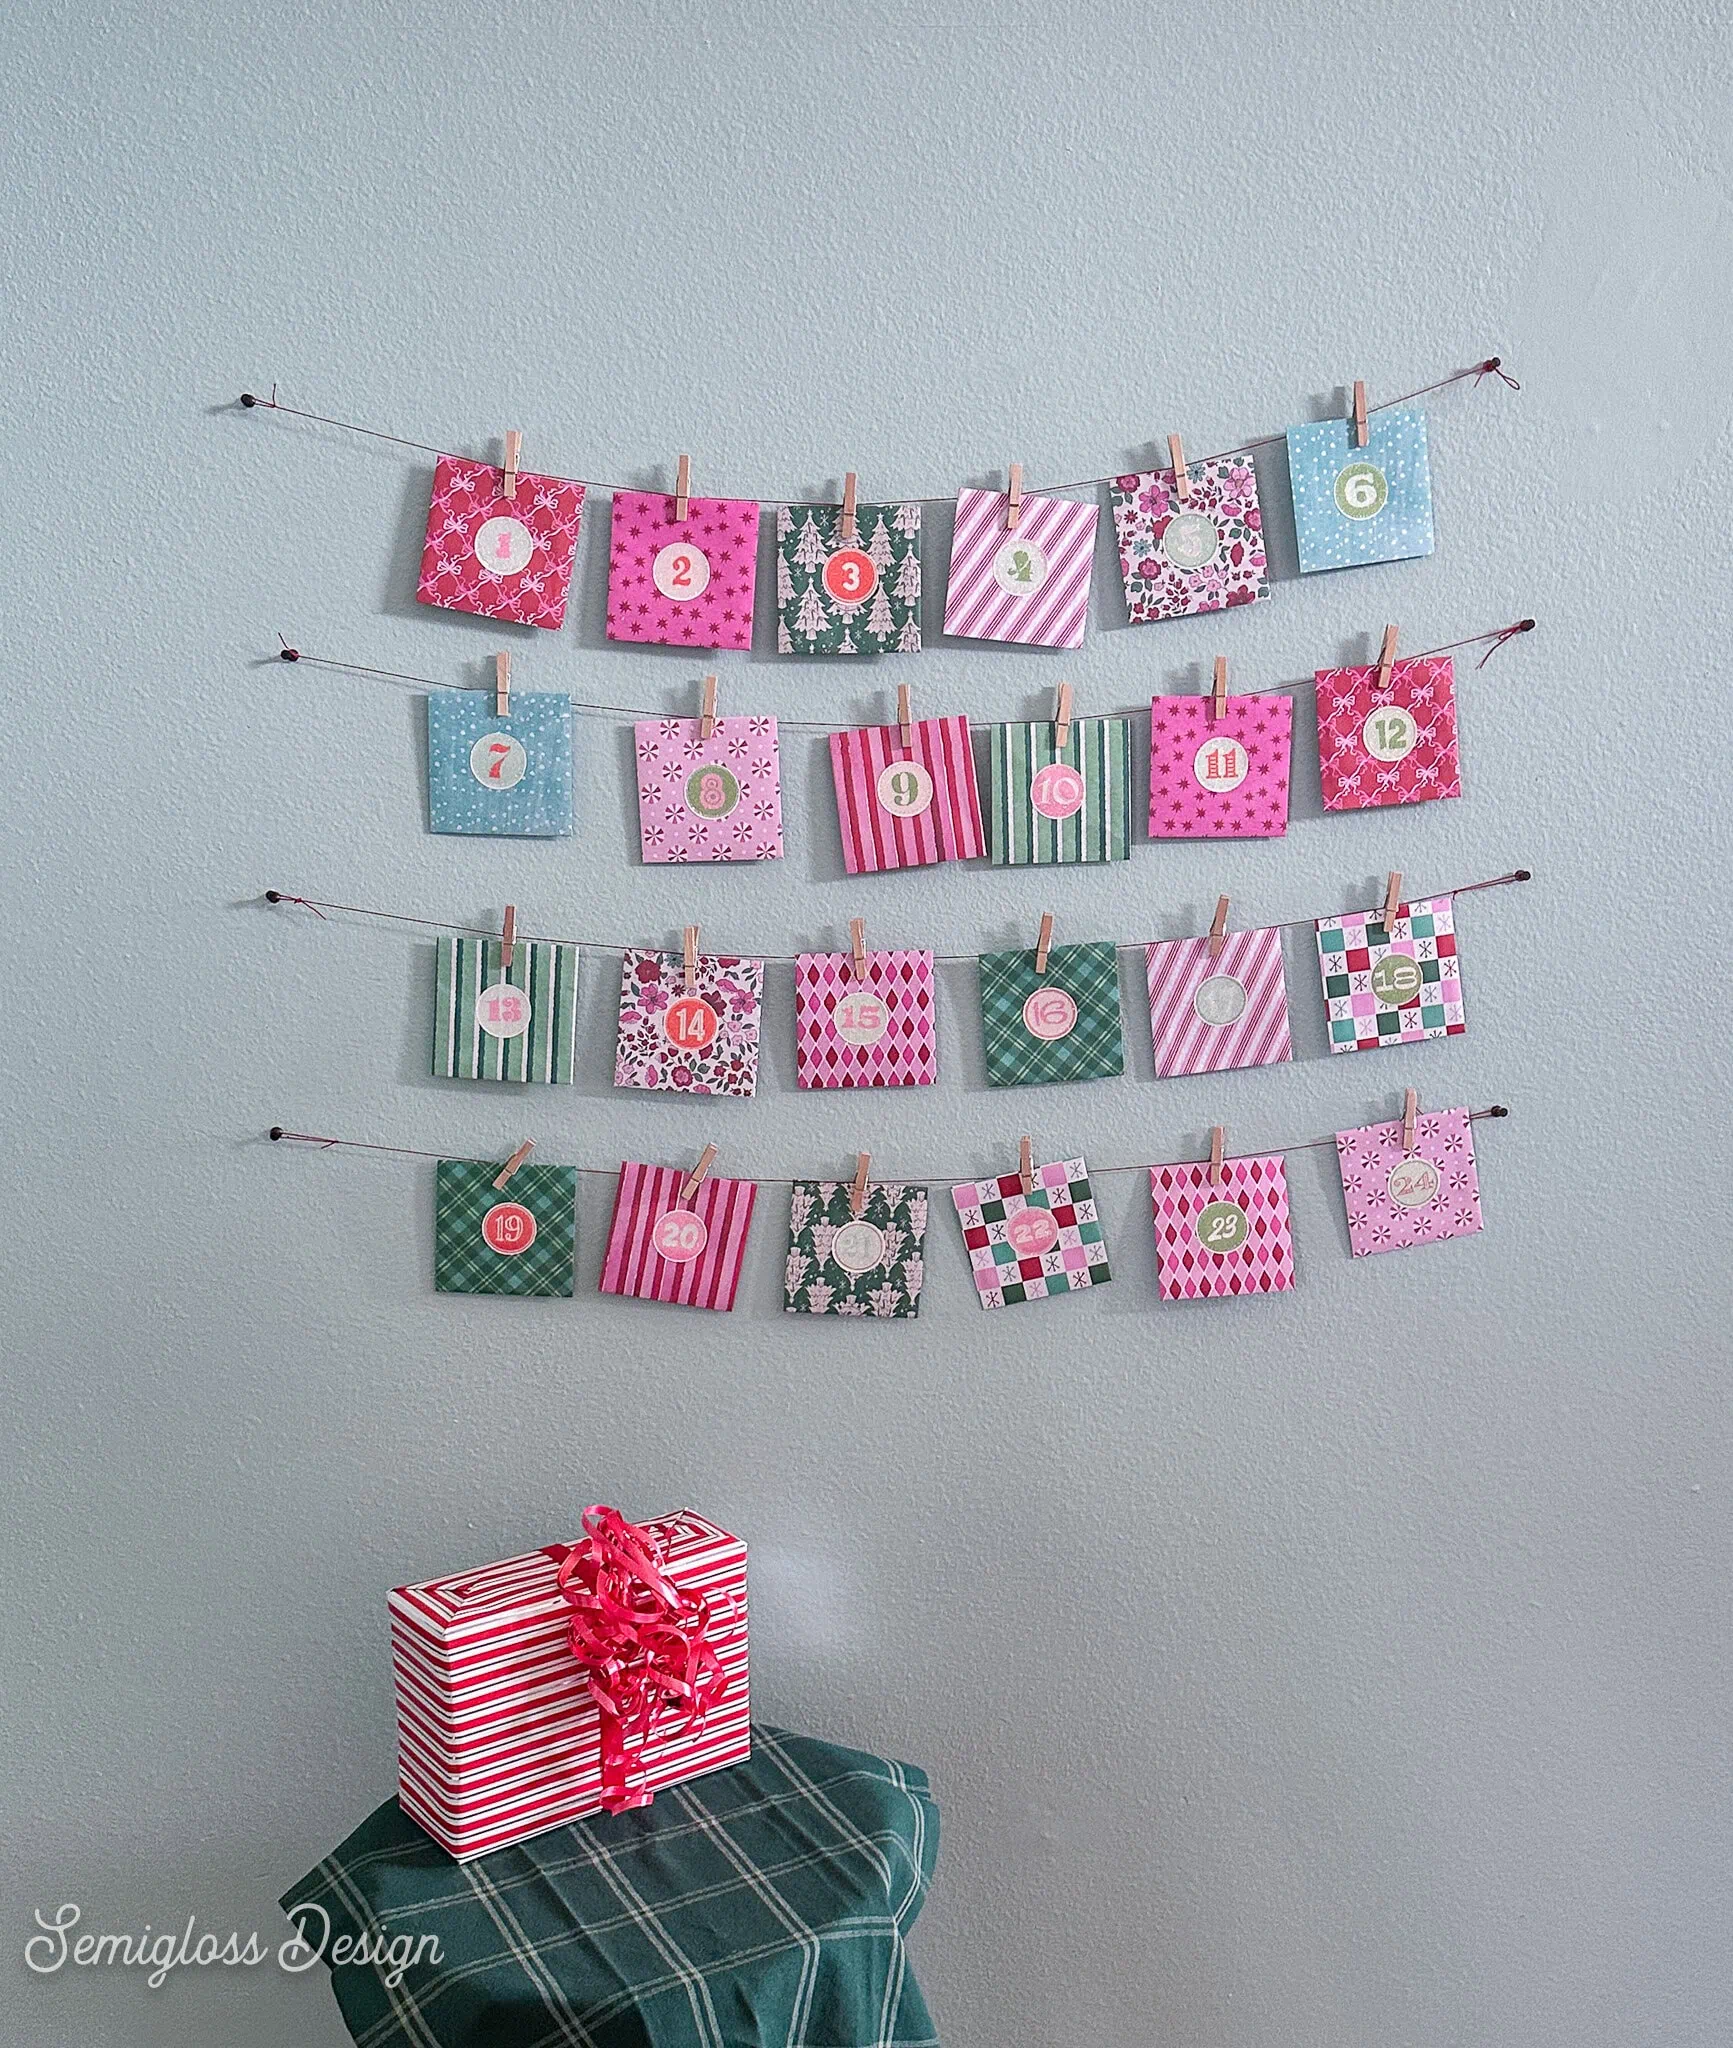
- Use tacks and string to hang them on the wall.
- Then attach each envelope to the string using mini clothespins.
Enjoy!
Printable Advent Calendar
All downloads are for personal use only. Please do not redistribute or sell files.
This file includes 4 printable coloring pages, an envelope cut file, and number sticker pages. I’ve included files for both 8.5 x 11″ and 12 x 12″ sheets.
You might also like:
Pin for Later!

Emy is a vintage obsessed mama of 2 DIYer who loves sharing affordable solutions for common home problems. You don’t need a giant budget to create a lovely home. Read more…