
How to Make Stickers with the xTool O1 Omni – Four Different Ways
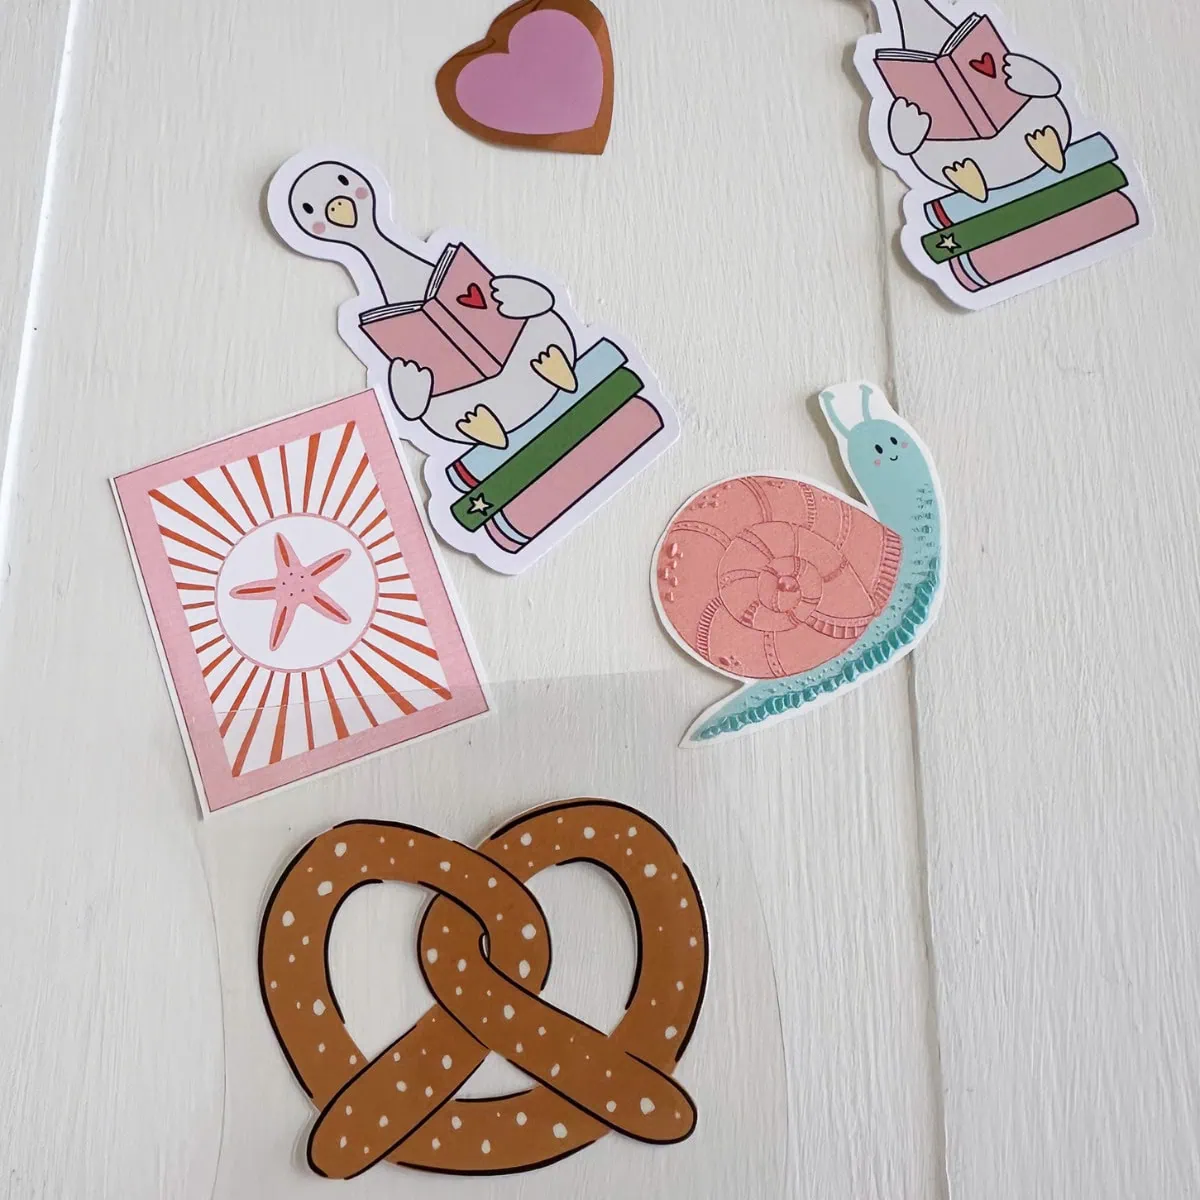
Learn how to make stickers with the xTool O1 Omni. This tutorial explores 4 fun ways to make stickers using this all-in-one DT and UV printer. Discover how to make sticker sheets, textured stickers, die-cut stickers, and DTF decal stickers.
This post contains affiliate links. By purchasing an item through an affiliate link, I earn a small commission at no extra cost to you. As an Amazon Associate I earn from qualifying purchases.
I love making stickers with my art, but the process can be time-consuming. My typical sticker-making process includes printing on waterproof sticker paper, laminating it to ensure that the ink is waterproof, and cutting the stickers with my Cricut.
So much can go wrong in that process, so I was excited to try it out with my xTool O1 Omni printer.
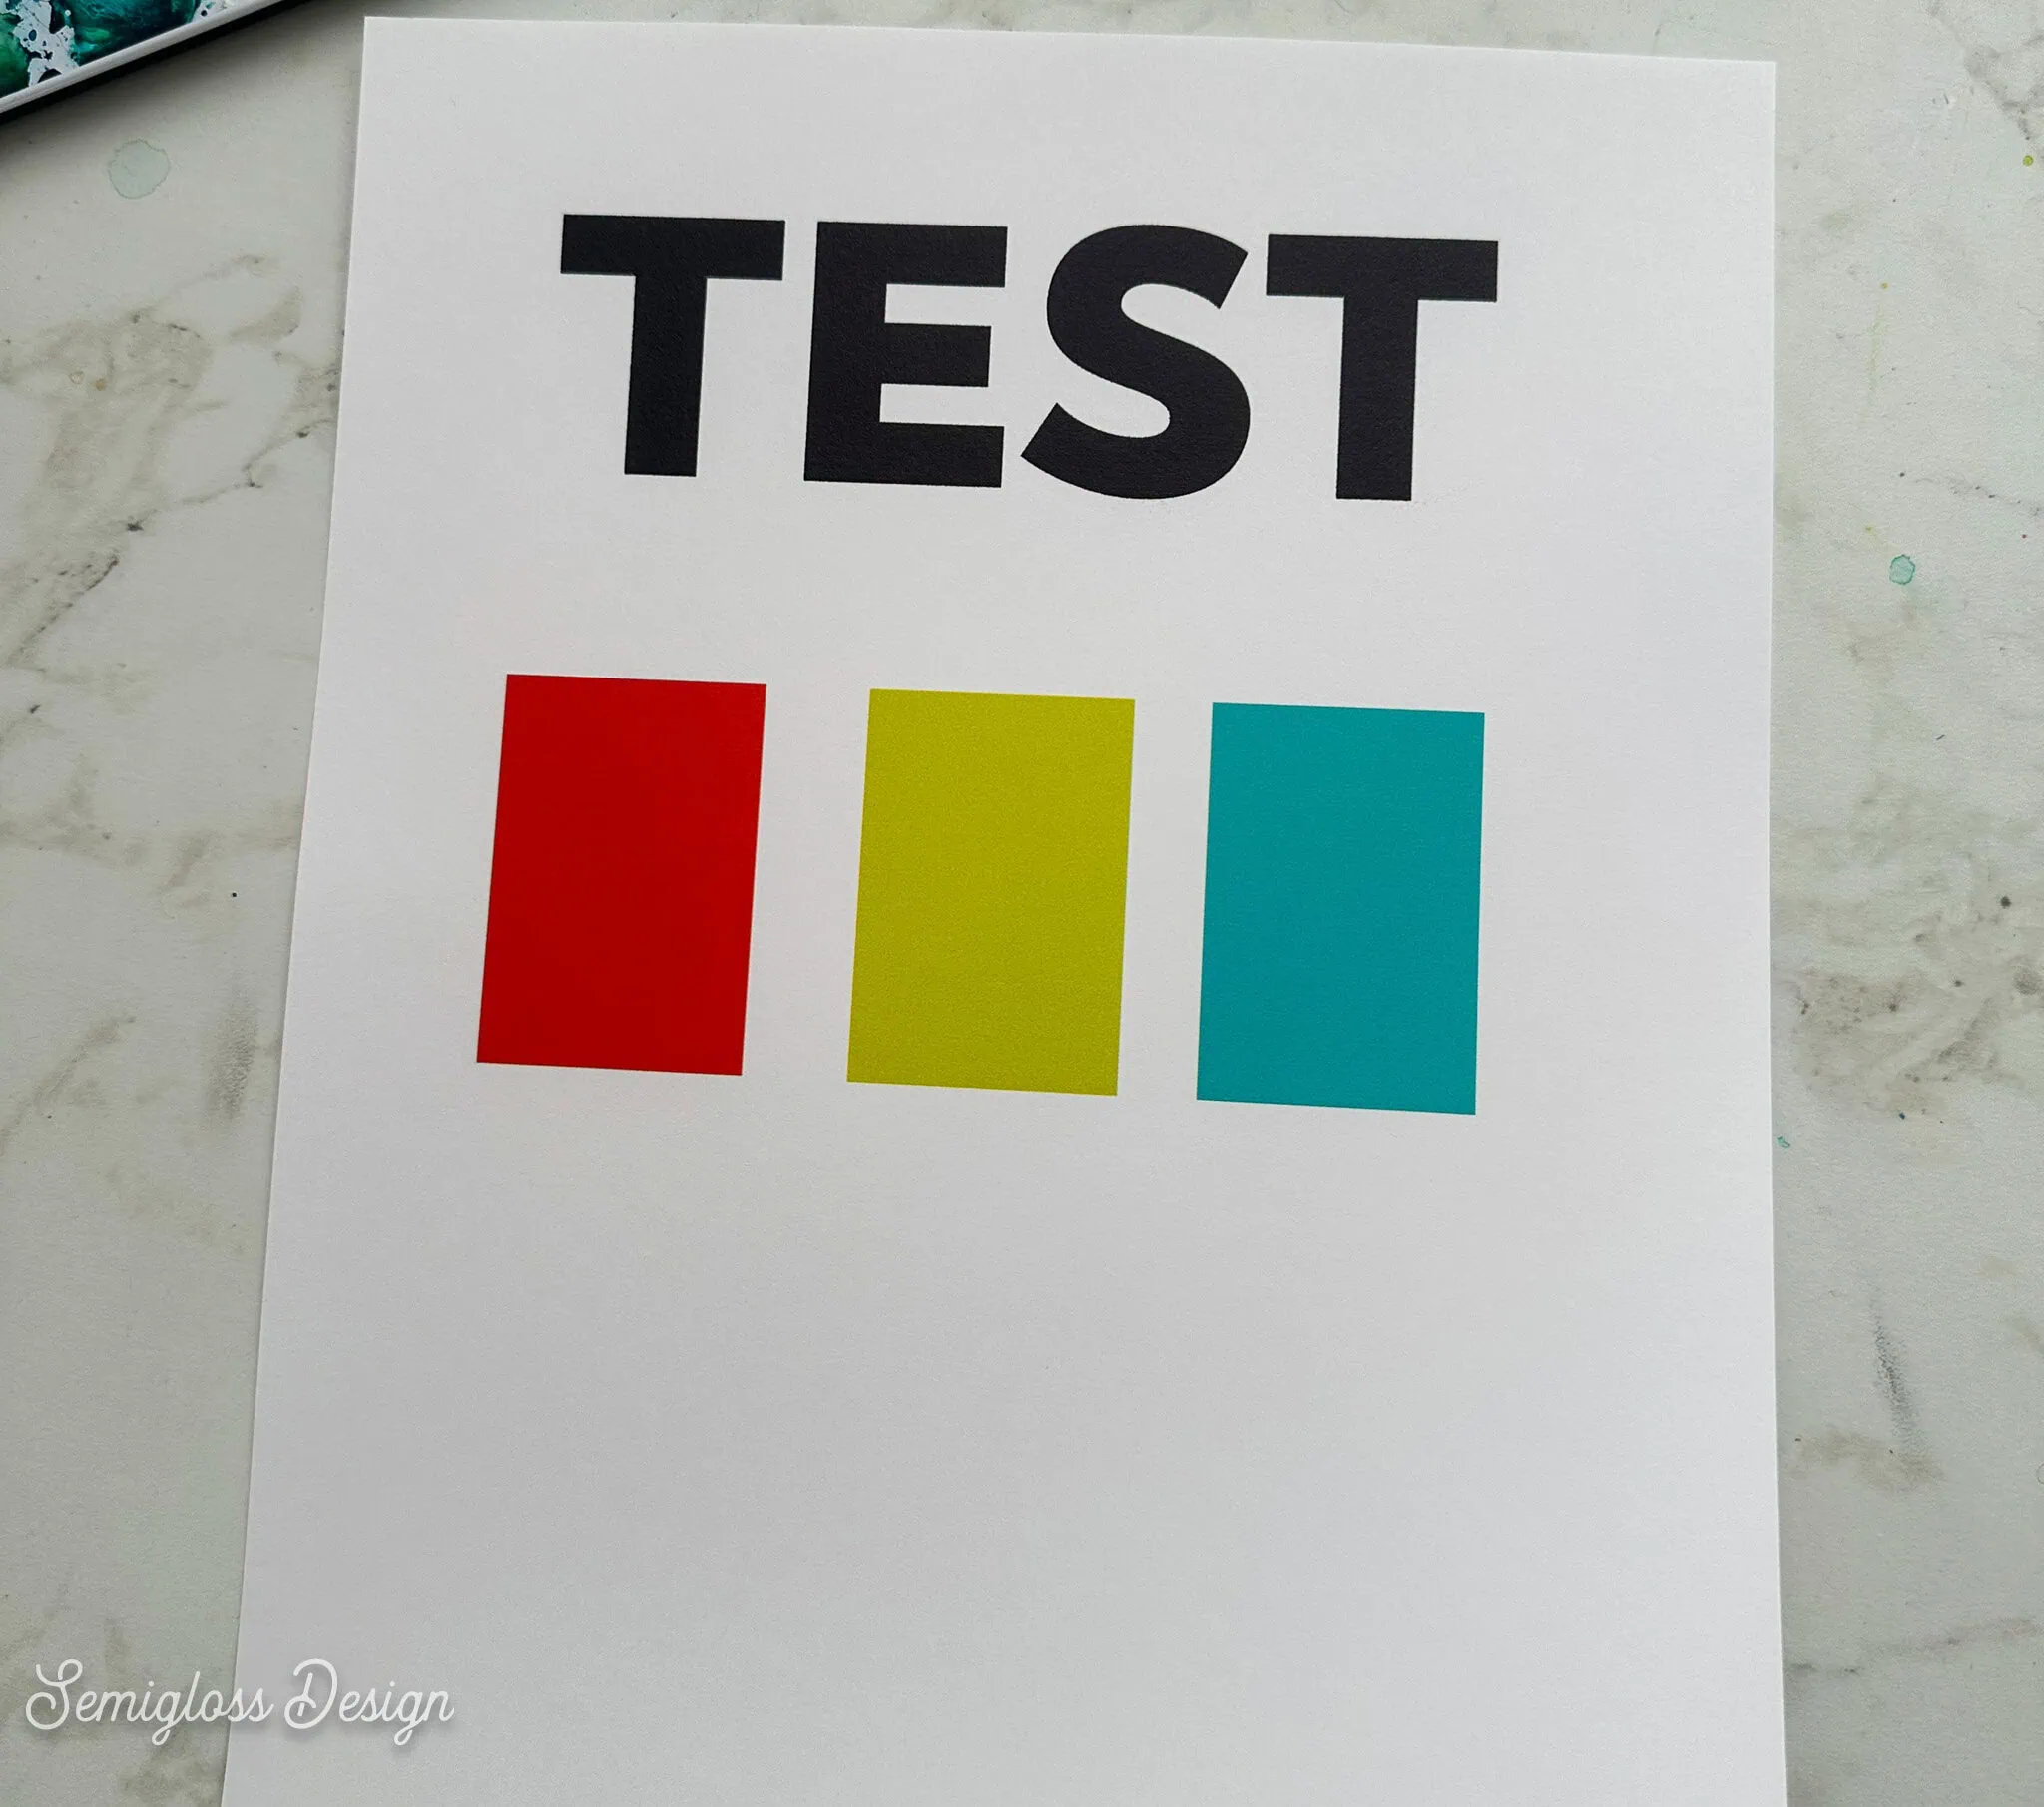
I ran a few tests before getting started. First, I wanted to make sure the Omni could print on paper, so I printed a test sheet of cardstock. It printed like a dream.
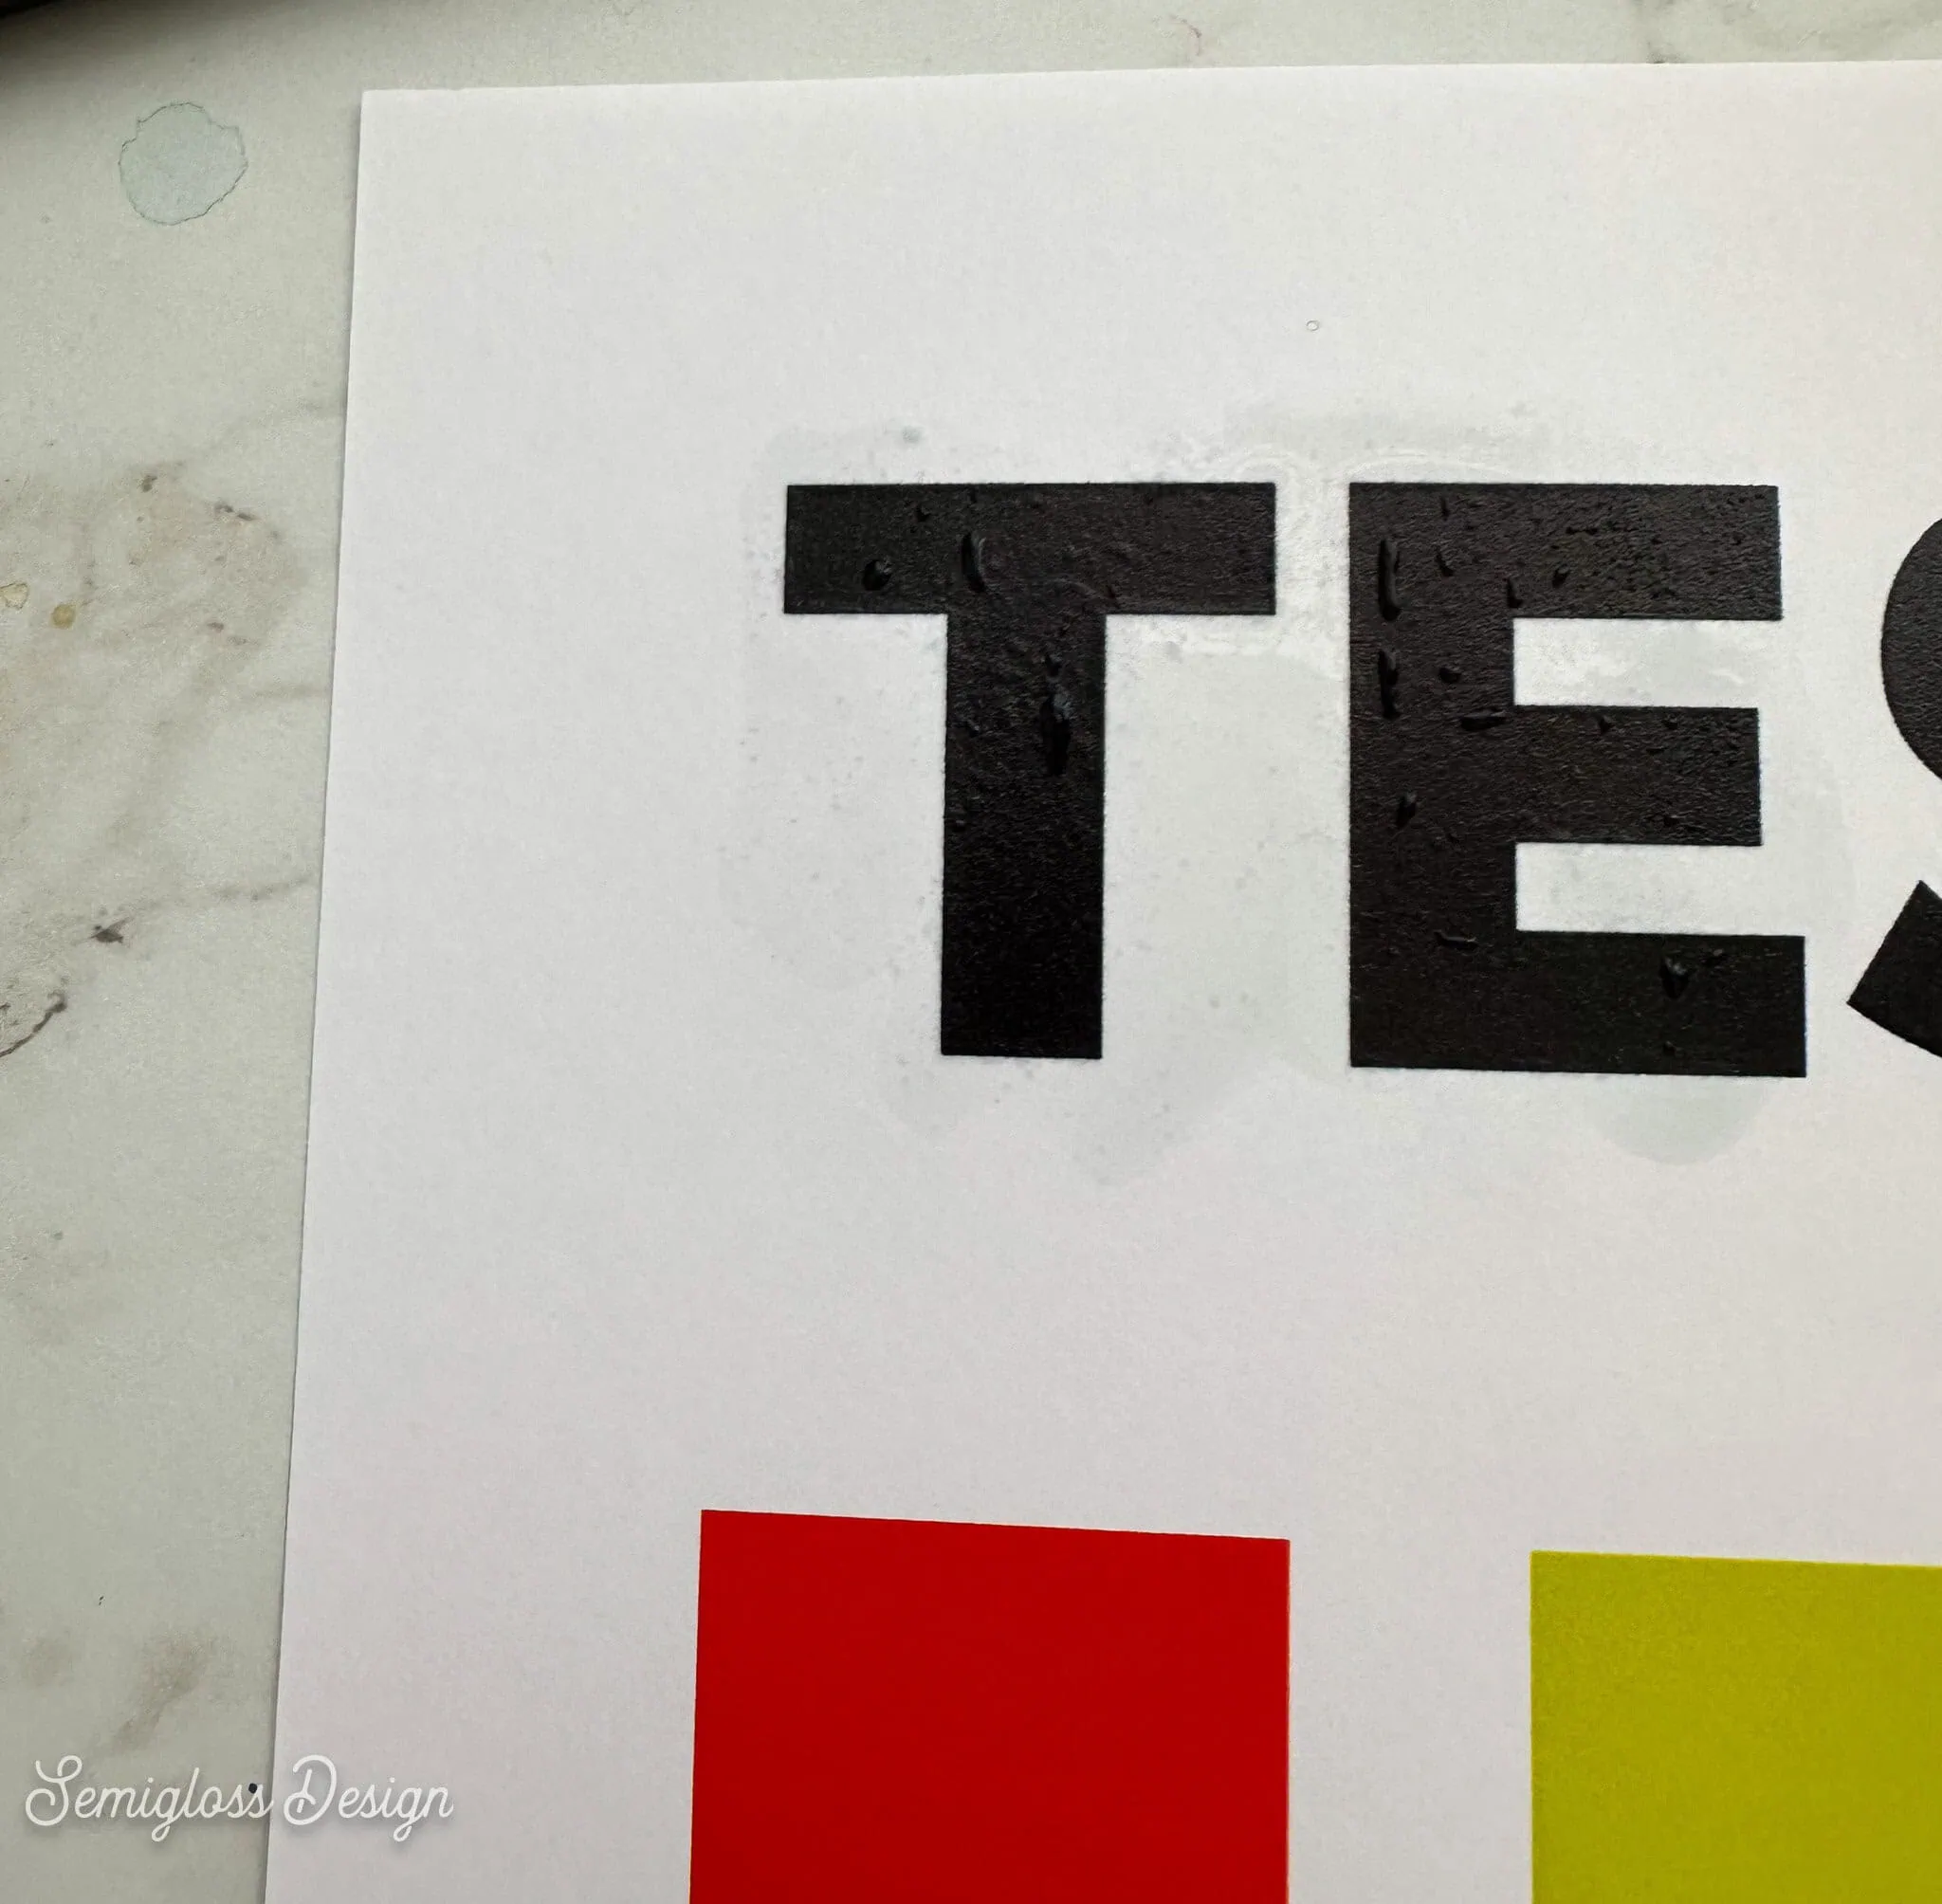
Next, I tested the ink to see if it was waterproof. Success! Water beaded up on the ink. This means I can skip the laminating step (for 3 of the sticker techniques, anyway).
My last test was to see how printed images look on vinyl. I have a ton of vinyl, so I figured, why not?
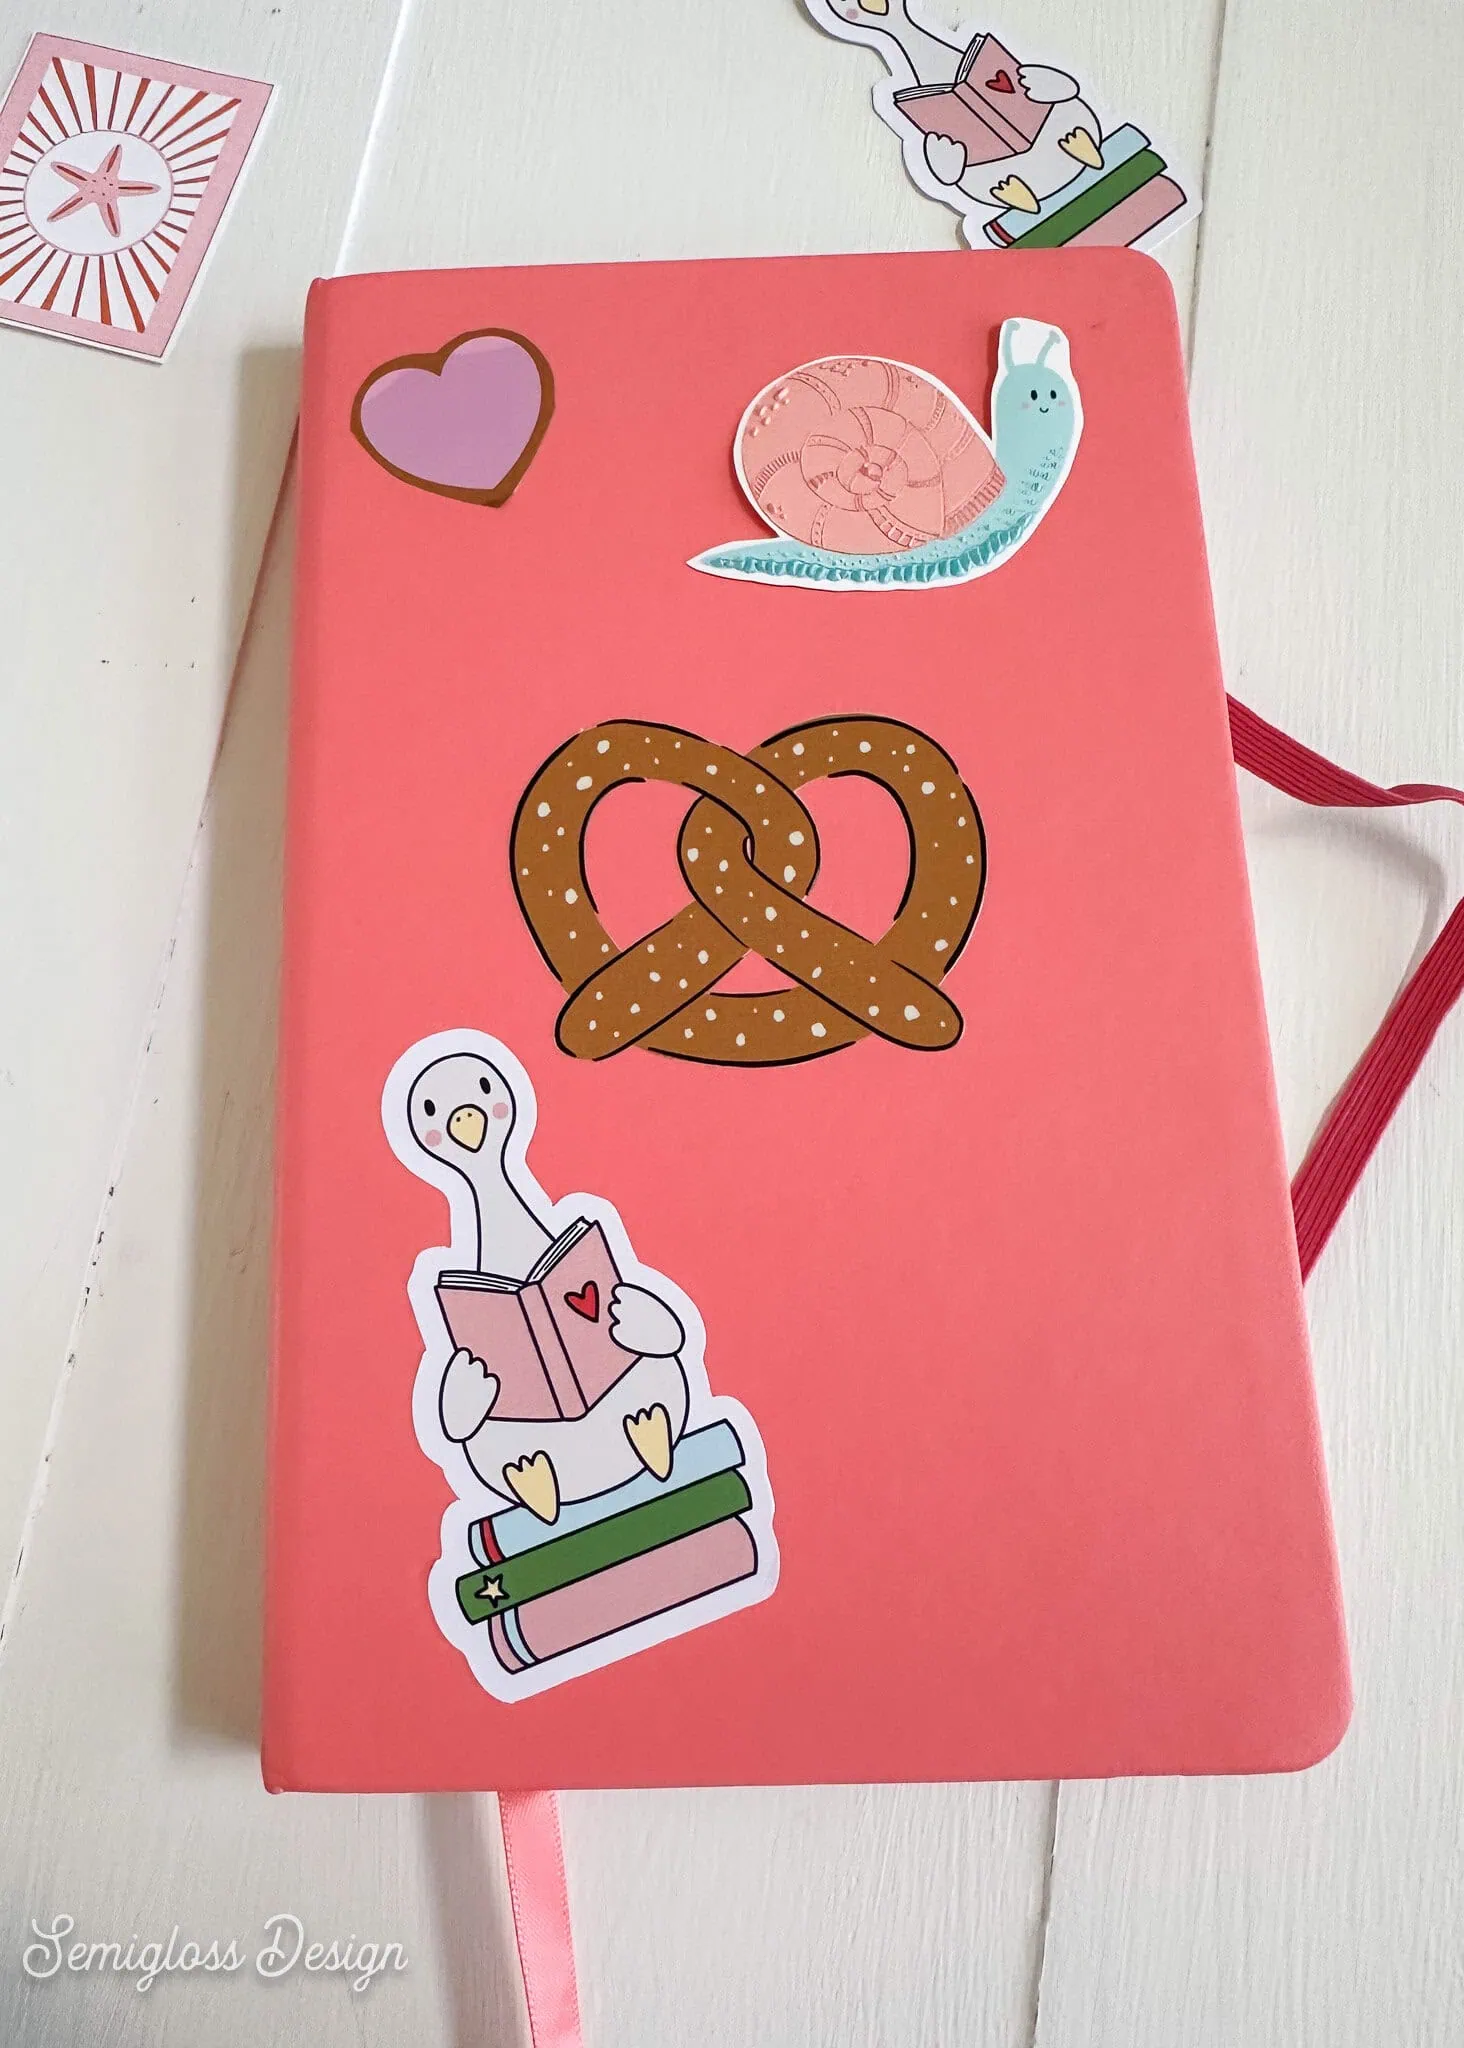
I tested it on glossy white, matte red, holographic copper, and matte metallic silver. The silver one had issues because it curled up and wouldn’t lie flat. That’s a user error, not a machine issue. The print itself looked good.
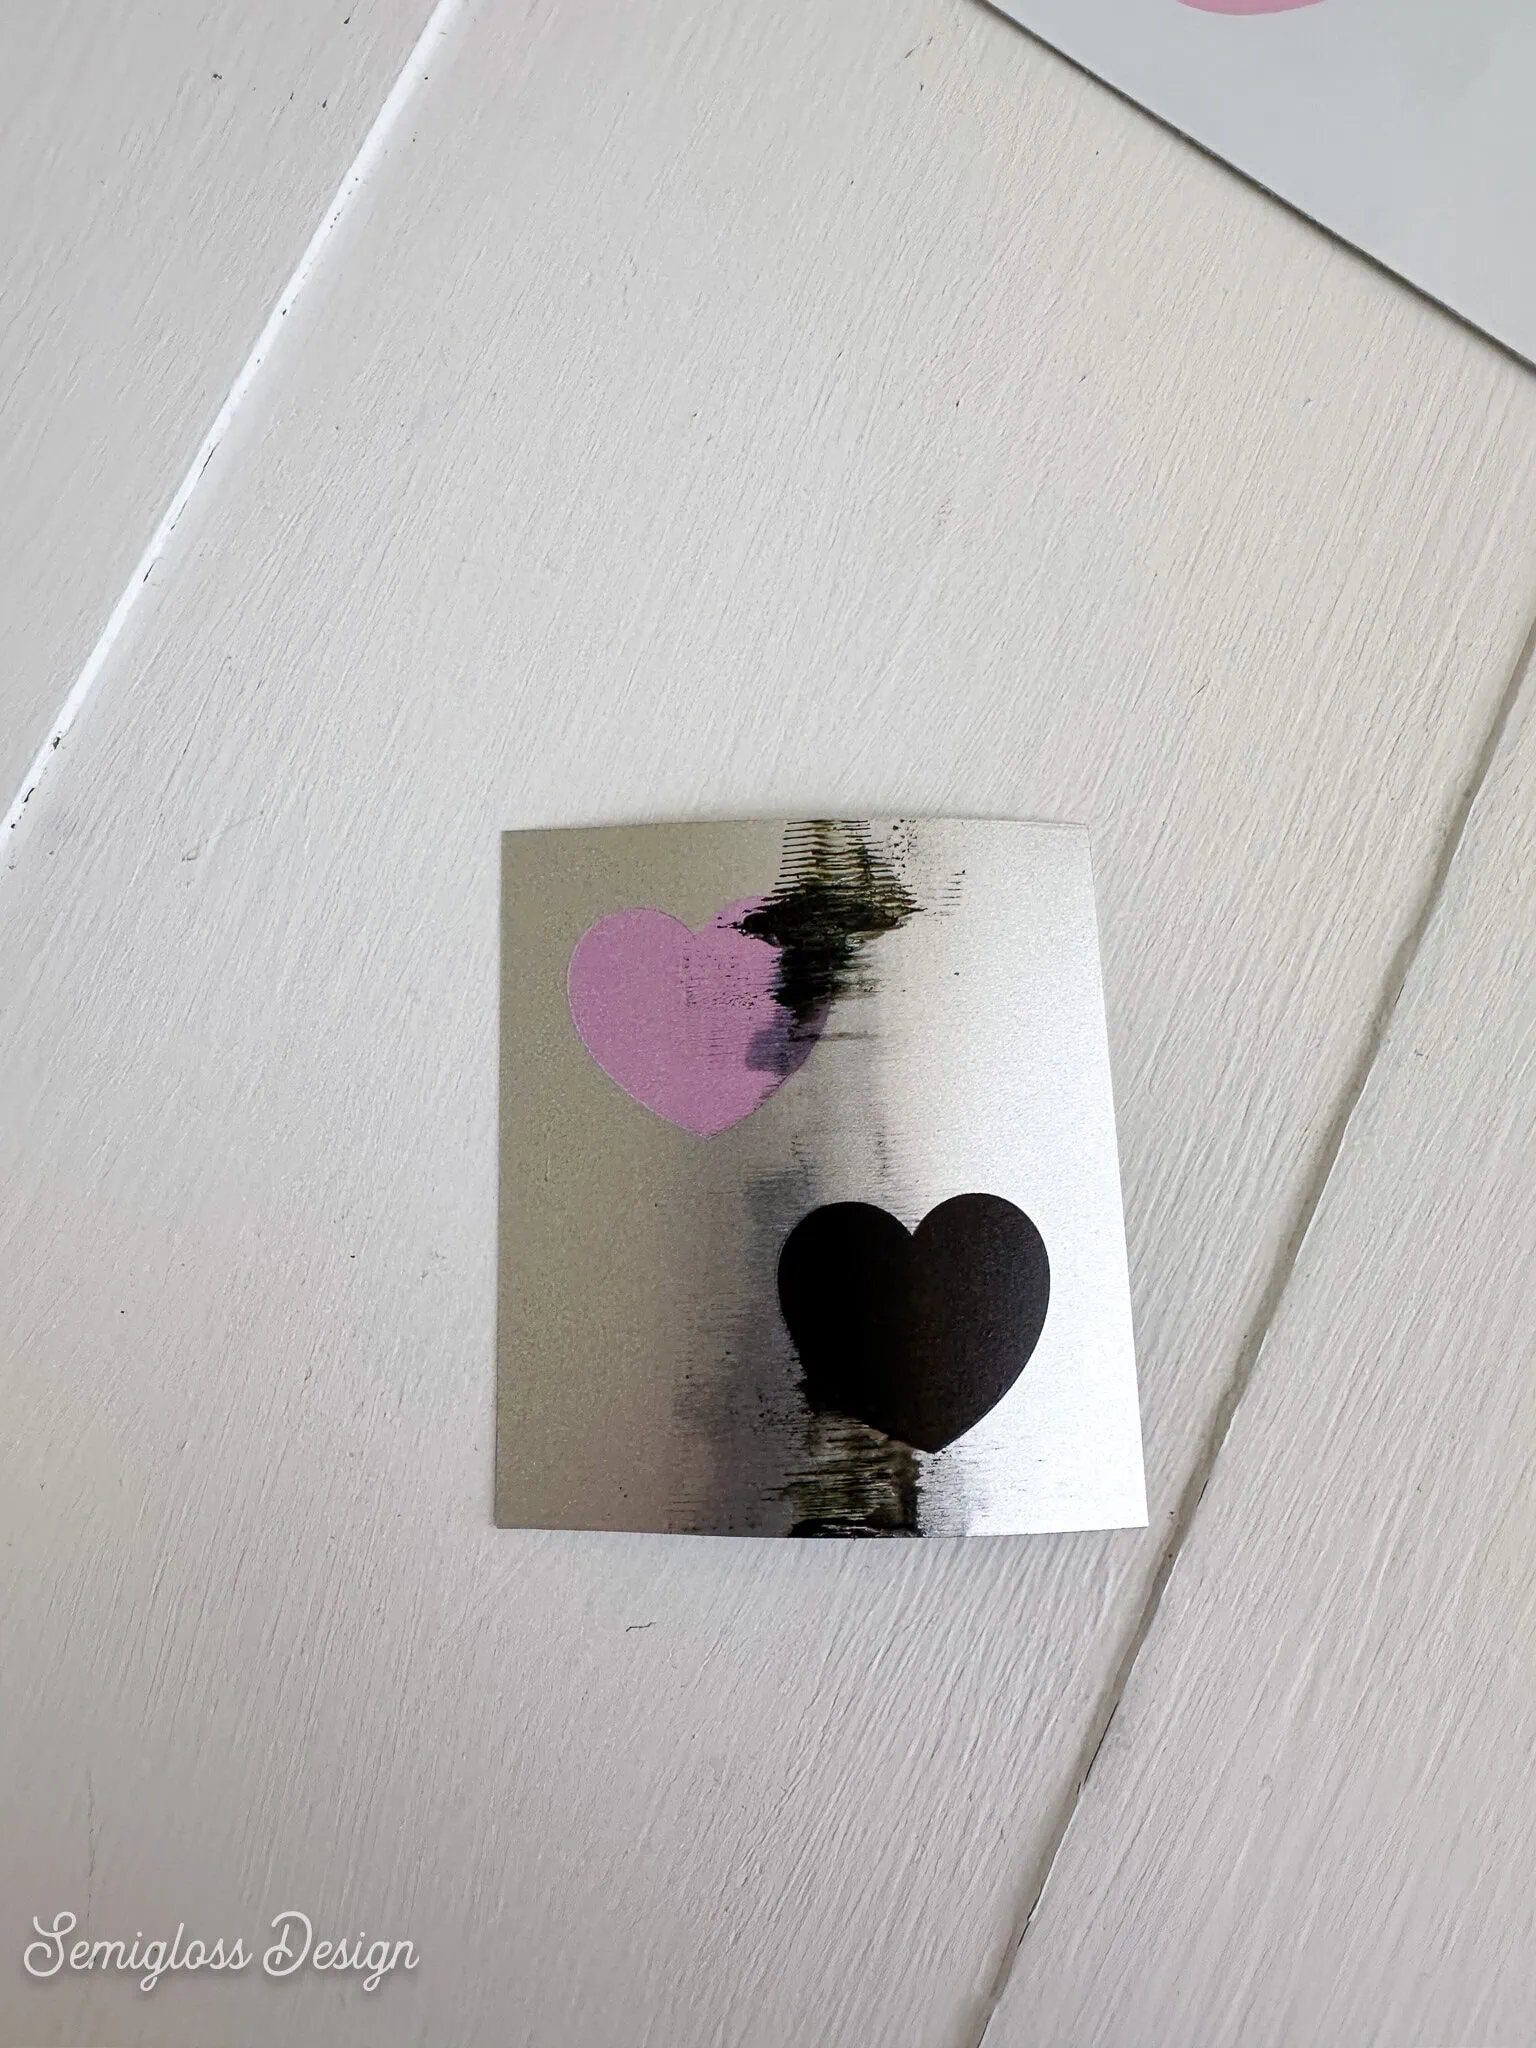
It printed well on all the different surfaces and colors. (I chose 1 layer of white and 1 color for the ink process.)
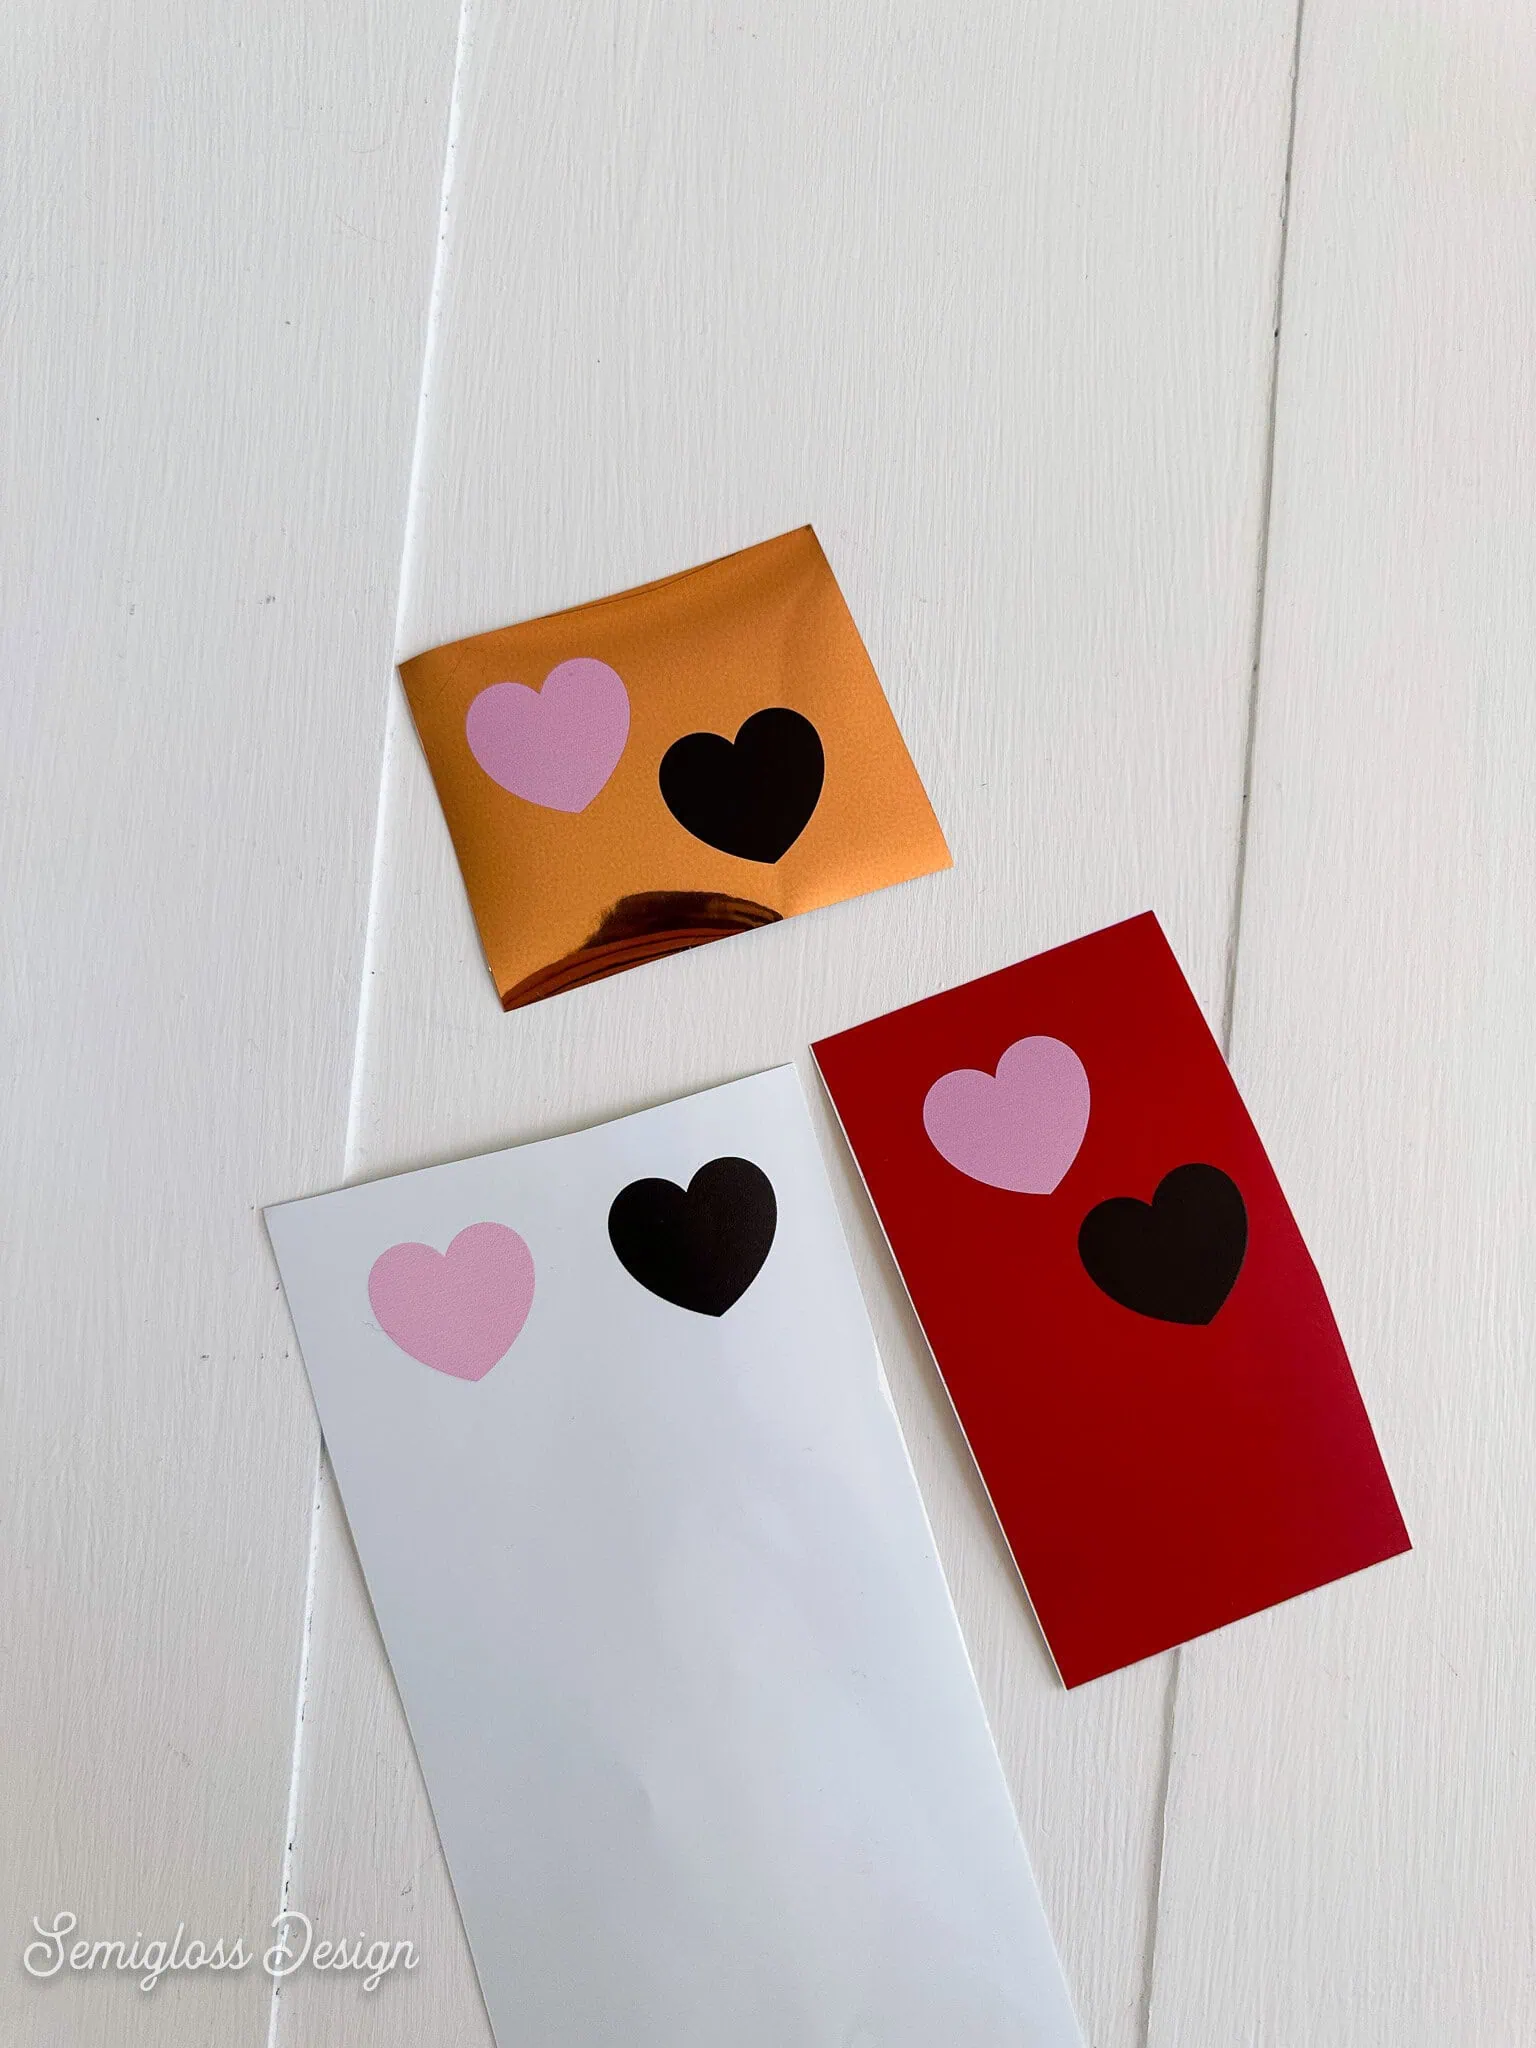
However, I peeled the backing off the copper holographic vinyl, and the printed heart peeled off. So that material is a bust. I tested the others, and they look great!
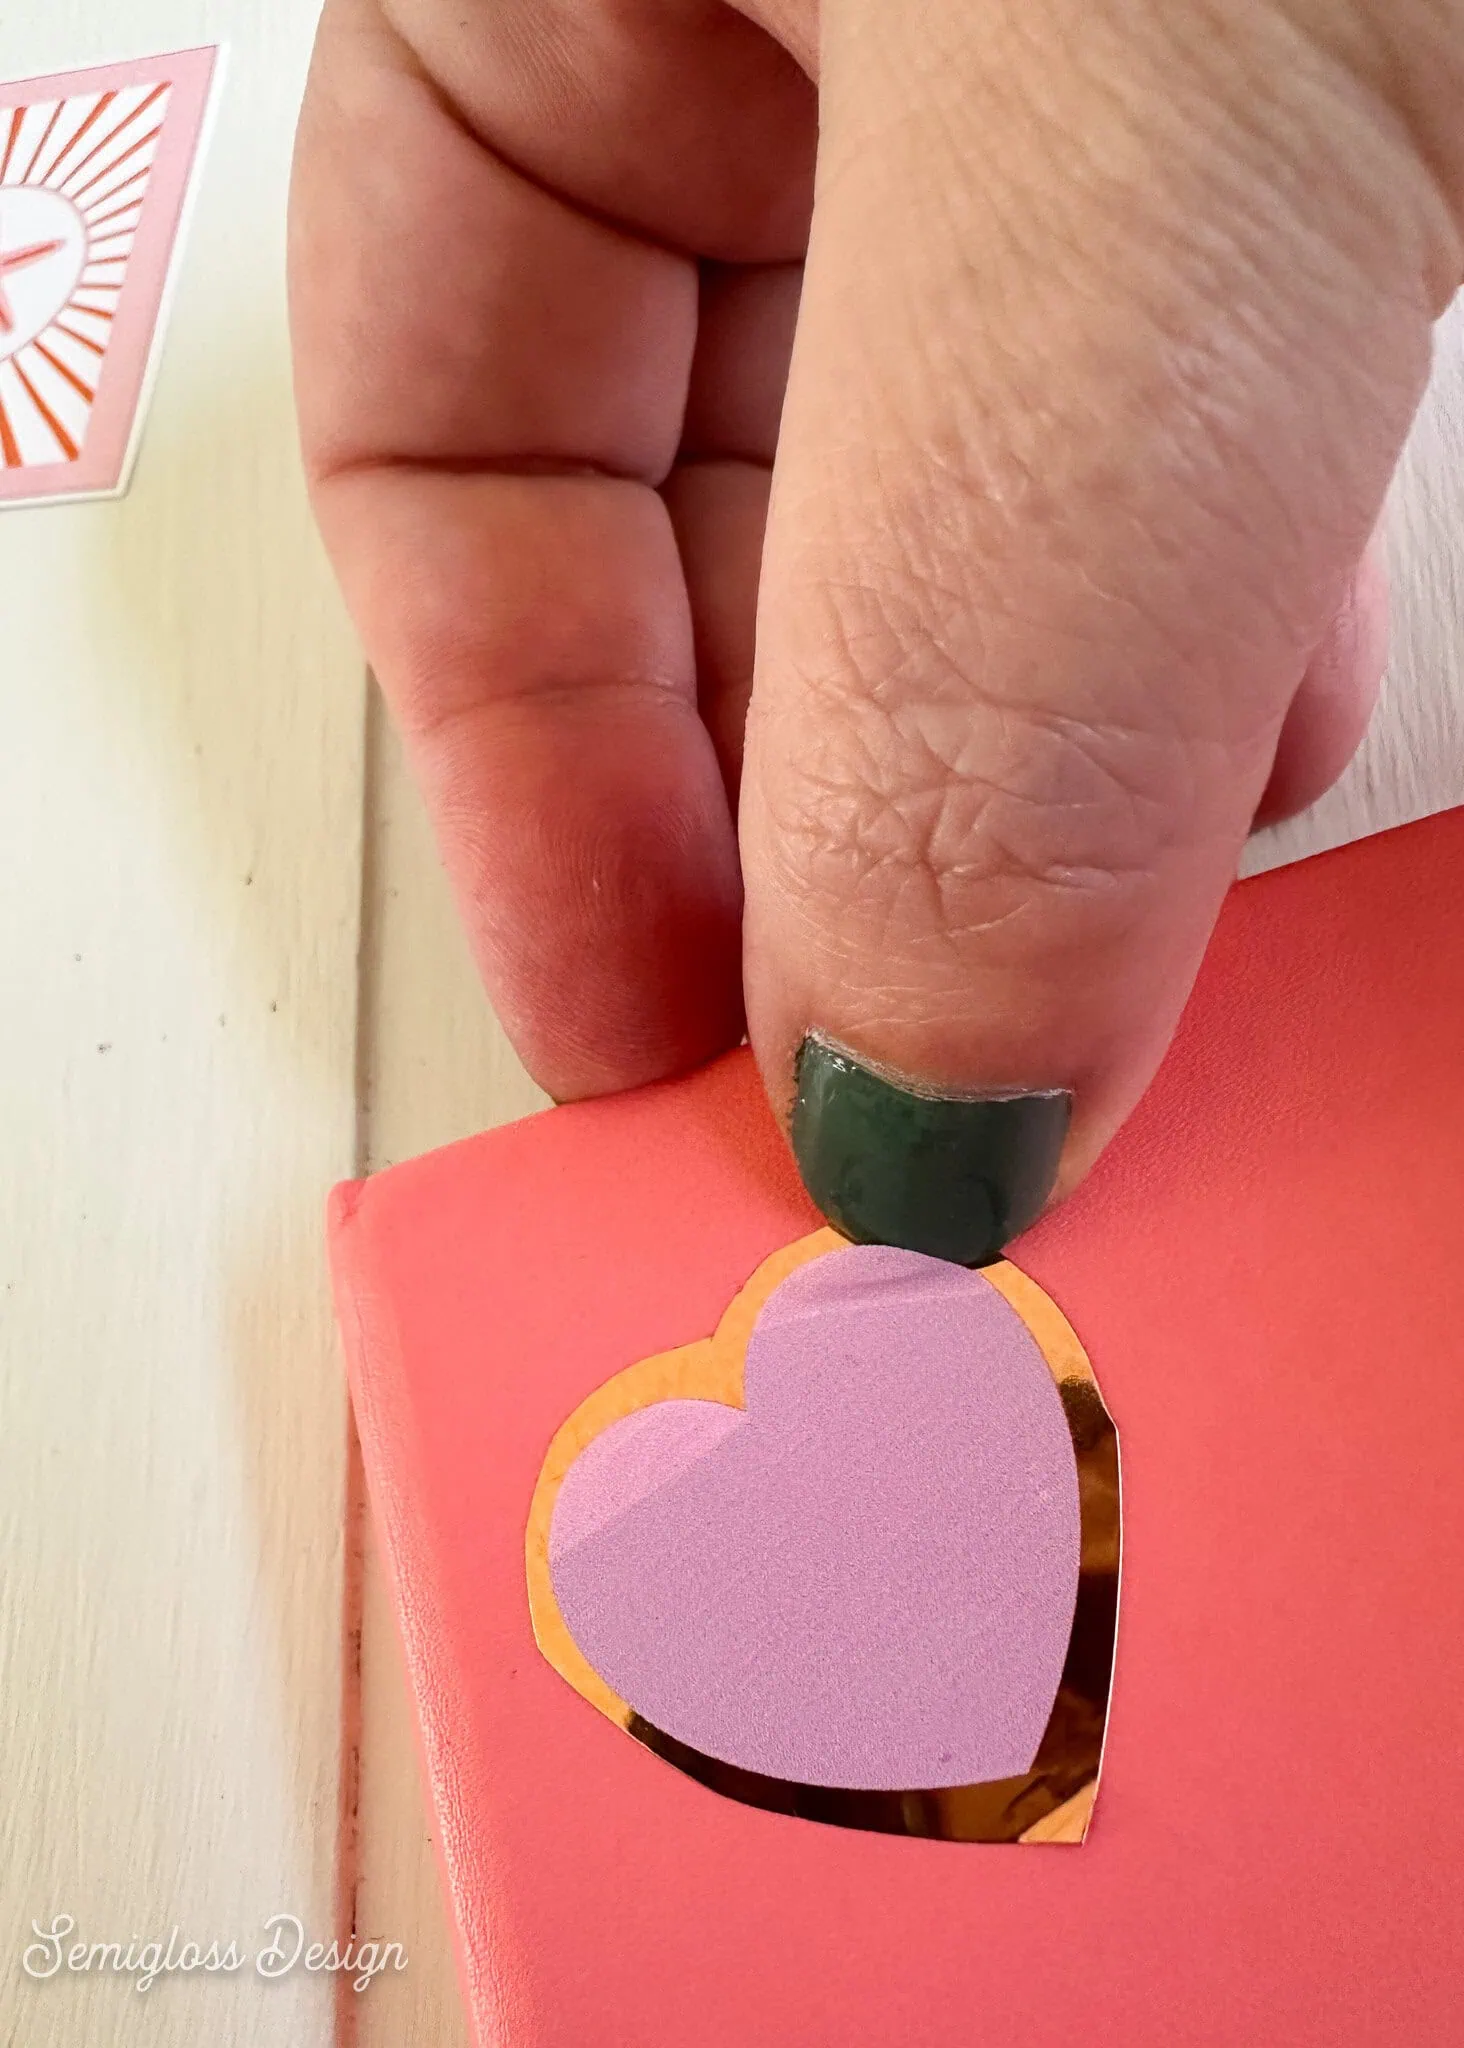
This could be a nice way to use up small vinyl scraps! I hate throwing them away, so I always save them for later.
Enough testing, let’s get to printing.
Four Easy Ways to Make Stickers with the xTool O1 Omni
I have a full tutorial for using the xTool O1 Omni here, so I won’t repeat myself. The following directions include all relevant information for each technique.
Cut Stickers By Hand
The first two methods require cutting the stickers by hand. This is a great method for stickers with simple designs. It also works great if you’re not going to print very many stickers.
Sticker Sheets
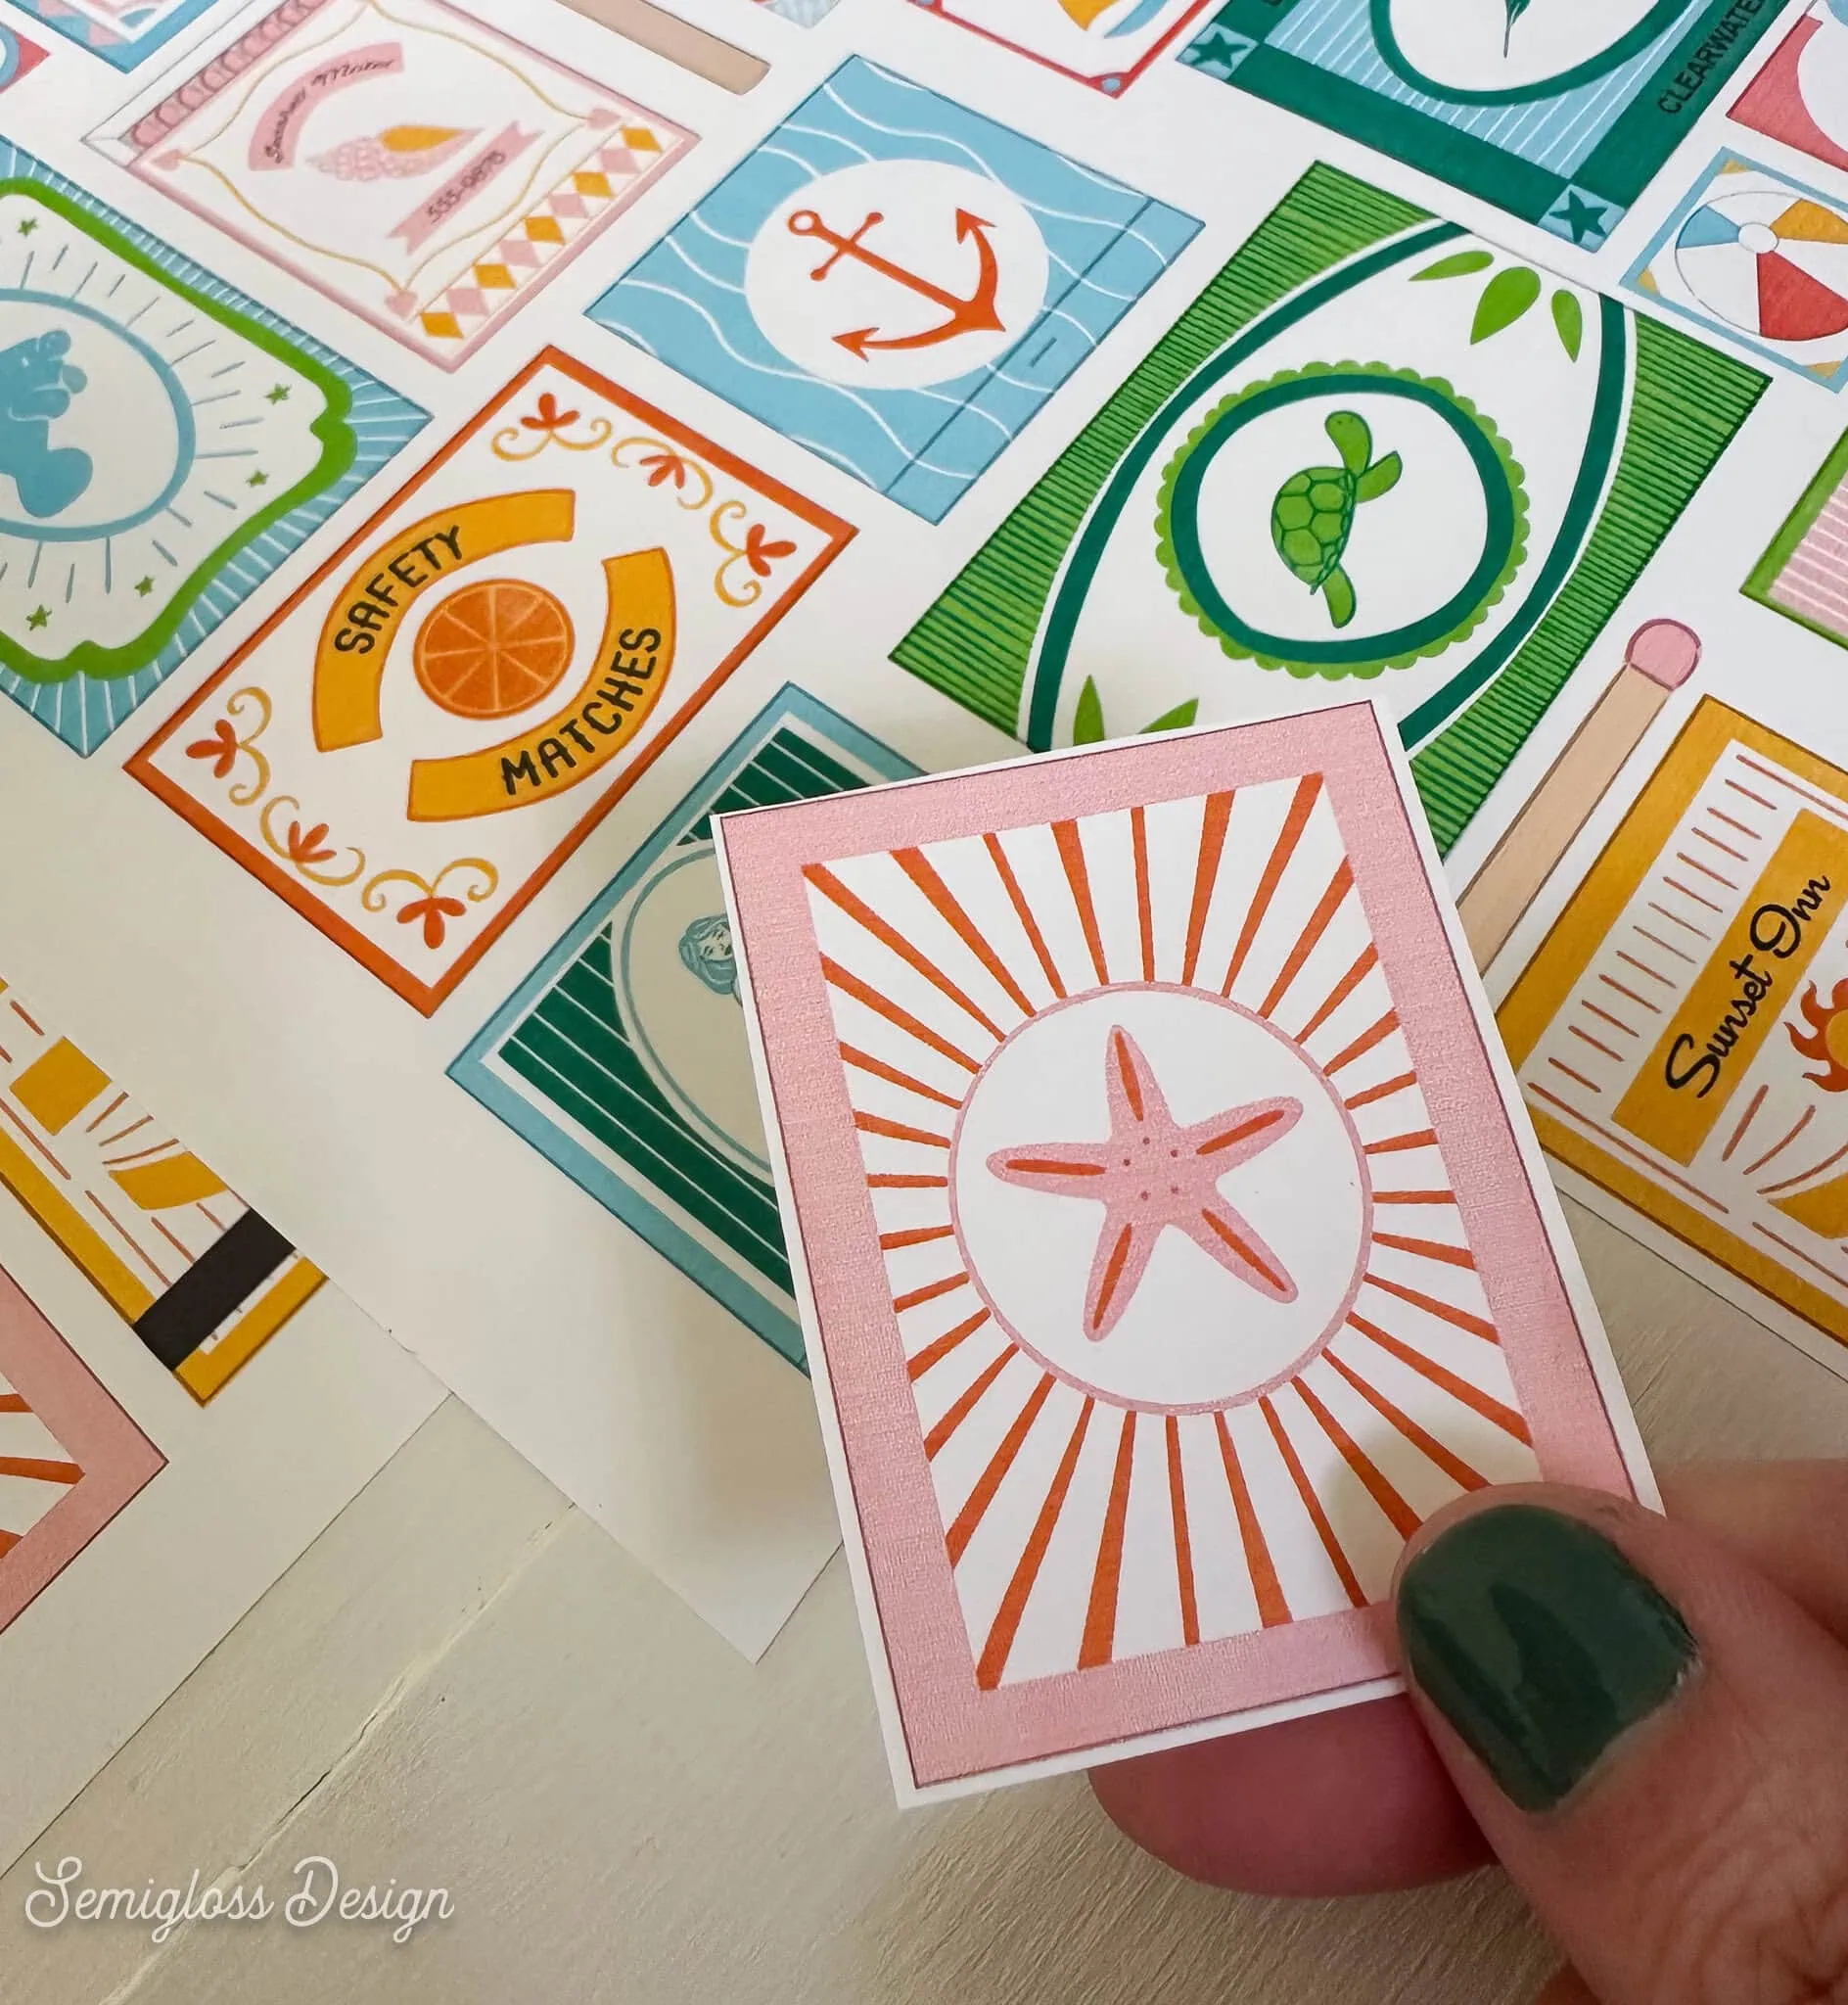
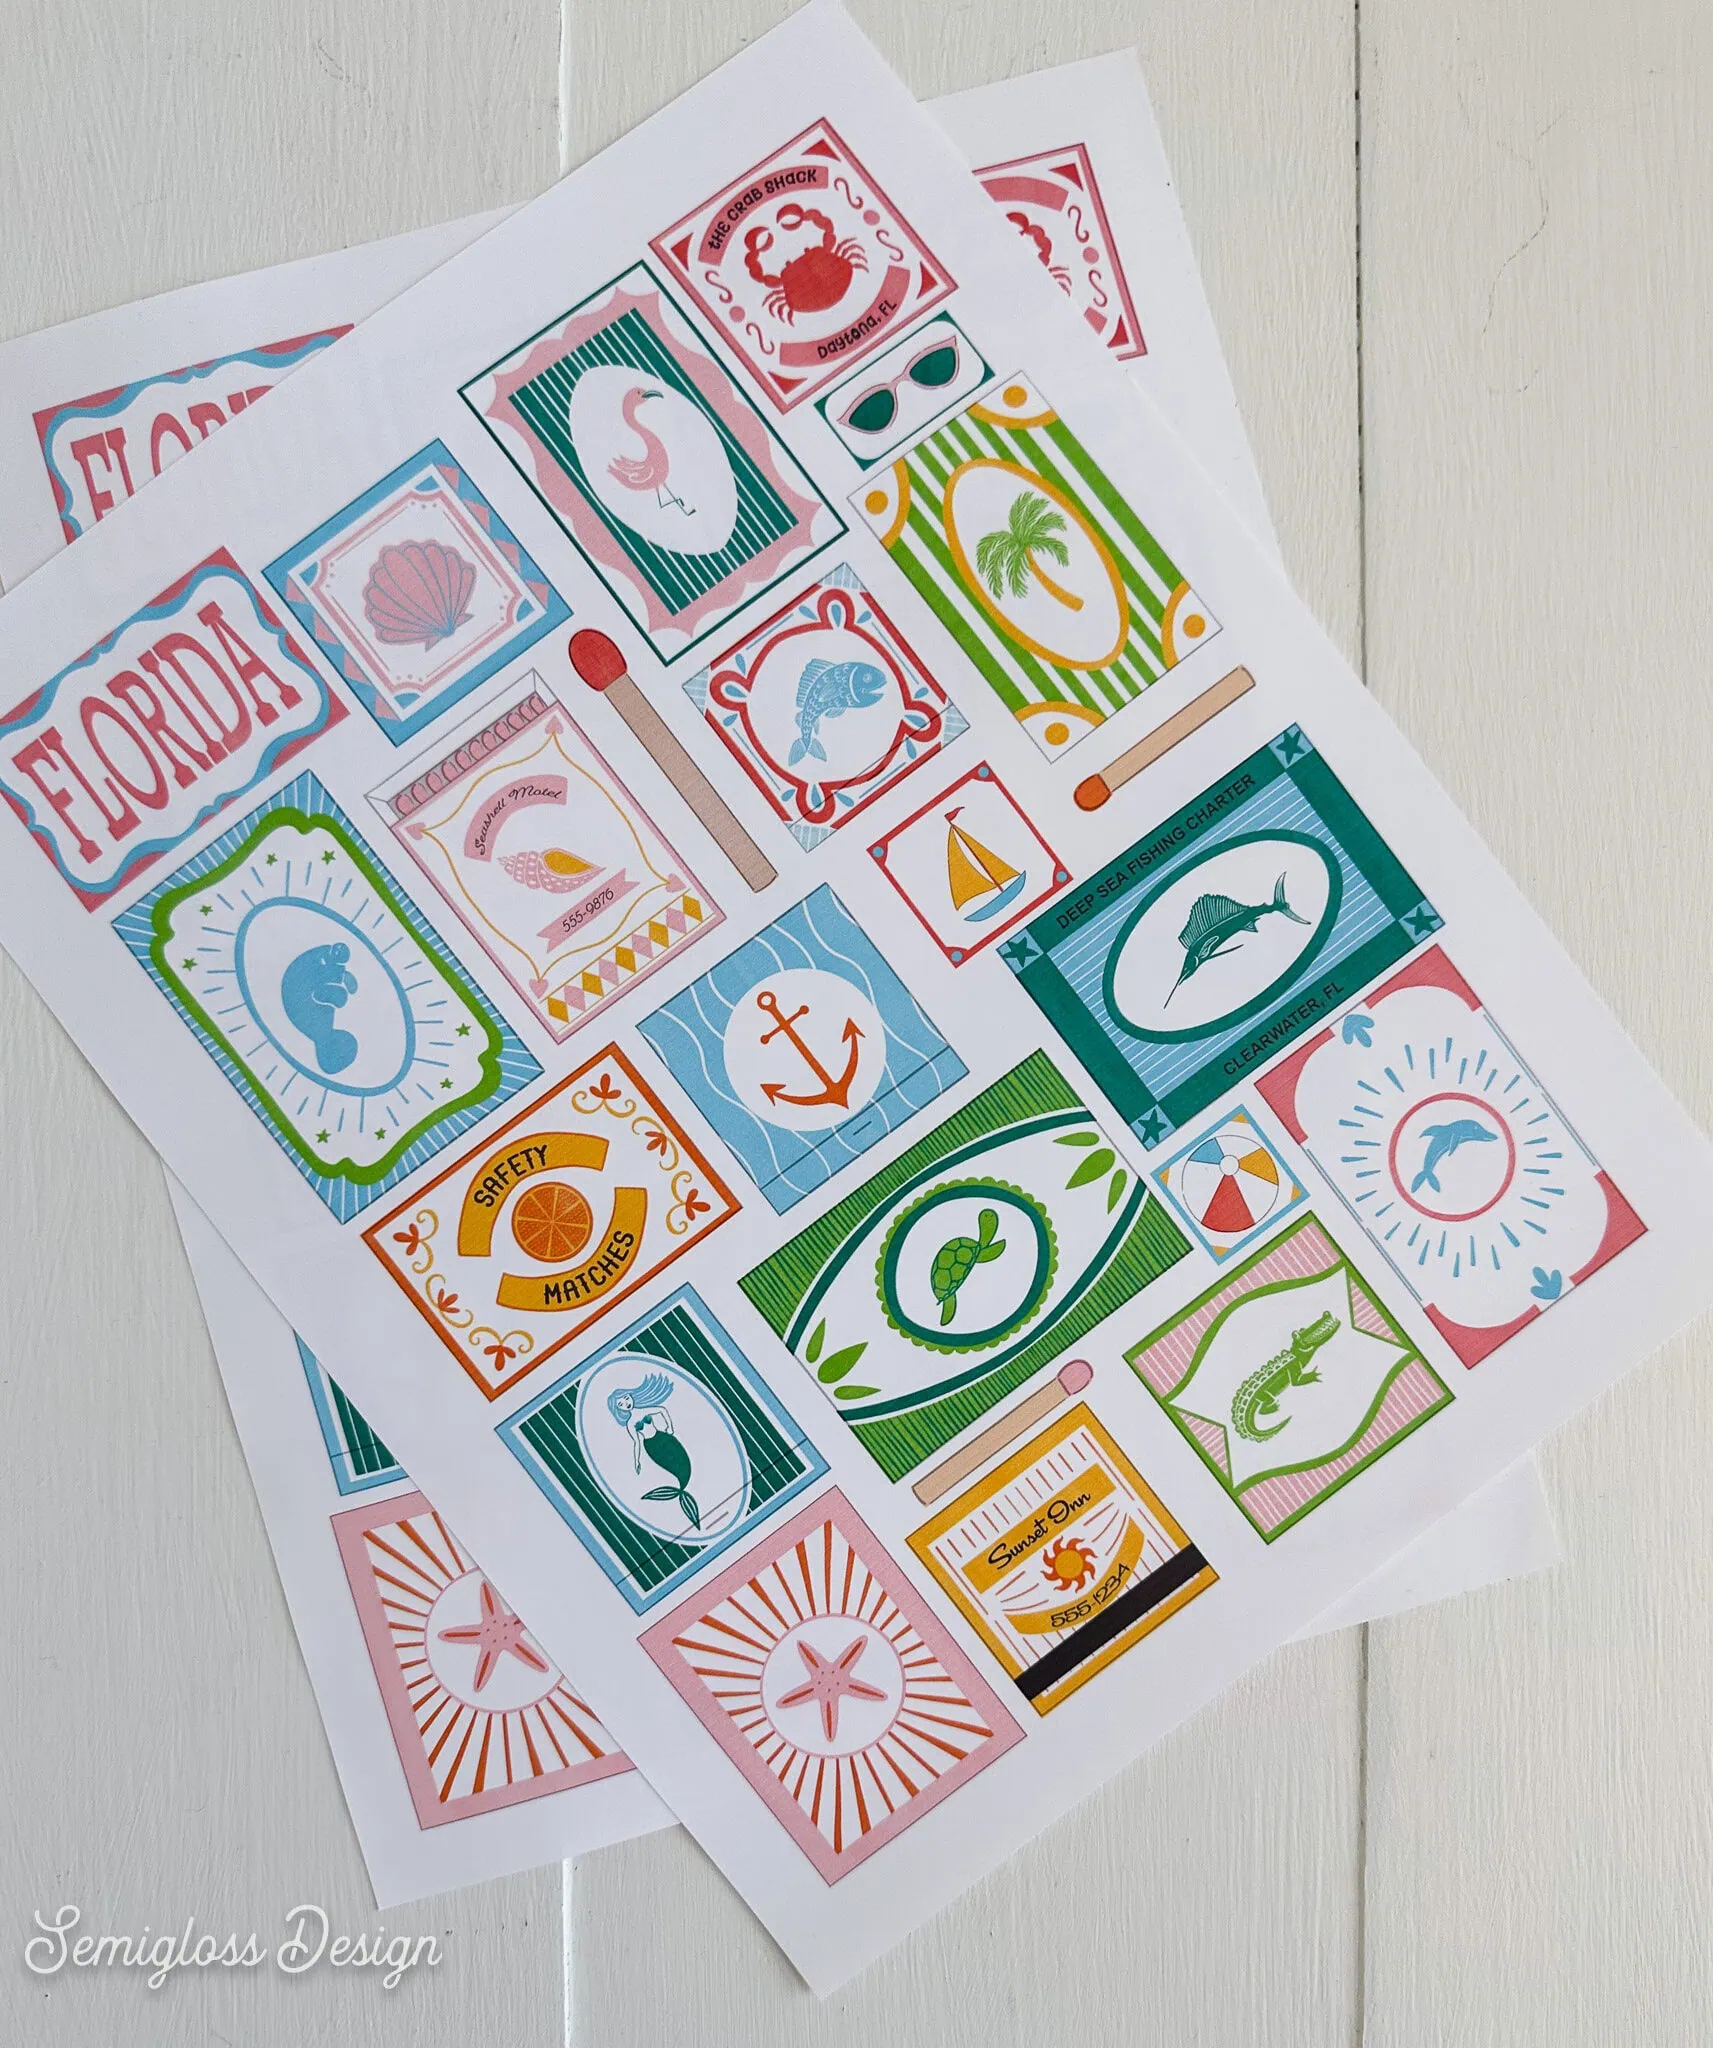
I made an entire sheet of stickers, which was a game changer. Printing an entire sheet of sticker paper instead of wasting 1/3 of the paper on the version with registration marks saves so much paper.
This method is best for cutting your own stickers by hand. For that reason, I made the shapes easy to cut, using squares and rectangles.
Best for: Entire sheets of stickers with easy-to-cut lines
Extra Supplies Needed:
- Sticker Paper
- Scissors or paper cutter
Directions
- Place sticker paper on the baseplate. Try to get it as straight as possible.
- Scan the baseplate.
- Upload, resize, and place the sticker sheet image on top.
- Print as usual. For white paper, I skip the white ink layer.
- After printing, cut the stickers by hand with scissors or a paper cutter if they line up.

Making Textured Stickers
I have fond memories of puffy stickers from the 80s, so I wanted to see what textured stickers look like.
Best for: Designs that could use some texture. This method takes a while to print, so save it for really special stickers…
Extra Supplies Needed:
- Sticker Paper
- Scissors or paper cutter
Directions
The xTool Studio software can separate the linework from the image, but I like to have more control. When creating my image, I make a separate layer for the parts that need texture. For my snail, I uploaded a PNG of his body and shell. Then I uploaded 2 layers: one for his shell linework and one for his body texture.
- Upload the image as usual. If you separated the linework, upload it as well.

- Select the layers and resize.
- Choose the linework layer(s) and select texture. Change the thickness. Since sticker paper is thin, I always lower the amount. I chose .04 for these stickers. This still created a lot of texture!

- When my settings were correct, I copied and pasted the layers to create another sticker. It copies the settings for each layer, so that saves me a bit of time.

- Then print. It can take a while…

- Cut the stickers by hand. For small images, I like to use curved manicure scissors.

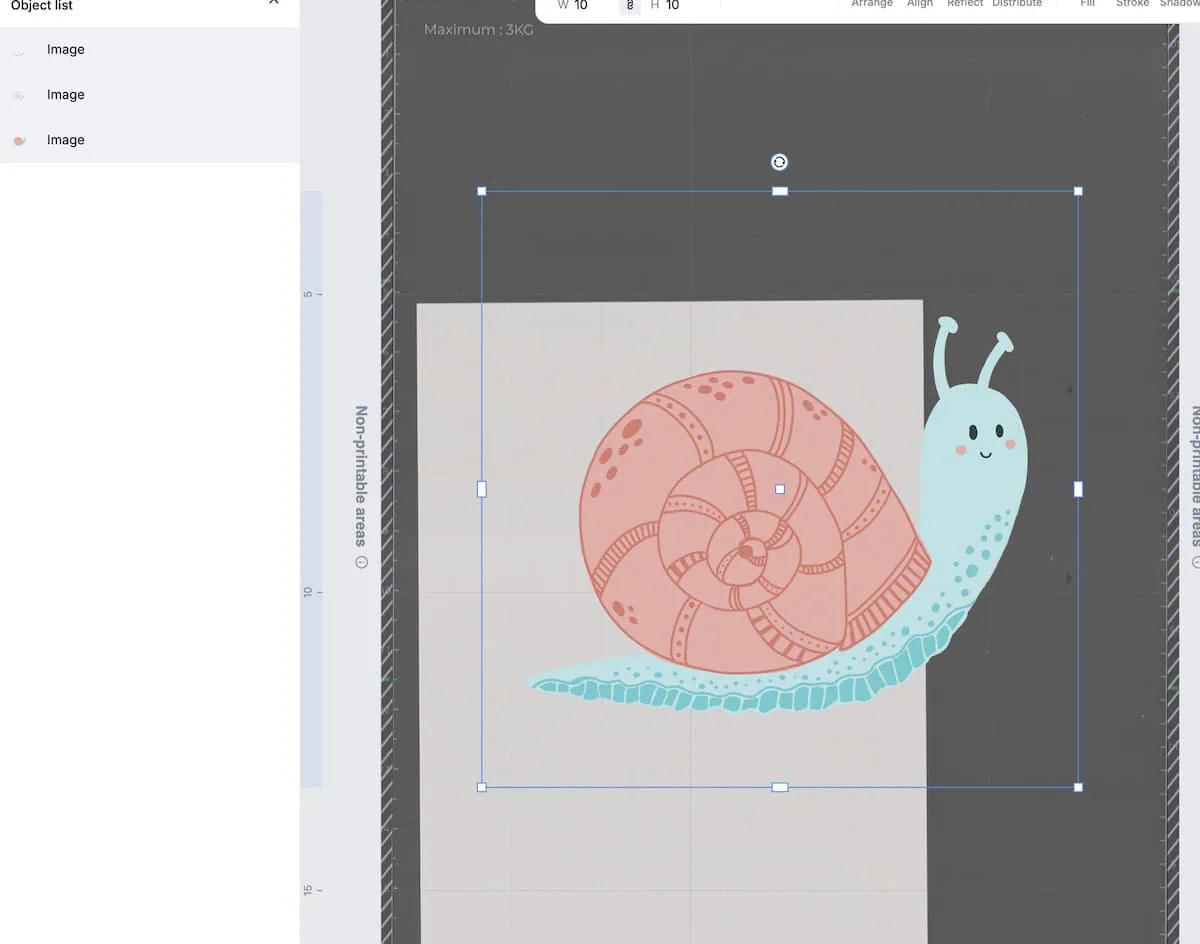
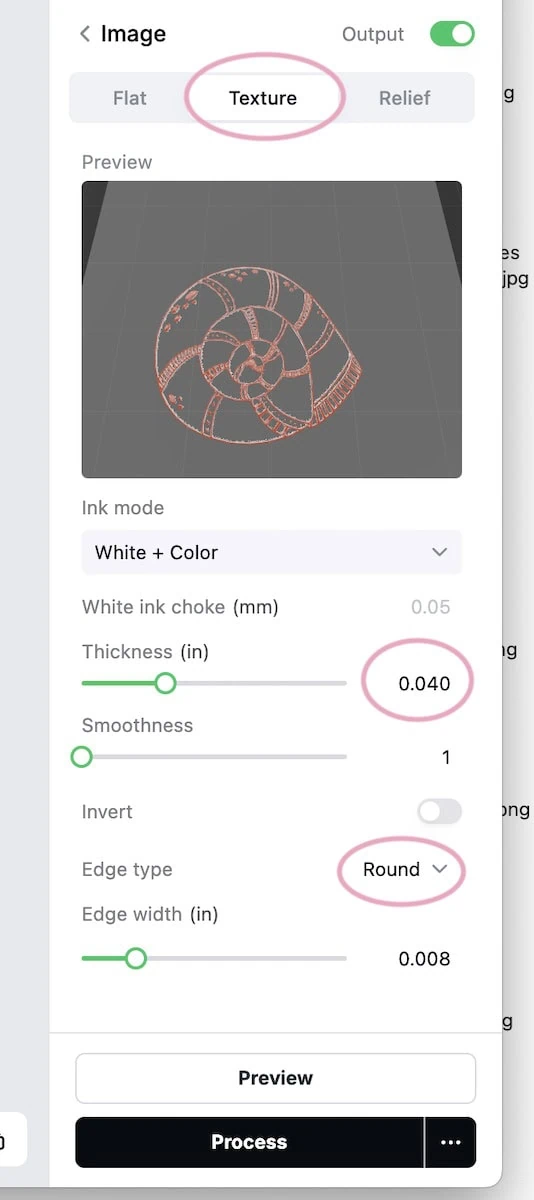
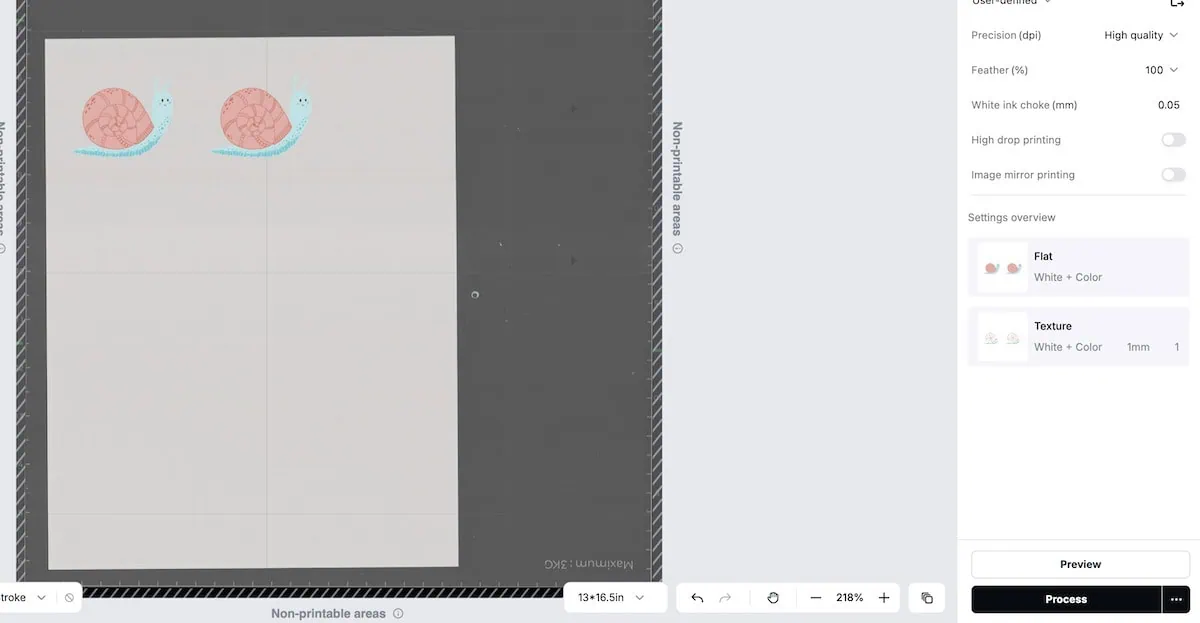
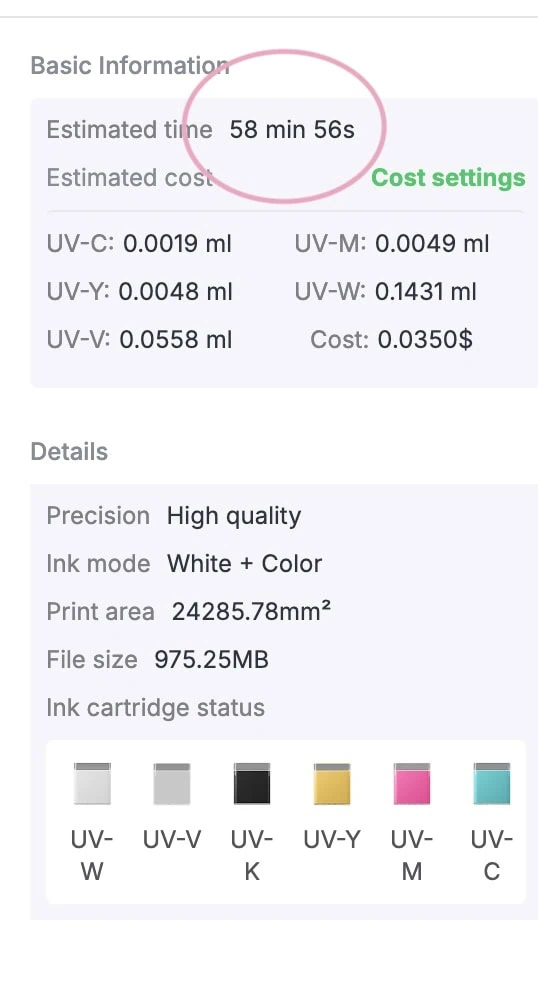
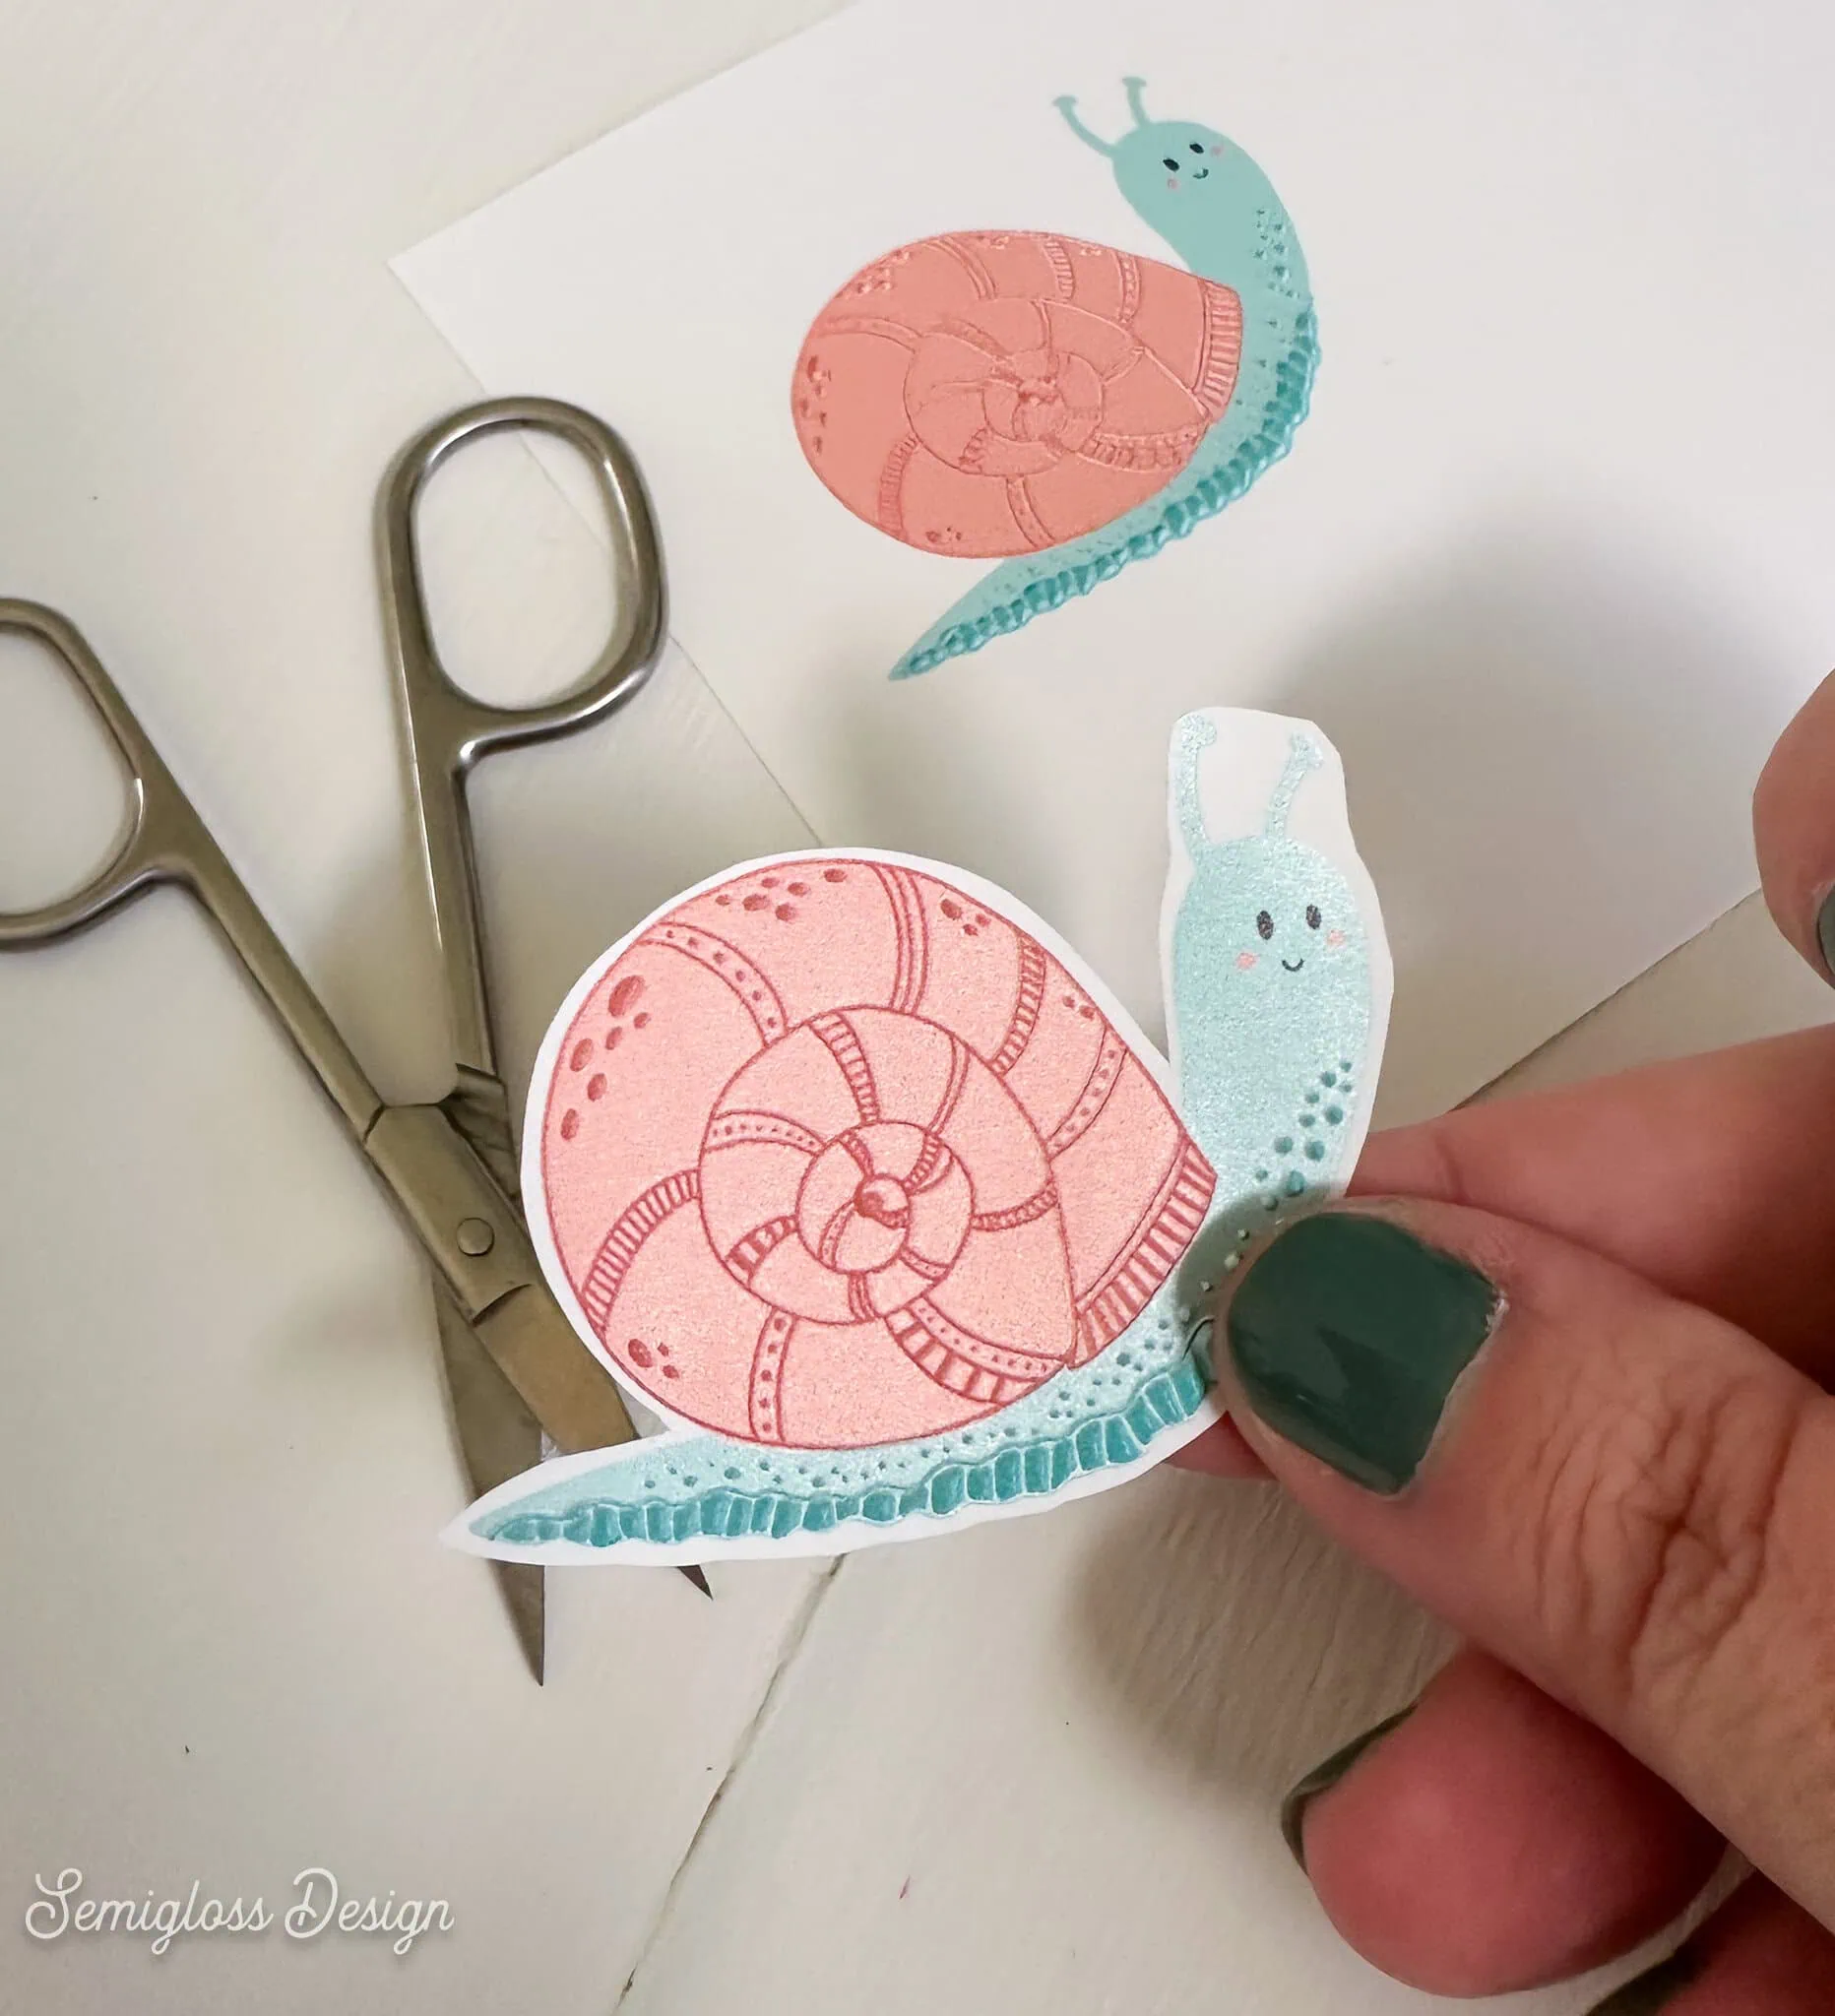
I love the texture on this guy!
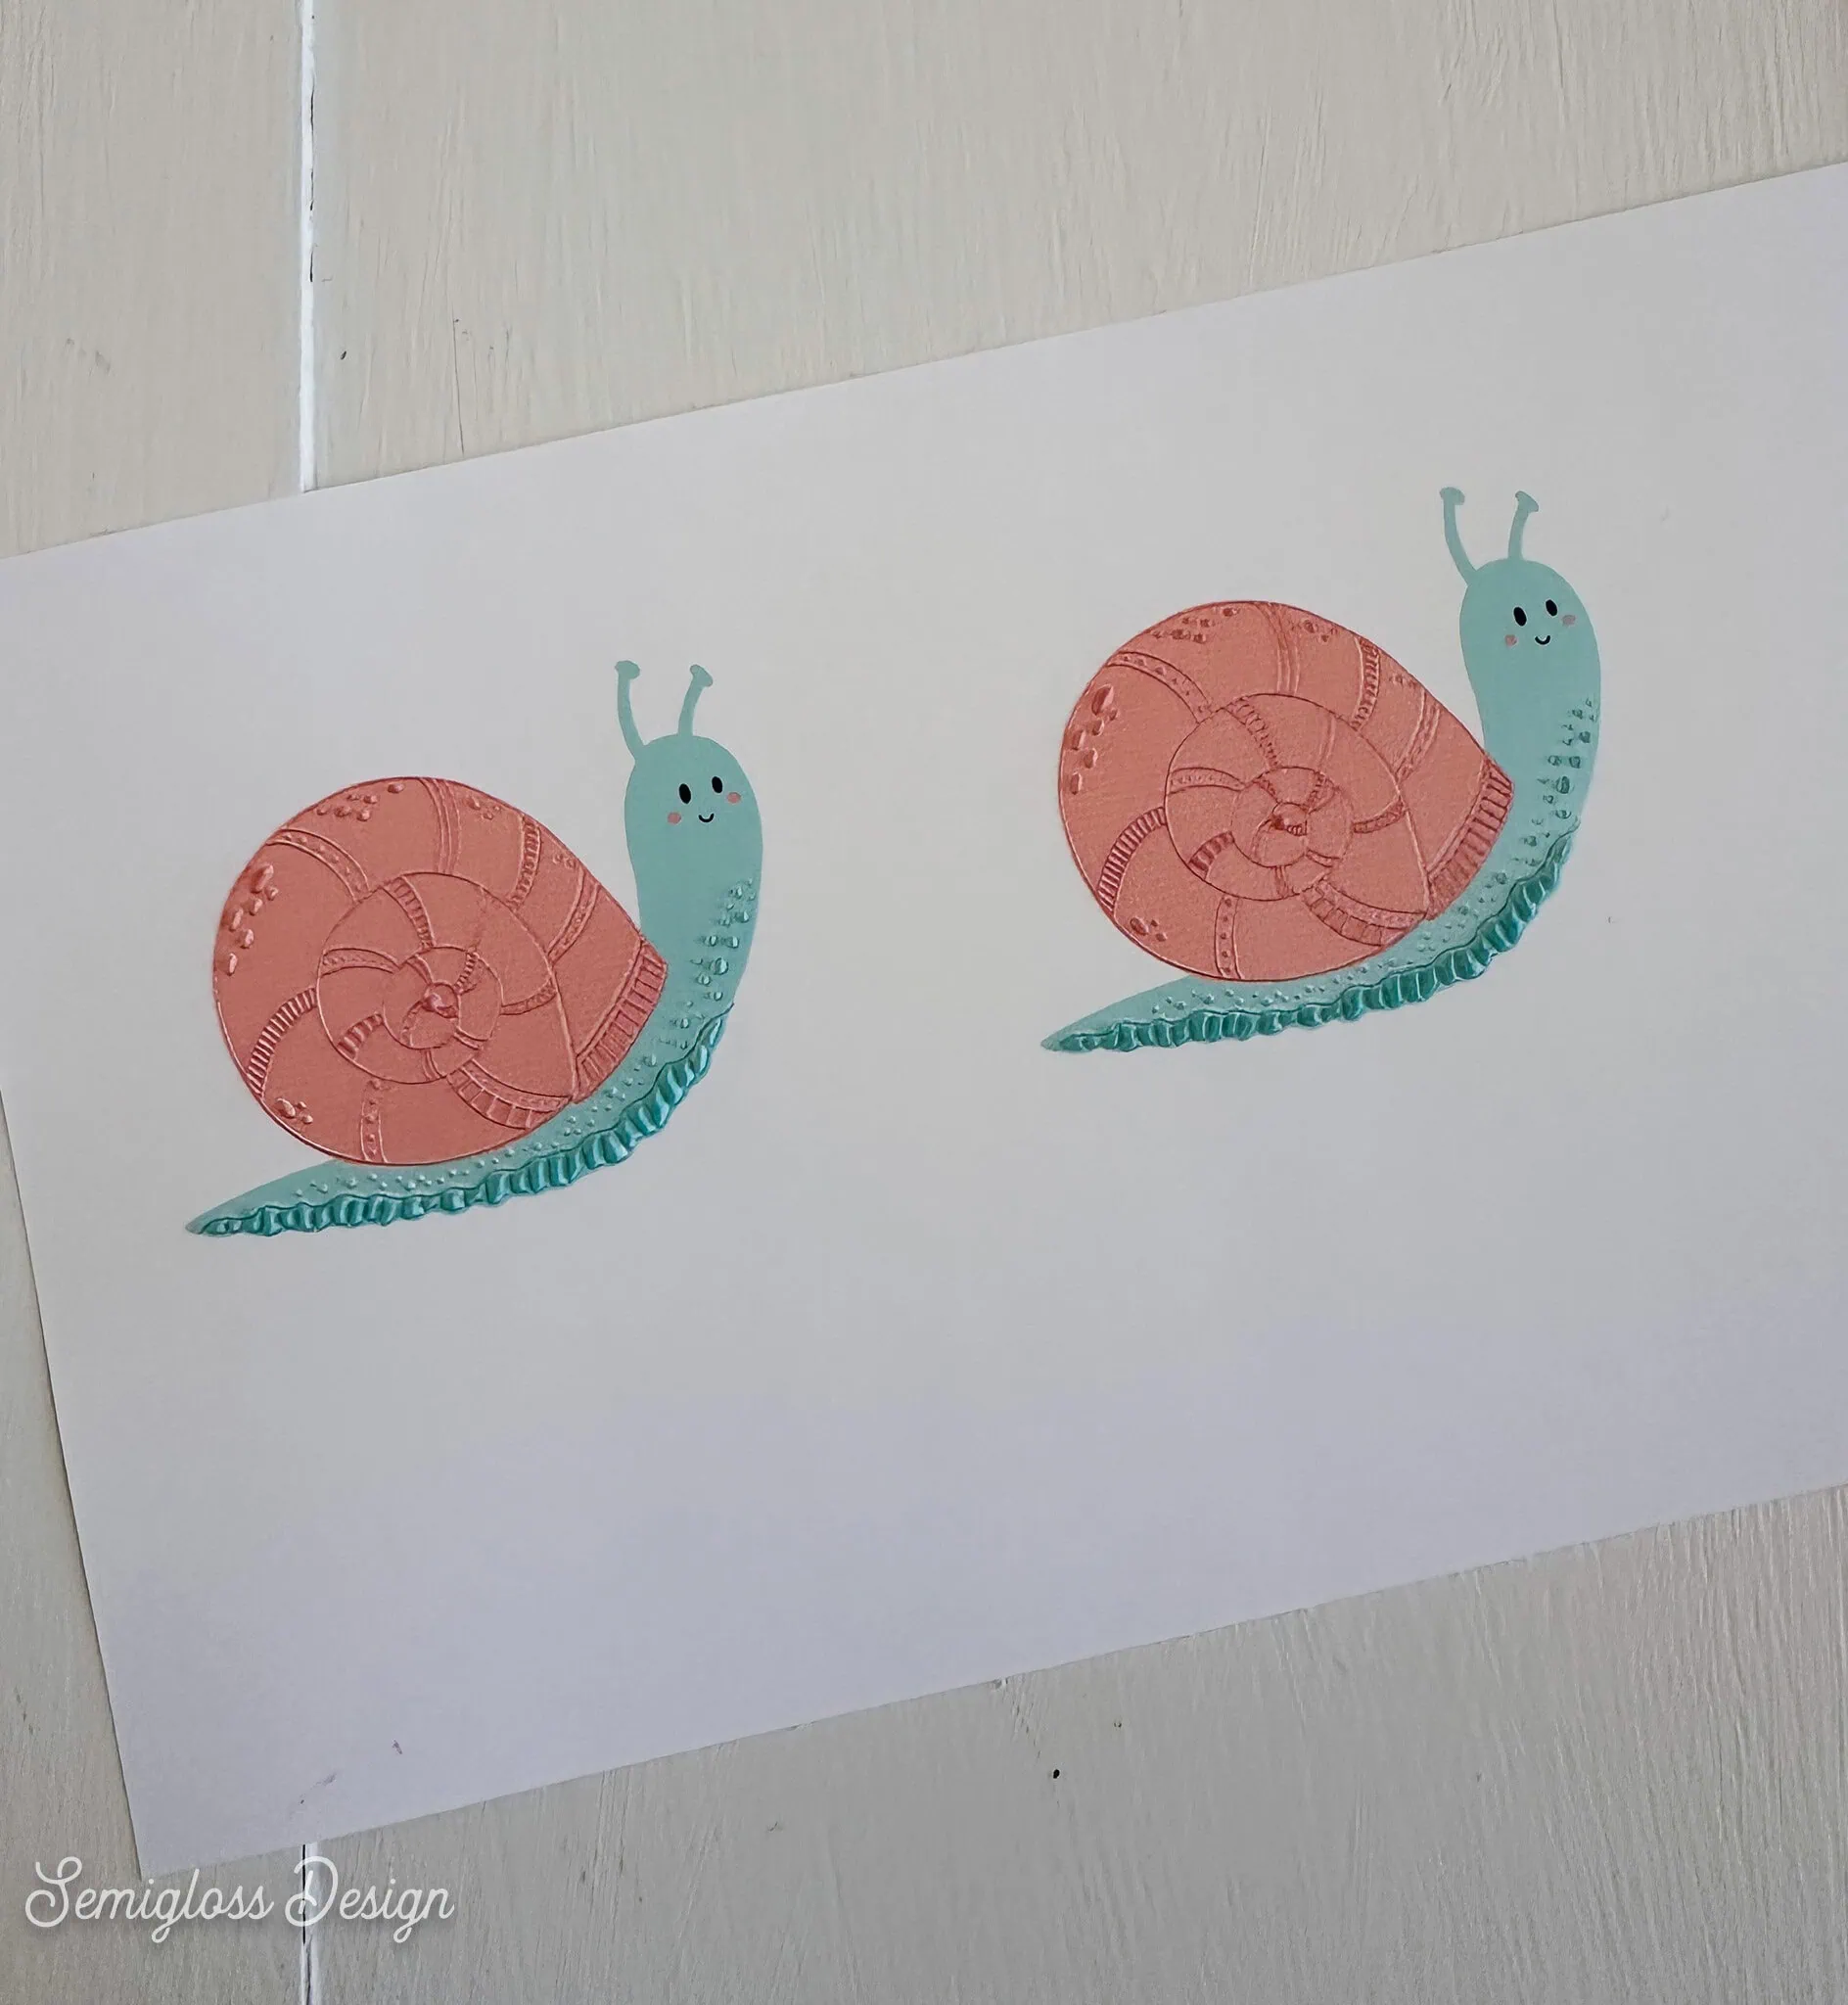
Use the Omni O1 with a Cutting Machine
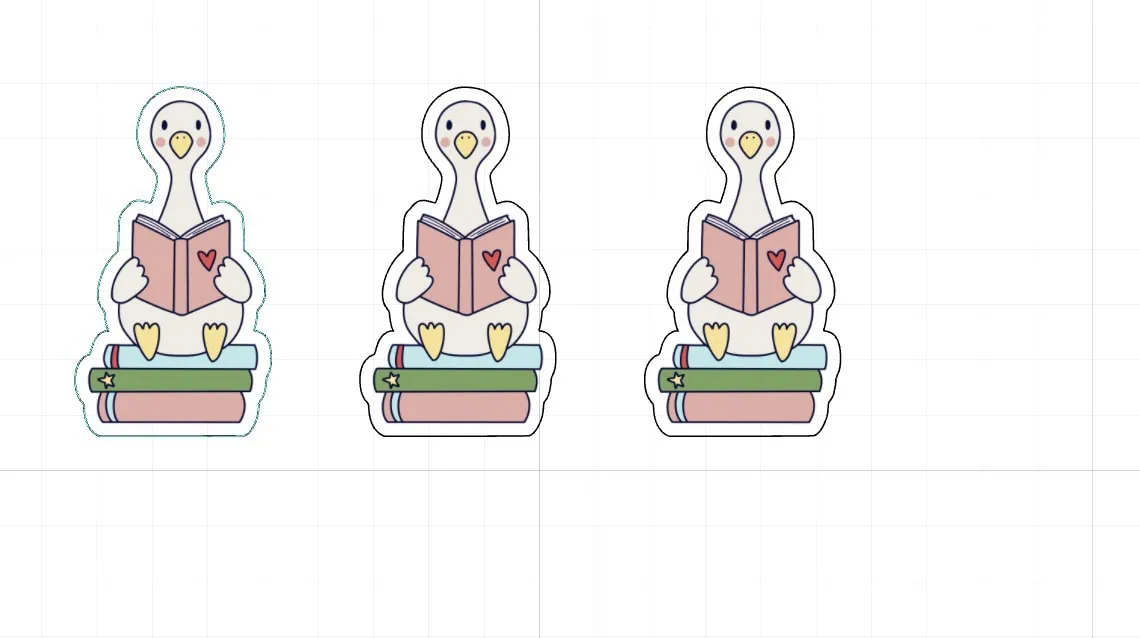
Die-cut stickers will always be my favorite. You can use your cutting machine and the xTool O1 Omni for printing. The key is to make the sticker outline a bit bigger than usual. This provides room for error.
Best for: Die-cut stickers, cutting the same sticker multiple times
Extra Supplies Needed:
- Sticker Paper
- Cutting Machine
Directions
- Upload the design to xTool Studio first.
- Resize it as needed.
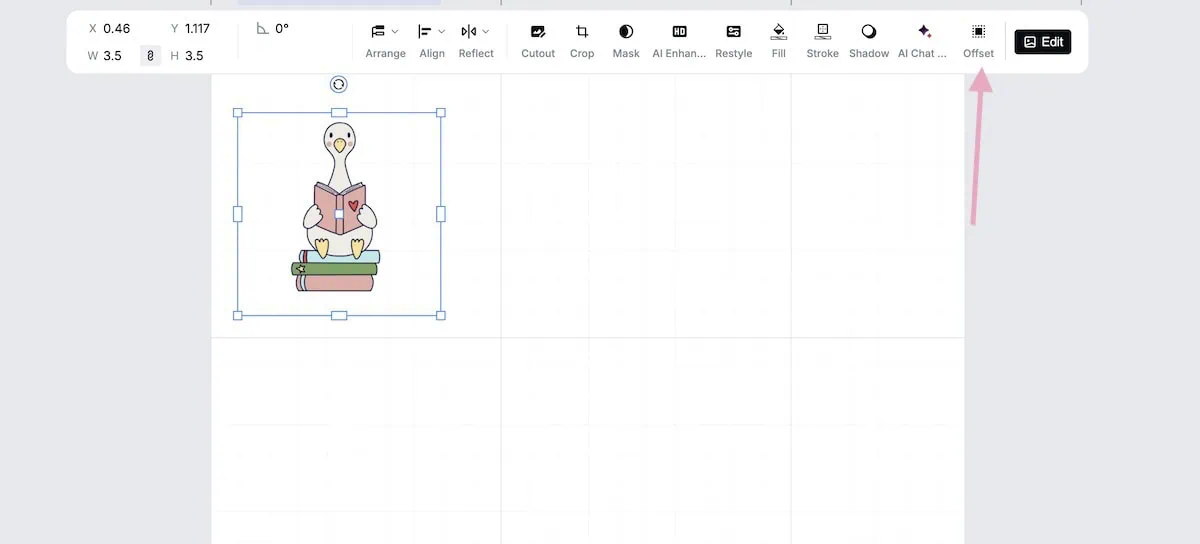
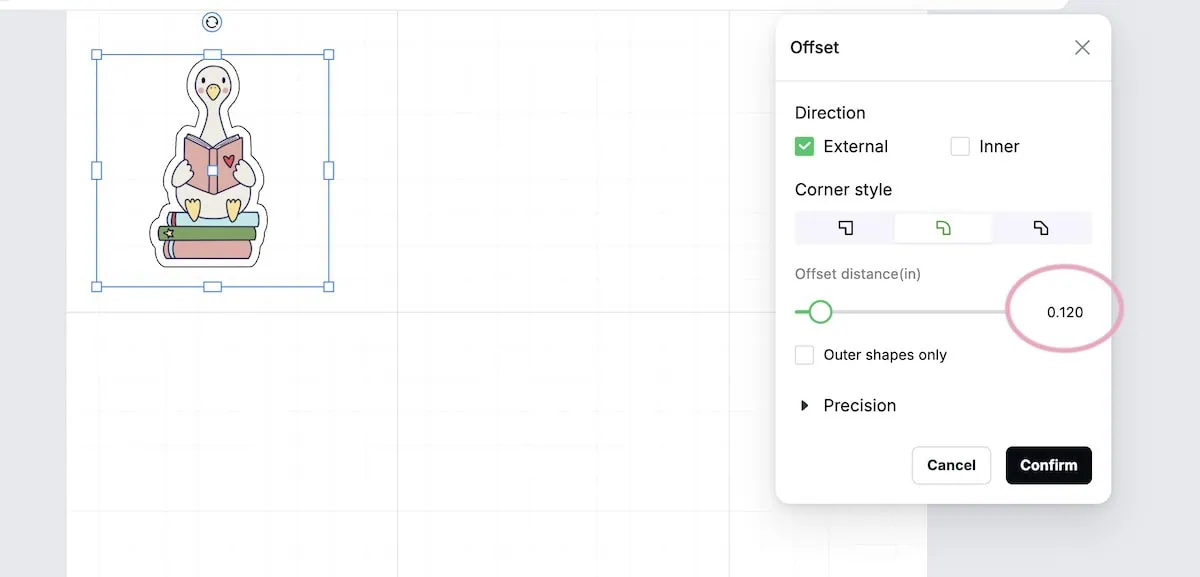
- Add an offset. As I said earlier, I opt for a larger offset than usual. I set it to .120.


- Copy and paste both layers to duplicate the image.

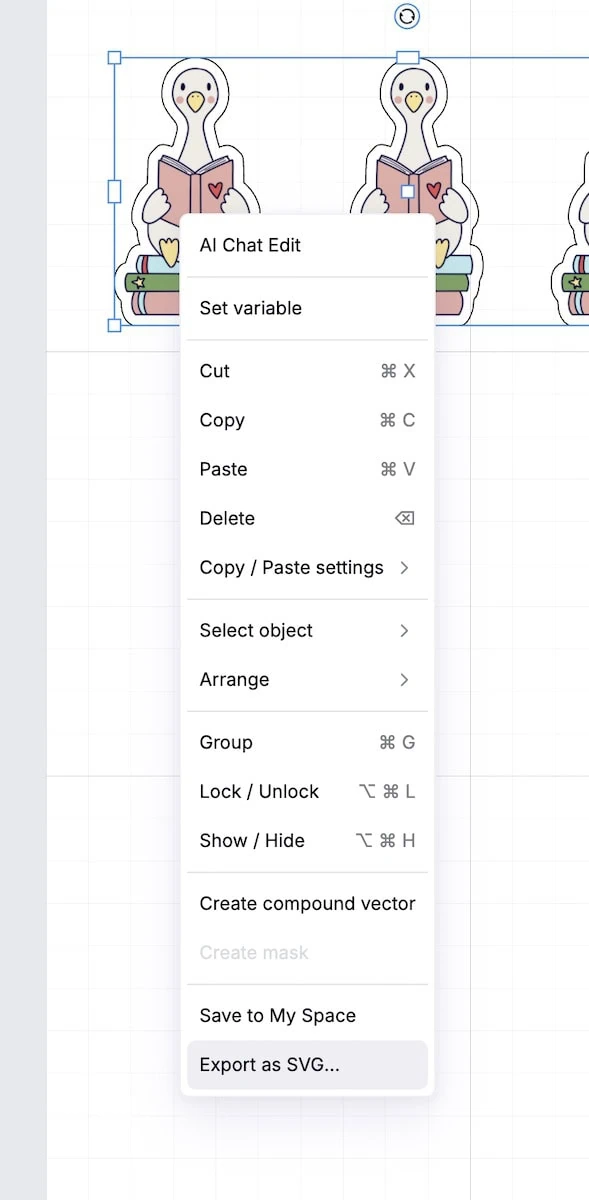
- Select the offset layers, right-click, and select Save as SVG.

- Open your cutting software.
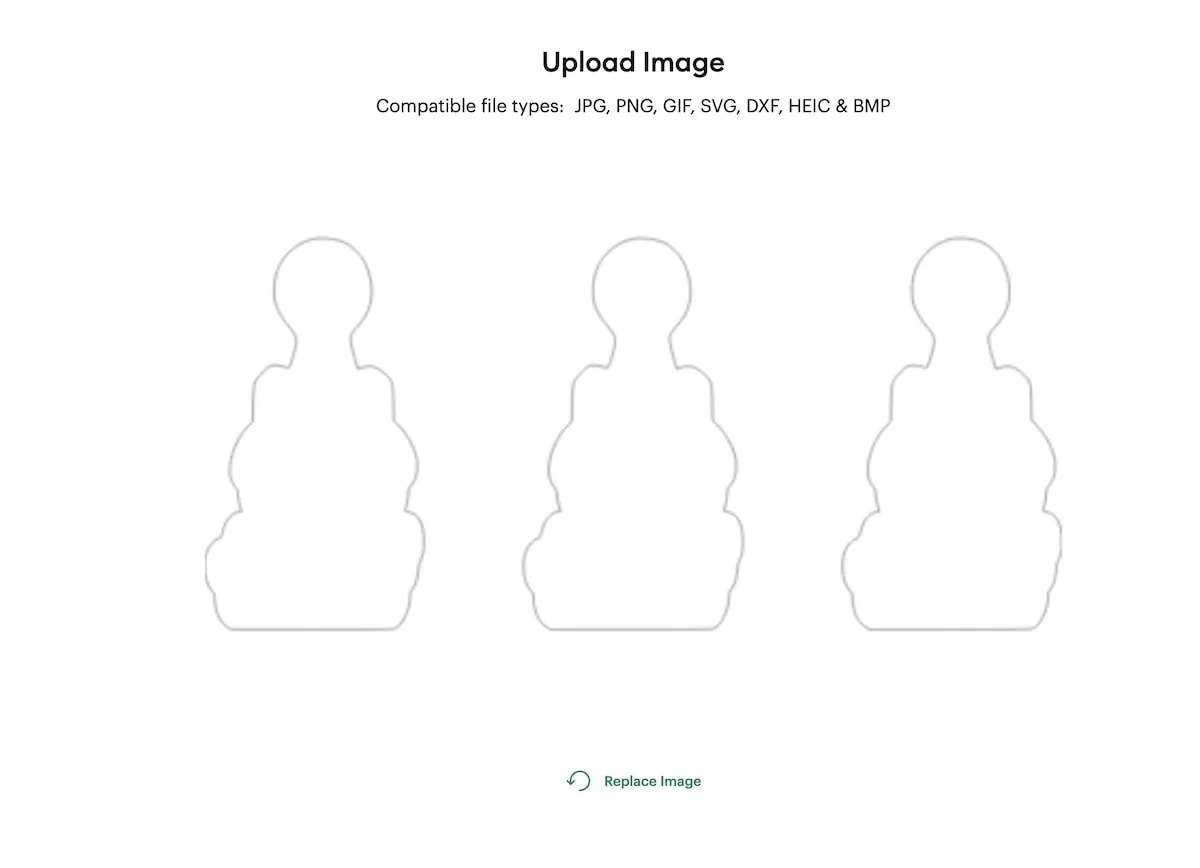
- Upload the SVG you saved in step 5.

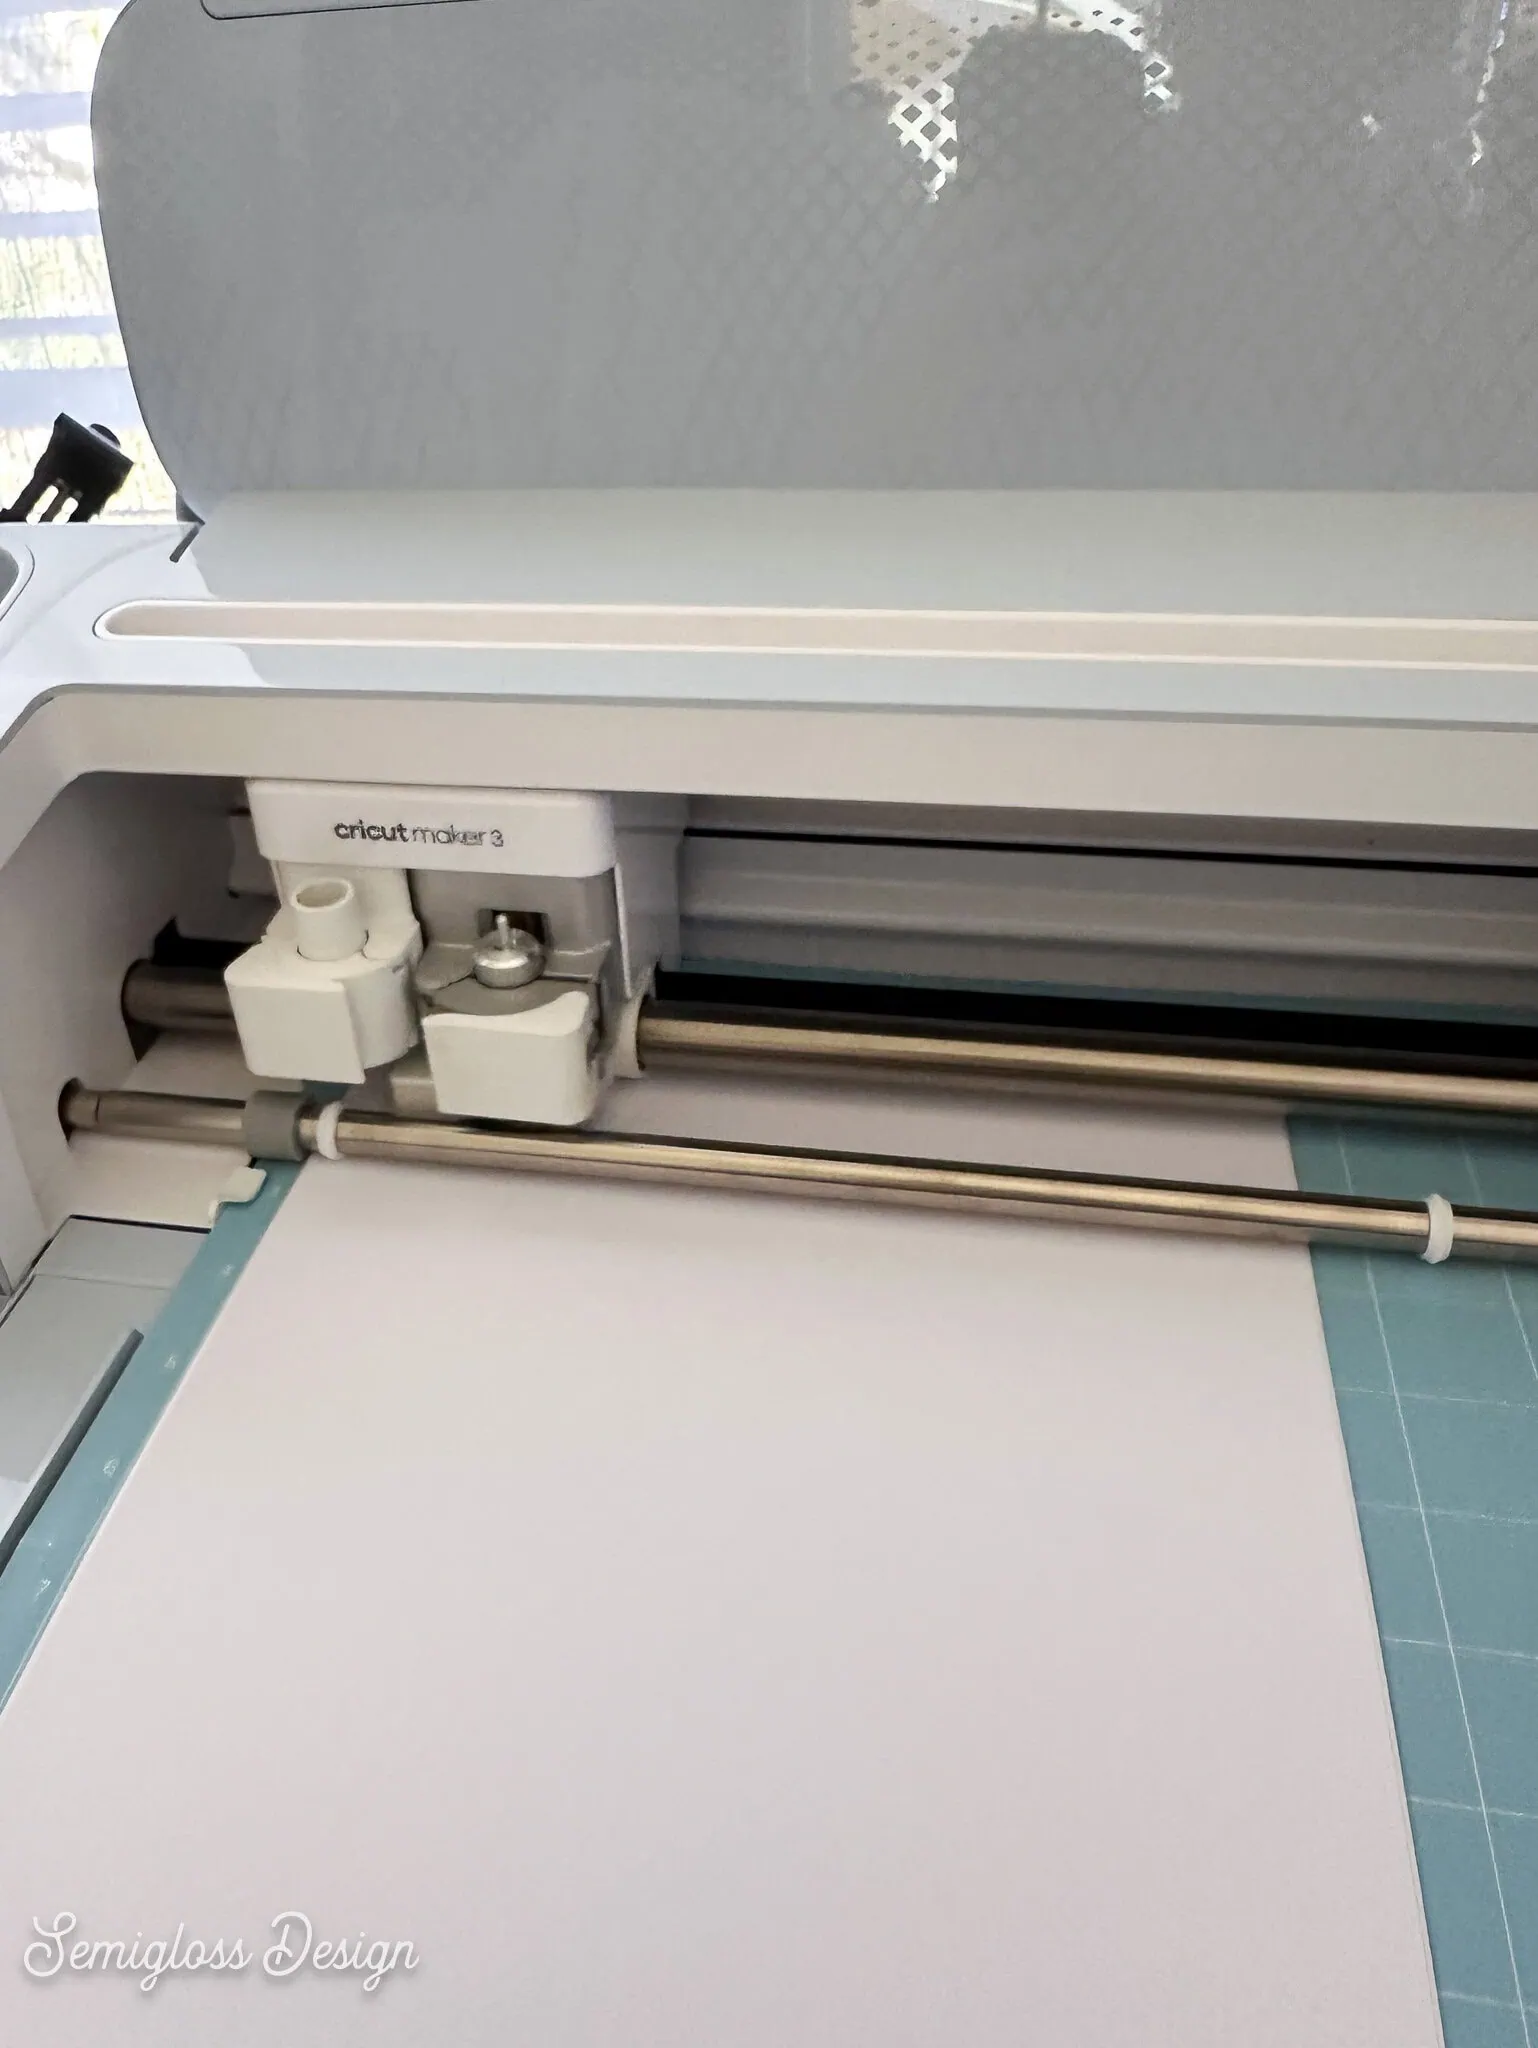
- Cut as usual. For Cricut, I selected “Printable Sticker Paper, White” for my material. Your cut settings will depend on your machine and paper type.
- Make sure the cut goes all the way through before unloading the mat. If it hasn’t, send it to cut one more time. Next time, you may need a thicker setting.

- Remove the excess sticker paper from the mat and place it onto the xTool baseplate. This helps align the stickers perfectly.
- Then place the stickers into the holes.
- Remove the weeded sticker paper and press the cut shapes down to ensure adhesion.
- In xTool Studio, scan the material.
- Place the sticker images over the cut shapes. Use the arrow keys to make small adjustments.

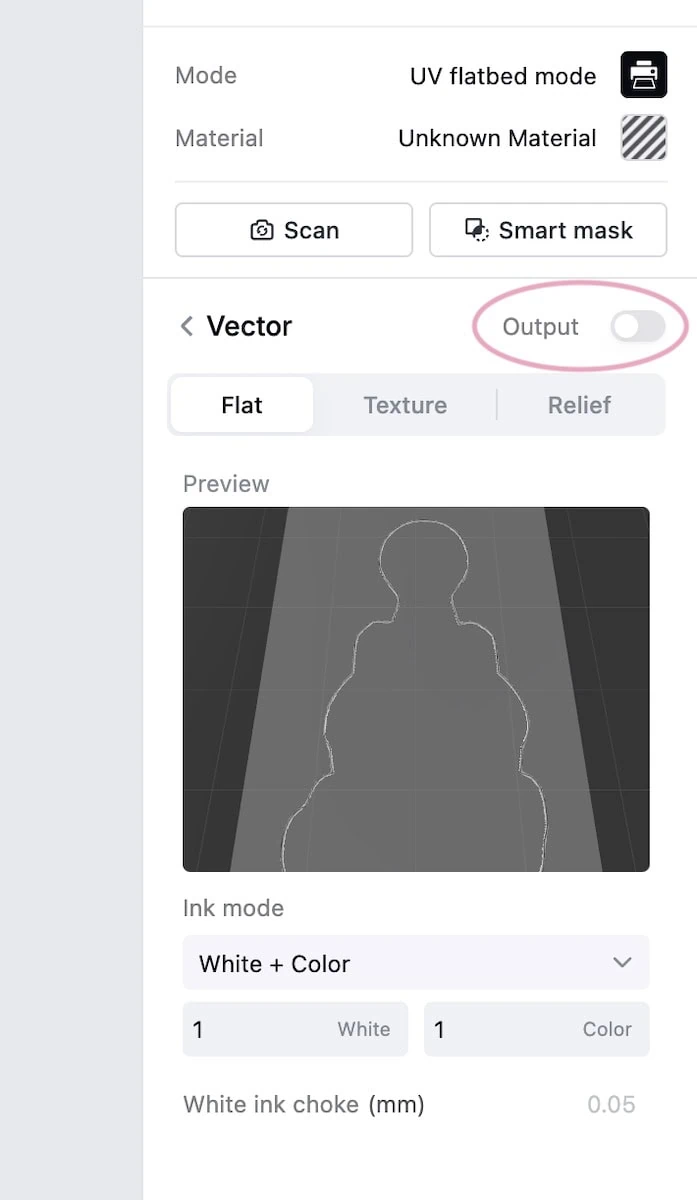
- Set the offset layers to No output.

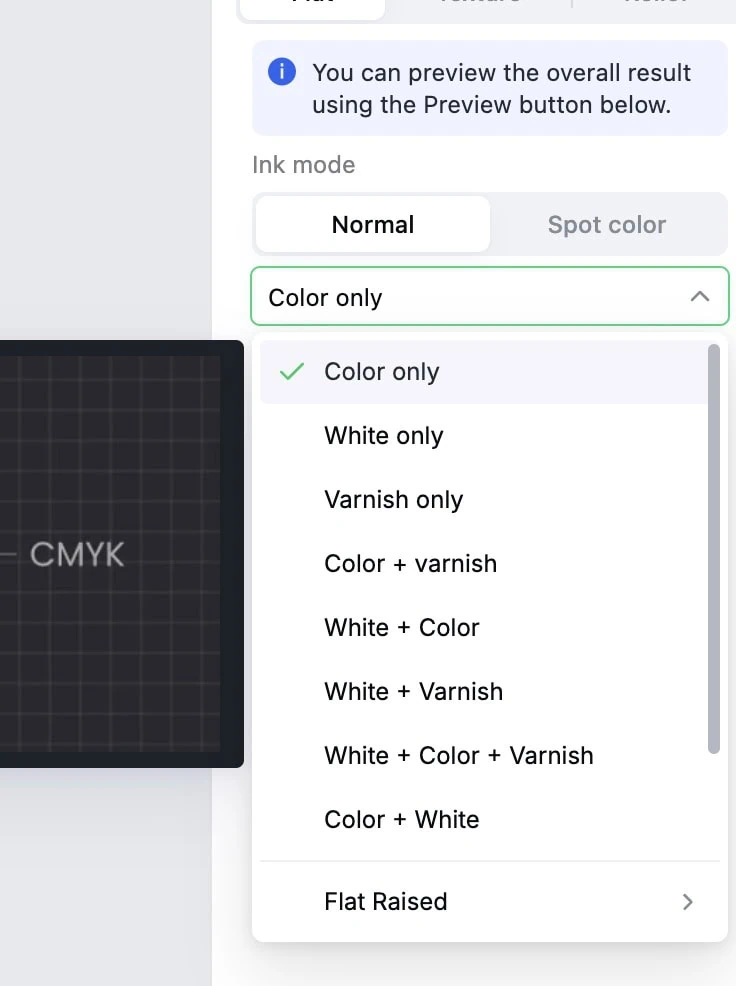
- If your sticker paper is white, select color only. This will save ink and time.

- Press the process button to start printing. These only took about 4 minutes to print.
- When it’s done, use the scraper tool to gently remove the stickers.

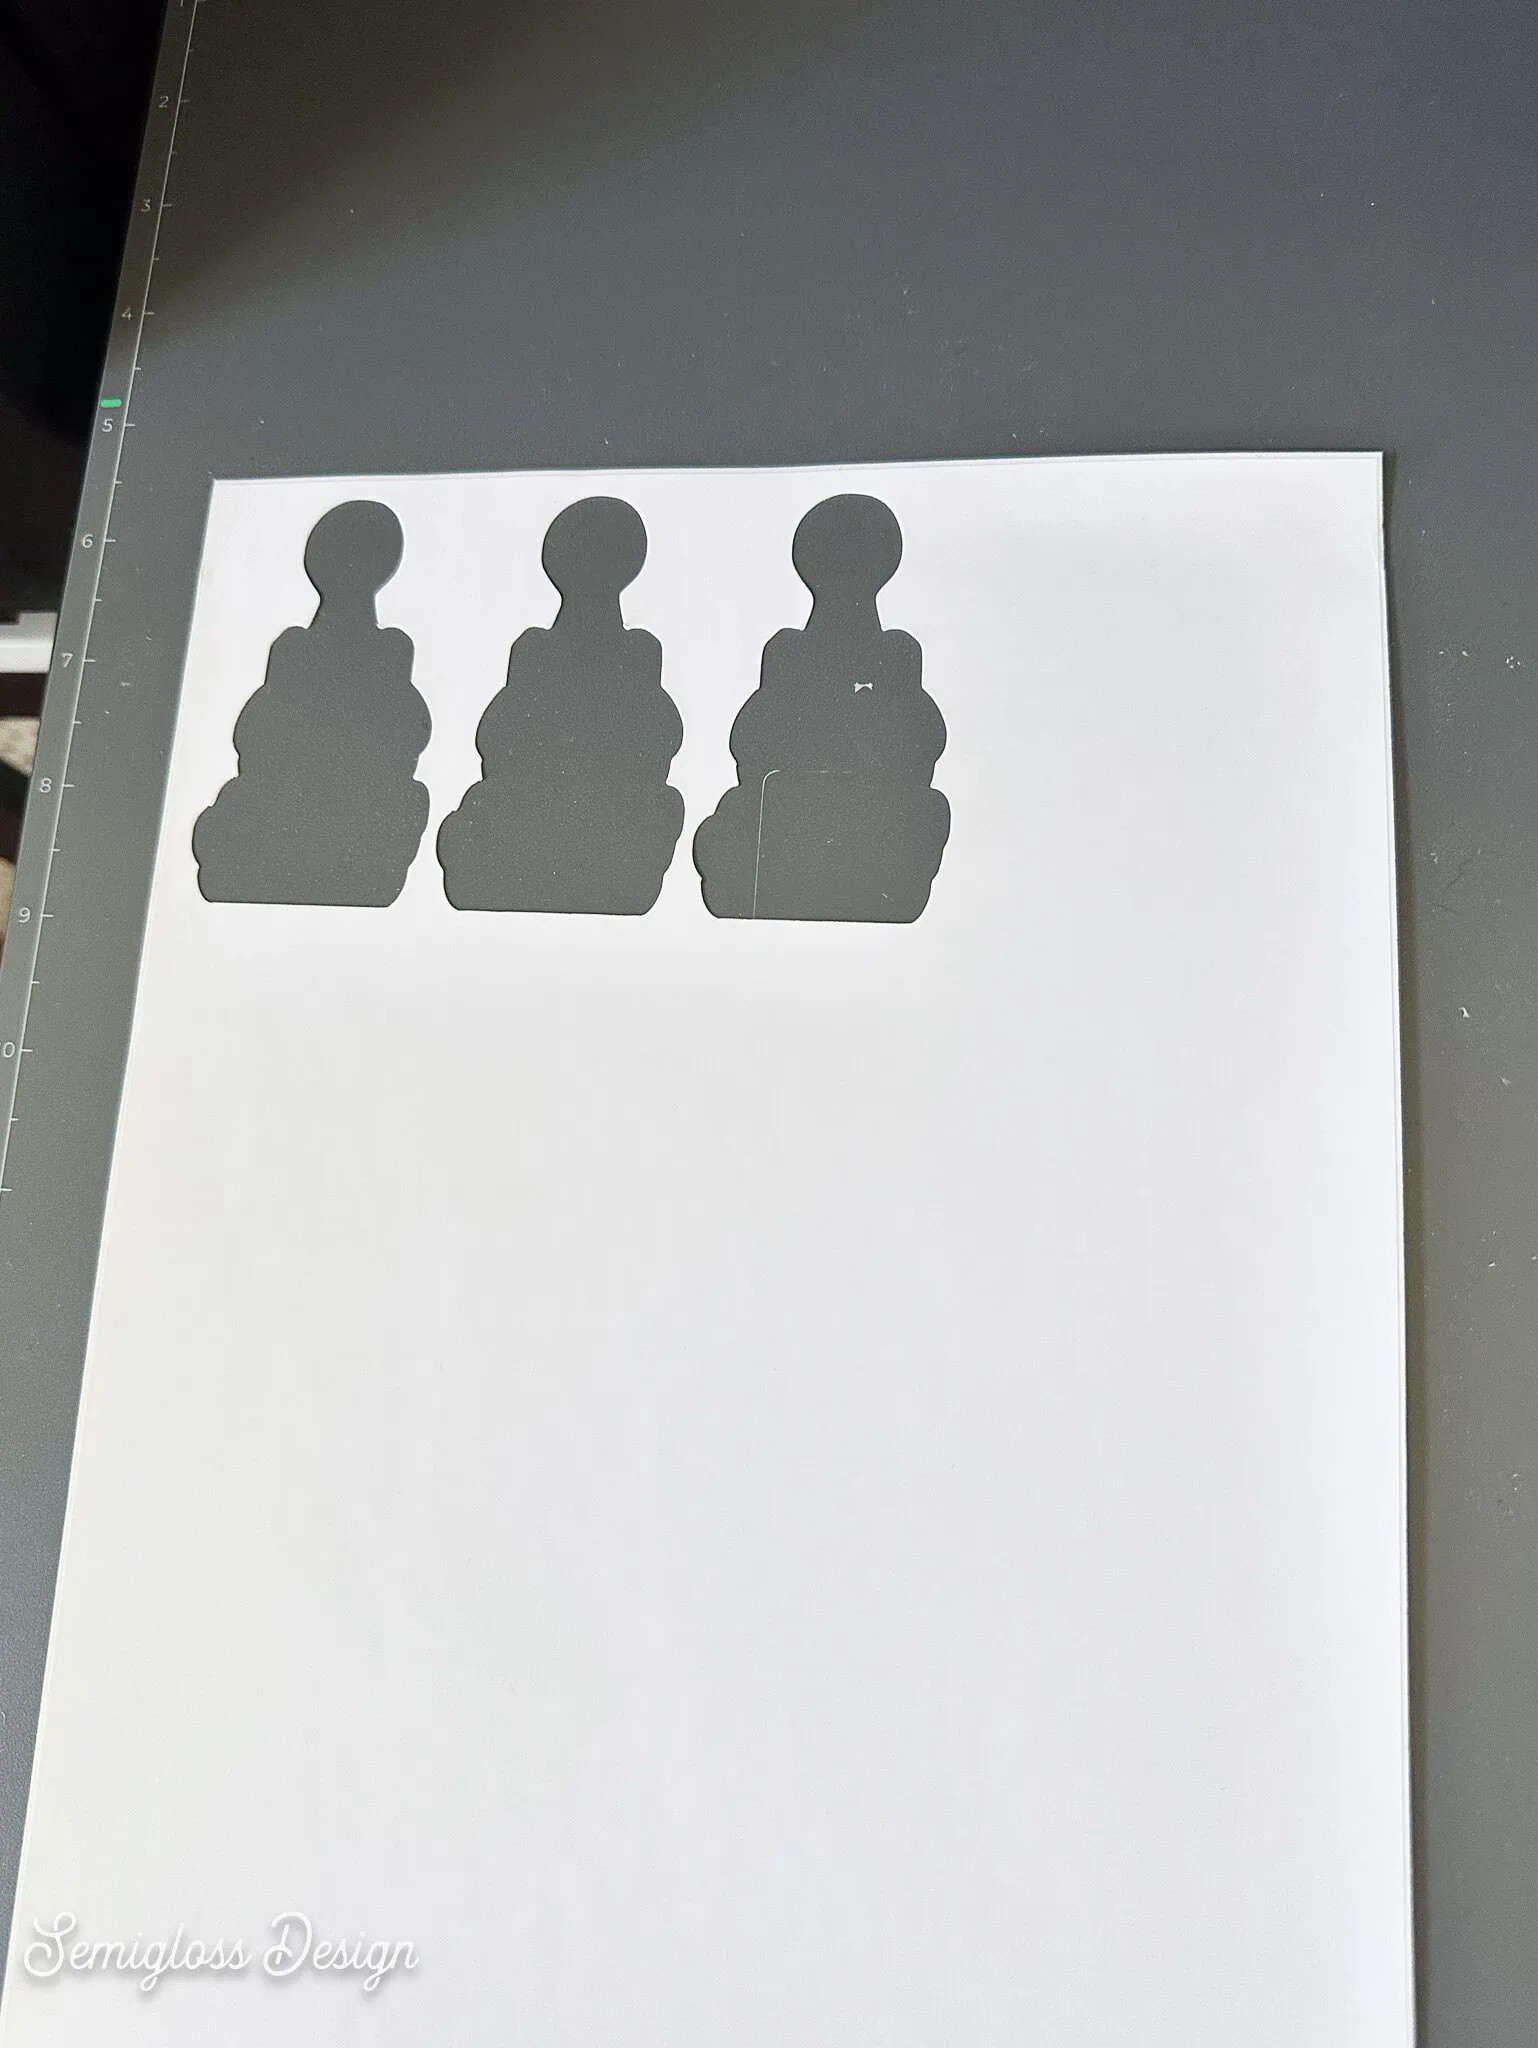
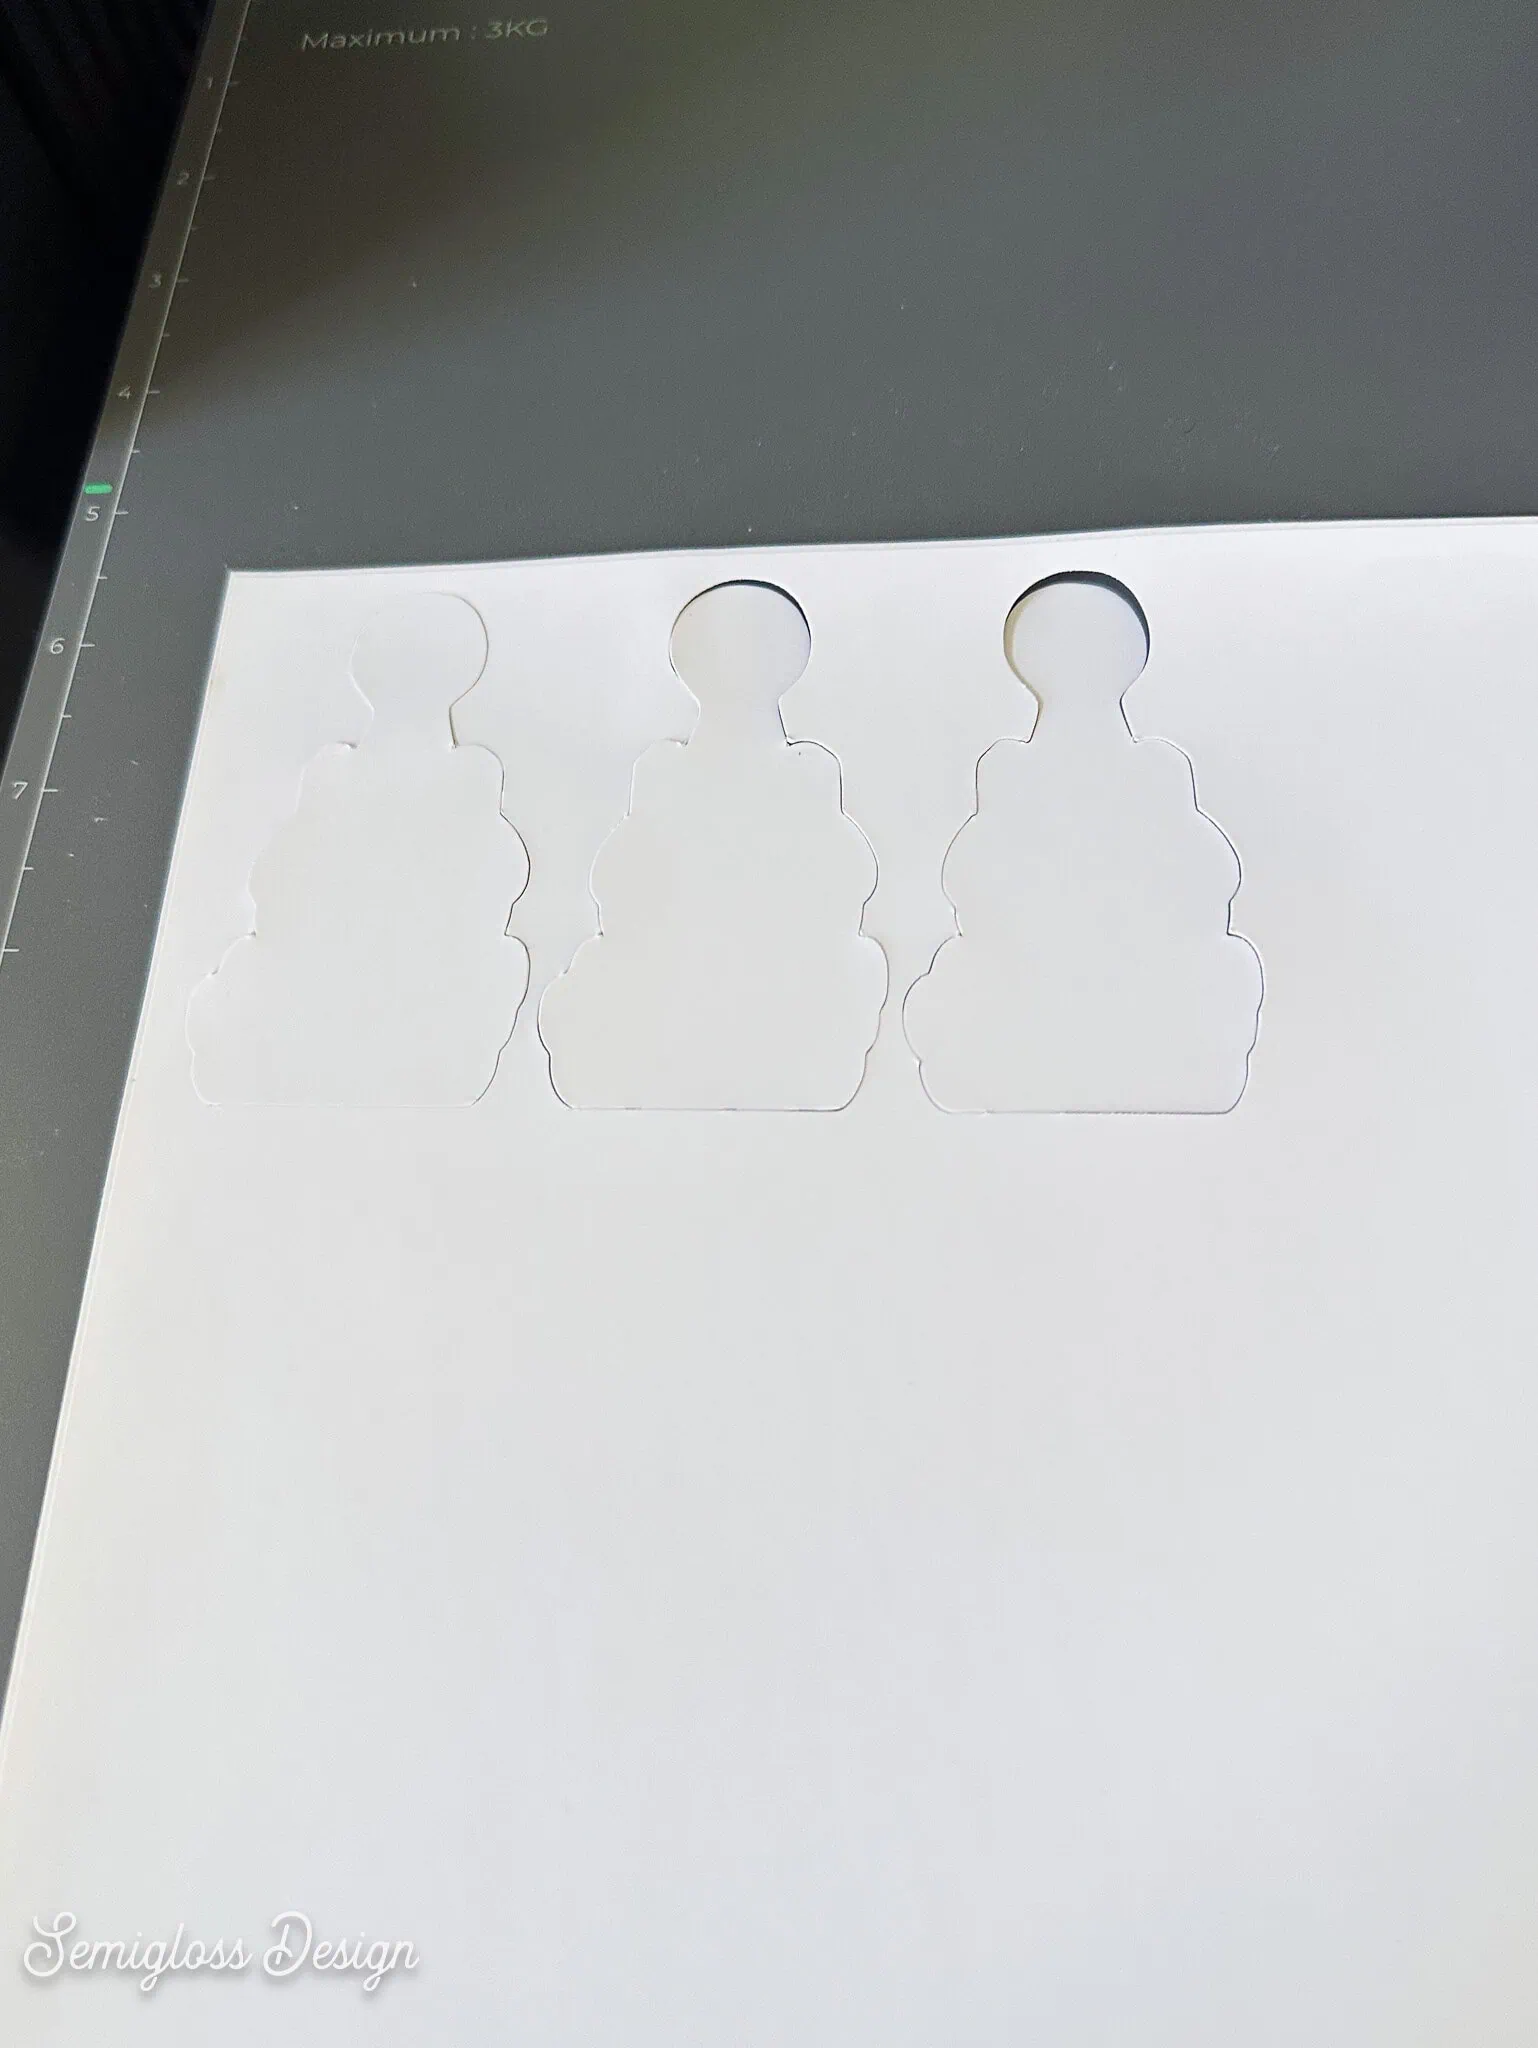
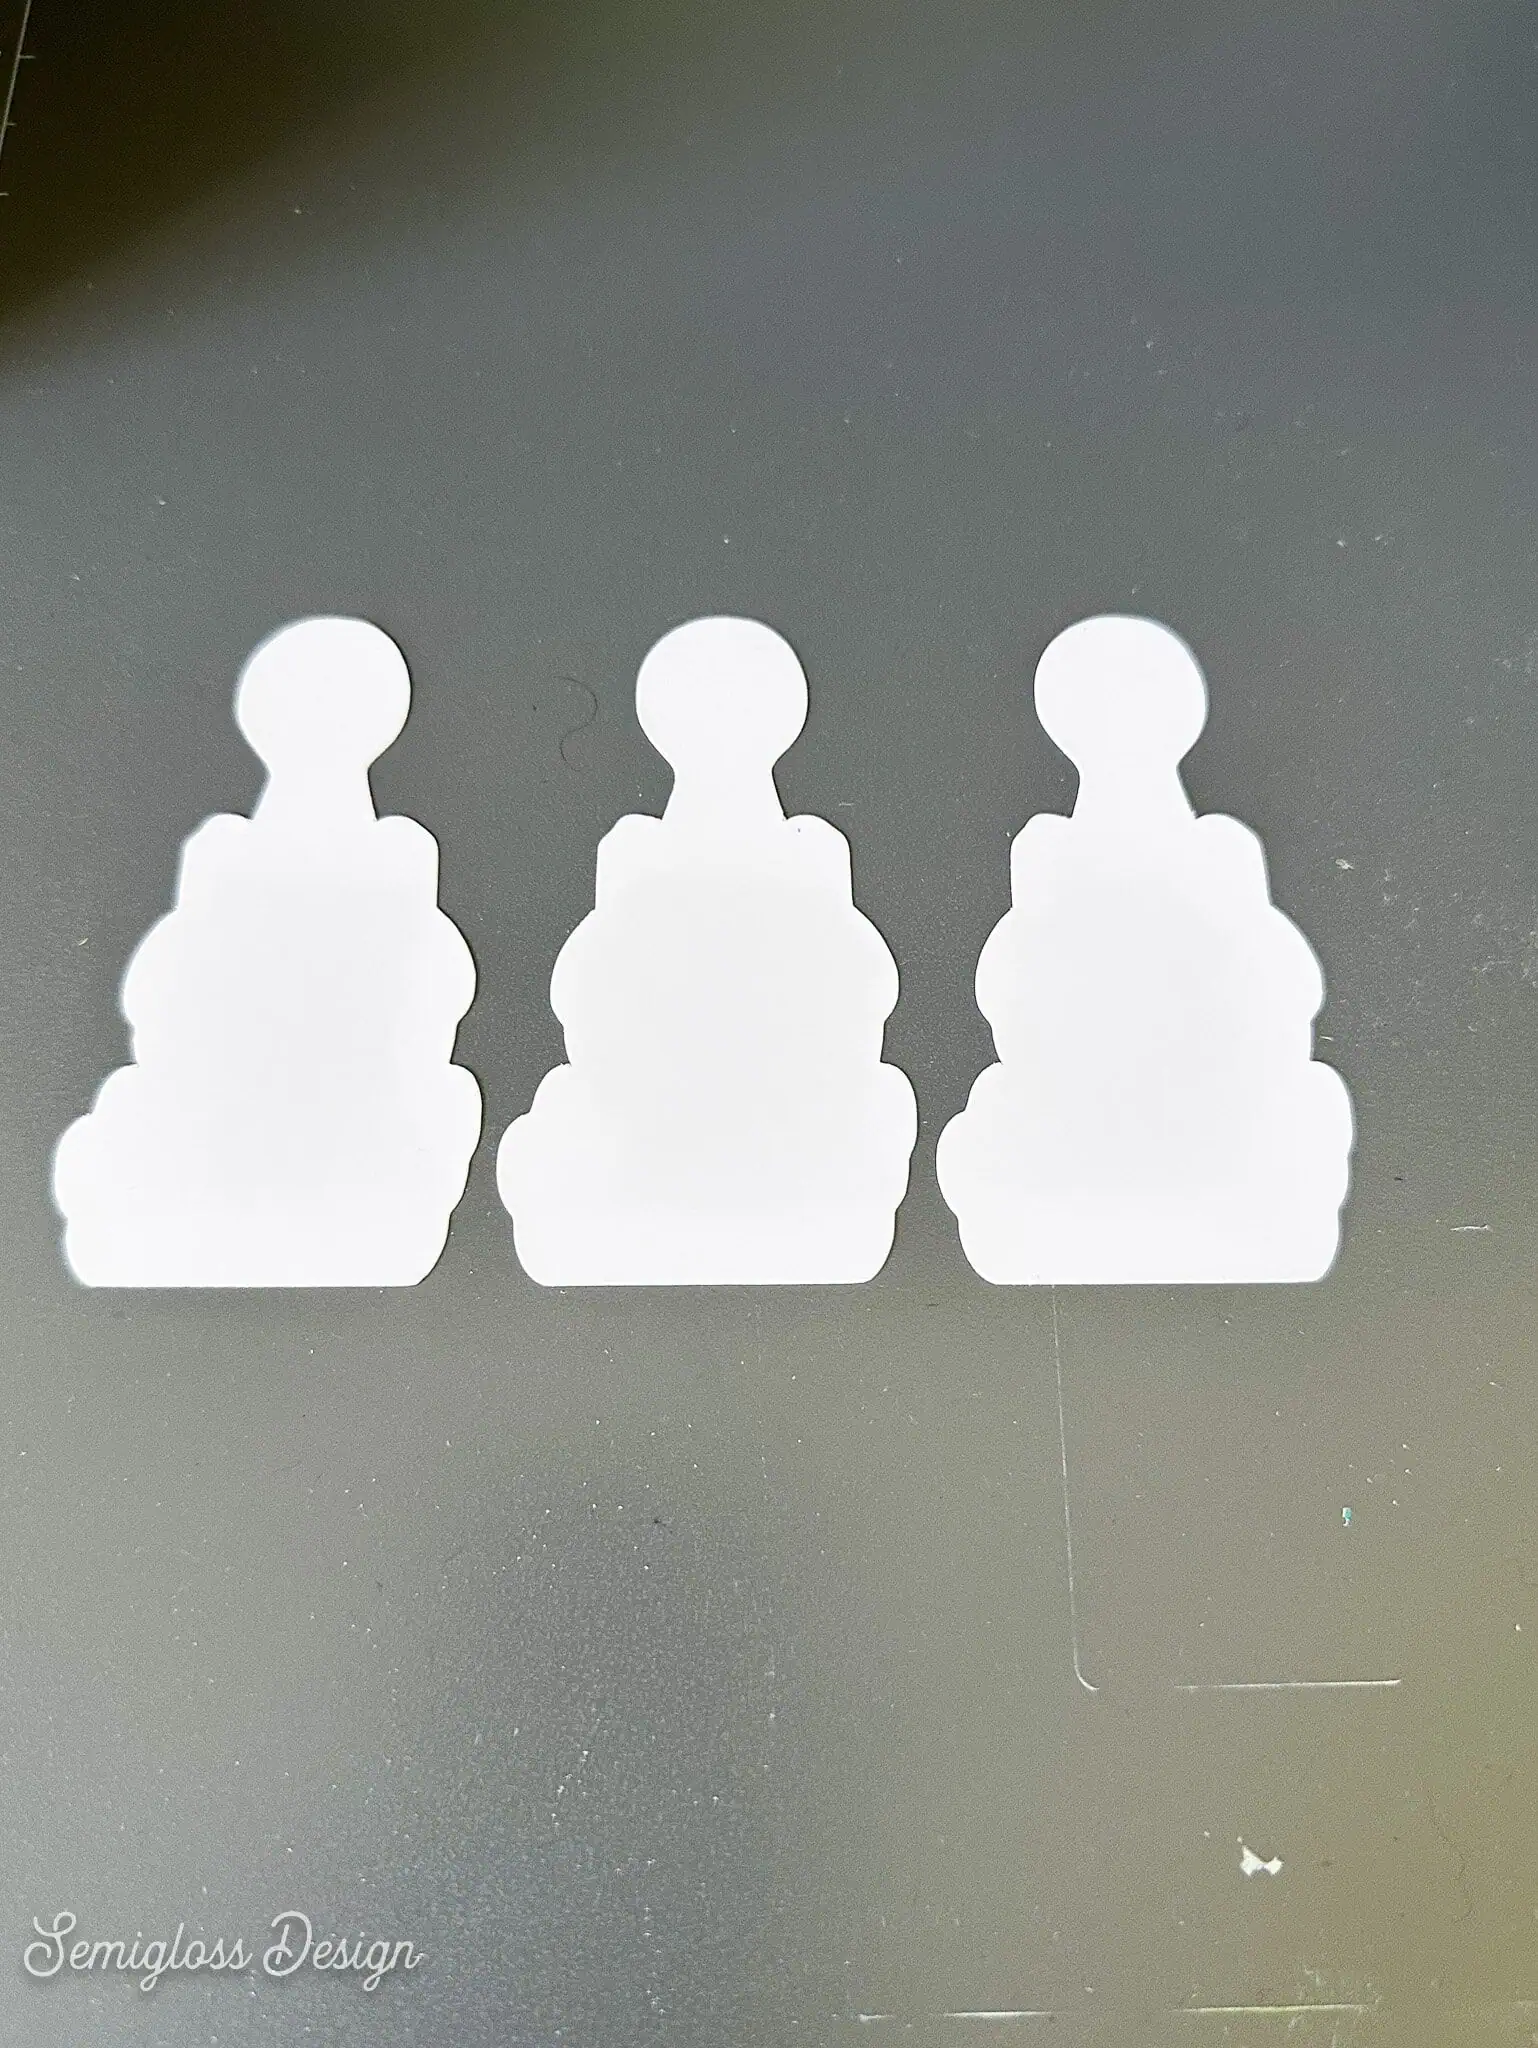
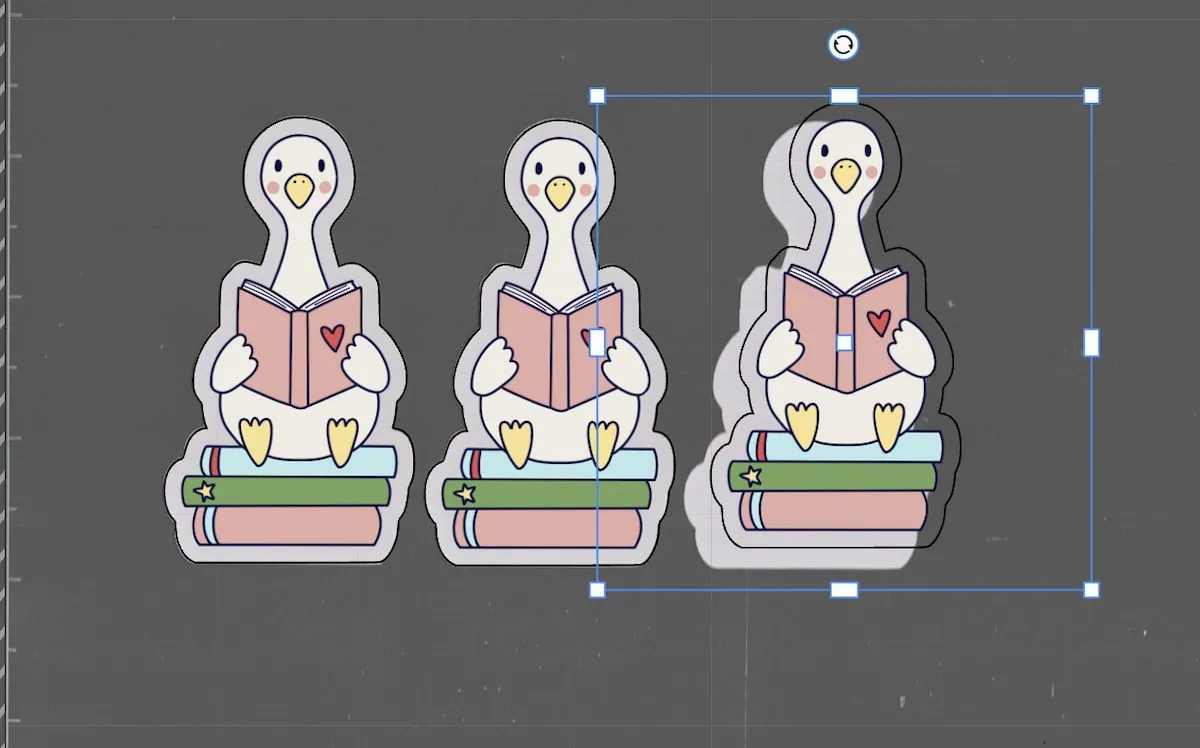
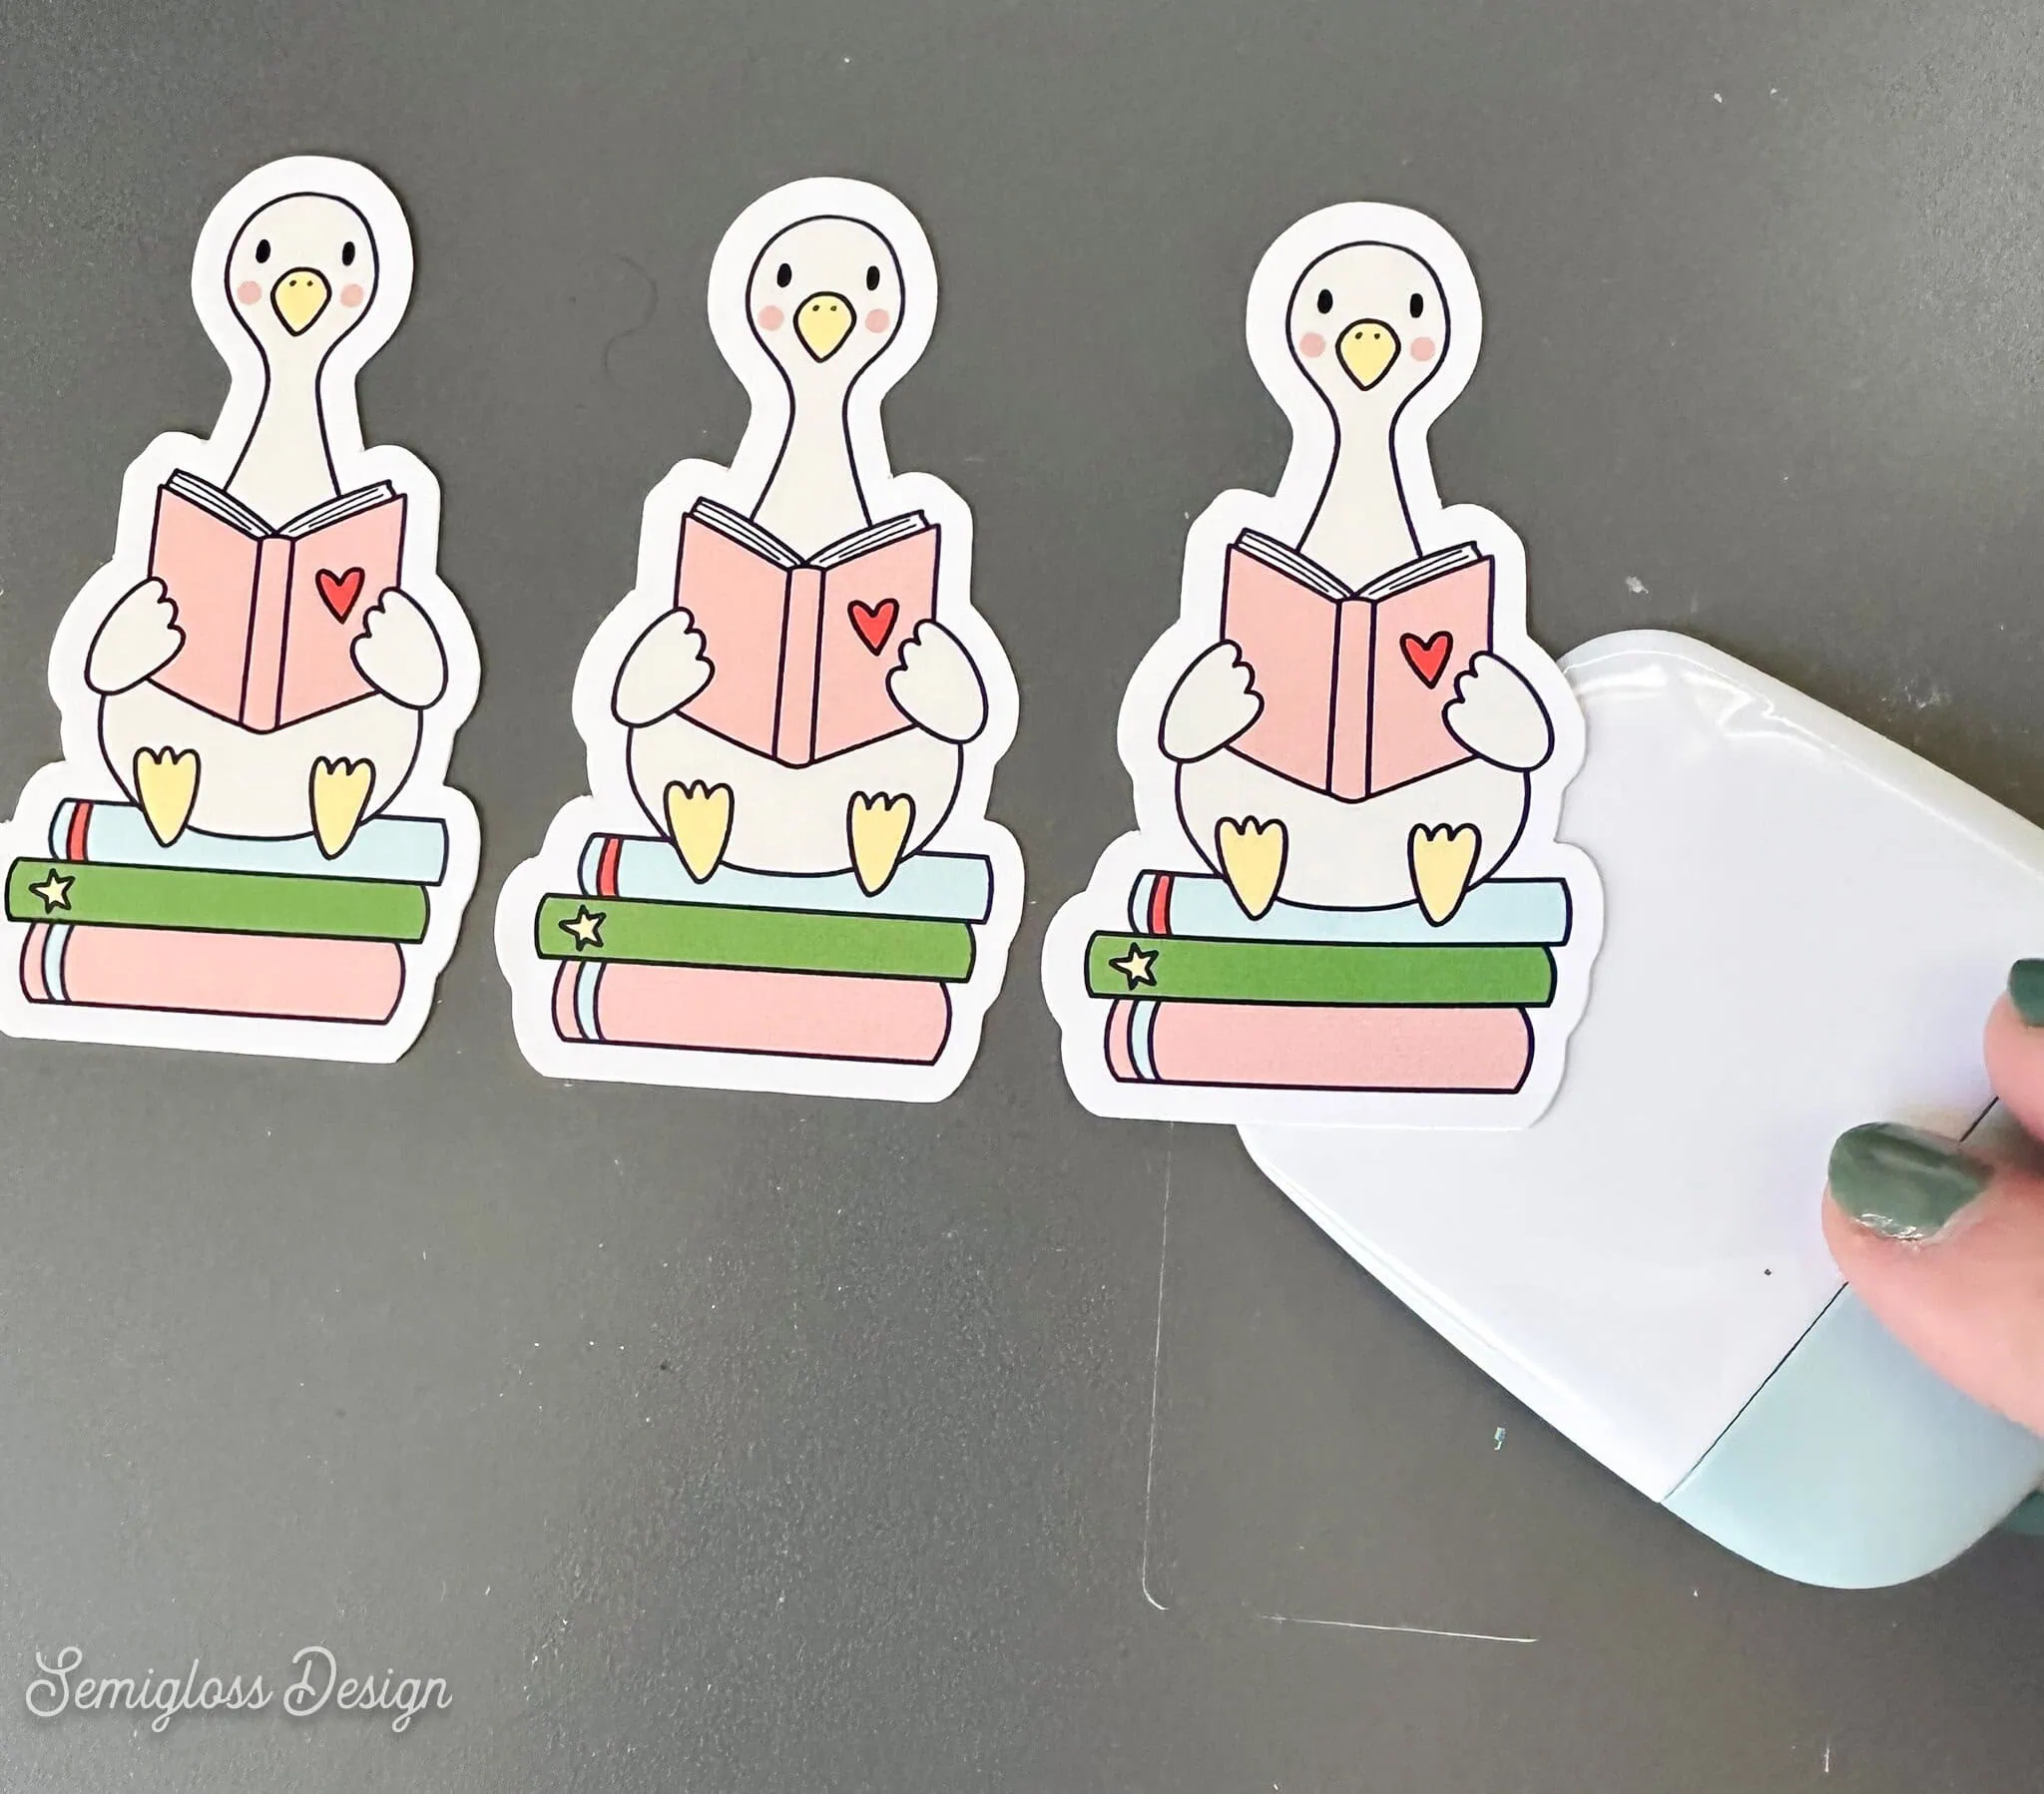
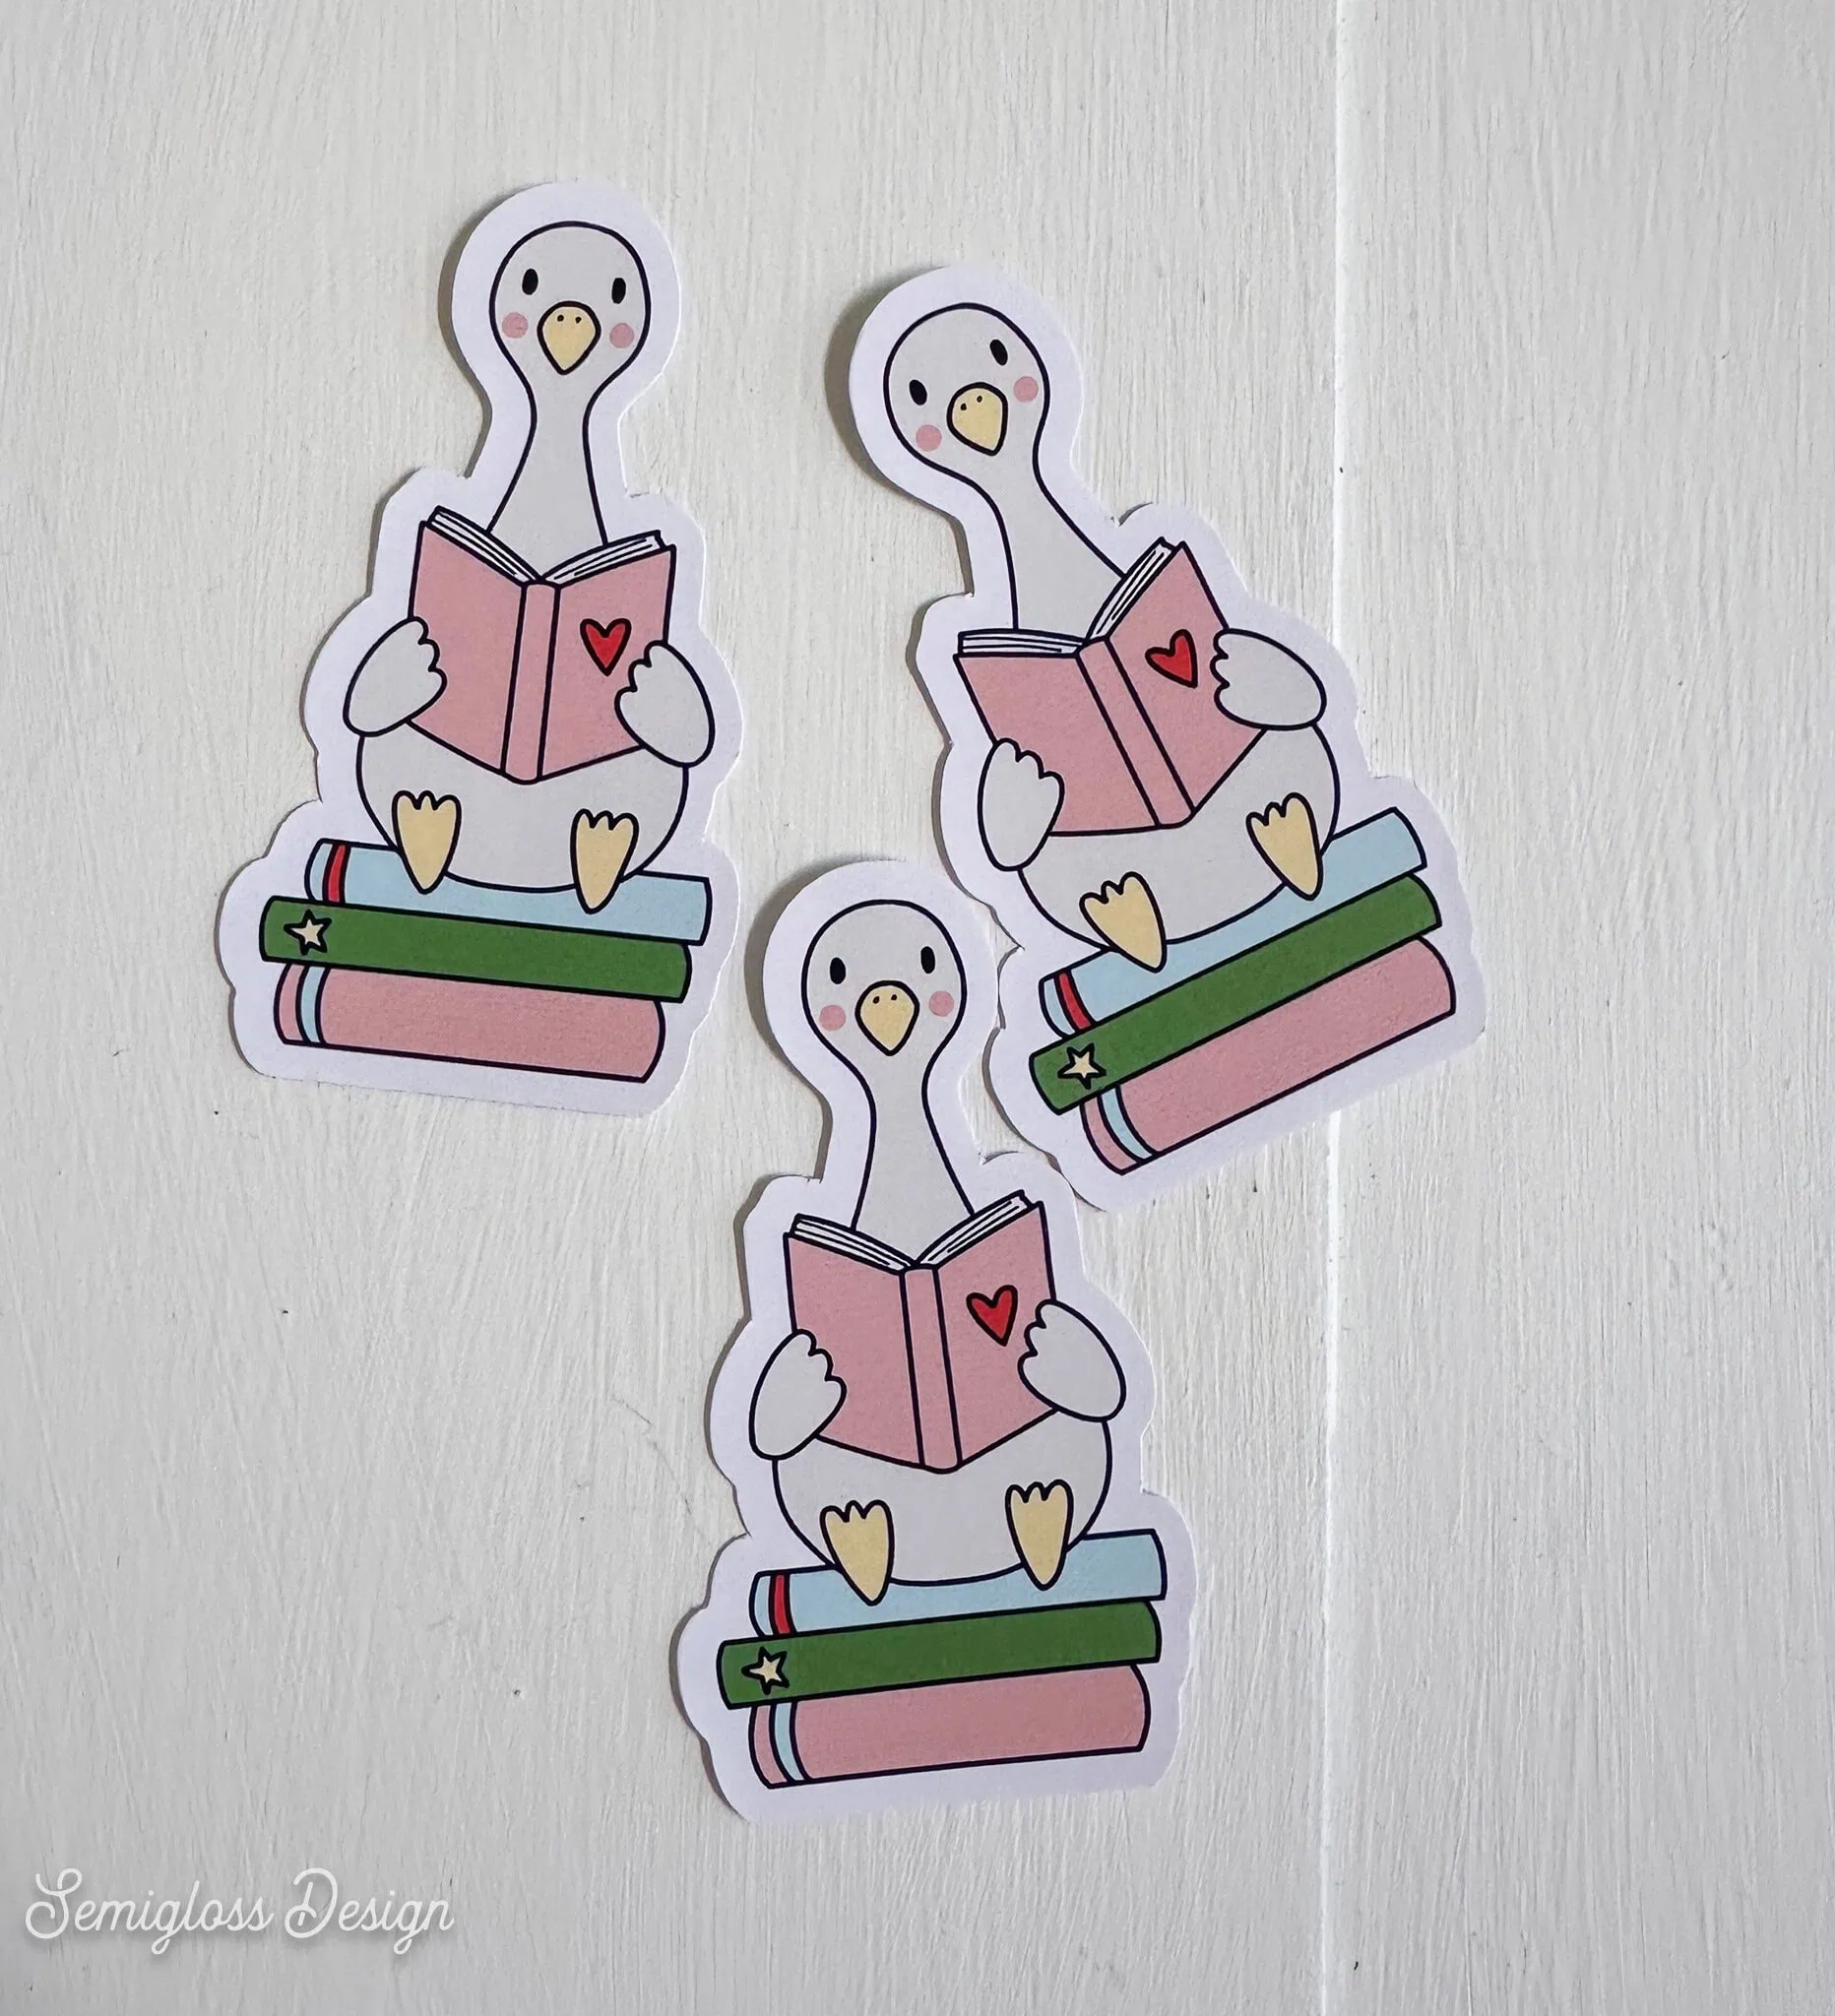
You can also adjust the cut settings and make kiss-cut stickers this way.
I love this process and wish my cutting machine worked this seamlessly with the Print and Cut option. Perfect alignment! No fighting with calibration.
How to Make UV DTF Stickers
No cutting needed! I’m new to UV DTF stickers, and they’re a lot of fun to make. The stickers are made from the ink. No paper is used.
Two types of film are necessary. One is for printing, and the other transfers the design.
I love how shiny they are. These stickers have a slightly raised texture.
Best for: Stickers with a lot of detail, stickers without a white background, and making shiny stickers
Extra Supplies Needed:
The laminator includes a few sheets of the A film and a roll of the B film.
Directions
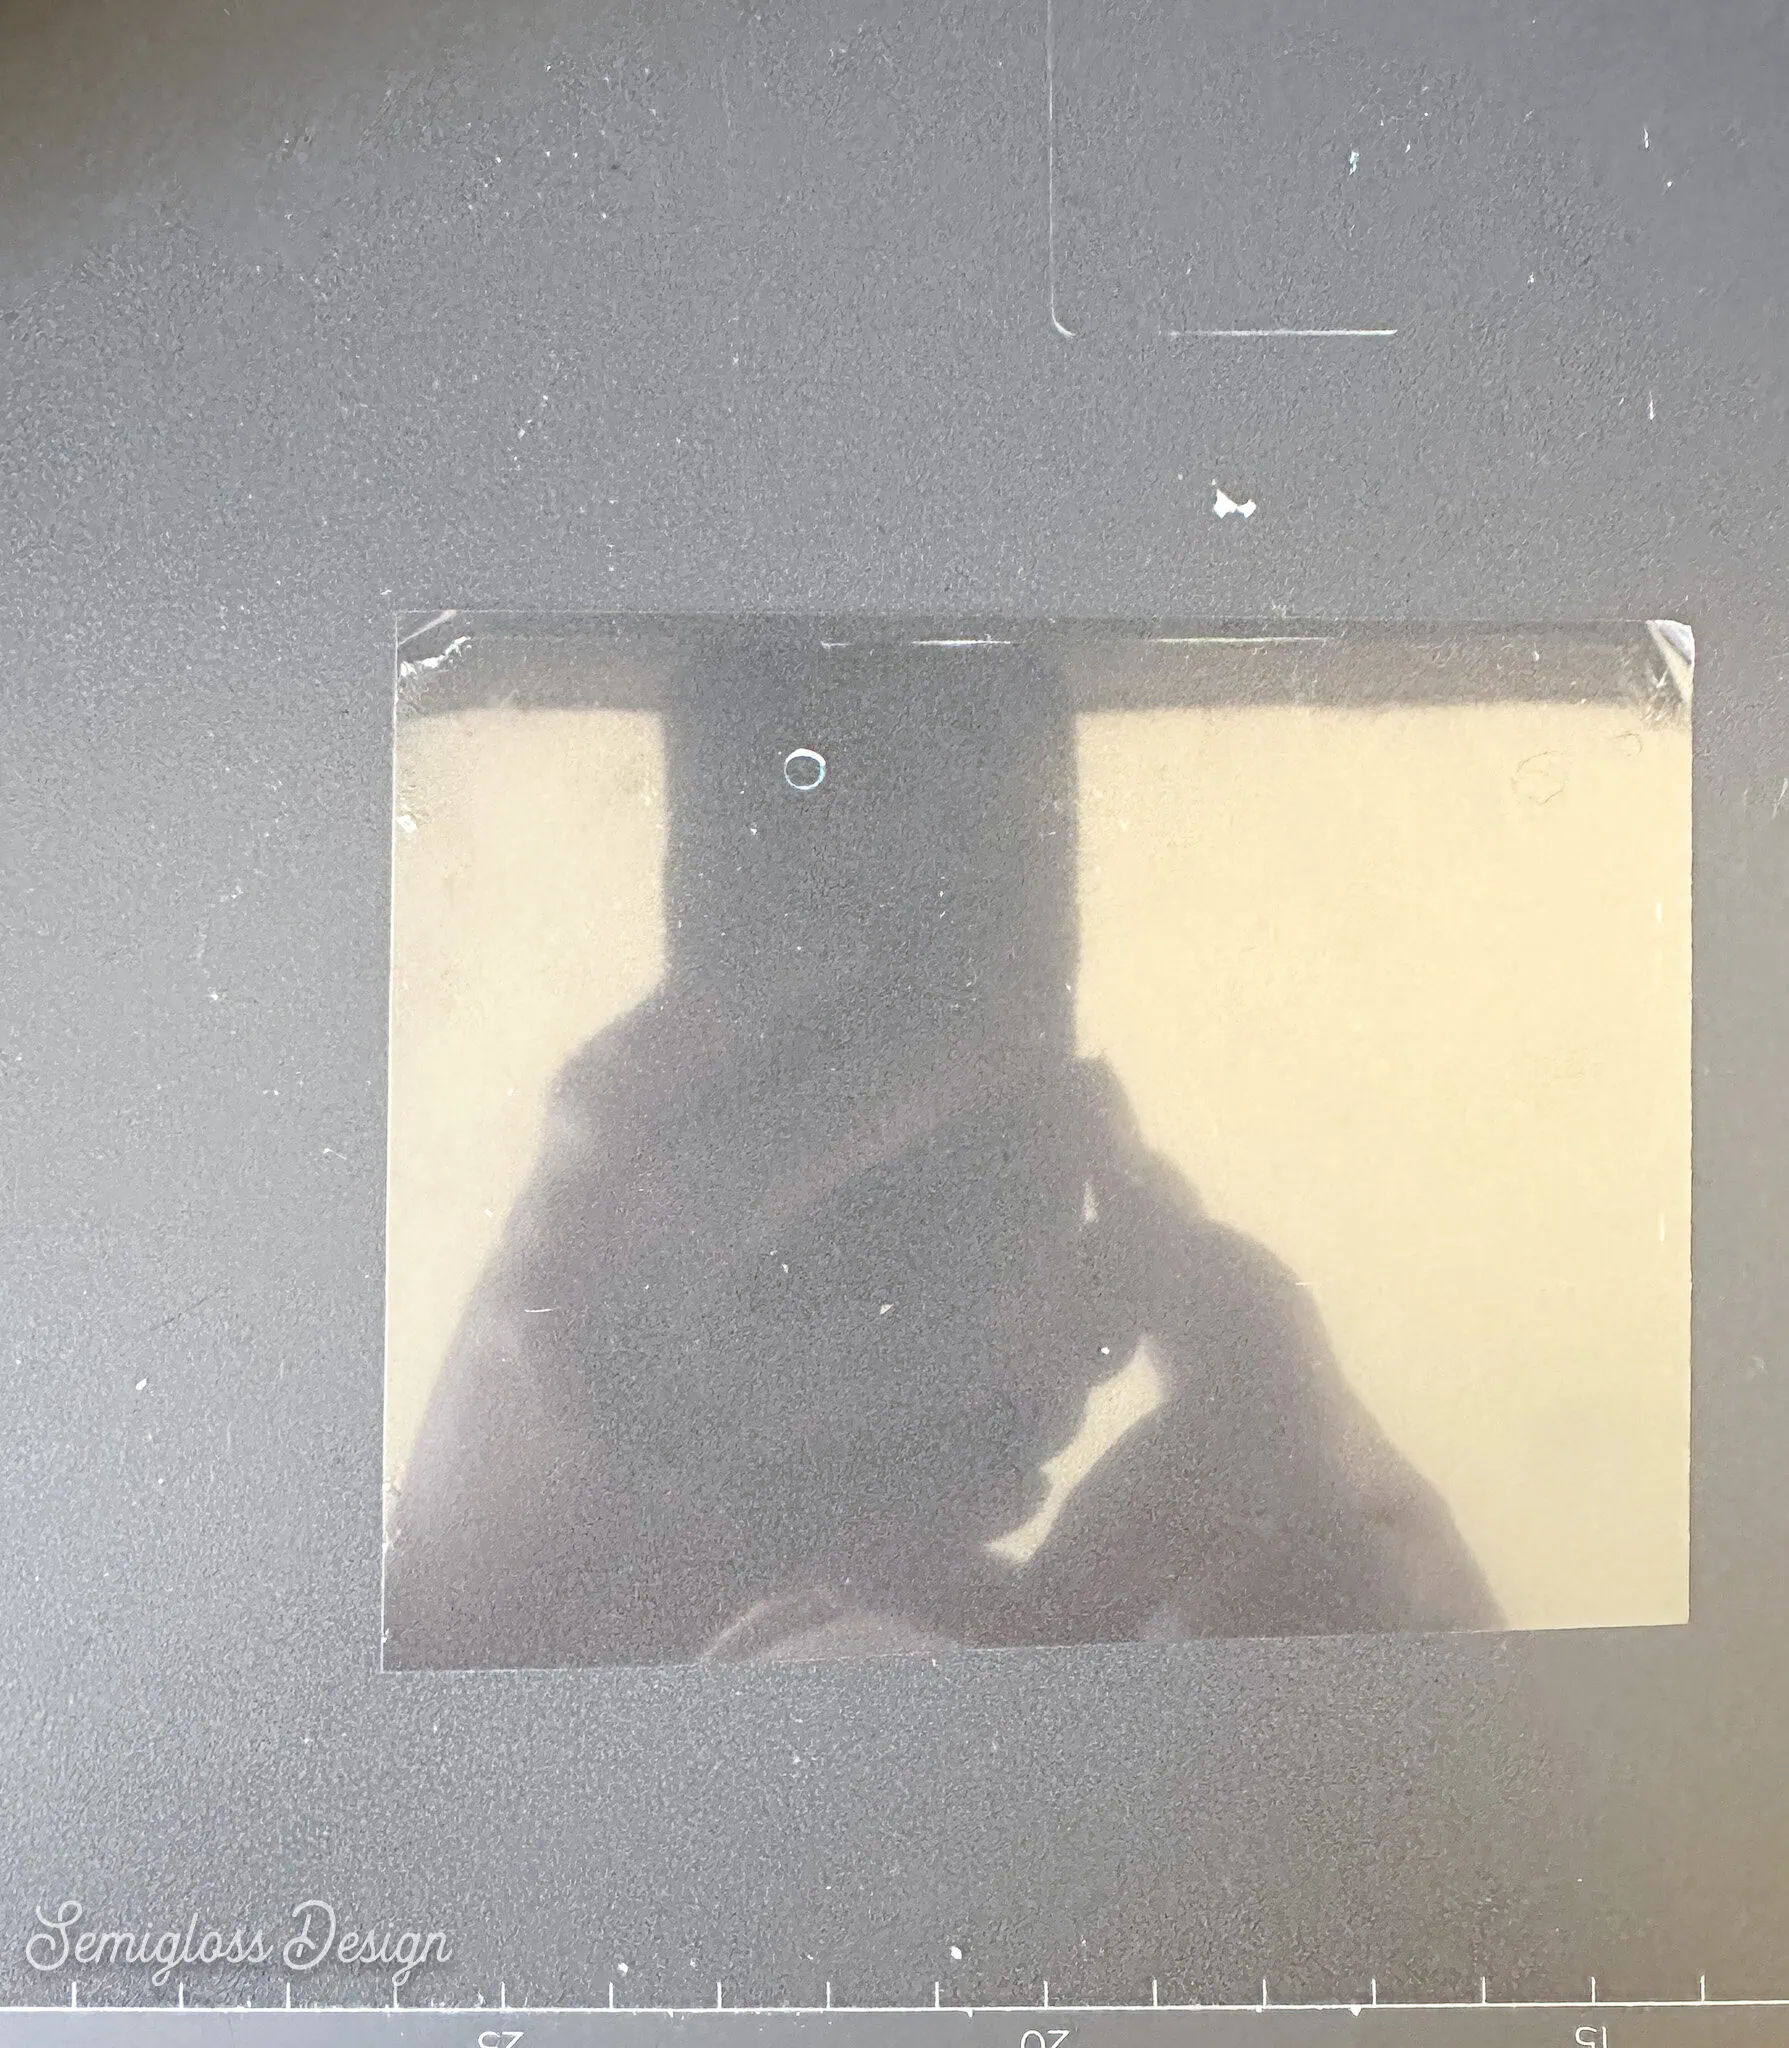
- Place a piece of A film on the baseplate, sticky side up. Remove the cover sheet. (Gently lift the corner to see which side is the sticky side and which side is the cover sheet.)

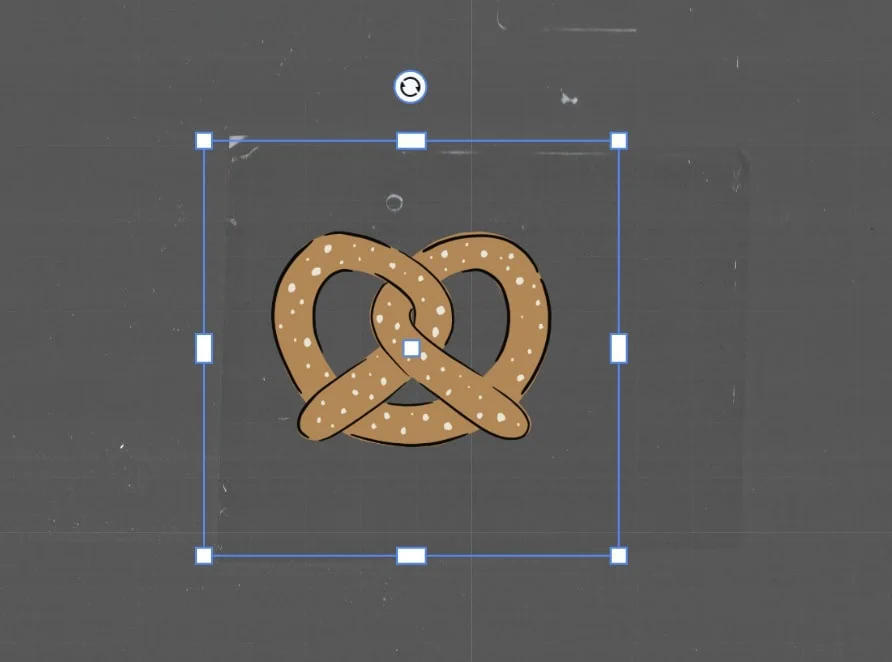
- Scan the baseplate. The film is clear, but you can see where it is.
- Upload your design and resize.

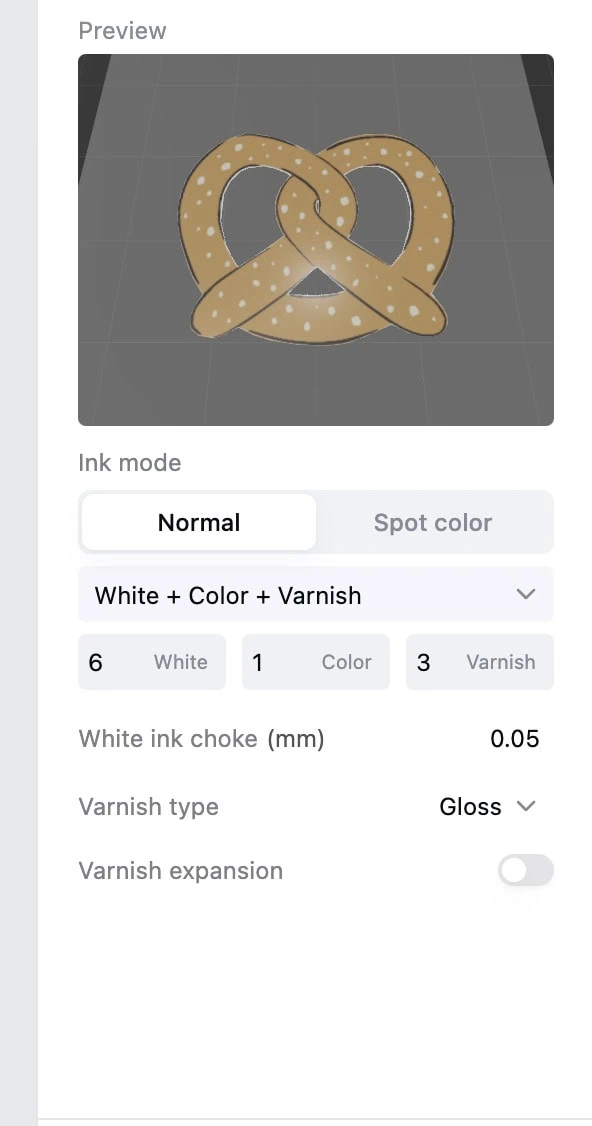
- Check the settings. I increased the varnish layers to 3 to make it shinier.

- Select Process to print.
- When the print is finished, set up your laminator.
- Turn it on and press Heating to warm it up. It beeps when it’s ready.
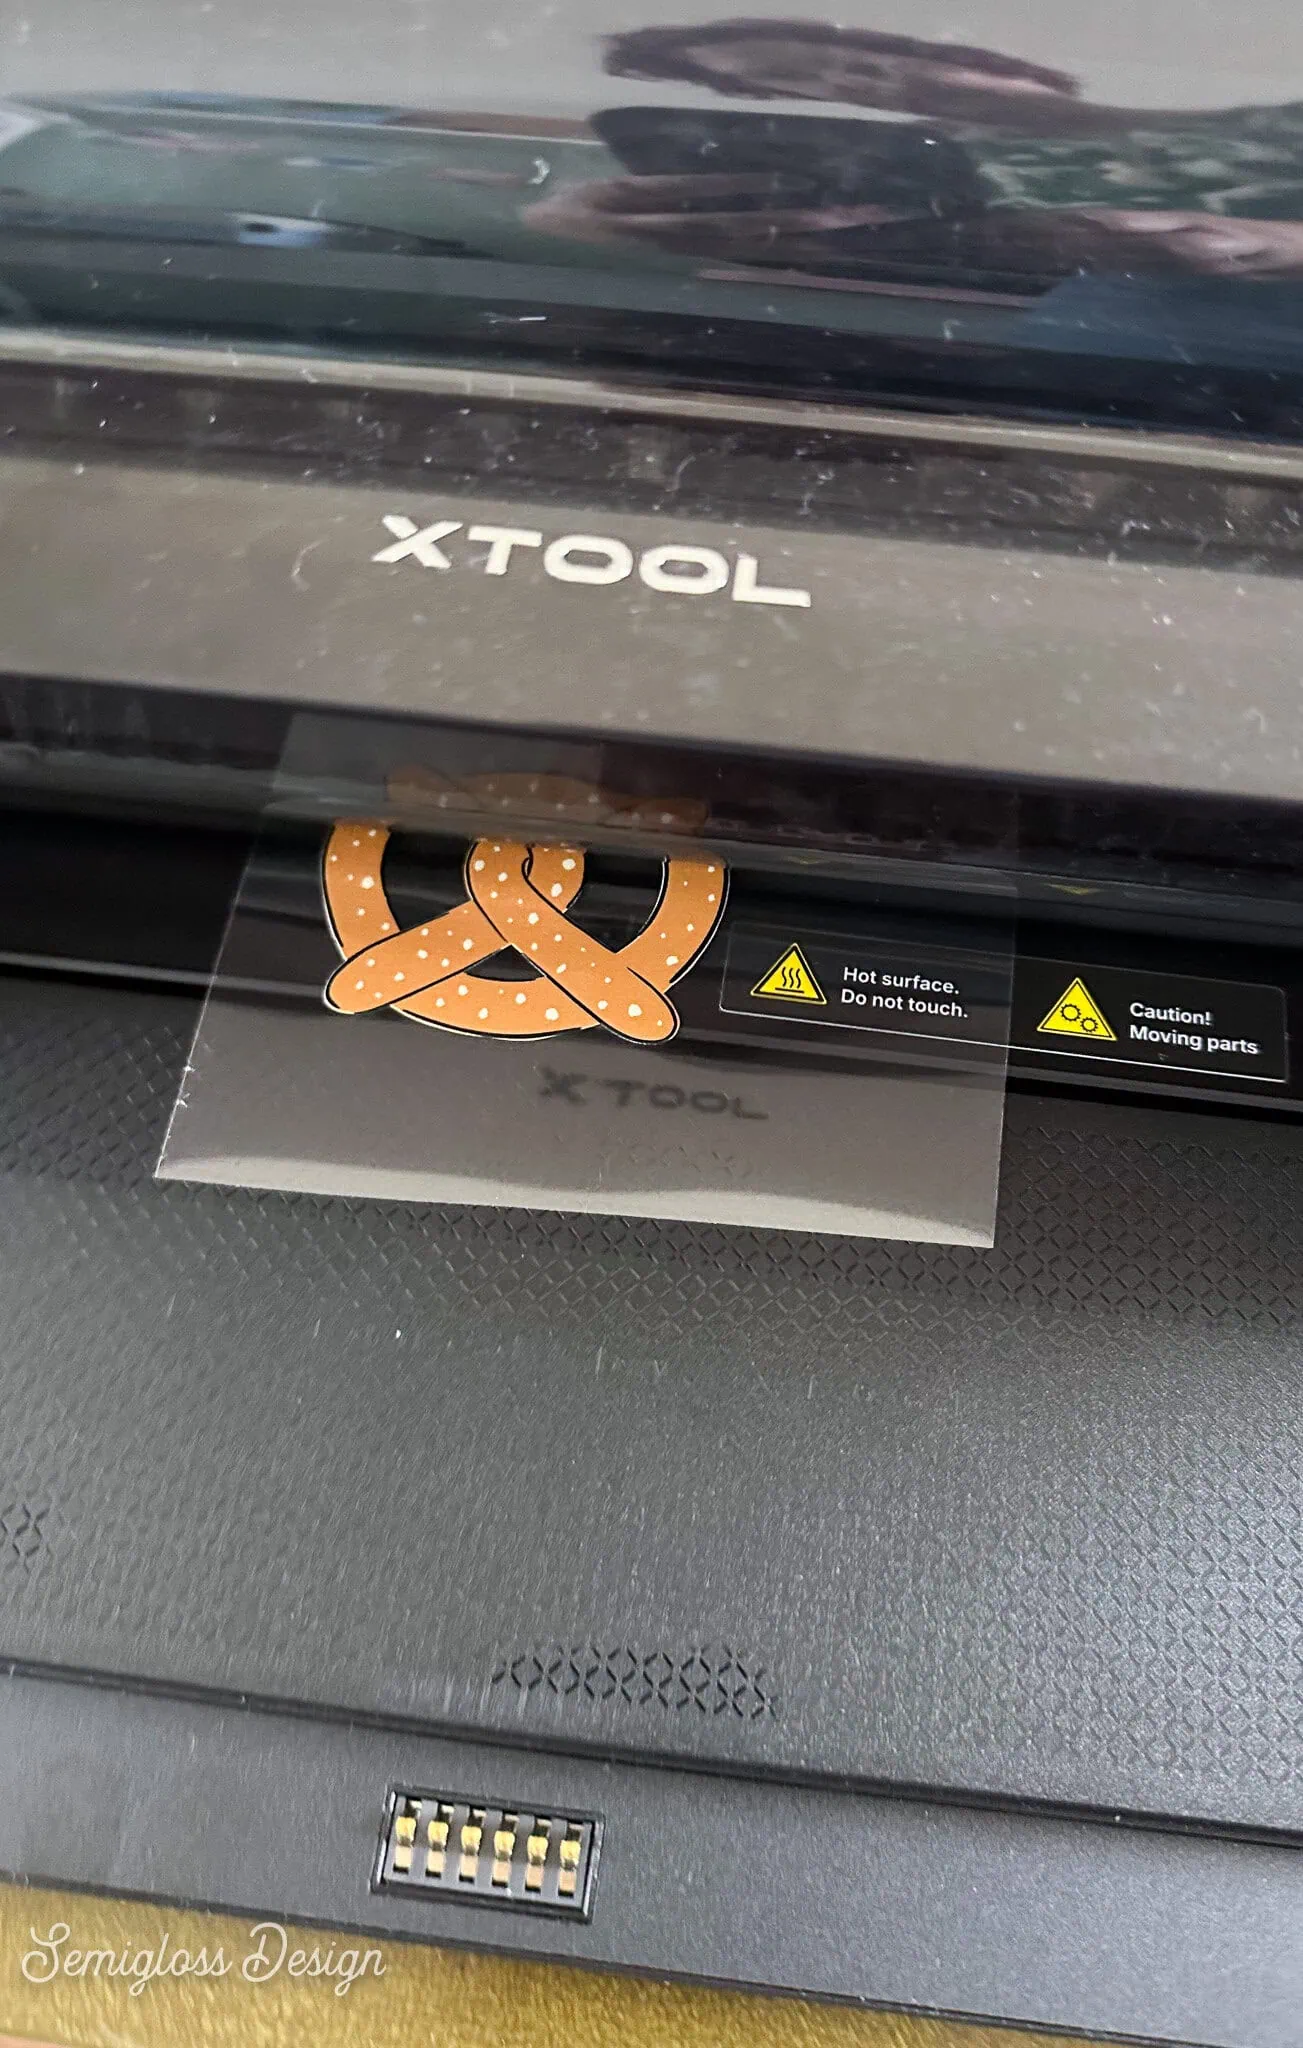
- Place the printed A film sheet at the front of the laminator.

- Gently press it forward to make it go through the machine.
- When it’s all the way through, press the slice button.
- Cut away the excess laminator film.

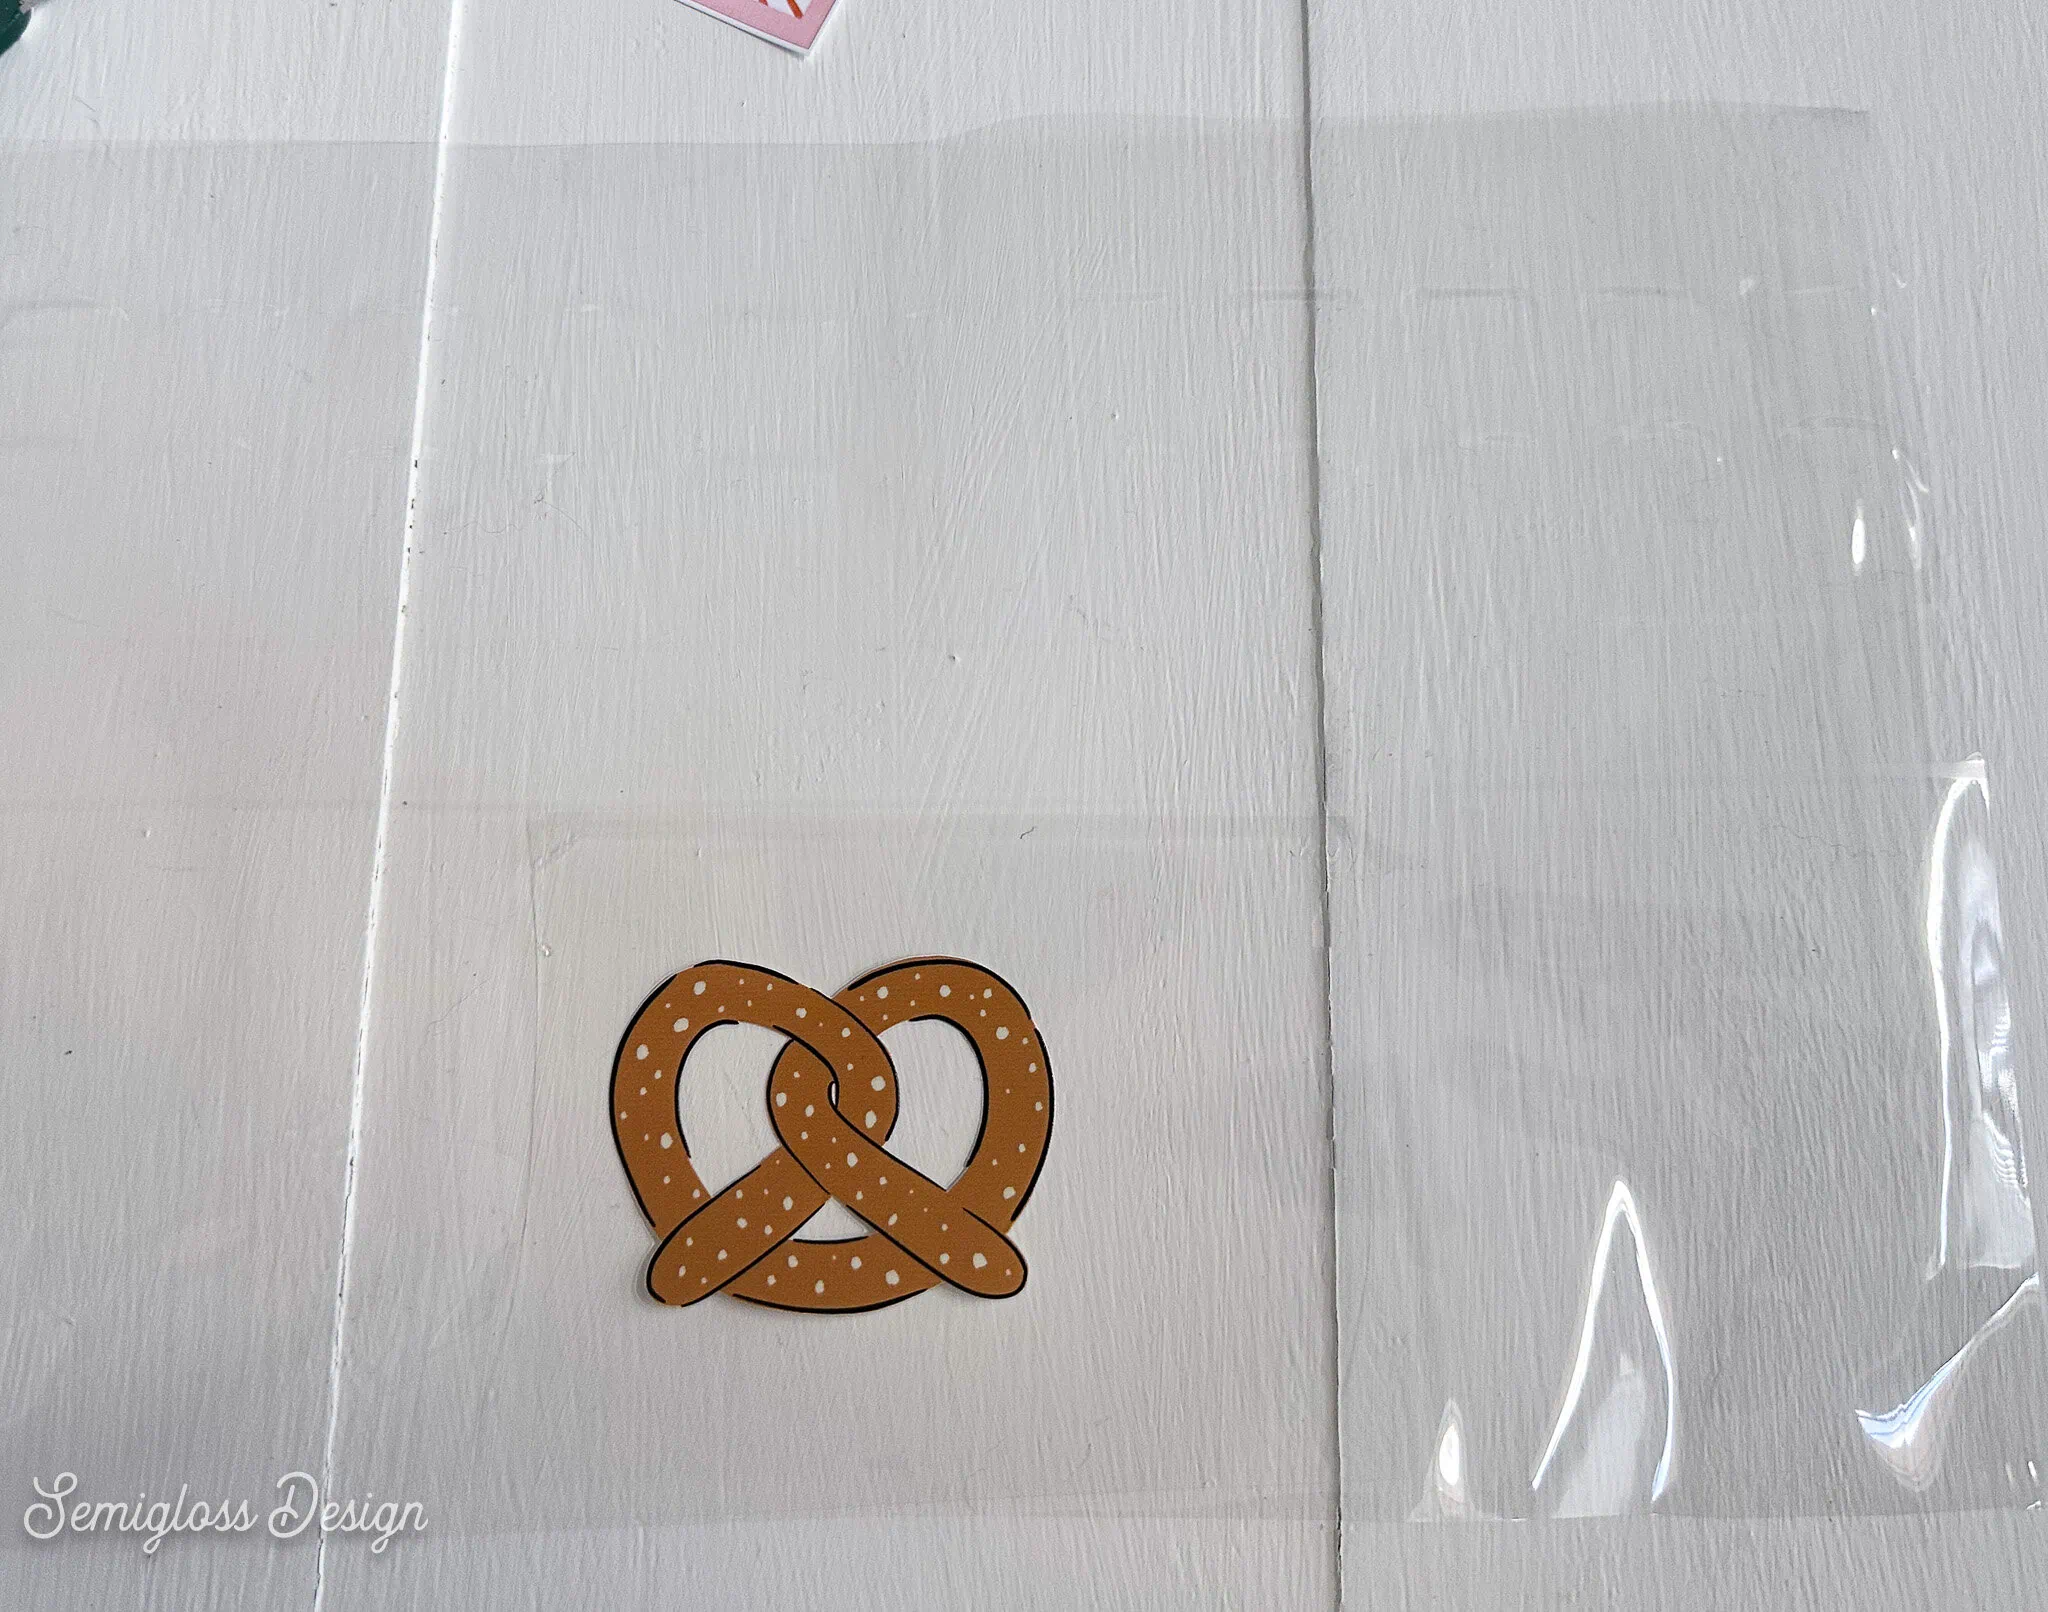
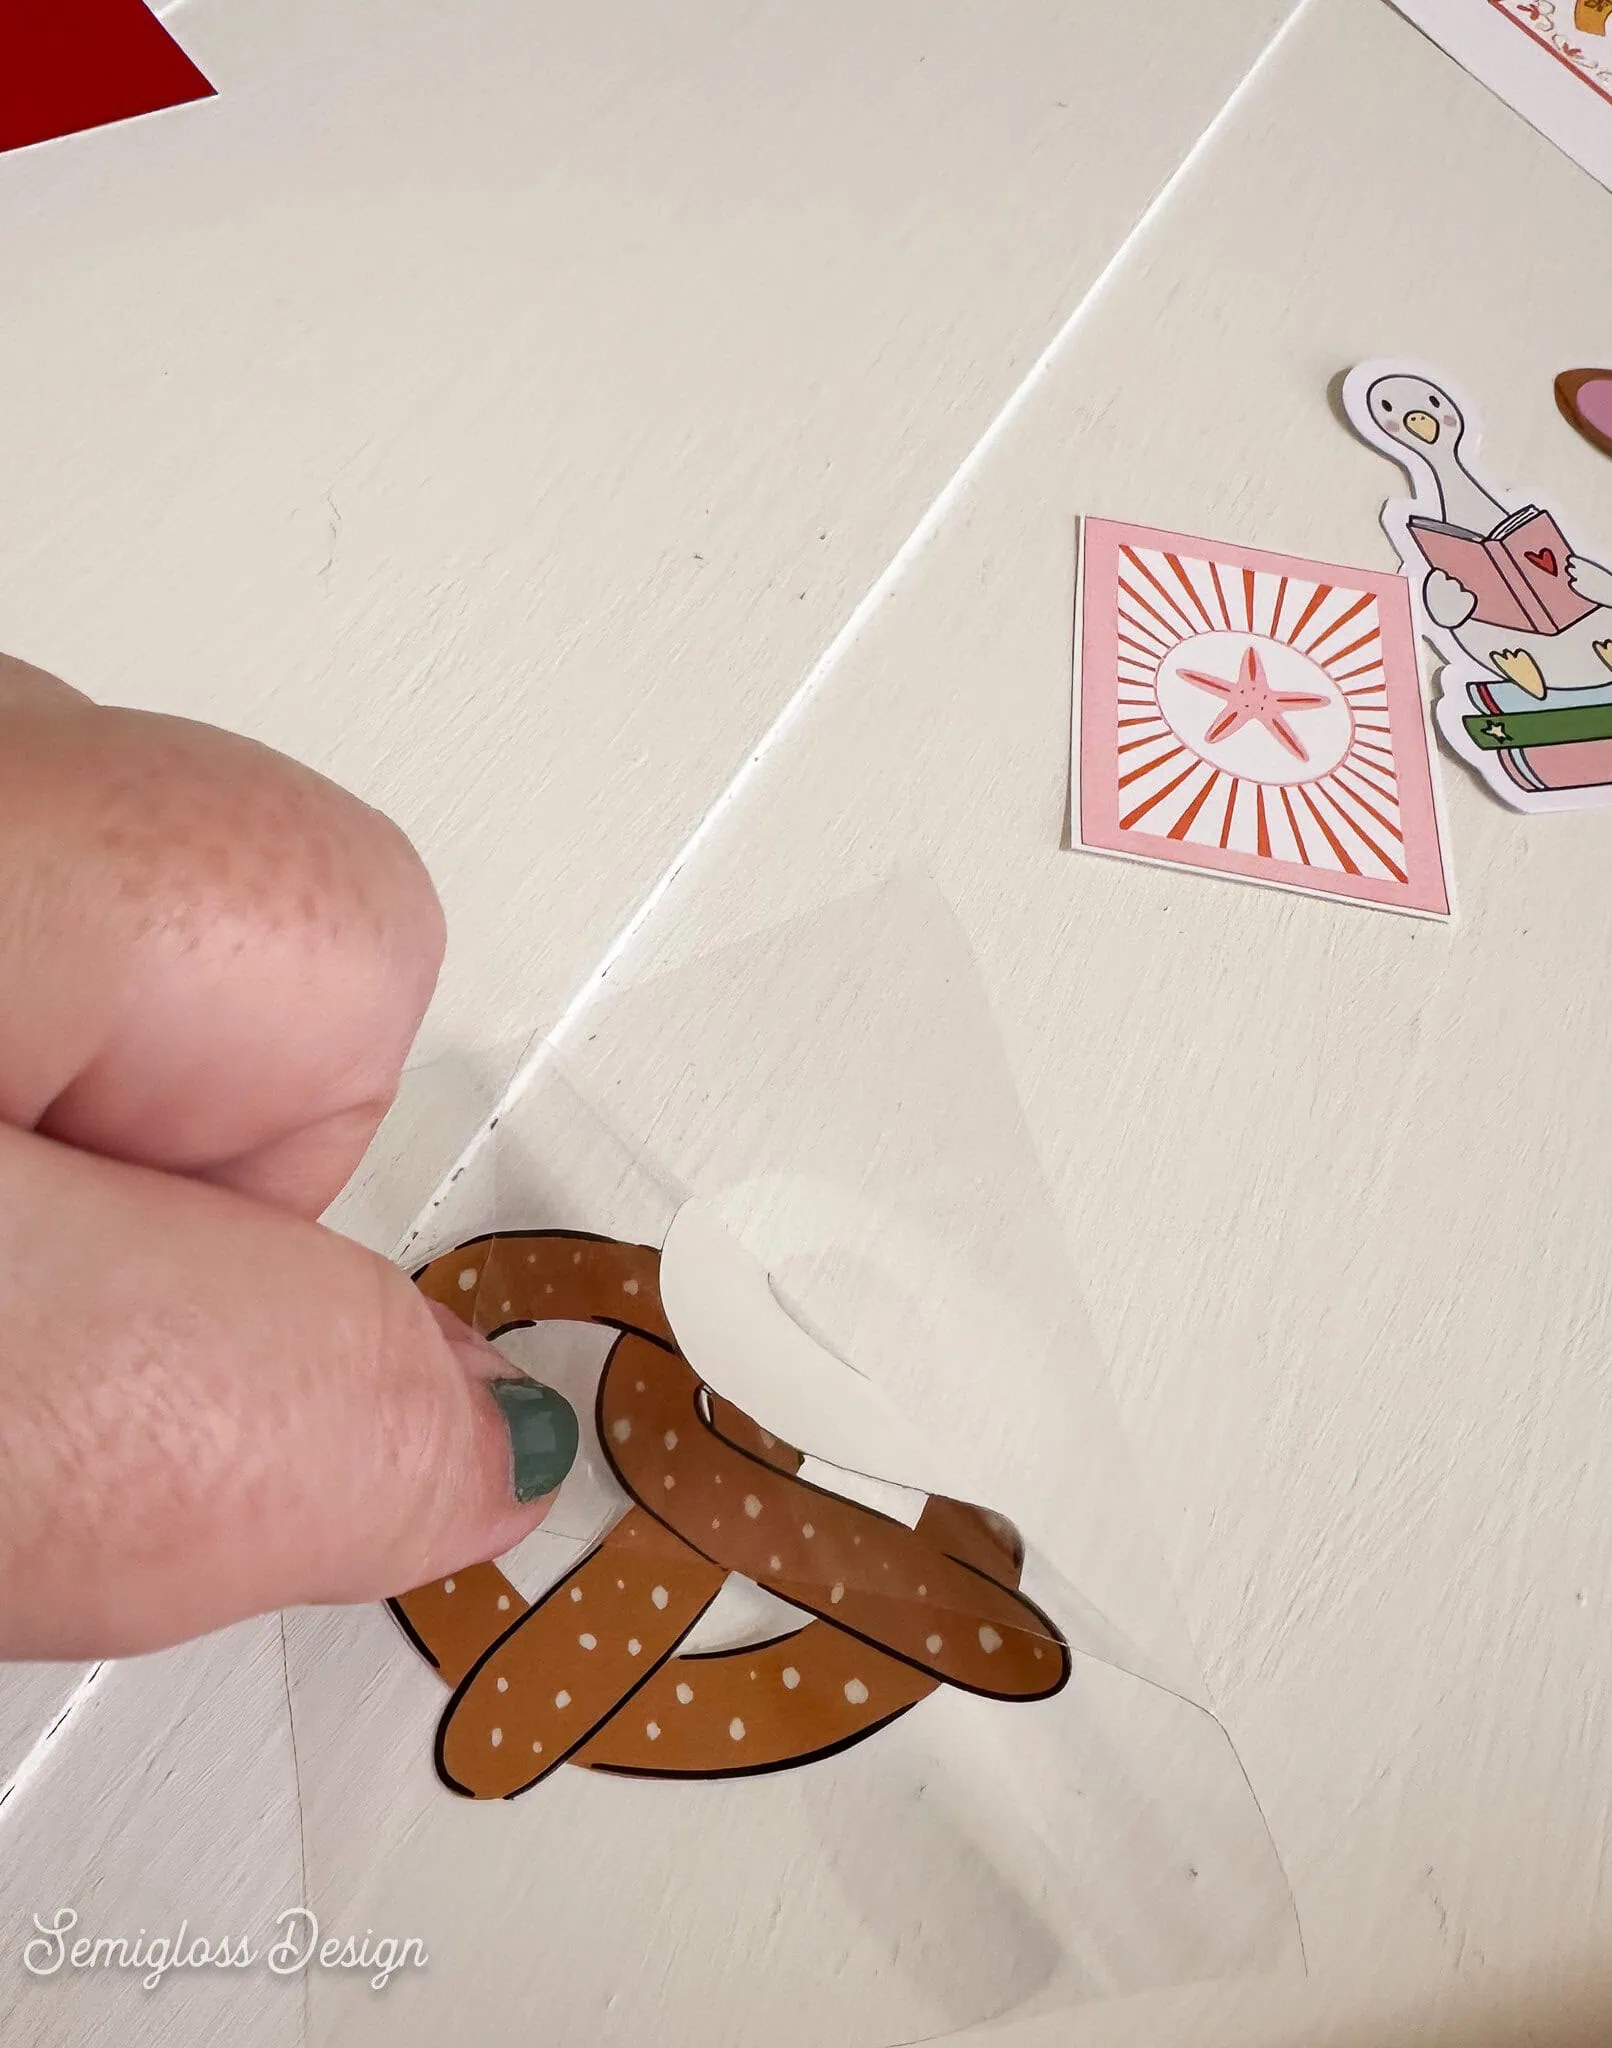
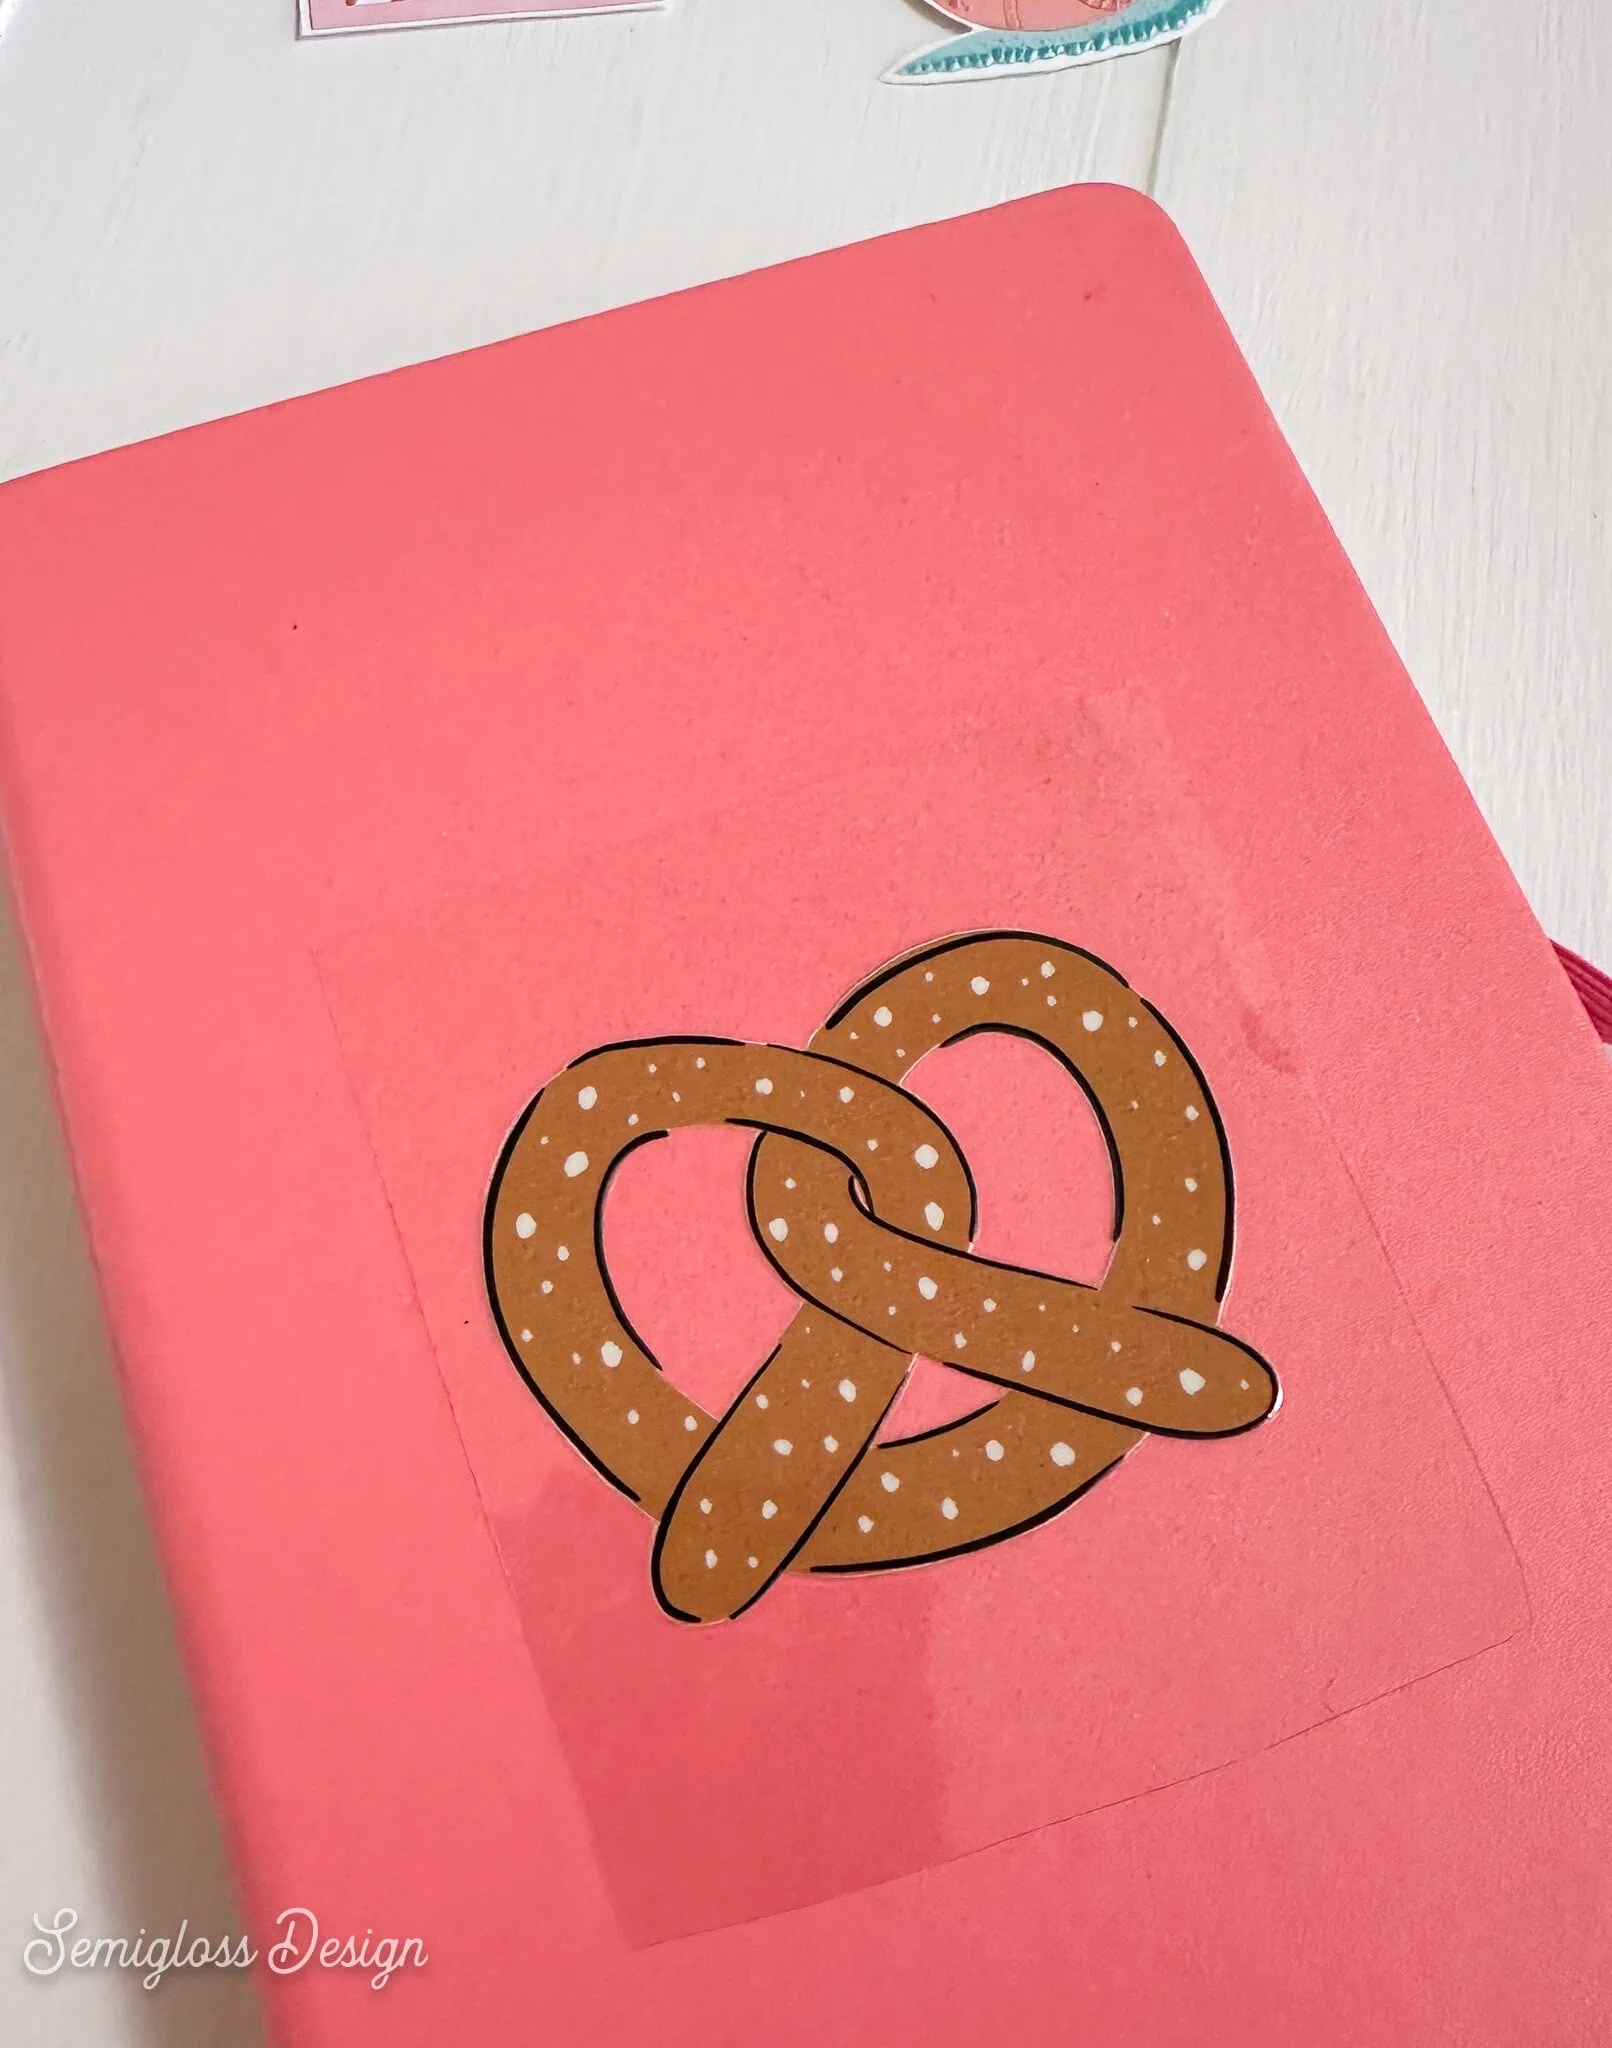
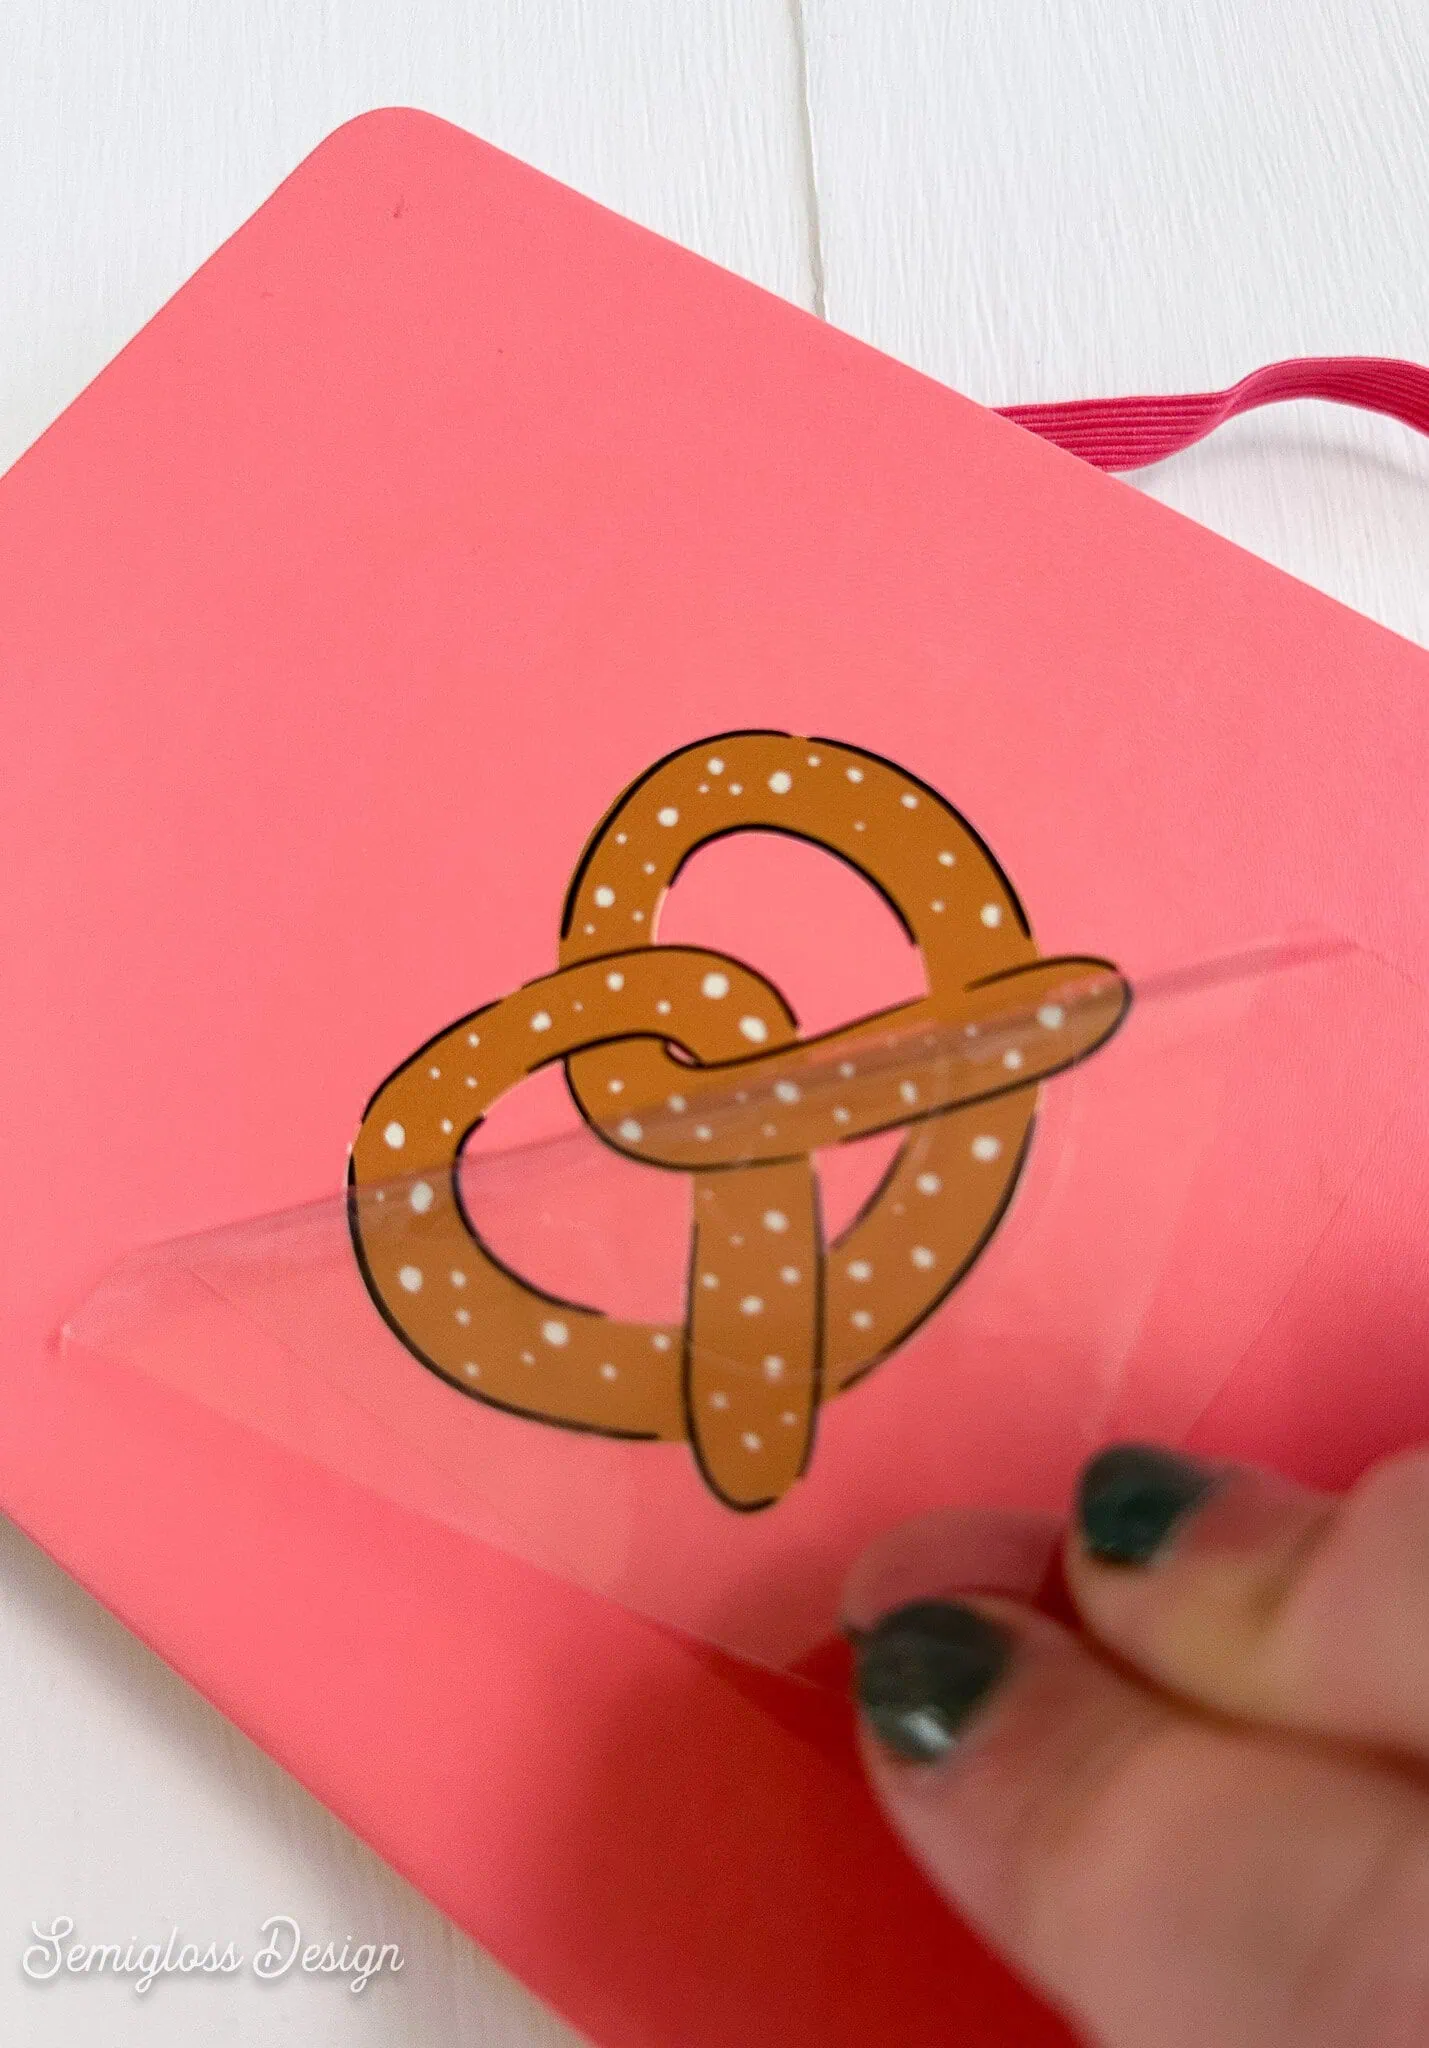
- When you’re ready to apply it, peel off the backing film.

- Use the front transfer film to align your sticker.
- Then gently peel the film away.

Which sticker type is your favorite?
Pin for Later!

Emy is a vintage obsessed mama of 2 DIYer who loves sharing affordable solutions for common home problems. You don’t need a giant budget to create a lovely home. Read more…