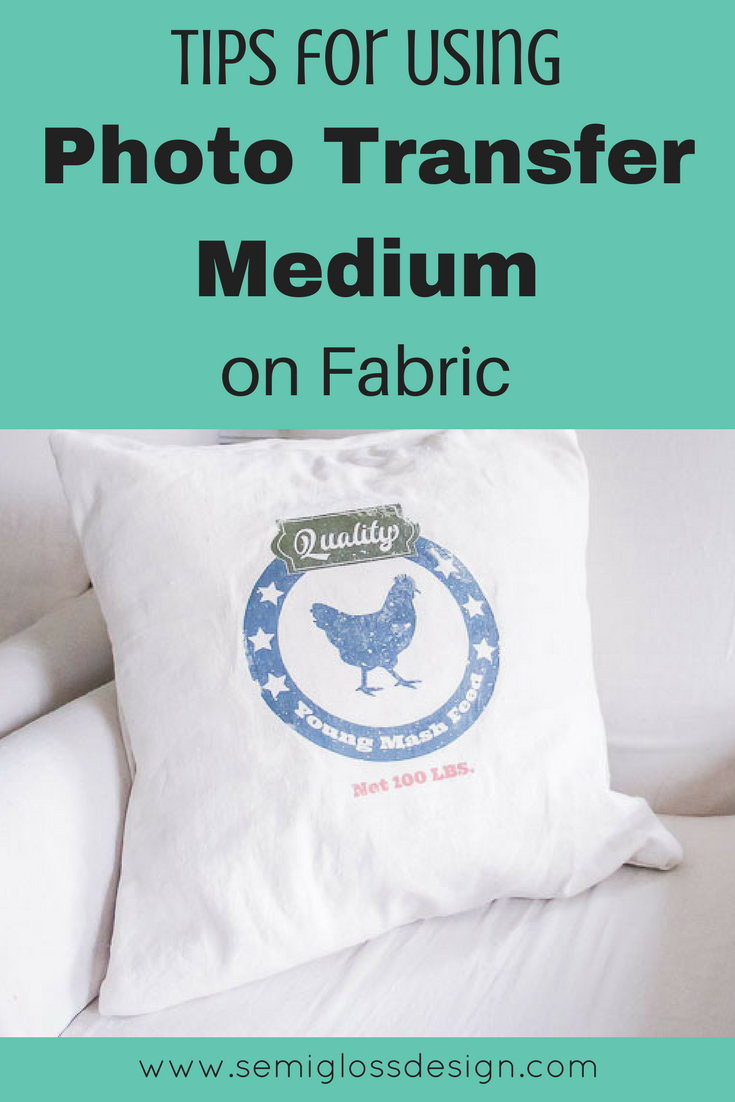
Tips for Using Photo Transfer Medium on Fabric
Photo transfer medium is cool. I feel like there are a ton of possibilities with the stuff that I haven’t even thought of yet.
While I was making my vintage style galvanized buckets, I was also working on another project.
I wanted to see if photo transfer medium would work of fabric. Today I’m sharing the results of that experiment and some tips for using photo transfer medium on fabric.
This post is sponsored by DecoArt. DecoArt provided me with paint for this project, but all thoughts and opinions are my own. I would never recommend products that I wouldn’t buy or use on my own.
Photo transfer medium is used to transfer images to fabric.
How to Transfer Images to Fabric
This post contains affiliate links. By purchasing an item through an affiliate link, I earn a small commission at no extra cost to you.
Supplies
- DecoArt Decou-Page Photo Transfer Medium
- Foam Brush
- Fabric
- Image (scroll down for a copy of this image)
- Wash cloth
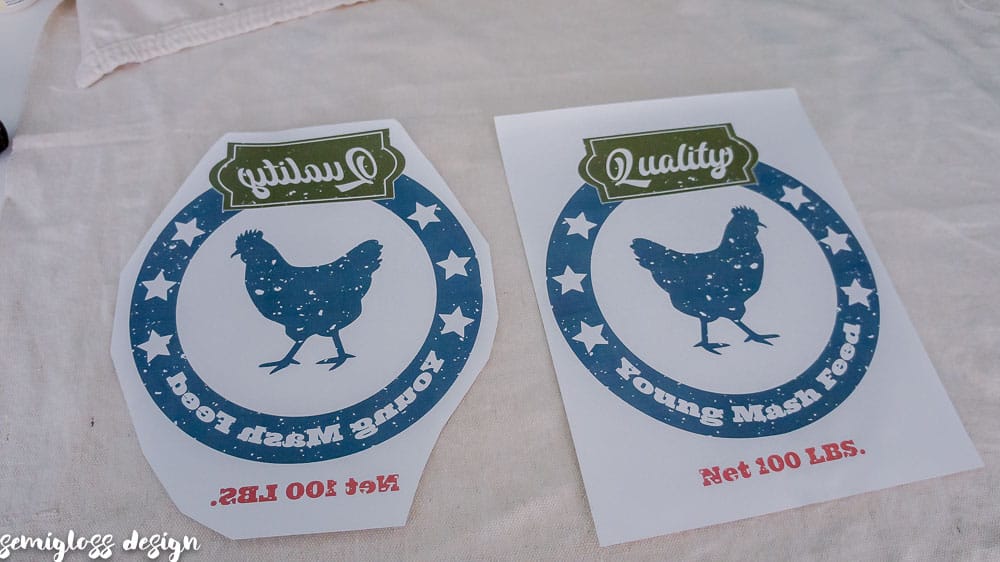
- Print your image out with a laser printer. If you’re using an image with words, make sure that you print a mirror image.

- Trim around the image. You want to remove as much white paper as possible.
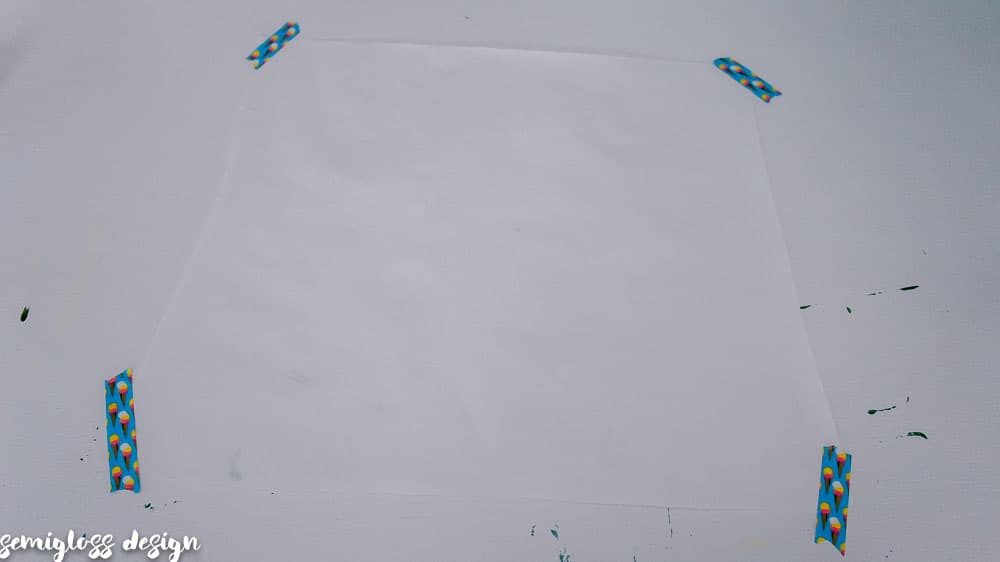
- Protect your work space. I taped a piece of freezer paper to my desk where I would be working to prevent the fabric from adhering to the desk. If your fabric is double something like a shirt or pillow cover, apply a piece of freezer paint between the layers of fabric.
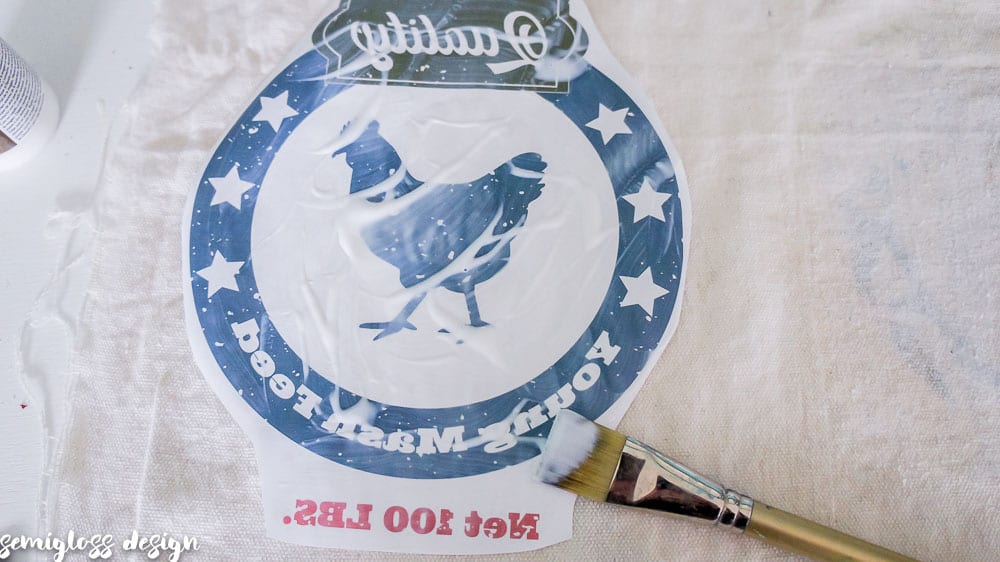
- Apply a generous coat of the photo transfer medium to the front of the image.
- Apply a generous coat to the fabric. Fabric is absorbent, so be extra generous.
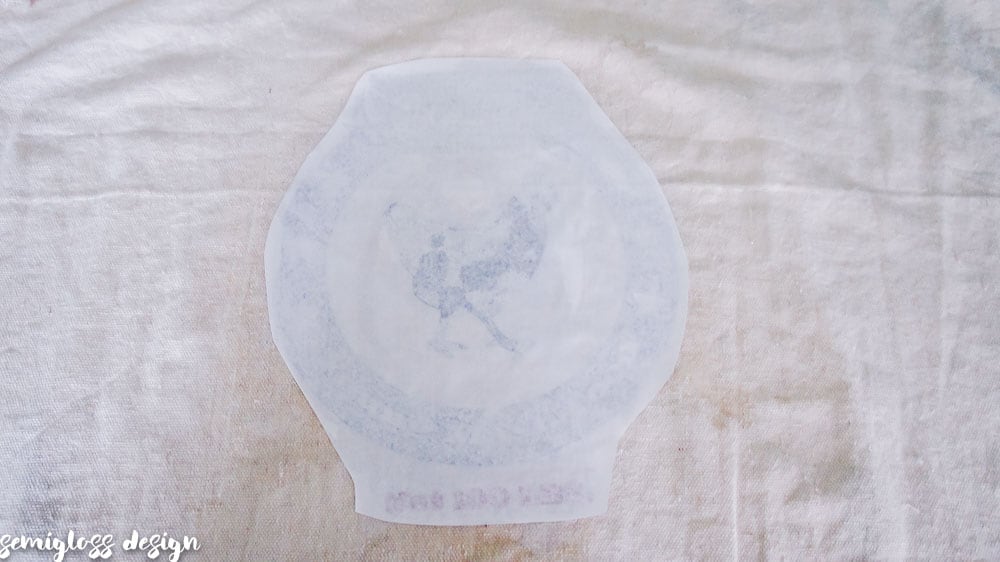
- Place the image on the fabric. Rub the image to adhere it. If extra glue seeps out, wipe it off with a damp wash cloth. I rubbed the whole image with the damp wash cloth to make sure that it was on nice and good.
- Let it dry for 8 hours.

Removing the Paper from the Image Transfer
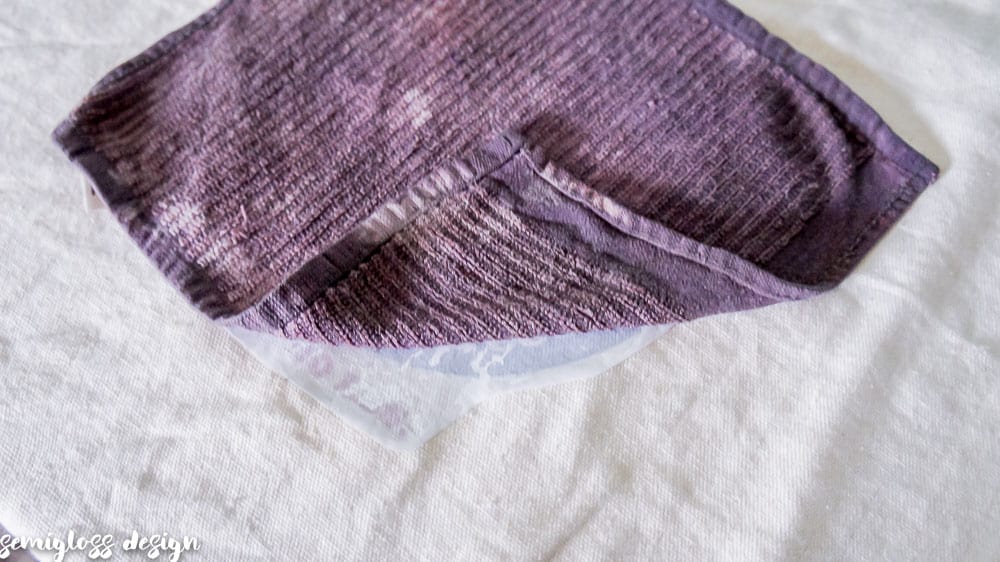
- Use a wet washcloth to soak the image paper.
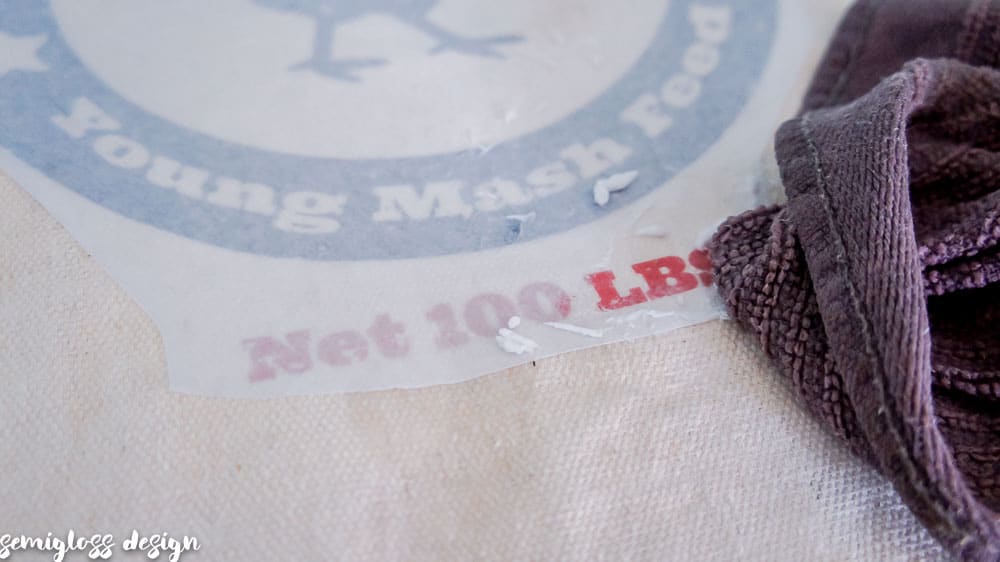
- Start rubbing the paper off. A circular motion works well. Add more water if necessary. Rub until as much of the paper is gone as possible.
- Let it dry and use your fingers to gently rub any extra paper away.
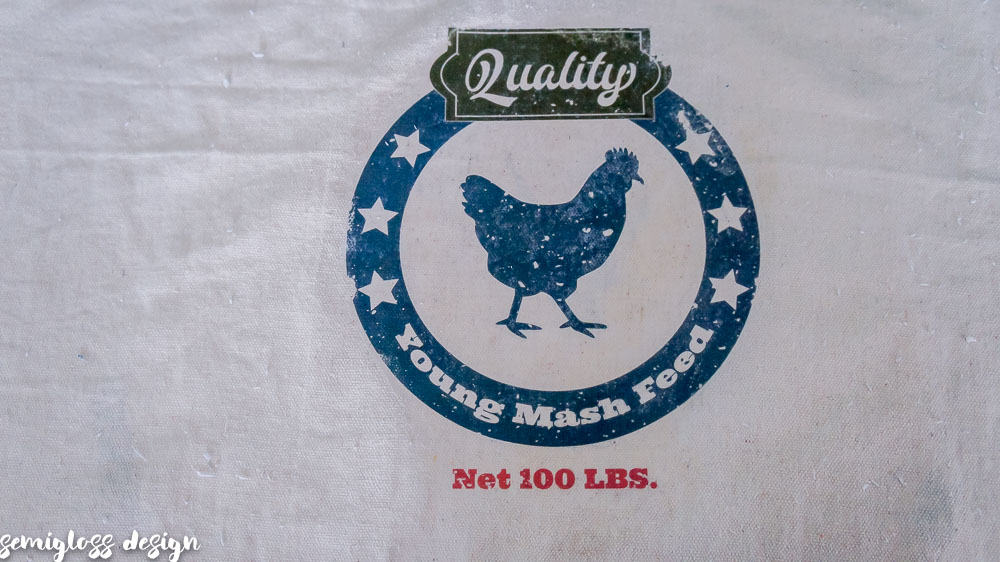
The results?
The image transferred to the fabric, but it’s stiffer than I thought it would be. All of the “white areas” are stiff with glue.
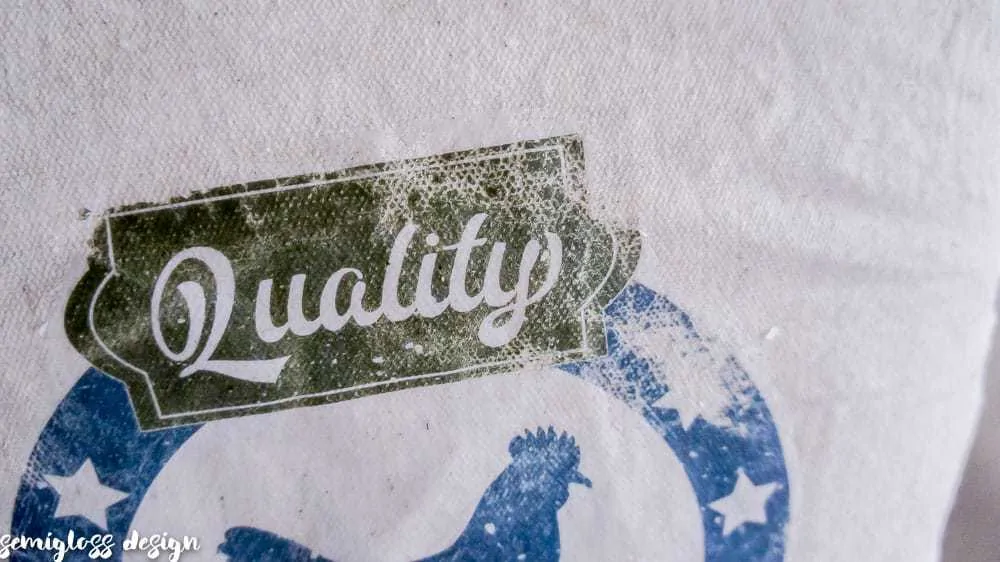
I washed the fabric to see if it would soften it up, but no luck. It aged the image a bit, which I like. If perfection is your thing, this probably isn’t for you.
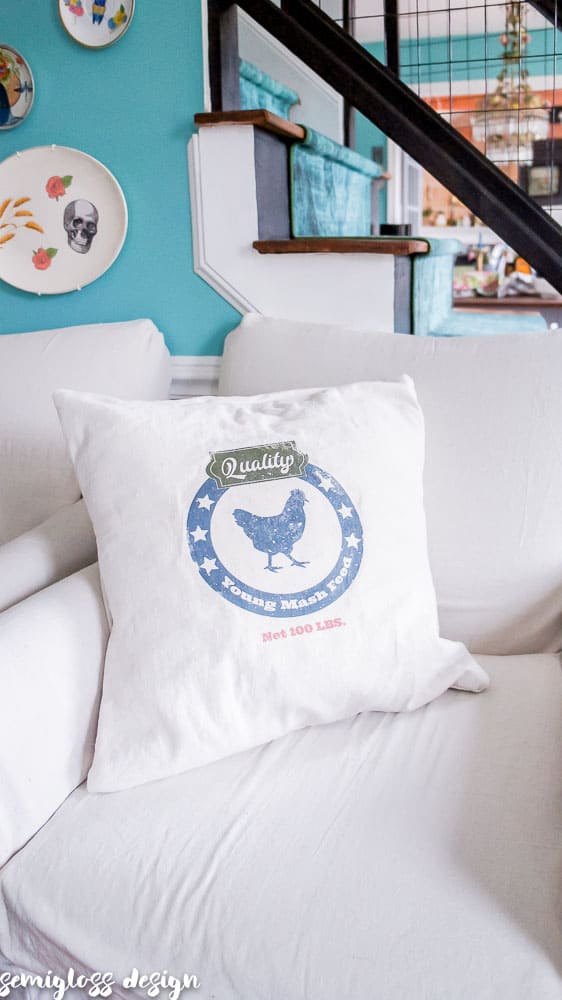
But for a seasonal, decorative pillow cover, photo transfer medium on fabric is a fun option.
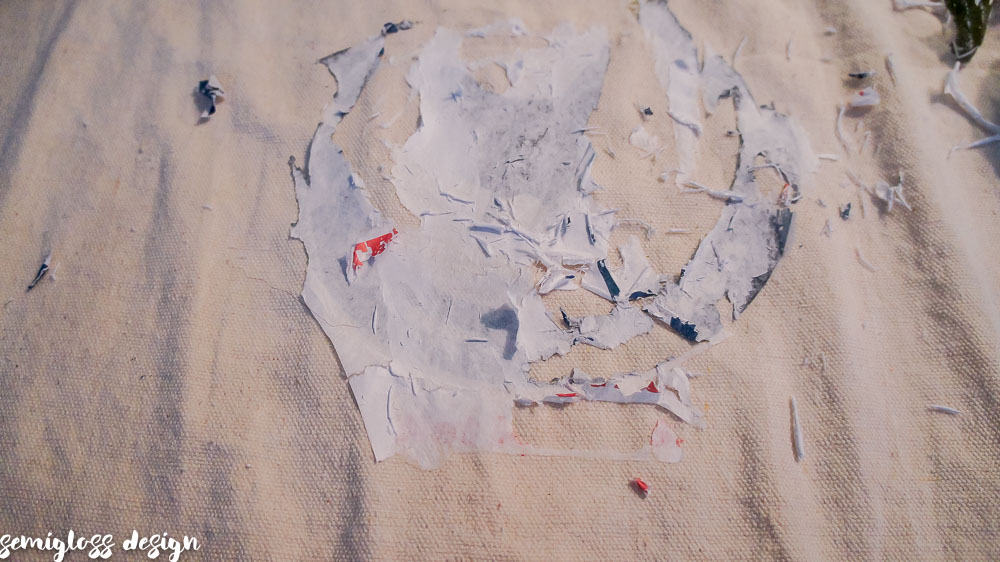
Want to see what happens when you don’t use enough photo transfer medium? The paper peeled away and left no image transfer. I had to start all over.
Want a copy of my vintage style feedsack image?
Click the link to download the image.
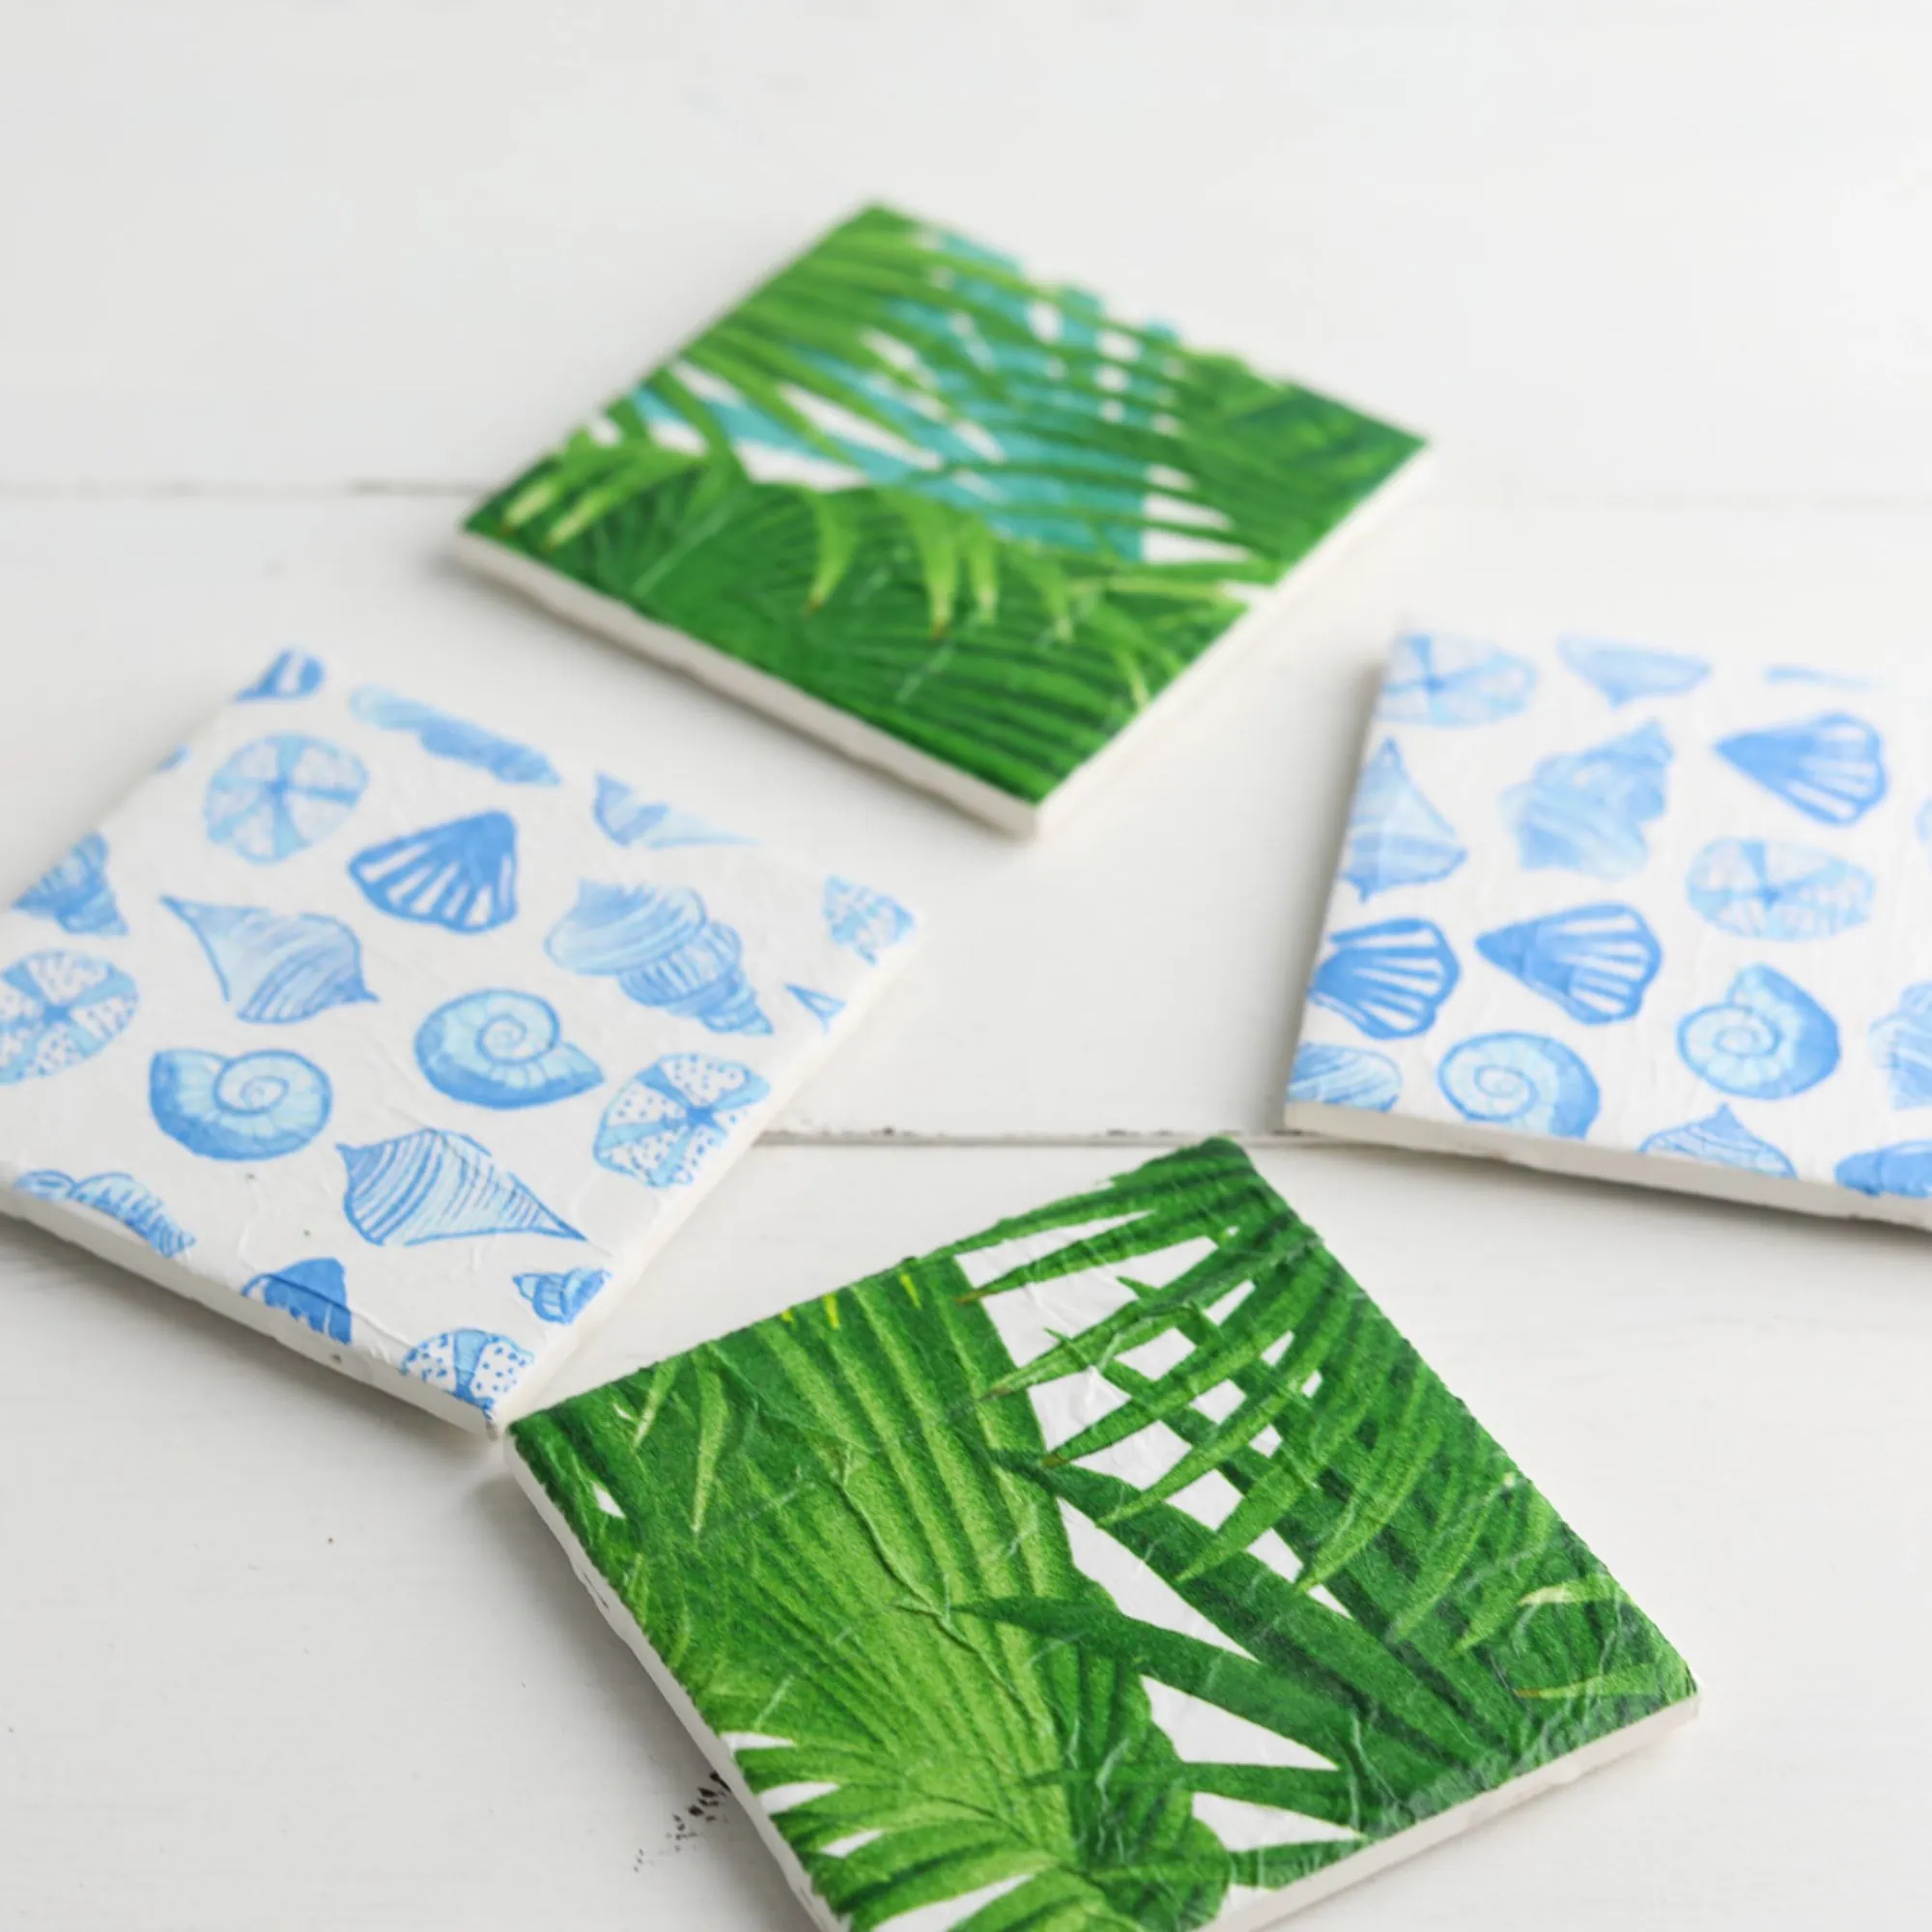
You might also like:
Pin for Later!

Emy is a vintage obsessed mama of 2 DIYer who loves sharing affordable solutions for common home problems. You don’t need a giant budget to create a lovely home. Read more…

i wish i had an ounce of your craftiness!
I used this product on tea towels and I also had a problem with the fabric being stiff. Did you figure out a way to soften up the finished product? Was great to use except for this stiffness.
Sorry, I never found a way to make it softer.