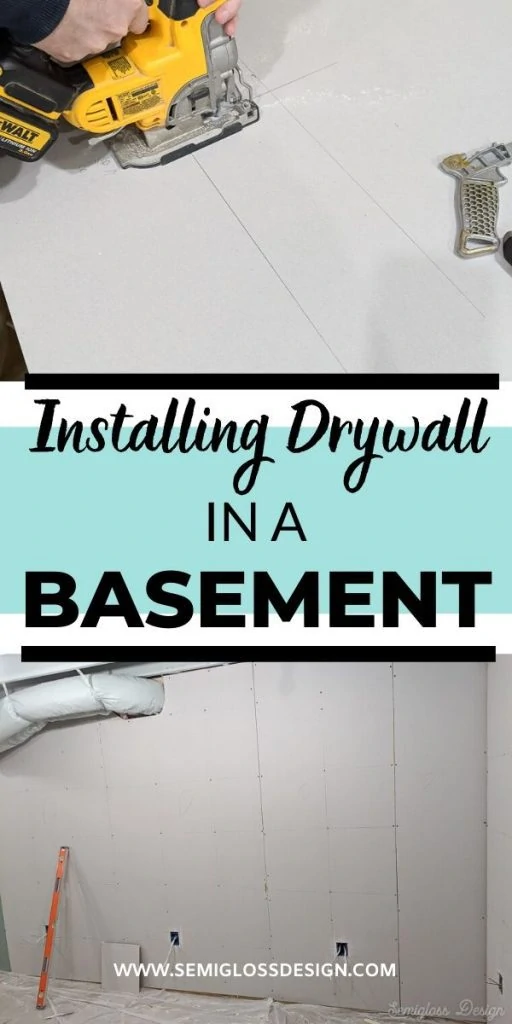
Beginners Guide to Installing Basement Drywall
Basement drywall installation is both wonderful and awful. It’s the stage of the renovation where it gets really messy, but it’s also where the room starts to come to life.
After framing the basement walls and then insulating those walls, it’s time to cover them up with drywall.
We also had electrical run, which I can’t offer a DIY process for because it wasn’t DIY.
This post contains affiliate links. By purchasing an item through an affiliate link, I earn a small commission at no extra cost to you. As an Amazon Associate I earn from qualifying purchases.
Basement Drywall FAQs
Which drywall should you use in a basement?
There are several different options when buying drywall.
The green type is moisture resistant and is great for basements due to the damp nature of basements.
Purple drywall is a brand that is mold, mildew and moisture resistant. So far, I haven’t seen it in my area, so it may be harder to find since it’s a pretty new product.
Standard drywall is easily available and comes in different thicknesses. We chose white drywall in our basement because it’s a dry space.
Fire resistant drywall is another option. It should be used near fireplaces and other combustible areas.
What thickness of drywall should I use?
Drywall comes in 3/8″ 1/2″ and 5/8″.
We chose to use thinner drywall since it’s just my husband and me installing it. The thinner drywall is much lighter to carry and move.
Whatever you choose, be sure to use the same thickness for the entire room or the seams will be noticeable.
Is sheetrock the same as drywall?
Sheetrock is a brand for drywall, so it’s kind of like the way people ask for a Coke in the south when you want a Dr. Pepper.
There are other brands than “Sheetrock,” though.
Should drywall touch the floor in a basement?
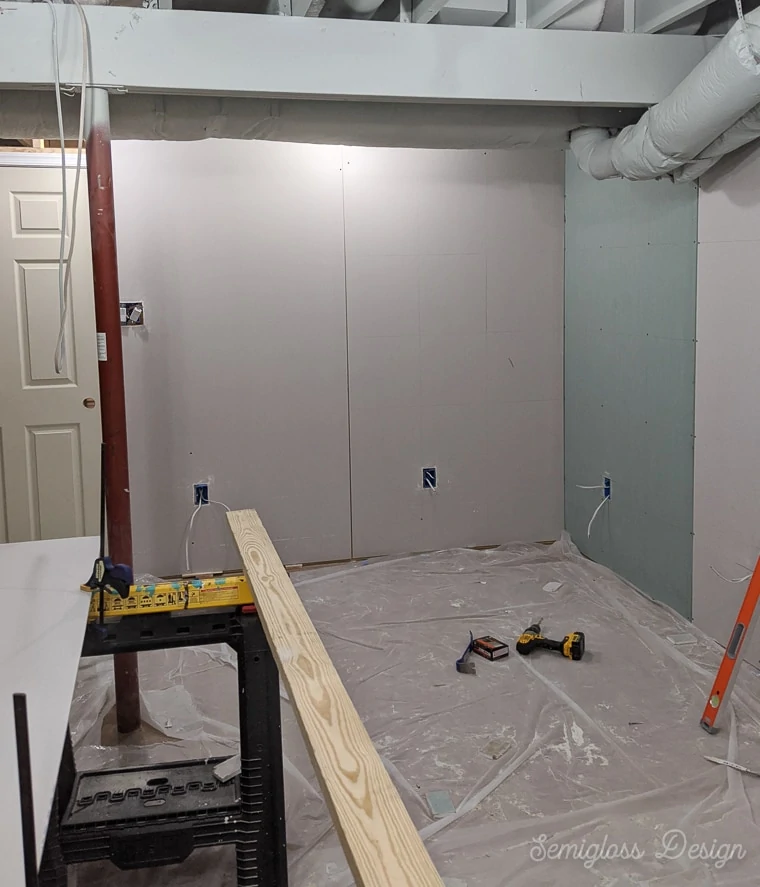
No. We installed our drywall about 3/4″ from the ground. Anything between 1/2″ to 3/4″ is good because the bottom will be covered with baseboards.
We chose a slightly larger gap because some of the places needed a bit more leverage to move it into place. Keep this in mind if you have pipes and vents close the wall.
To ensure equal placement, we cut 2×4 scraps to place the drywall away from the floor.
Does drywall have to end on a stud?
Yes! Before you start installing drywall, you should measure out 4′ spans to ensure that each panel of drywall begins and ends in the middle of a stud.
If not, you will need to attach studs to the sides of the existing stud or cut the drywall vertically when installing.
Should drywall be installed vertically or horizontally?
This seems to be one of those questions that come down to preference.
We chose to install the drywall panels vertically because then each edge of the drywall hits a stud. Horizontal placement would need horizontal studs as well.
Vertical placement is also easier to install because you’re not having to hold the piece in place while hoping it doesn’t move as someone else screws it in.
(The stair wall was installed horizontally and it was really hard to hold straight.)
What size screws should I use to install drywall?
Use 1 1/4″ screws for the best results.
Longer screws tend to strip out and I’ve seen several screw heads break off.
The shorter 1 1/4″ screws are perfect and go in quickly.
Guide to Installing Drywall in a Basement
Supplies Needed for Drywall Installation
- Drywall (we used 3/8″ drywall to make it a bit lighter)
- Drywall screws – #6 1 1/4″
- Utility knife and fresh blades
- T ruler
- Clamp
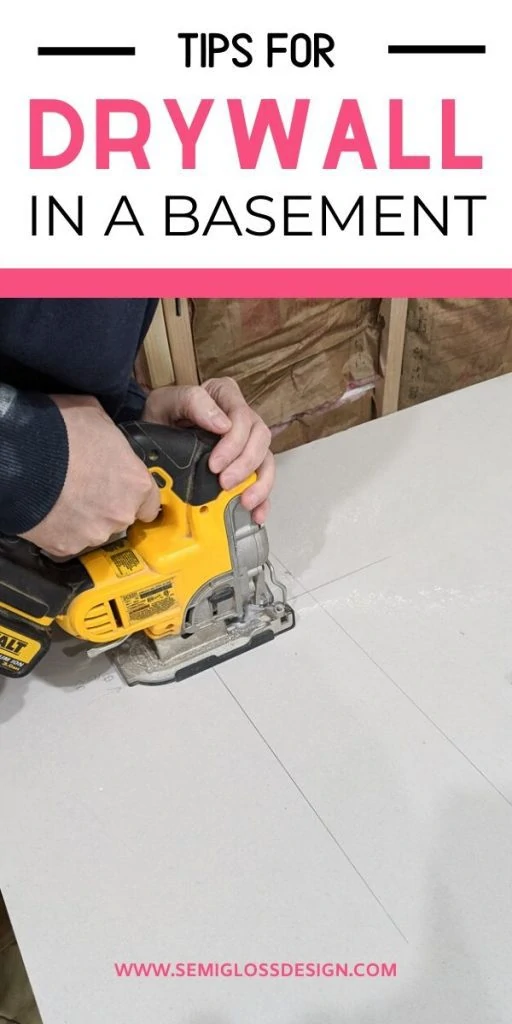
- Jig saw with blades for metal
- Large drill bit and drill OR drywall knife
- Measuring tape
- Saw horses
- Level
If you don’t have a large truck, you can get drywall delivered for a fee. Ours took about 2 days to be delivered, so plan ahead.
This job takes at least 2 people. Drywall is large and heavy!
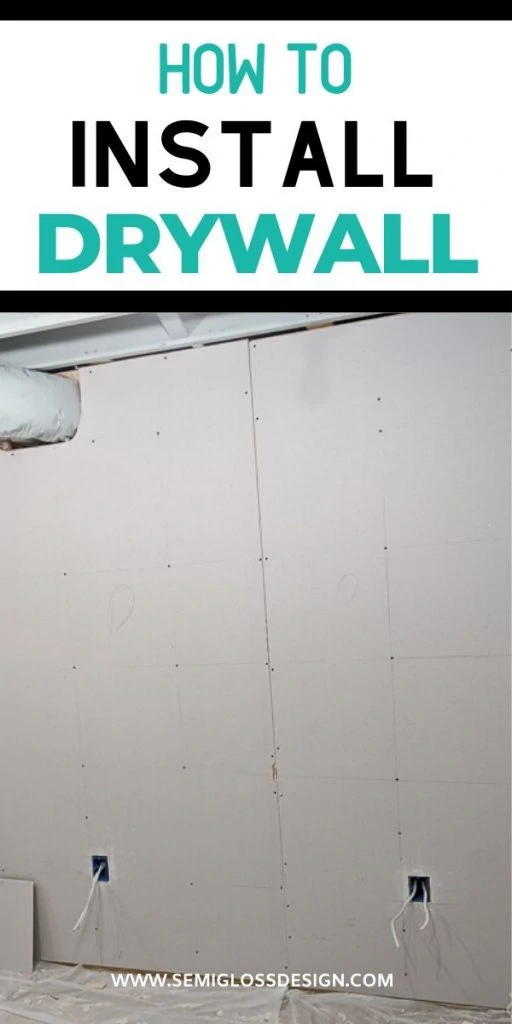
This room has a lot of outlets so almost every single panel we cut needed at least one electrical box cut.
This is the process that we used to make installing drywall easier.
It’s multi-stepped and involves a lot of re-measuring, but in the end, our only bad cut can be covered with a light switch cover.
Prep Work for Drywall
- Tarp your floor off if needed. We did this when we installed insulation and I’m glad we did because it made a bigger mess than I thought it would.
- Use painters tape on the floor to mark off where the studs are. This saved us so much time!
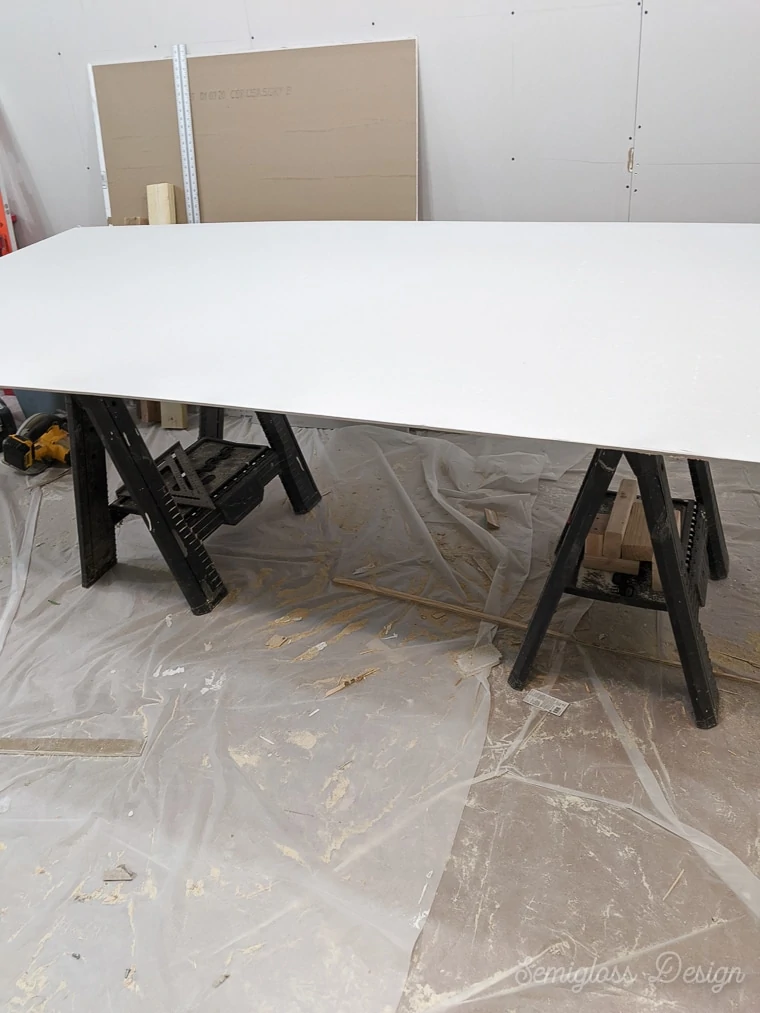
- Place the drywall panel on the saw horses.

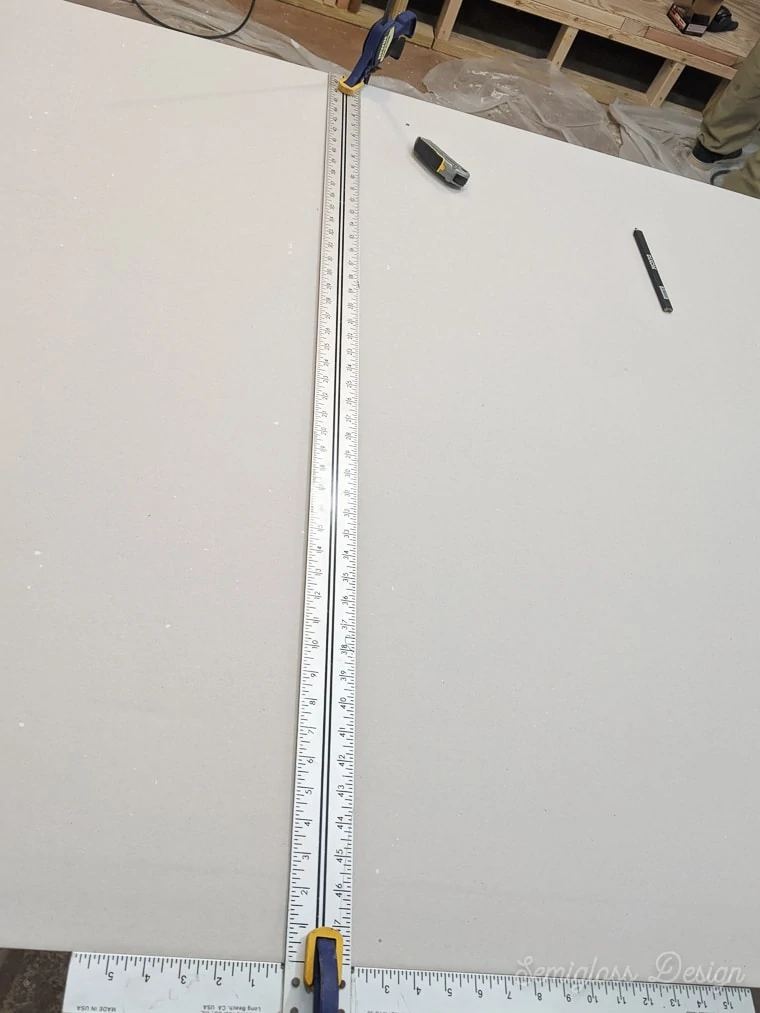
- Measure the height from the floor to the ceiling. (We left our ceiling unfinished and painted it, so we measured to the top of the top plate.)
- Mark that spot on the drywall and use a t-ruler to draw a line. (We will subtract the 3/4″ after the outlet cuts.)
Cutting Holes in Drywall for the Electrical Boxes
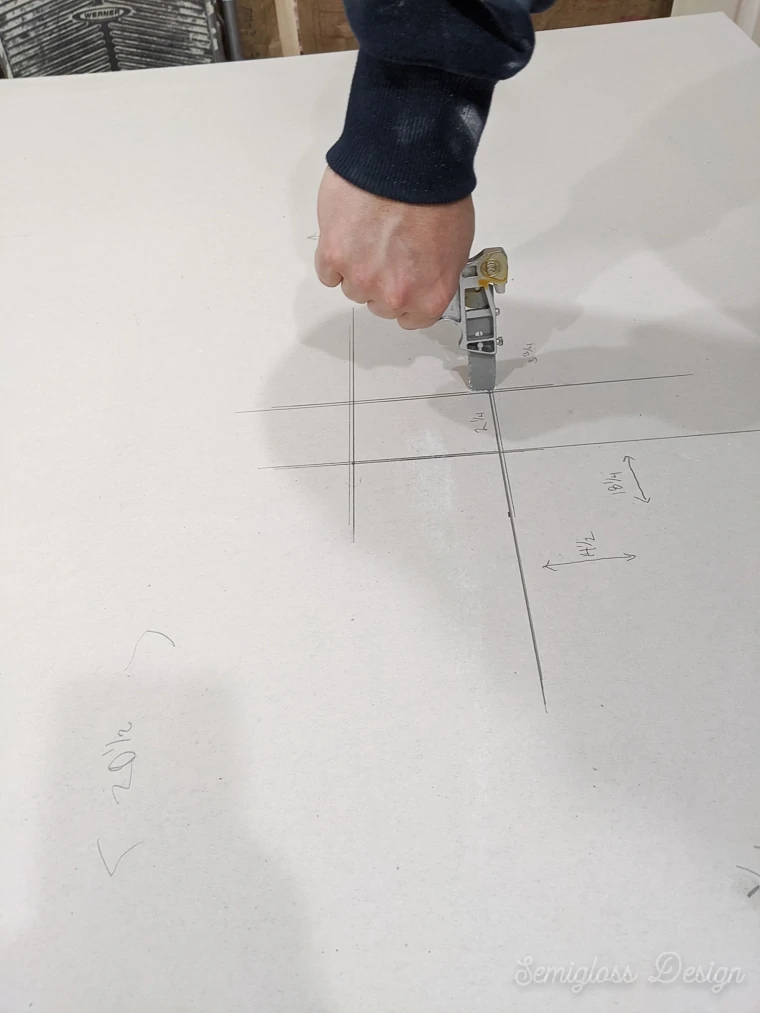
- Measure from the floor to the bottom of the electrical box and make a mark on the drywall.
- Measure from the edge of the wall to the closest edge of the electrical box and make another mark.
- Measure the size of the electrical box.
- Draw it out on the drywall using a t-ruler.
- Double check those measurements.
- Give the box some wiggle room by drawing another 1/4″ around the box you drew in step 8.
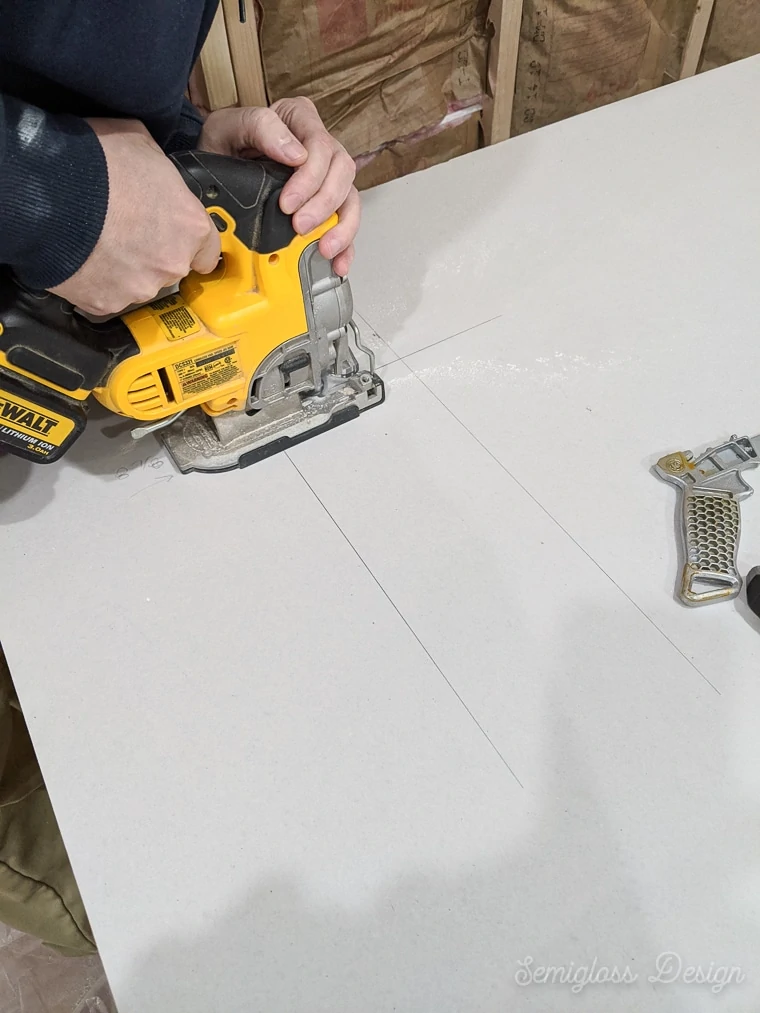
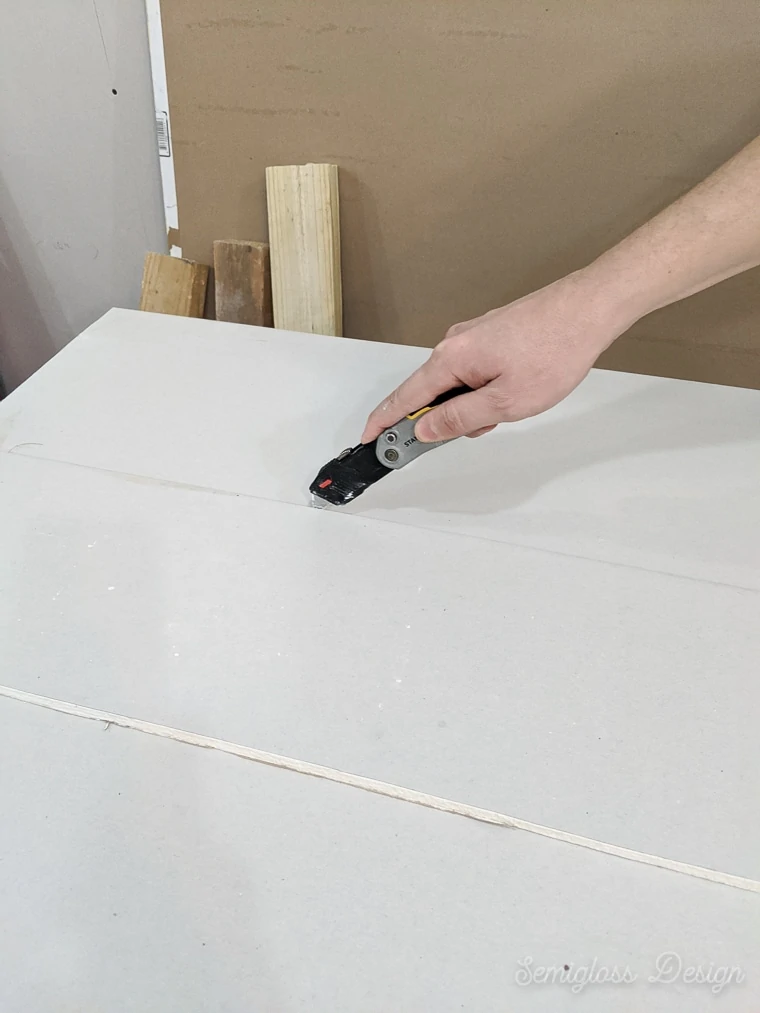
- Use a drill to make holes in opposite corners of the box you drew. (Alternatively, you can make starter cuts with a drywall knife – use a new blade!)
- Use a jig saw to cut the hole out, making sure to smooth out the corners where you drilled the holes.
- Repeat as necessary for other outlet or light boxes.
Cutting Drywall to Length (or Width if Necessary)
- Mark 3/4″ above the length of the drywall we marked in the first part of the directions.
- Align a t-ruler to the cut line on the drywall.
- Clamp the end of the t-ruler to the drywall.
- Use a sharp utility knife to score the drywall paper.
- Snap the drywall along the line where you scored it.
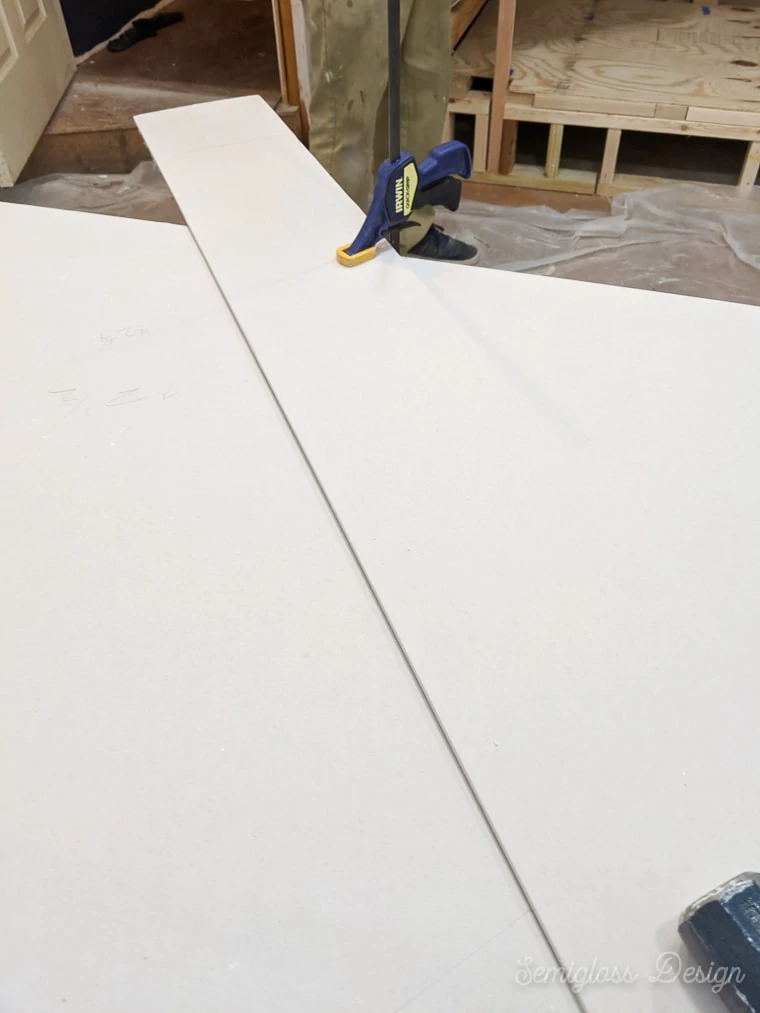
- If the area is really narrow, it’s much harder to snap off, so use the edge of the saw horses to help you.
- For vertical cuts, you will need to use a straight 2×4 (or long piece of drywall) instead of the t-ruler.
- Clamp both ends to secure it to the drywall before scoring.
Installing the Drywall
- Once everything is cut, dry fit the drywall being careful of the wires or electrical outlets.
- Use wood spacers to sit the drywall off of the floor.
- If anything needs adjustment, remove the drywall and make the additional cuts as needed.
- If it fits perfectly, but the edge of the drywall to the corner or previous drywall piece and screw it in.
- We attached screws at the top while the other person held the drywall in place.
- This holds it in place so we could mark the studs using a level and a pencil (using the painter’s tape on the floor as reference for where the studs are.)
- Each panel was attached to each stud, then down about every 12″ until we reached the bottom. Take note of where your wiring is so that you don’t drill into it.
- Be careful at the edges so that you don’t smash the drywall with the screws.
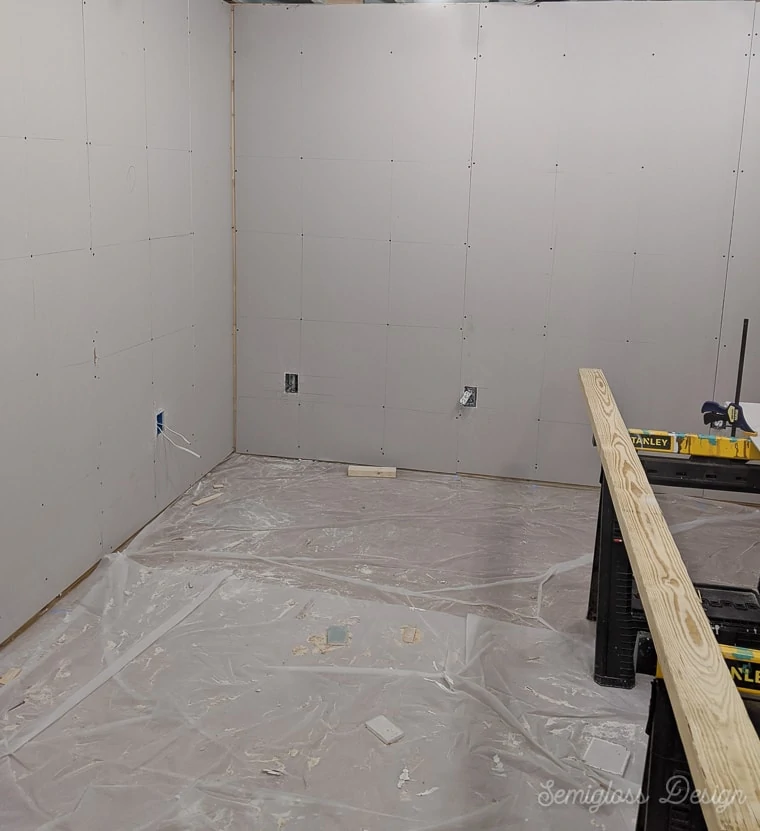
Repeat these steps for each panel until your room is finished. It seems like a lot, but you will develop a rhythm and it will go pretty fast.
Mudding the drywall is the next step for finishing your basement.
More Tips for Drywall Installation
- If possible, don’t have the electrical outlets installed until after drywall installation. It was much easier to work around wires (with the breaker turned off) than installed outlets.)
- Measure twice and cut once. This is a given, but it’s really important when measuring out where the electrical boxes go.
- Write down every measurement as you go.
- Don’t assume all electrical boxes are the same sizes. We have shallow boxes installed on one wall and they were much smaller. The double light switch was much bigger than I expected it to be.
- Use sharp blades in your utility knife for the best results.
- Place your sawhorses in a position that allows you to move the drywall to the wall easily. We moved ours for each wall.
- Drywall gaps are pretty forgiving, so don’t sweat the mistakes too much. A lot can be fixed in the mudding process.
You might also like:
- Basement Renovation Planning
- How to Paint a Room
- Refinishing Concrete Floors in a Basement
- Choosing Lighting for a Basement
Pin for Later!

Emy is a vintage obsessed mama of 2 DIYer who loves sharing affordable solutions for common home problems. You don’t need a giant budget to create a lovely home. Read more…