IKEA Besta Hack: Mid Century Modern Sideboard
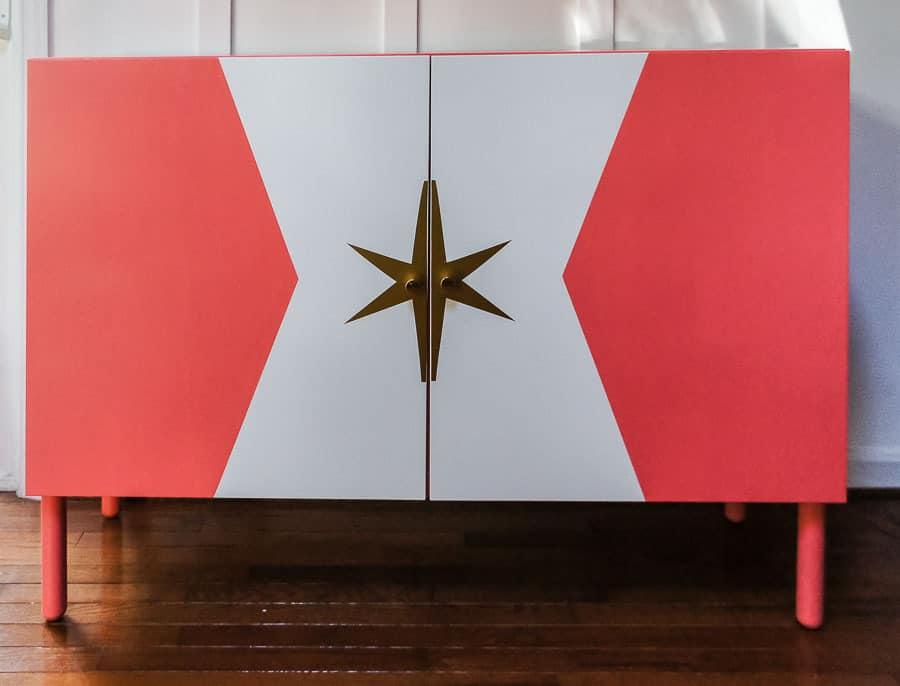
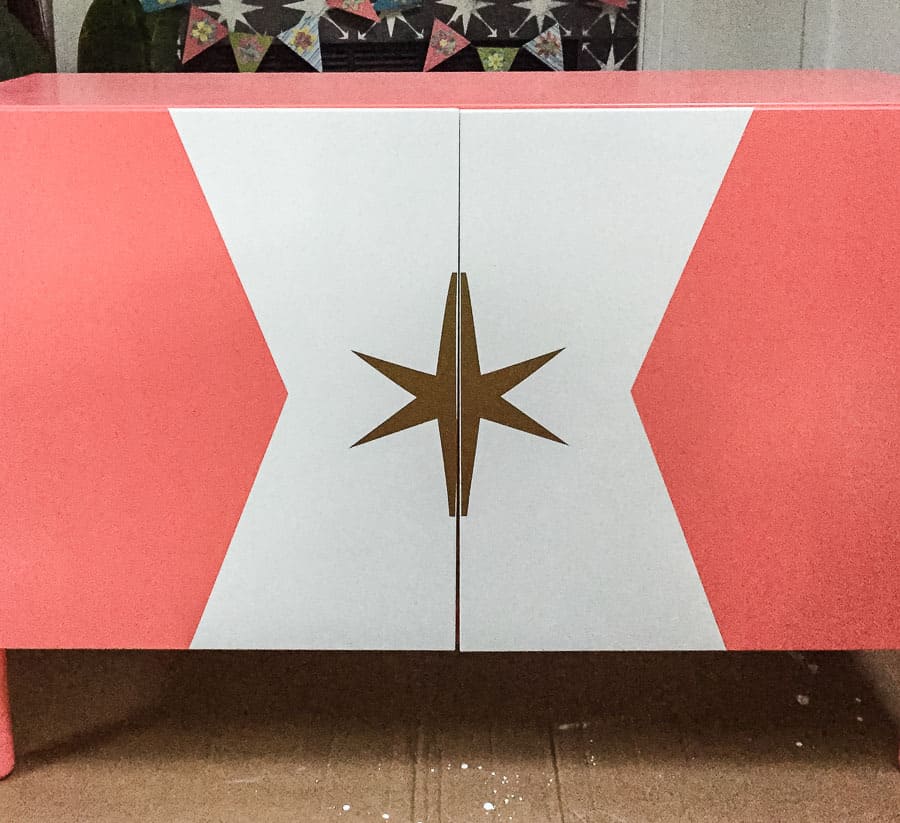
This IKEA besta hack transformed the plain cabinet into a fabulous mid-century inspired sideboard for our dining room.
If you love IKEA hacks you might be interested in these tutorials: Shibori dyed Henriksdal slipcovers or dip-dyed curtains.
This post contains affiliate links. By purchasing an item through an affiliate link, I earn a small commission at no extra cost to you. As an Amazon Associate I earn from qualifying purchases.
For my dining room makeover, I needed a smaller scaled buffet or sideboard cabinet. Unfortunately, finding a 48″ buffet wasn’t in the cards. Most buffets from that era are much longer.
So I decided to make my own using the IKEA Besta cabinets. These cabinets are a perfect size and are easy to customize to get the look you want.
Can I paint over IKEA furniture?
With proper prep work, you can paint over anything. Lightly sand the surface and then prime the piece.
I recommend a good, shellac-based primer to ensure that paint will stick to the slick surface of IKEA furniture. Read more about primers for furniture here.
IKEA Besta Hack: Mid Century Modern Sideboard
Supplies Needed:
- IKEA Besta Frame
- Besta Shelves (2)
- Soft Close Hinges (2)
- Besta doors (2)
- DecoArt Curb Appeal paint in Contemporary Coral
- Paint brush
- Frog tape Delicate Surface
- Primer
- White Paint ( I like Sherwin William Pure White in eggshell)
- Wooden legs
- HANDy Paint Cup
- Silhouette
- Cut file – scroll down for free cut file download link
- Vinyl (I used this one)
- Transfer Tape
- Knobs
- Drill and 1/4″ bit
Prepare the Besta Cabinet
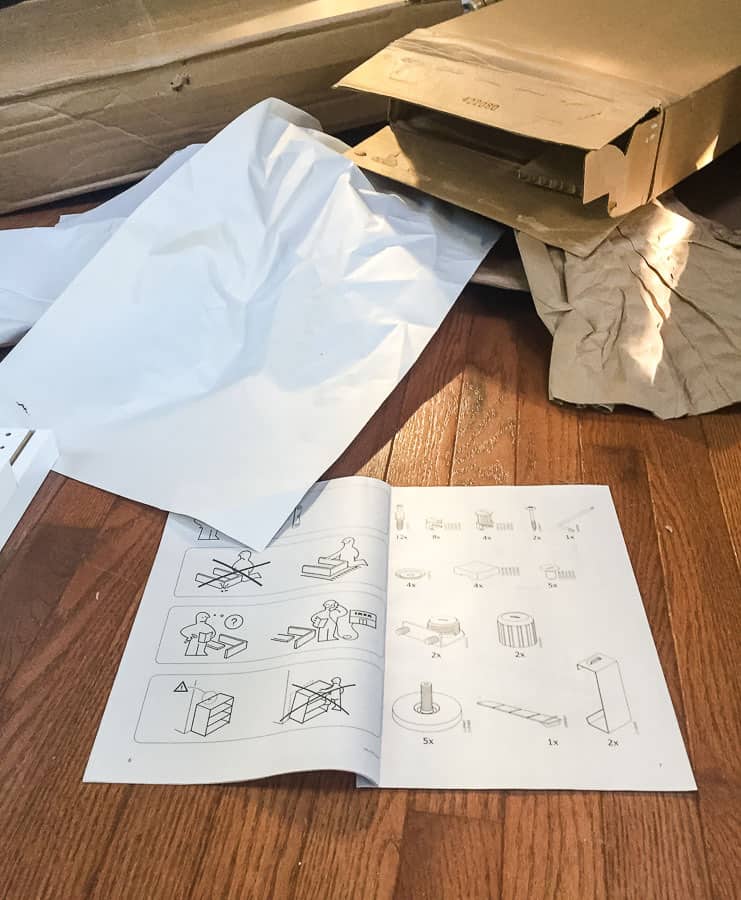
- Assemble the IKEA Besta cabinet according to the instructions. (I also attached the plastic feet to help maneuver the piece around. Legs will be attached at a later stage.)
- Attach the IKEA Besta doors according to the instructions. You will have a million pieces left over when you’re done. It’s fine.
- Prime the cabinets to ensure that paint will stick. I bought the cheaper version of the Besta, so the surface was almost like it was covered in paper instead of the normal shiny melamine. Primer never hurts though. This primer self-levels, so it’s best if you lay the cabinet on its back for this part.
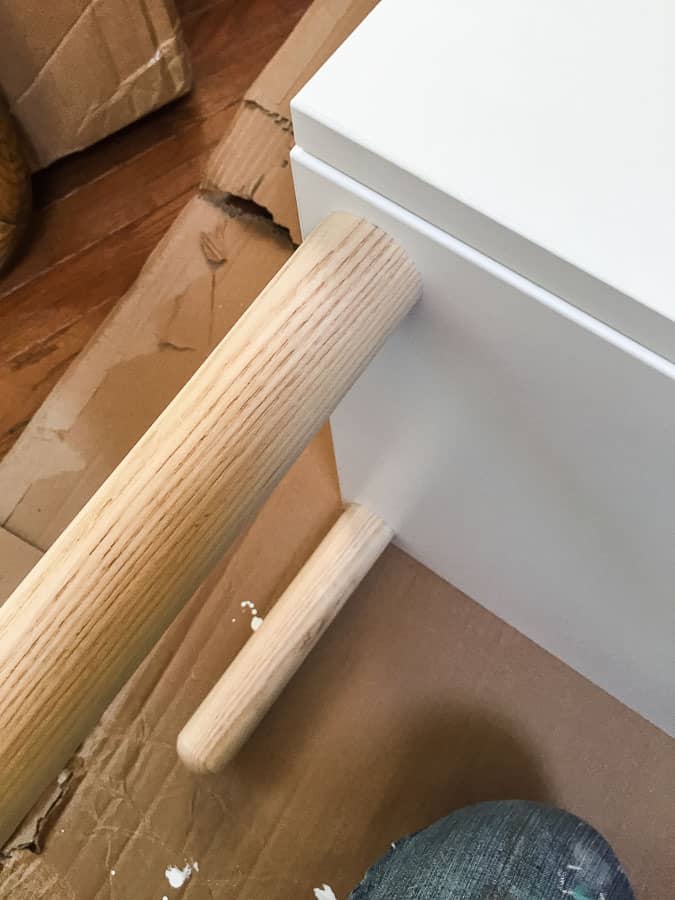
- Install the legs. Luckily, most legs will screw right in.
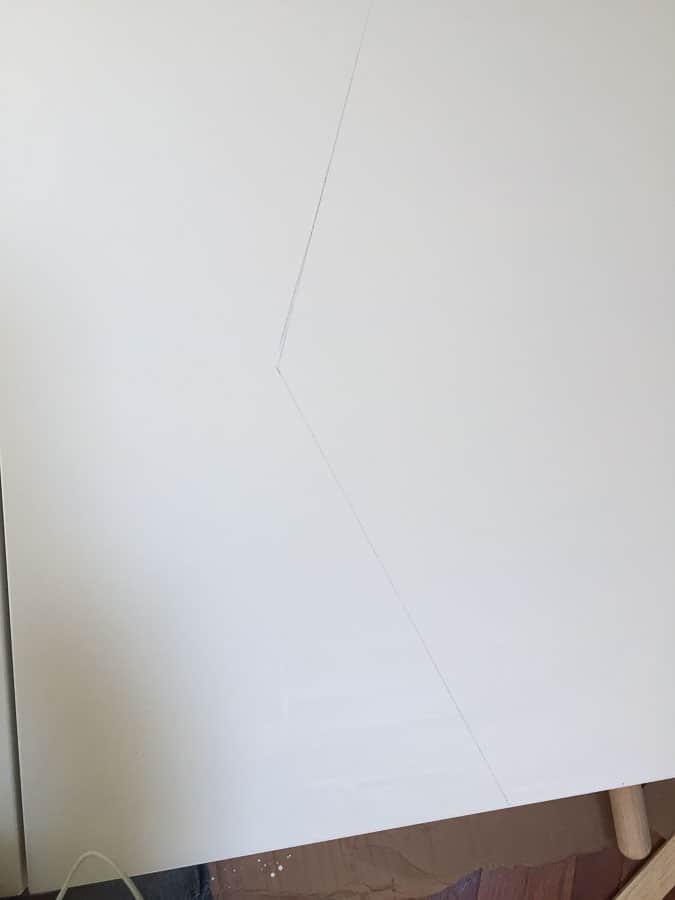
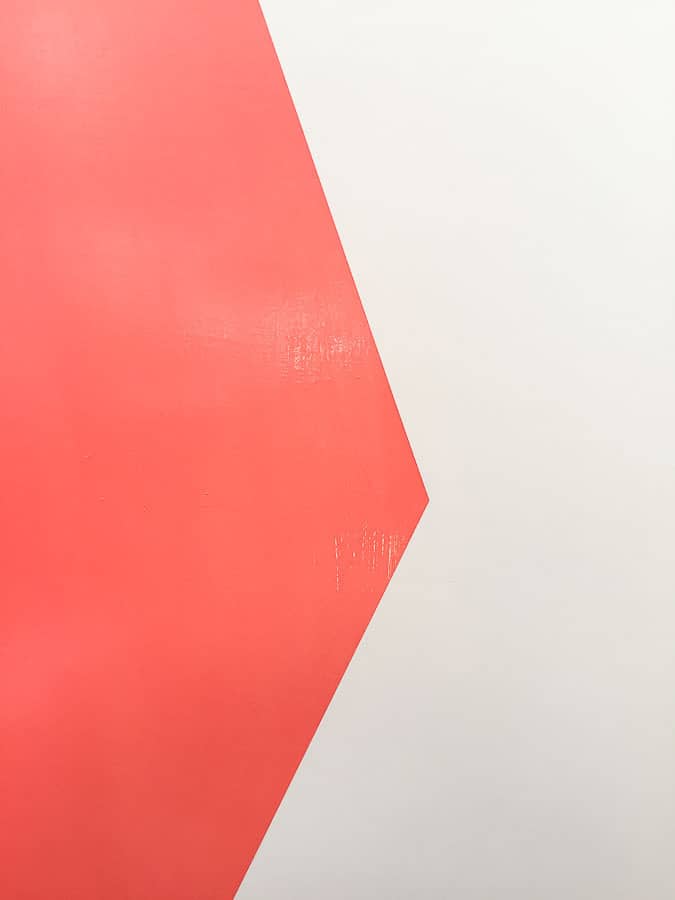
- Measure out your design and mark it with a pencil. I made marks at 12 1/4″ at the top and bottom and in the centers 8″ in. Then I connected those marks using a straight edge.
How to Paint Perfect Crisp Straight Lines
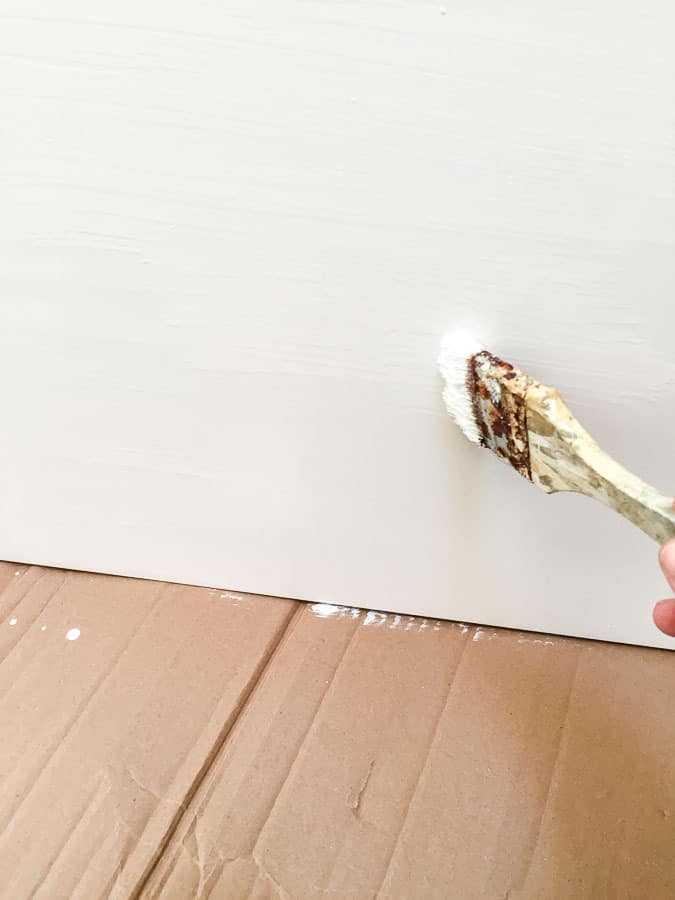
- Paint the inner portion white. Don’t worry about staying in the lines. It will probably need 2 coats.
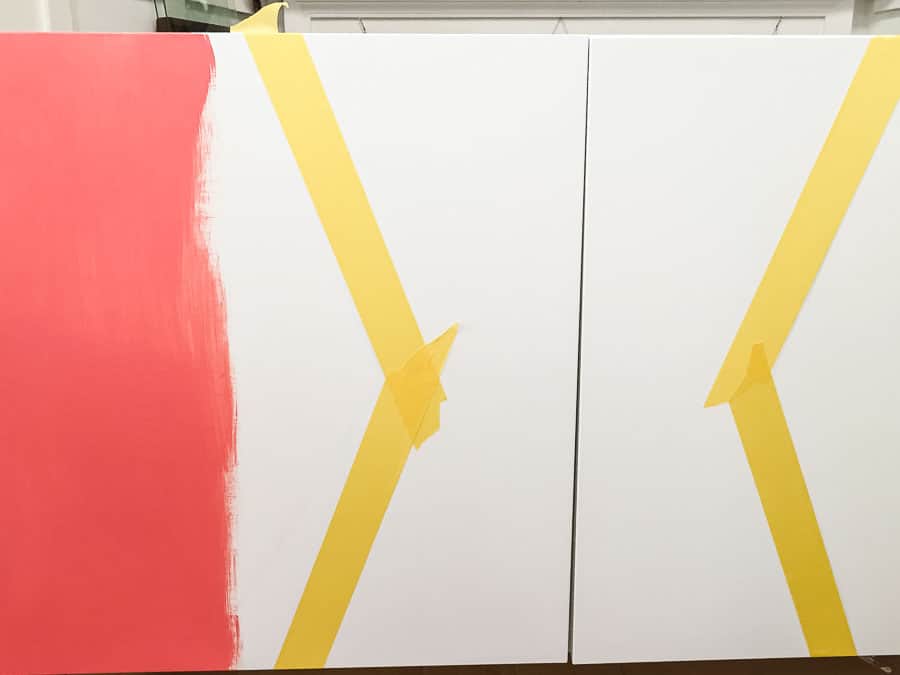
- Once the paint is dry, apply frog tape to the lines. I used delicate surface tape to make sure I didn’t destroy the painted surface. (I also got a head start on painting the body of the cabinet coral.)
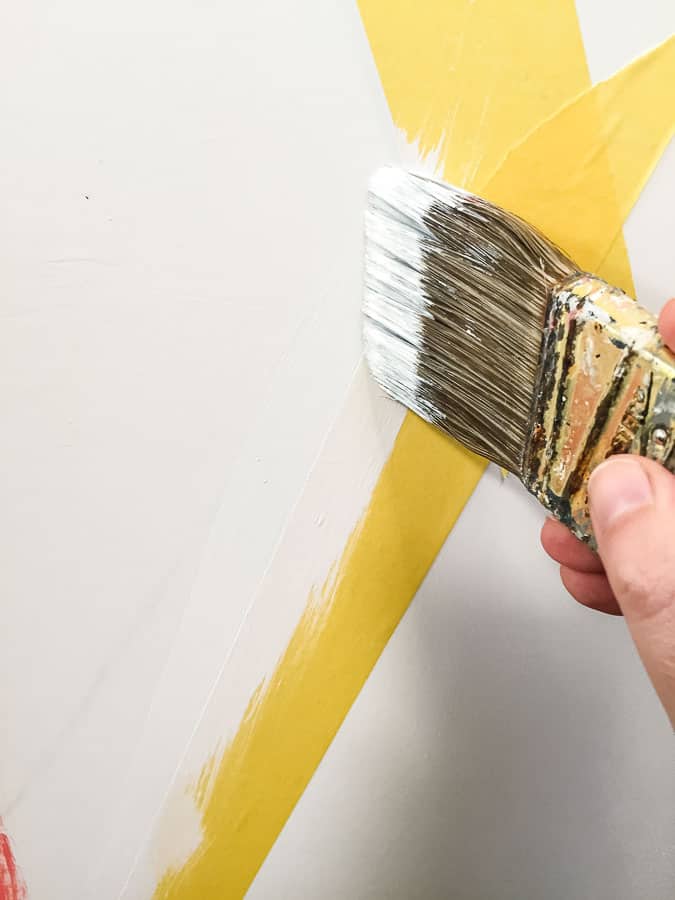
- Use the WHITE paint to create a seal on the tape. This prevents any bleeding and gives you perfectly crisp lines.
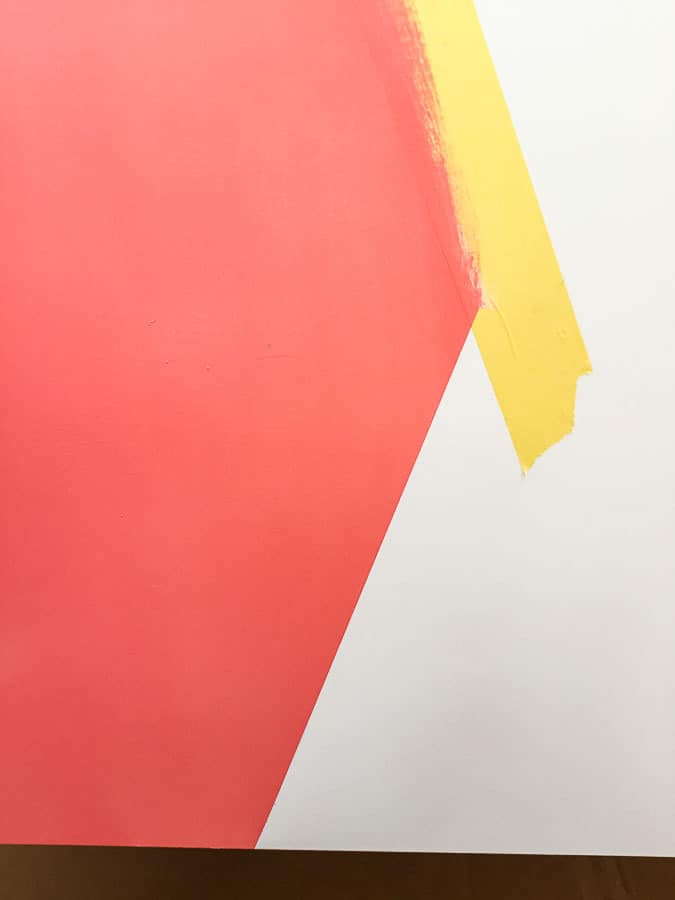
- Once the white paint is dry, paint the second color over the rest of the cabinets. I also painted the inner edges of the cabinet since you can see a tiny bit of it.
- Apply a second coat. You might need 3 coats for certain colors/paints.
- Remove the tape (while the paint is wet) to reveal perfectly crisp lines!
Place the Starburst Decal
- Use a Silhouette or Cricut to cut out a starburst pattern that is cut in half.
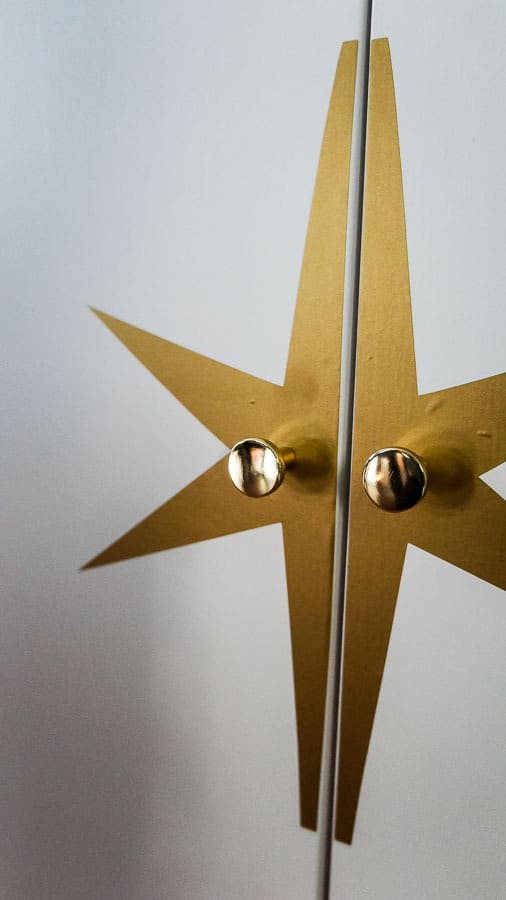
- Use transfer tape to apply each side of the starburst decal to each side.
- Drill a hole through each door in the center of each starburst and install the knobs.

So what do you think about my IKEA besta hack? I’m in love. My IKEA besta sideboard provides so much storage!
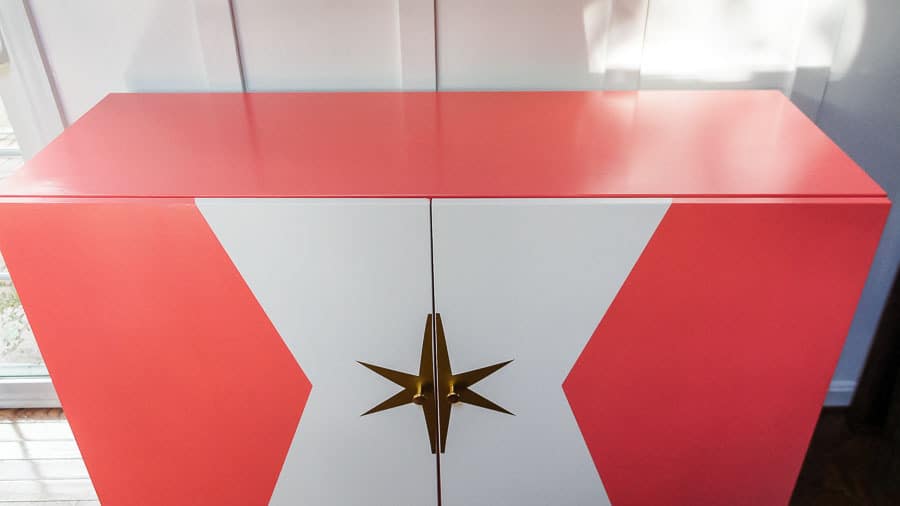
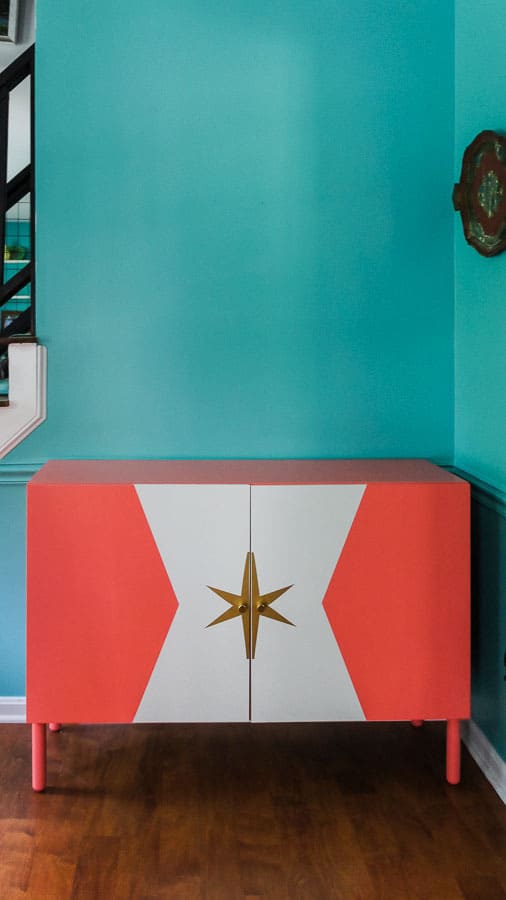
Here’s how it looks in the room so far.
Download a Split Starburst Cut File
Click here to get the starburst cut file for this cabinet.
Want to see how the room turned out? Check out my colorful, modern dining room reveal!
You might also like:
Pin for Later!

Emy is a vintage obsessed mama of 2 DIYer who loves sharing affordable solutions for common home problems. You don’t need a giant budget to create a lovely home. Read more…


You are killing me! This is spectacular!!!! Way to go!!!
This is amazing! You rock 🙂
This is absolutely one of my favorite IKEA hacks. LOVE that coral color. And the design!!!!! Wowzers. Perfection!!! So excited for you and your new room!
Emy this Ikea Hack turned out so cool! I love the retro pattern and the fun colors your design always inspires me! Your room is looking great and I can not wait to see it all finished up in 2 weeks !!!
Such a fun Ikea hack! Love the bright colors and this will totally stand out in the space. Great job!
Emy,
This Ikea hack is AHHHHHHMAZING! Love the colors.
This is genius! You always have such clever ideas!
best IKEA hack I’ve ever seen!! Seriously. And I love the coral-y pink color you chose!! I’ll be following along to see the rest!! And to distract me from how far behind my own ORC is! LOL
What a great hack! It looks amazing! Great job!
So pretty! What a beautiful update of this piece! Love where this room is headed!
You rocked this OUT! Yeah! I love everything about it. The ORC pulls some wonderful things out of us doesn’t it?
What a fantastic Ikea hack, so colorful and fun! Pinned for later. Looking forward to your reveal!
Very pretty!!! Just curious, where did you get the picture on the wall behind the buffet in the first pic? Would it happen to be painted on velvet?
Yes, it’s velvet art. One is vintage that I got from a thrift store year ago and the other I bought overseas at a market and had framed. I love my velvet art. 🙂
Oh I wish I could attach a pic. I have two that belonged to my Mother. One is very similar to the one you have framed She had them as long as I can remember. Seems like she told me that my grandmother bought them for her in Florida from a man’s that painted on velvet near the beach.
My husband’s aunt had the same painting. She got them in Puerto Rico I think. I just love them.
I love this! Did you paint the entire unit white after buying it white? Is the original white Ikea uses lacking?
I also love your wall color. Do you recall the paint color?
I primed it where I was going to paint the color color so that the paint would stick. The white was fine, but the doors I bought had a pretty flat finish. The wall color is Sherwin Williams Cooled Blue.