How to Distress Painted Furniture Using Two Different Methods
Learn how to distress painted furniture using two different methods. If you’re curious about how I refinished the top of this console table, I wrote a post on it.
I love lightly distressed furniture. It adds instant character, but more importantly, it makes the furniture piece less precious and more usable.
When my kids were young, I preferred distressed furniture because if the kids scratched it up, it still looked great. Now I love it because it takes the stress off of delivering furniture to my vintage booth.

Country Chic Paint provided me with paint for this project, but all thoughts and opinions are my own. I would never recommend products that I wouldn’t buy or use on my own.
When I first started painting furniture years ago, I had no clue what I was doing.
One of my first pieces was a distressed dresser that I only recently repainted. Let’s just say that I was a little heavy-handed and I always hated how bad it was (not to mention I used enamel paint, which just does not distress well!)
Since then, I’ve learned to love a much lighter touch. My personal taste is lightly distressed painted furniture. I want it to look natural, not like someone got carried away with the sander.
How to Distress Painted Furniture
Supplies Needed
This post contains affiliate links. By purchasing an item through an affiliate link, I earn a small commission at no extra cost to you.
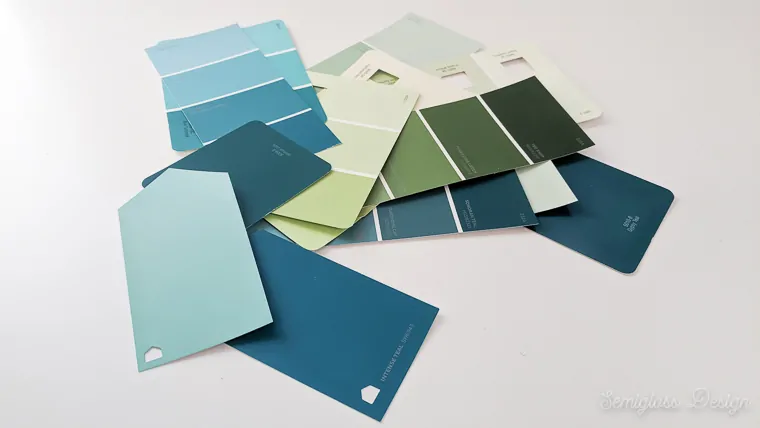
- Country Chic Paint in Peacoat
- Country Chic Paint in Tropical Cocktail
- Country Chic Short Handled Paint Brush
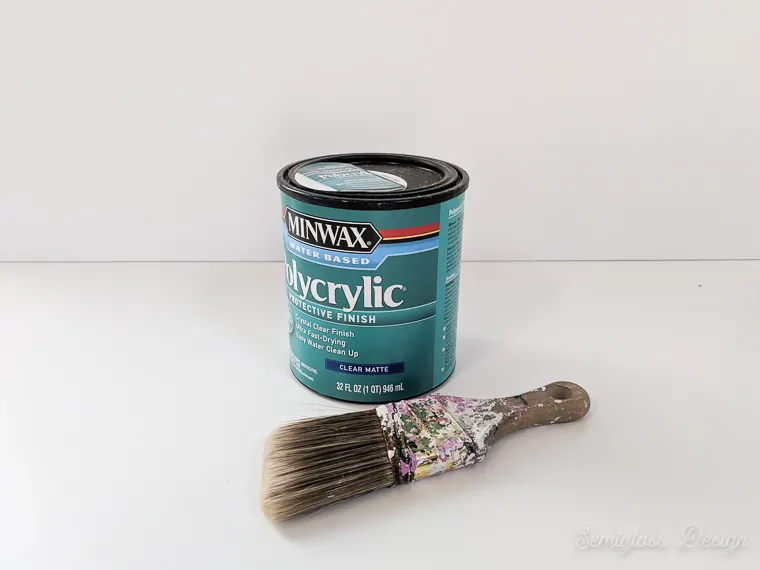
- Polycrylic in Clear Matte
- Sandpaper (Hand sander and 120 & 220 grits)
- Sea sponge
- Plastic cups for water
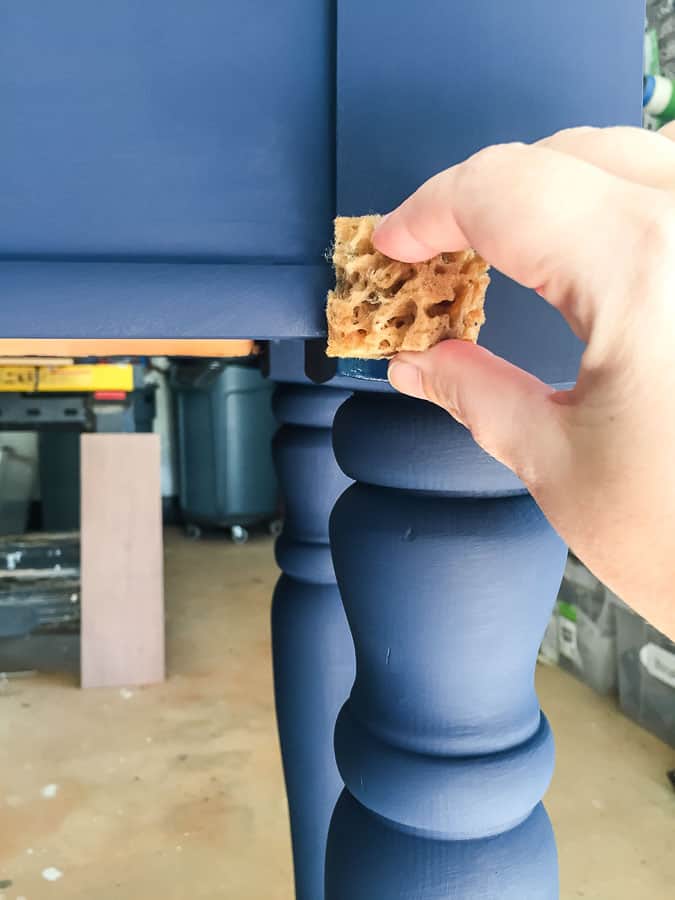
Distressing Painted Furniture: Wet Sanding
Please note: this method only works with chalky type paint.
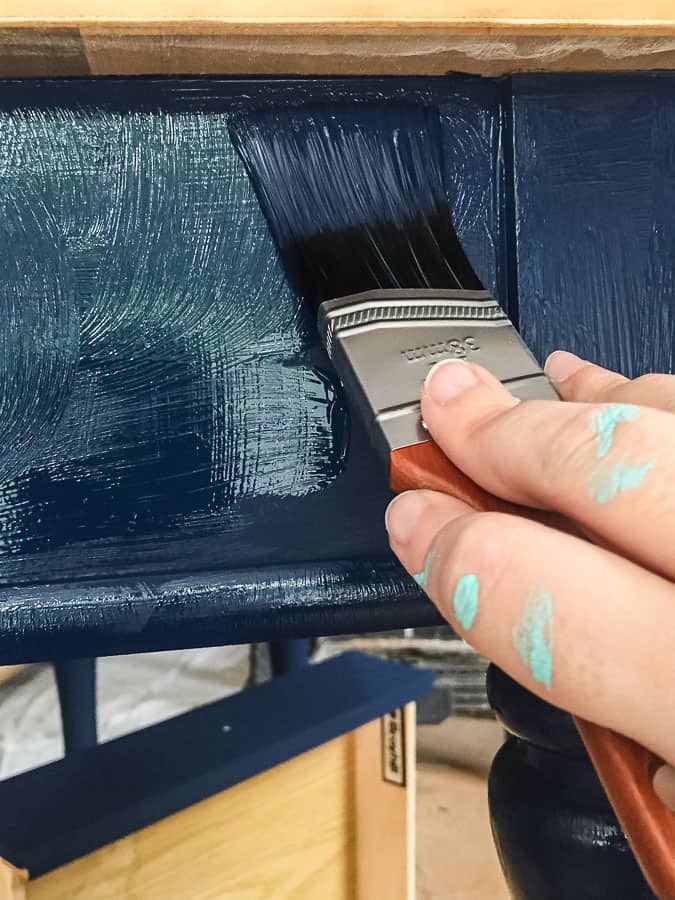
- Paint your furniture as usual. I always start by cleaning and lightly sanding if needed. Then I brush on 2-3 coats of paint and let them dry completely. Peacoat took 2 coats with some touch up.

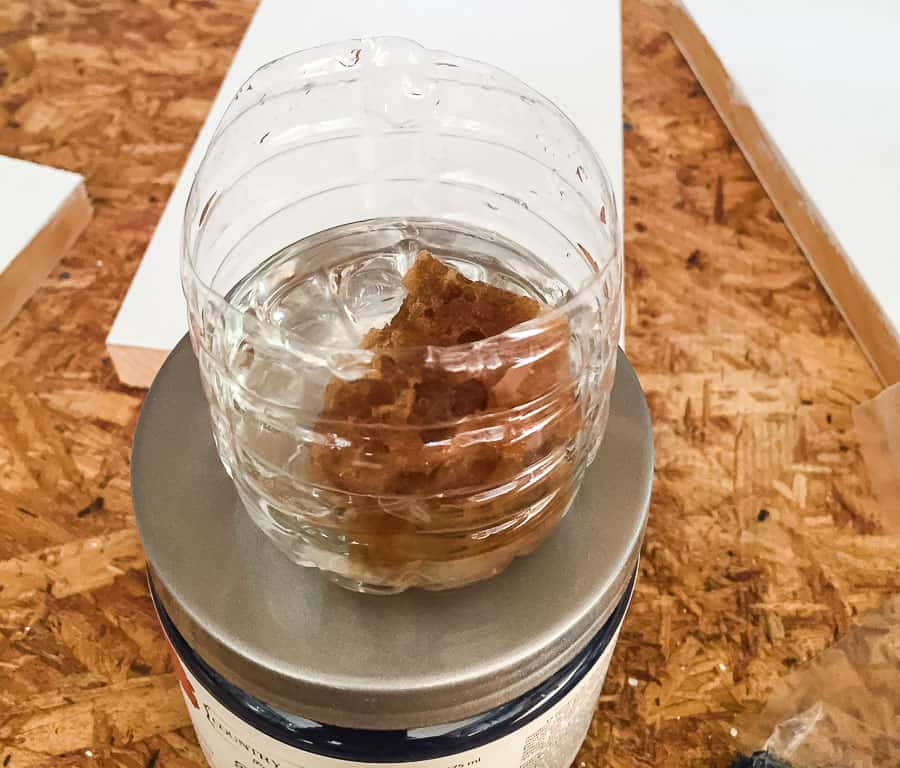
- Fill 2 cups with clean water. You’ll want one for clean water and one for rinsing your sponge.

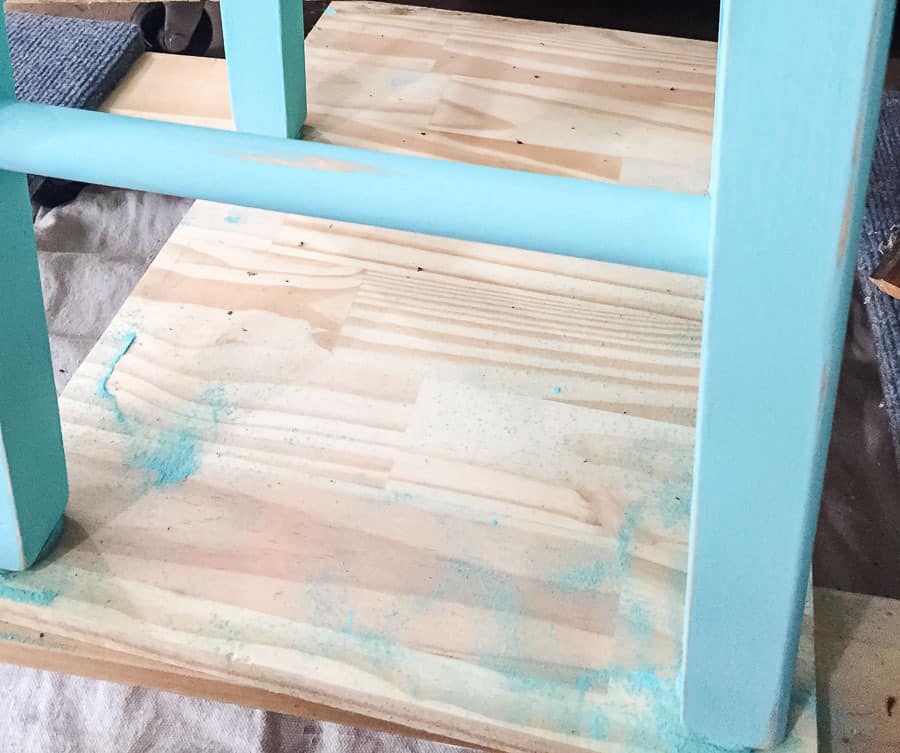
- Dip a sea sponge in water and wring it out. It should only be damp and not too drippy.
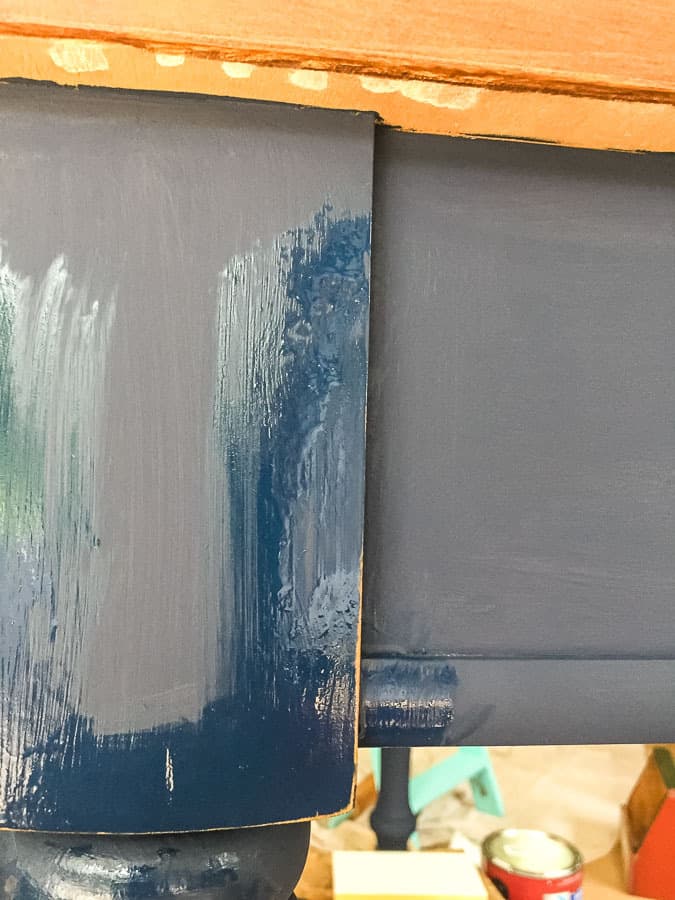
- Rub the sponge along places that get a lot of wear naturally like corners and rained parts.
- Dabbing the sea sponge in places creates a more natural look.
- Use a wet rag to wash away the excess paint when you’re satisfied with your distressing. Go gently and don’t wipe too hard or your paint job will be gone.
- Let it dry thoroughly. There might be white marks as it dries. They will disappear with a top coat.
- Finally, top coat your furniture as usual. I used polycrylic for this piece. It needed 2 coats.
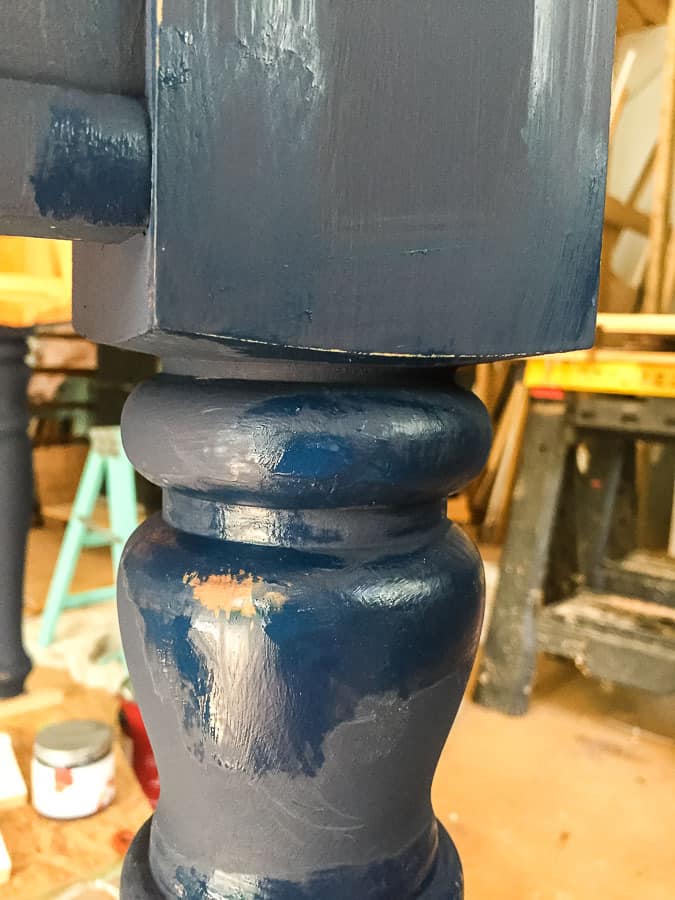
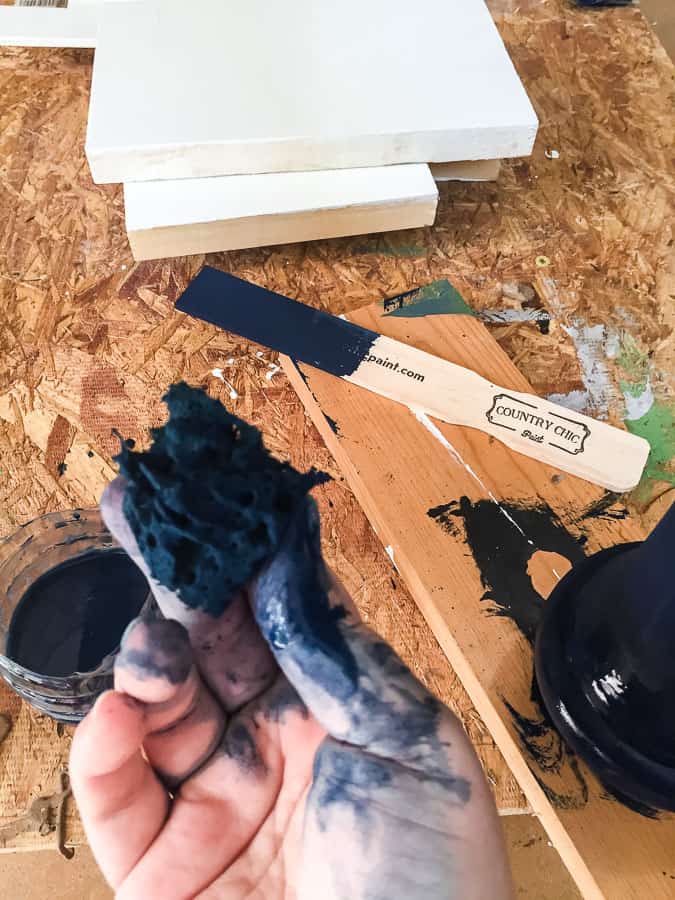
This distressing method is pretty messy, but it creates a more natural wear pattern.
Distressing Painted Furniture: Sandpaper
This method works with any paint type, but harder paints like mineral paints and latex are harder to remove. Latex can ball up, so be gentle and use a medium grit like 120.
Note: in this example, I painted a stool and a step stool. I don’t have the final photos of the entire piece.
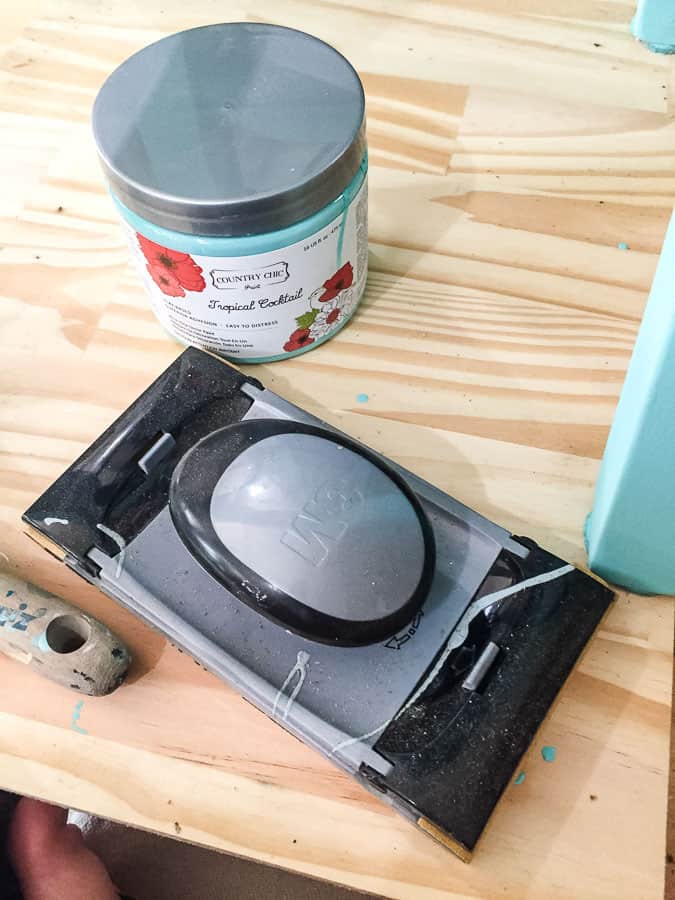
- Paint your furniture as usual. For these pieces, I used Country Chic Paint in Tropical Cocktail.
- For chalky-type paints, I like to start with a lower grit like 220.
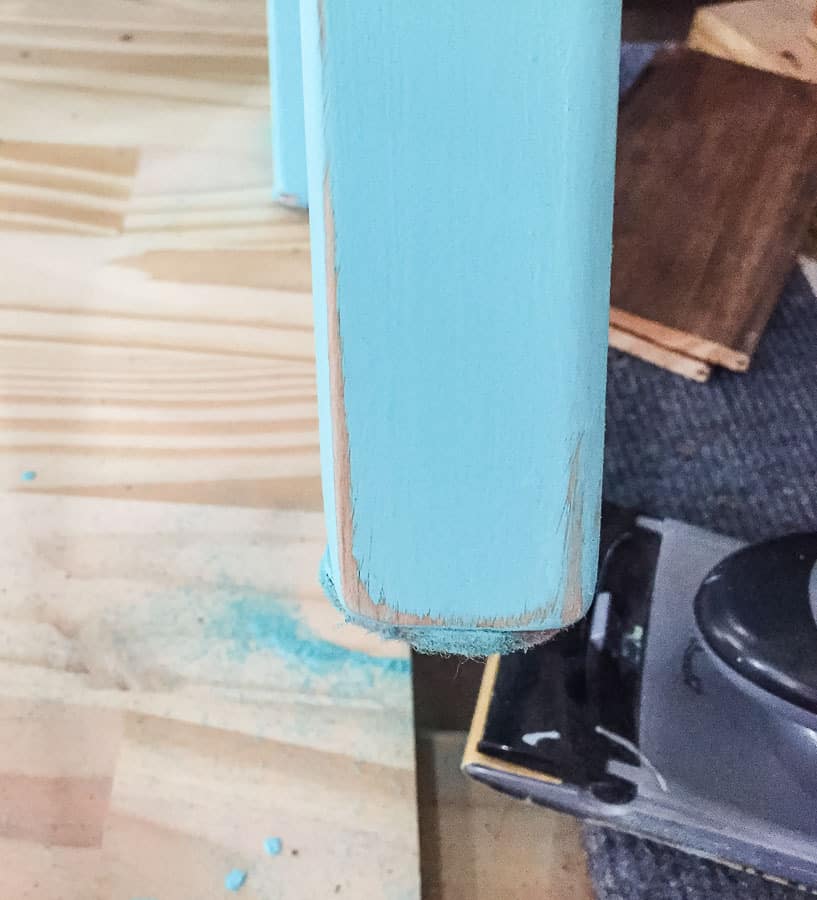
- Lightly rub the sandpaper across parts that will wear naturally.

- Try to vary the pressure to make the wear look more natural. Distress some areas more than others.

- If it needs more variation, try using 120 grit sandpaper instead. It will take the paint off much faster, so be careful.

This method is also messy, but is easier and works with all paint types.
Tips for Distressing Painted Furniture
- Don’t run it over the whole area. Skip some areas. Natural wear would not be uniform.
- Don’t distress fronts of pieces or areas that would never get touched or knocked into.
- Err on the lighter side for distressing.
- I don’t use an electric sander because I like to control the amount of pressure. If you do, make sure to hit only the edges. Don’t lay the sander flat on the furniture.
Areas to Distress on Painted Furniture
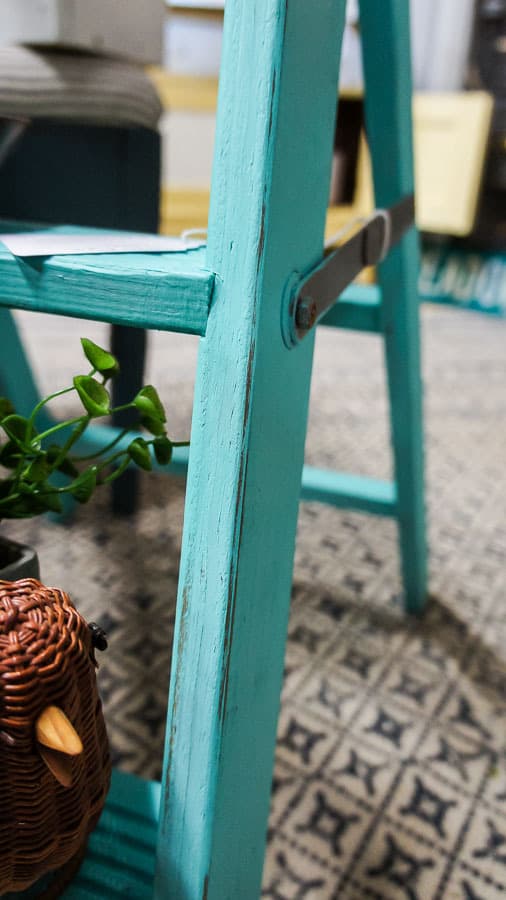
- Corners
- Edges
- Raised Details
- Around the leg bottoms
- Tops and sides of drawers
- Around keyholes
- Anywhere that gets touched a lot
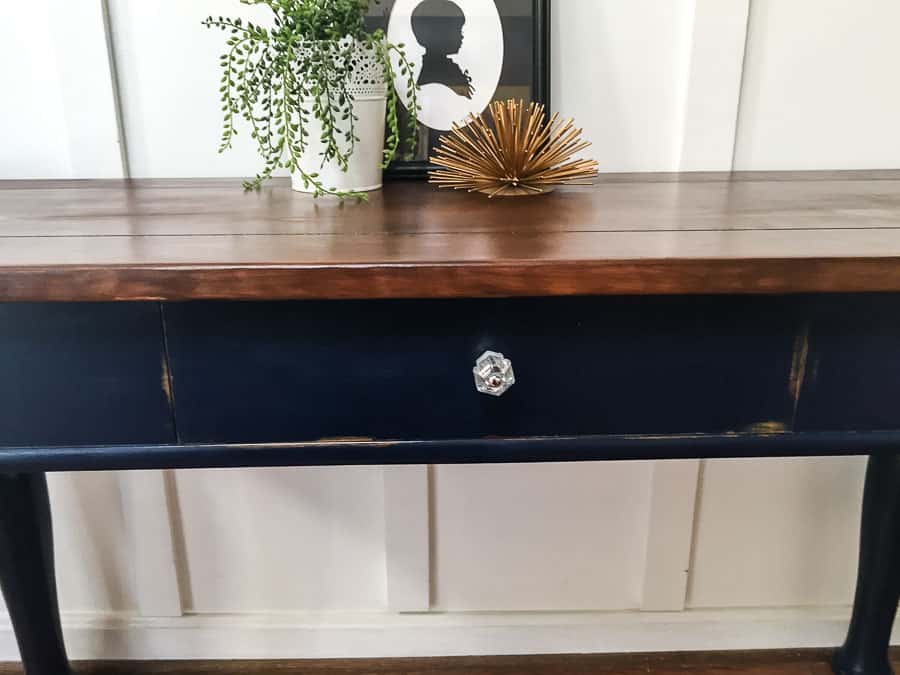
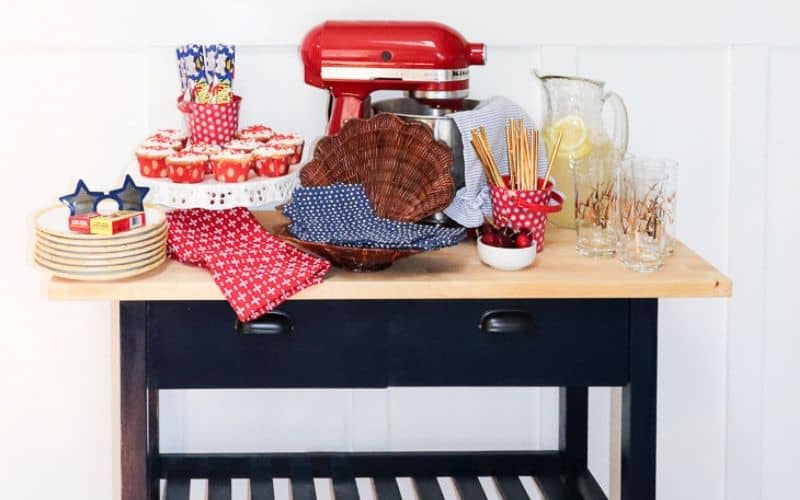
I love how the console table turned out! The top was stripped and re-stained, which isn’t as hard as it sounds. Click here to read about how I refinished the table top.
You might also like:
- Weathered Stain
- Ombre Dresser
- Floral Decoupage Dresser
- Use Bondo for Repair
- How to Paint Furniture White
Pin for Later!

Emy is a vintage obsessed mama of 2 DIYer who loves sharing affordable solutions for common home problems. You don’t need a giant budget to create a lovely home. Read more…