How to Remove Wallpaper (Tips to Make It Easier)
Learn how to remove wallpaper, without losing your mind. Taking down wallpaper is not the easiest job, but here are some tips to make it a little easier.
You might also like this post on how to remove wallpaper borders.

This post contains affiliate links. By purchasing an item through an affiliate link, I earn a small commission at no extra cost to you. As an Amazon Associate I earn from qualifying purchases.
Removing wallpaper is one of the cheapest ways to update your home. It’s practically free to do and it just requires a bit of muscle and patience to get the job done.
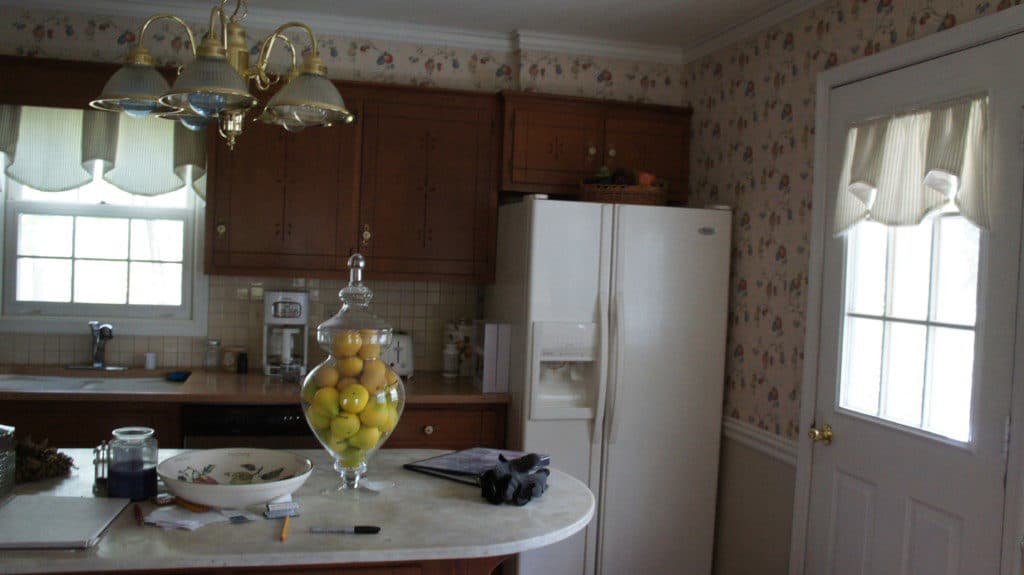
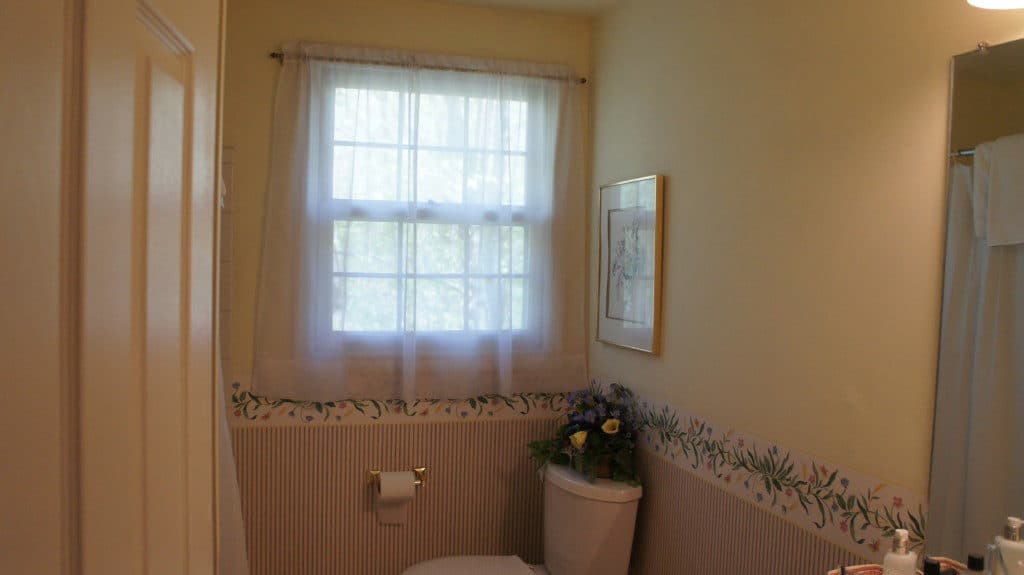
We have owned several homes with wallpaper that needed to be removed. Our house in Maryland had 7 rooms with wallpaper.
Our new historic home in Florida has wallpaper in almost every single room, so I feel like a bit of an expert at this point.
I’ve probably encountered every single issue from wallpaper being installed by professionals to wallpaper being installed over raw drywall.
Our current home has paintable wallpaper, which is its own beast. The wallpaper has been “repaired” in many places with joint compound and what appears to be wood glue.
We have plaster walls, which come with their own issues. And every single wall has 100 years of nail holes in it.
It takes me an entire week per room to strip wallpaper, remove the glue, clean up, repair the walls, and paint.
DIY Wallpaper Removal Factors
Before we get started with the removal tutorial, there are several factors that will affect how easy it is to remove wallpaper.
I hope for your sake that you have the easiest type and that removal is easier than mine.
Age of Wallpaper
Newer wallpapers are much easier to remove than old wallpapers. They really made them to withstand time.
Most newer wallpapers are made with easy strip technology.
Style is a good indicator of age, but so is the age of your home. A new home will have newer wallpaper.
Type of Wallpaper
Not all wallpapers are created equal! There are many different types of wallpaper and the type affects removal. For instance, vinyl wallpaper is tough to penetrate with water.
Some wallpaper is really thick and you will have a harder time with it. We currently have textured wallpaper and it complicated the removal process because it’s so thick.
Peel-and-stick wallpaper is a newer option that is really easy to remove. As the name implies, just peel it away. It might peel a little paint, but there’s no glue to remove.
Installation Type: Professional or DIY
If you’ve just bought your house, chances are that you have no idea if it was a DIY job or a professional job, so this might not be very helpful to you.
We had knowledge that the previous neighbor owned a wallpaper store, so it was very likely that our house had professionally installed wallpaper. This made wallpaper removal more difficult. The pros put it on to stay!
It’s probably a professional job if there is a ton of wallpaper or if it’s an expensive wallpaper. If it’s a little wonky, it’s probably a DIY job.
How the Walls Were Prepped for Wallpaper
It’s hard to know how the walls were prepared for the wallpaper if you were not the one to install the wallpaper.
Once you start removing it though, you will soon find out.
Removing wallpaper from raw drywall or plaster is the hardest. It sticks to the drywall mud. Hopefully, it’s installed over painted or primed walls.
Textured walls also make wallpaper removal difficult. Who thought textured walls were a good idea?
How to Remove Wallpaper
Tools Needed:
- Spray bottle filled with warm water
- Plastic putty knife
- Paper Tiger Tool
- Steamer (optional)
- Wallpaper stripper spray (optional)
- Trash Bags
- Stepladder
- Bucket
- Paper towels
- Scrub Daddy
- Simple Green*
- Large sponges
*Simple Green contains gluten, so if your skin is sensitive to it, be aware of that. As a person who is allergic to pretty much everything, I expected a bad reaction. It made me cough a lot, so I stopped using it.
Wallpaper is removed by re-wetting the glue that holds it to the wall. I prefer removing wallpaper without a steamer. Here’s how I do it.
- Prepare the space for a mess. Removing wallpaper is messy. There’s no way around it. It’s gloopy and wet. Remove everything you can from the walls. If you can clear the room, that is preferred.
- Have some old towels handy to soak up water. You will also need trash bags to deal with the debris. It will get on the floor, so you might want to protect it with a canvas tarp. I suggest canvas versus plastic because plastic will be slippery and dangerous.
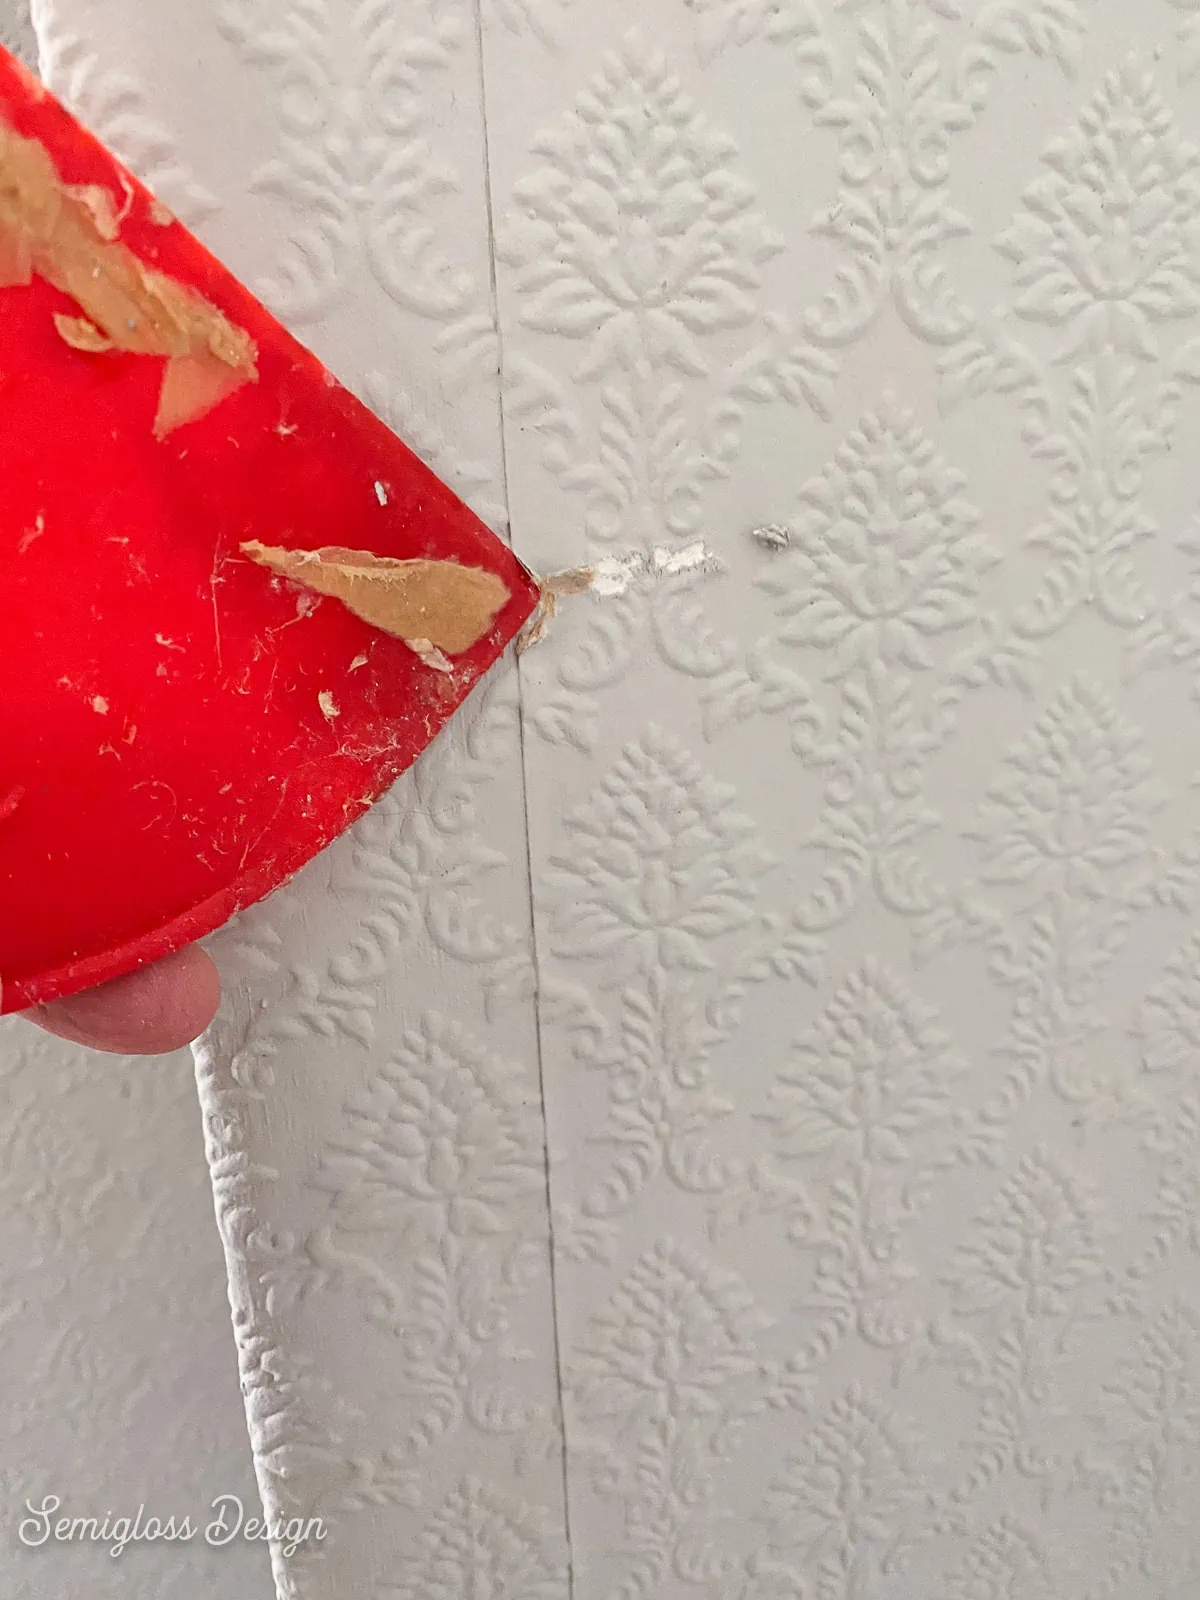
- Use the paper tiger tool to score the wall. This tool creates tiny holes in the wallpaper for the water to soak into.

- Start at the top and spray a section with warm water. I typically do one strip of wallpaper at a time and I work about 3 feet down.
- Let the water soak in for a few minutes before you start scraping.
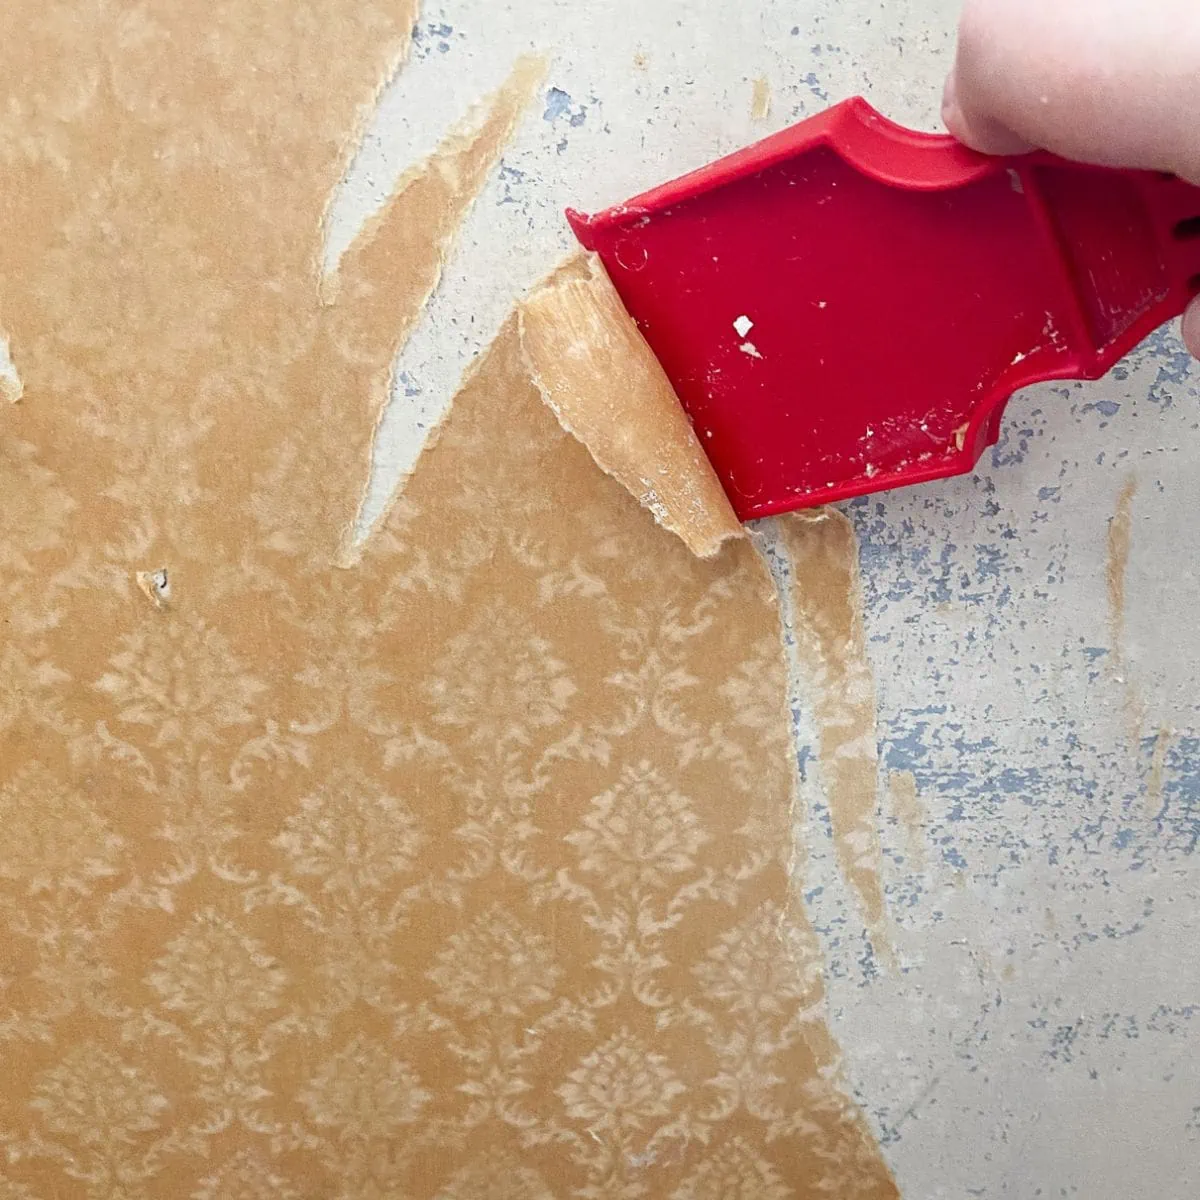
- To get started, find an edge and push the plastic putty knife under it to remove some wallpaper.

- Peel as big of a strip away as you can get. Shove the plastic putty knife under the paper as you go to get bigger sections.
- Try to put the wallpaper scraps in the trash bag as you go. If it gets on the floor, it’s pretty easy to remove while it’s wet.
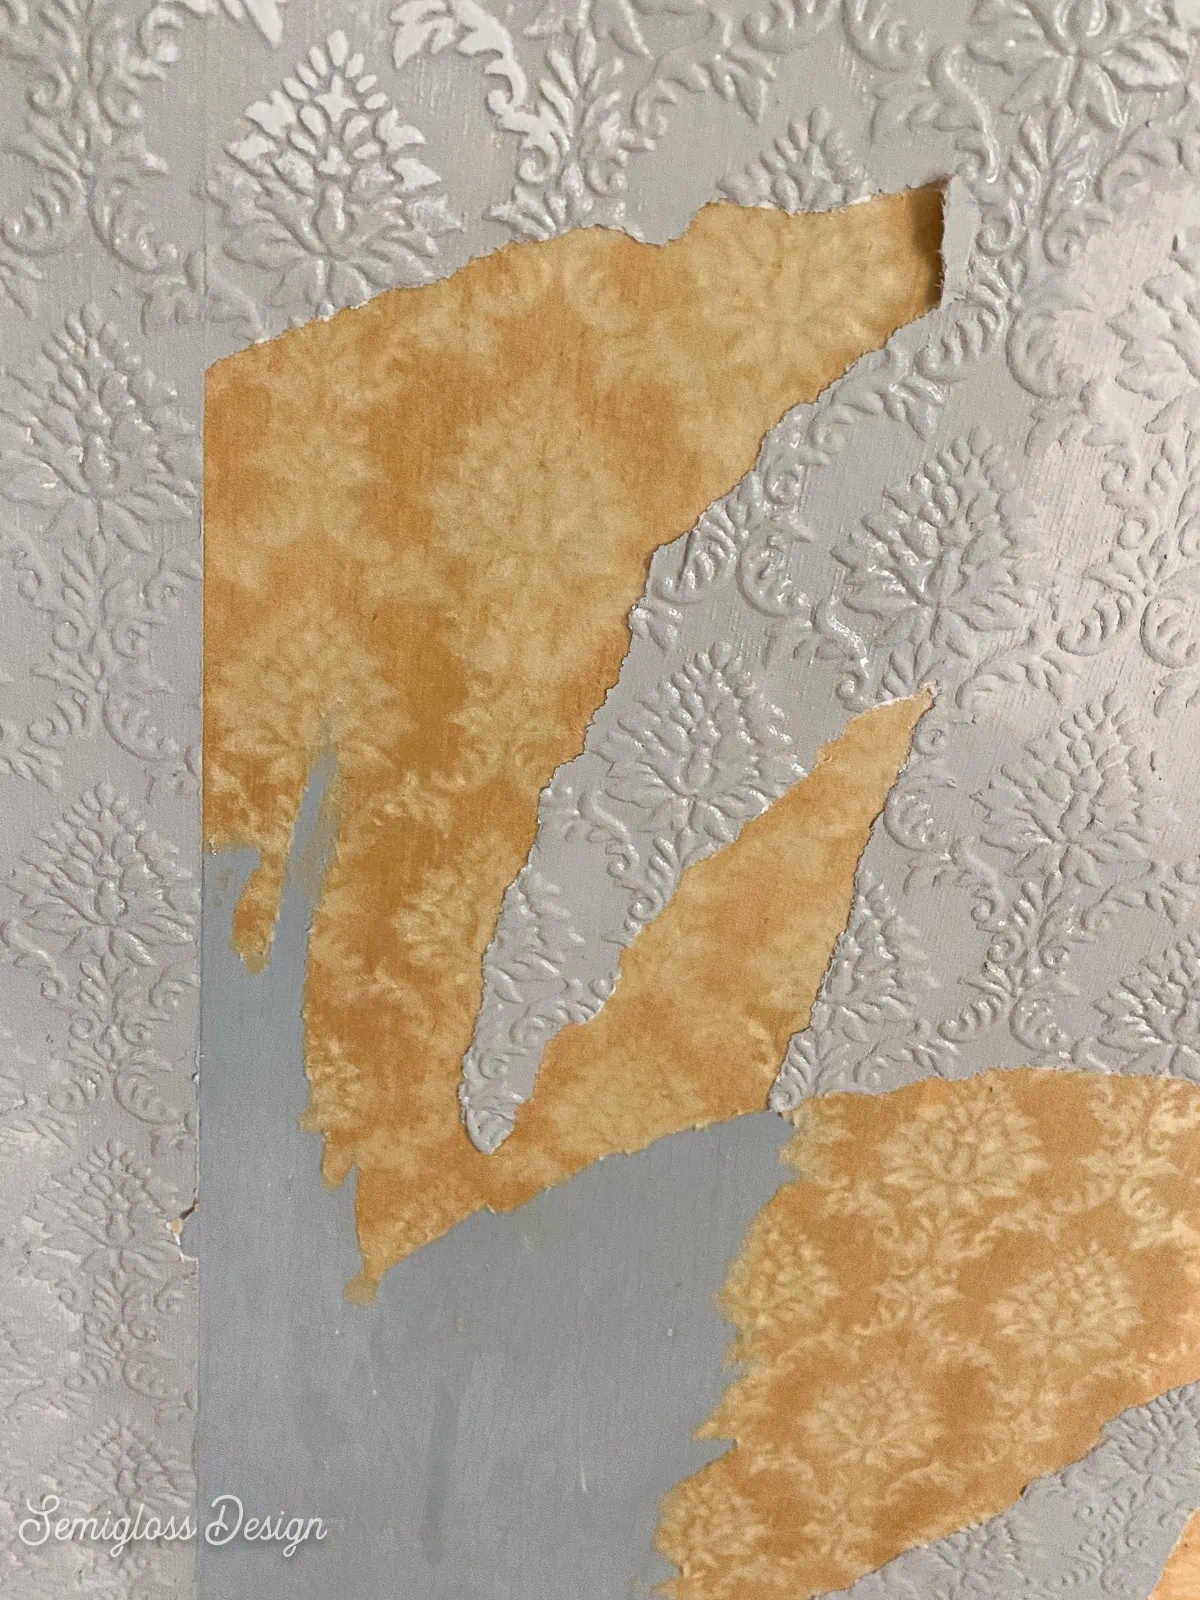
- Wallpaper consists of the outer layer that you see and a paper layer. Both layers need to be removed.
- Go section by section, removing the wallpaper.
- Add water as needed. The more water, the easier it comes off!
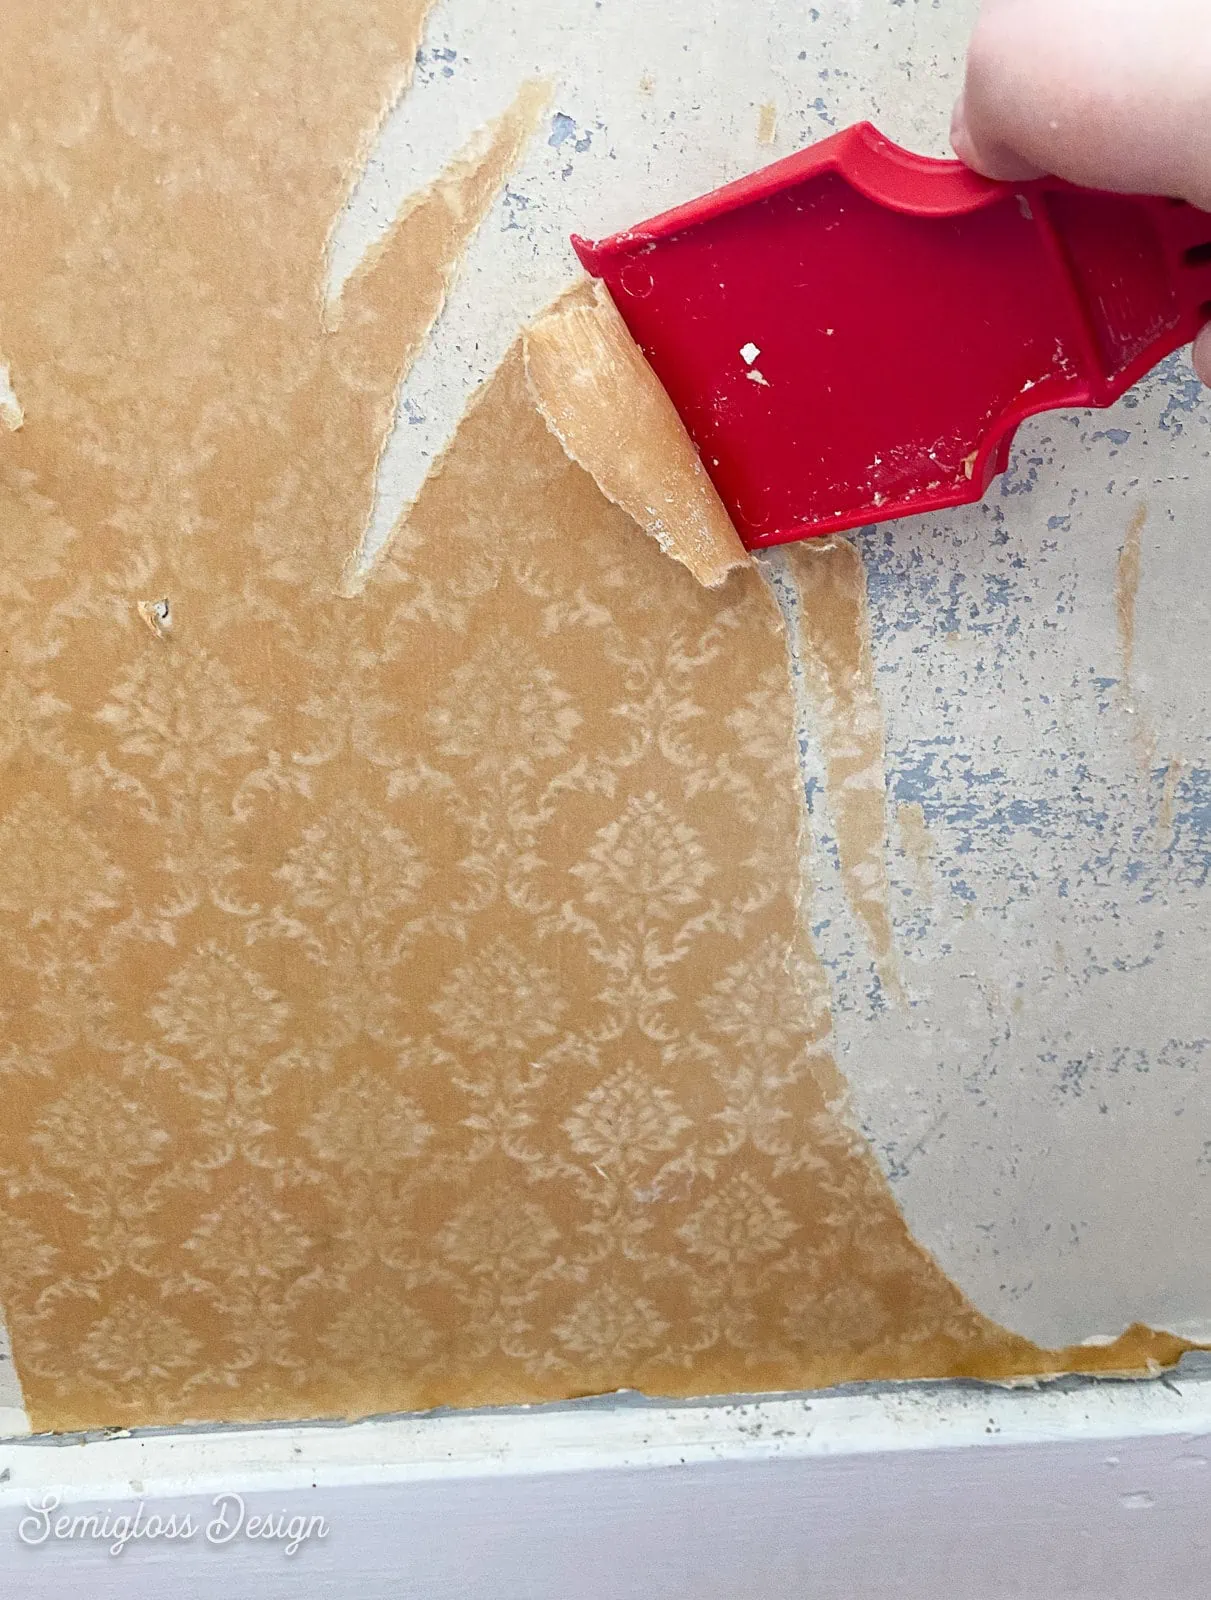
- As you work, if you notice that there is a ton of glue, use the putty knife to scrape it away as you go. This will save you time in the long run. I usually wipe it on a large wallpaper scrap. (Yes it is disgusting.)
- When you get near outlets, the covers need to be removed. They can be protected with cling wrap.
- If the edges aren’t coming away clean, it was probably caulked. You will need to score it with a utility knife to remove it all the way.

- Keep going until the room is wallpaper-free. There will still be tiny little pieces stuck to the wall, but they will be removed in the next step.
Removing Wallpaper from Walls
If you’re lucky, this part goes pretty quickly. If you’re me, this part takes as long as removing the wallpaper. I promise that it’s still worth it.
- Keep the towels handy because this part is still messy.
- Fill a bucket with warm water. You can add vinegar to the water or you can use a spray cleaner like Simple Green. However, if you have allergies, be careful what you use.
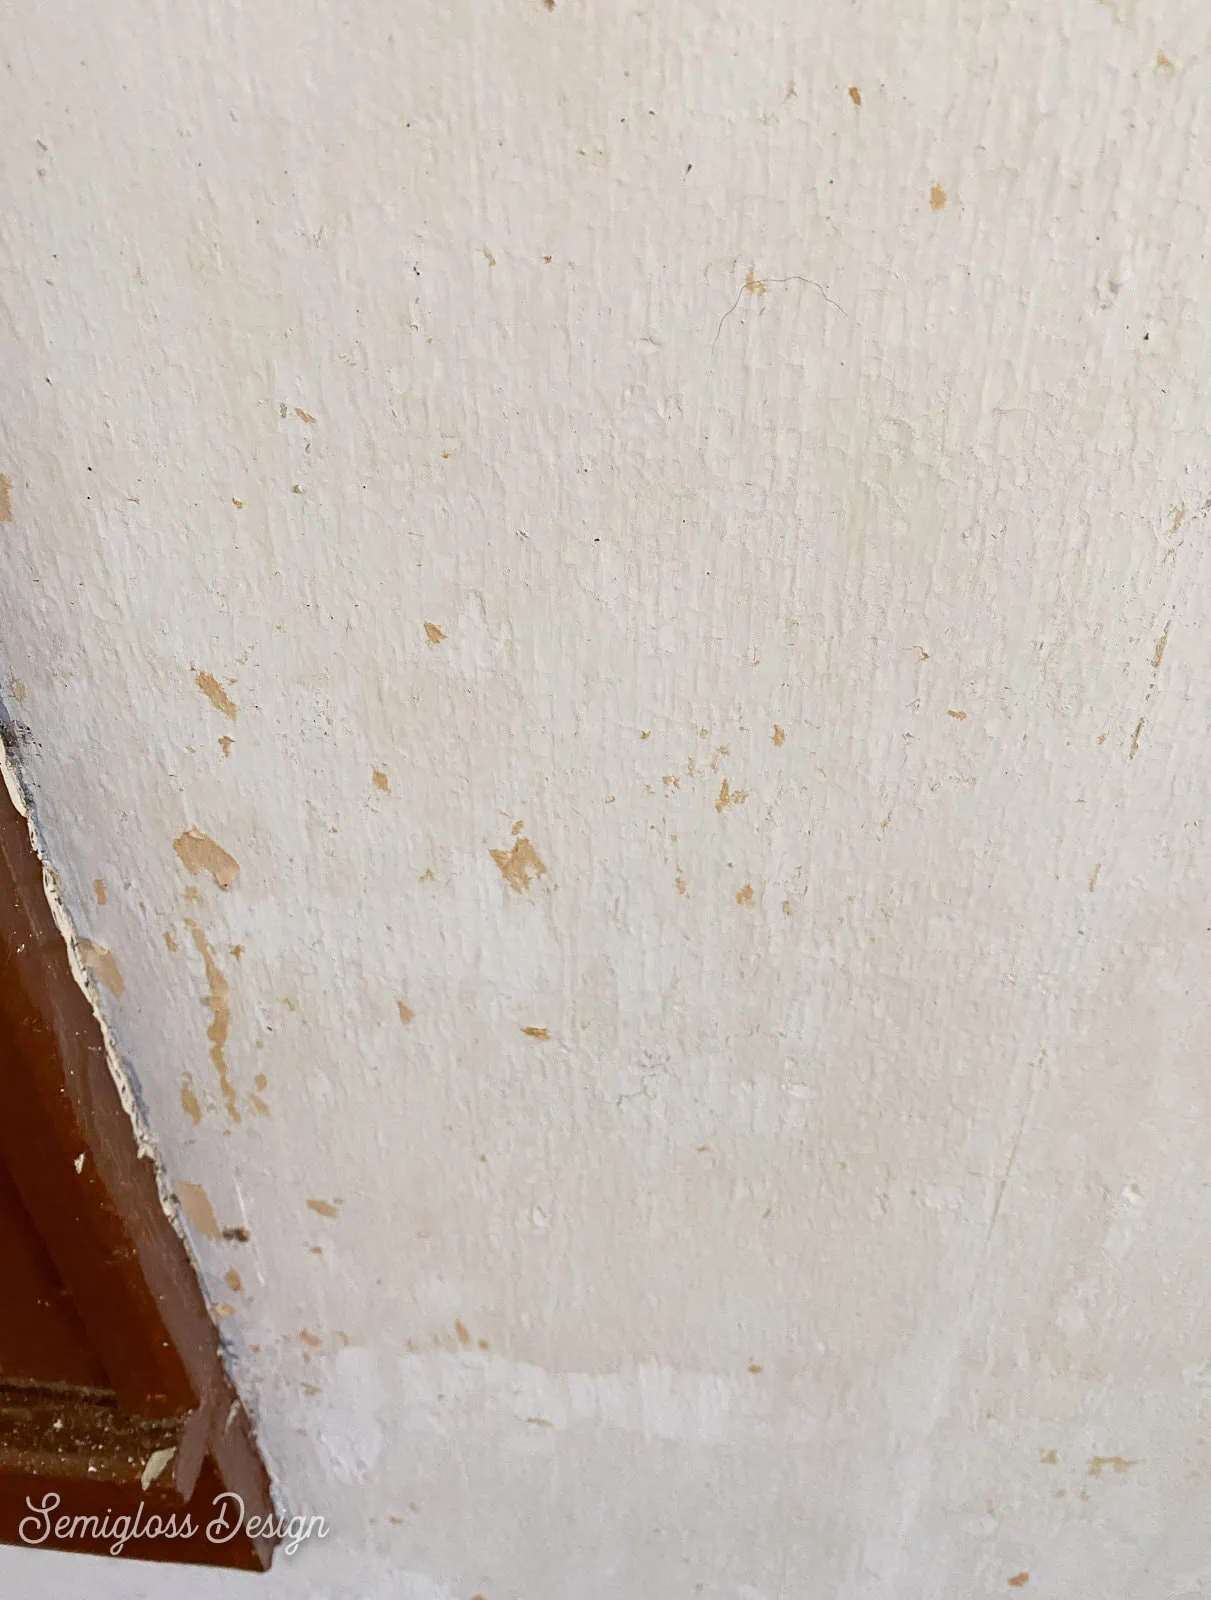
- If your wall has a normal amount of glue, cleaning the walls with a large sponge is pretty simple. Dip it in, wring it out, and wipe the walls. Rinse often. Change the water when it gets murky. The walls should no longer feel slimy when they are clean.
- Make sure that you’re removing the tiny bits of paper as you go. They tend to come right off as you scrub the walls.
- If you have a gloopy amount of glue, it will take a lot longer. (I’m so sorry.) Wet an area of the wall and use the putty knife to scrape away the glue. I wiped it on paper towels.
- Use a Scrub Daddy to scrub away excess glue and other gunk. A Scrub Daddy works really well for removing the glue. A normal scratchy sponge gets clogged too easily. The wall is clean when the scrub daddy is no longer white with glue.
- Rinse the walls with the sponge as indicated in step number 3.
- Then keep working in sections until it’s clean.
- I typically change the water in my bucket for every single strip of wallpaper. Having someone help makes this part go faster.
- It’s clean when it’s no longer slimy feeling.
- Let the walls dry before repairs and paint.

Here’s how I repair walls before painting.
Wallpaper Removal Troubleshooting
What if you’ve done your best and it still seems like there’s glue?
If the glue isn’t removed completely, it can cause the paint to peel, so you want to make sure that you remove as much as possible.
There’s a product that will seal the wallpaper glue. I don’t think it’s strong enough to seal all of the glue, but it works for small amounts.
This stuff is great. It goes on quickly and dries very fast. Here’s a few things to know:
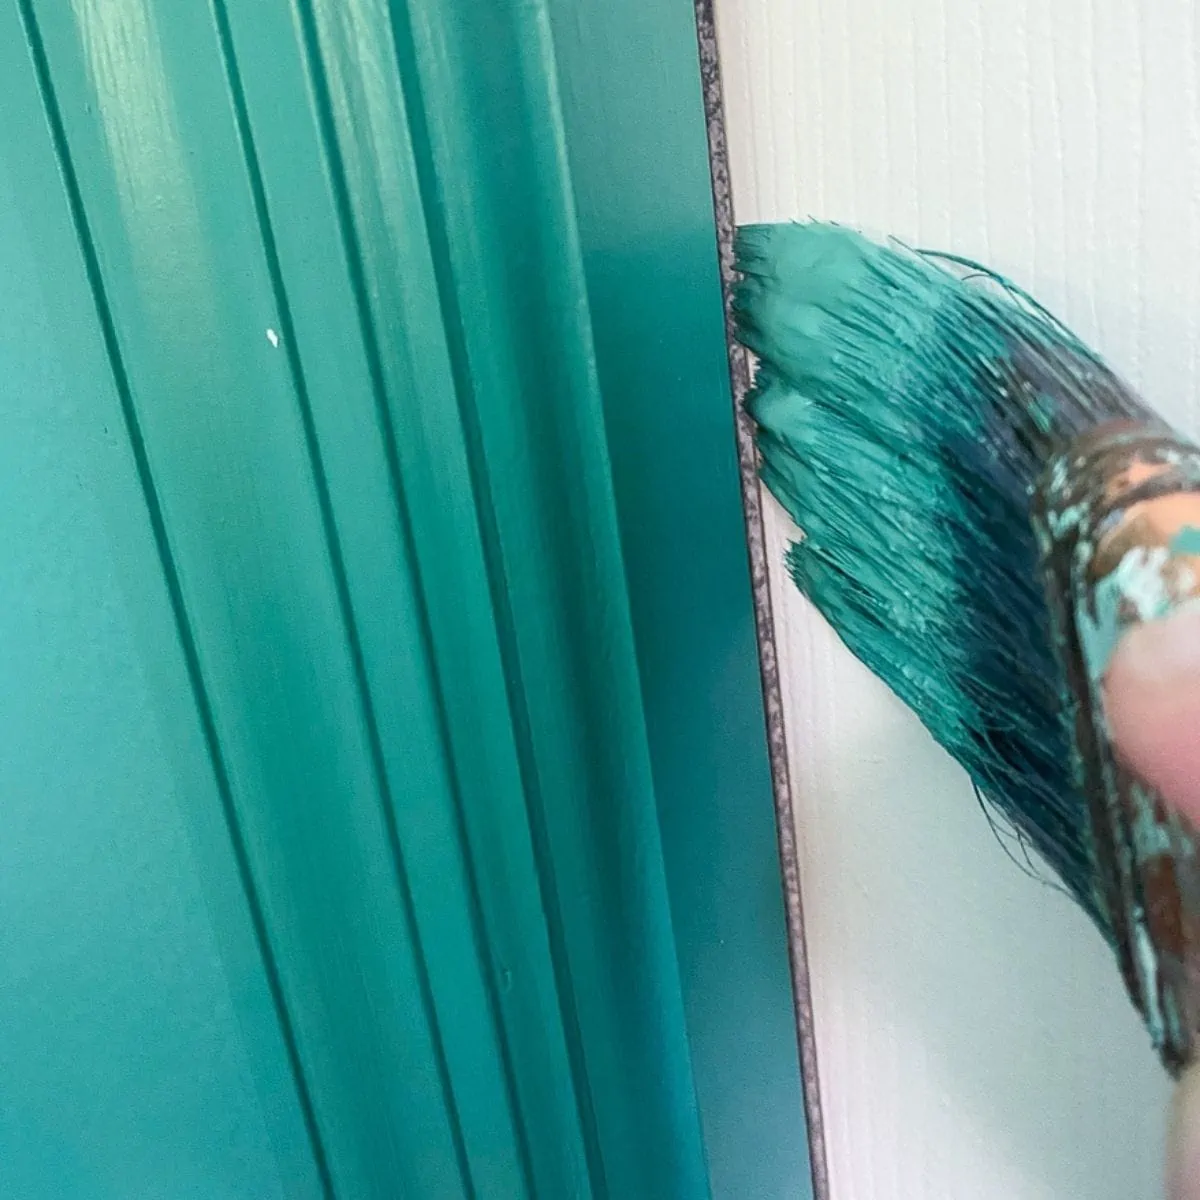
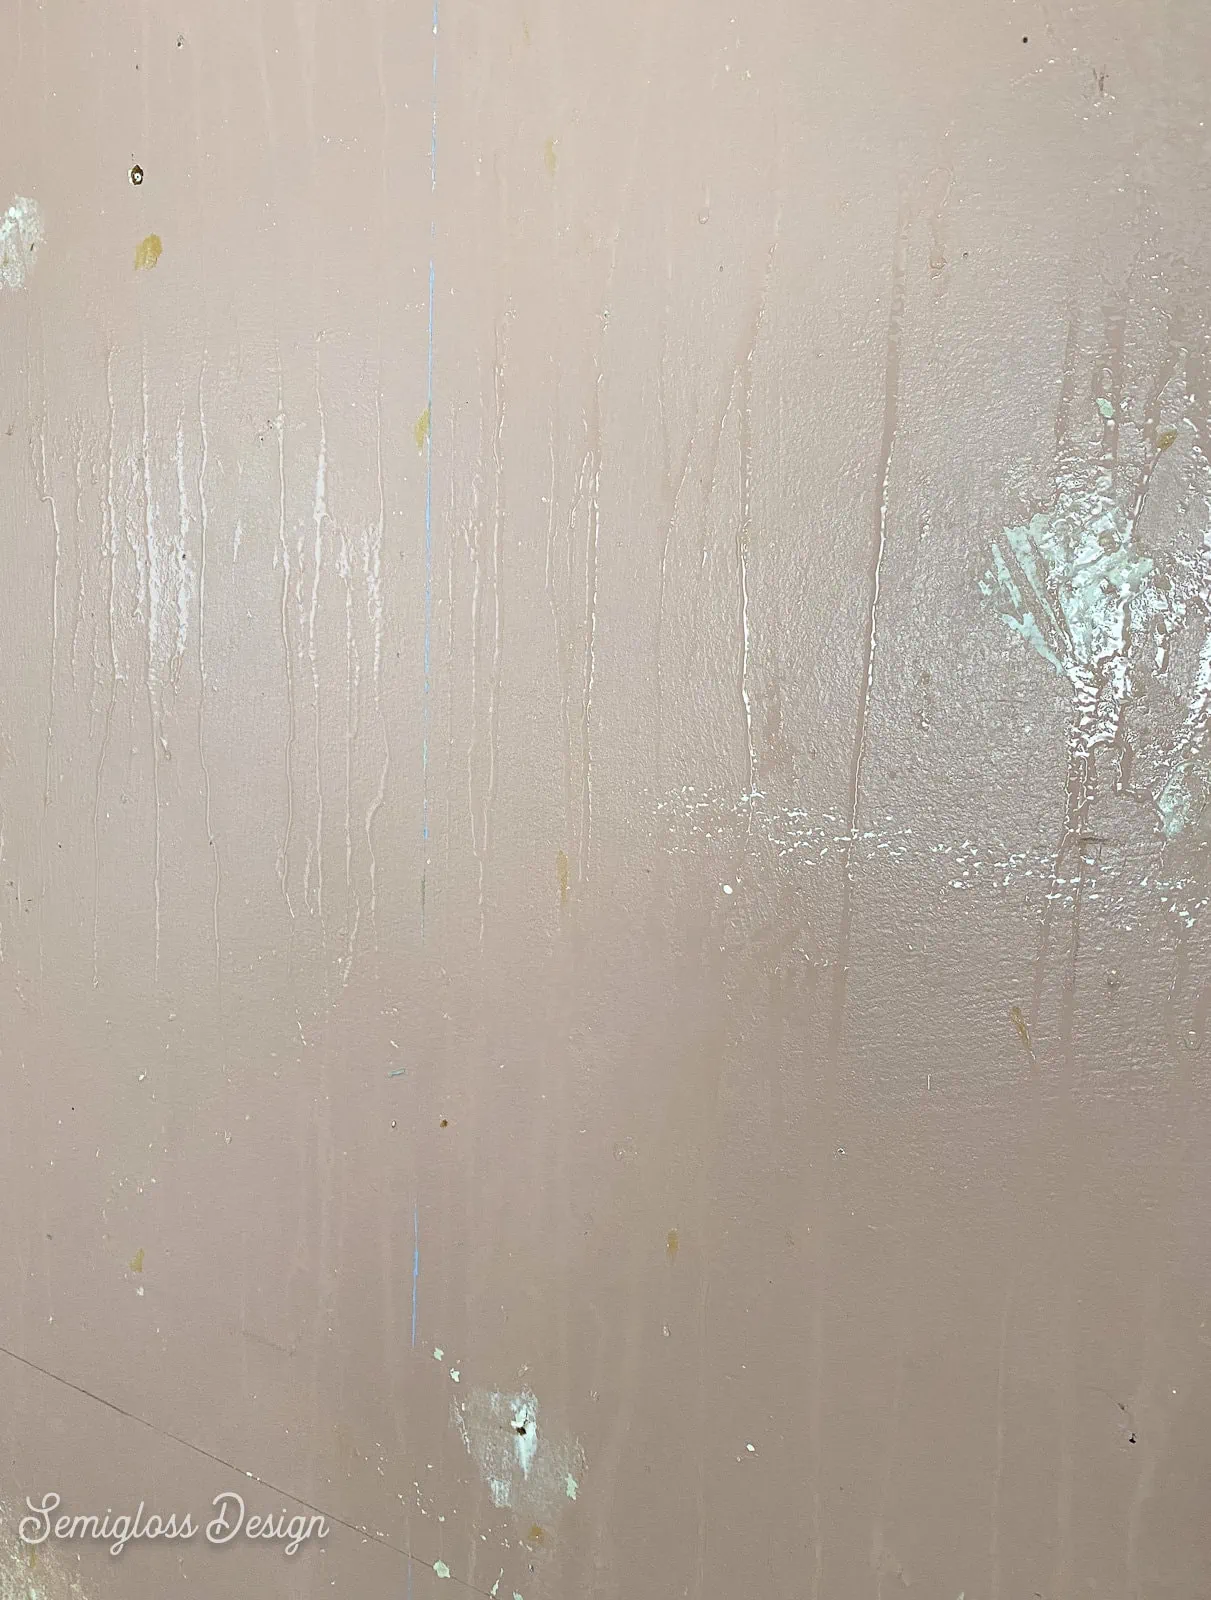
- It’s clear. I expected it to be white, like a primer. The photo below is after I applied a coat of the sealer.
- Paint it on like normal paint.
- It has a strong smell. Not strong like oil-based products though. It reminds me of polycrylic, but a little stinkier. The smell lingers until you apply paint.
- It doesn’t work great for sealing joint compound. If your walls need a ton of repair like mine do, you will still need to use a primer to seal the joint compound or the spots will look patchy under the paint. This is especially noticeable for dark paint colors.
- It does a great job of sealing plaster. You will need to remove any chipping parts, but it seems like it prevents them from further chipping.
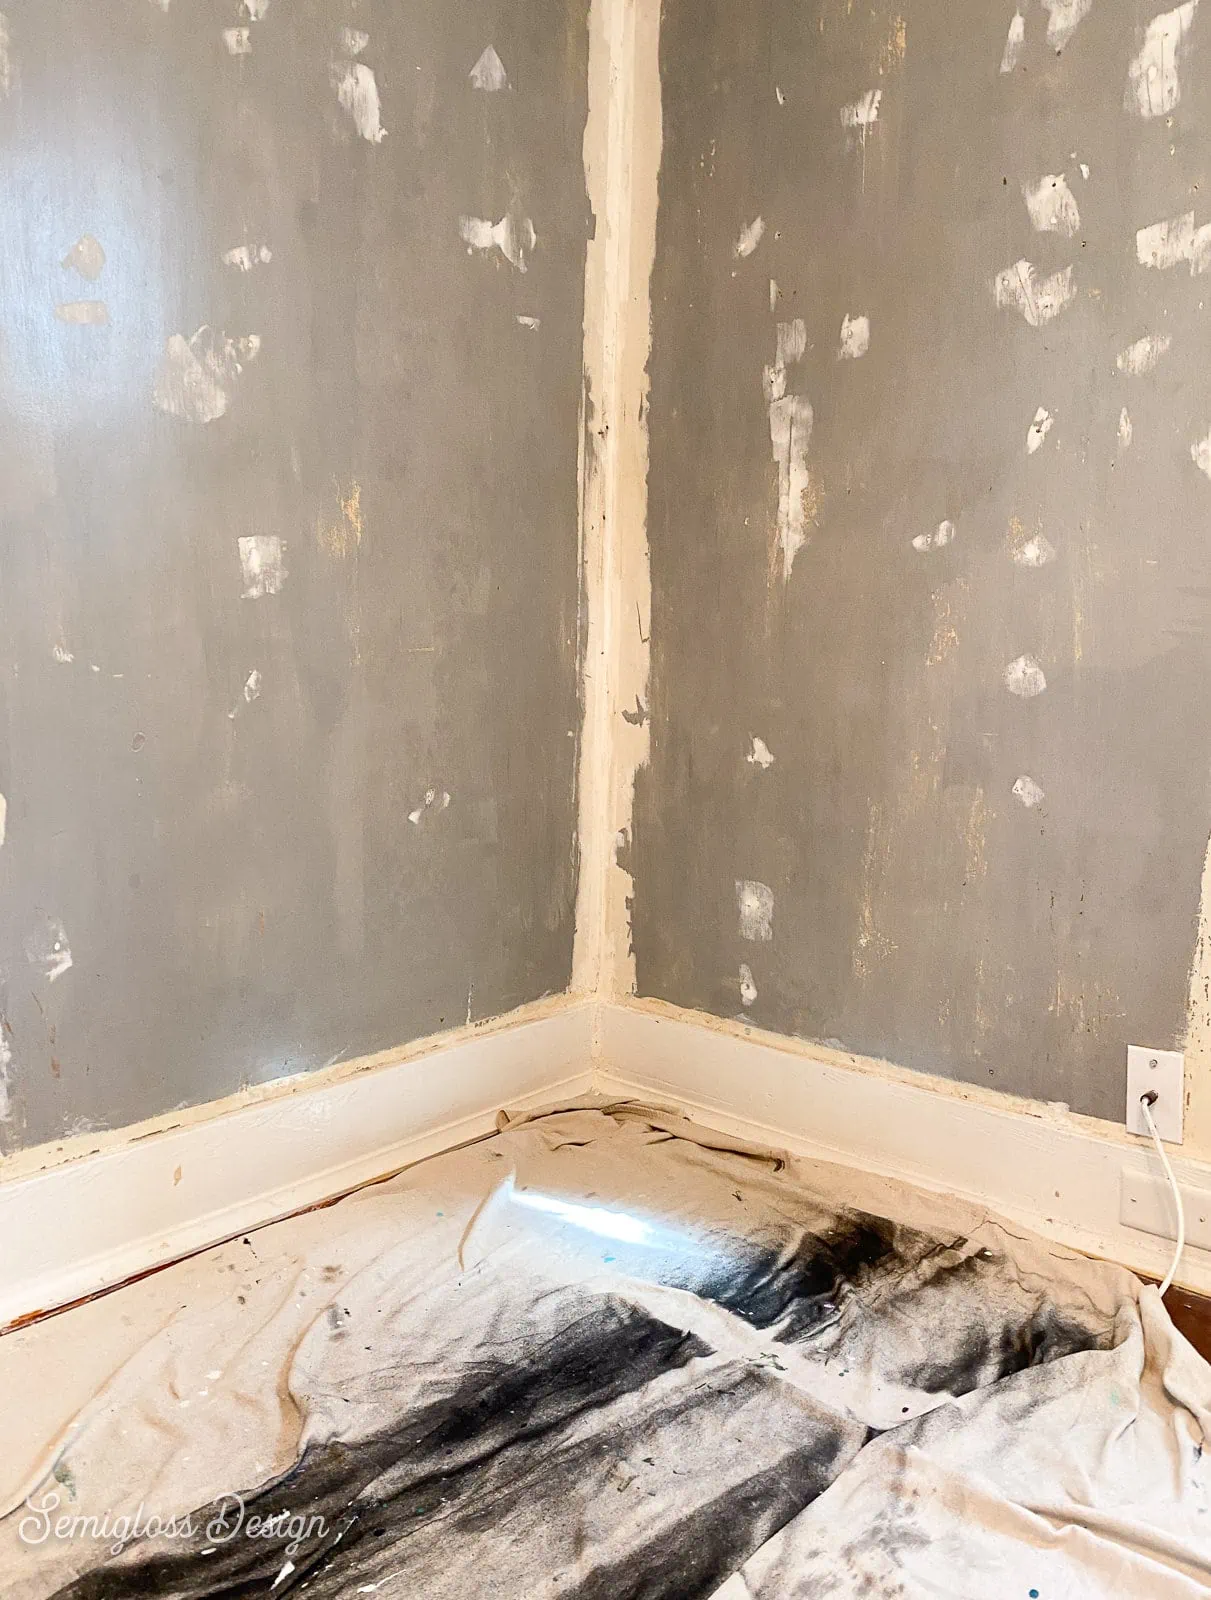
What if There is Brown Glue?
In some areas of our home, there are areas that were repaired with some other kind of glue. It’s a yellow-brown color and it’s impossible to remove.
I scrape away as much of it as possible. Then I sand it in the repair stage. If needed, I add some joint compound to cover the spot and smooth out the area.
What If Someone Repaired the Wallpaper with Joint Compound?
We have areas that have been “repaired” with joint compound. For those areas, it comes away when I remove the wallpaper.
I also remove any other repairs that aren’t solid. Our walls are plaster, so spots repaired with drywall tape that haven’t been sealed with paint come right out when we remove the wallpaper.
All of these areas will be addressed in the even messier repair stage.
What about a Wallpaper Steamer?
We have a wallpaper steamer, but it’s not my go-to for removing wallpaper. Some people are gadget people and some are not. I am not.
However, my husband prefers using the steamer. (He’s a gadget person.) He swears that it’s faster, but I don’t think it’s a lot faster.
If you use it, start at the top of the wall and work your way down.
A steamer gets very hot, so be careful. If you notice that it’s destroying the drywall, stop using it.
So if you like using one, use one. If you don’t or don’t want to spend the money, then don’t. Removing wallpaper is totally doable without a steamer!
What About Wallpaper Removal Sprays?
I’m the type of person who avoids harsh chemicals as much as possible, so I was hesitant to use the wallpaper stripper spray.
However, in Maryland, our kitchen had 3 layers of wallpaper and 2 borders! After picking at it for months, I finally gave in and used the stripper spray. It still wasn’t easy, but it was the only thing that worked in that situation.
Sometimes there are no easy methods.
I’m going to say it. If the wall was not properly prepared for wallpaper, removal is going to suck.
There were times when I considered knocking the drywall out and just replacing it instead. In my current kitchen, someone sprayed texture over the wallpaper and I want to cry just thinking about it.
It takes a lot of time and patience, but in the end, it’s worth the effort.
Wallpaper Removal FAQs
What is the best homemade wallpaper remover?
The answer might surprise you because you probably already have it at home!
Warm water in a spray bottle and a plastic putty knife are best for most walls.
This method causes the least amount of damage. I’ve even heard tales of some wallpaper being able to be pulled down in sheets with little to no effort! I’ll believe it when I see it.
I’ve also heard about people using liquid fabric softener but that seems messy, expensive, and overwhelming.
How to Remove Wallpaper Borders
For the most part, wallpaper borders are really easy to remove. This is because most wallpaper borders were DIY jobs.
Remove as much as you can by peeling it off with your hands. Then use water and a scraper as outlined in the directions above.
Make sure to clean the walls to remove the wallpaper glue residue.
Here’s a full tutorial for easily removing wallpaper borders.
Can you just paint over wallpaper?
I don’t recommend this for a few reasons.
- Seams. No matter how much paint you apply, the seams are going to show through.
- It could peel in the future, leaving a mess on your walls.
- The most important reason NOT to paint wallpaper is that it is much harder to remove wallpaper after it has been painted.
Please respect future homeowners and do it the right way.
You might also like:
Pin for Later!

Emy is a vintage obsessed mama of 2 DIYer who loves sharing affordable solutions for common home problems. You don’t need a giant budget to create a lovely home. Read more…