How to Wallpaper (Don’t Make My Measuring Mistake!)
Today, I’m sharing how to wallpaper your walls, plus how to avoid making the measuring mistake that I made.
After taking time off for the holidays and illness, my DIY mojo returned and I got to work on my hallway and staircase project. I’m pretty tired of looking at it unfinished so I was feeling very motivated to get it done.
Spoiler alert: it’s not done, but I did get a lot done this weekend so that I can move forward. I installed most of the wallpaper and got the stairs treads stained.
Be sure to check out the finished staircase reveal here.
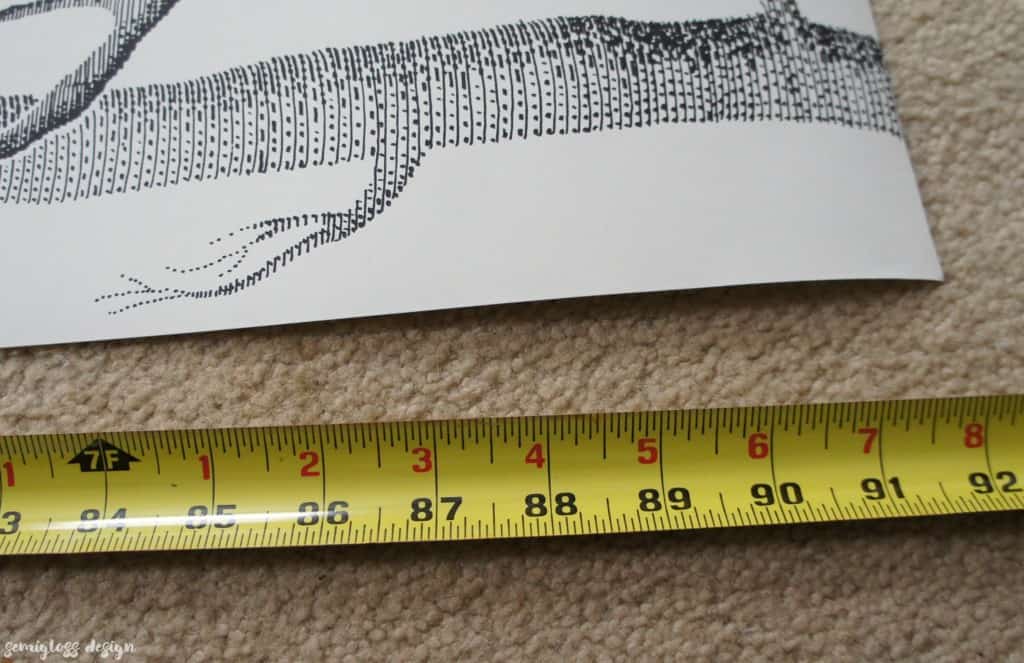
Don’t Make This Wallpaper Measuring Mistake!
My son looked at my single roll of wallpaper and expressed disbelief that it would be enough. I assured him that I had measured and it was plenty… Famous last words.
So we’re wallpapering and I get to the doorway. It’s wasting *way* more wallpaper than I had thought.
But, I’m an optimist, so I was like, “We’re fine, it’s fine.” Keep going. I went to roll out the next 2 drops and realized that I only had about 6 inches of paper left after that. I still need about 2 drops of wallpaper to go.
Womp, womp, womp… He was right. I had miscalculated.
So my measuring mistake was that I subtracted the doorway. You still need the paper that goes on either side of the doorways and although you aren’t using the paper where the door is, that paper will be unusable.
Measure the whole wall. You can’t piece together scraps. Lesson learned.
Supplies:
This post contains affiliate links for your shopping convenience. By purchasing an item, I earn a small commission at no cost to you.
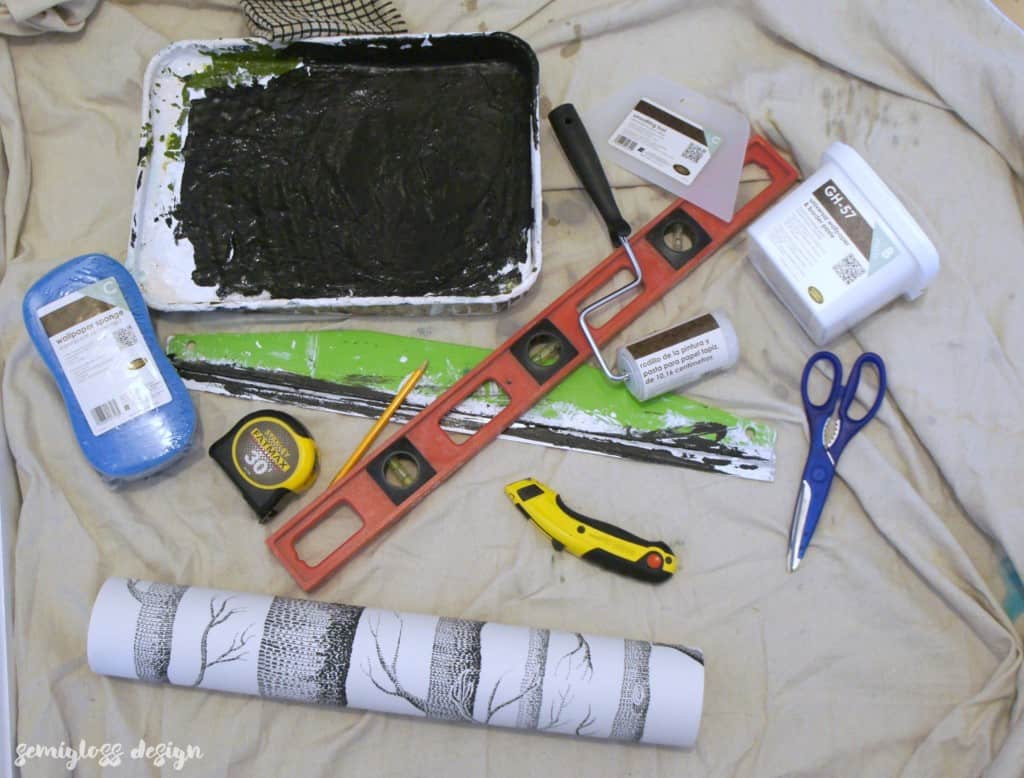
- Wallpaper paste
- Wallpaper
- Roller
- Paint tray (for glue)
- Smoothing tool
- Paint brush (not shown)
- Level
- Pencil
- Utility blade and extra blades
- Scissors
- Measuring Tape
- Paint guide (or another straight edge)
- Damp rag
- Tarp
- Stepladder
- Handy dandy helper (it takes 2 people)
How to Wallpaper
Note: This tutorial for how to wallpaper is for paste the wall wallpaper. Be sure to check your wallpaper to see what type it is. I outlined wallpaper terms in this post if you’re confused.
- I started by cleaning the area really well since I have a dog who loves sleeping in this hallway. I didn’t want excessive dog hair getting everywhere. Then I laid down a tarp to protect the carpet just in case. I’m prone to accidents… Be sure to remove all vents and outlet covers.
- Start with well-prepped walls. All holes should be filled and painted over. Please do not wallpaper over unpainted drywall or flat paint. It makes removal extremely difficult.
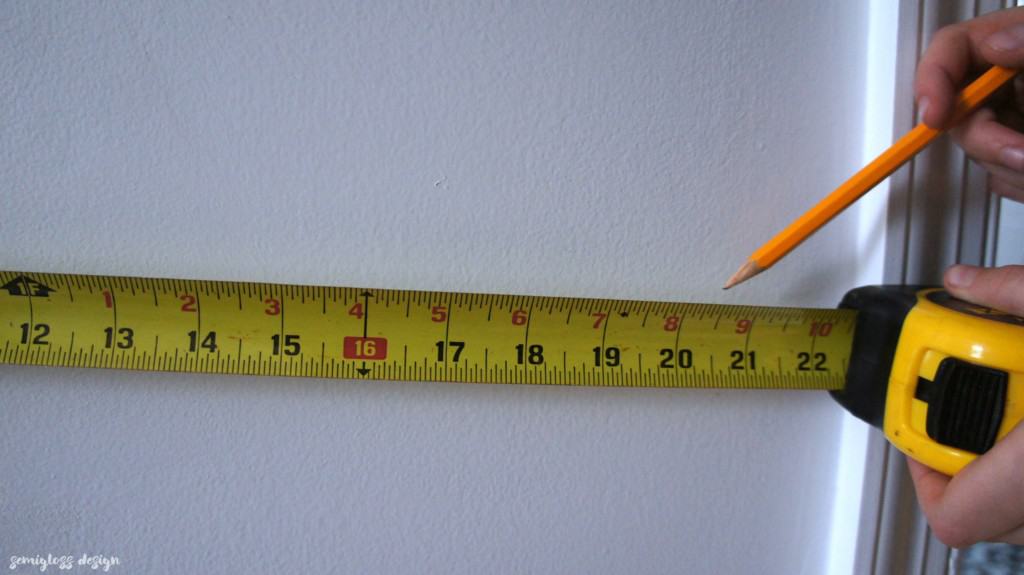
- Measure the width of the wallpaper and mark it on the wall in pencil at several points.

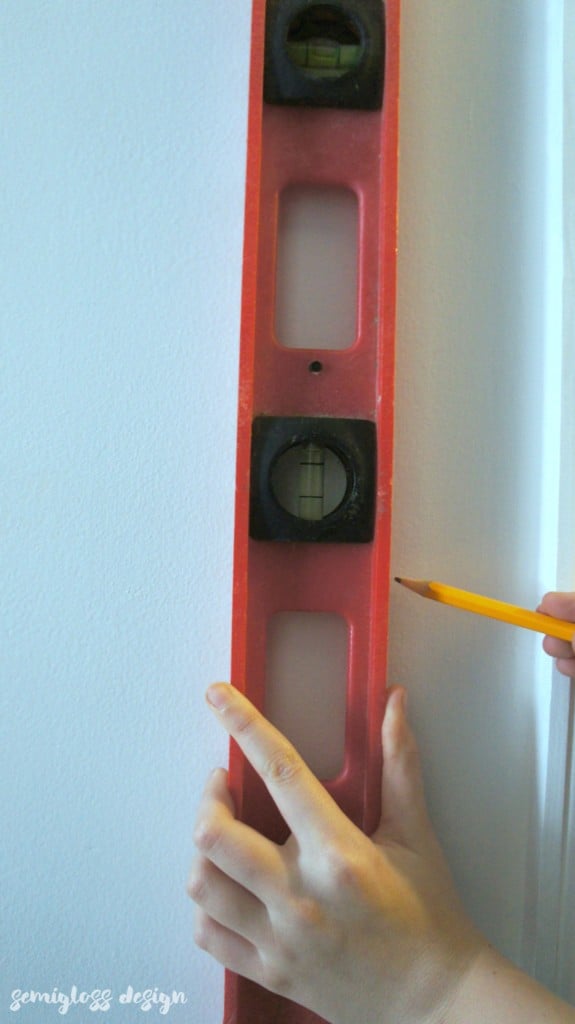
- Connect the points, using a level to make sure your line is plumb (straight up and down.)

- Measure your wall height (called the drop) and add about 2 inches to the top and bottom. Cut your first piece of wallpaper to that length.

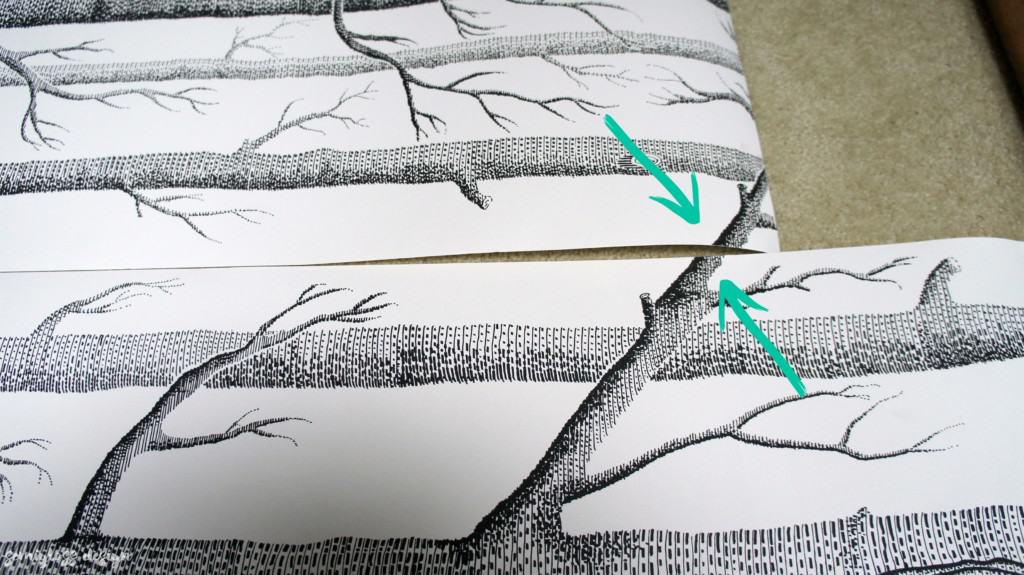
- Go ahead and cut the next drop of paper as well, lining up the pattern where it matches if necessary. For us, it was the tree branch.
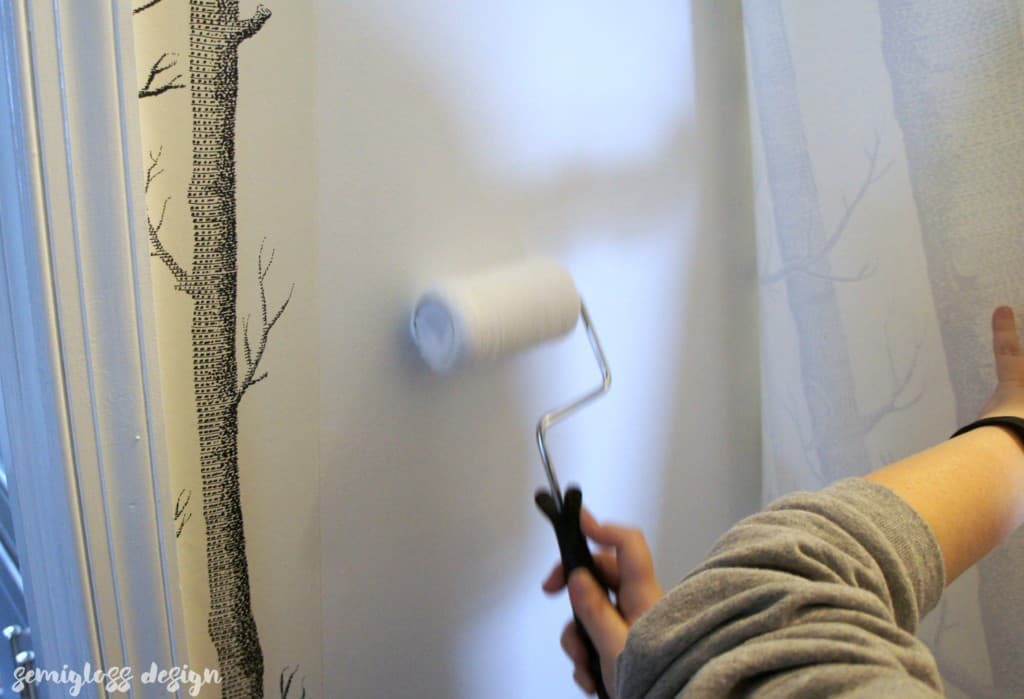
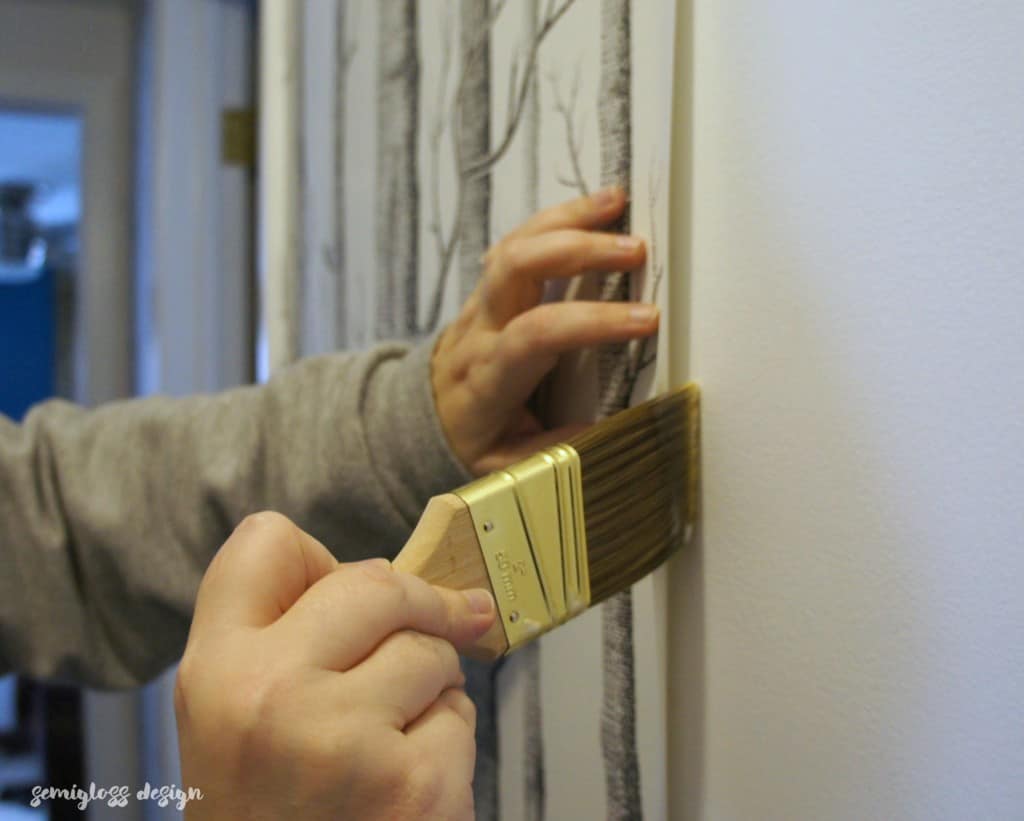
- Apply the paste to the wall with a roller. I used a brush along the edges where the roller wouldn’t reach. A thicker layer is better than a thinner layer of glue because it gives the paper more wiggle room. I applied it to about 3-foot sections of the wall.

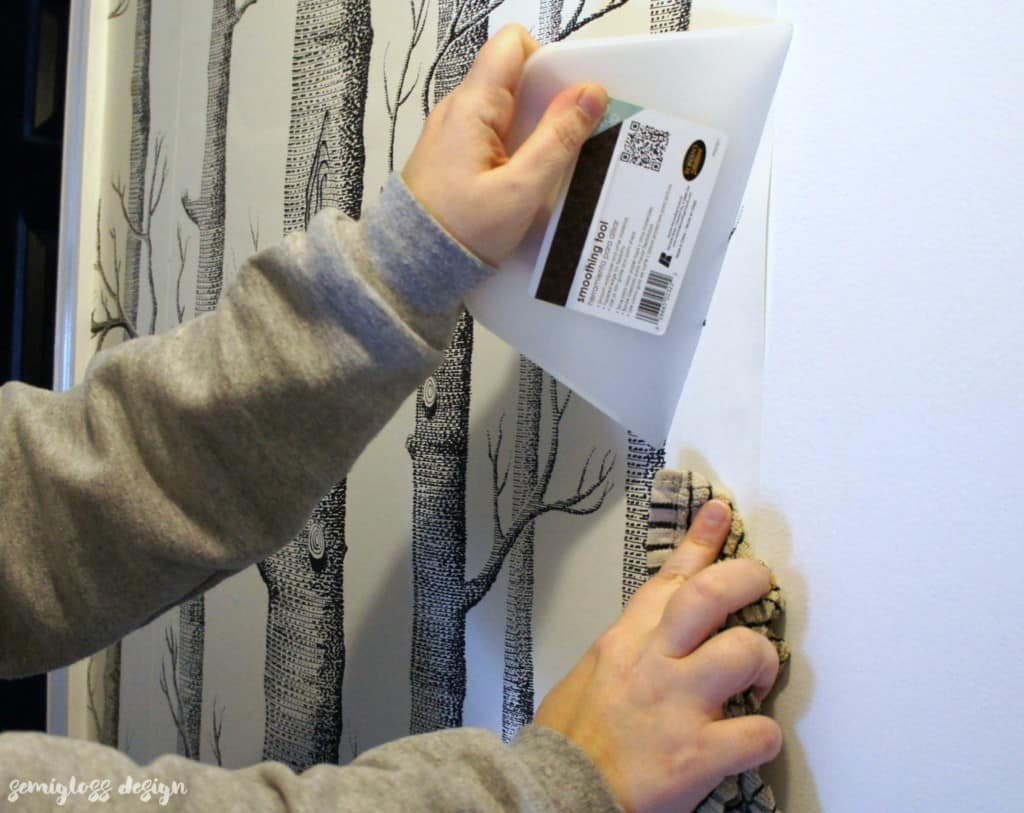
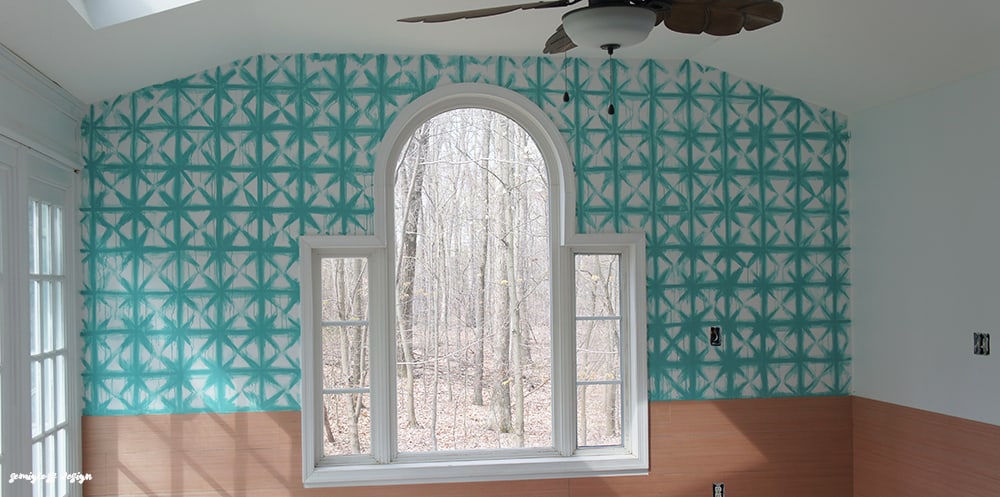
- Line the paper up with the plumb mark that you drew in step 2. Smooth the wallpaper as you go. If it’s going on crooked, pull it off and adjust it. When the first section is good, move on to the next 3 feet area. With the wallpaper lifted, add more wallpaper adhesive to the wall and smooth the paper down. The smoothing tool works really well for getting bubbles out. I used a damp rag to wipe away excess glue that was squished out.

- Where the wallpaper meets the ceiling and the baseboard molding, hold the straight edge and cut with the utility knife. Your ceiling and molding aren’t going to be perfectly straight, so do your best. Sharp blades work the best.
- If the edges aren’t sticking, add a little extra glue under the paper.

- Cut your next drop of wallpaper, lining up the pattern to match the 2nd piece that you cut in step 4.
- Apply the 2nd piece, matching the pattern. The wallpaper should butt up against the first piece, not overlap.
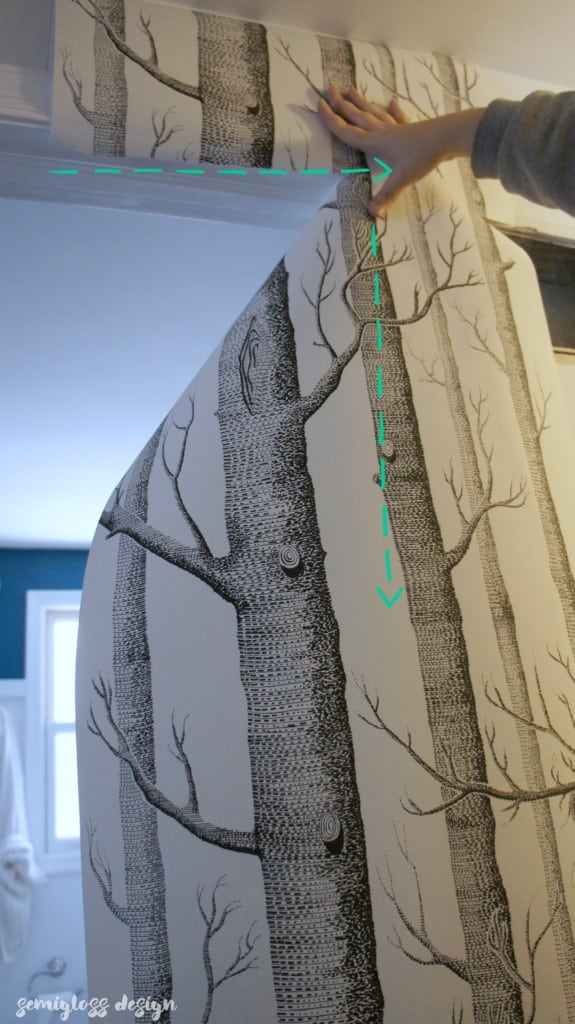
- For doorways, cut the paper a bit smaller than the opening to make it easier. Then apply the adhesive, smoothing it and cutting around the casing for the door. The arrows mark where I cut. Notice I didn’t cut all the way to the edge. Err on the side of caution. You can always cut more off. Where the lines met, I cut a miter cut to make it a bit easier to maneuver.
- Draw another plumb line after the door. I didn’t do this and my paper ended up a bit crooked. Luckily, the design of the paper works well with being crooked. There are far more crooked trees in the forest than straight trees.
- I had to cut around objects like an electrical outlet and a vent. I cut a small X and slid the utility knife around the edge of the electrical box. For the vent, I used the same method, cutting around the box of the vent.

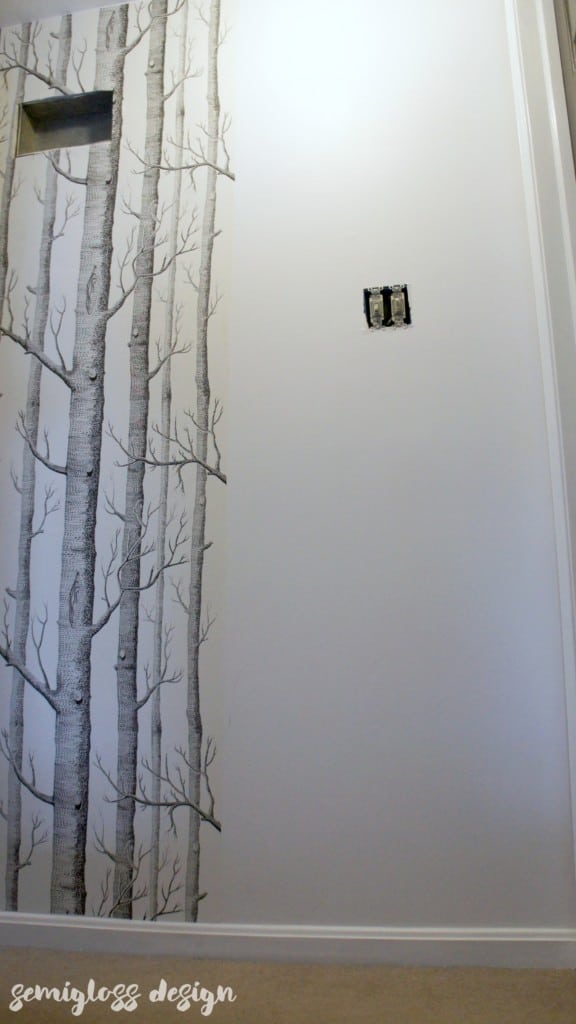
And that’s where I ran out of wallpaper. So close! I have another roll on the way and it was even on sale again! Hopefully, it comes in the mail this week so I can finish it this weekend.
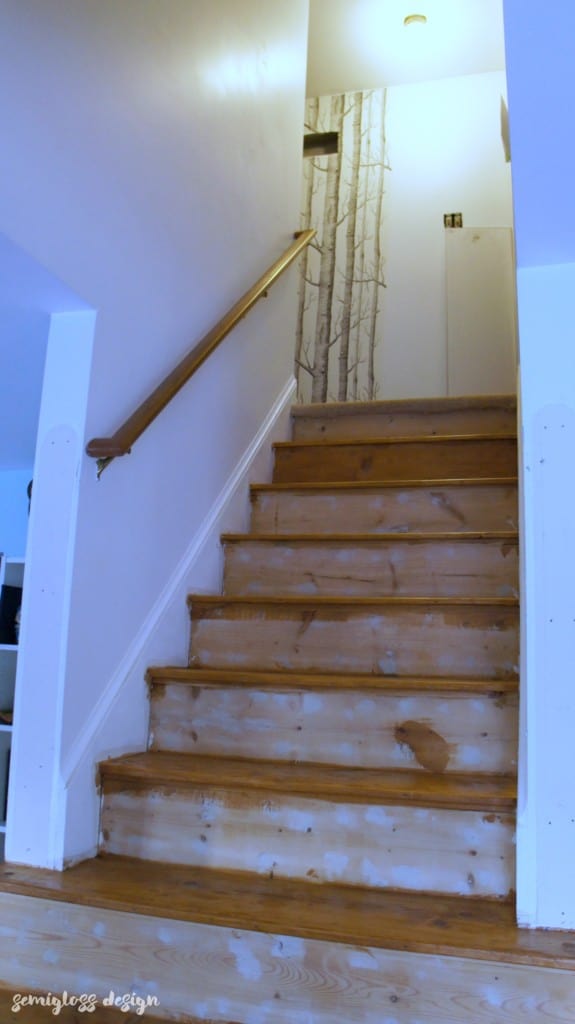
This is about a 9′ span of wall and it took 2 very unskilled people about 2 hours to complete this. It should take another hour to do the rest.
I could have never done this without my handy dandy helper, so shout out to my son. <3
I also started staining the stairs so here’s a sneak preview. The risers will be painted black and the trim will be touched up.
You might also like:

Emy is a vintage obsessed mama of 2 DIYer who loves sharing affordable solutions for common home problems. You don’t need a giant budget to create a lovely home. Read more…

well it is looking SO good so far!!!! love it!!!!
Thanks! I’m so in love with it. I can’t wait for the new roll to come in the mail so I can finish it (and for the stain fumes to die off.) 😉
kudos to you! This is honestly something I would probably ask my husband to do. Not because “it’s a man thing” but because he has wayyyyy better attention to detail than I do, and this would drive me crazy. Like, NUTS! As nutty as a squirrel that would live on the birch trees on your walls 😉
Yeah, I probably should have asked for my hubby’s help as well (they seem to be perfectionists), but he was working and my son was pumped to wallpaper. 😉