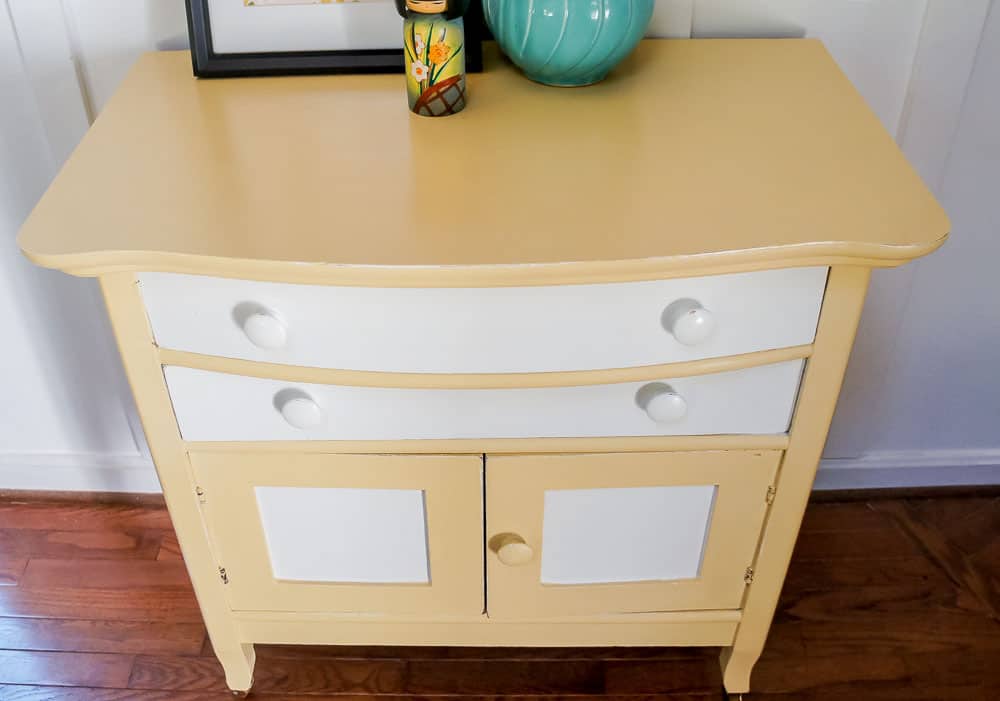
Charming Painted Washstand Makeover with Two-Tone Paint
A painted washstand makeover with a two-tone look.
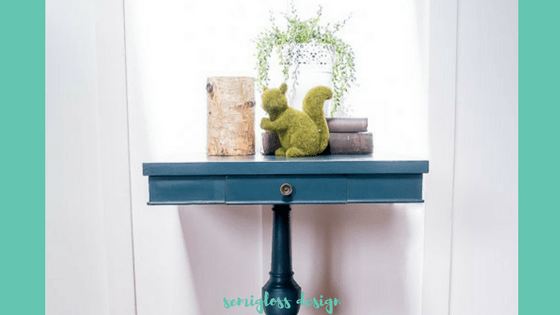
Last month, I painted 5 pieces of furniture including this ombre dresser and this weathered wood finish table and chairs set. Although this washstand didn’t make it to the shop this past month, it was painted at the same time.
This washstand had seen better days, so it received a new paint job to bring back its vintage charm.

Painted Washstand
Country Chic Paint provided me with paint for this project, but all thoughts and opinions are my own. Your support helps me make more projects like this one!
Supplies
This post contains affiliate links. By purchasing an item through an affiliate link, I earn a small commission at no extra cost to you.
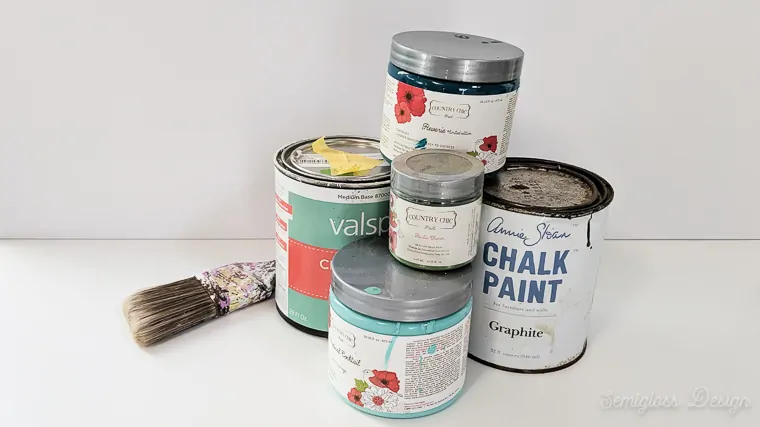
- Country Chic Paint in Bees Knees
- Country Chic Paint in Simplicity
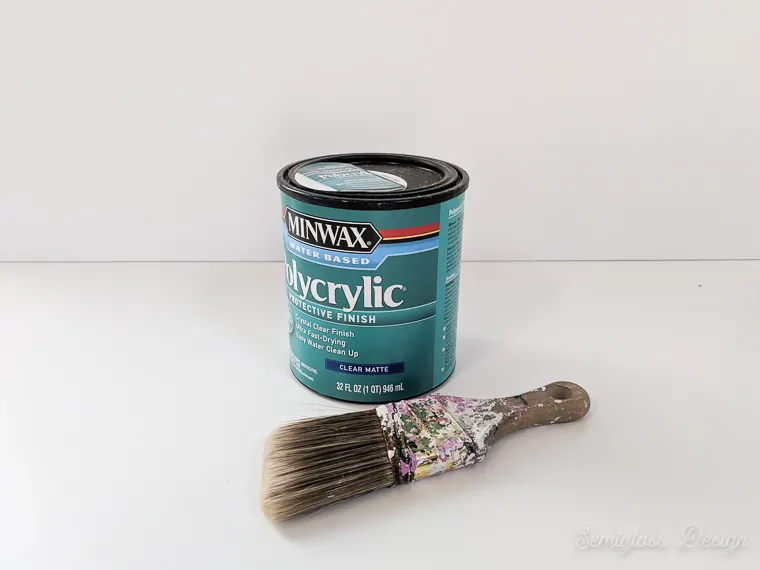
- Polycrylic
- Country Chic Oval Brush
- Short handled angled brush
Stripping the Top

This vintage washstand had seen better days, but I knew it could be rescued. The top had a bumpy finish that had to go.
I originally had plans to strip the top and stain it, but after hours of work, I couldn’t get it down to 100% raw wood. However, stripping the top removed the bumpy finish for a pristine painted top. Here’s what I did.
- Apply a generous layer of citri-strip and wait for it to bubble. Use a putty knife to remove the bubbling paint.
- Repeat as many times as necessary.
- Remove the remaining stripper and paint with mineral spirits.
- Sand, going from 80 grit to 120 grit to 220 grit until you have a smooth surface.

This is what I was left with. The top was mostly clean, but the edges were going to be too hard to sand down to raw wood.
Sometimes, stripping goes smoothly, but on a piece this old with many different types of paint on it, I couldn’t get the wood where I wanted it to be.
Painting the Washstand
- Clean the furniture. I always start by cleaning a piece of furniture. For this piece, I used simple green and water, making sure to remove all the soap.
- Lightly sand. Since the finish was pretty shiny, the washstand was lightly sanded to scuff up the surface.
- Prime the wood. I primed the entire piece to ensure the paint would stick. Primer also makes it easier when painting a darker piece a lighter color. The top got primed as well.
- Paint the furniture. I was going for a two-tone look, so I painted the body and left the drawers and door insets alone so I could go back and paint those later.

- Paint another coat or 2 as needed.
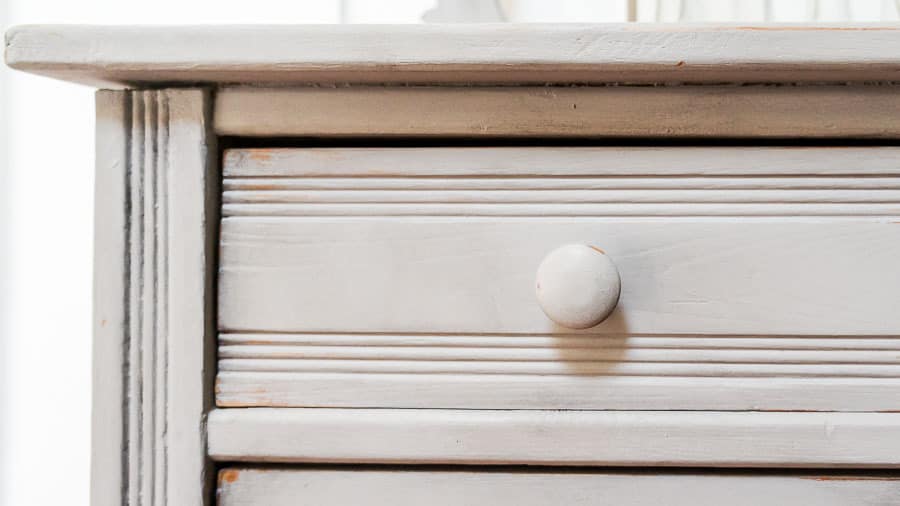
- The drawers and the inset squares on the doors got painted white. I was able to get a nice line with an angled paint brush and a steady hand, but you can tape it if you need to.
- Distress the edges with sandpaper. I love a lightly distressed edge. It shows off pretty details on the furniture.

- Top coat. To protect the finish, I applied 2 coats of polycrylic.


Other Fixes to the Washstand
This piece had a broken caster, so it received brand new ones. I love a piece of furniture with wheels.

The doors didn’t want to shut completely, so they were sanded a little, and then they received a thin coat of wax to help with sticking.
One door had a latch, but the other opened on its own, so it got a magnetic latch to keep it closed.
I love how this painted washstand turned out.
Washstands are interesting pieces because we really don’t have a need for them anymore. But they make perfect side tables for beds or small buffets in a kitchen.
This piece would look amazing in a farmhouse kitchen.
I love the details on older pieces, like the way the sides have slats.

You might also like:
Pin for Later!

Emy is a vintage obsessed mama of 2 DIYer who loves sharing affordable solutions for common home problems. You don’t need a giant budget to create a lovely home. Read more…