Make an Ombre Wood Wreath for Valentine’s Day
Learn how to make an ombre wood wreath for Valentine’s Day. You might also like these conversation heart mugs!
I wanted to make a Valentine’s wreath that didn’t involve flowers or hearts. So why not go in the complete opposite direction and use wood? This wood wreath is painted with an ombre color scheme to give it a Valentine’s feel, but it could easily be changed to any other color for other holidays or occasions. Blue ombre would be gorgeous for a summer look!

Country Chic Paint provided me with paint for this project, but all thoughts and opinions are my own. I would never recommend products that I wouldn’t buy or use on my own. Your support helps me make more projects like this one!
Ombre Wood Wreath
Supplies Needed
This post contains affiliate links. By purchasing an item through an affiliate link, I earn a small commission at no extra cost to you.
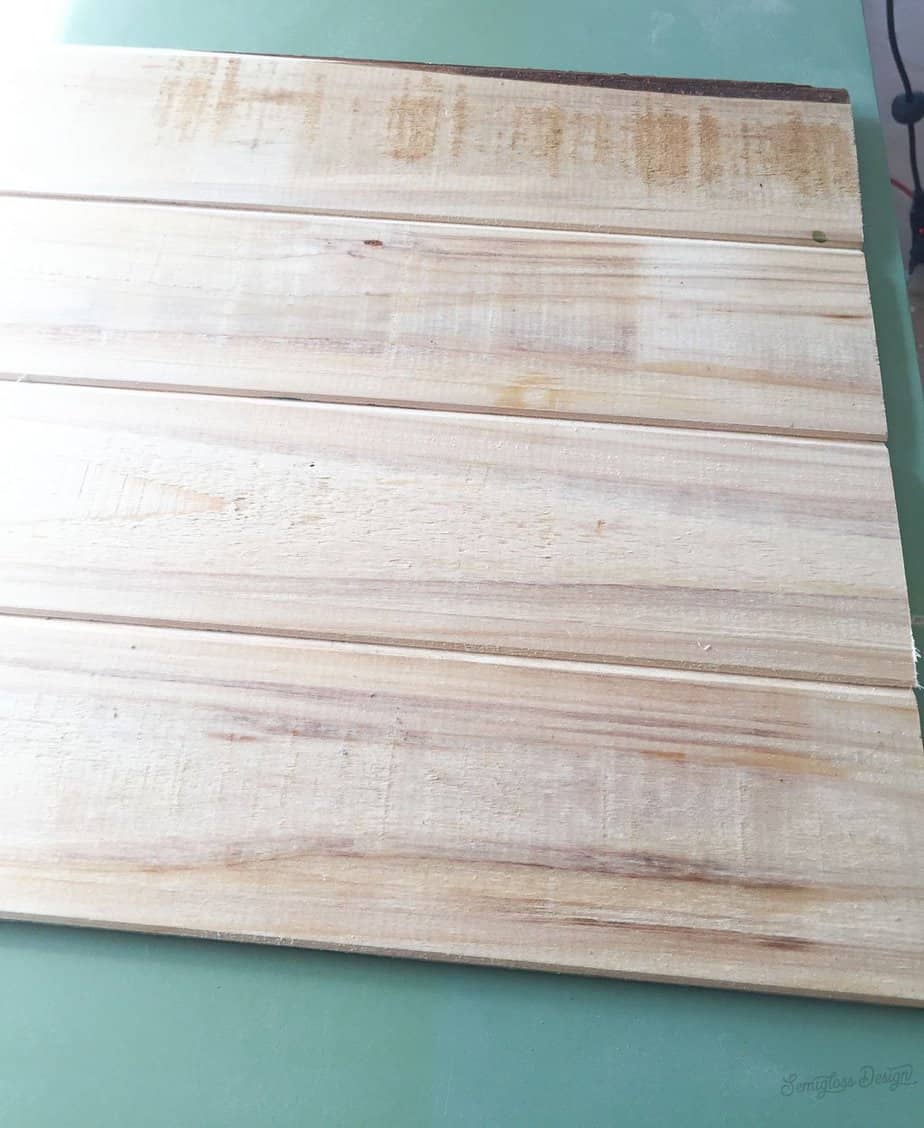
- Scrap wood (I used scraps of this tongue and groove wood)
- Jig saw (Use a blade for thin wood)
- Country Chic Paint in Simplicity (white)
- Country Chic Paint in Devotion (red)
- Paintbrushes
- Wood glue (this is my favorite wood glue!)
- Sandpaper
- D-ring hanger
- Ribbon (optional)
- Hot glue (optional)
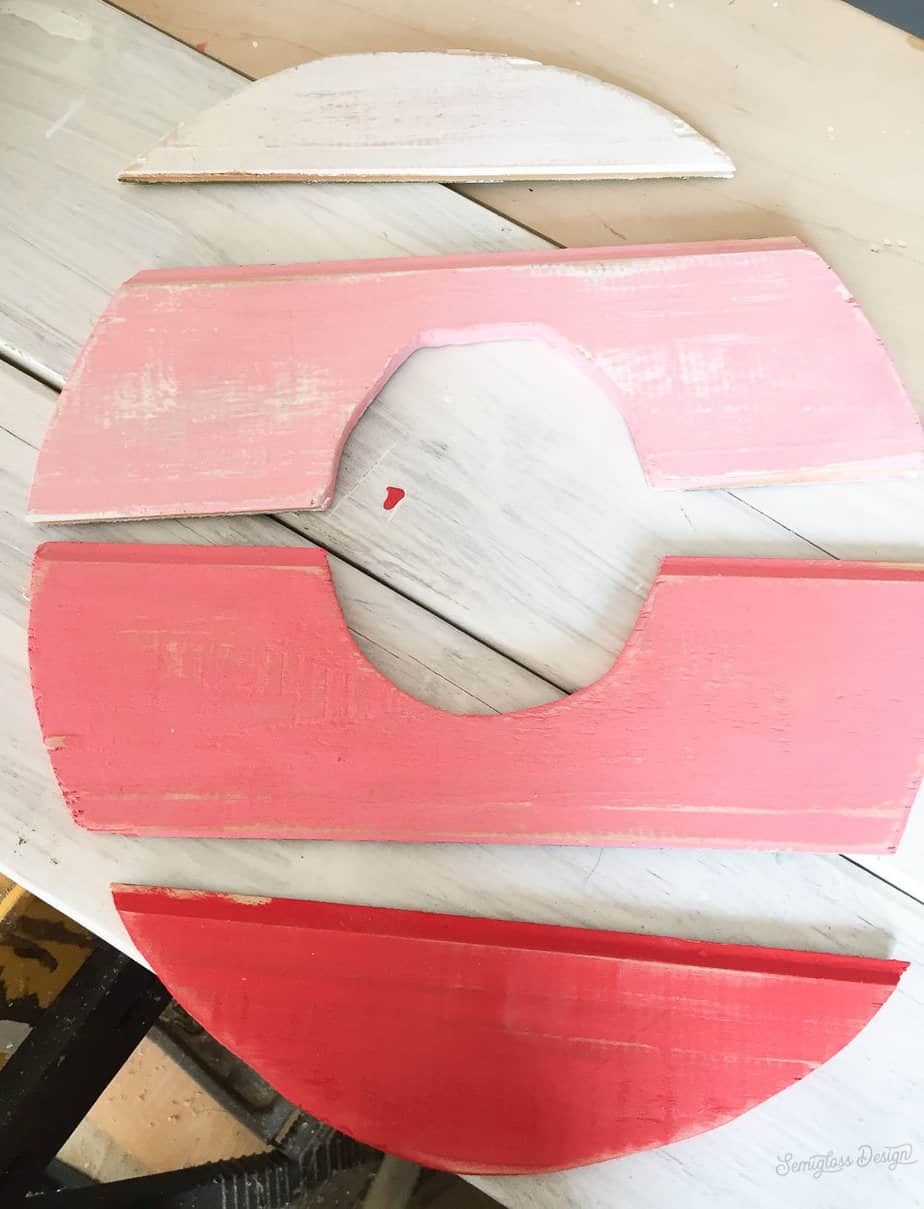
- Lay out your scrap wood. Each piece needs to be about 18″ long.

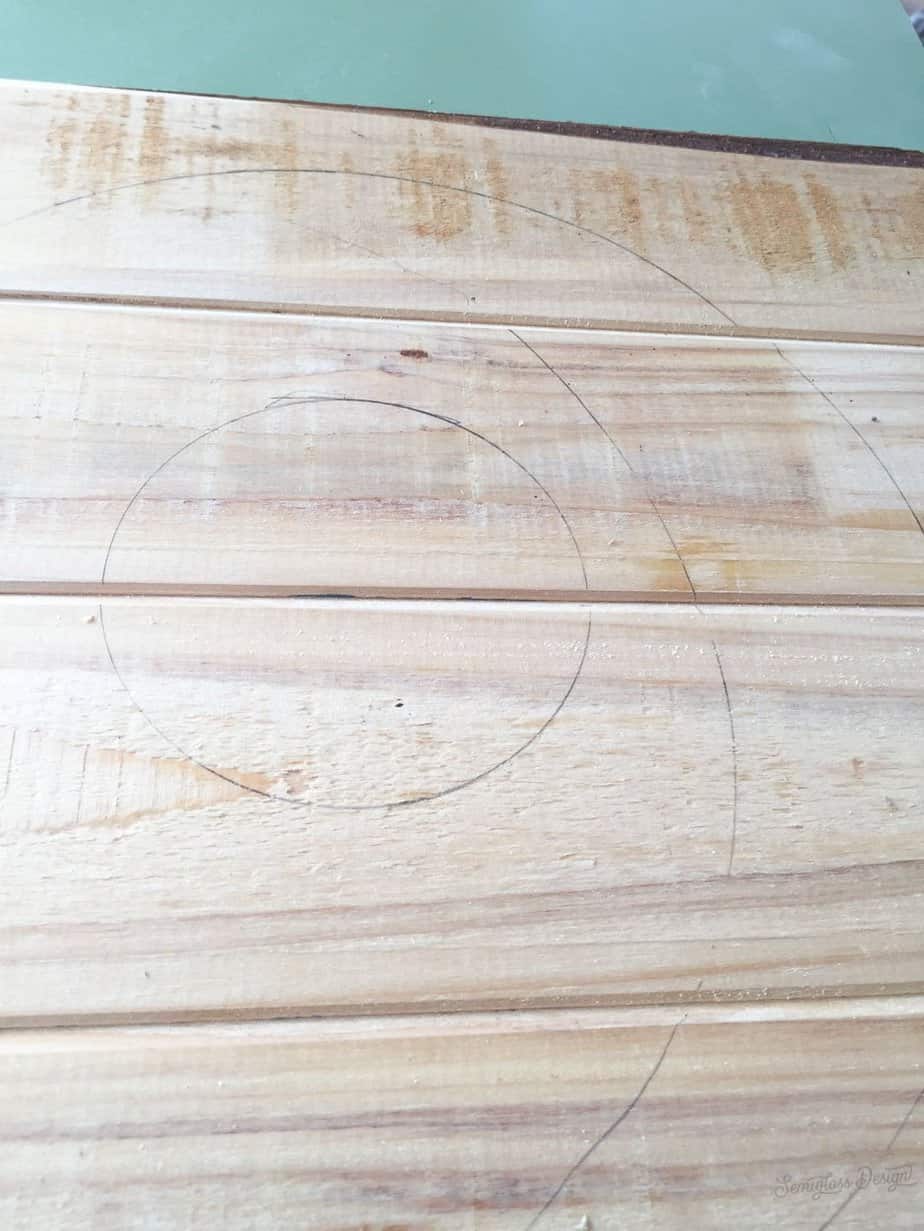
- Use something round to trace a circle on the wood. I used a plastic bucket. Trace a circle for the inner circle as well. I used a quart paint can.

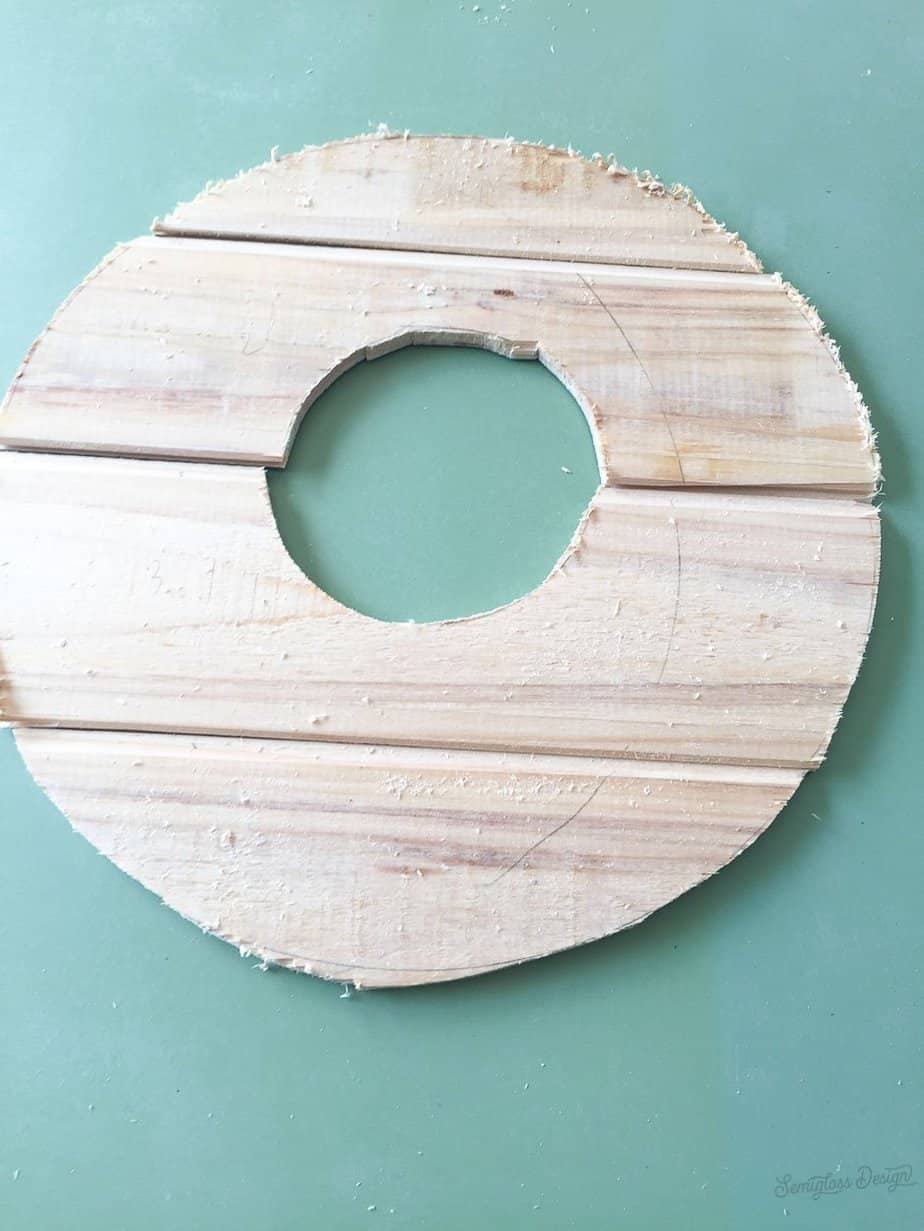
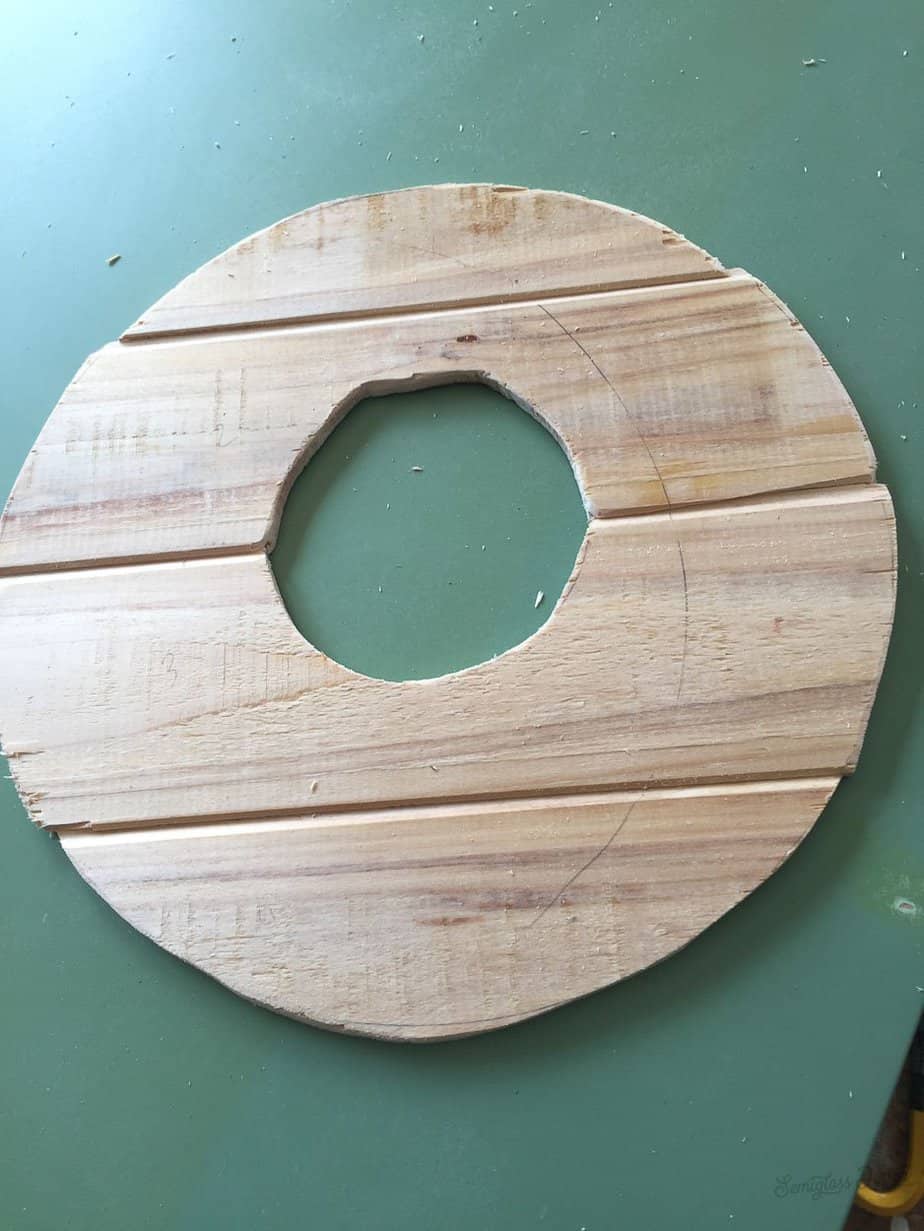
- Use your jig saw to cut each piece of wood on the lines. The inner circle was the hardest and ended up splitting a bit. Use a thinner jigsaw blade specifically for thin wood to avoid this. (My inside was a little off and rather than risk ruining it, I decided to disguise it later – see step10.)
- Your edges will be super jagged, so sand them well. Don’t forget the inside of the circle as well!
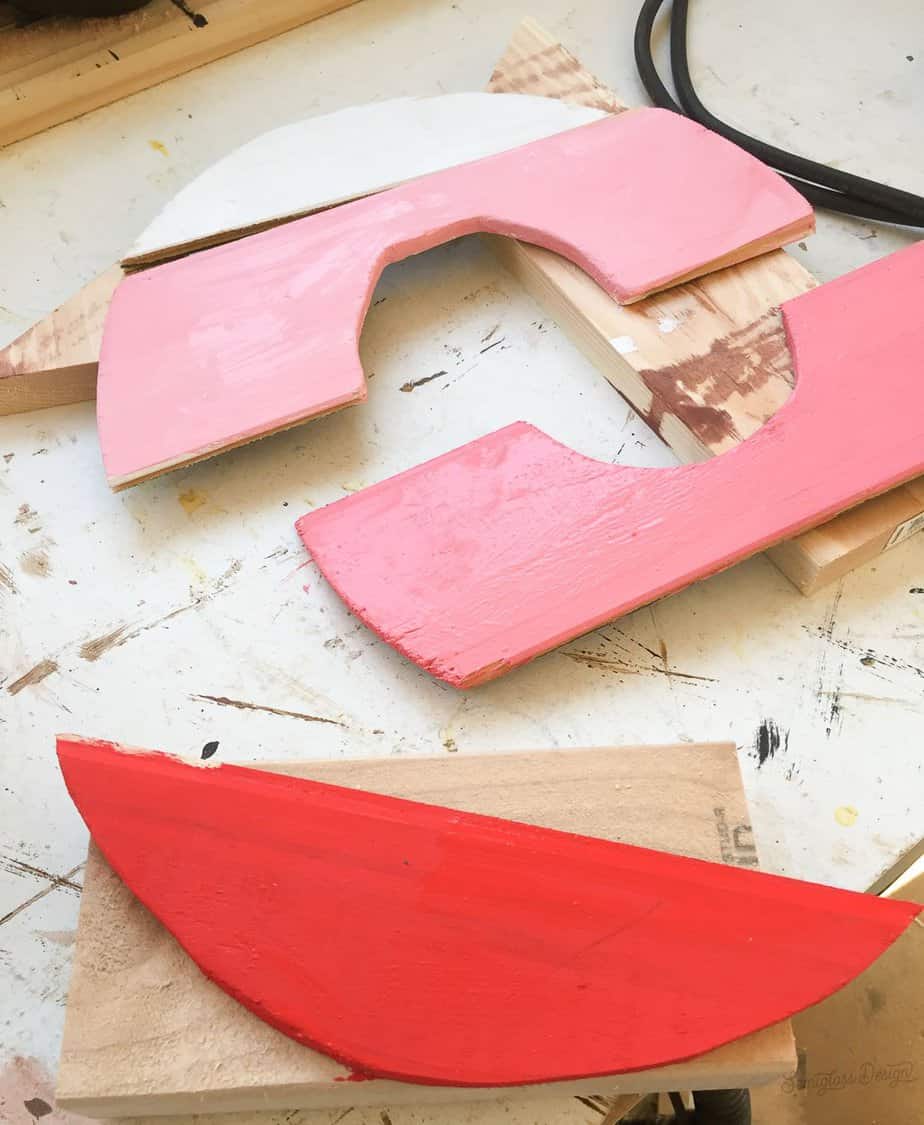
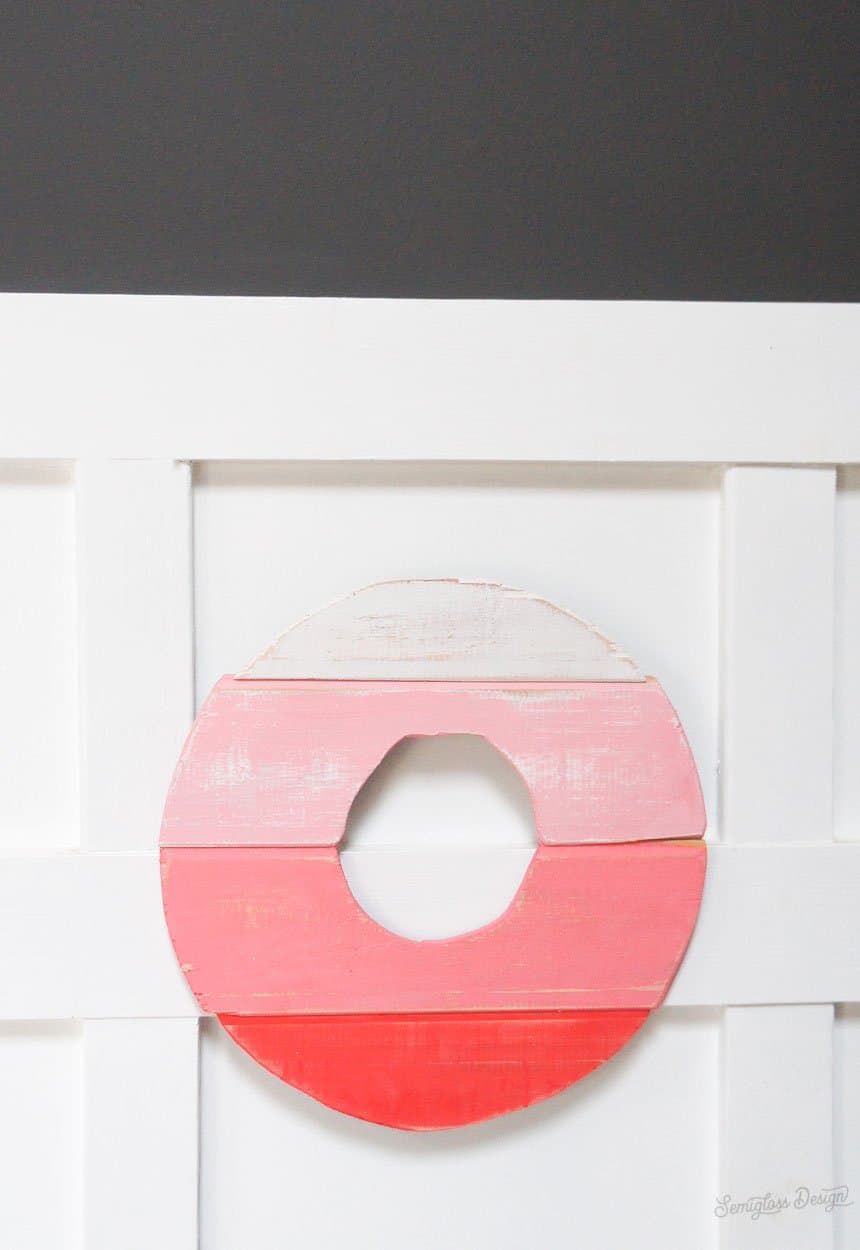
- Once sanded, paint each strip of wood. I painted the bottom one in Devotion and the top one in Simplicity. For the pink ones in the middle, I mixed the red and whites together in different ratios to get the different colors of pink. The red, pink and white combo is perfect for a Valentine’s wreath!

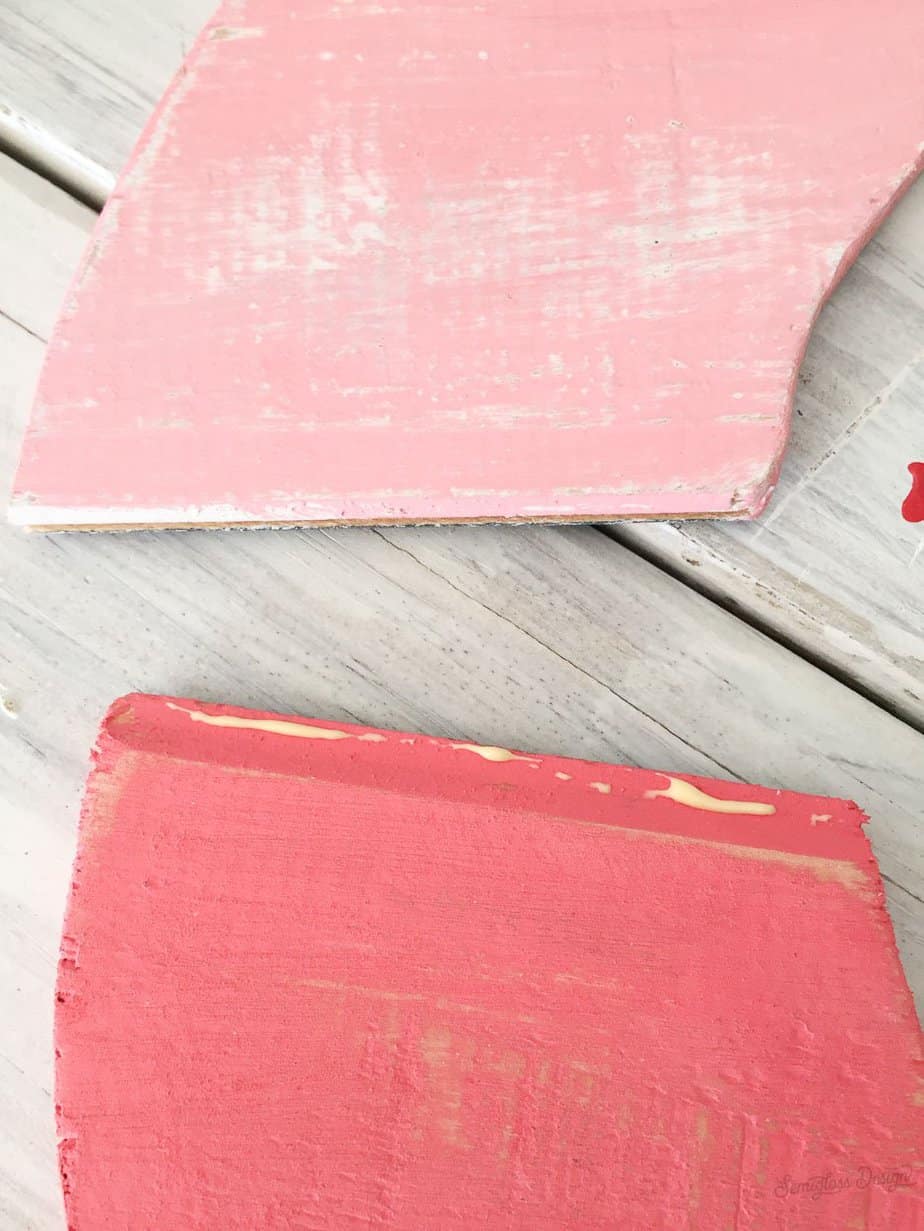
- Once the paint dries, distress the wood with sandpaper for a rustic look.

- Attach the wood together to form a wreath by applying wood glue to each tongue. Then press it into the corresponding groove. Be sure to wipe away excess glue.
- Let dry overnight.
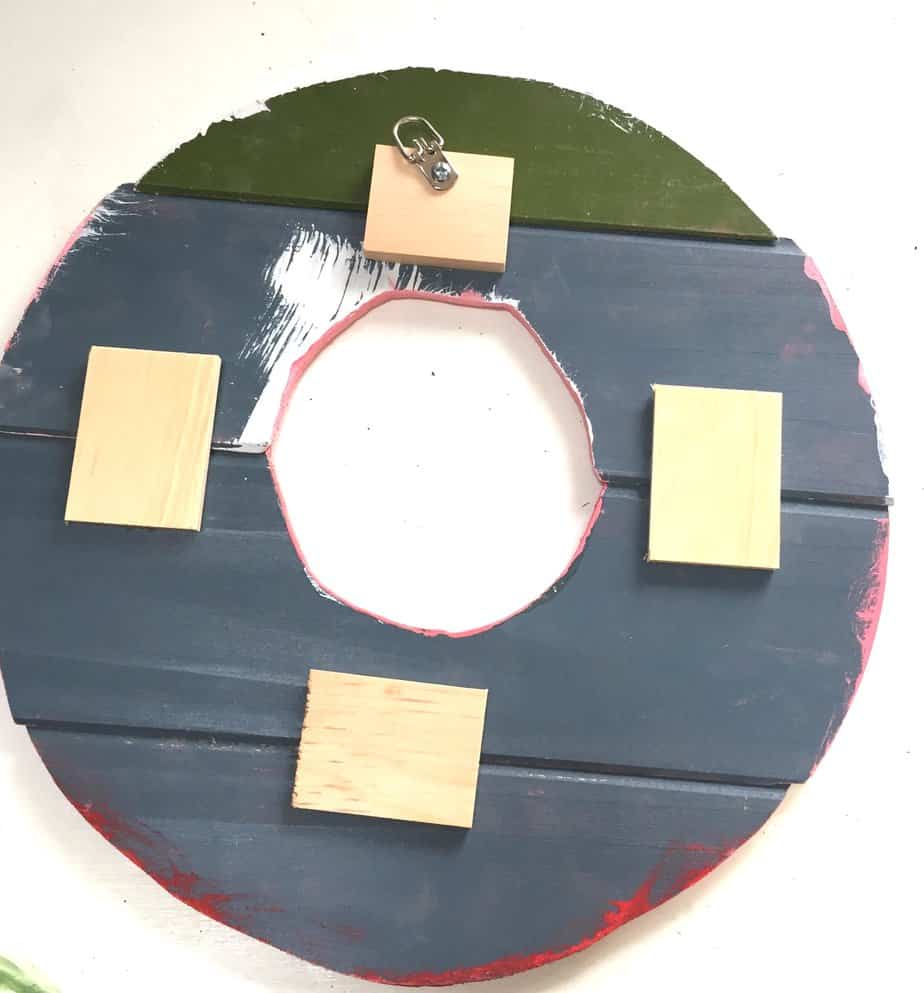
- To add more stability. flip it over and add small pieces of scrap wood. Then attach them with wood glue over each seam. Place something heavy on them while they dry.

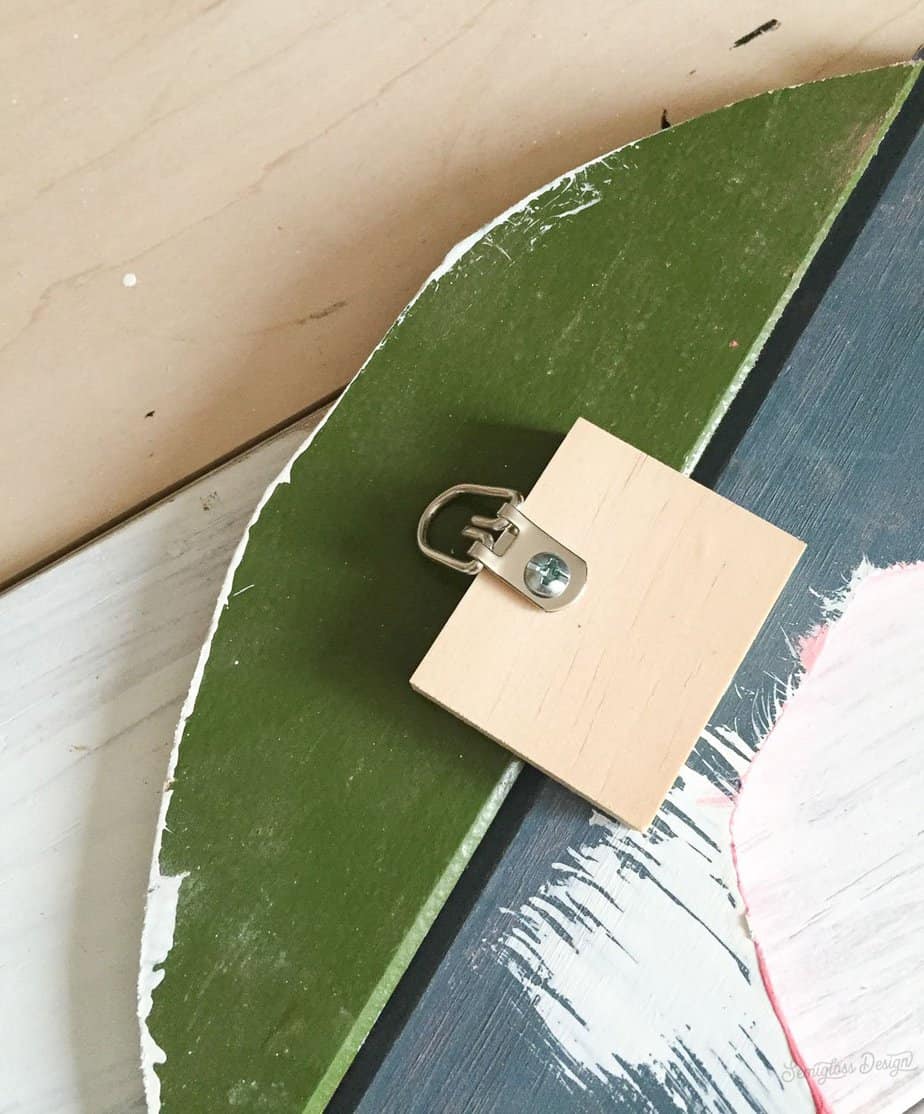
- Once dry, attach a D-ring to hang the wreath.

- To disguise a less than perfect cut, I decided to add a ribbon. Just attach it with hot glue. You could also tie it around the wreath!

- Hang your wood wreath and enjoy!


You might also like:
Pin for Later!

Emy is a vintage obsessed mama of 2 DIYer who loves sharing affordable solutions for common home problems. You don’t need a giant budget to create a lovely home. Read more…