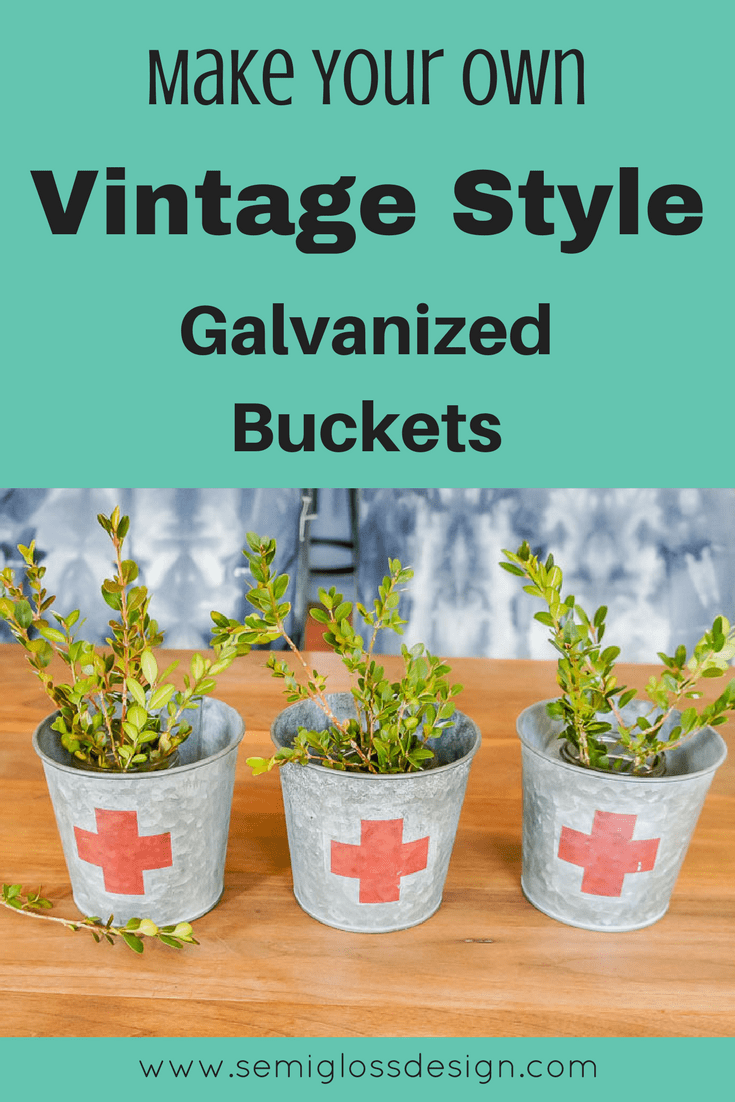
Make Your Own Vintage Style Galvanized Buckets
Spring is in the air. Which is weird because it’s February. But I’m sitting here listening to birds singing and frogs croaking. Naturally, my mind has turned to spring decorating.
I don’t always decorate for specific holidays, but I love adding small touches here and there. Bringing freshly cut greenery is a budget friendly way to bring in a small touch of spring.
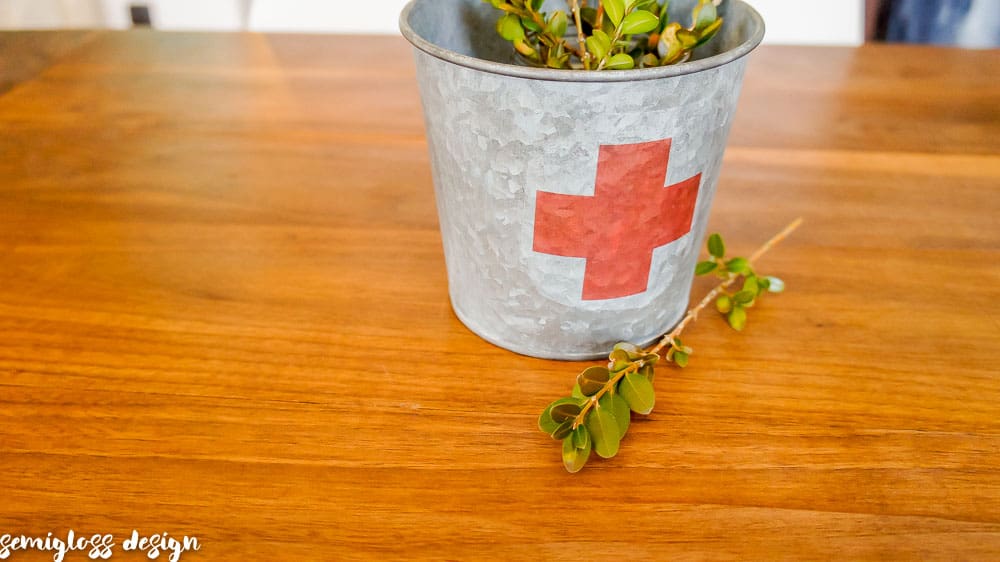
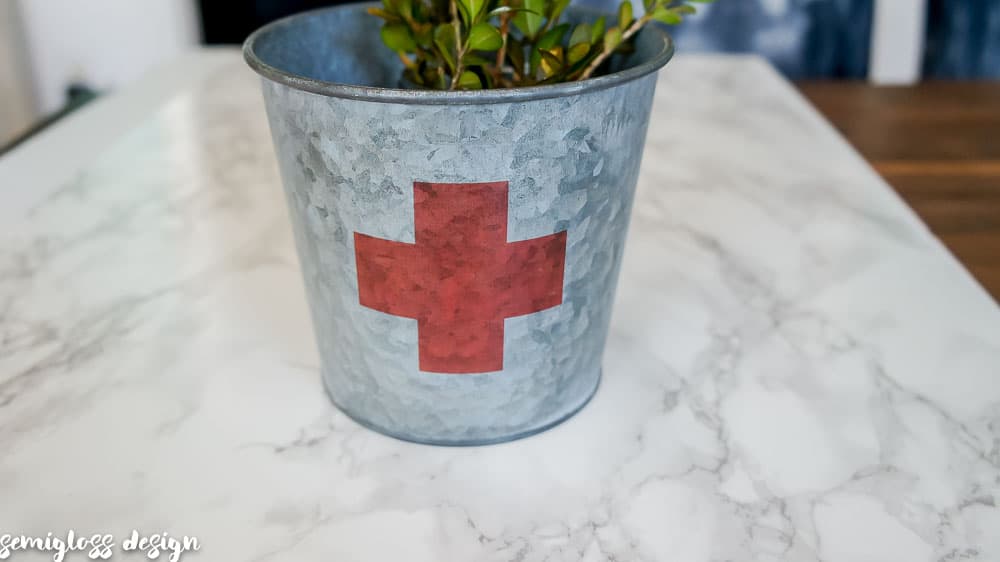
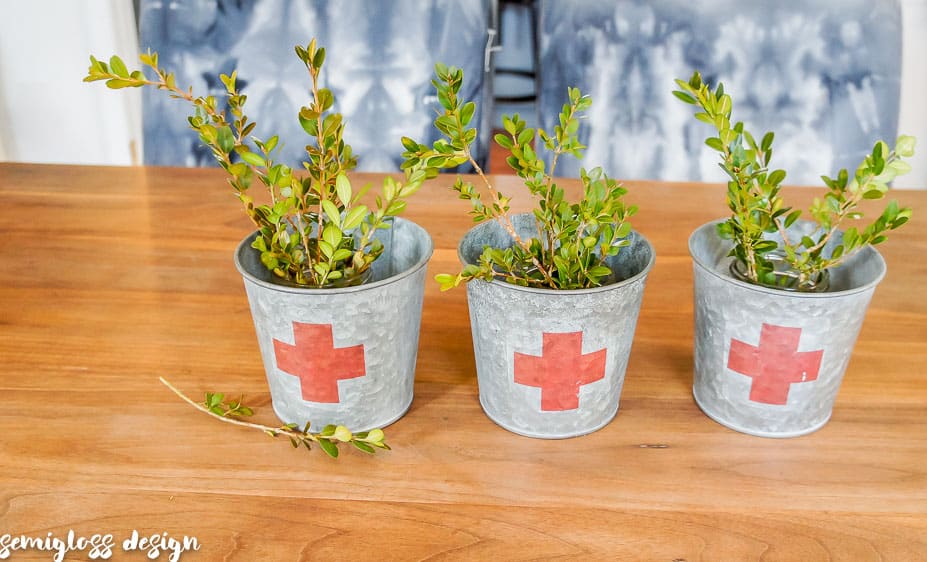
Today I’m sharing my vintage style galvanized buckets, which make the perfect low centerpiece on a table.
This post is sponsored by DecoArt. DecoArt provided me with paint for this project, but all thoughts and opinions are my own. I would never recommend products that I wouldn’t buy or use on my own.
Supplies Needed
This post contains affiliate links. By purchasing an item through an affiliate link, I earn a small commission at no extra cost to you.
- Galvanized buckets
- DecoArt DecouPage Photo Transfer Medium
- DecoArt DecouPage Medium in Matte
- Paint brush or foam brush
- Images for transfer – Must be LASER printed or printed at a copy shop
Before I start the tutorial, I would like to admit that I completely screwed this project up on my first attempt. The good thing is that I learned about what NOT to do and how to remove your mistakes as well!
So if your first project doesn’t turn out perfect, try again with more medium. I feel like there’s a life lesson in that.
How to Make Your Own Vintage Style Galvanized Buckets
- Clean your buckets well. Rubbing alcohol works well for removing any oils from your fingers.
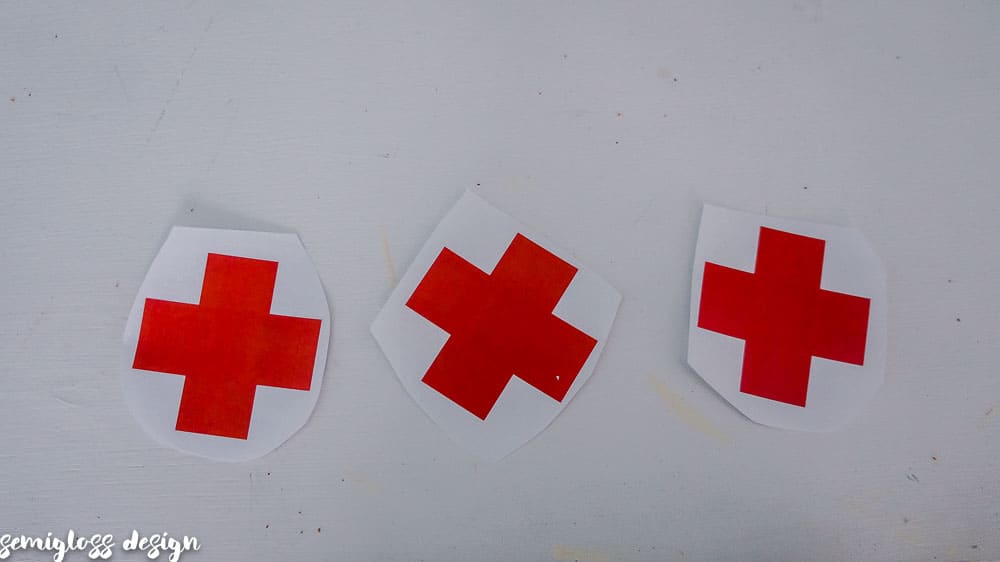
- Print our your images. If you don’t have a laser printer, get prints made at a copy shop. When using words, make sure to get a mirror image printed. (If you want your own red crosses, scroll down for access to my image.)
- Cut around your images. I would leave about 1/2″ around the image if possible. These should have been cut a bit closer to the edges.

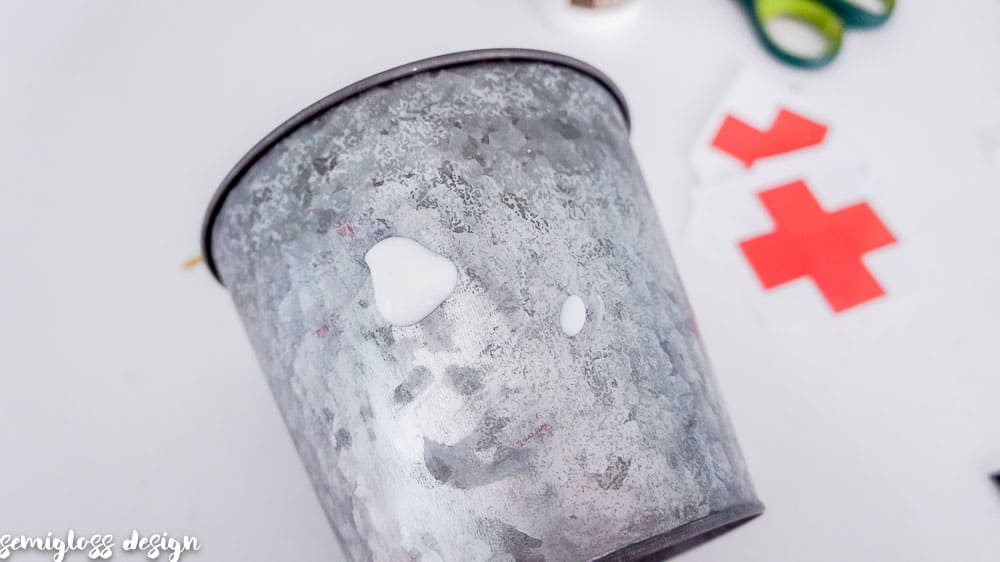
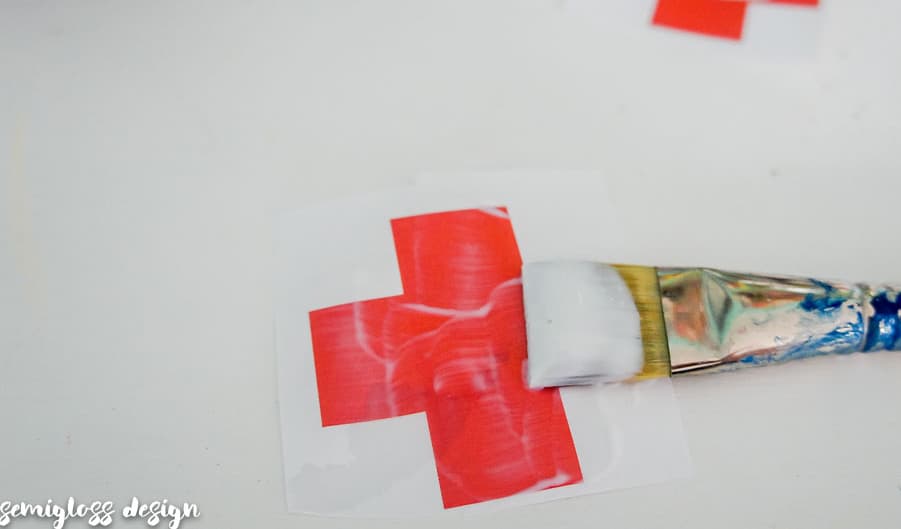
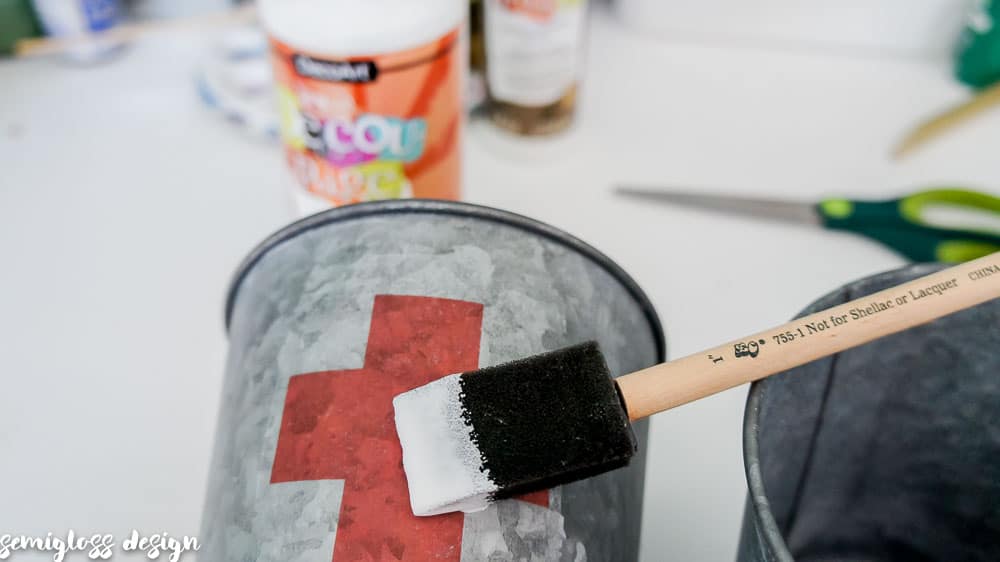
- Apply photo transfer medium to the bucket. Paint on a generous coat to the galvanized bucket in the area where the image will go.
- Apply the photo transfer medium to the image. Be generous with this coat as well and be sure to get the edges well.

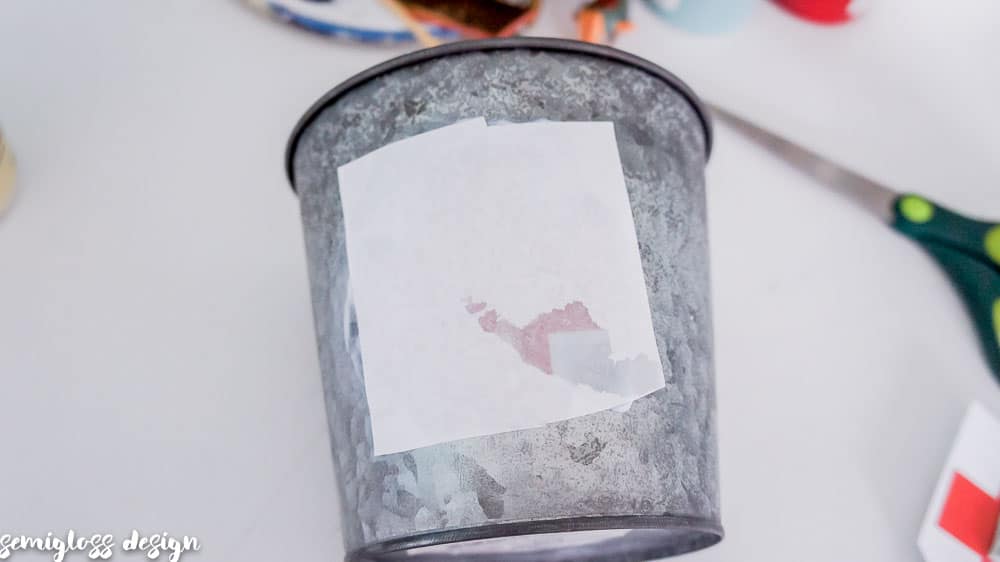
- Apply the image to the bucket. Place your image on the bucket and rub it to ensure that it sticks.
- Remove any excess glue with a damp paper towel. This helps it stick better too.
- After a few minutes, check on your image. You should be able to see through it. If there are areas that are still too white, try to get more glue to those spots.
- Let it dry for at least 8 hours. I left mine for an entire day.
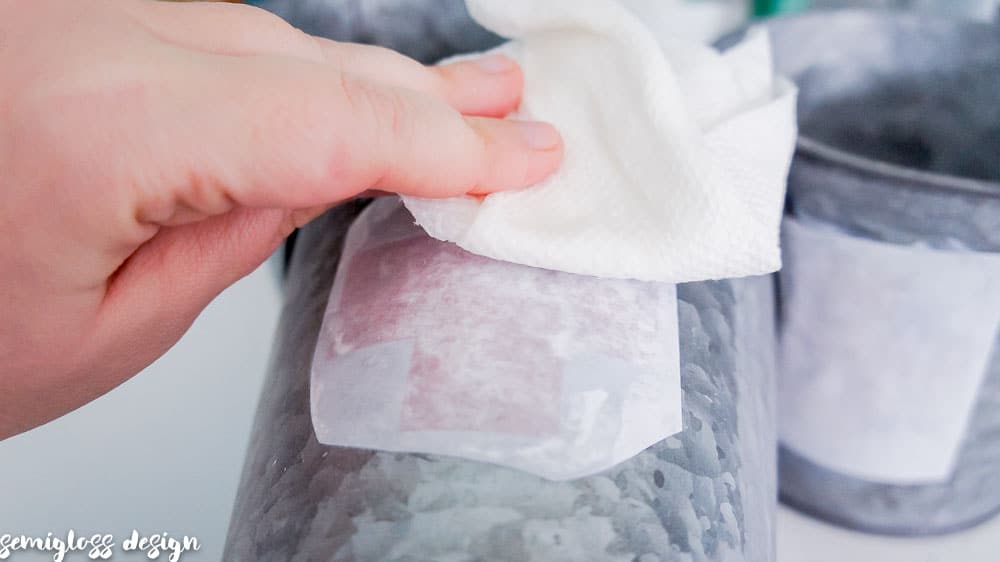
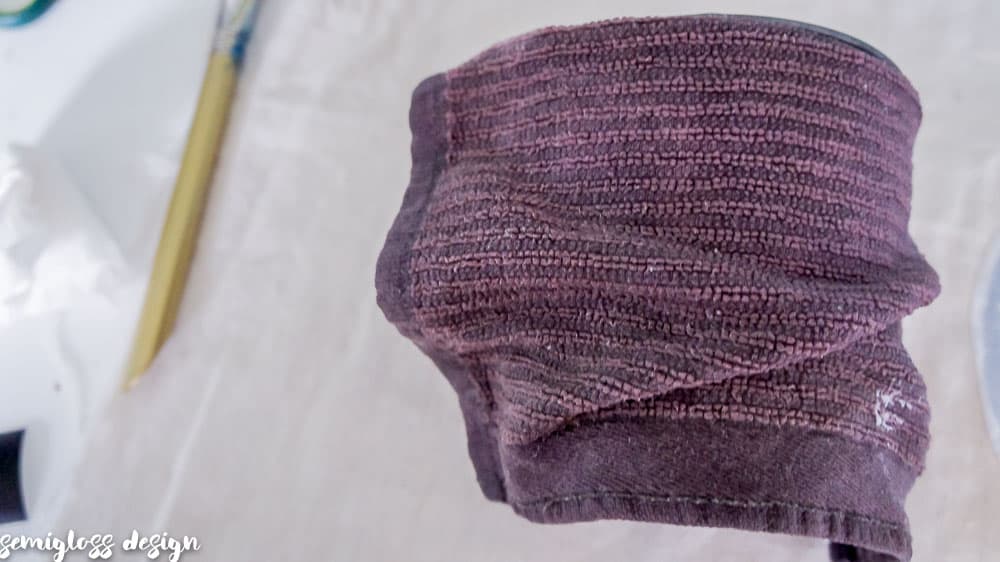
- Wet the image. Get a wet washcloth a lay it on the paper to let it saturate the paper.
- Start removing the paper. When it’s nice and wet, start lightly rubbing the paper. It will leave the image and the paper will rub off. Resist the urge to pull the paper off. Circular motions with the wash cloth work best. When it’s mostly done, you can use your fingers to lightly rub the rest off.
- Keep removing paper until you can see your entire image. Then let it dry. You will probably see more paper. Repeat until it’s done to your liking.
- However, it may still have a slight white look over the image in the sunlight. Mine looked fine in person, but when I went to photograph them, it showed the white squares too well. There was nothing left to remove though. So I added a light coat of DecoPage medium in matte to the buckets and it made the white disappear. This worked well because the image transfer looked fine when it was wet. The decoupage medium gives it the wet look, but the matte finish keeps it from looking shiny.
- To make the vintage style galvanized buckets work as vases, I added small canning jars and some cut boxwood from the yard. I guess this look would work well for winter holidays as well. Fresh cut flowers would look pretty as well.

If you mess up on your first attempt, peel off as much paper as you can. Mine removed the image as well, because I didn’t use enough glue and I only put glue on the image at first. When the paper was removed, I scrubbed it off with a scouring pad. This gave it a vintage look, but it was way too worn to show what the image was supposed to be. Alcohol removed the rest of the image. So if you mess up, there’s still hope to redo it!
What kind of images would you use for vintage style galvanized buckets?
Download a copy of red crosses!
Pin For Later!

Emy is a vintage obsessed mama of 2 DIYer who loves sharing affordable solutions for common home problems. You don’t need a giant budget to create a lovely home. Read more…