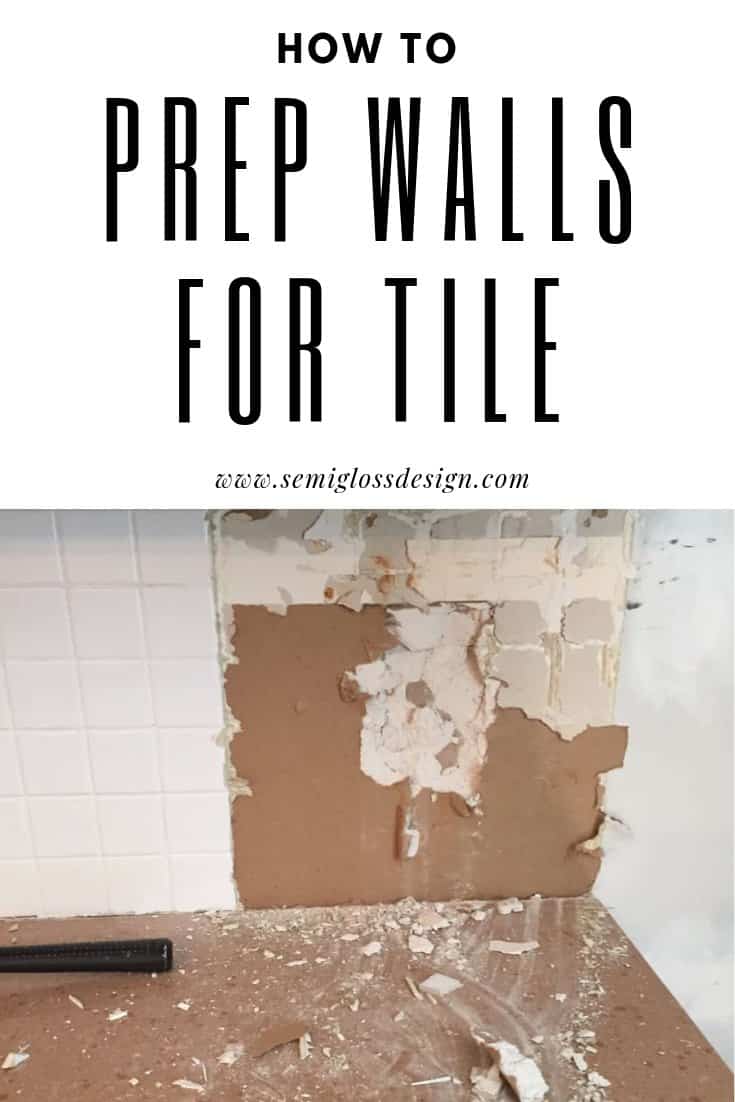
How to Tile a Backsplash: Prep Work
Learn how to prep walls for a tile backsplash! Don’t miss my final post in this series on how to grout tile!
Prep work is key with most things and tiling a backsplash is no exception. This post walks you through all the steps for removing tiles from the drywall and prepping the wall for new tile.
This post contains affiliate links. By purchasing an item through an affiliate link, I earn a small commission at no extra cost to you.
How to Tile a Backsplash Step-by-Step
Part 1: Prep work
- remove tiles from walls
- repair damage from the old tile
- prime
- apply thin-set
- apply tile
- cut pieces where needed and apply them
- let dry completely
- grout
- clean up grout mess
- seal
Backsplash Prep FAQ’s
Can I tile over painted drywall?
Yes. If the paint is a glossy finish, I recommend priming the wall before installing the tile. Priming will ensure good adhesion.
Be sure to start with a clean surface. You would be surprised at how much grease accumulates on walls (even if you don’t cook fried food!)
Do I need to prime drywall before tiling?
Yes. Whether the drywall is new or painted, I recommend priming before tiling for the best adhesion.
Fresh drywall has a paper backing that tears when the tile is removed. Priming helps prevent that.
How do I prep a painted wall for tile?
For best results, clean the wall well to remove any grease from cooking. I also recommend priming the walls before installing tile.
Can you tile over joint compound?
Joint compound or spackle should be primed before tiling.
Do you have to use cement board when tiling a wall?
A cement board or backer board is not required for a backsplash.
However, it should be used in “wet” areas like a shower.
Can I paint my tile backsplash?
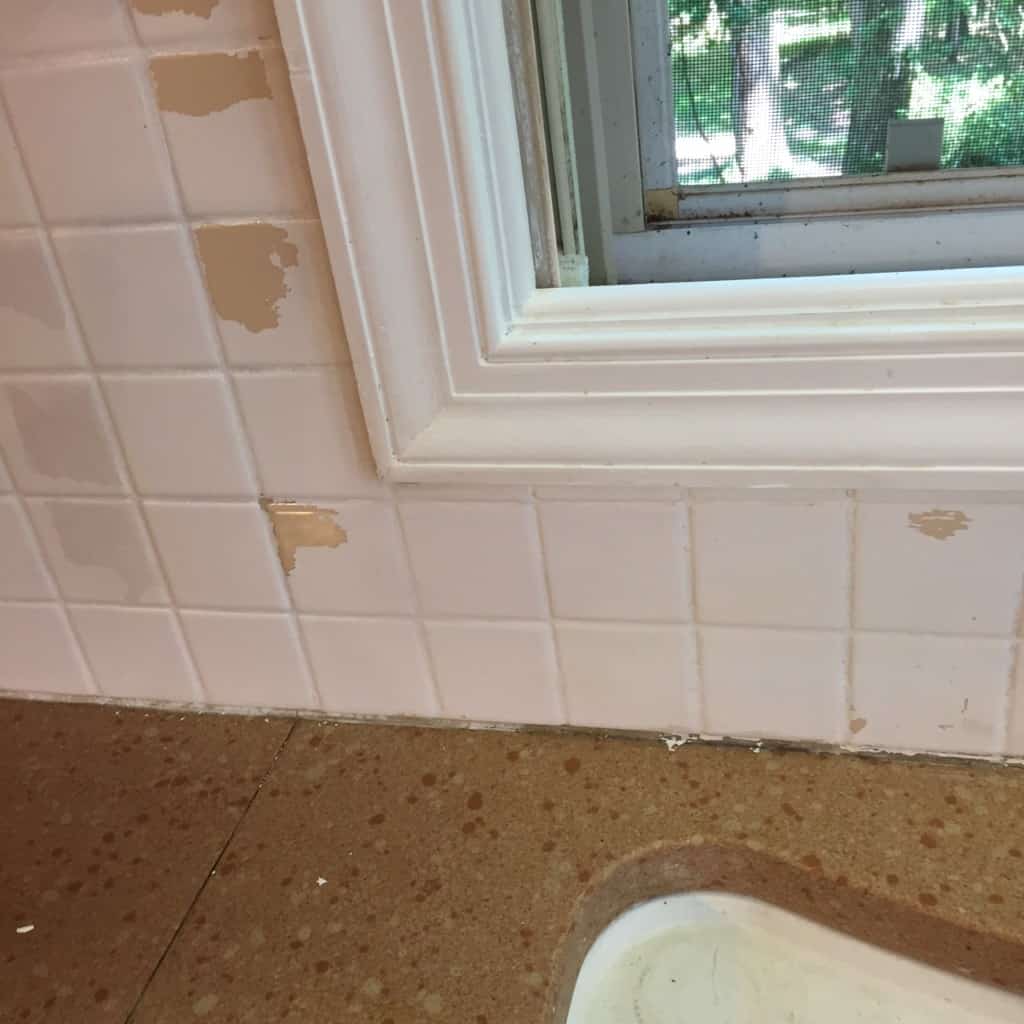
I had originally painted the yellow-ish backsplash white, priming it with Zinsser BIN shellac. This is my favorite primer so I trusted that it would work.
It was mostly still intact after 1 1/2 years, but there were a few places where canisters had rubbed against the wall, scraping the paint off.
I tried to use the delicate surface Frog tape to mark out where to paint my gingham pattern, but it peeled up paint where it was placed. (To be fair, it was not the tape’s fault. Painting glossy ceramic tile was a risk.)
I considered just free-hand painting it, but I wanted to create something that other people could also do.
I want affordable, but I also want doable. Tiling a backsplash can be affordable!
Painting the tile was worth it because it made something that was very ugly look better.
I would still recommend it, but just understand that it’s a temporary solution. If I did it again, I would use oil primer instead.
How to Prep a Wall for a Tile Backsplash
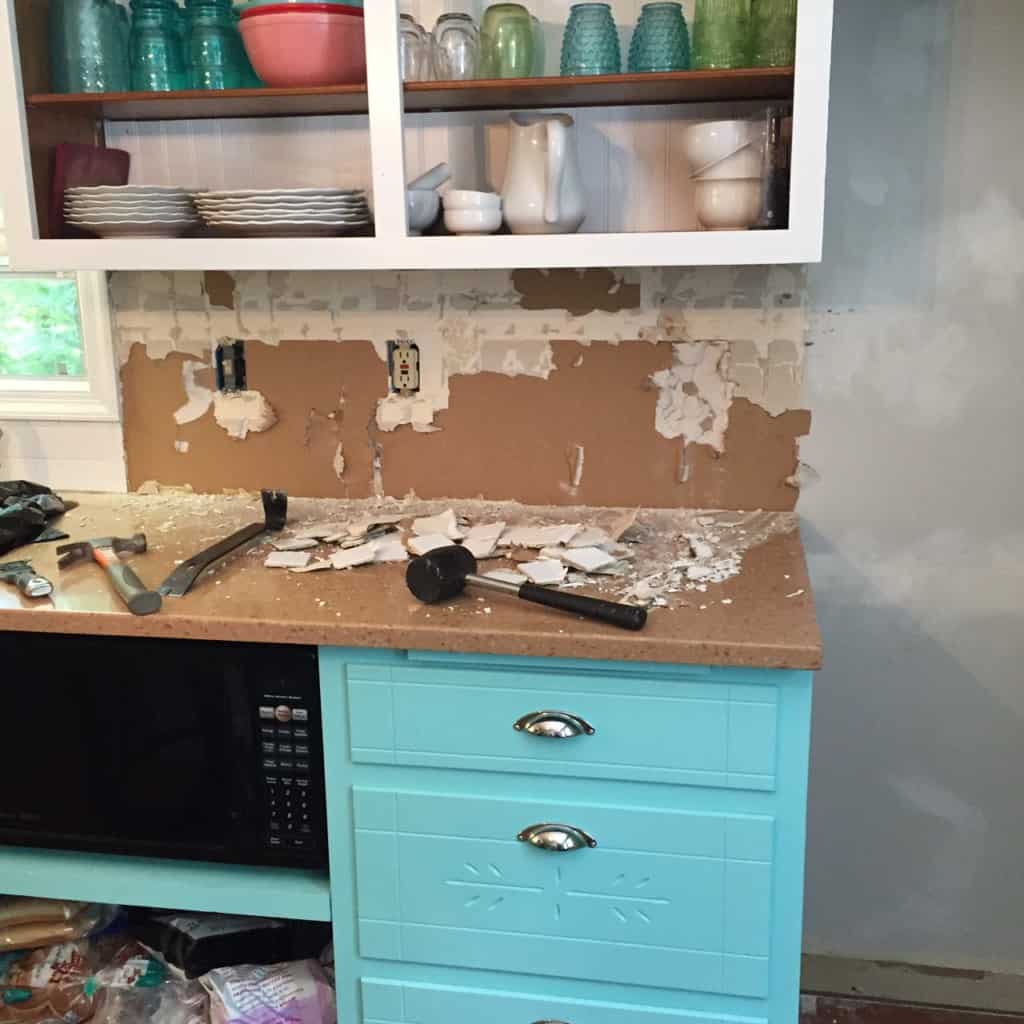
How to Remove A Tile Backsplash
I thought that it would be fun to get some aggression out on the tile by smashing stuff. I was so wrong.
The only way to remove a tile backsplash is the hard way: brute manual labor.
I have almost 20 linear feet of backsplash, so it took forever. Each tile came off one by one. It was physically demanding of my shoulders.
I had to take so many breaks to rest my muscles. The prep work is hard, but it pays off in the end!
Supplies Needed:
- Screwdriver (to remove outlet covers)
- Painter’s multi-tool (make sure it has a metal end)
- Hammer or rubber mallet
- Small pry bar
- Construction grade trash bags
- Shop vac and small hand broom
- Start by removing all of the outlet covers and switches.
- Use the painter’s multi-tool at an angle to pry up the first tile. The closer you slide it against the wall, the better it pries them off.
Use the pointy bit when you don’t have a good angle to get at. Use a hammer to get the multi-tool under the tile to get more leverage.
- Repeat 5000 times until you’re done.
*Good to know: Smacking the tile with the hammer doesn’t actually remove it. You probably shouldn’t try it.* - Some areas are harder than others to get to. This is where the crowbar comes in. Use it gently or you will crush the drywall under it.
- There were also soft spots in the drywall that made removal difficult. I used the crowbar for that too.
Cleaning Debris from Tile Removal
- Tile is heavy so only partially fill construction-grade garbage bags. (Mine were filled to about 1/5th of their capacity.
- Use the shop vac and small broom to clean any remaining mess.
- Tile can be disposed of at your local landfill. At our landfill, there’s a special place to dispose of construction debris.
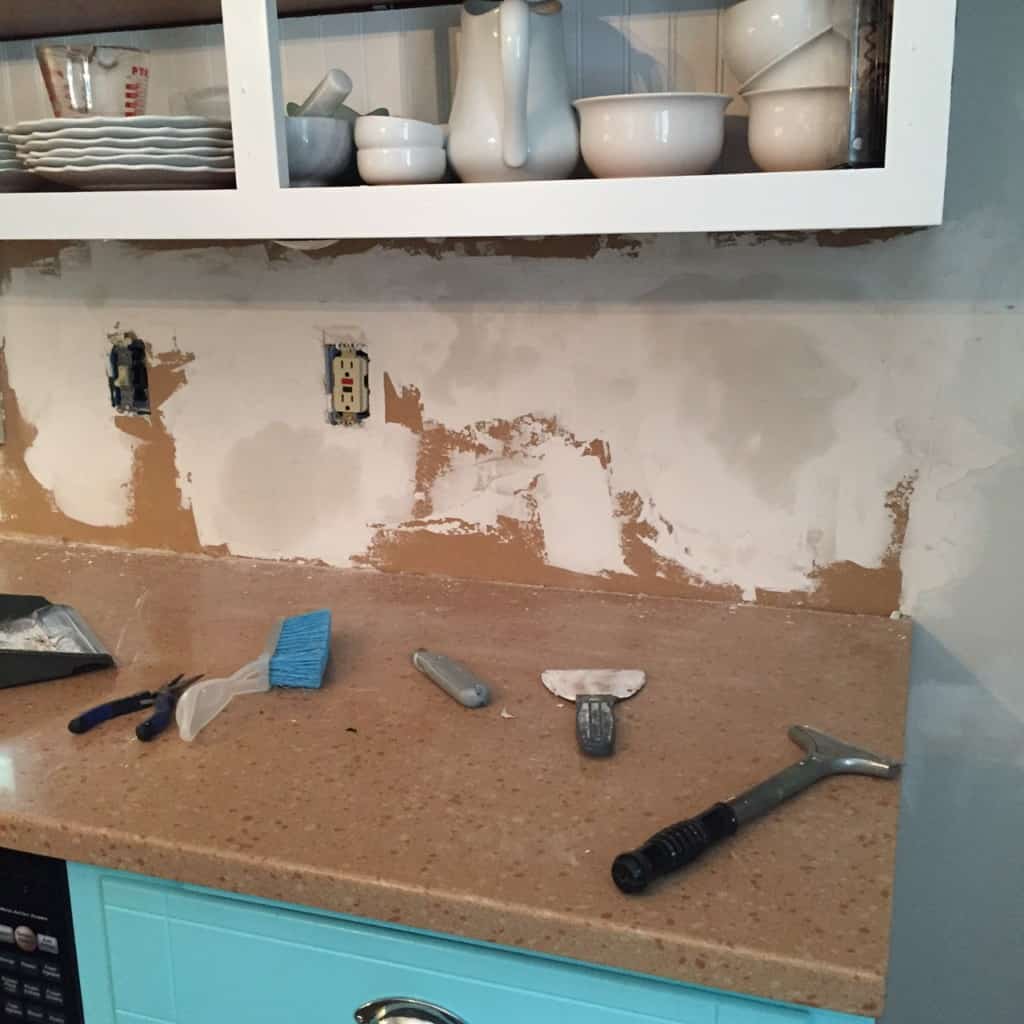
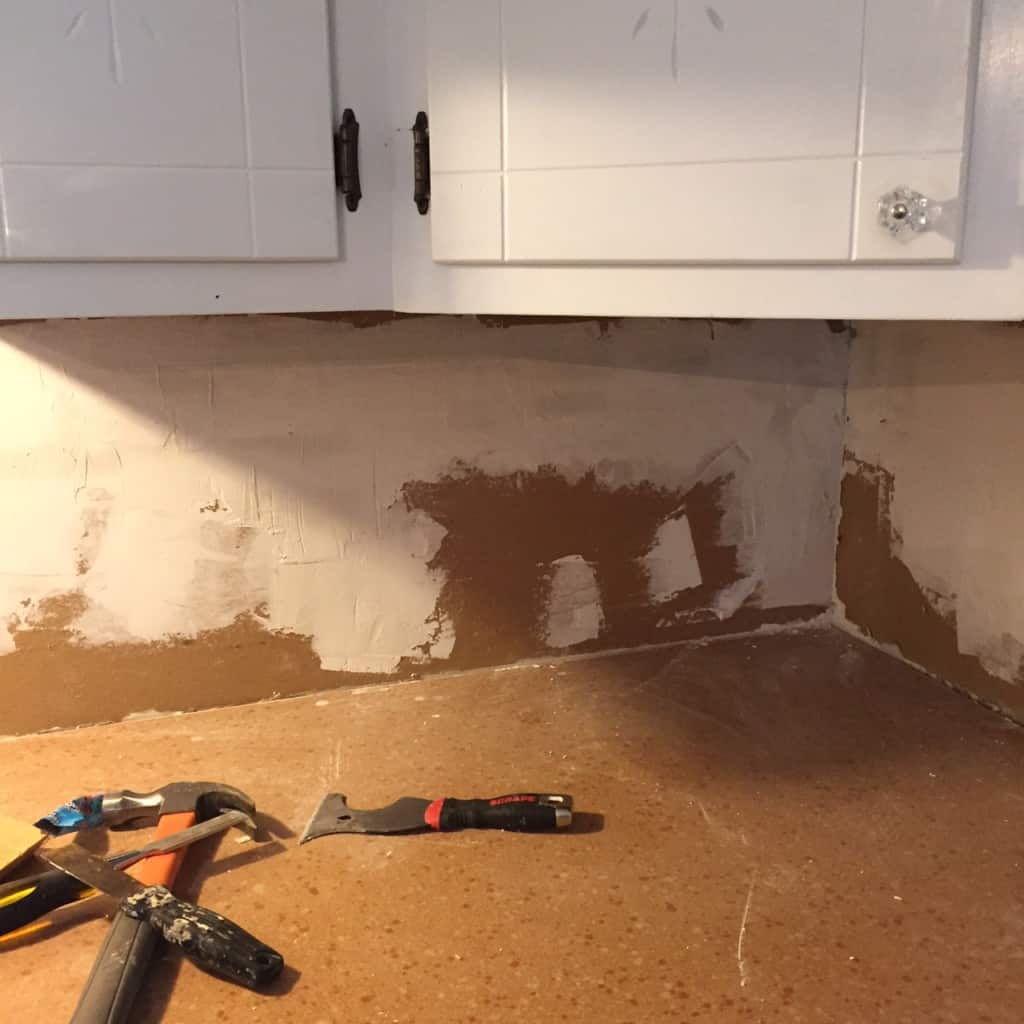
Wall Prep: Repairing the Wall for Tile
Supplies needed:
- Scraper
- Utility knife
- Putty knife
- Joint compound (plus mixer and bucket if you buy the dry mix)
- Drywall mesh tape
- Sand paper or sanding sponge
- Primer
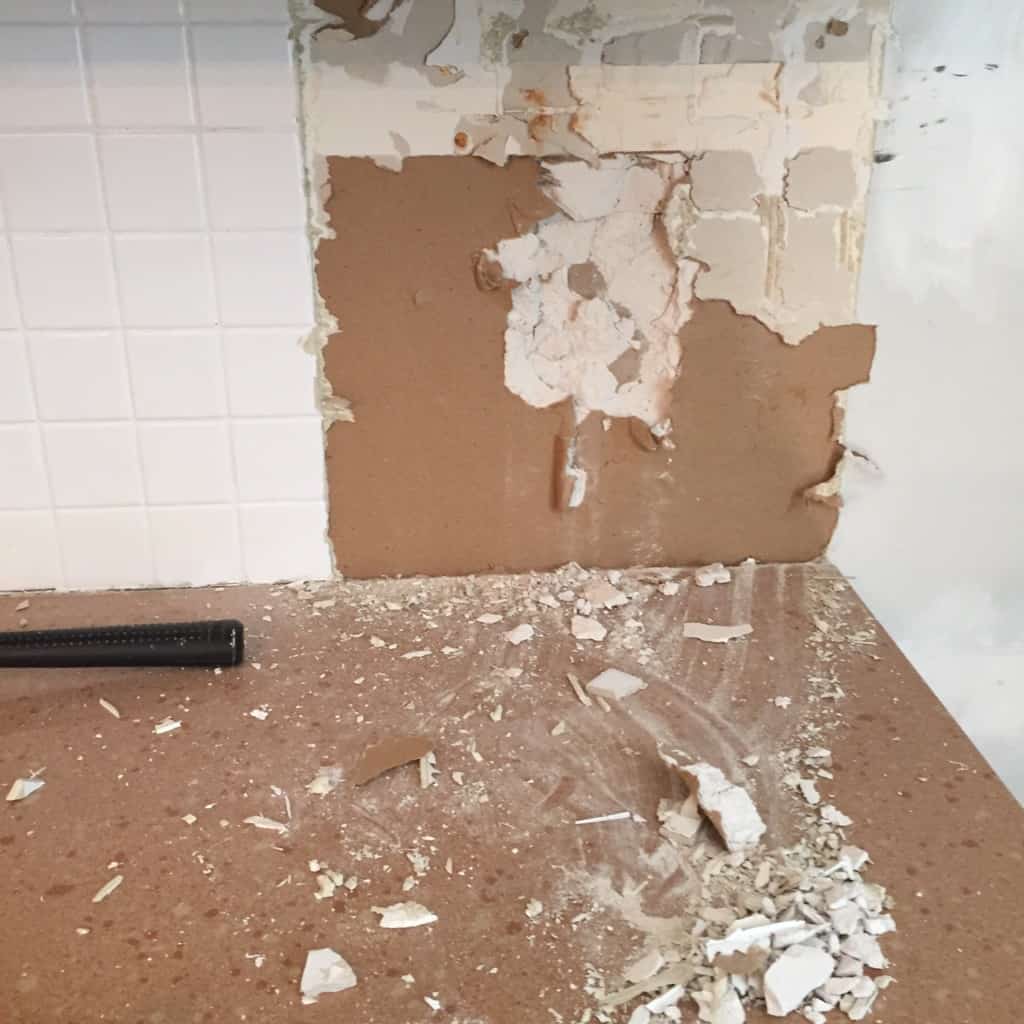
- If you haven’t done so already in the clean-up part, remove any crumbling mess from the drywall. I had big chunks to remove, plus bits of paper to pull off.
Use the utility knife if you need to remove paper where necessary. (The house builders did not prime my walls, so I was left without drywall paper when I removed the tile.) - Scrape any leftover thin-set ridges. Most of mine came off with the tiles, but if you have them, try to knock them down as much as possible.
Sand it if you need to. I found that a scraper worker really well for this. - Apply drywall mesh tape to the larger holes and gouges where the walls are broken.
- Apply joint compound where needed. It doesn’t have to be perfect, but it needs to be pretty smooth. I mixed my own joint compound and made it thinner than normal for this first base, like yogurt.
- Let dry overnight. I use a fan on it since the humidity was pretty high.
- Scrape away any ridges using the scraper, then apply more joint compound where needed. This time, I mixed it to the usual consistency, like icing.
- Let this dry again overnight.
- A third coat was not necessary, so I scraped any ridges, then sanded where necessary. Once again, it doesn’t need to be perfect, but it needs to be fairly level.
- Clean up the mess from sanding.
- Prime the entire area. I didn’t see this as a step anywhere in the instructions that I looked at, but DON’T skip this part.
For the sanity of whoever buys your house next. Or when you redo your tile choice. It’s important. I believe that tile removal would have gone much smoother if the walls had been primed.
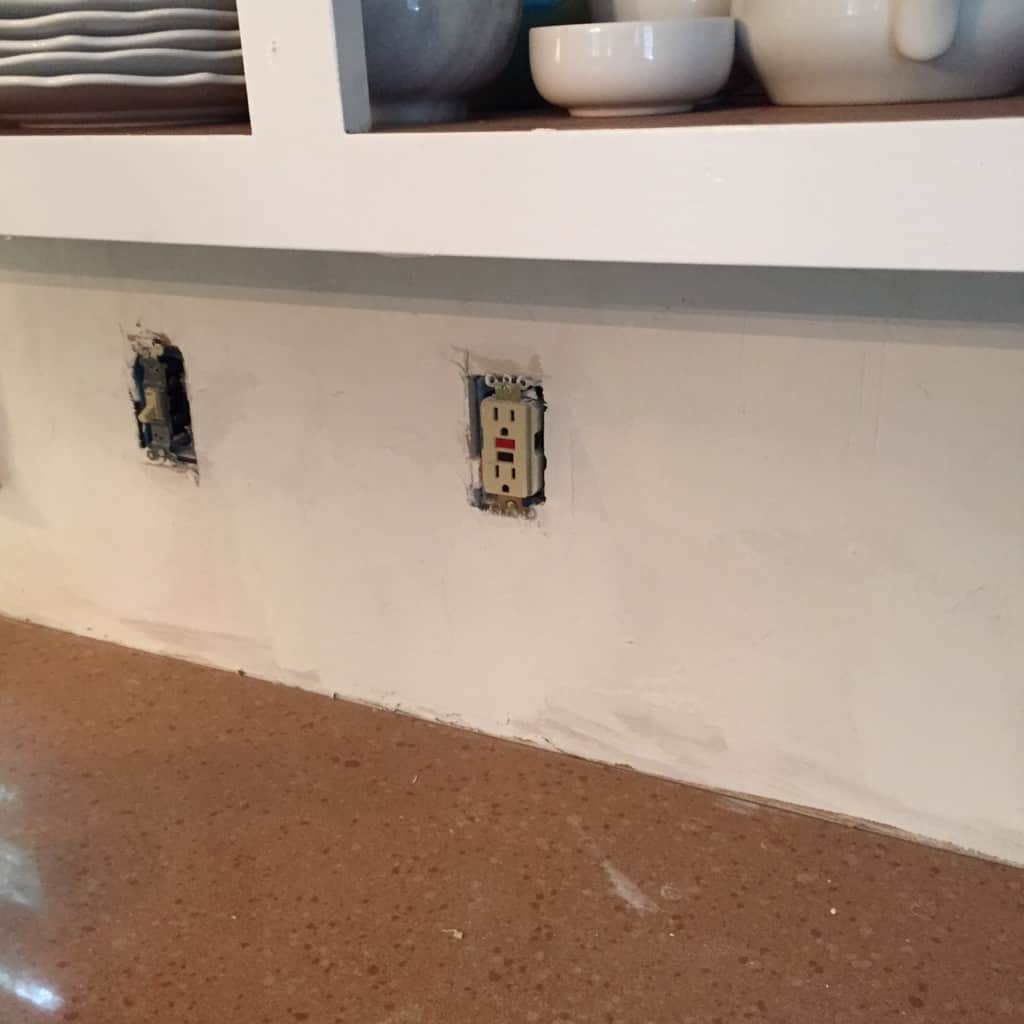
Now you have prepped the walls for tile, your walls are ready for the next step: thinset and the tile!
You might also like:
Pin for Later!

Emy is a vintage obsessed mama of 2 DIYer who loves sharing affordable solutions for common home problems. You don’t need a giant budget to create a lovely home. Read more…
2 Comments