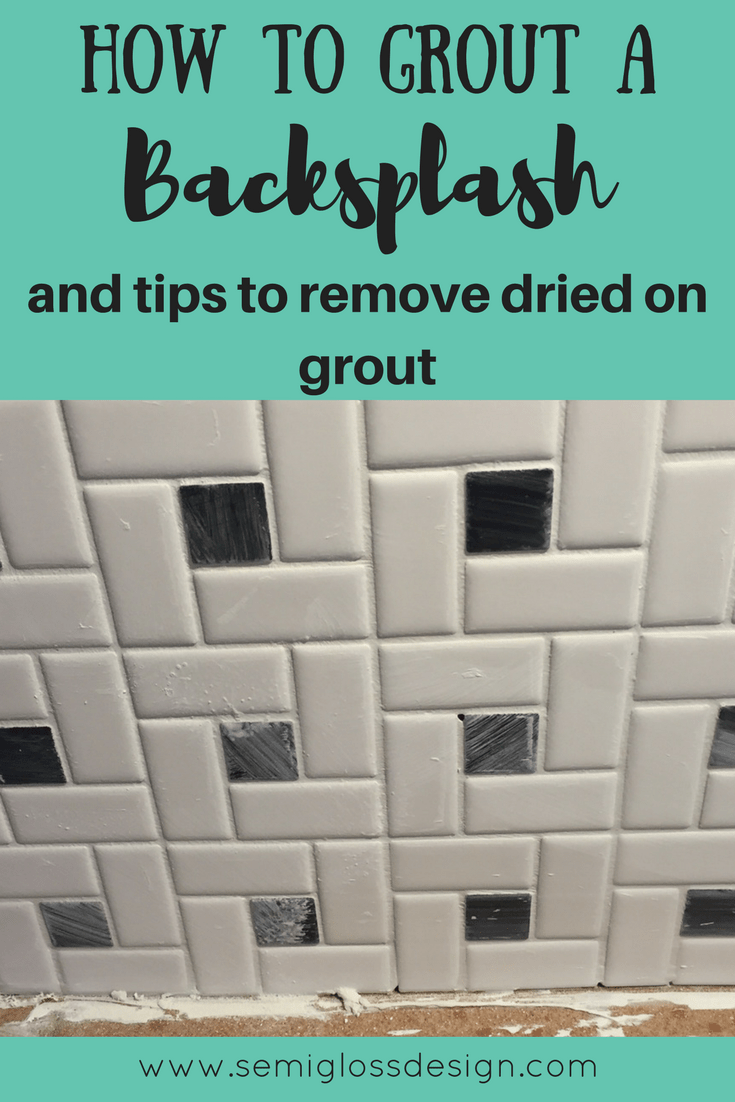
Don’t Make These Mistakes While Grouting
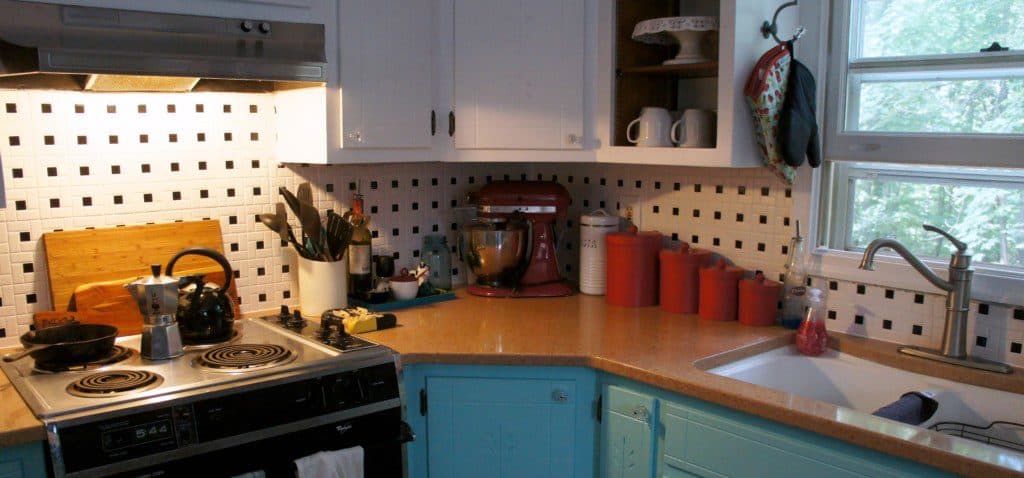
The end is near at this point in the backsplash tiling process. We’ve prepared the walls and we’ve installed the tile with thinset, letting it dry really well.
Today, we can talk about grouting, plus you can learn how to fix it if you mess it up as I did! I make mistakes, so you don’t have to!
This post contains affiliate links. By purchasing an item through an affiliate link, I earn a small commission at no extra cost to you.
Part 3: Grouting a Backsplash
Part 1: Preparing the walls |
Part 2: Installing tile with thinset
Supplies Needed
- Shop-vac
- Grout
- Rubber float
- Grout scrubber
- Sponge
- Empty buckets
- Microfiber cloth
- First, we’re going to get the area as clean as possible. I used a shop-vac to remove any loose, dried thinset pieces. This also showed me that some of the tile pieces did not adhere as well as I had thought. So I reapplied thinset to those pieces and let it dry for another day. Sad, but necessary.
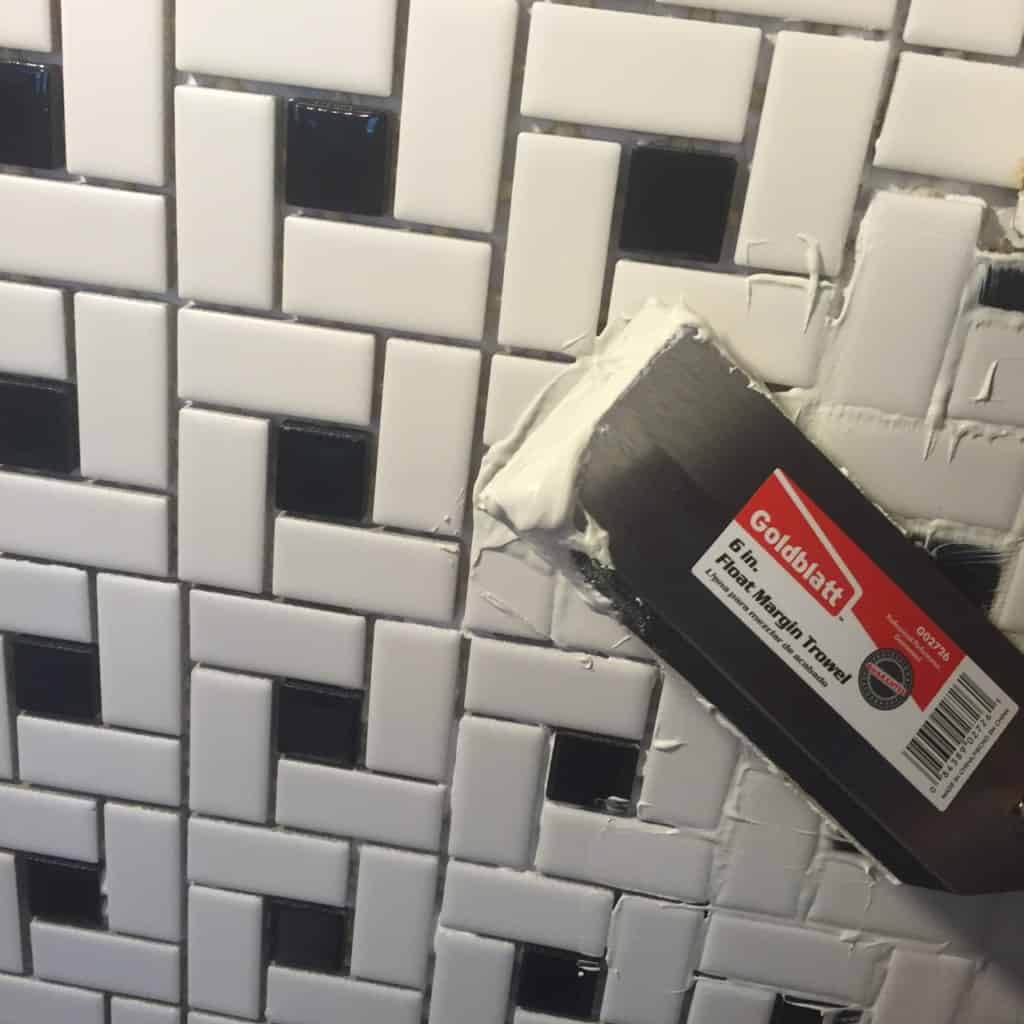
- With a nice clean surface, you’re ready for grouting your tile. If you mixed it yourself, you want the consistency of icing.
- Use the rubber float to apply the grout, using a diagonal motion to shove it firmly into the cracks. I like the smaller float because by this time, my hand was claw-like and everything hurt. It also was easier to maneuver than the larger one, because backsplashes are not very large.

- Use the float again to remove the excess grout on the surface, being careful not to remove it from the cracks. Using an “S” shape pattern works well to remove all of the excess grout. I’ve read that working on 10-minute increments is a good rule. ***

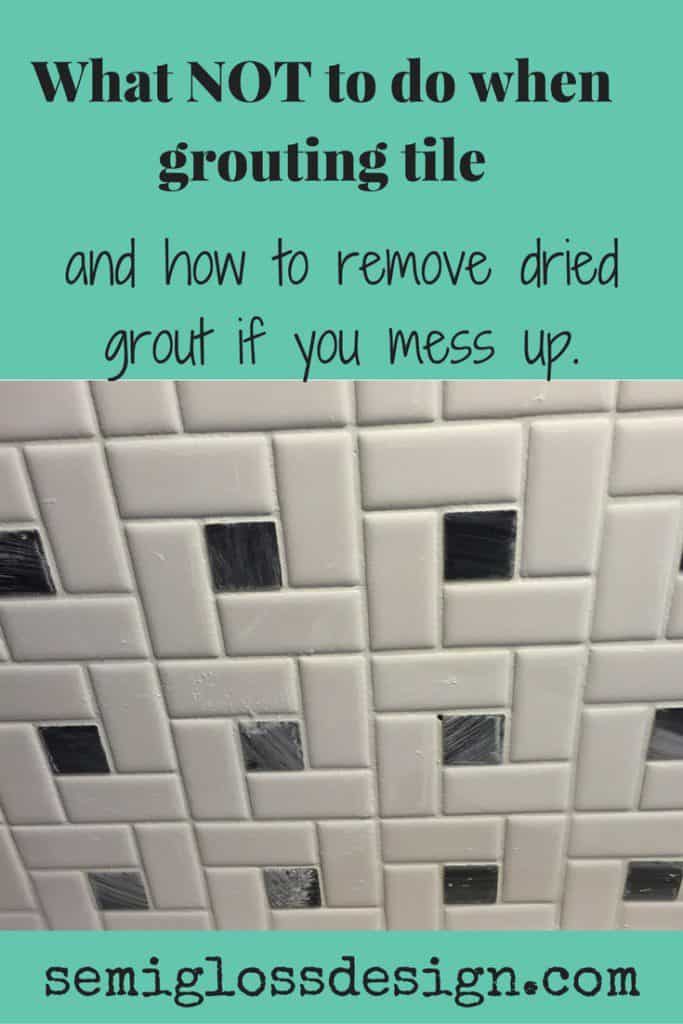
***What I did wrong while grouting***
The aforementioned claw hands were part of the problem, but I was also tired of not having a kitchen. Ironically, if I had done it correctly, I would have had my kitchen back the next day.
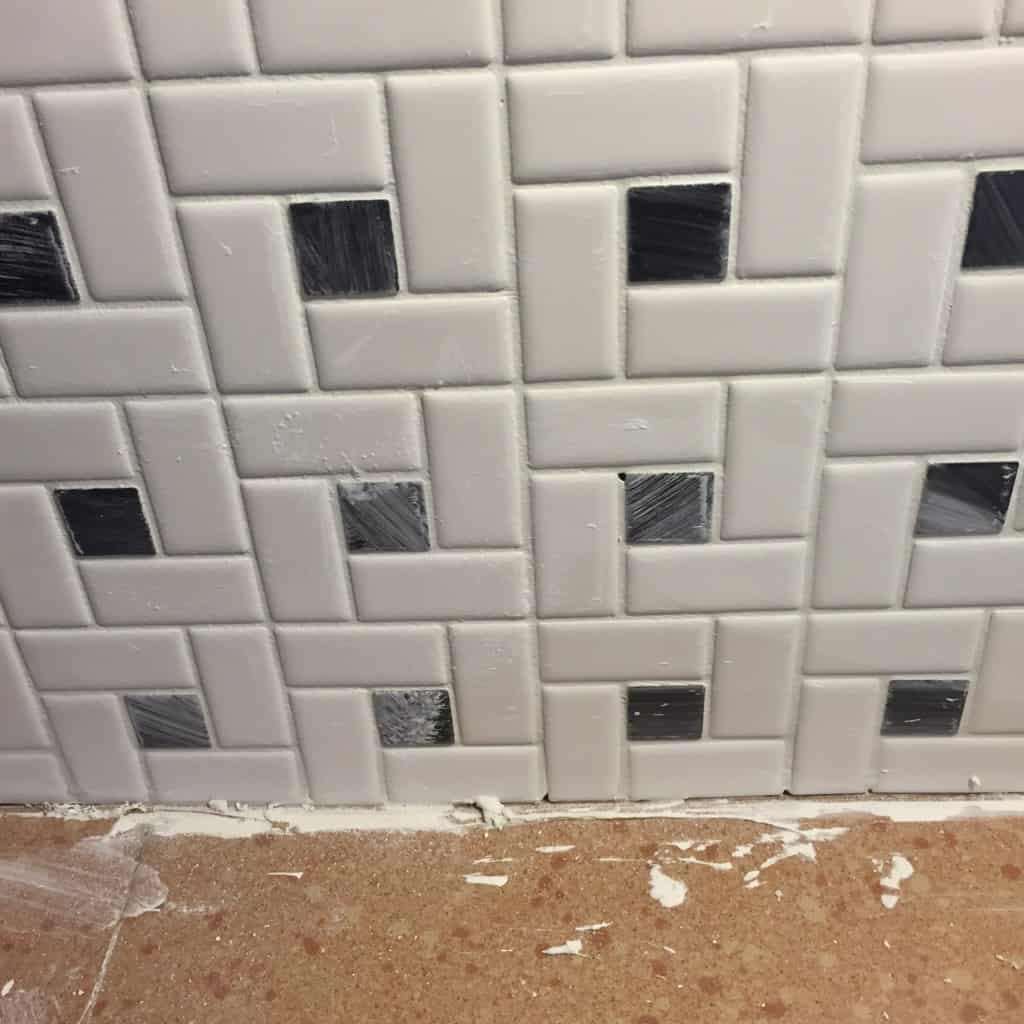
I grouted the whole thing, and then went back to wipe it. My grout package said to let it dry for 30 minutes, but it was a really warm day, so I think it dried much faster.
I also did not wipe enough of the excess grout off in the initial grouting stage. Womp womp womp….
So it dried and was difficult to remove. But not impossible.
How to Fix Dried on Grout
Supplies Needed
- Grout scrubber
- Small wooden stick (I used a piece of a shim)
- Vinegar
- Dremel
- Fiber Abrasive buff dremel bit
- Wash cloth
- Microfiber cloth
- Scrub off what you can with the grout scrubber. Soaking it in vinegar helped, but be careful of this. Vinegar can stain some tiles, so use caution.
- Use the wooden stick for really stubborn spots. I think I waited too long for this part. It might work for you.
- At this point, I was exhausted and certain that this was the job for power tools. I went to the store to look for something to attach to a drill. They had nothing, but they did have buffing pads for a dremel. So I bought a few packs and came home.
- These worked well, but I used them up quickly. Buy twice as many as you think you need. So like 4 packs.
- I got it to “good enough” with this technique. Be careful not to “polish” too much. I was concerned about taking the finish off of the tile. A few turned a funny color, but they always washed off just fine.
- Then I started washing the tile down with a wash cloth. I dipped it in vinegar and this seemed to take off the rest with some light scrubbing.
- Wipe it with the microfiber cloth.
- Voila! Tile job not ruined!
Finishing up
Supplies:
- Caulk
- Caulk gun
- Grout sealer
- Caulk where the edges meet the countertop and anywhere else necessary, like along the windows or cabinets. I used white to match the white grout. If you mess up, you can let it dry and then scrape it off.
- Let caulk dry.
- Apply grout sealer. This part was really easy. I wiped a generous amount on, using the squeeze bottle to make sure that I got it really well behind the sink and stove where I make the most messes. Let it sit for a few minutes and wipe off the excess with a clean rag.
It still needs a few pieces of wood trim to be complete. I decided to add wood trim in my “problem areas.” I’m a big believer in not making work harder than it needs to be. It might not be “right”, but I would rather it be done and “good enough” than be curled up somewhere in fetal position crying. My method is not for perfectionists, because I’m not one. I’m a “get stuff done” kind of girl.
Anyways, instead of agonizing over cutting tile into perfect 1/4″ pieces, I decided to beef up the trim around my window instead. It’s a win-win situation because the trim is pretty wimpy.
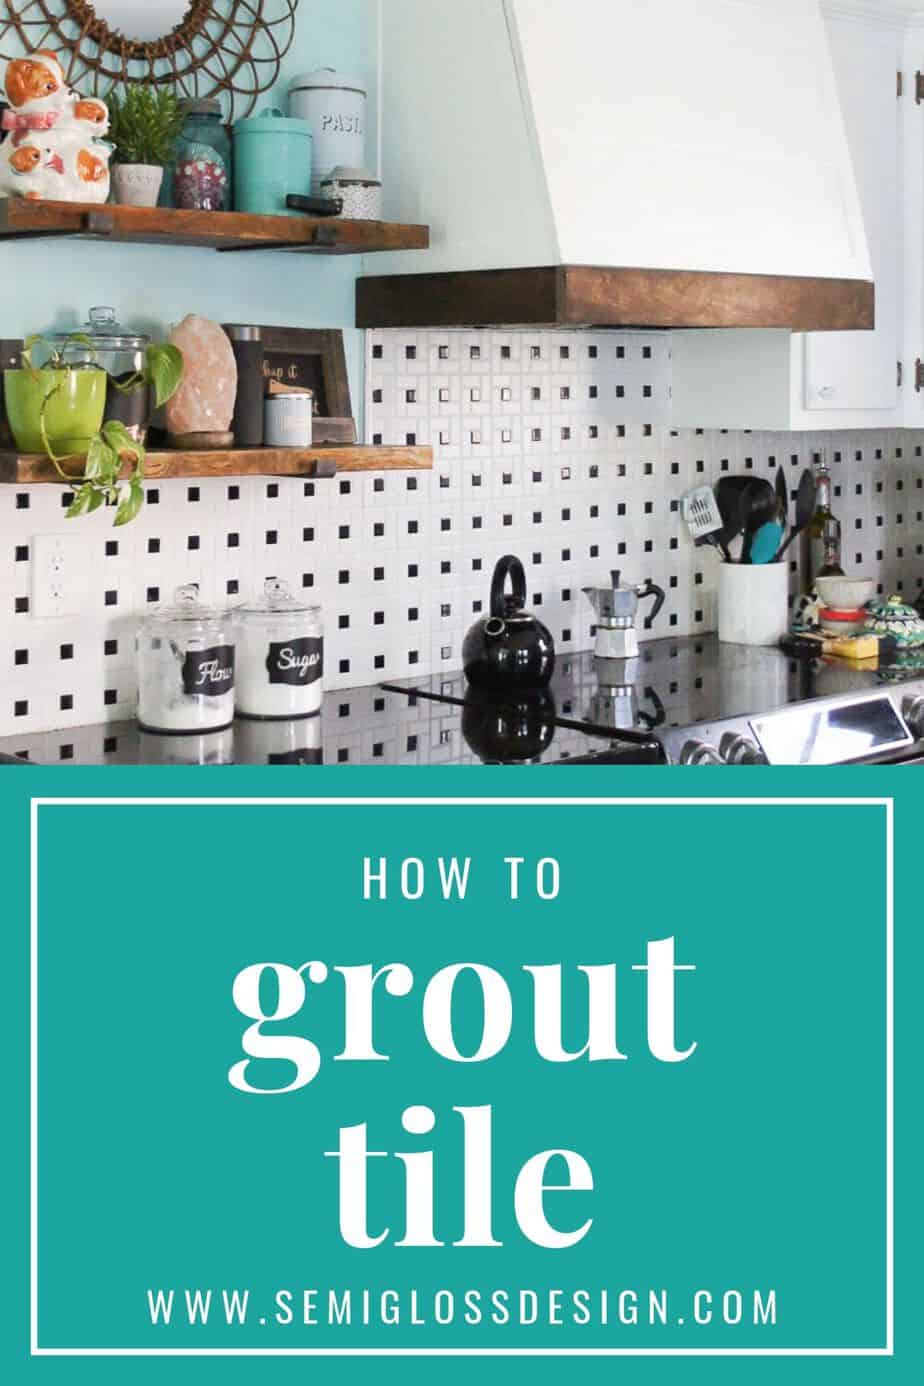
Edited to add: I ended up adding thinner tile to the edges around the window. See the finished kitchen here.
As hard as this project ended up being for me, I still think of tile fondly. It’s like having a baby. It sucks while you’re doing it, but eventually you want another. (Except I would much rather have tile than more babies.)
Updated: I’ve repainted my cabinets and gave the kitchen a budget friendly makeover.
You might also like these posts:
- How to Remove a Tile Floor
- Building a wood countertop
- How to resurface countertops
- Adding budget friendly shiplap
- Colorful farmhouse kitchen decor
Pin for Later!

Emy is a vintage obsessed mama of 2 DIYer who loves sharing affordable solutions for common home problems. You don’t need a giant budget to create a lovely home. Read more…


i got new backsplash, it is beveled crema color .. marble tile sheets 2 x 4. problem is contractor put grout too thick (Whitish color ) and in a lot of spots i cant see the 3 d beveled, i want to see it. i paid extra money to get beveled. ;ots of areas look like subway tile. grout is now dry how can i get off some dried grout to get back my beveled edge.. any hope ??
Hi Barbara,
I would contact the contractor and let them know that you’re not happy with the grout. You paid good money and deserve good results. However, I know that not all contractors are going to be receptive to admitting they messed up. You can use a dremel and sanding bit to remove it. Just be careful, because it can scratch the surface if you sand too hard. Start in a corner or somewhere that’s normally hidden. I wish I had an easier answer for you. Good luck.
Thank you for this article. I tiled a floor with hexagon tiles. Did exactly the same thing. Didn’t remove the grout soon enough. I will give this a try.