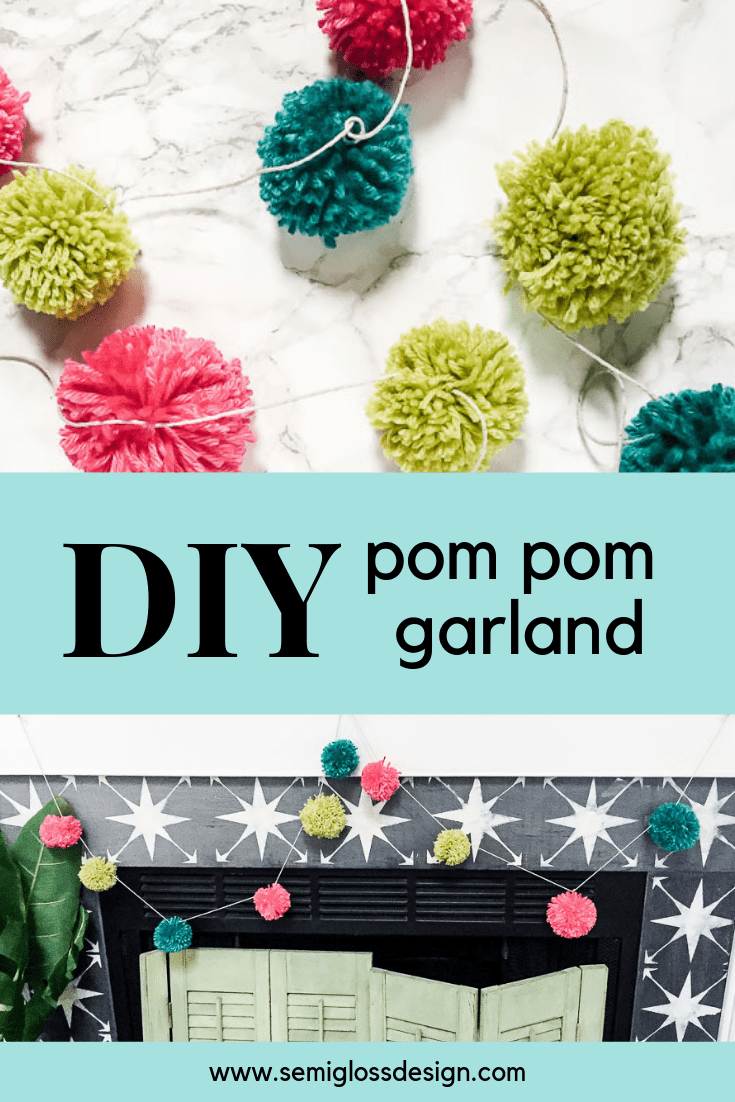
How to Make a Pom Pom Garland
Learn how to make a pom pom garland. Check out this post for an step by step tutorial on pom pom making.
Pom poms are one of my favorite things to make. In fact, I just taught my daughter to make them so that she could join in on the fun. So far, she’s making a zoo of pom pom animals. I’m currently gearing up for Christmas decorating, which means plenty of Christmas crafting.
Pom poms can be made while watching TV, which is nice. They don’t require a lot of attention or space. And the only mess they make is a bit of lint that can be easily cleaned up.
How to Make a Pom Pom Garland
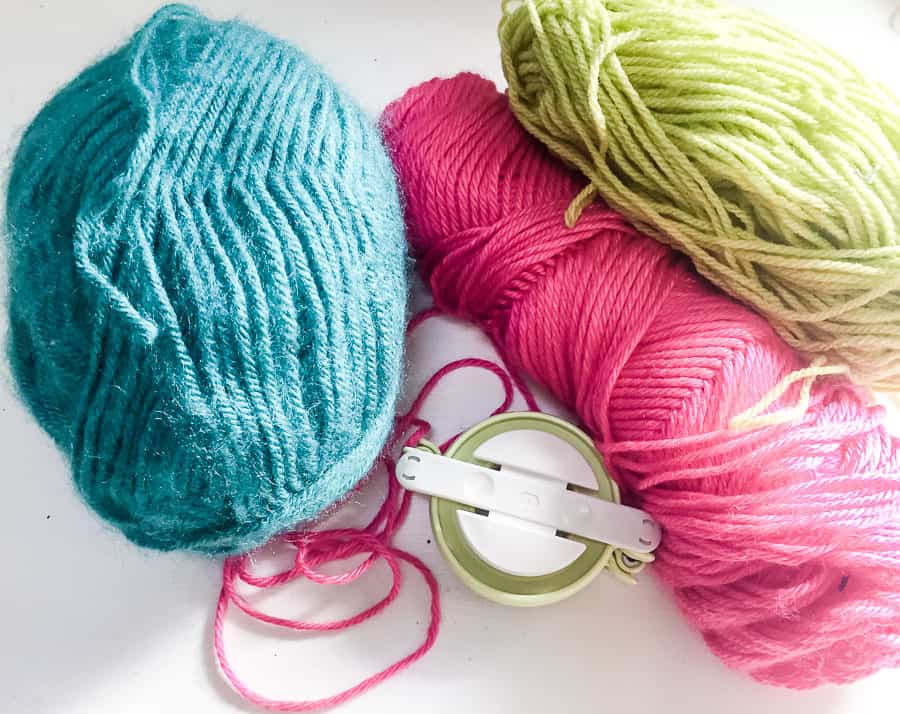
Supplies Needed
This post contains affiliate links. By purchasing an item through an affiliate link, I earn a small commission at no extra cost to you.
- Yarn in desired colors
- Scissors (I like short, sharp scissors the best)
- Pom pom maker (as a former sewing enthusiast, I highly recommend this brand)
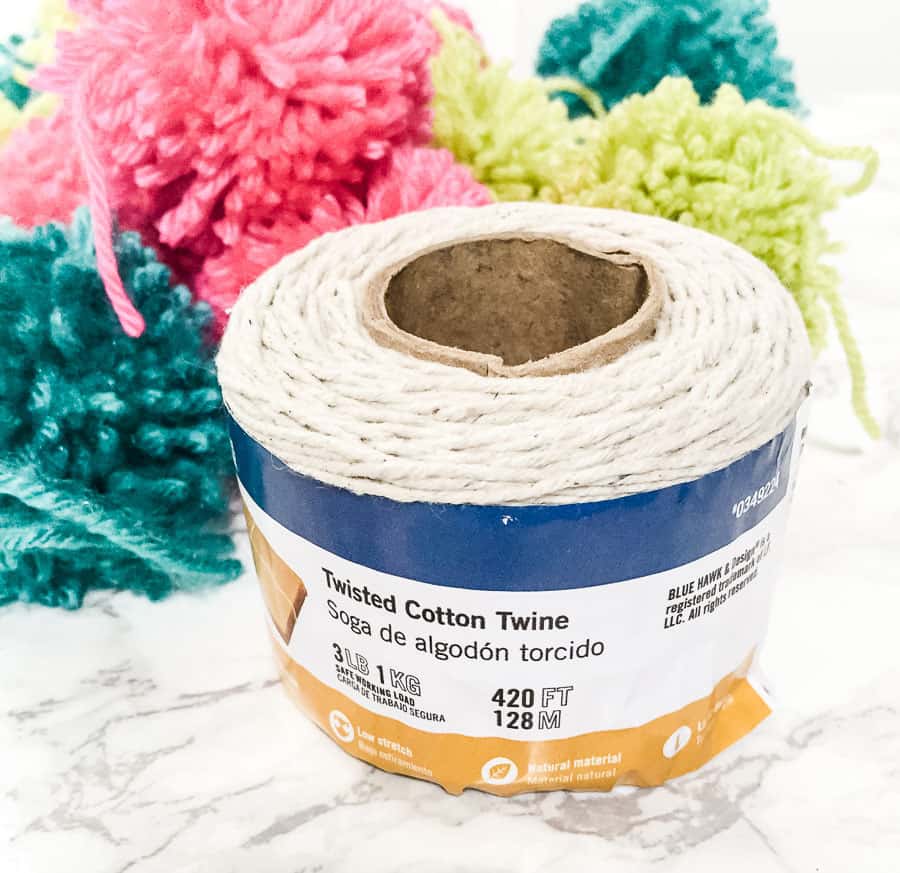
- Cotton twine
Making the Pom Poms
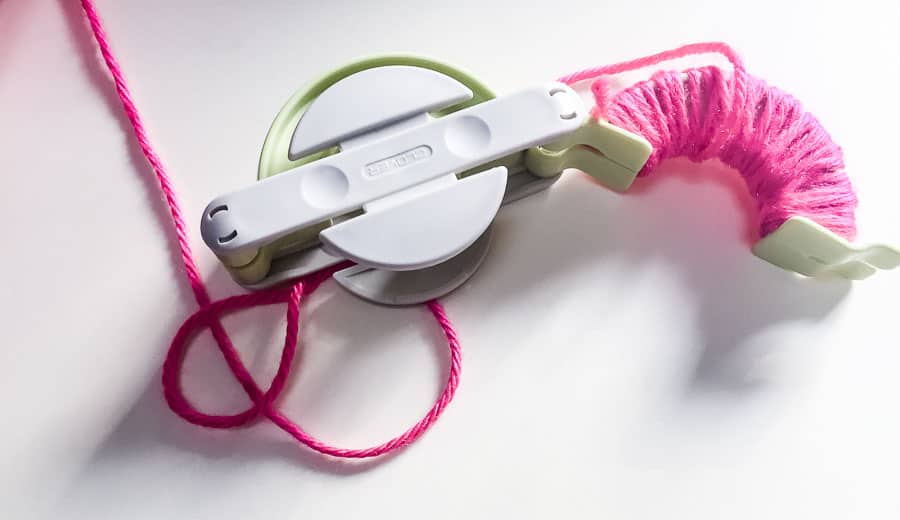
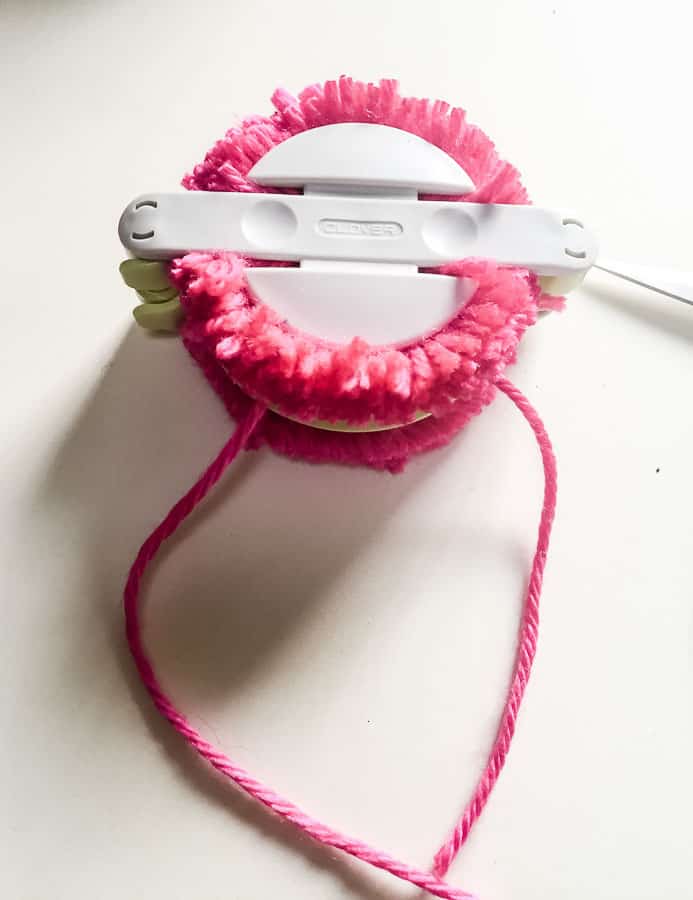
- Start by opening your pom pom maker and wrapping yarn around one side. It doesn’t need to be done precisely or in a row. Just wrap it.

- I like to make my pom poms nice and full, so I wrap them until it gets puffy.
- Close the wrapped side and start wrapping yarn around the other side.

- When you’re done, close that side as well.
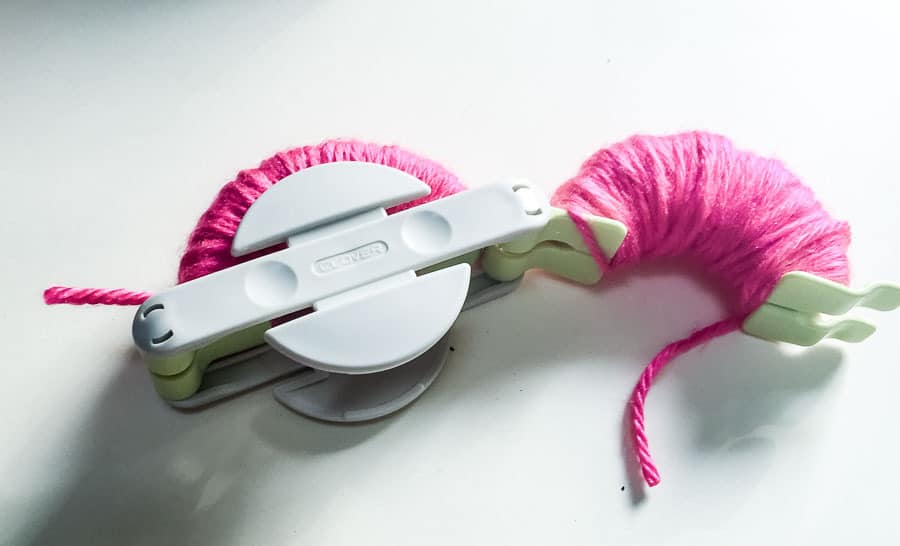
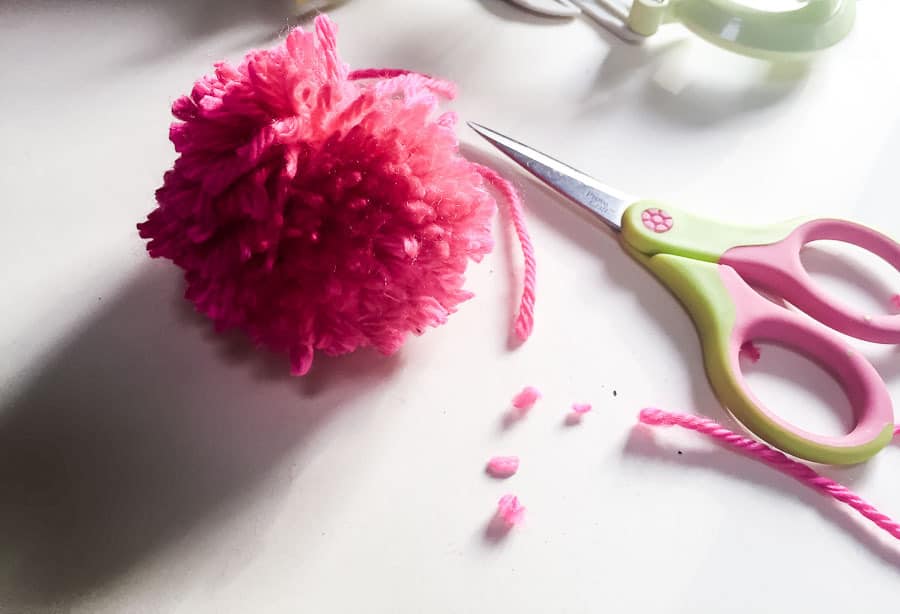
- Use scissors to cut the yarn from the skein.

- Then, cut a length of yarn about 8″ long.
- Cut the wrapped pom pom maker along the crack. Shorter scissors work better for this and are much kinder to your hands.

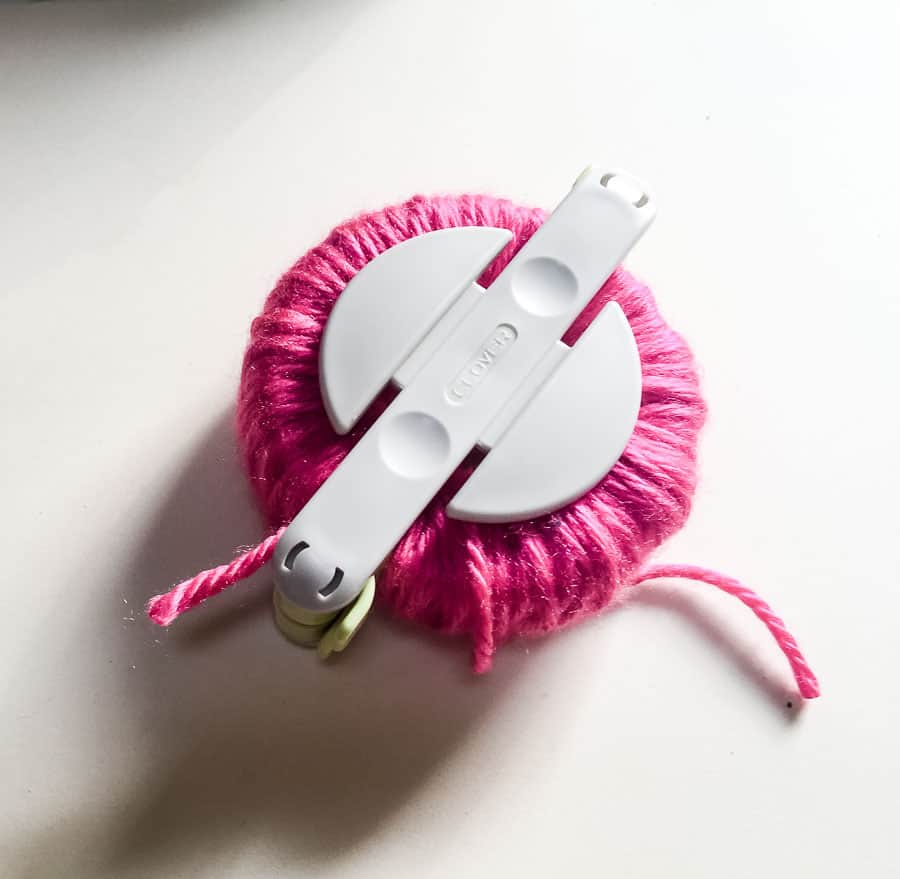
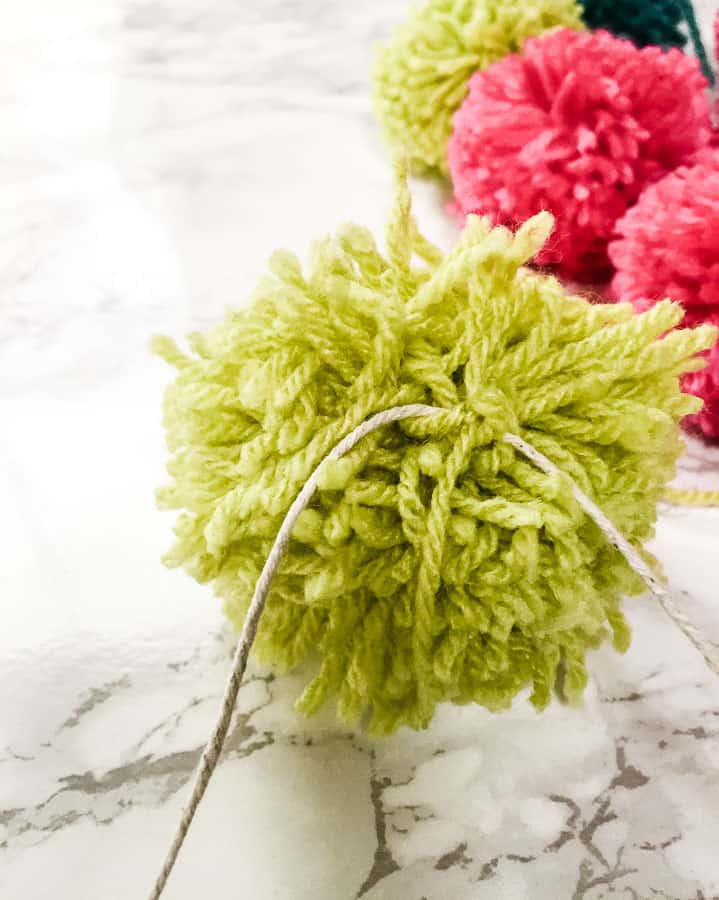
- Take the length of yarn from step 6 and wrap it wound the area you just cut, in the crack. Tie it as tight as you can with a knot.

- When you’re finished, open the pom pom maker.

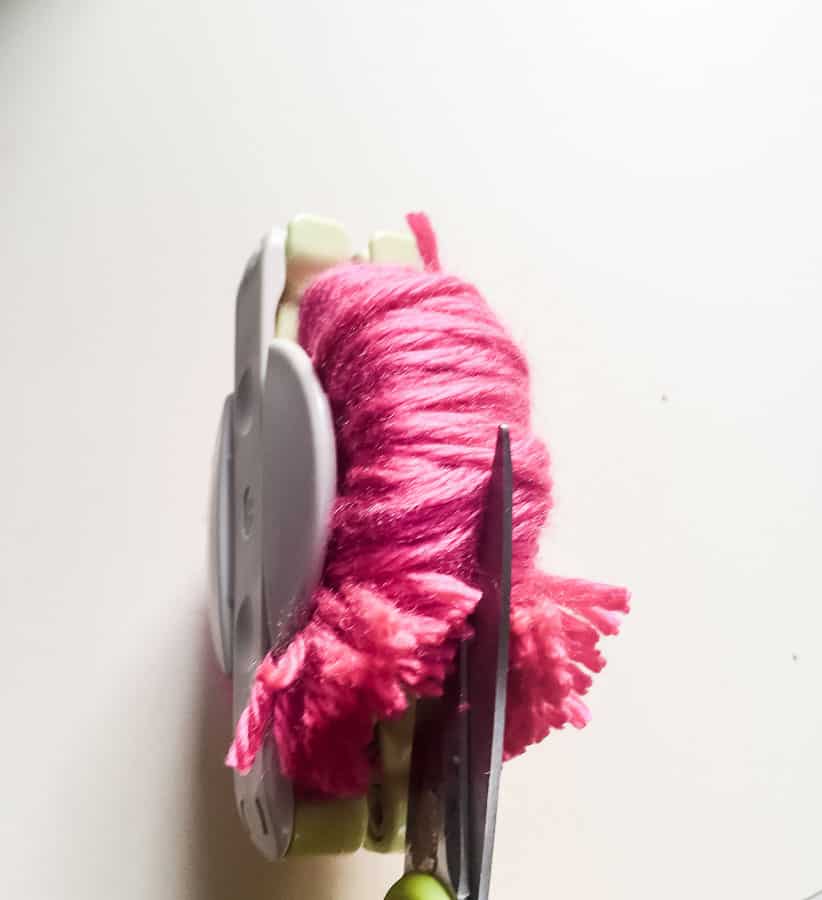
- Trim any excess fluff, but leave the longer pieces for now.

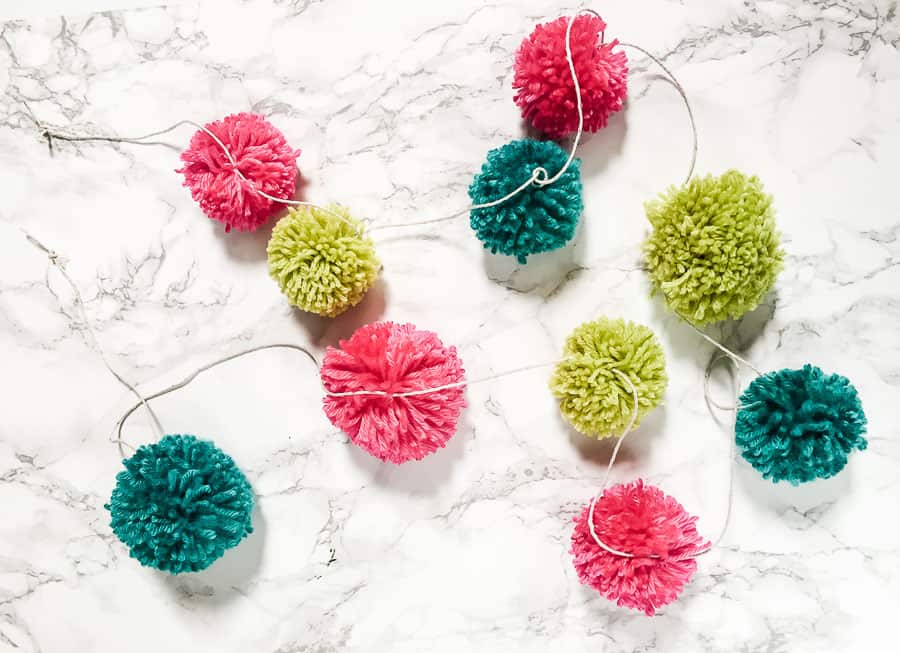
- Make as many pom poms as you need. For this garland I used both the medium and large sizes.


Making the Pom Pom Garland
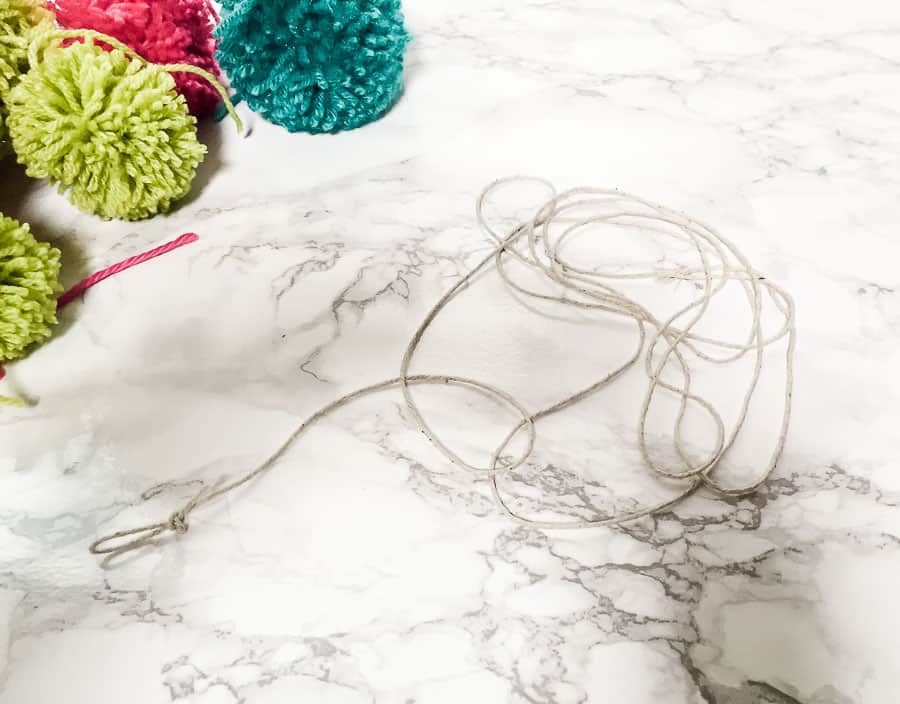
- Cut a length of cotton twine for the garland.

- Tie loops at each end for hanging.

- Start tying pom poms onto the twine, using the long bits of yarn left on each pom pom. I find it easiest to start in the middle and space them out from there.

- After tying on the pom poms, trim the excess yarn.
- Continue tying all of the pom poms onto the rope.
- Check the spacing to make sure that it’s even so that the pom poms look nice.

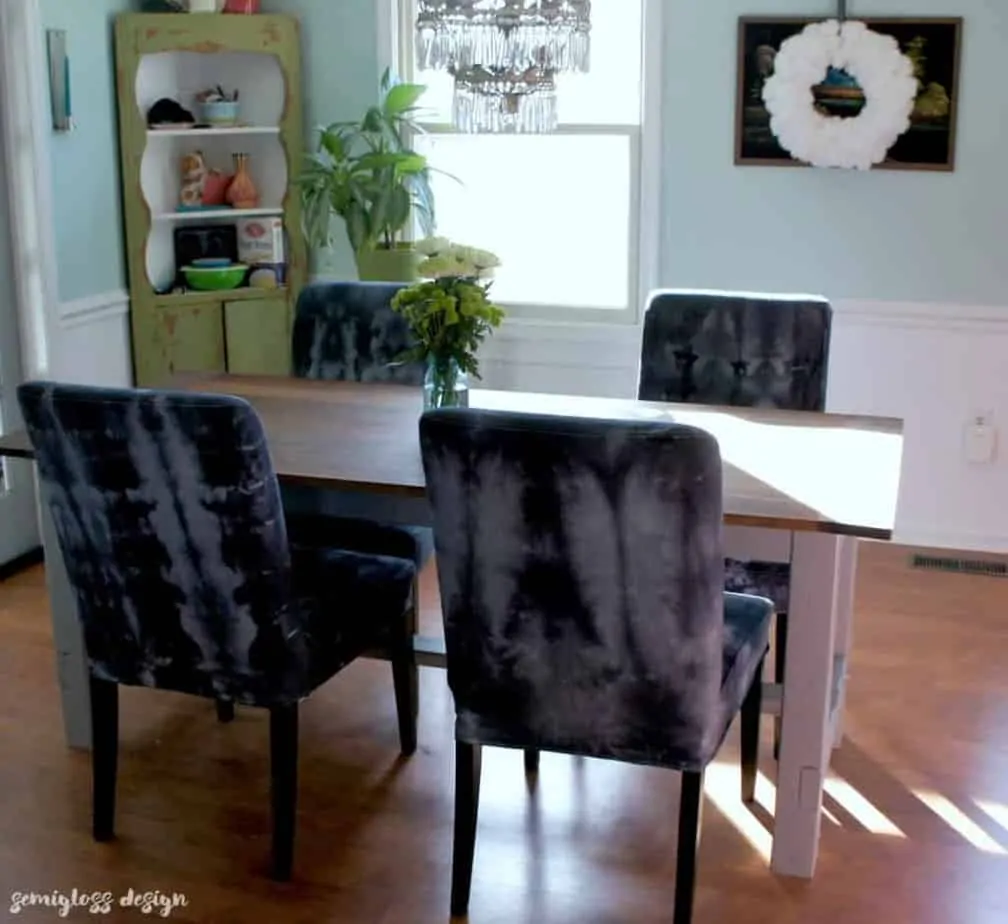
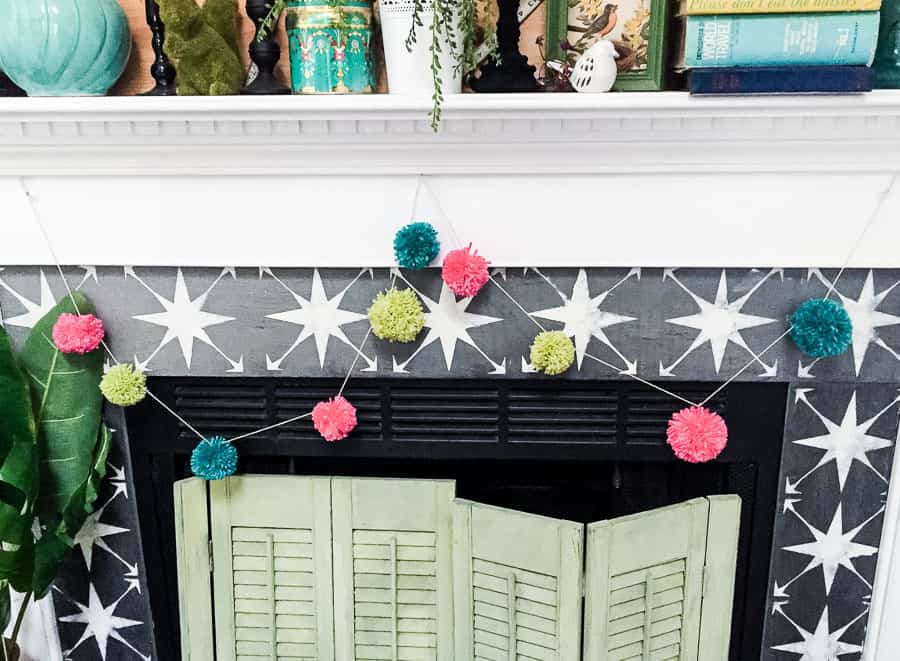
- When you’re done, hang the pom pom garland and enjoy! I plan on hanging my garland on my tree, however, I haven’t bought one yet. For now, it’s hanging on my mantle.

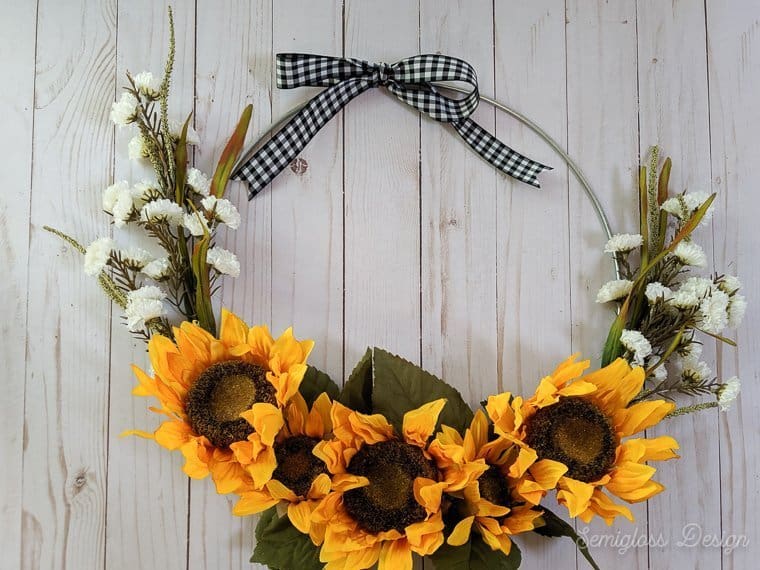
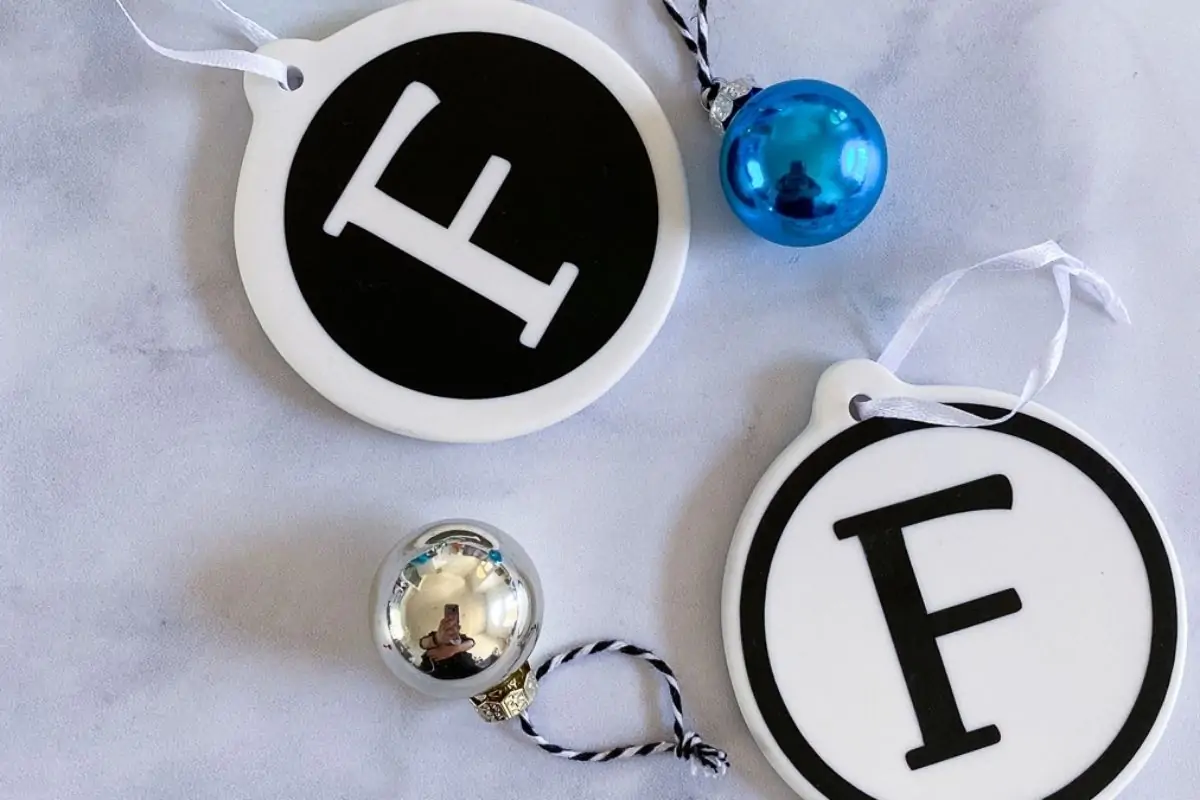
Looking for more Christmas decorating ideas?


Gift Tags Paint Swirl Ornaments DIY Stockings Floral Ornaments Printable Gift Tags
Pin for Later!

Emy is a vintage obsessed mama of 2 DIYer who loves sharing affordable solutions for common home problems. You don’t need a giant budget to create a lovely home. Read more…