Learn how to build a dresser top. Replacing a dresser top uses the same method that I used to build my wood countertops.
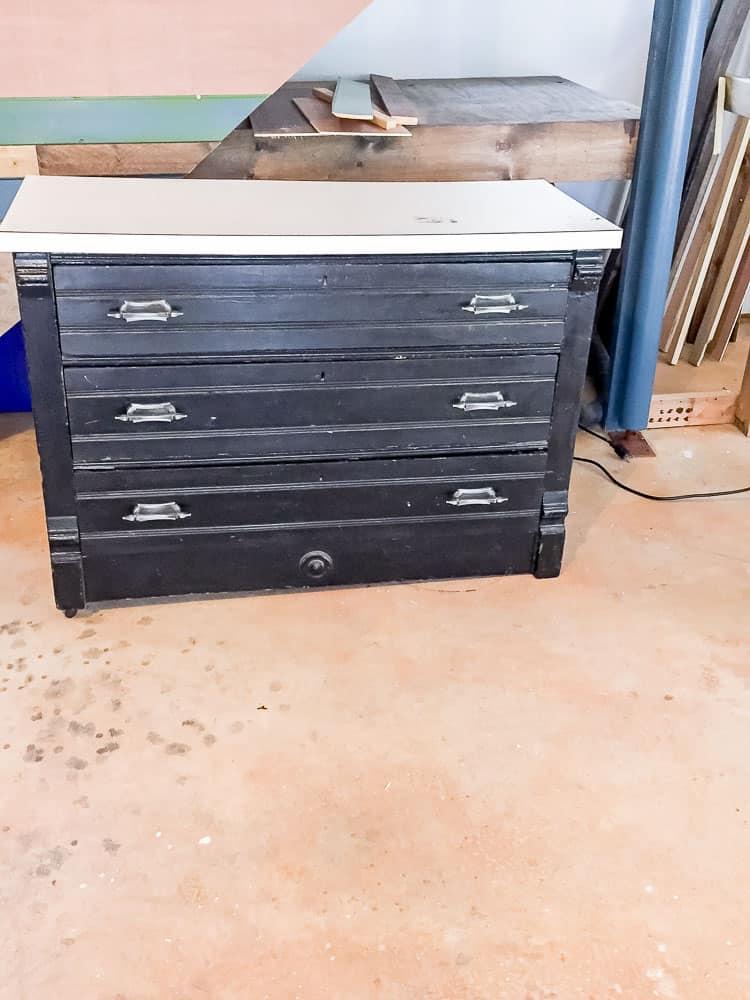
A few months ago, I ran across a dresser on Facebook marketplace. The price was too good to pass up and the dresser itself was lovely.
However, despite the dresser dating from the 1800’s, the top was a piece of formica countertop. I knew that with a little bit of work, I could create a new top for it.
My vintage shop is teaching me that almost every piece can be salvaged. So if you run across a dresser that is topless or has a damaged or ugly top, it’s possible to build a top for a dresser.
This method will also work to create a new tabletop for a piece.
How to Build a Top for a Dresser
Supplies Needed
This post contains affiliate links. By purchasing an item through an affiliate link, I earn a small commission at no extra cost to you.
Remove the old dresser top if it exists. I removed the top drawer and the formica piece was attached with 6 screws inside of the dresser frame, so it was easy to remove. Try to remember where those screws were because you’ll use them when you reinstall the new top.
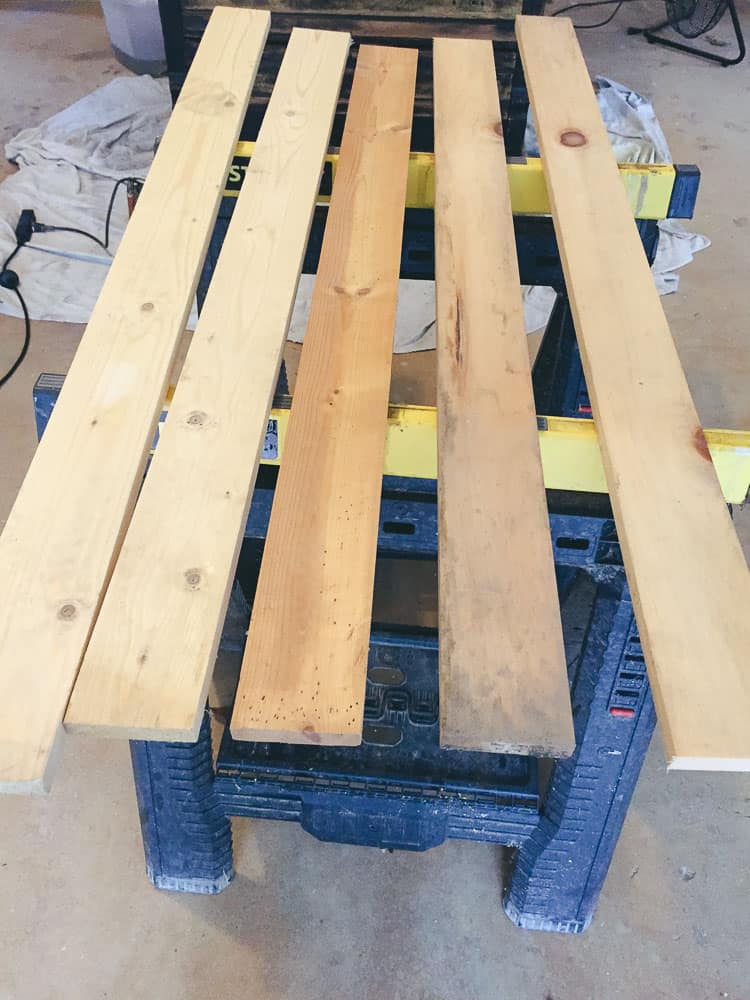
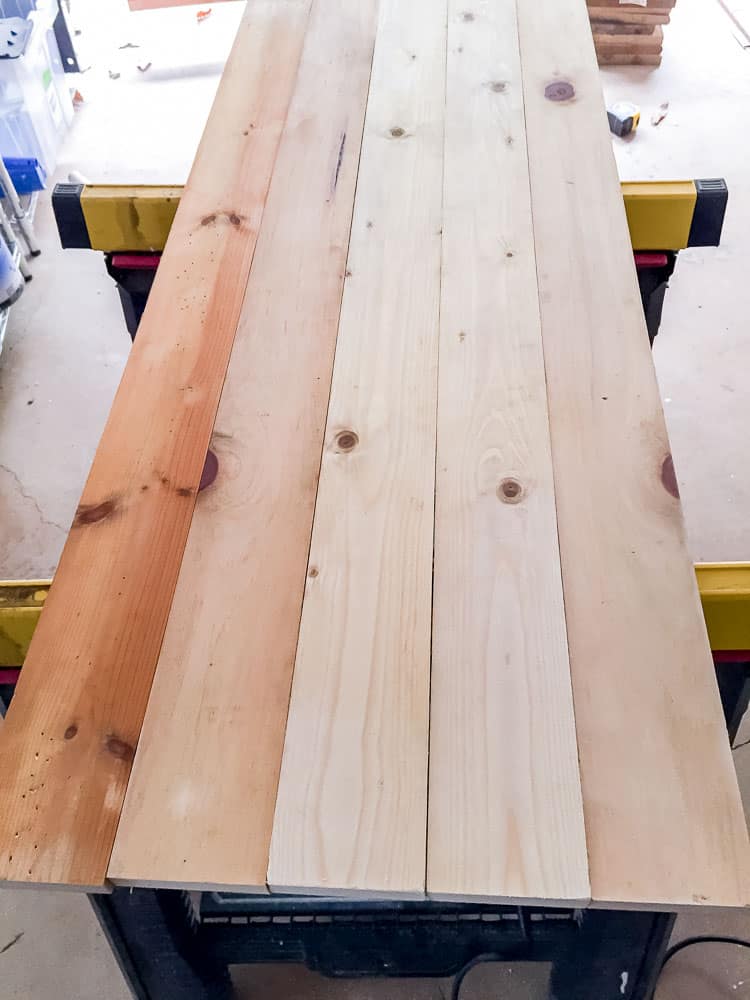
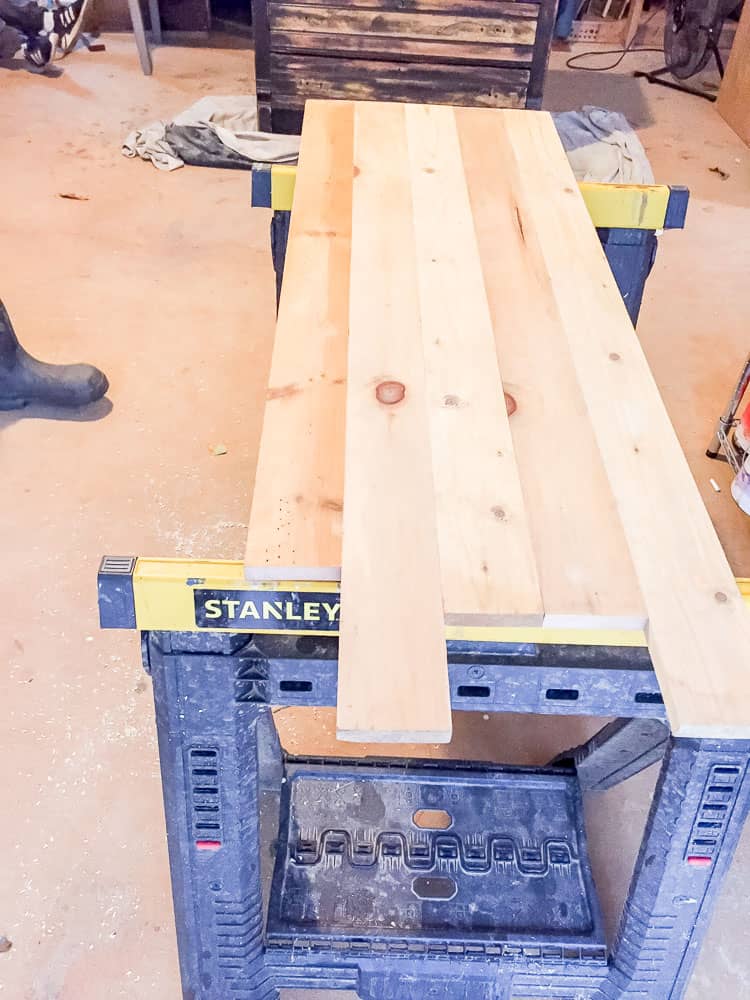
Find wood that will cover the top. I used X 1×4’s because it got me close to the right depth. It will take some math to figure out what size of wood will get you close to the right depth. It’s fine if you need to use different sizes to get the correct width. Just stagger them so that it looks pleasing. Keep in mind that a 1×4 is not actually 4″ wide. They’re all about 1/2″ smaller than the name. Don’t worry about the length just yet!
My wood came from my scrap pile, so it looks pretty rough. Don’t worry though! A sander will remove all of the dirt and make them beautiful. Even if you’re using new wood, you want to sand it so that it’s nice and smooth and free of splinters.
Building the New Dresser Top
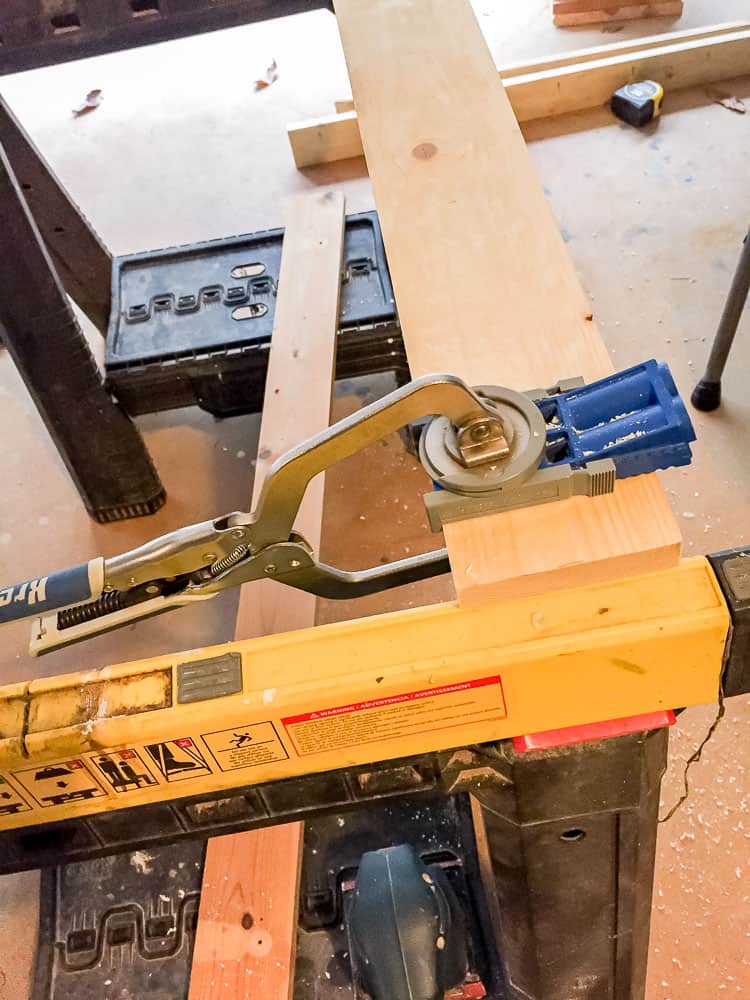
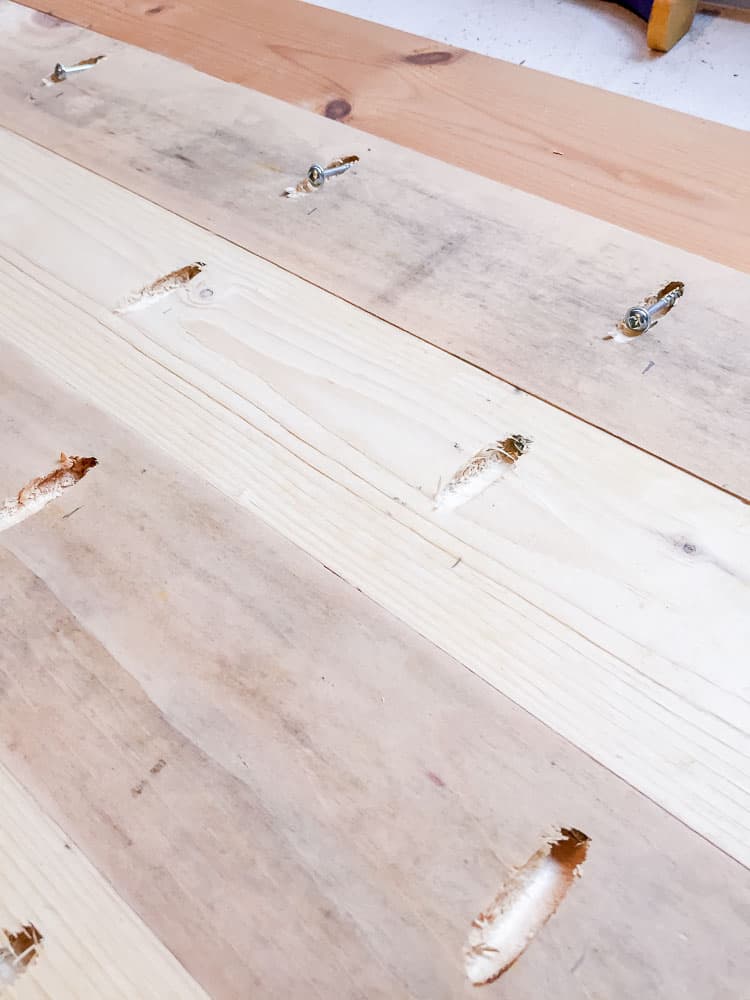
Flip your wood over and start making pocket holes with your kreg jig. I have a more in depth post on using a kreg jig here. You’ll want pocket holes every 6-8″. It’s fine if you make them wider apart. A dresser top doesn’t have to hold much weight, so you can use less if you want. My husband offered to do mine, so I let him do as many as he wanted. 😉
Attach each plank using the kreg screws. Be careful not to over-tighten them. The wood will buckle or crack.
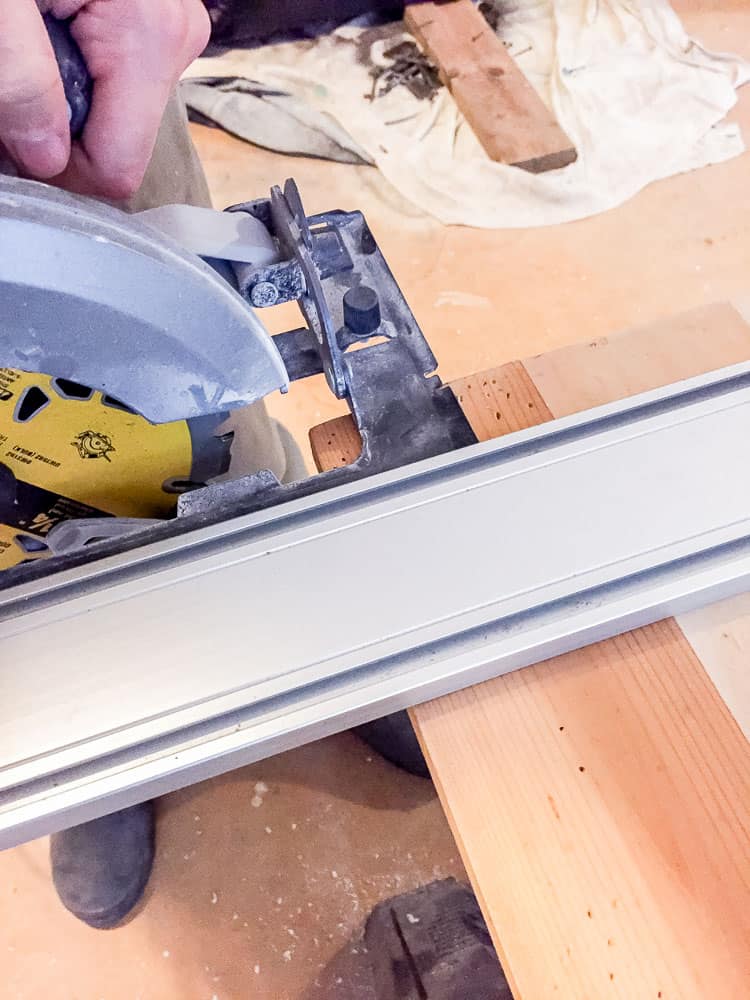
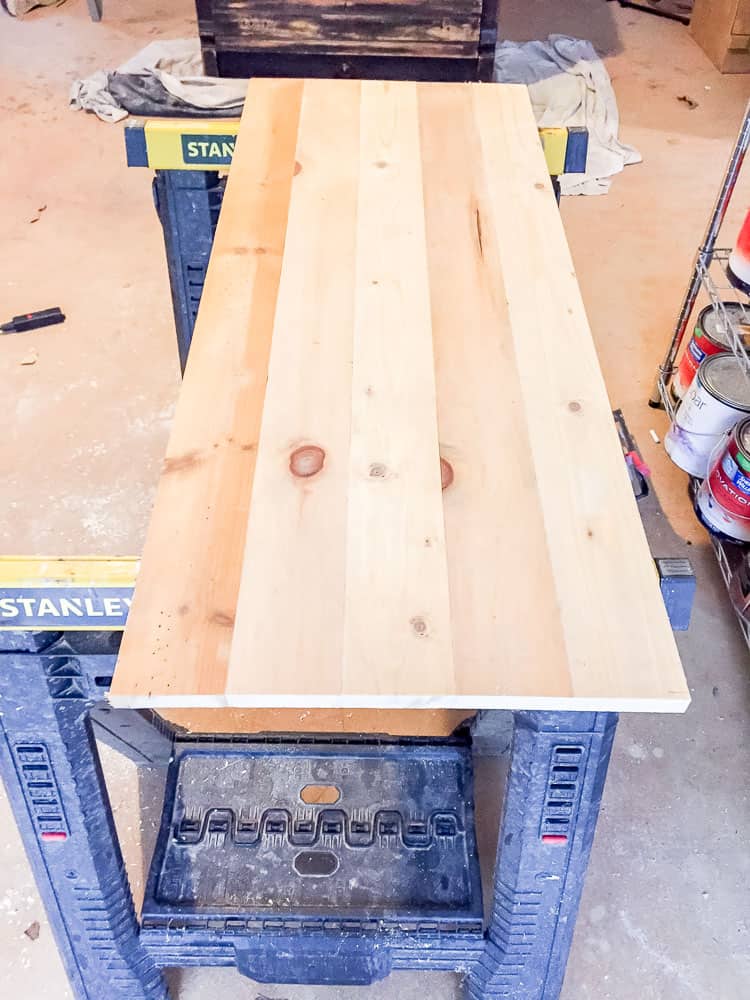
Once the top is built, you can cut it to length. Be sure to leave a small overhang for your dresser length. We don’t have a tablesaw, so we use this straight edge clamping guide. Clamp it in place leaving space for the circular saw and the guide helps you make straight cuts.
Finishing the Dresser Top
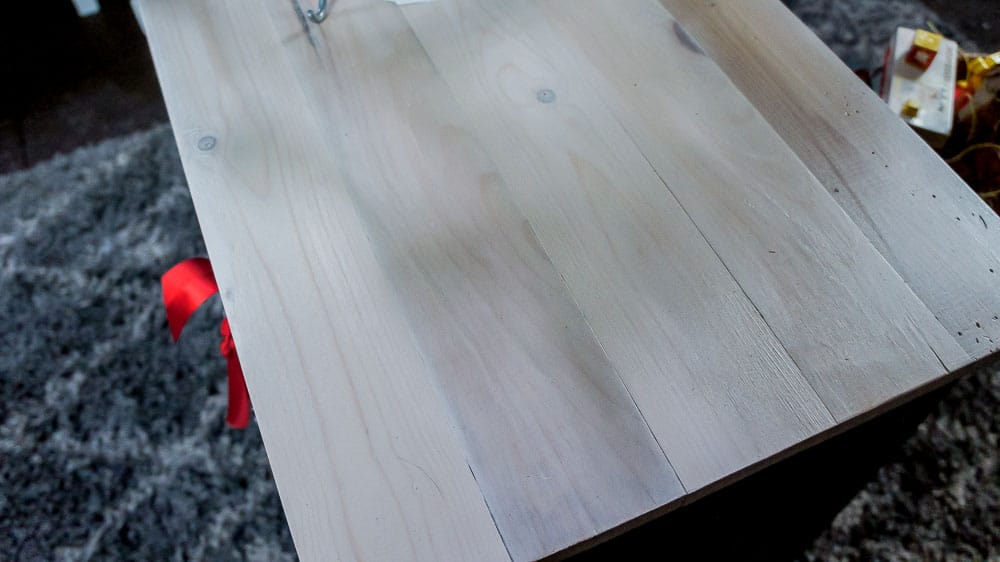
Flip it over to see your beautiful plank top. Now, it’s time to sand again. I started with a high grit sandpaper (80) and worked my way to a lower one (220.) This smooths the wood and makes it almost silky feeling.
At this point you can stain it or paint it. That wood that was covered in dirt looked so nice by now that I decided to whitewash it. Everybody does dark tops. Let’s bring back light wood. It’s gorgeous! Whitewash works just like stain. You paint it on and wipe it off with a clean rag.
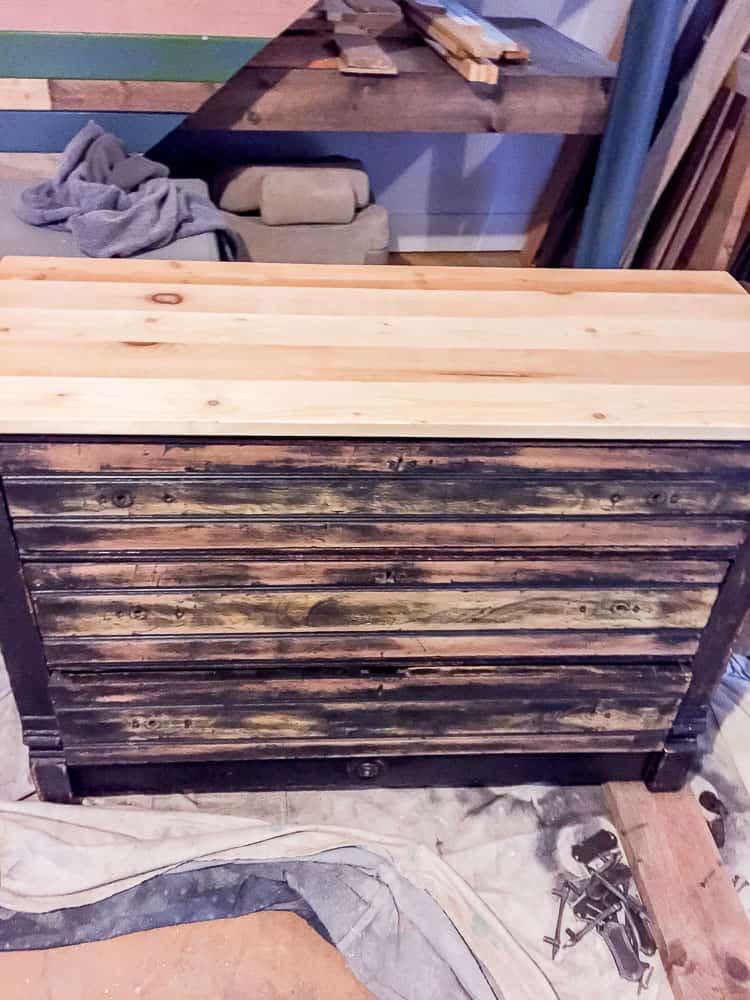
Once it was dry, I added a top coat. I chose General Finishes flat out flat because I love a matte finish. I added 2 coats.
It’s a good idea to refinish your dresser with the top off. I’ve added notes on that process below.
Once the top coat is dry, you can attach it to the dresser where it was previously attached. Just make sure that your screws won’t poke through your new beautiful top.
Building a plank top for a dresser is a pretty easy DIY. Like I said earlier, this process also works for table tops. In fact, I used the same process for building a wood countertop for my bathroom!
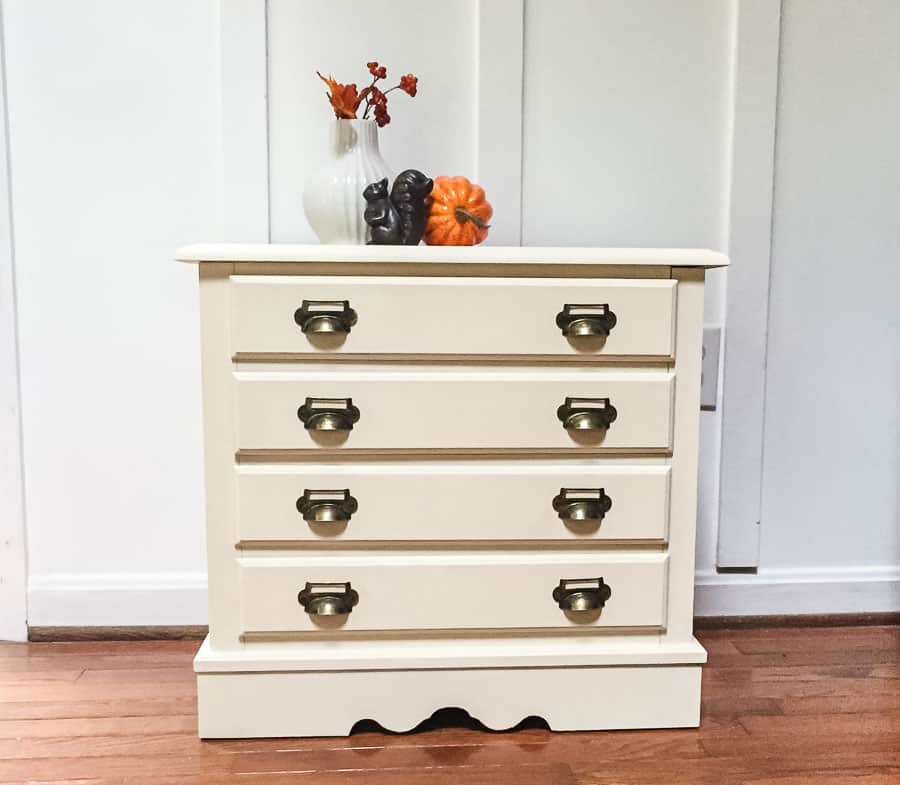
Since I kept the top light, I decided to make the dresser dark for a nice contrast. I sanded the black finish and it came off with very little sanding.
The sanded dresser looked amazing like this, but since it was going into my shop, I knew that I had to actually paint it. I still think the chippy finish was gorgeous.
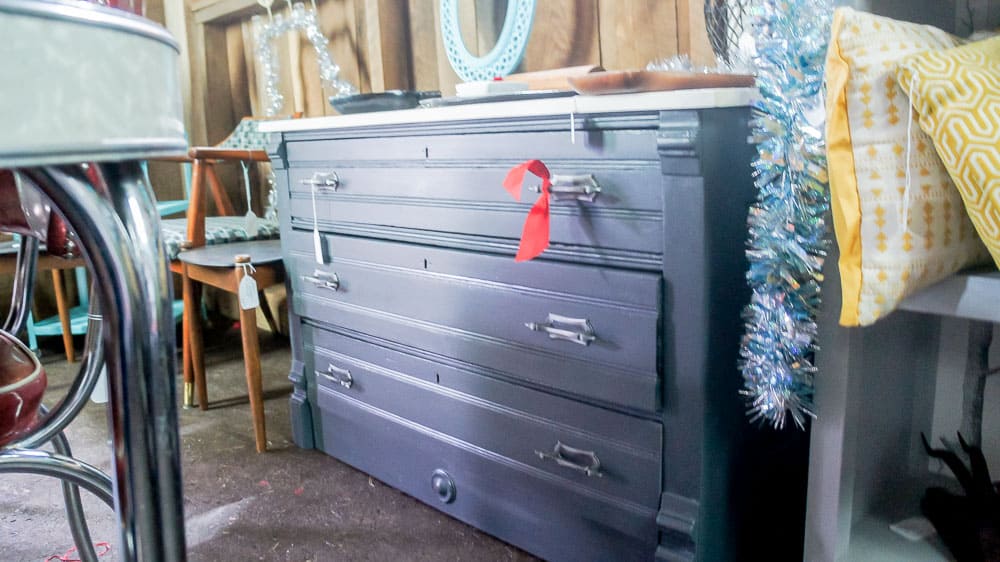
I painted the dresser with General Finishes Queenstown Gray and top coated it with a wipe on poly. In the future, I plan on writing a more in depth post about paints, but let’s just spoiler alert and say that I LOVE General Finishes.
The handles that I had bought for this piece went missing for a while until I complained to the post office. They magically appeared and I finally switched them out. The new gold cup pulls give this piece a whole new feel!
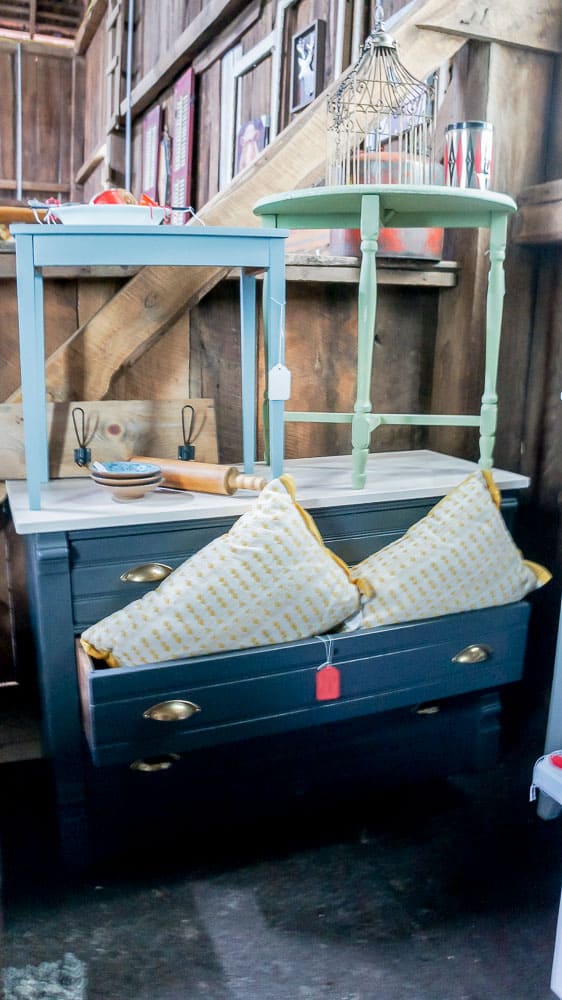
I ended up re-staining the top and adding antiquing wax to create a different look.
Emy is a vintage obsessed mama of 2 DIYer who loves sharing affordable solutions for common home problems. You don’t need a giant budget to create a lovely home. Read more…
I love my kreg. It was a tiny bit intimidating at first but it works so beautifully and opens yoo so many possibilities of nicely finished pieces!
I love your finishes here and look forward to your All About Paint post! I have developed some opinions about wall paint but dont know enough about furniture finishes.
Yes, you have to use the kreg screws with the kreg jig. They’re designed to pull wood together tightly. But the head on them is a bit smaller as well. We’ve tried decking screws, but the head is too large to fit in the hole. There are other pocket hole screws available, but I haven’t tried them since they’re the same price as kreg screws. They’re a bit more expensive, but I find them worth it.


i have a dresser in my garage in need of a top! not sure i am skilled enough though. you are good with tools!
I love my kreg. It was a tiny bit intimidating at first but it works so beautifully and opens yoo so many possibilities of nicely finished pieces!
I love your finishes here and look forward to your All About Paint post! I have developed some opinions about wall paint but dont know enough about furniture finishes.
Good job! I have a question: Do you have to use Kreg screws with a Kreg jig? Are they more expensive than wood screws?
Yes, you have to use the kreg screws with the kreg jig. They’re designed to pull wood together tightly. But the head on them is a bit smaller as well. We’ve tried decking screws, but the head is too large to fit in the hole. There are other pocket hole screws available, but I haven’t tried them since they’re the same price as kreg screws. They’re a bit more expensive, but I find them worth it.