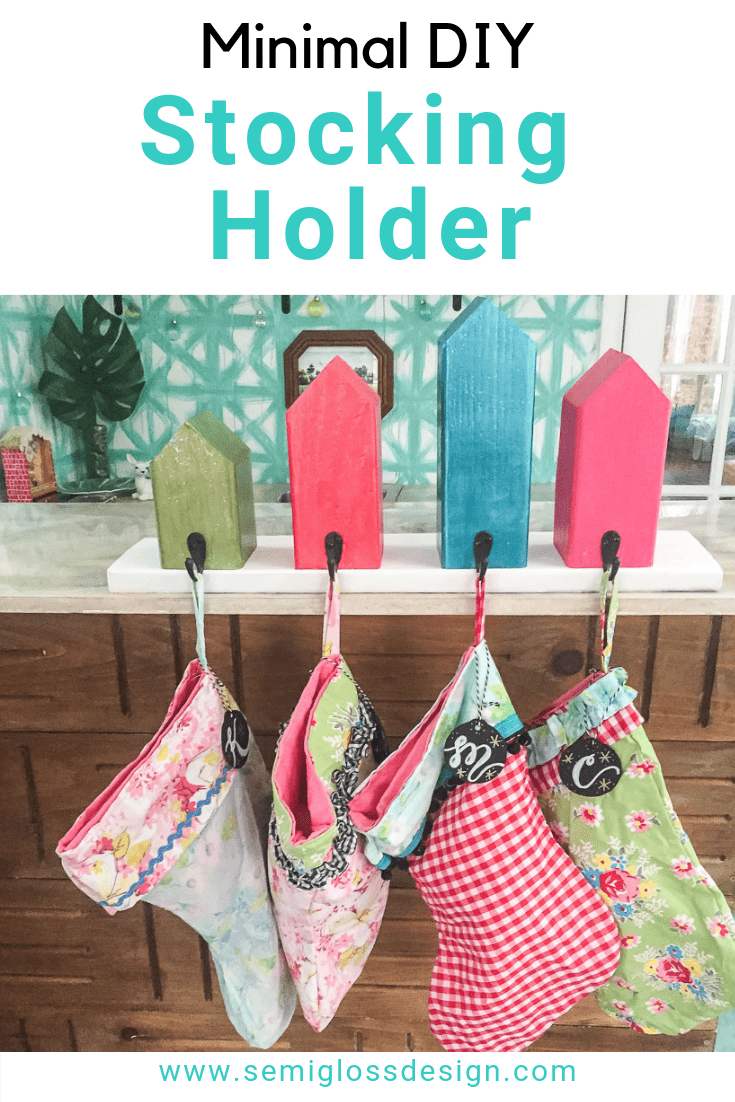
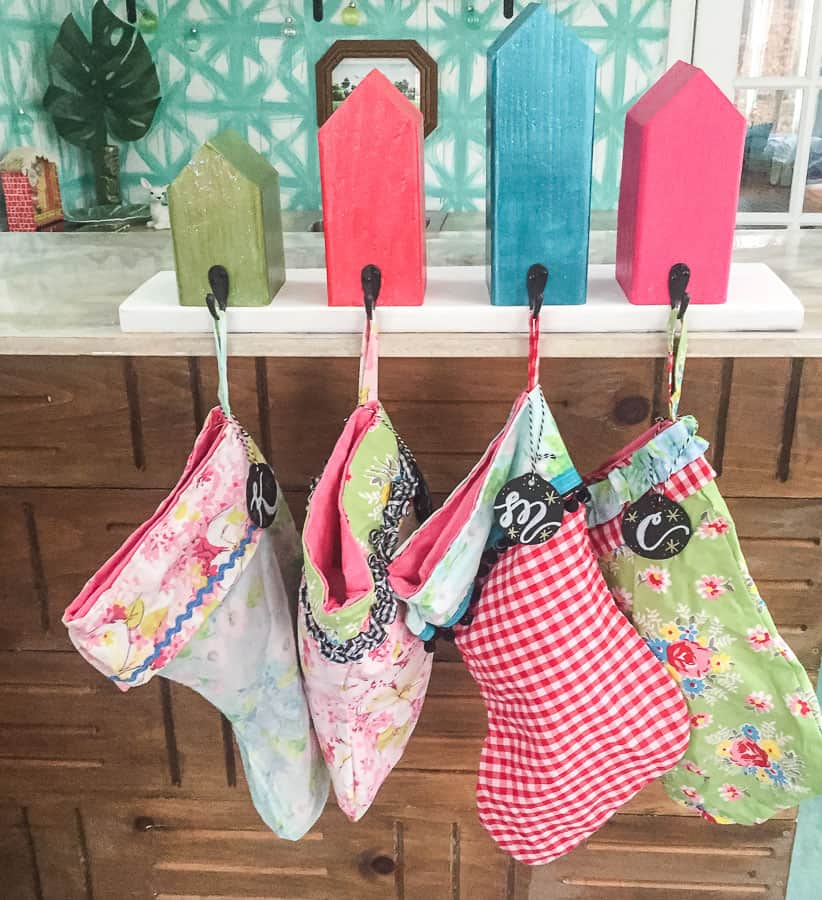
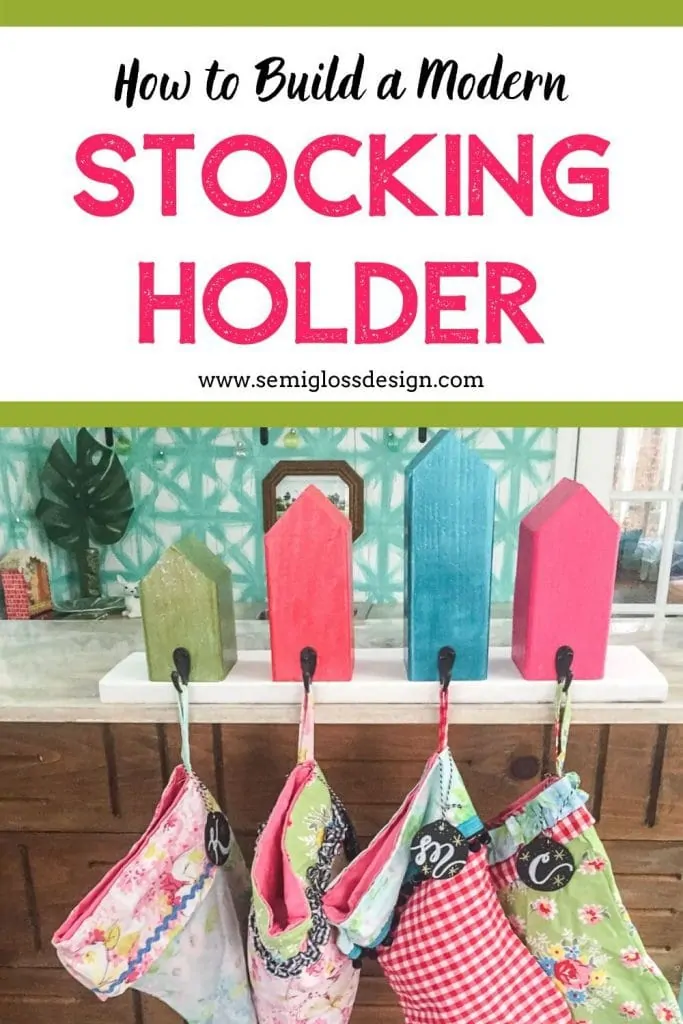
The Cutest Wooden House DIY Stocking Holder!
This DIY stocking holder is easy to make! Doesn’t it look cute with my stockings and stocking name tags?
Why do stocking holders have to be so ugly? It’s hard to find cute ones that actually hold the stockings. So I made my own.
This DIY stocking holder is nice and heavy, so it won’t tip over with the weight of a stocking filled with goodies.
How to Make a Wooden House Stocking Holder
Supplies Needed
This post contains affiliate links. By purchasing an item through an affiliate link, I earn a small commission at no extra cost to you.
- 4×4’s
- 1×6
- Deck Screws
- Miter Saw
- Speed Square
- Sander
- Shellac
- Drill and driver
- Hooks
- DecoArt Americana Decor Chalky Finish in Everlasting
- DecoArt Dazzling Metallics in Festive Green
- DecoArt Dazzling Metallics in Festive Red
- DecoArt Dazzling Metallics in Teal
- DecoArt Americana Acrylic Paint in Dragon Fruit
- DecoArt Glamour Dust in Celebration Pink
- DecoArt Craft Twinkles in Crystal
- Paintbrushes
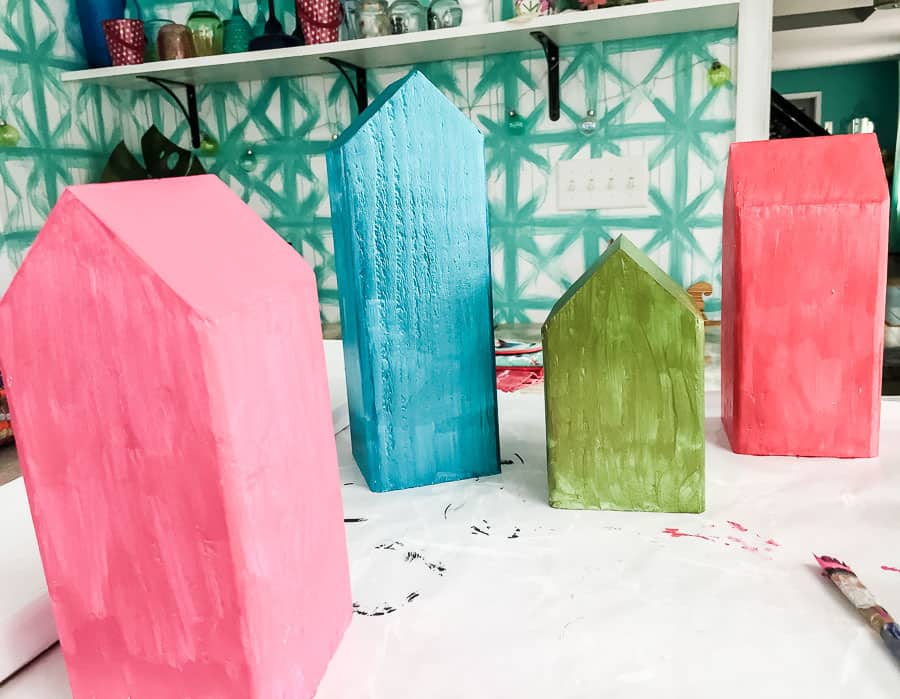
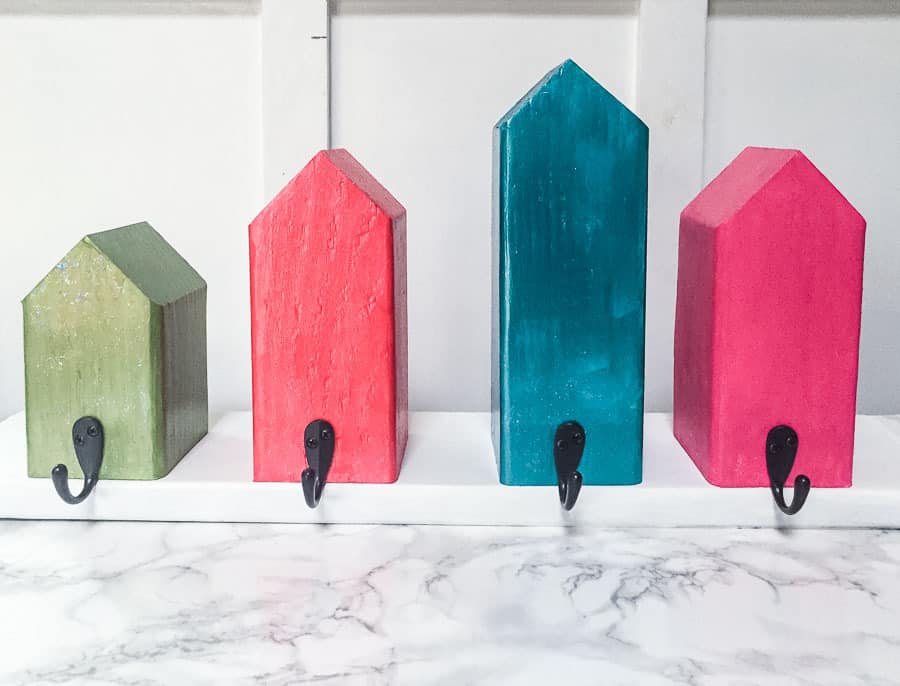
I painted my houses in fun, bright colors, but you could also stain the wood for a rustic look.
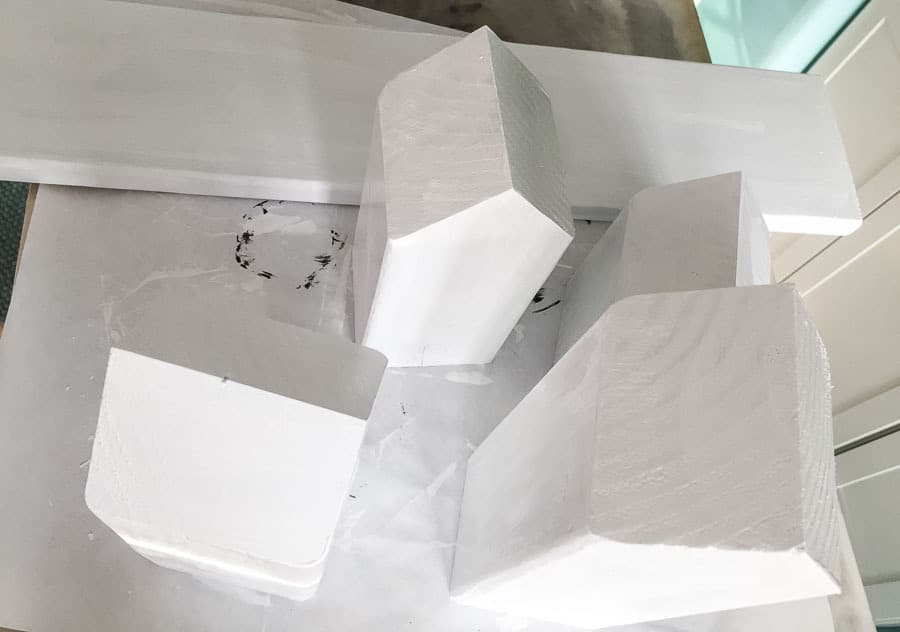
Building the DIY Stocking Holder: Cutting the Wood Houses
- Cut your 1 x 6″ to the desired length. Mine is approximately 36″ long.
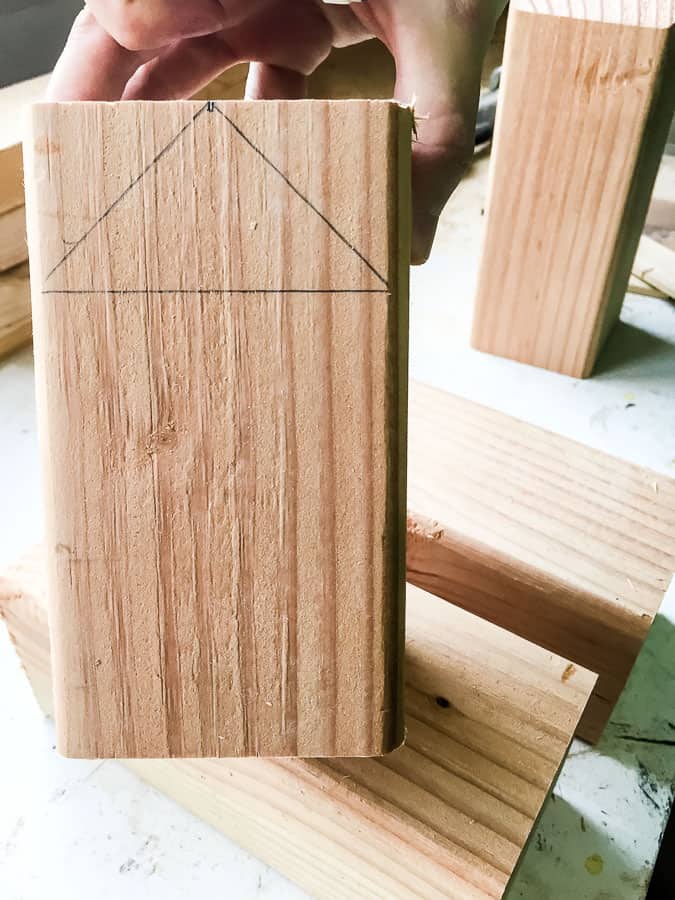
- Cute your 4 x 4’s to size. Determine the approximate height for each house and cut about 1″ more than that. I varied the heights between 8″ and 14″.

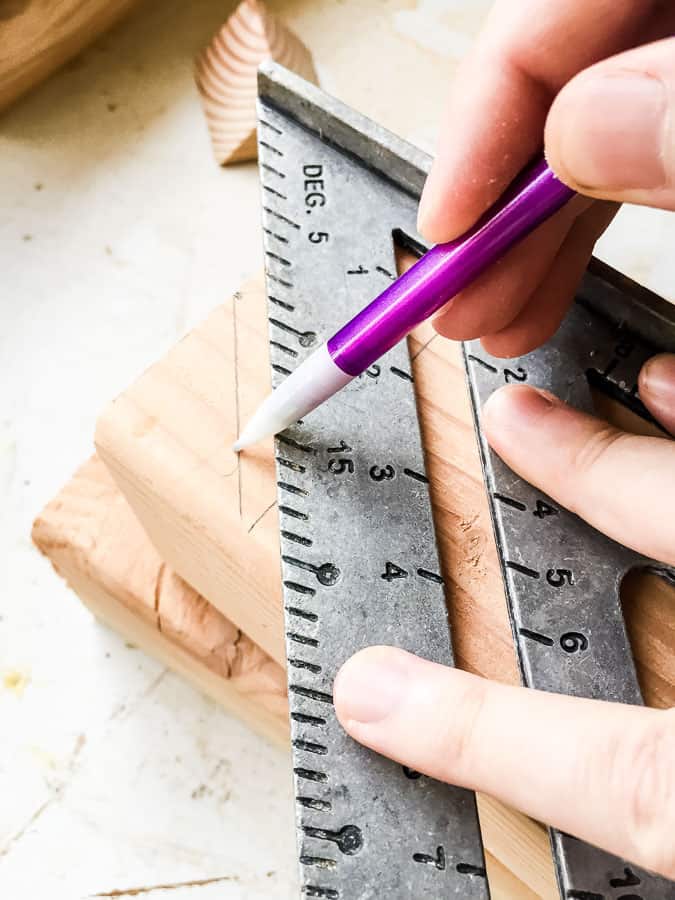
- Then, use a speed square to mark your roof angle.
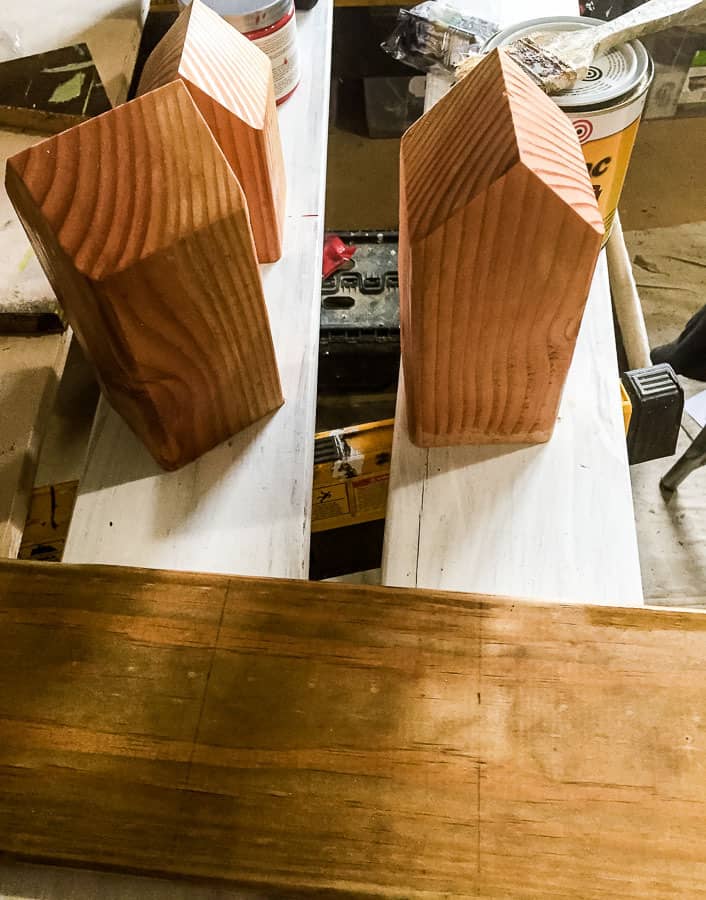
- Use a miter saw set to 45 degrees to cut your roof angle on each side.
- Sand all of the wood thoroughly to get it nice and smooth.
Painting the DIY Stocking Holder
- Use shellac on all of the wood to keep the pine from yellowing with time.

- When the shellac is dry, paint everything white using the Chalky Finish paint in Everlasting. It will take 2-3 coats.

- Paint each house a different color. For the pink, I used the Americana acrylic paint in dragon fruit. The other houses were painted in Festive Red, Festive Green and Teal.
- Each house will need 2-3 coats of paint.

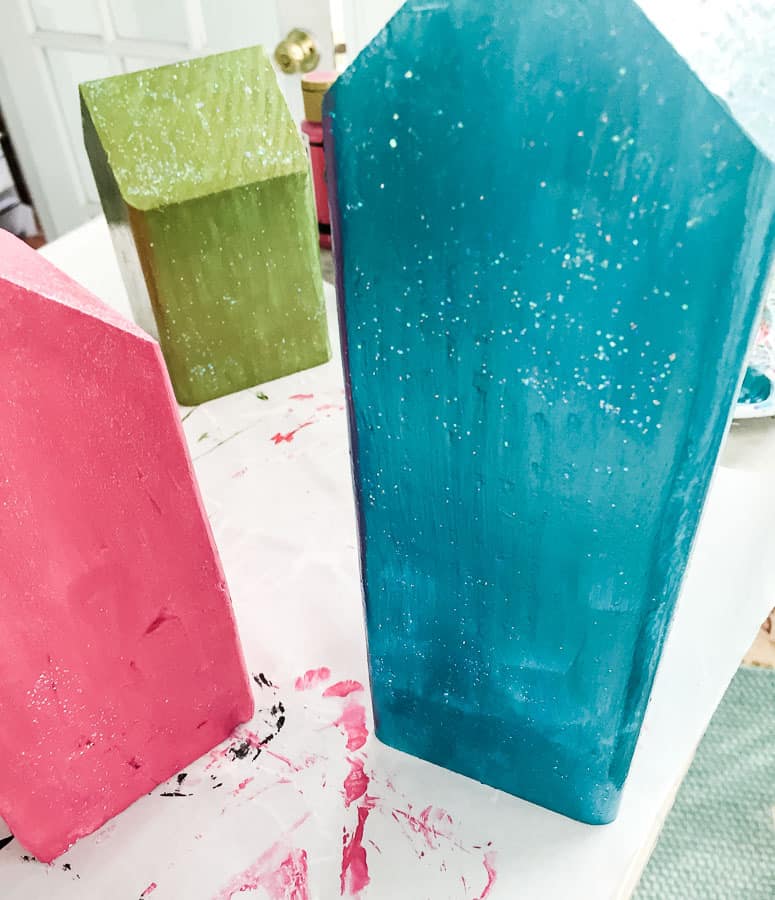
- When the paint is dry, add some bling with glitter! I used the Glamour Dust in celebration pink on the pink and red houses. The Craft Twinkles paint was used all of the houses to add even more sparkle. Because, tis the season, after all.

Assembling the DIY Stocking Holder
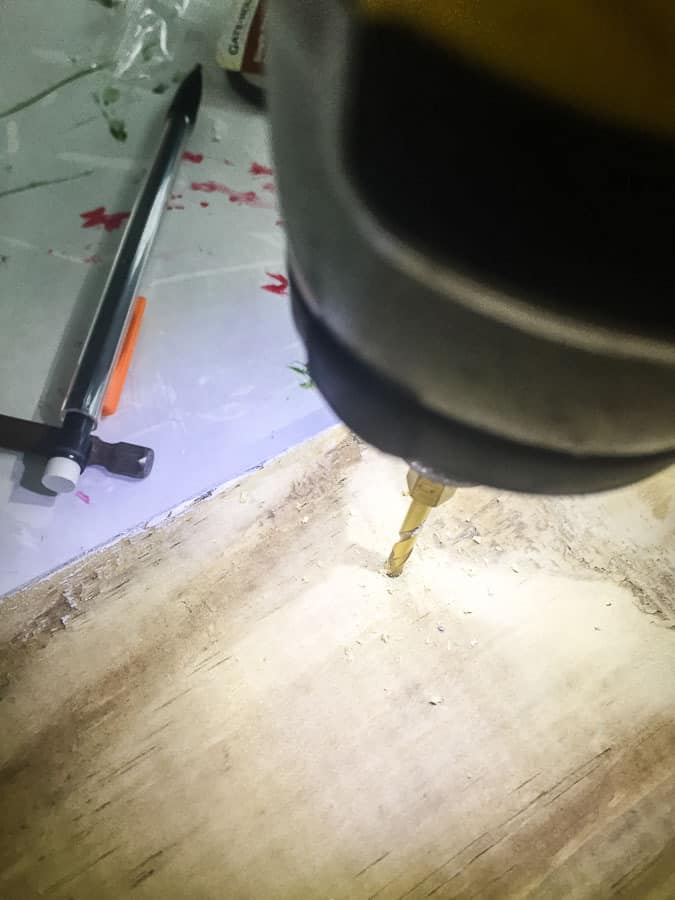
- Figure out how you want your houses positioned. I lined my houses up with the front of the base and spaced them about 2″ apart.
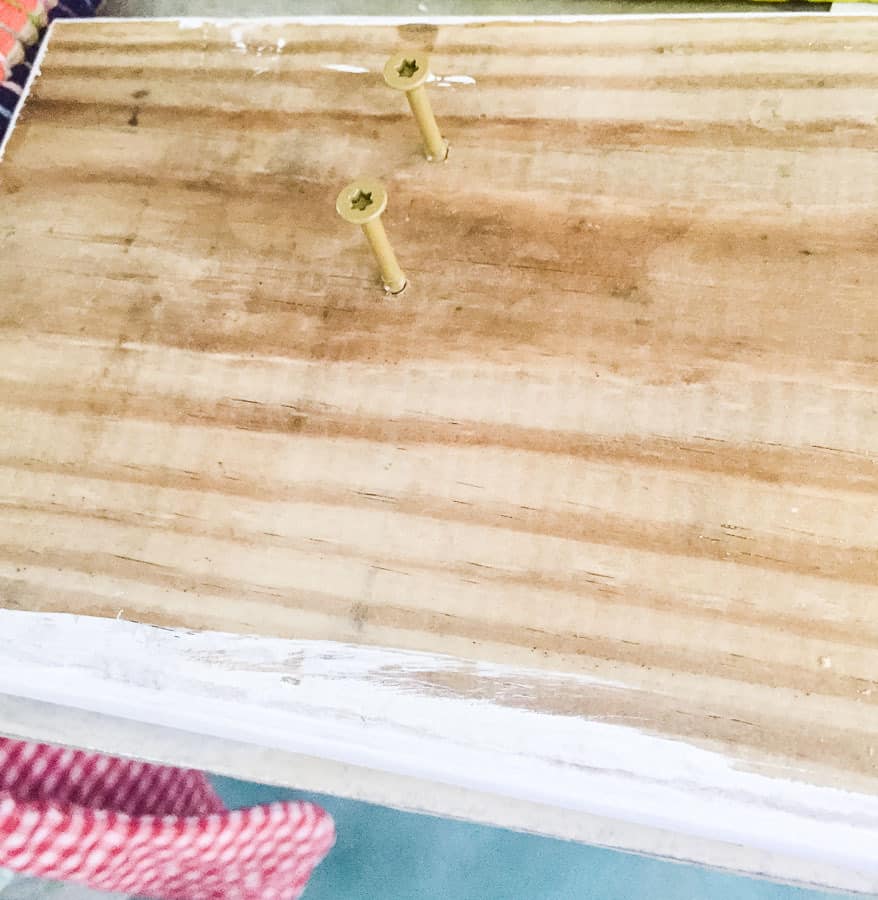
- Mark the bottom of the base in the middle of where the houses will sit.
- Drill pilot holes for the screws. I used 2 for each house.
- Partially screw in all of the screws to the base.

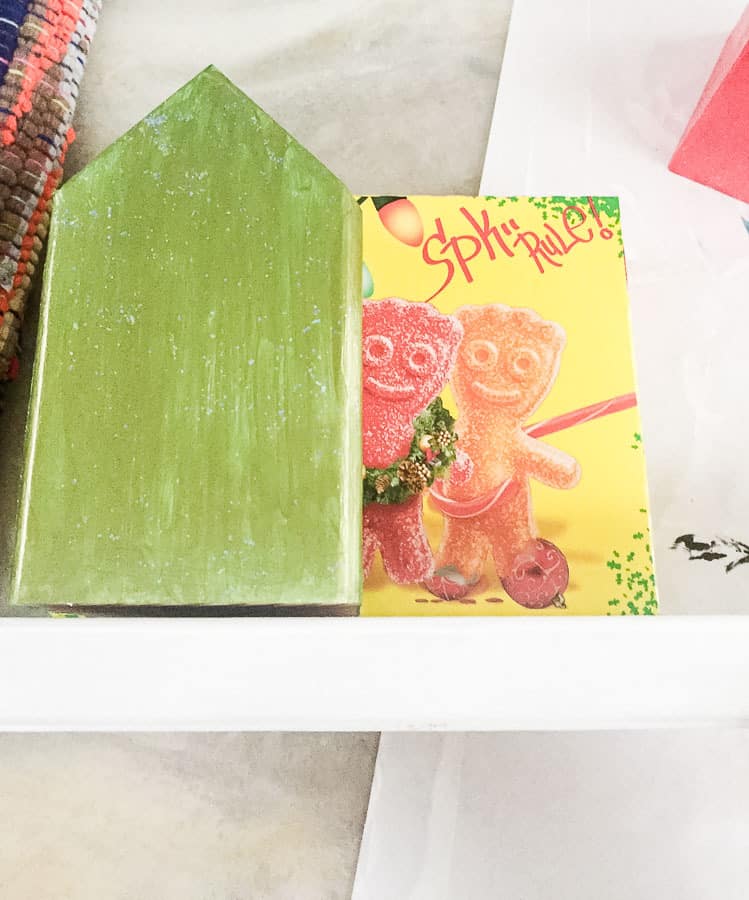
- Use something to raise the houses off of your working surface to put them in the right position. I placed mine on a candy cane box that was nearby and happened to the the perfect height, but scrap wood would work as well.

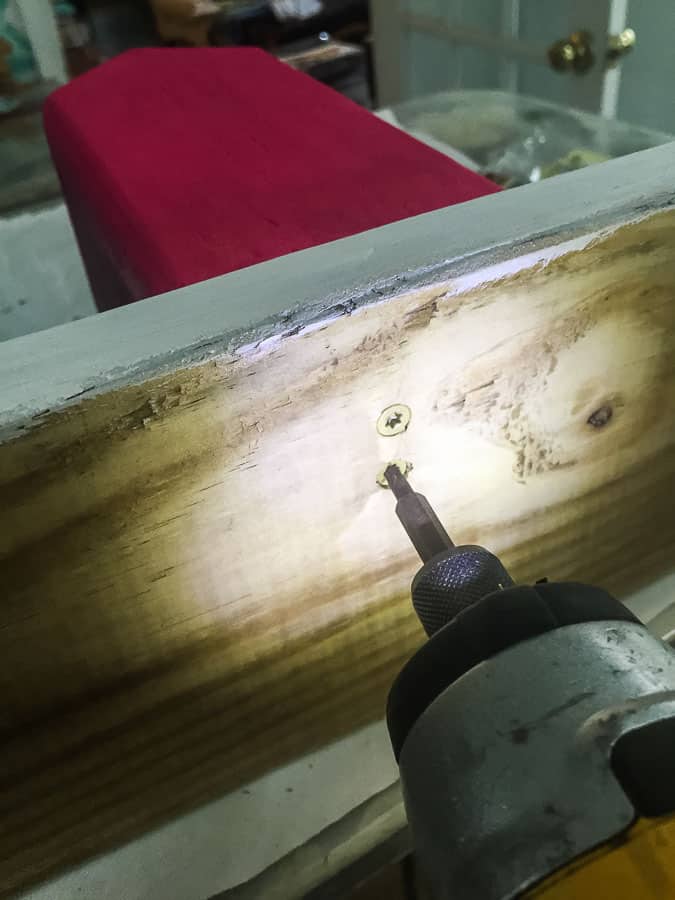
- Attach the houses to the base by screwing through the wood into the houses.
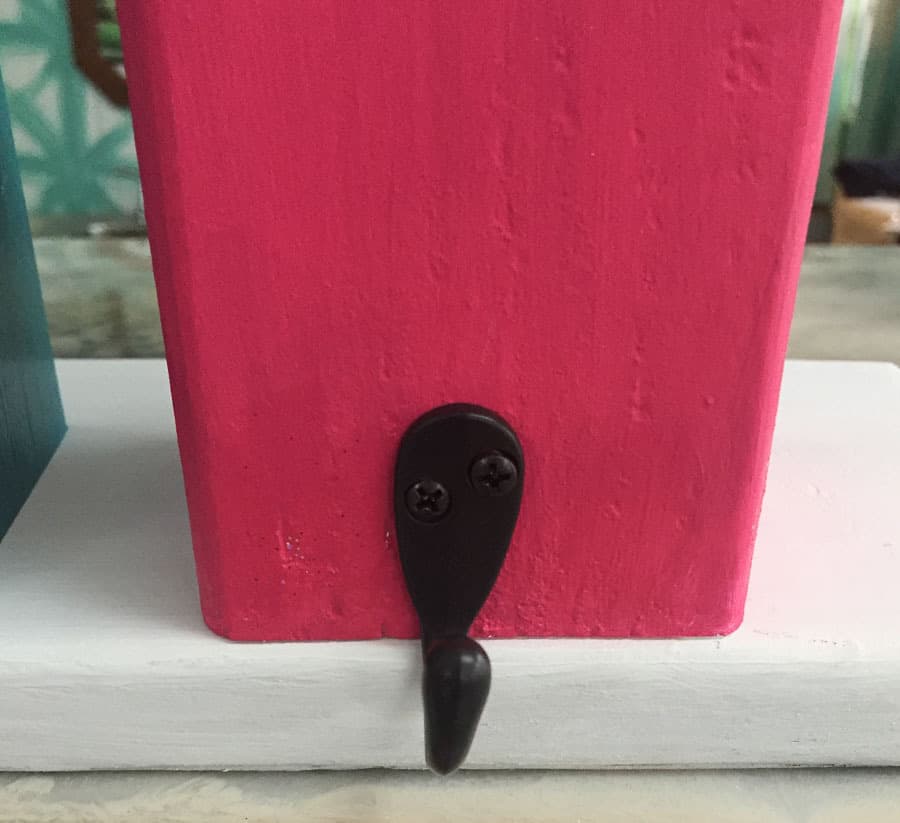
- When all of the houses are attached to the base, attach the hooks with the screws they came with.

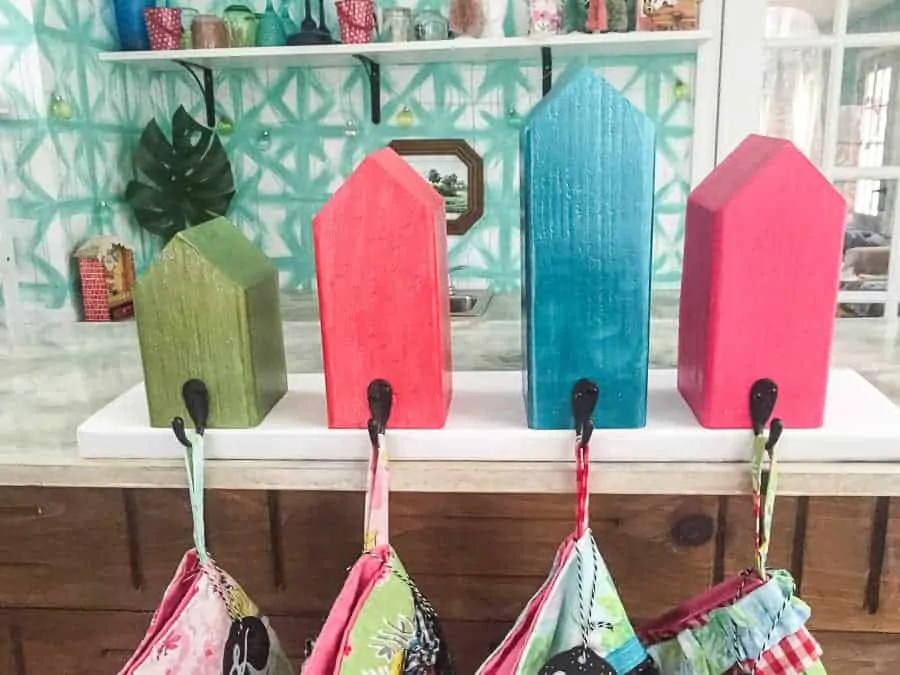
- Sit the DIY stocking holder up and hang your stockings!

I love how it turned out!
DIY Christmas Decorations
Easy to make Christmas decorations for your home.


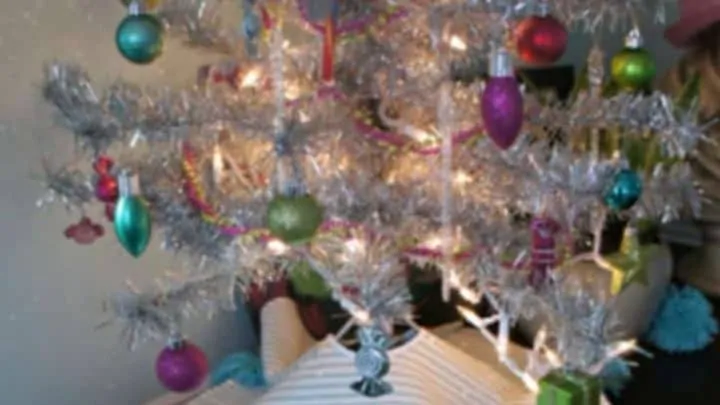
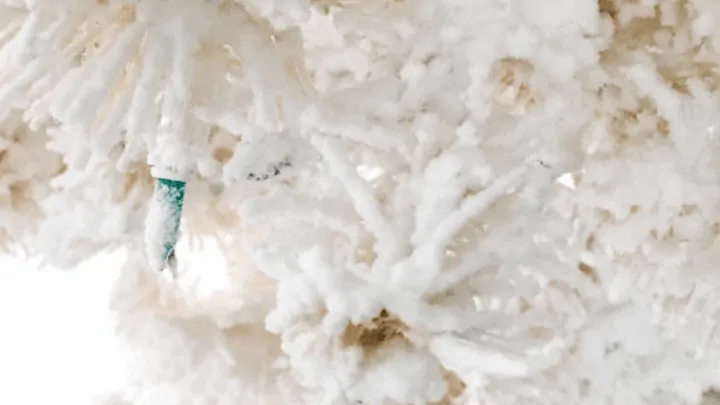
DIY Flocked Christmas Tree: Saving a Yellowed White Christmas Tree
How to flock a white Christmas tree


You might also like:
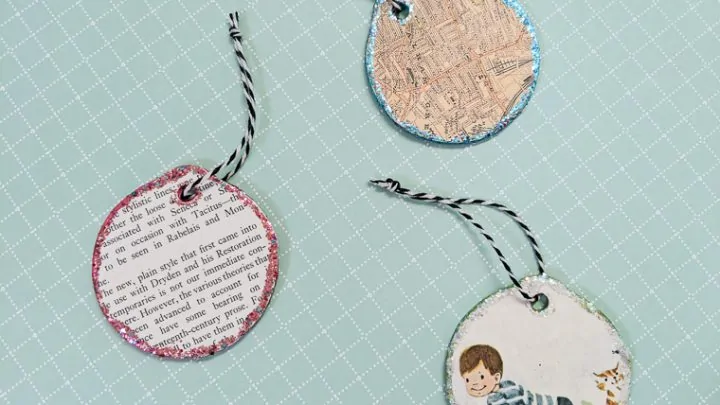
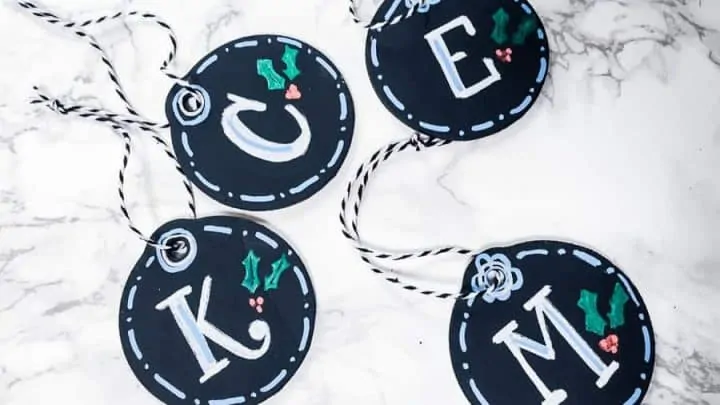
- Stocking Name Tags
- Stocking Stuffers for Adults
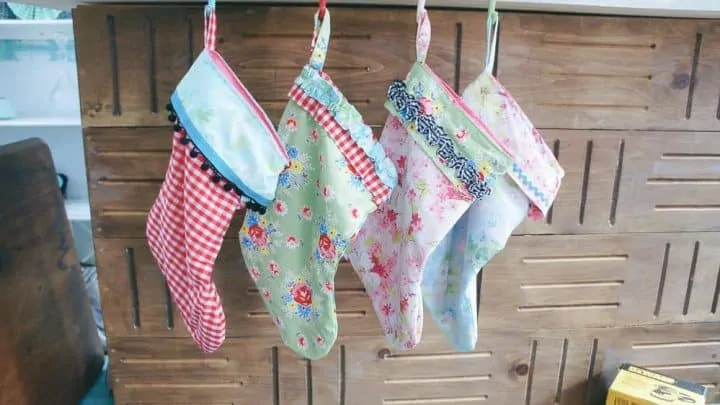
- DIY Stockings
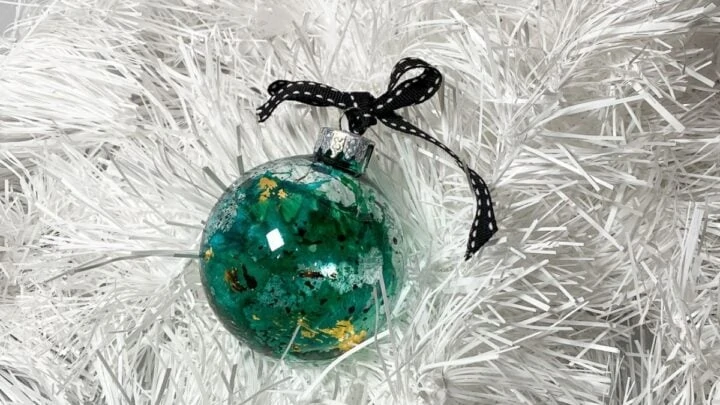
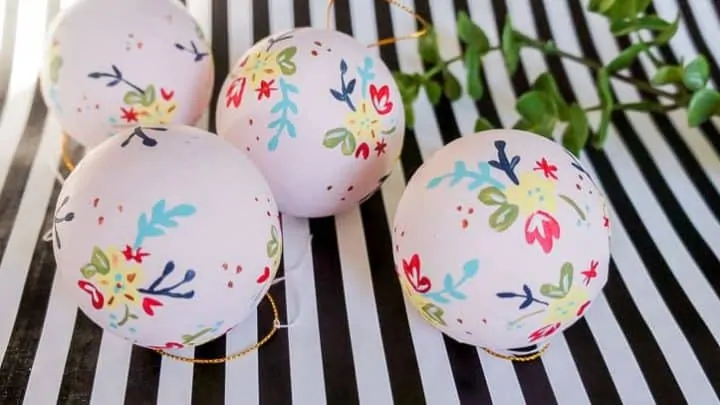
- Floral Painted Ornaments
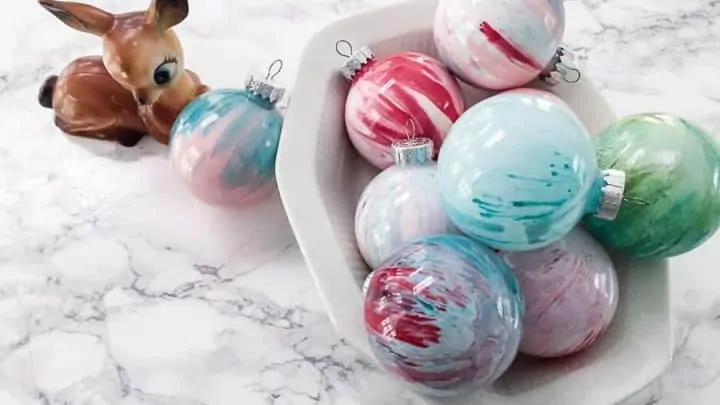
- Paint Swirl Ornaments
Pin for Later!

Emy is a vintage obsessed mama of 2 DIYer who loves sharing affordable solutions for common home problems. You don’t need a giant budget to create a lovely home. Read more…