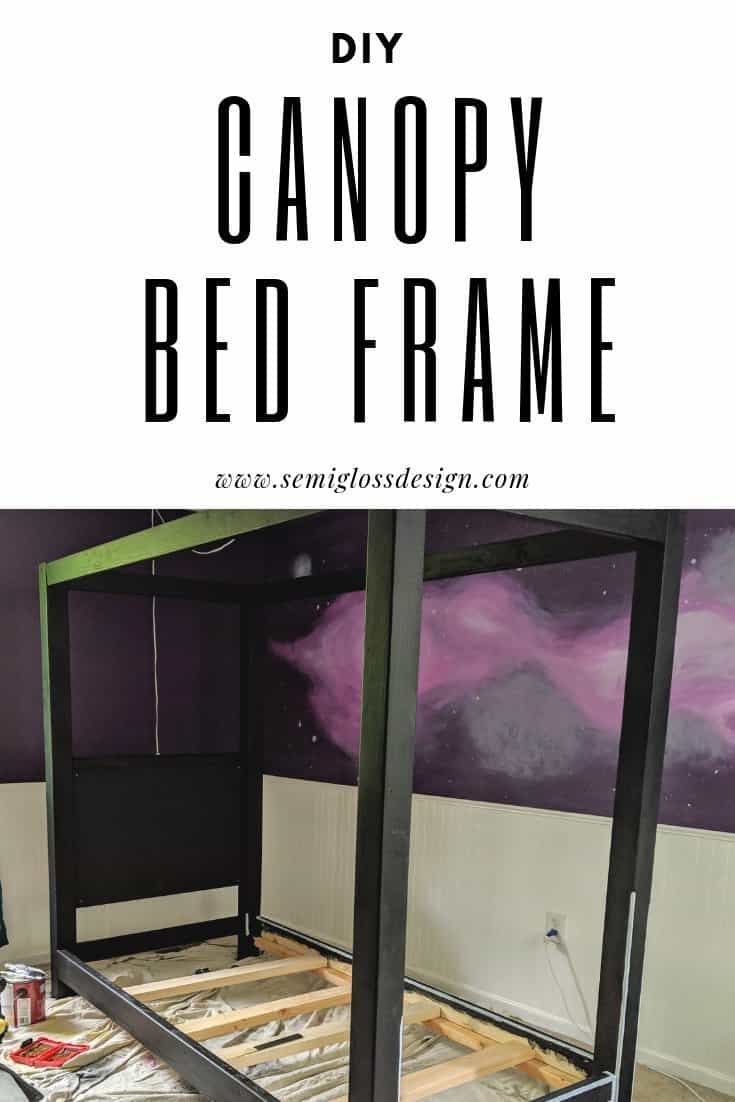
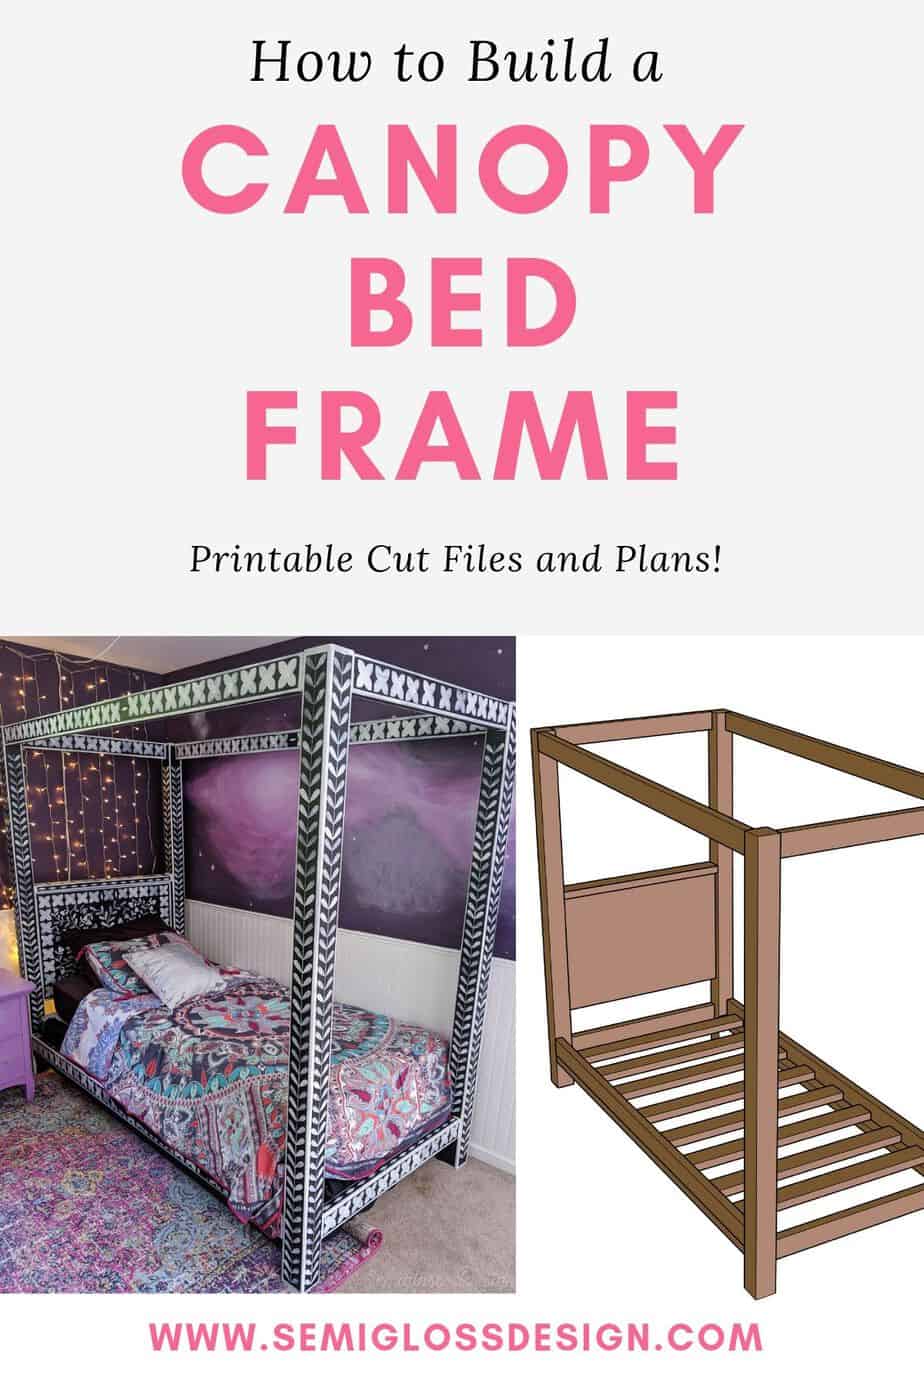
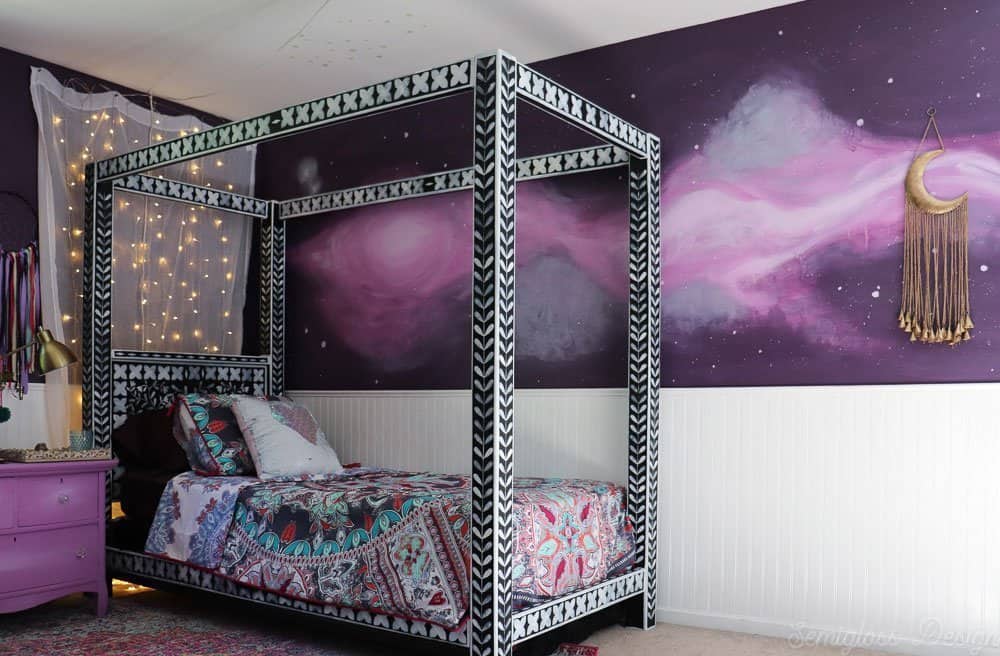
How to Build a DIY Canopy Bed Frame
This DIY canopy bed frame features a modern, minimal design. It’s built with standard lumber, which makes it incredibly sturdy.
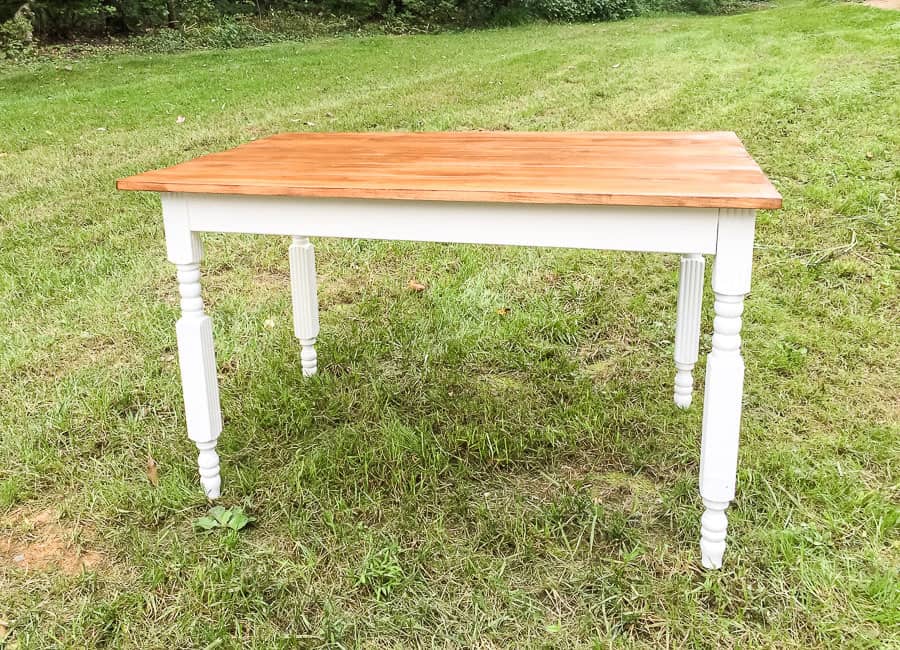
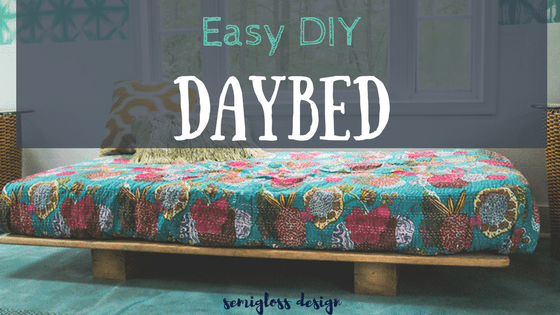
You might also like my easy DIY daybed or easy table tutorial.
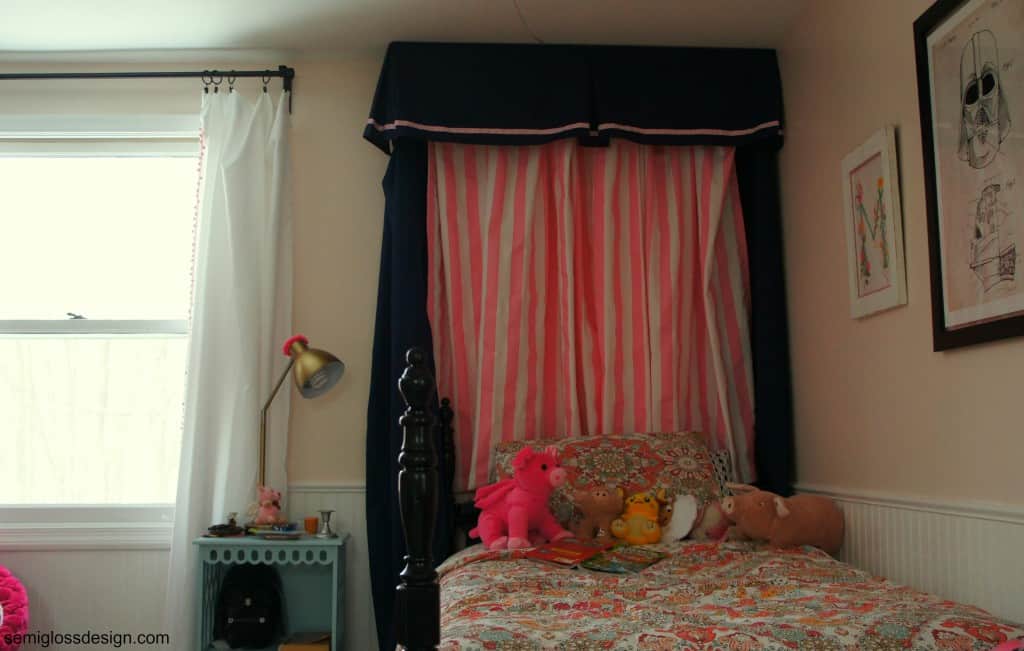
I’ve been working in my daughter’s room to give it a makeover. One of her requests was a canopy bed. She’s been asking for it for years and well, she’s only little once.
So I decided to build her a modern canopy bed frame.
How to Make a DIY Canopy Bed Frame
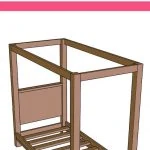
This modern canopy bed frame is constructed from 4 x 4’s and 2 x 4’s. It’s the sturdiest bed that I’ve ever put together.
When I was planning out a canopy bed for my daughter, I was mentally preparing myself to tell her that she’s not allowed to monkey around on the bed.
After getting it assembled, I realize there’s no way she could possibly break the bed. This thing is so sturdy!
These instructions will be long. Scroll to the bottom for printable instruction sheets and a link to the PDF plans.
This bed assembly requires 2-3 people.
These plans fit a regular Twin bed. Be sure to measure your mattress before making cuts to ensure that the dimensions are correct.
Supplies Needed
This post contains affiliate links. By purchasing an item through an affiliate link, I earn a small commission at no extra cost to you. As an Amazon Associate I earn from qualifying purchases.
- 2 x 4’s (12-14)
- 4 x 4’s (4)
- Plywood (2′ x 4′)
- Miter Saw
- Circular saw
- Drill/ driver
- Kreg jig
- 2 1/2″ kreg screws
- Sander (we used a belt sander and an orbital sander)
- Bondo or other wood filler
- Speed square
- Shellac
- Paint
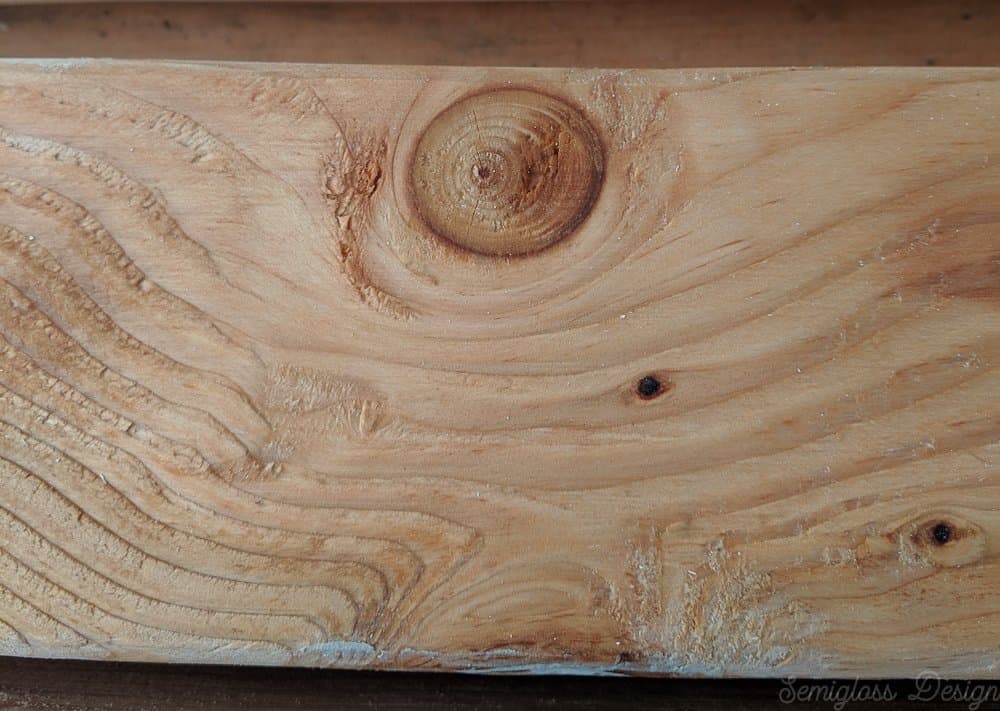
A note about the wood: When picking wood, try to find the nicest wood you can find. When using standard lumber for building, it’s going to take some prep work to make it smooth.
Prepare the Wood for Building
Even if you making a rustic version of this bed, sanding is crucial to prevent splinters.
- Cut wood to length. This includes the plywood panel for the headboard. Remember to measure twice, cut once.
- Sand all wood. Use a belt sander if necessary to smooth out any ridges. Especially on the 4 x 4’s. An orbital sander is great for smoother wood.

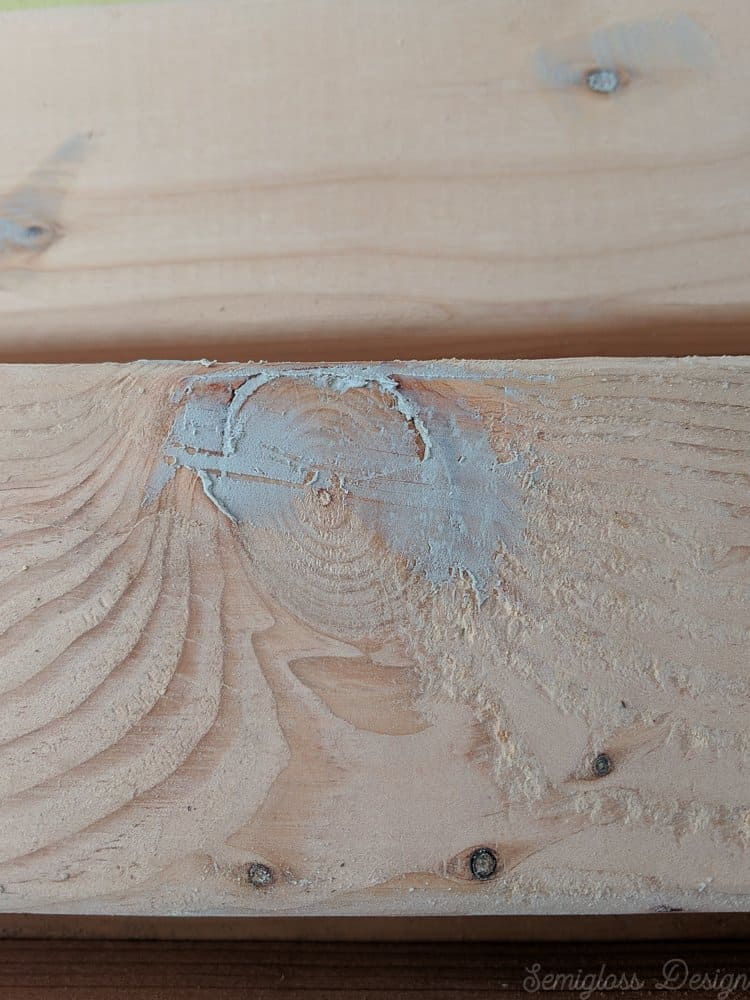
- Fill knots and imperfections with bondo. Read my complete instructions for working with bondo. Skip this step if you plan on staining the wood.

- Sand the bondo smooth once it dries. You may need to do this several times depending how smooth you want you wood.
- Paint a thin layer of shellac on all bondo spots and all remaining knots. If left unsealed, the knots will eventually bleed through your paint. Here’s my full instructions for painting white over wood.
- If you want your finished canopy bed to be white (or a light color), now is the time to prime the wood. I recommend this primer to seal the tannins because pine is known to bleed through white paint.
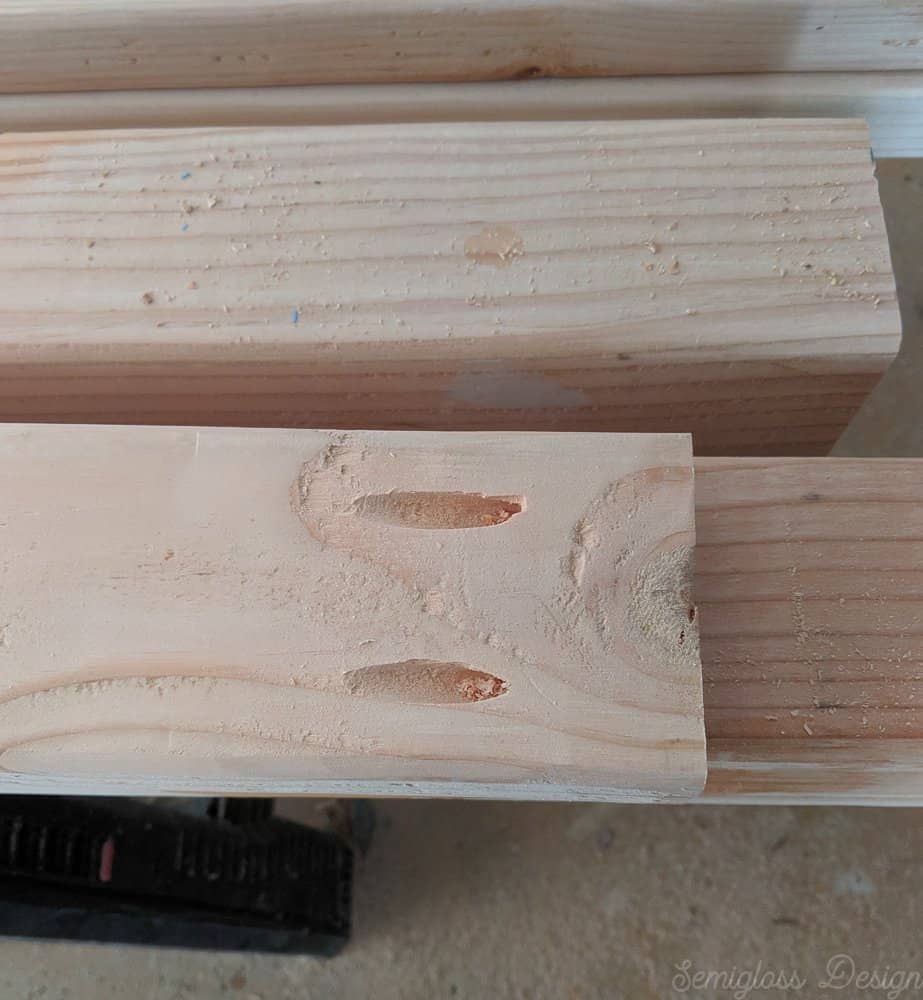
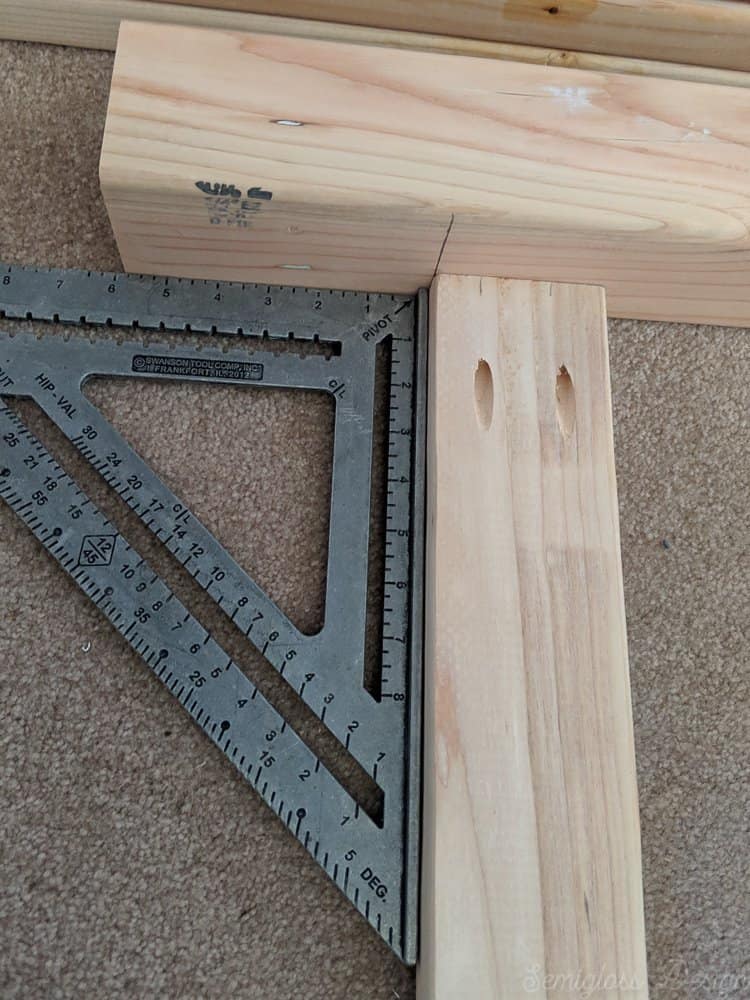
- Use the kreg jig to drill 2 pocket holes on the ends of every 34″ piece of wood. Make sure the settings are correct for the width and on the drill bit. Read more about how to use a kreg jig here.

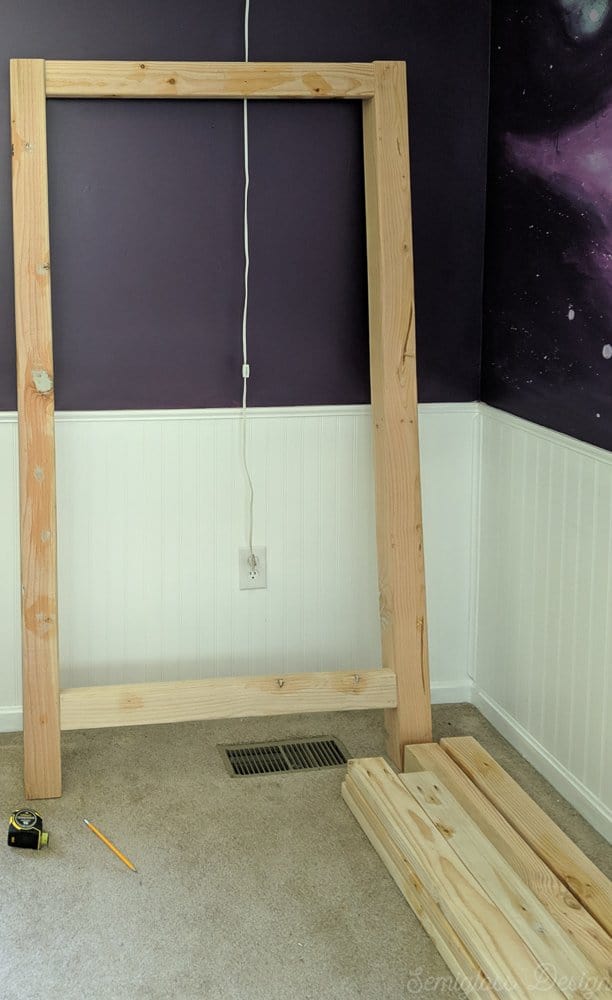
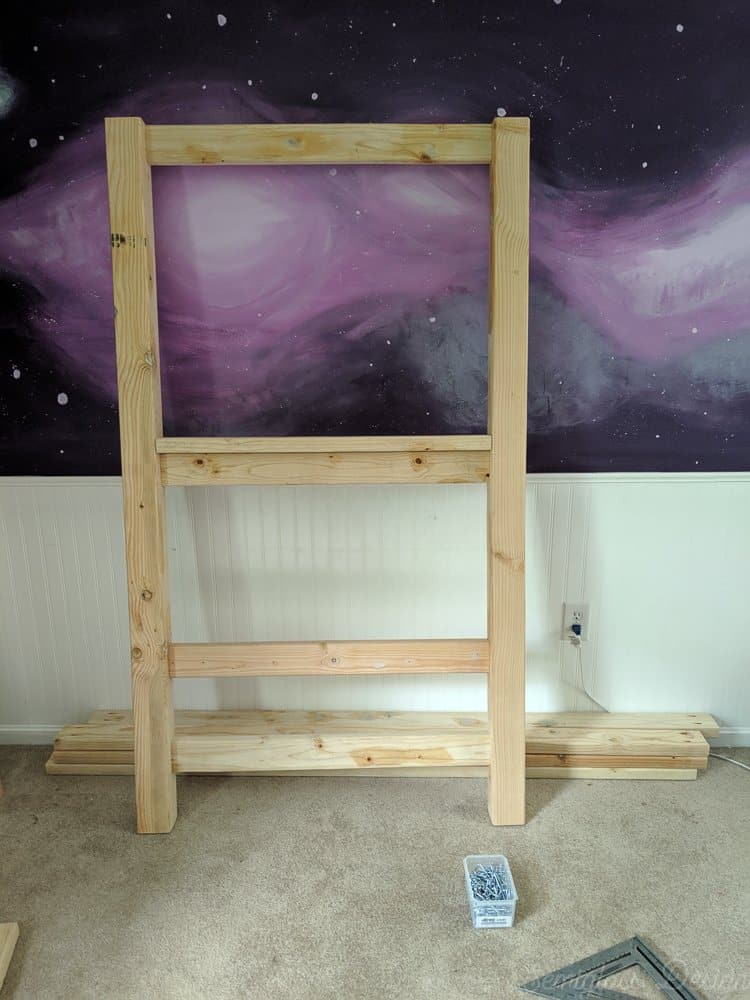
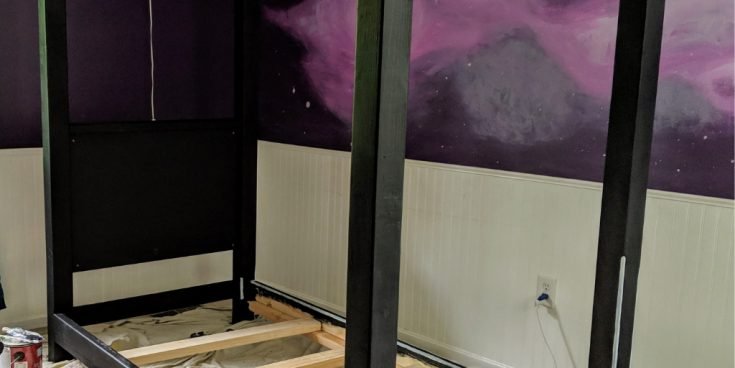
Building the Footboard of the Canopy Bed
You will want to build the bed in the room where it will live. This bed is incredibly heavy.
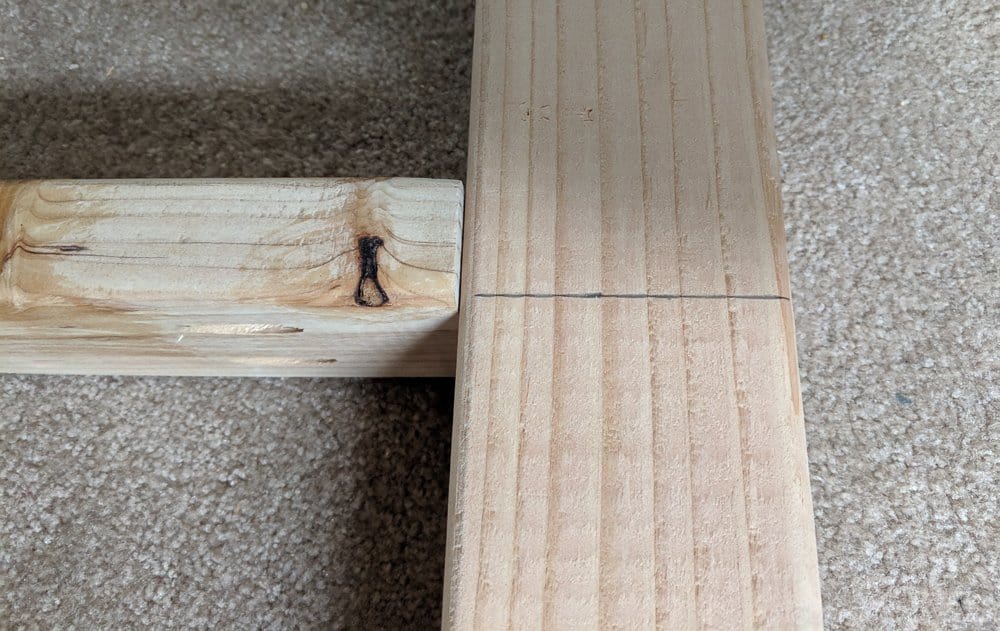
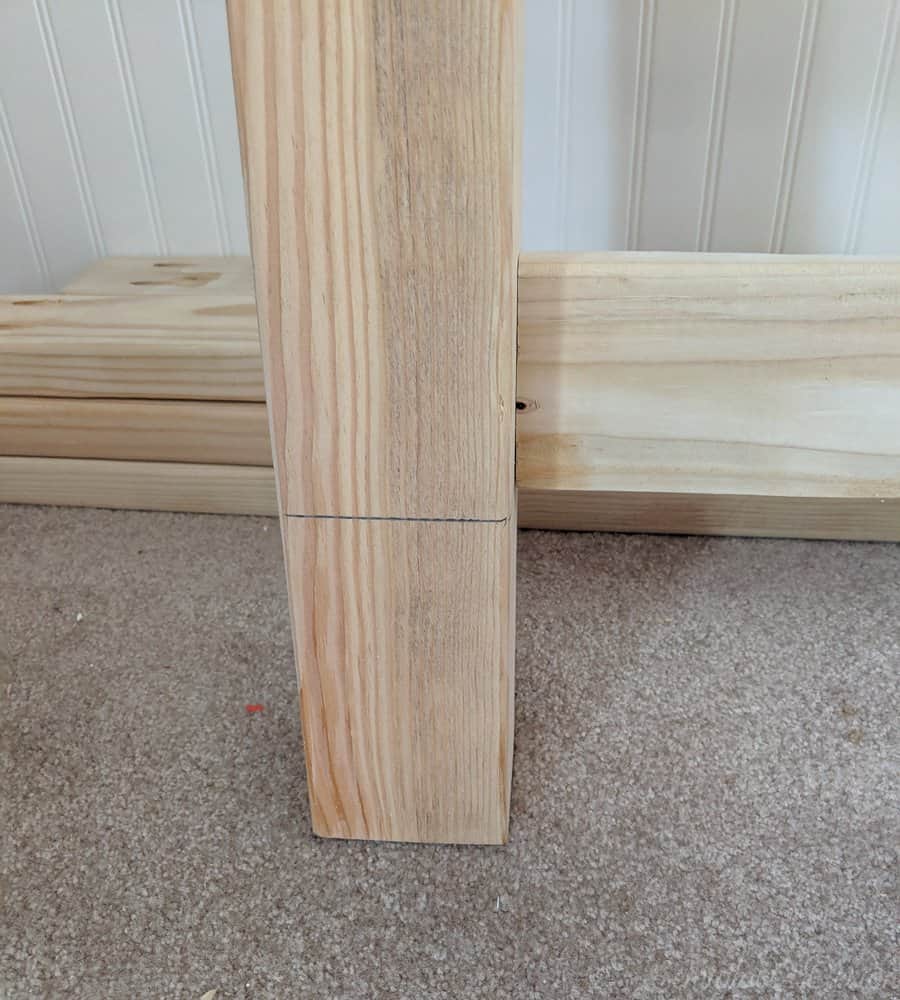
- Use a speed square to mark 6″ from the bottom of the 4 x 4 posts.
- Lay out the pieces for the headboard on the ground.
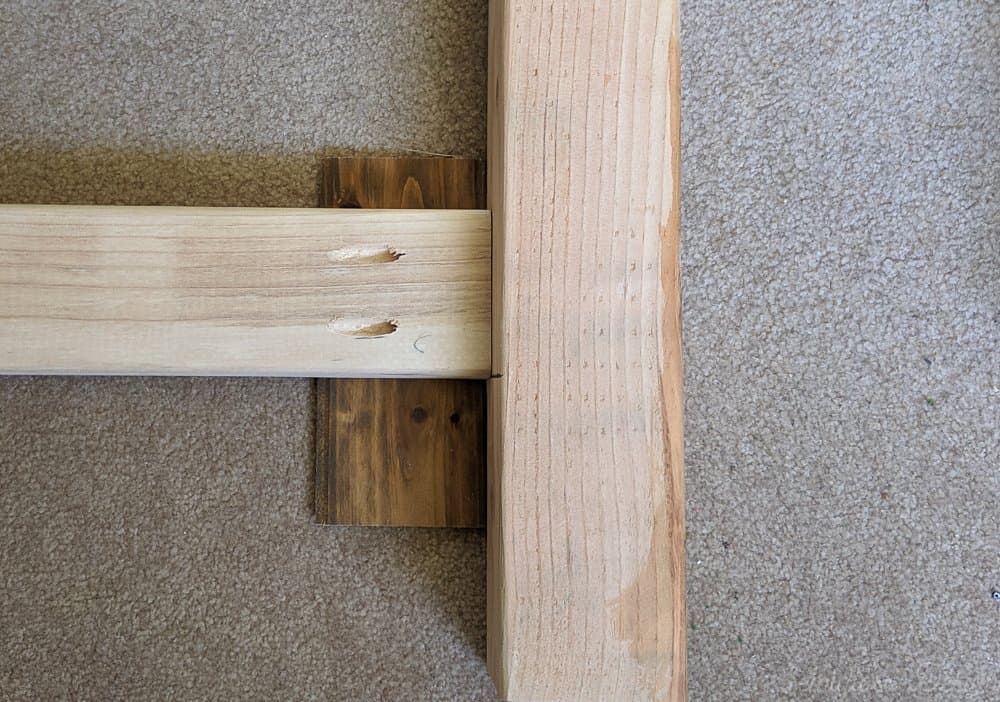
- Use thin scrap wood as spacers if necessary to account for the rounded edges of the 4 x 4’s.

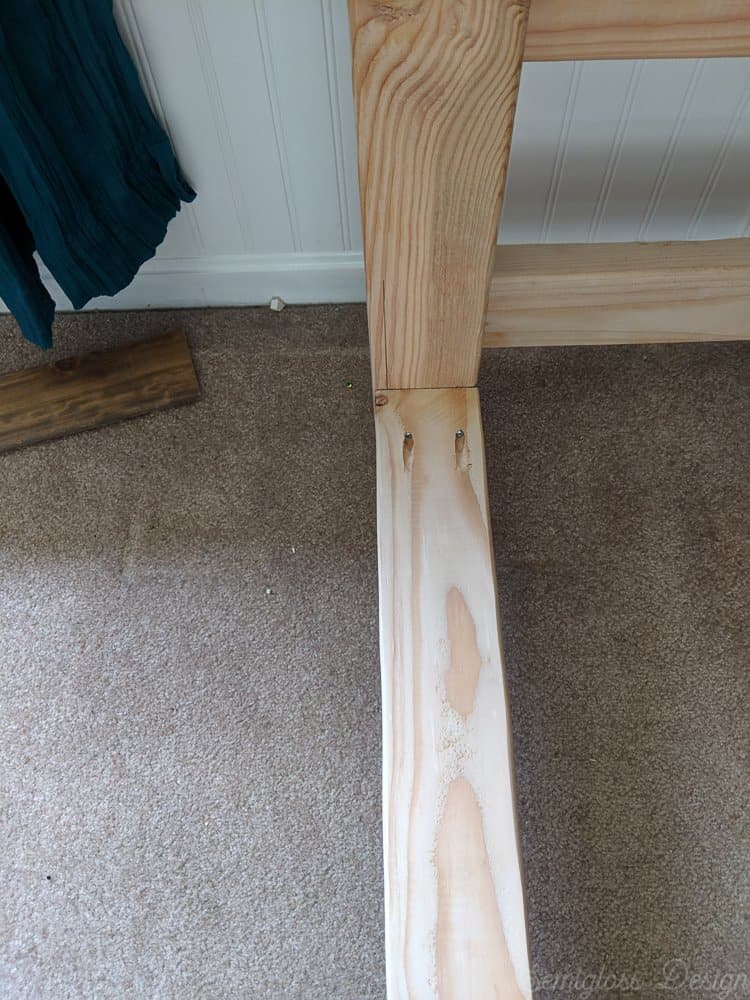
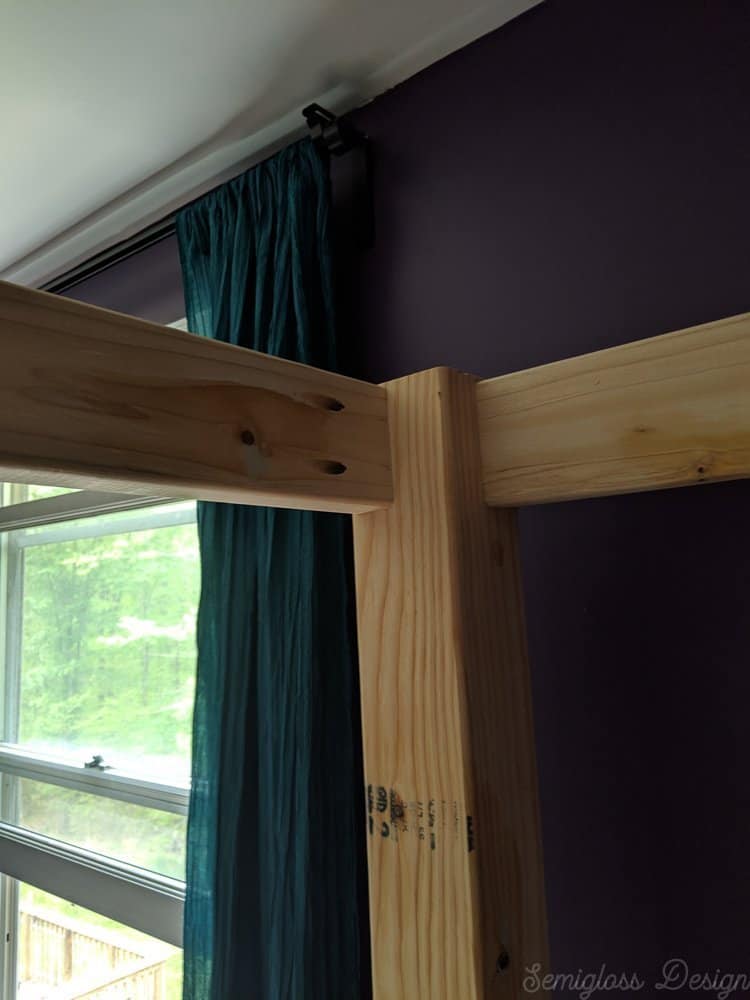
- Use 2 1/2″ kreg screws to attach the bottom foot board to the posts. Helpful tip: have someone push against the post as you drill into it.
- Line up the top post for the foot board and attach it to the posts with kreg jig screws.

Building the Headboard of the Canopy
- Lay out the wood for the headboard as shown in the diagram.
- To hide the pocket holes, we’re going to build it backwards this time. We used extra 2 x 4’s to lift the wood to the correct height and drilled them in.

- Use the speed square to draw a line 6″ up from the bottom.
- Attach the bottom headboard railing.
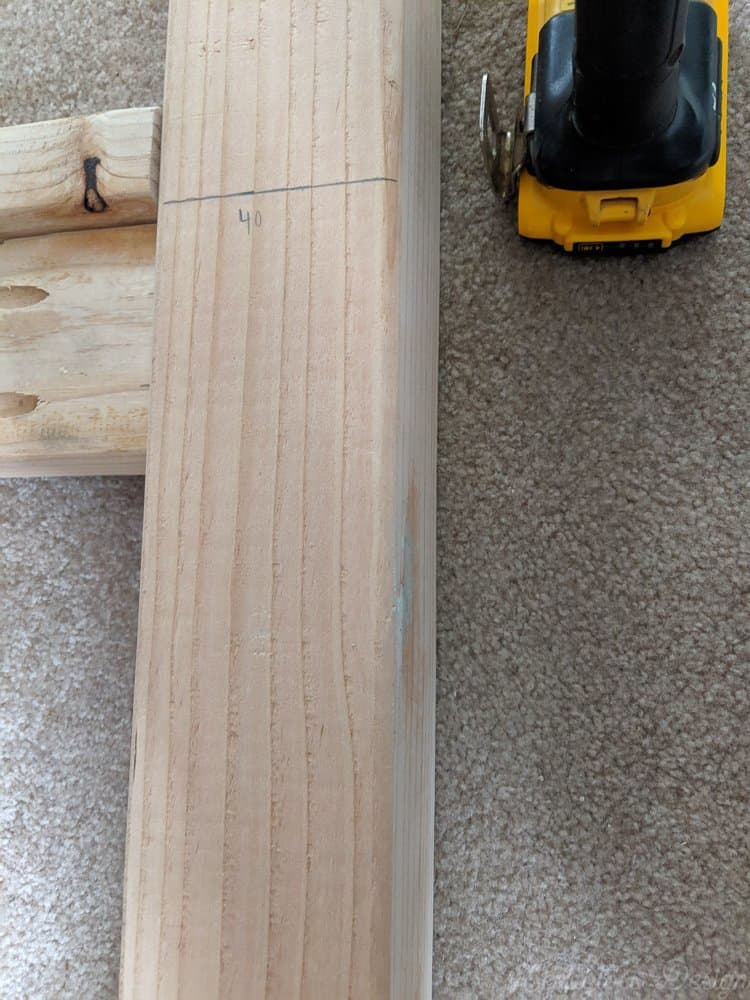
- The headboard cap sits 40″ from the ground and is installed next. This piece sits horizontally and is attached from the bottom so that the pocket holes will be hidden.

- Another 2×4 is attached right below this board.
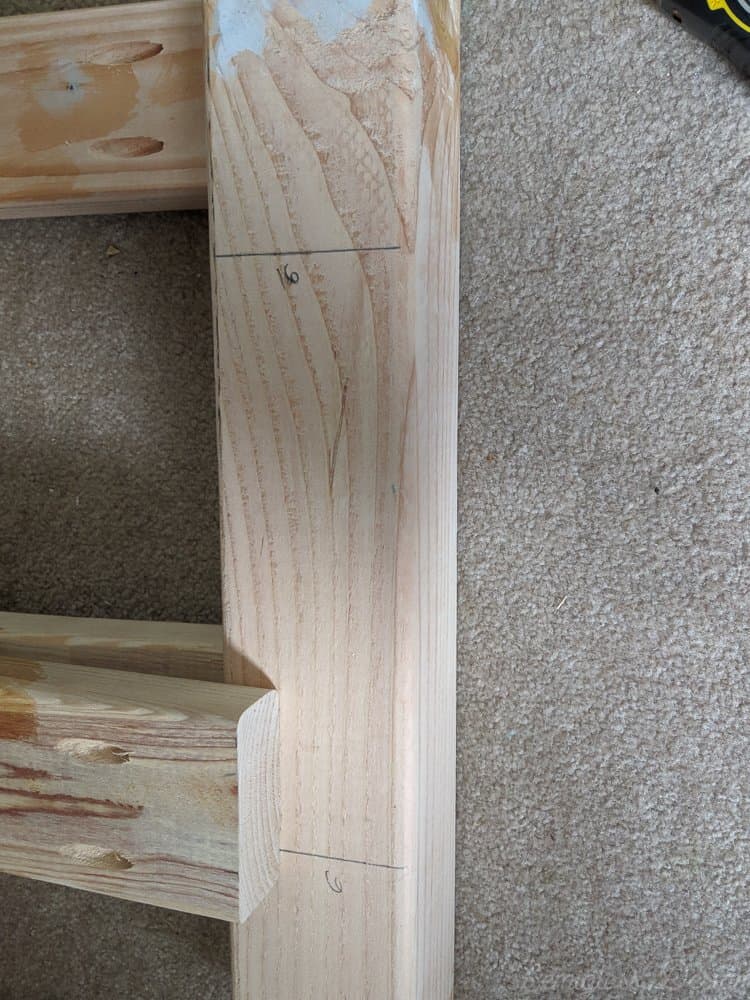
- Attach another board 16″ from the ground. These pieces are for the headboard panel to attach to.
- Attach the top headboard railing to the posts.
- Attach the headboard panel. I used 1 1/2″ screws to attach the panel from the front. I still need to cover the screw heads with wood putty and touch up the paint. Alternatively, the panel can be attached from the back. Make sure the screw doesn’t poke through! (I did this after the bed was assembled and partially painted.)
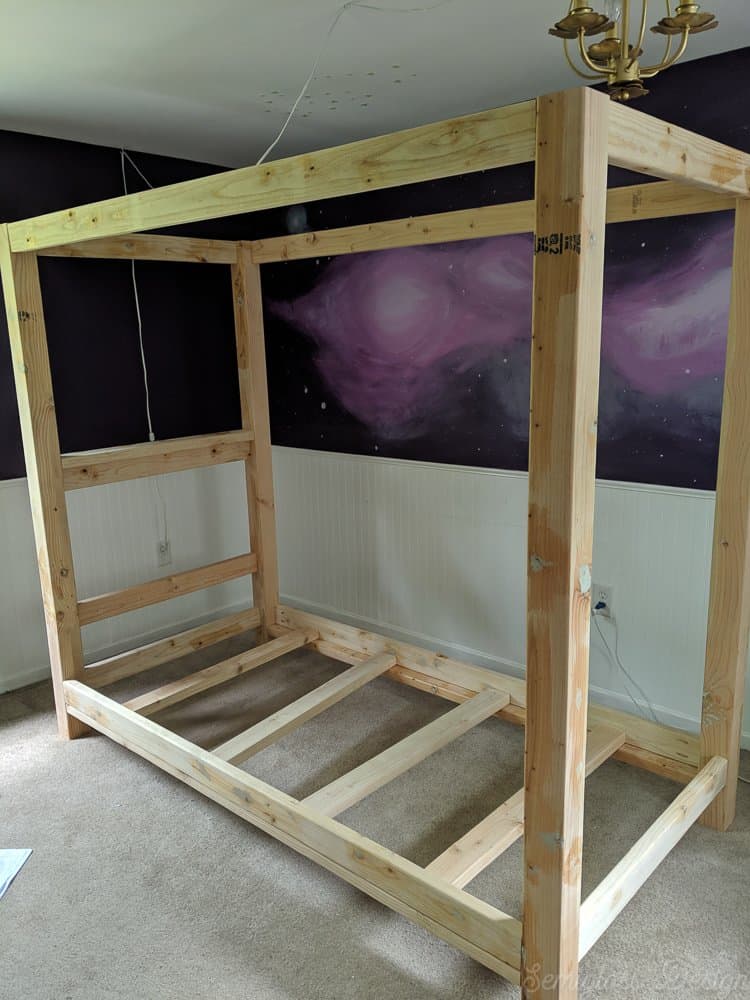
Installing the Side Rails of the Canopy Bed Frame
Having 2 extra pairs of hands is very useful for the top rails!
- Use the square to mark the 4 x 4’s, 6″ up from the ground.

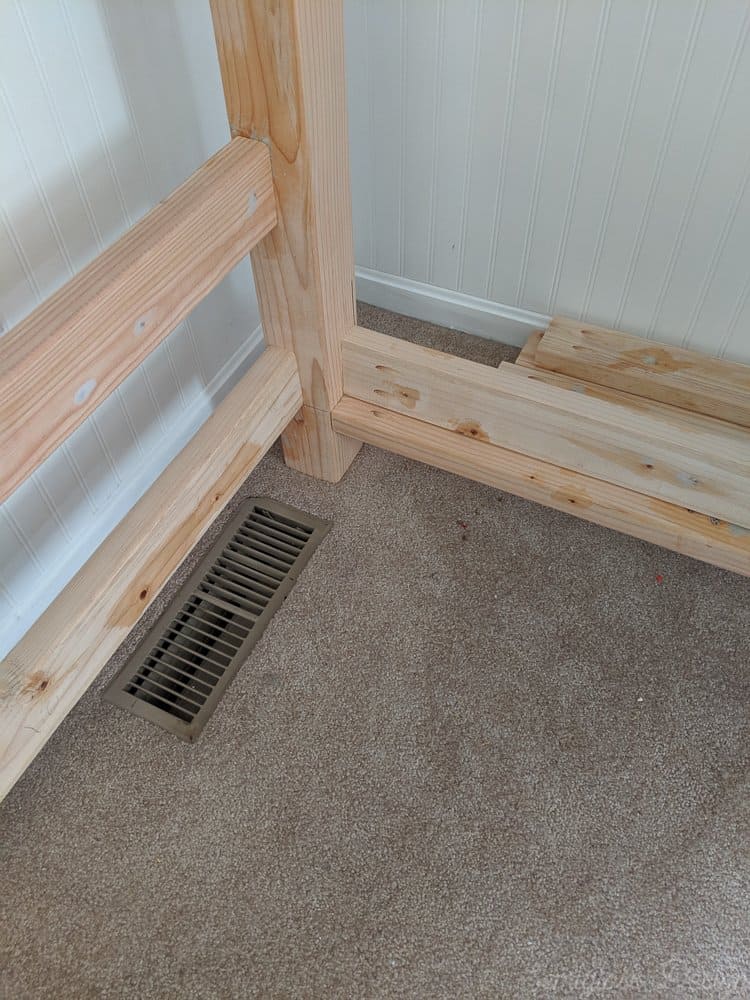
- Attach the mattress support rail under the 6″ mark. This board is horizontal and gets attached from the top (there’s no way to fit a drill under the bed to mount it from underneath.) This is the board that will hold the bed slats that support the mattress.
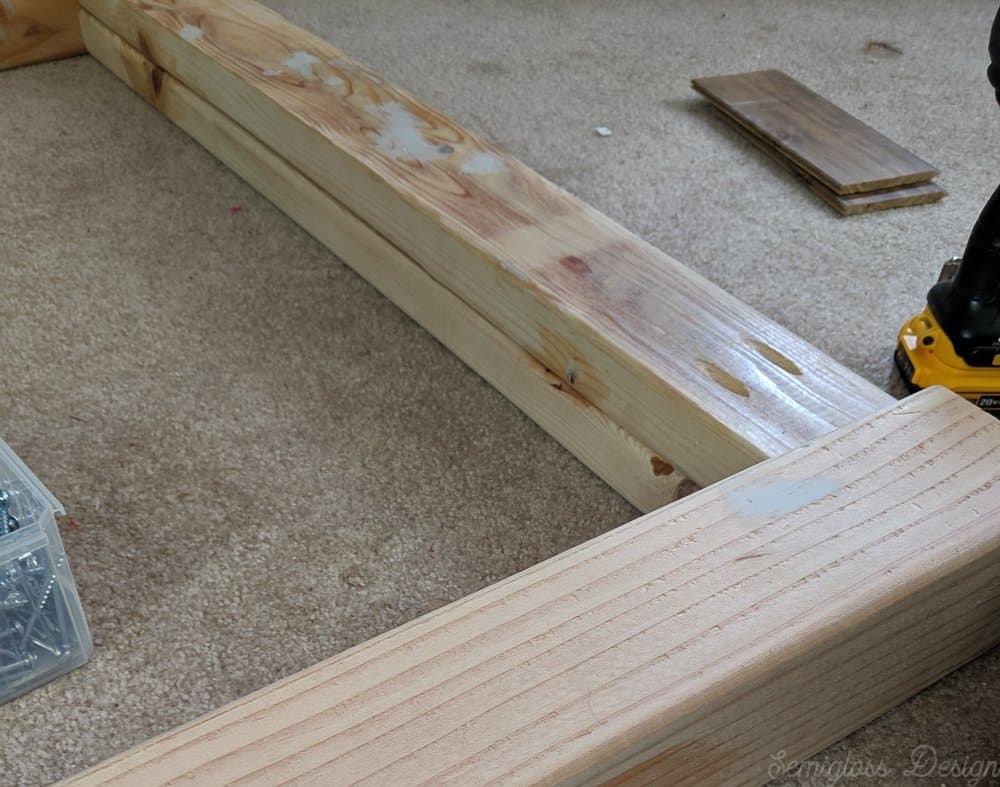
- Attach the bottom side railings to the posts on top of the board that you just installed.
- Have your helper hold the top rails in place and attach the top side rails, flush to the top of the post.
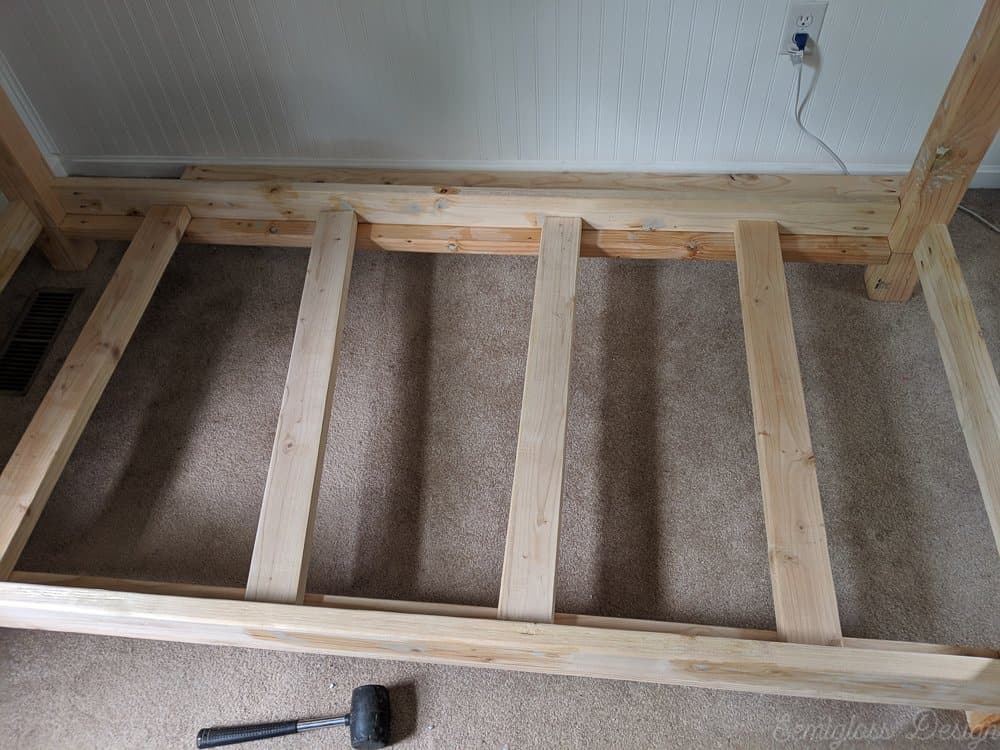
Installing the Bed Slats
The instructions show 8 bed slats in the diagram. We opted for 4 since we’re using a box spring.
- Pre-drill a hole into the end of each bed slat.
- Use deck screws to attach the bed slats at even intervals. (I’m waiting to attach mine until I’m done painting.)

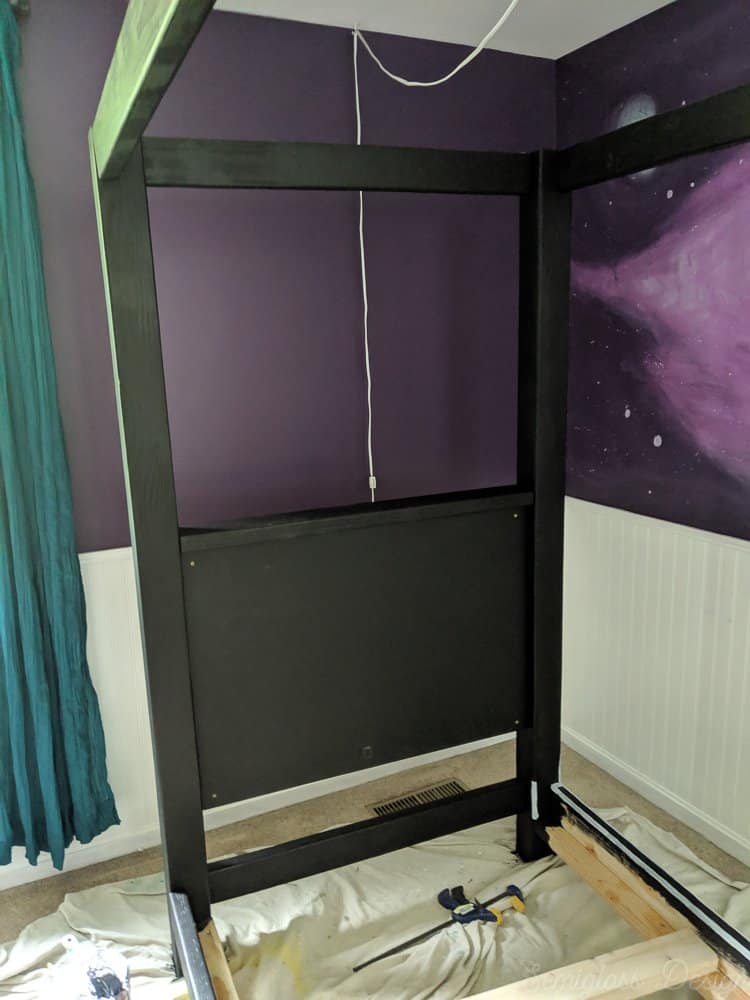
Finishing the DIY Canopy Bed Frame
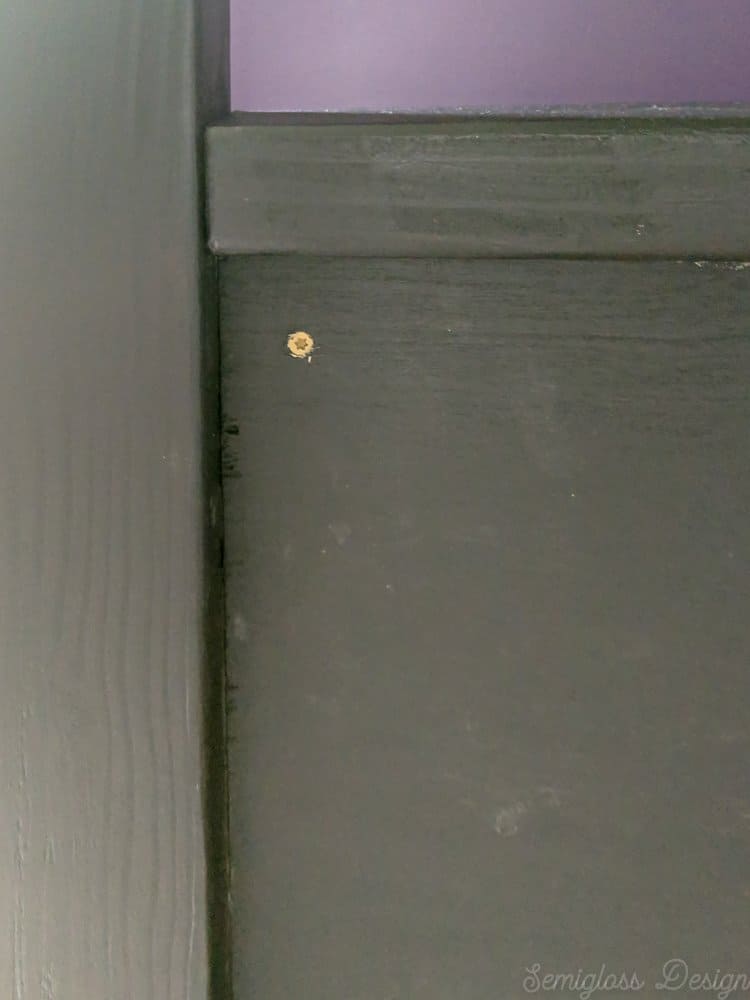
We left the pocket holes exposed so that the bed could be disassembled if needed in the future. I painted the insides of the pocket hole to disguise them. It helps that I used black paint.
For a more finished look, you can use pocket hole plugs or wood putty to cover the pocket holes.
To finish the bed, I painted it black, using Sherwin Williams for HGTV paint in Tricorn Black in eggshell. This is my favorite black paint for furniture. I love how well it covers. Eggshell paint gives a matte finish without feeling chalky.
Be sure to check out how I stenciled the bed!
Download the Cut List and Diagram to Make a Canopy Bed
DIY Canopy Bed Frame
How to build a modern canopy bed frame using 2 x4's and 4 x 4's.
Materials
- 2 x 4's (12-14)
- 4 x 4's (4)
- Plywood (2' x 4')
- 2 1/2" Kreg screws
- Shellac
- Bondo
- Paint or stain
Tools
- Drill and driver
- Miter saw
- Circular saw
- Kreg jig
- Speed Square
- Orbital Sander
- Belt Sander
- Measuring Tape
Instructions
- Cut all wood to the right size.
- Sand wood.
- Fill any holes, knots or cracks with bondo or other wood filler.
- Seal all knots with shellac or primer (not necessary if staining.)
- Attach bottom rail to footboard posts 6" up from ground.
- Attach top rail to footboard posts.
- Attach bottom rail to headboard post 6" up from ground.
- Attach top headboard rail to post.
- Attach a horizontal rail to posts 40" from ground.
- Attach another rail right below that one.
- Attach another rail to posts 16" from ground.
- Attach plywood panel right below the horizontal rail that sits at 40".
- Attach the mattress support with the board horizontally orientated, kreg holes facing up.
- Attach bottom side rails to posts to connect headboard and footboard.
- Attach the top side rails to the posts.
- Fill any pocket holes as needed.
- Finish as desired.
Recommended Products
As an Amazon Associate and member of other affiliate programs, I earn from qualifying purchases.
-
 DEWALT DCF885C1 20V Max 1/4 Impact Driver Kit
 -
DEWALT DW716 12 in. Double-Bevel Compound Miter Saw
-
DEWALT DCS570B 7-1/4" (184mm) 20V Cordless Circular Saw with Brake (Tool Only)
-
R3-Promo Kreg R3 Jig Pocket Hole Kit With Free Classic Clamp Pack-In
-
Swanson Tool S0101 7-inch Speed Square Layout Tool with Blue Book
-
PORTER-CABLE 352VS 8 Amp 3-Inch-by-21-Inch Variable-Speed Belt Sander with Cloth Dust Bag
-
DEWALT DWE6423K Variable Speed Random Orbit Sander, 5"
-
3M Bondo Home Solutions All Purpose Putty, 1-Quart
-
Rust-Oleum Zinsser 304H 1-Quart Bulls Eye Clear Shellac


Boho Girl’s Bedroom Progress
- Week 1: Colorful Boho Bedroom Plans
- Week 2: How to Paint a Galaxy Mural
- Week 3: Painted Ombre Walls
- Week 4: DIY Boho Dream Catcher
- Week 5: This post
- Bonus post: DIY Bone Inlay Stenciled Bed
- Week 6: Reveal
You might also like:
Pin for Later!

Emy is a vintage obsessed mama of 2 DIYer who loves sharing affordable solutions for common home problems. You don’t need a giant budget to create a lovely home. Read more…

What an amazing project! Love the style you chose… Looking so forward to next week!!!!!
WOW! That is a huge project, and it turned out great! Your daughter is going to love her room!
I LOVE BONDO! I use the formulation for wood because sometimes I use it outdoors and it flexes better with weather changes. Such a great tutorial! I love how your room is coming together 🙂
Wow Emy! Well done lady it turned out amazing!
Emy,
You have some mad DIY skills my friend. Cannot wait to see the reveal.
You’re putting so much work into this, Emy! What a great DIY project. I can’t wait to see the reveal next week! Good luck!!
Emy I love the canopy bed it is the perfect addition to the room. You guys did a great job building. So excited for the reveal!!!
I definitely needed your painting over wood post last week! The bed looks fabulous. Already took a peek at the stenciled bed and OMG I want it for my grown-up room it looks so SO good! You’re amazing and so talented.