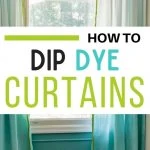
Make Your Own Dip Dye Curtains
Don’t want to spend a fortune on curtains for your home? Me neither. Luckily, IKEA has curtains at reasonable prices that are prime for customizing. These dip dye curtains are an IKEA curtain hack. They’re easy to make and the results are gorgeous.
Dye is one of my favorite tricks for customizing fabric decor, like these IKEA slipcovers.

I spend hours swooning over the curtains at Anthropologie, but no matter how hard I try, I cannot bring myself to purchase even the most heavily discounted curtains from there. They’re just too expensive.
For my living room and dining room, I would need 8 panels, so there’s no way that I can make that purchase.
The home decor at Anthropologie is beautiful because it has amazing details, like pretty trim, embroidery or fun dye jobs. Taking plain curtains and adding fun details like a dip dye ombre look and fringe gives me the look I want without the high price.
These dip dye curtains are the first reveal in my office/ living room makeover. It’s almost finished, so look for it sometime later in the month. I’m waiting for a few things to come in the mail still.
Make Your Own Dip Dye Curtains
Supplies Needed
This post contains affiliate links. By purchasing an item through an affiliate link, I earn a small commission at no extra cost to you.
- White cotton curtains (buy the longer ones since they shrink)
- Procion dye***
- Soda Ash (1/3 cup)
- Salt (1 1/2 cup)
- Large tub
- Mixing cup
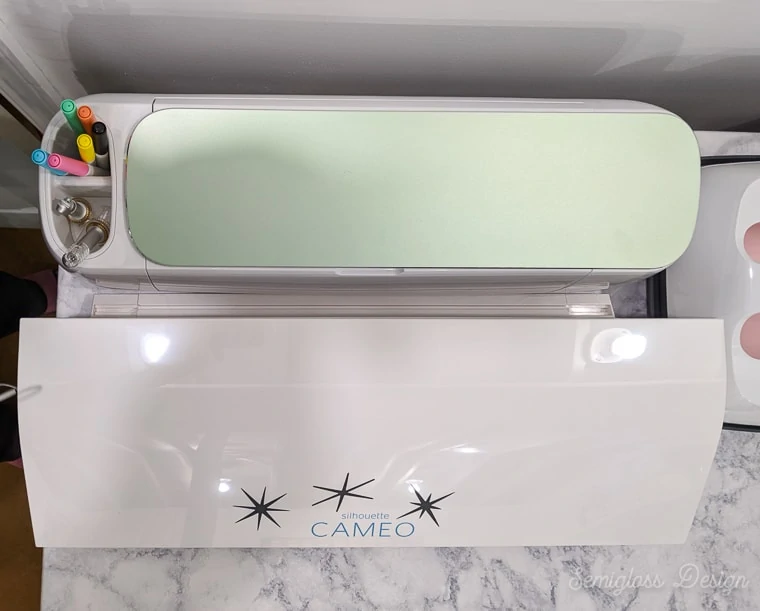
- Sewing machine (to hem edges)
- Fringe
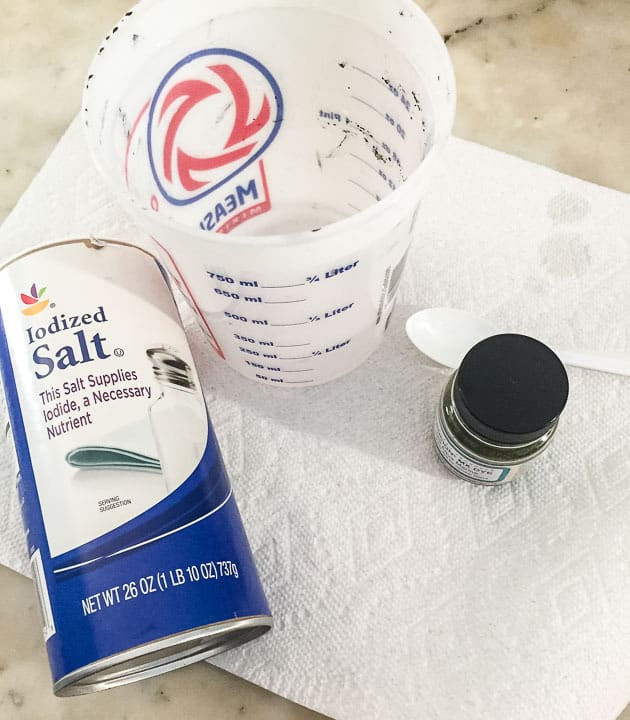
***I love using Jacquard dyes. The quality is fantastic and they don’t fade with time and washing. These dyes aren’t that much more expensive than the kind you buy at the grocery store. Be sure to buy soda ash too.
Preparing the Curtains and Dye
- Wash your curtains. This is important because they shrink a bit. I wash everything in cold water. Do not dry them. The curtains need to be wet.
- Set a large tub in your bathtub and fill it with lukewarm water. I filled it about 1/3 of the way since it was a huge bin.

- Mix your dye. Dilute your dye in a mixing cup of warm water. I mixed 3 teaspoons of dye into this cup. Stir well. (Use more dye for darker colors.)

- Pour the mix into the tub and stir. I used a wooden paint stir stick.

- Mix your diluted salt. I diluted 1 1/2 cups in my mixing cup of hot water. Stir it until it’s mixed well.

- Pour it into your tub and mix well.

- Mix the soda ash. (You might want a mask for this part if you’re sensitive to smells.) Pour it into the mixing cup with hot water to dilute it. *Soda ash is normally added later in the dye process. Due to the nature of this dip dye process, I added it at the beginning instead.
- Pour this mix into the tub and mix well.


Dyeing the Curtains
Don’t forget to start with wet curtains.
- Line the curtains up so that they’re all the same length and place the bottom half into the tub. (The color that they turn immediately is the color they will be. If you were hoping for darker, remove them and add more dye.) I draped the excess curtain over the edge in the tub. Be careful not to splash the white parts.

- Set the timer for 15 minutes and leave them alone. After 15 minutes, pull the out about 12″.
- Leave the curtains in for about 15 minutes. Pull them out about a foot. You should be seeing a gradation of color. Where the curtains sit longer, the color is a bit darker. It’s very subtle, but you’ll be able to see it better when it’s finished.

- Keep doing step 2 until you’re at the end. I let the bottoms sit for 20 minutes.

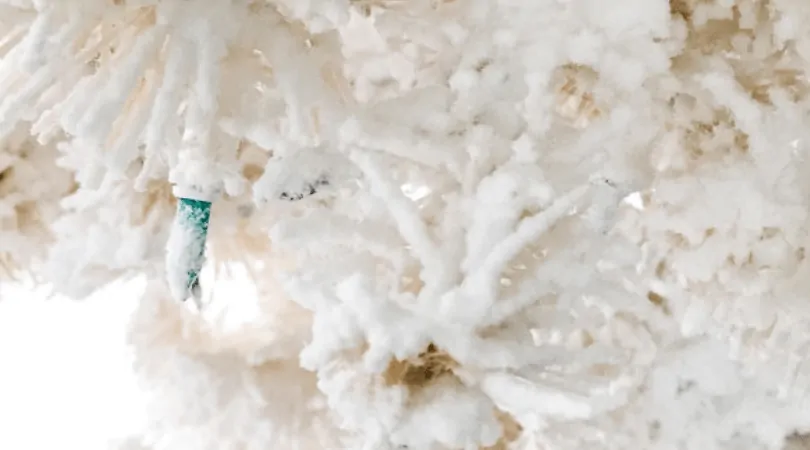
- Rinse the curtains until the water runs clean. Be careful of the white parts. (If you want the white parts to stay white, rinse very well. Mine ended up a very pale shade of aqua, which I love.)
- Wash in your washing machine as normal.
- Dry for about 30 minutes.
- Iron the curtains. The wrinkles come out better when the curtains are slightly damp.


Finishing the Curtains
- Hang your curtains and figure out where they need to be hemmed. Pin them up. For me, it was about a 6″ hem. Having a hem that deep makes them look a lot more expensive than they are. Learn how to hem curtains in this post!

- Press the hem with your iron.
- Sew on the fringe if desired. Pull the string from the edge to release the fringe.

- Hang your curtains and enjoy.


I love how my dip dyed curtains turned out. The ombre effect is so subtle and pretty. It really makes the texture on the curtains shine through. The fringe is such a fun touch.
You might also like:
Pin for Later!

Emy is a vintage obsessed mama of 2 DIYer who loves sharing affordable solutions for common home problems. You don’t need a giant budget to create a lovely home. Read more…

I hate the cost of curtains too, and these turned out freaking awesome, I also scrolled around your blog a bit and omg I love, love the sunroom blue floor and your kitchen counters wow great stuff you do, so I signed up for emails thanks xx